If this is your first visit, be sure to
check out the FAQ by clicking the
link above. You may have to register
before you can post: click the register link above to proceed, registering will remove the in post advertisements. To start viewing messages,
select the forum that you want to visit from the selection below.
This means you should apply for your renewal now to avoid any disruptions to your membership whilst the renewal process is taking place! NOTE: If you have an auto renewing subscription this will happen automatically.
Nice progress H. Some tasty bits there.
Still can't believe the previous owner thought that was even remotely acceptable work.
Keen to see and hear it in action again
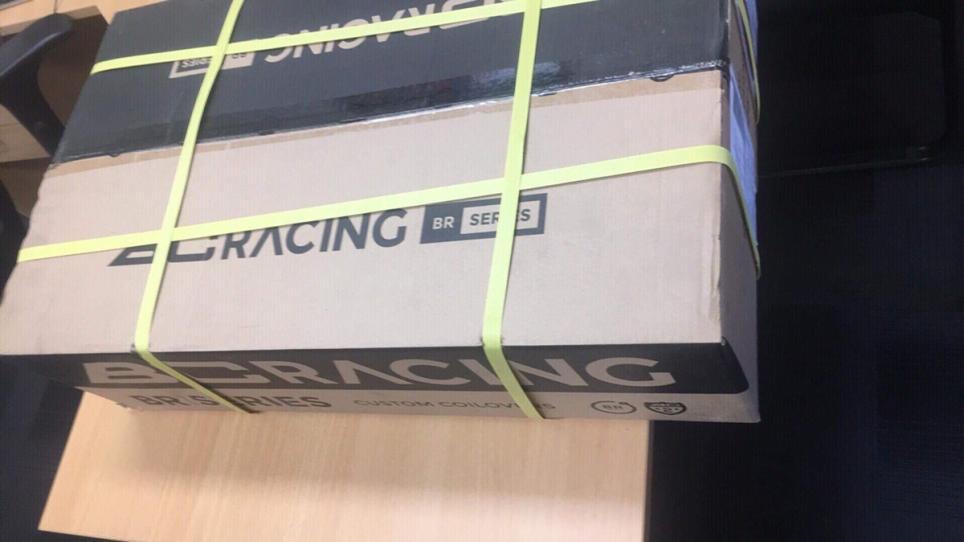
Opted to spend some coin on new suspension with more appropriate spring rates and damper adjustability. Has ended up being a bit of a cockshow.
Bought BC racing coilovers (local stock)
Didn’t realise that the rear height adjustment was just different sized plates/spacers so fixed height of max low, 6mm raised, 12mm raised or 18mm raised
The even bigger issue, is that the damper adjuster sits so close to the body that it’s impossible to adjust damper with the wheels on. Can’t be flipped because it hits the shock mount and the strut can’t be inverted because of different sized bolts/bushing ID’s.
could maybe run a long drill bit through the box section from inside to outside (oversized) and then insert a pipe section to bridge between the two skins of the box section. Tack it on at either side. If you can find remote adjusters you could feed them down the pipe onto the head of the adjuster.
could maybe run a long drill bit through the box section from inside to outside (oversized) and then insert a pipe section to bridge between the two skins of the box section. Tack it on at either side. If you can find remote adjusters you could feed them down the pipe onto the head of the adjuster.
The rear beaver panel is ~150mm from the other side of the box section, so would need to try attack from both sides, was initially thinking 1.5”~ hole saw should be doable.
Just annoyed that I’ll likely have to cut holes in what looks to be fairly structural metal for the sake of being able to turn a tiny knob, that with a little more hindsight could have been avoided in design initially.
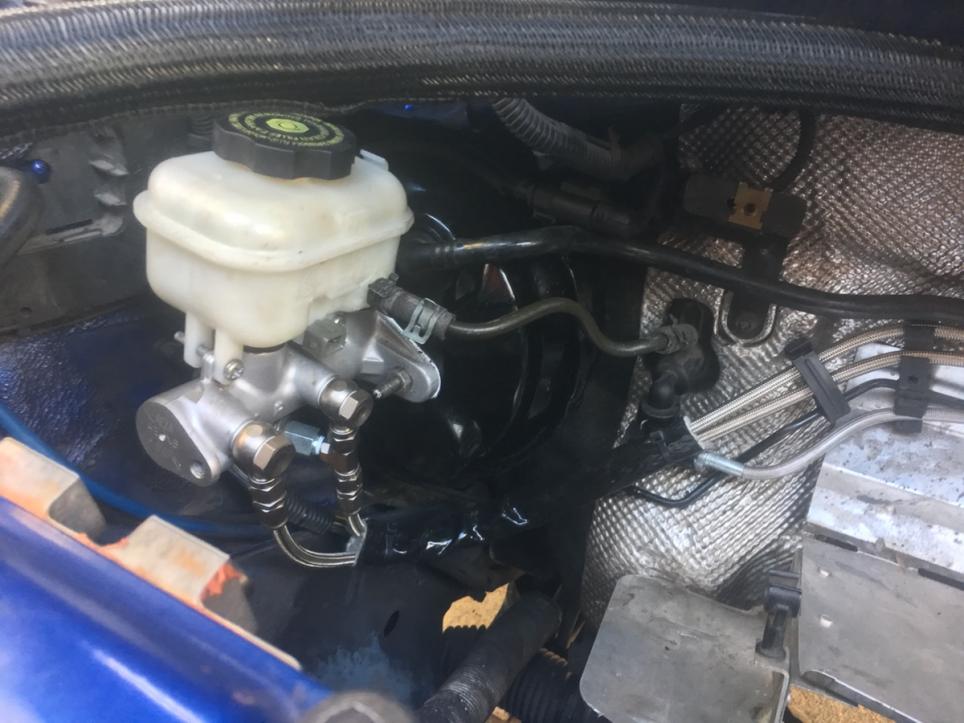
So one of the more involved modifications got finished up yesterday.
26mm brake master cylinder from a commodore.
Required a little tinkering but all in all not a hard process, dry test went ok. Will have to wait till I have wheels to see how well it goes with fluid.
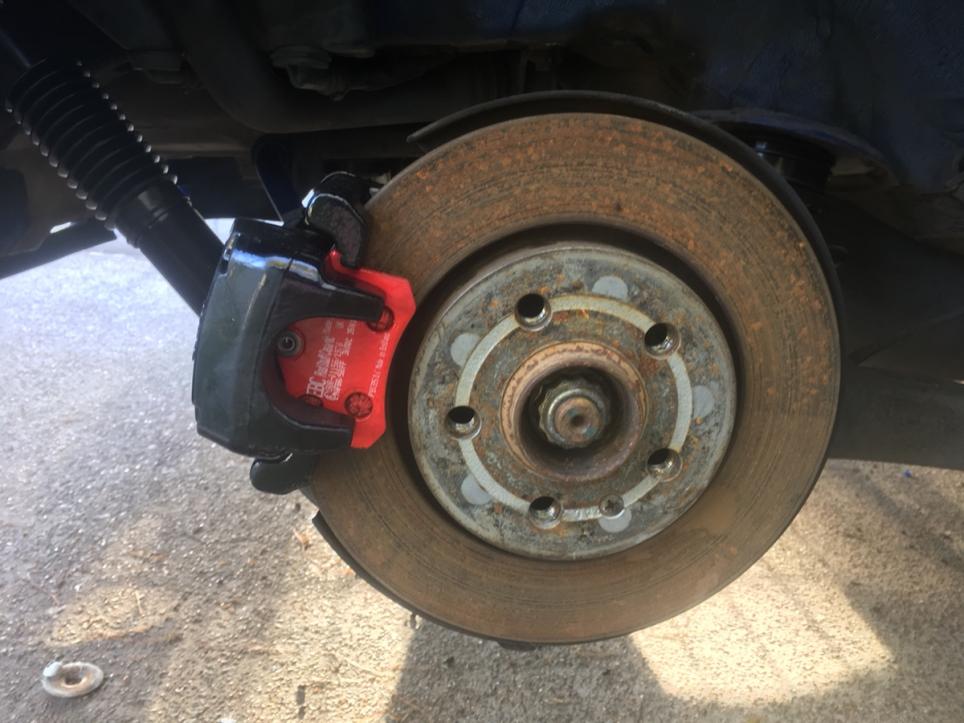
Fitted some EBC red rear brake pads I got with a car I purchased, while I had the calipers off I painted them black to match the fronts.
I also sikaflex/filled the remaining diff bushings.
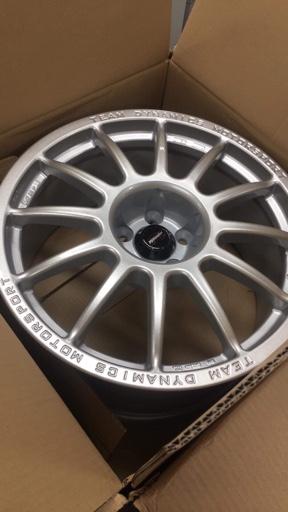
After 3.5 months, wheels finally turned up and thankfully clear without spacers! YAY
17x8 ET30 Team Dynamics Pro Race 1.2’s
While not the lightest wheel around, they are the only ones that will clear without massive spacers I’ve been able to find.
I’ve been plodding along doing bits and pieces when I can.
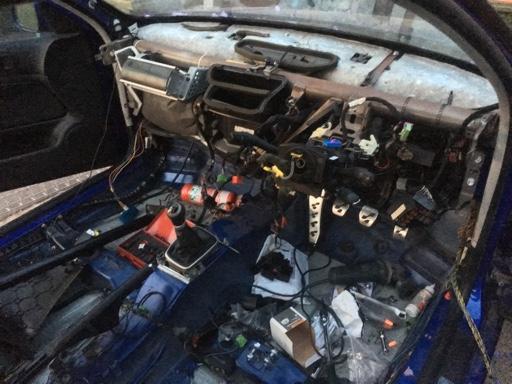
Dashboard out to remove all of the airbag and rear speaker wiring.
Removing seam sealer so when it comes time to put the cage in. I can go along and stitch weld the seams through the car.
Sneak peek of header clearance through the small hole. Had to trim down the steering rack housing. Other alternative is to dent the header.
And the whole piece!
Put adjustable end links on the front.
Heat protection on the intake manifold and intake pipe.
Gathering parts to make a new exhaust. 4” exit tips, and a 3” in twin 2.5 out muffler,
will also be putting in a 18” resonator.
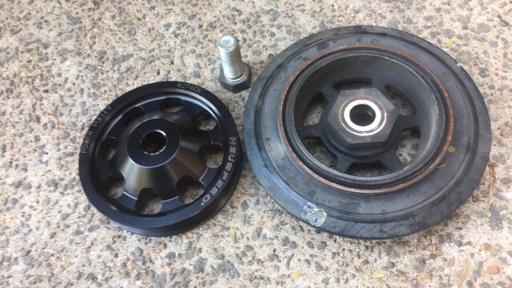
Neuspeed crank pulley on that I’ve had lying around for a long time.
And a little preventative maintenance while it’s easy to change.
Driveshaft coupler/bushing/giubo
I also went a bit crazy with a hole saw. Main goal was to try get a bit more air flow into the radiator, that then escalated
Also finally got around to hacking up the factory 3 pipe bracket thing for the auxiliary radiator and power steering hose
Started something like this
Finished like this
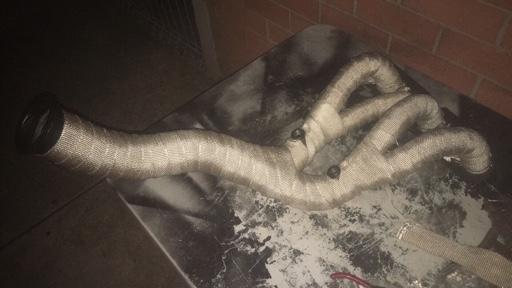
Got the header finalised today, v band tested and welded on so the front of the car can go back together.
Lick of paint to start.
Wrapped up for some heat management.
And then covered up, never to be seen again
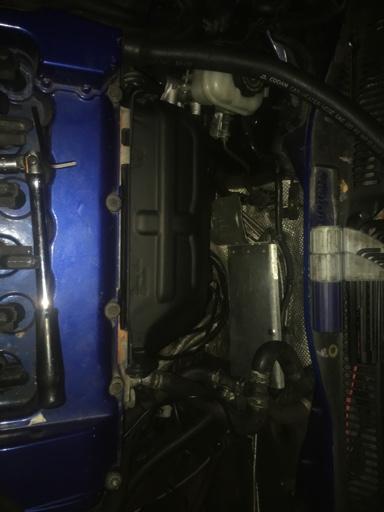
Opted for the MK5 heatshield as it is substantially bigger than the MK4 and will keep the heat out of the top half of the engine bay, and more importantly away from the brake master cylinder which is awfully close.
 Tweet
Tweet


Comment