Above Forum Ad

Collapse

Announcement

Collapse
No announcement yet.

Bagged Bunny

Collapse
X
 
  • Filter
  • Time
  • Show
Clear All
new posts

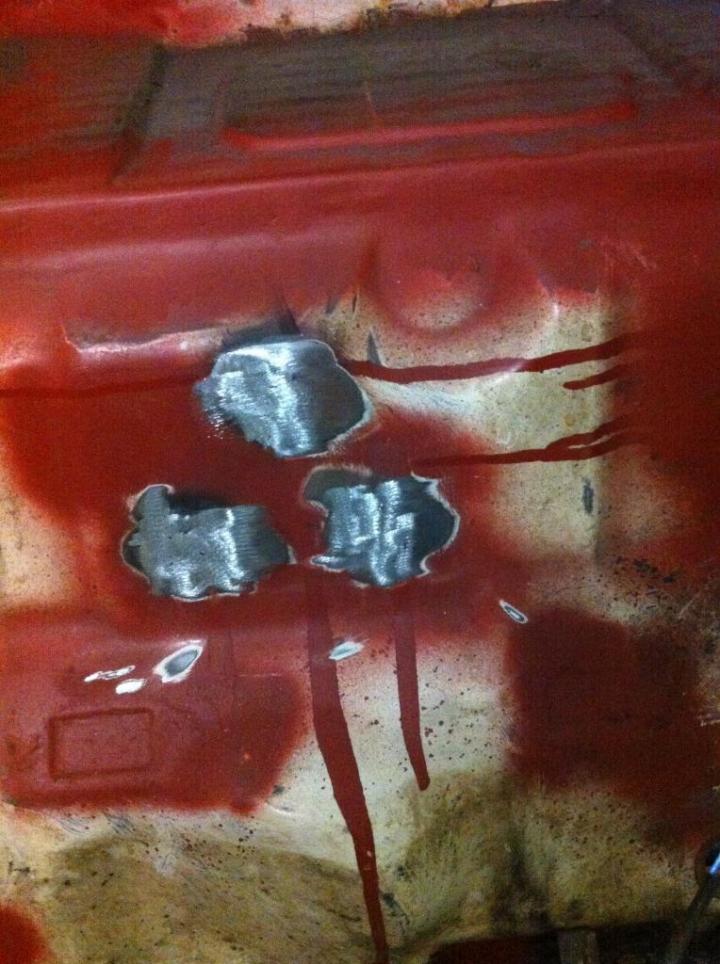
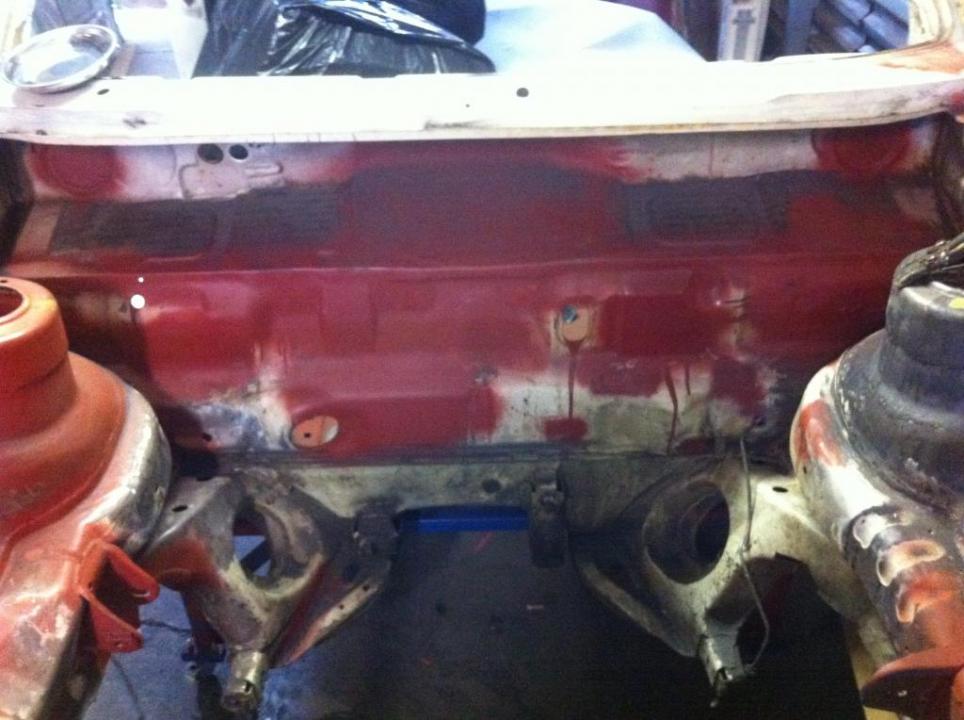
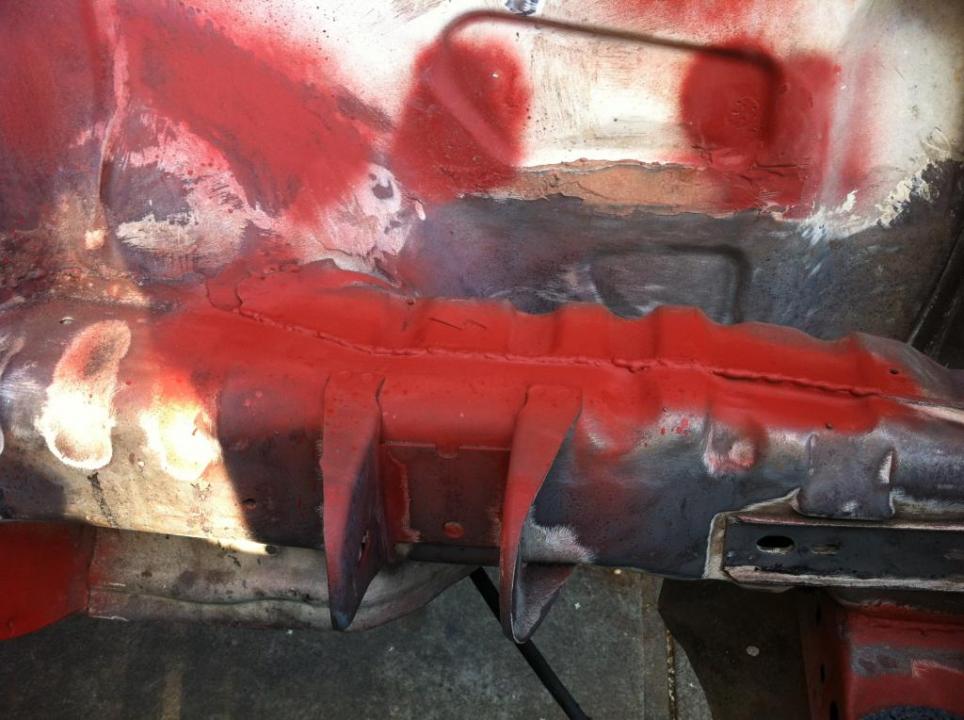
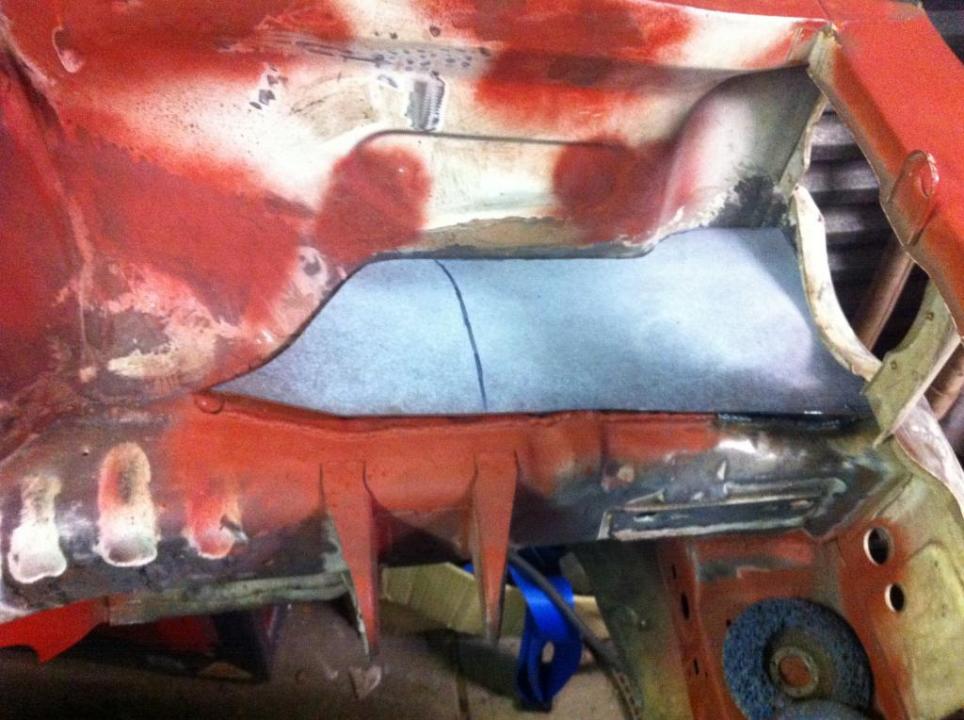
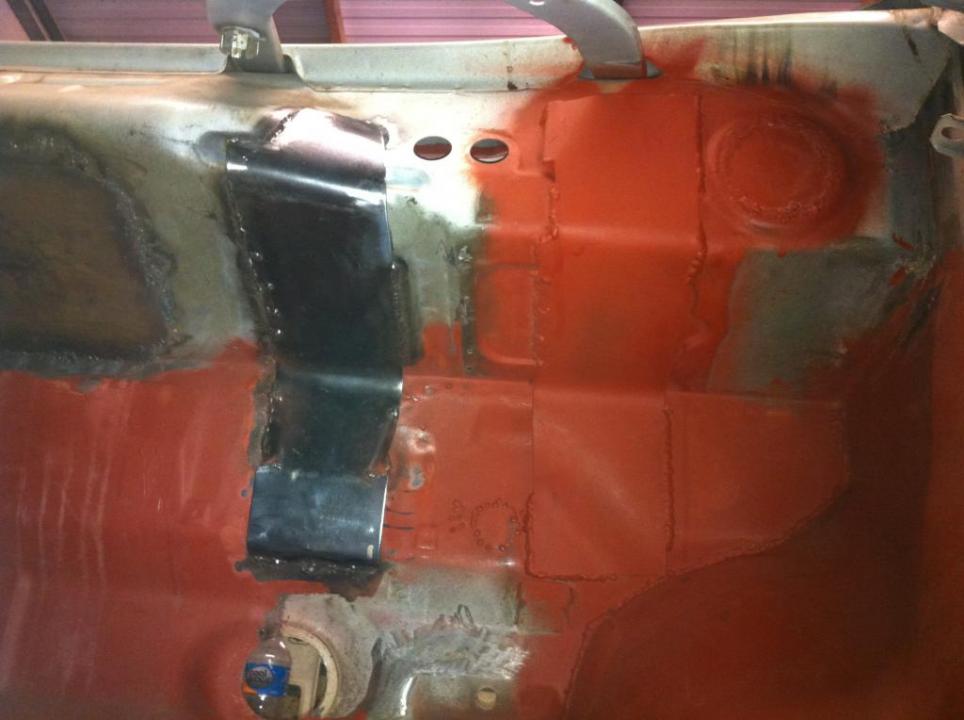
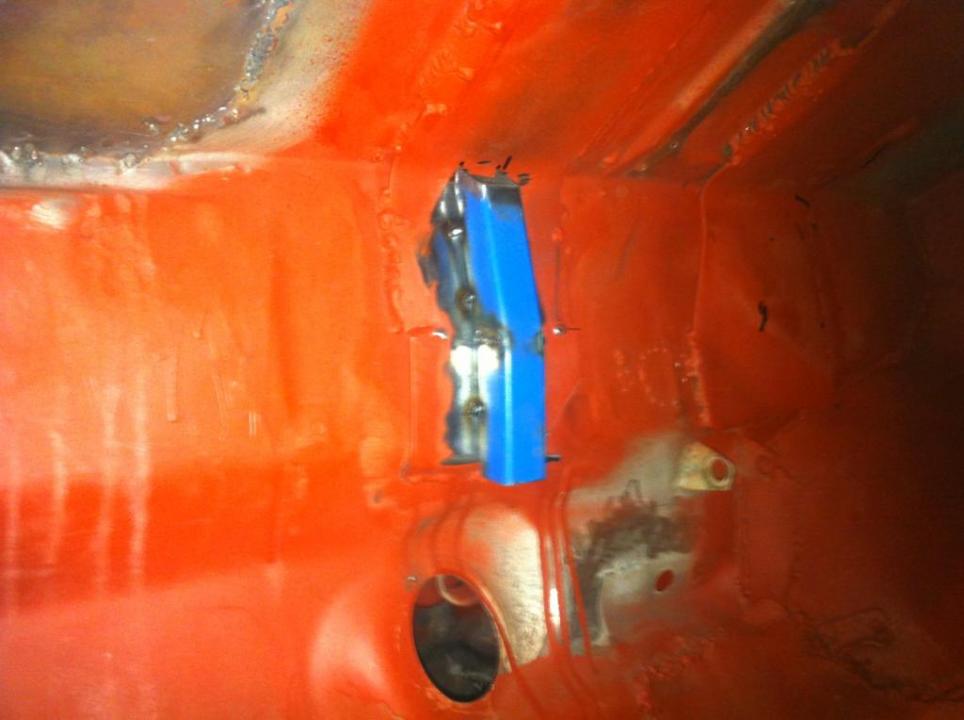
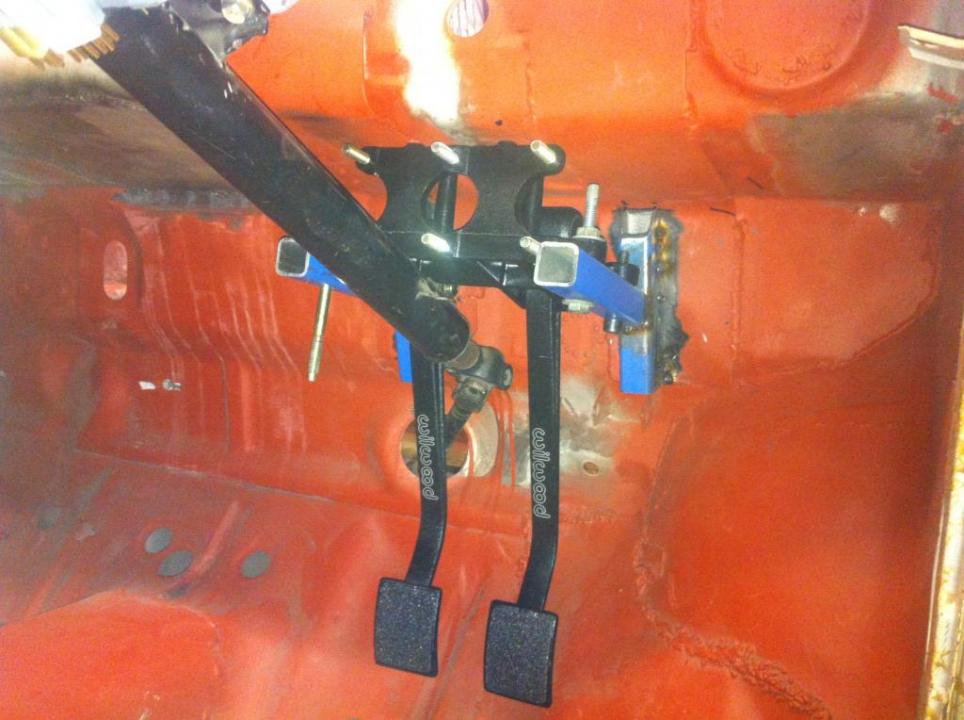
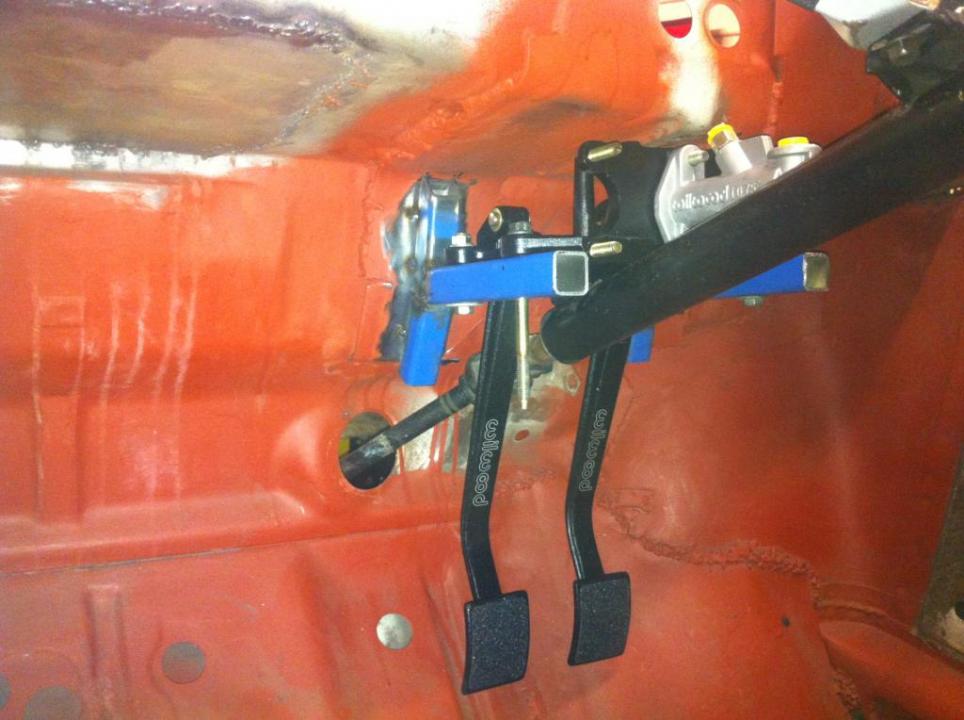
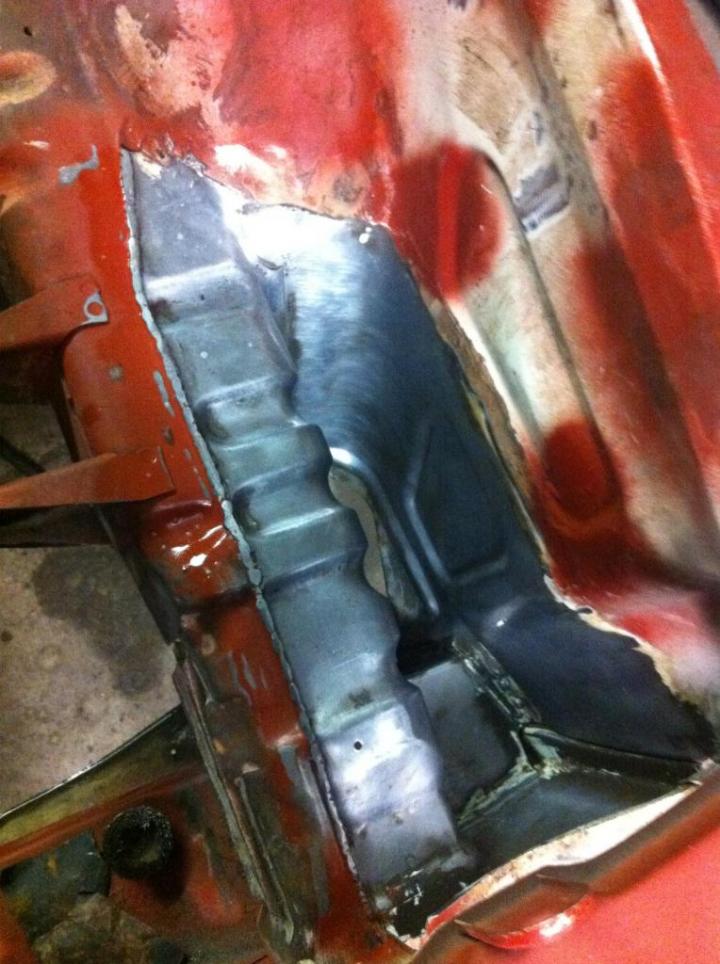
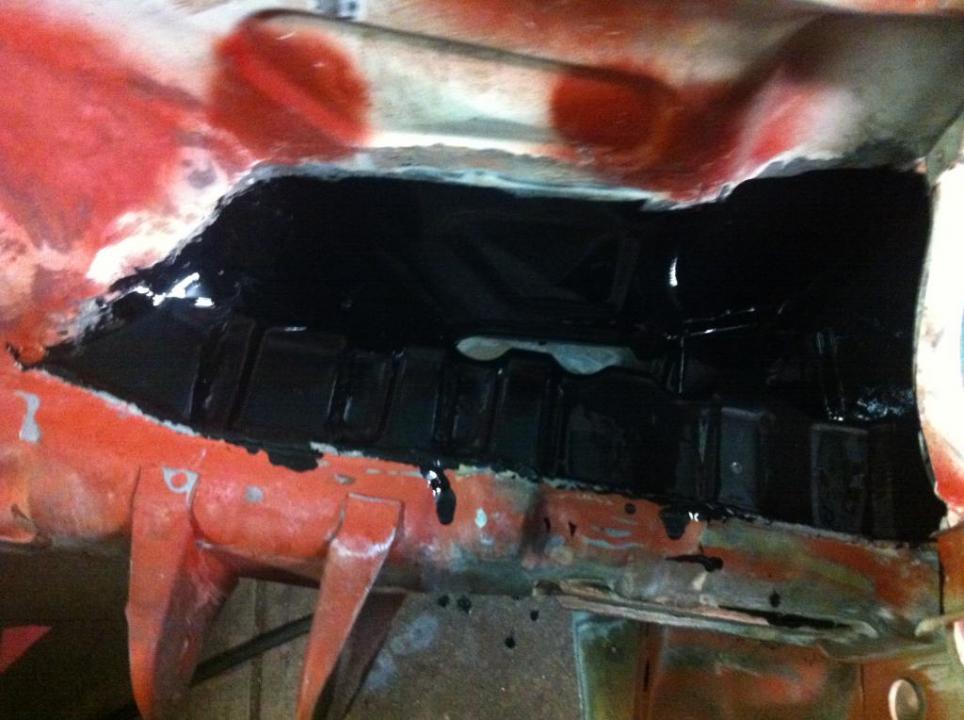
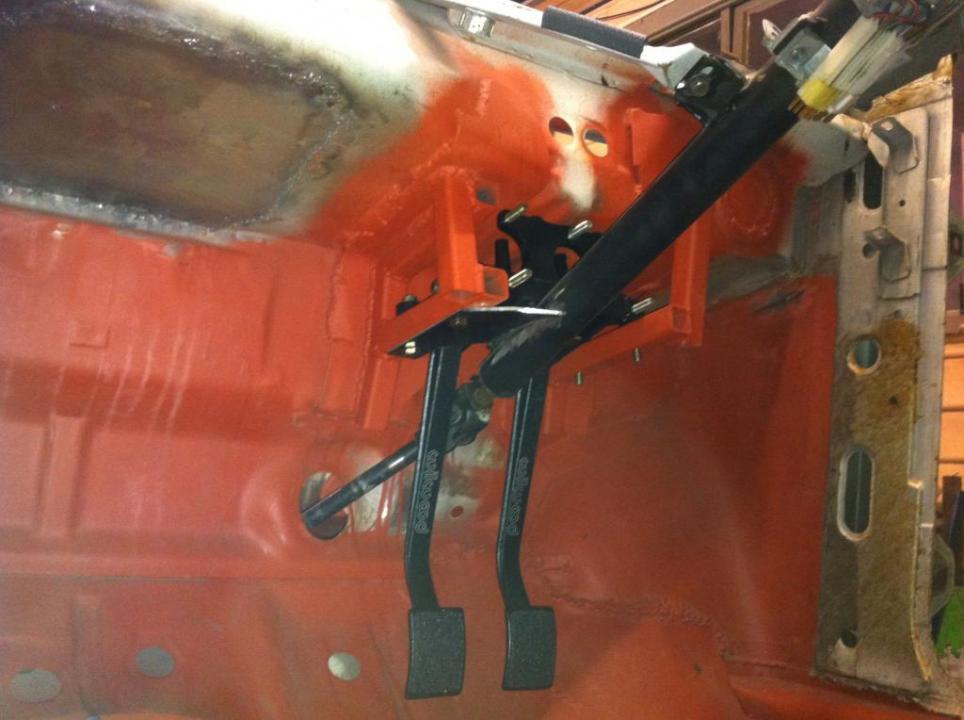
  • Wow, seams extreme. I've seen these pedal boxes fitted on with no dramas, for eg. Revnits blue mk1 runs this box and 3 mc's with the reservoir in the rain tray mate? But I do realise ill need to move things around and modify it a bit.

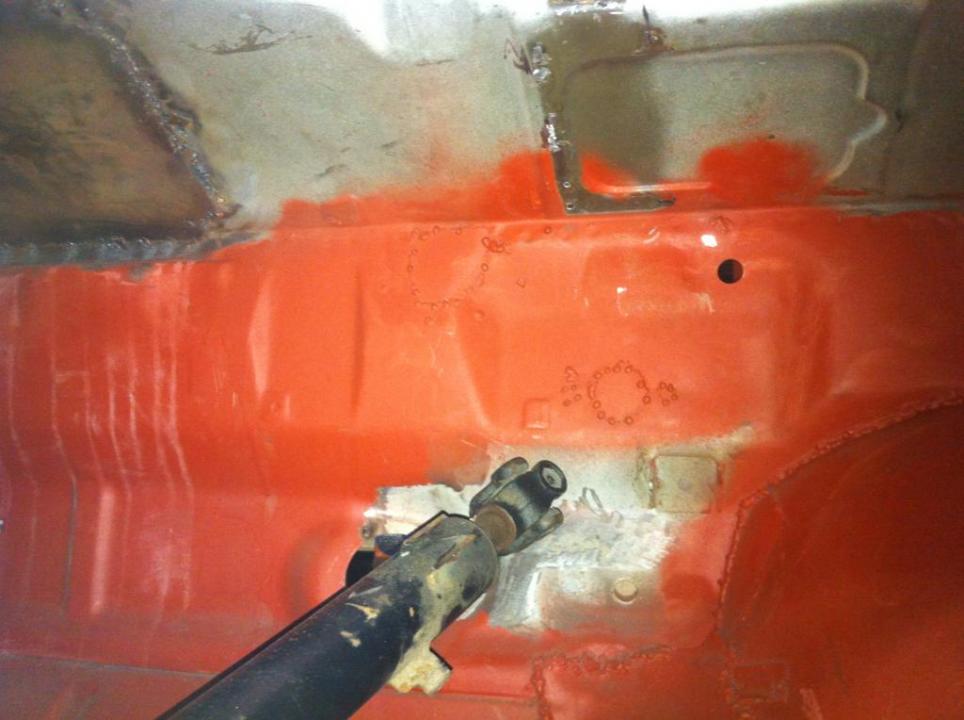
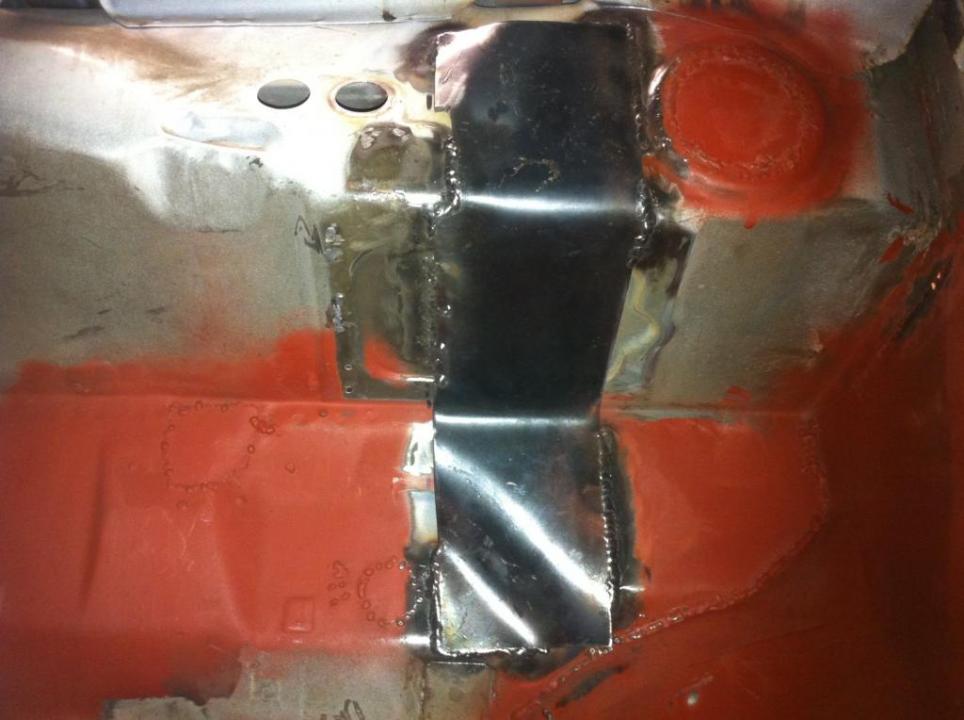
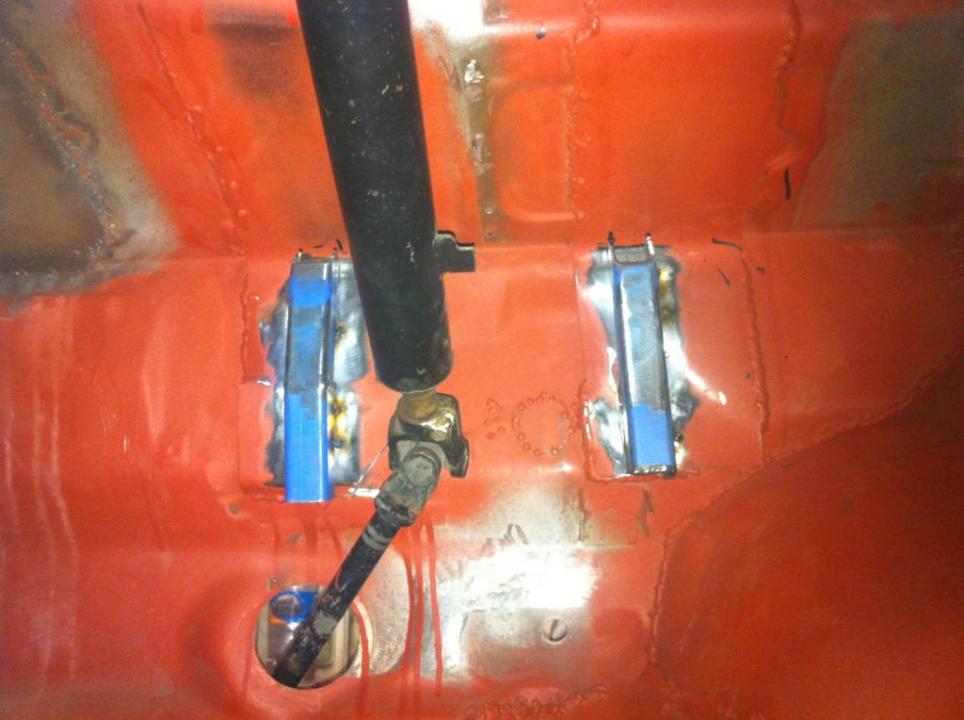
    The plan is to run Wilwoods remote compact mc's, they are about 4" but should fit. How did you find out what bore and stroke you needed to fit your application?
    - Orange Golf mk1 LS, 1.8 5speed, 32/36 - sold
    - Golf mk1 Swallowtail rebuild, completely stripped
    - Brown U.S import 81 cabby
    - 88 Honda crx b18cr

    Comment


    • With yesterday being a public holiday here in Vic and being super sunny i got to work. Welded up some more holes for the old brake system, and finished the other side of the chassis notch too.

      I really strived to get the C notch as clean as possible, and im shocked with myself haha it looks just about OEM from the visable side. Ive decided to leave the other side chunky to keep the strength and rigidity.


      Also picked up a dash and steering coloumn as i didnt have any from Matt (hiho). Will need to find the dash vents and other goodies, but i needed a dash to see where i could mount the m/c reservoir. It will be tucked under the driver side air vent.


      Oh and also ground down the chassis leg mo-hawk thingo. Will be welding in plates to block that off soon
      I noticed if you weld it straight away it seams to burn through. So what i did was go very low AC and put blobs of welds all over it. Then grind it down, so its a bit thicker than it was before and weld with higher AC over that now thicker platform of small blobs.


      Last edited by GeorgeMK1; 06-11-2013, 12:36 PM.
      - Orange Golf mk1 LS, 1.8 5speed, 32/36 - sold
      - Golf mk1 Swallowtail rebuild, completely stripped
      - Brown U.S import 81 cabby
      - 88 Honda crx b18cr

      Comment


      • Good stuff man, keep at it!

        Sent from my GT-I9305T using Tapatalk 2
        sigpic

        Comment


        • [QUOTE


          Also picked up a dash and steering coloumn as i didnt have any from Matt (hiho). Will need to find the dash vents and other goodies, but i needed a dash to see where i could mount the m/c reservoir. It will be tucked under the driver side air vent.


          [/QUOTE]

          George, I got some spare dash vents out of a series 2 dash. You after anything else. Got a box of bits. If you pay postage you can have them. Cant be arsed trying to sell them now. Ill have a look at what else i got mate. Got a series 2 fuse board also i think.
          76 Mk1 4DR SOLD
          01 B5.5 Passat Wagon SOLD
          84 Mk1 GTI

          Comment


          • Pm'd mate!

            Got a little progress past few days. Managed to make a template to block off the chassis leg part, looks really easy but had me thinking for days a way to get a proper flush look.

            Also really need some opinions on this, I've gotten some 2.5mm 100mm wide sheet and bent (it was a ****ing mission to bend) it to shape around firewall, as much as I could. Plan is to use this as a base to frame up the pedal box. Do you guys reckon there will be much movement? Im scared if I body fill in the bay and firewall, that it may crack under pressure if there is movement. I doubt it, but am fishing for opinions/experience.


            Also, may have just purchased the air tanks I need! Thats all for now, got work work in the morning ....
            - Orange Golf mk1 LS, 1.8 5speed, 32/36 - sold
            - Golf mk1 Swallowtail rebuild, completely stripped
            - Brown U.S import 81 cabby
            - 88 Honda crx b18cr

            Comment


            • That part of the body has enough bends to be structurally strong. Add that together with your brackets which spread the load over a wide area and there shouldn't be a problem. Remember, the only time you are going to put great force on the pedal assembly is when you do a panic stop and stand on the brakes. If you drive like me then that only happens a few times a year.

              Cheers and keep up the great work.

              Paul
              1978 MK1 2.0 16v http://www.vwwatercooled.com.au/foru...-46488-70.html
              1991 MK2 GTI 2.0 8v, white (RIP) and it's red replacement http://www.vwwatercooled.com.au/foru...gti-42078.html
              1997 MK3 CL http://www.vwwatercooled.com.au/foru...ml#post1292061
              2001 & 2002 Bora 4motion. http://www.vwwatercooled.com.au/foru...st-123823.html

              Comment


              • [QUOTE=GeorgeMK1;1008224]Pm'd mate!

                Send me your address. Found the dash vents.

                Ill post them down.
                76 Mk1 4DR SOLD
                01 B5.5 Passat Wagon SOLD
                84 Mk1 GTI

                Comment


                • I'd look at doing some sort of bracket to support the pedal assy.

                  to test. push the fire wall near where you're thinking of mounting it. (I mean really push, remember you're not going to have assisted brakes, and your legs are stronger than your arms, probably).

                  If the firewall flexes, I'd look at putting in some support, or bracket.
                  Since you're doing all this work, and have the car stripped etc, may as well do it now (if it needs it) than pulling everything apart and doing it again later.


                  i like volkswagens
                  My blog: http://garagefiftythree.blogspot.com.au/

                  Comment


                  • Awesome work George!!

                    As Jrad said, test the area for strength where the brakes are being mounted, it never hurts to over engineer somethings.. unless you weld a 20mm plate onto the firewall, but that's just stuupid.

                    '76 Golf LS Swallowtail 4dr
                    '76 Golf Swallowtail 2dr
                    '89 Golf GTI 16V 2dr

                    Comment


                    • Originally posted by sports racer View Post
                      That part of the body has enough bends to be structurally strong. Add that together with your brackets which spread the load over a wide area and there shouldn't be a problem. Remember, the only time you are going to put great force on the pedal assembly is when you do a panic stop and stand on the brakes. If you drive like me then that only happens a few times a year.

                      Cheers and keep up the great work.

                      Paul
                      Yeah I don't think there will be any issues too, Paul. I will hardly be really smashing the brakes at all, however I actually found that part of the body pretty weak. Its got very think sheet metal, and when welding my base plates in - it actually warped it!

                      Originally posted by Jarred View Post
                      I'd look at doing some sort of bracket to support the pedal assy.

                      to test. push the fire wall near where you're thinking of mounting it. (I mean really push, remember you're not going to have assisted brakes, and your legs are stronger than your arms, probably).

                      If the firewall flexes, I'd look at putting in some support, or bracket.
                      Since you're doing all this work, and have the car stripped etc, may as well do it now (if it needs it) than pulling everything apart and doing it again later.
                      Had a friend come past as and told him to give it a few good pushes as you said, and it felt pretty sturdy, couldn't feel any movement Thanks for the tip ol' mate Bachmann!

                      Didnt have much on tonight and thought I'd try my hand at this pedal assembly business. Had an idea to build a second foundation over the first foundation using 25mm tubing.

                      It took hours and hours of measuring, cutting, bending, tacking, grounding and so forth to get it perfect.


                      Both little brackets


                      Measured, drilled and angled brackets for the pedals


                      Annnndd here's the result. Its all been tacked only as it is late and I've got a big day at work. Its all pretty snug in there, but it fits and the steering coloumn clears it. The clutch hits the column when fully down, so I will work to adjust that. I will weld everything up tomorrow and finish off the rest of the brackets to support it - I'll go a little crazy with brackets just to be sure it doesn't move. Got a really good accomplishment feel, as this was pretty hard to do personally. More tomorrow


                      - Orange Golf mk1 LS, 1.8 5speed, 32/36 - sold
                      - Golf mk1 Swallowtail rebuild, completely stripped
                      - Brown U.S import 81 cabby
                      - 88 Honda crx b18cr

                      Comment


                      • When you started this rebuild I thought OK, another kid doing some tidying up and then slap on a coat of paint and hey presto - another good looking MK1. But this is different. This is serious work and you've really put some thought into it.

                        I'd say goodonya but you deserve more praise than that. This is starting to look like a serious project and you are doing really, really well. I know you claim you're not an expert or even a trained welder/machinist/mechanic but you put most of us to shame with the speed and skill you've shown these past few weeks with the work you've done to your car.

                        If you're ever down Braidwood way I'll shout you a beer or two.

                        Cheers

                        Paul
                        1978 MK1 2.0 16v http://www.vwwatercooled.com.au/foru...-46488-70.html
                        1991 MK2 GTI 2.0 8v, white (RIP) and it's red replacement http://www.vwwatercooled.com.au/foru...gti-42078.html
                        1997 MK3 CL http://www.vwwatercooled.com.au/foru...ml#post1292061
                        2001 & 2002 Bora 4motion. http://www.vwwatercooled.com.au/foru...st-123823.html

                        Comment


                        • Originally posted by sports racer View Post
                          When you started this rebuild I thought OK, another kid doing some tidying up and then slap on a coat of paint and hey presto - another good looking MK1. But this is different. This is serious work and you've really put some thought into it.

                          I'd say goodonya but you deserve more praise than that. This is starting to look like a serious project and you are doing really, really well. I know you claim you're not an expert or even a trained welder/machinist/mechanic but you put most of us to shame with the speed and skill you've shown these past few weeks with the work you've done to your car.
                          If you're ever down Braidwood way I'll shout you a beer or two.

                          Cheers

                          Paul
                          Well said Paul.

                          Comment


                          • Originally posted by sports racer View Post
                            When you started this rebuild I thought OK, another kid doing some tidying up and then slap on a coat of paint and hey presto - another good looking MK1. But this is different. This is serious work and you've really put some thought into it.

                            I'd say goodonya but you deserve more praise than that. This is starting to look like a serious project and you are doing really, really well. I know you claim you're not an expert or even a trained welder/machinist/mechanic but you put most of us to shame with the speed and skill you've shown these past few weeks with the work you've done to your car.

                            If you're ever down Braidwood way I'll shout you a beer or two.

                            Cheers

                            Paul
                            Wow, thanks Paul! It's times, people, comments like these that give you just that little bit of a smile and motivation to keep going. Thanks mate, much much appreciated, and for a free beer? You betcha I'll have to come around haha

                            George
                            - Orange Golf mk1 LS, 1.8 5speed, 32/36 - sold
                            - Golf mk1 Swallowtail rebuild, completely stripped
                            - Brown U.S import 81 cabby
                            - 88 Honda crx b18cr

                            Comment


                            • You're definitely an inspiration George! Love ya work! I finally got my hands on a welder, I'm joining the welding club!

                              Comment


                              • Originally posted by Goon View Post
                                You're definitely an inspiration George! Love ya work! I finally got my hands on a welder, I'm joining the welding club!
                                Thanks mate! Yeah welding is waaaaay too fun. It's so addictive hahaha, have fun

                                Bit of an update, taking baby steps, but steps none the less.

                                Trying to tackle the rust on the passenger side, but its a fair bit and is really testing my skills. I've cut most of it out and now just trying to see which way I should attack it.


                                welded up one bit of it, the engine bay side didnt turn out as i'd hoped so body filler will have to do its job on that side haha


                                Also tried my hand at blocking off the chassis leg section. I know a lot of people really plate up the entire leg but I wanted to keep the original lines and shape to some degree. What I never understood was when people welded in the plate, how did they do rust treatment underneath? So i set about using POR15 (first timer with this stuff) and followed the instructions. Its a chemical that creates a zinc/phosphate cover over the metal stopping oxidization I believe.

                                Was pretty easy stuff to use, apart for when they said 'wash out with water'. Wait what? I'm trying to avoid rust fellas.... anyway once washed out with water I used a heat gun heaps to make sure there's no water left.


                                Hit it up with POR15 rust preventative paint


                                Now this is the bit that killed me. I know that when welding, it heaps up the paint and creates a burnt carbon leftover, and this is the part that I dont understand.. how does get it? I have a peak under, and there was definitely a pealing paint that I couldnt do anything about. I just snuck in a can of primer and went crazy... any tips or experience?


                                Because I removed the orignal bracket for the steering rack, I had to make a support bracket for it. Pretty simple really, and does the job pretty well it seams. Finally finished the pedal box and steering issues (apart from accel pedal).


                                The old man was home and he gave me a hand with some fibre glassing. I bought the dash pretty cheap and there was a few issues with it. There are bits that have let go and the wood starting to flex. I thought I would re glue it all, and fibreglass it just for some support, only had time for this much today.


                                And lastly for today, the tanks I bought. 3 Gal each I think. Will be running them both in the wheel well with the 2 compressors.


                                George
                                - Orange Golf mk1 LS, 1.8 5speed, 32/36 - sold
                                - Golf mk1 Swallowtail rebuild, completely stripped
                                - Brown U.S import 81 cabby
                                - 88 Honda crx b18cr

                                Comment

                                Working...
                                X