 Tweet
Tweet
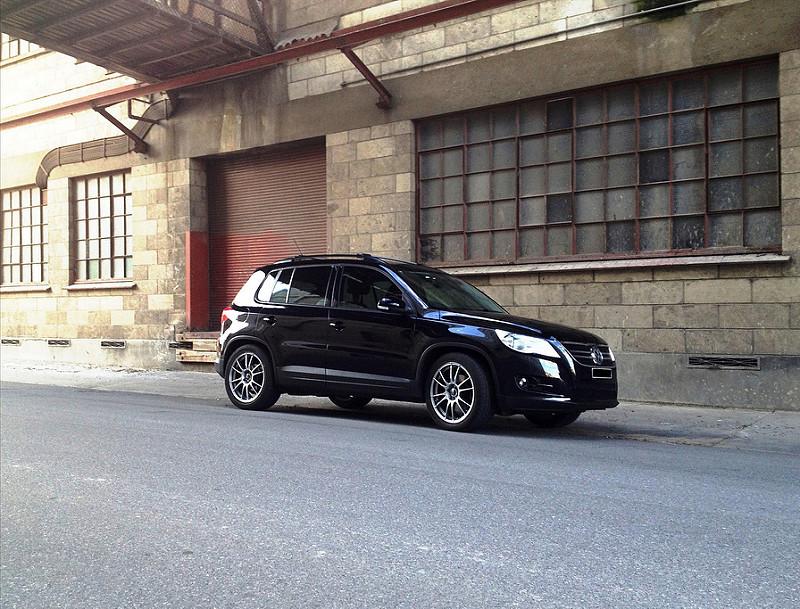
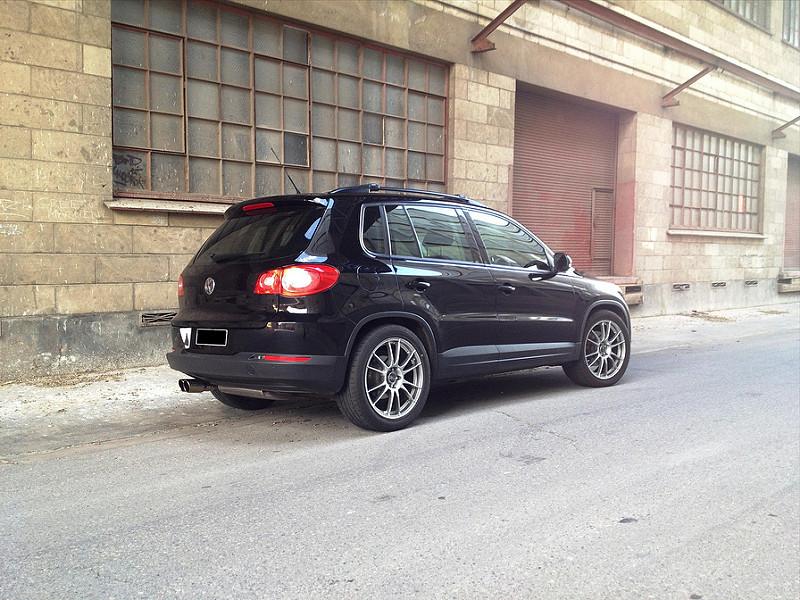
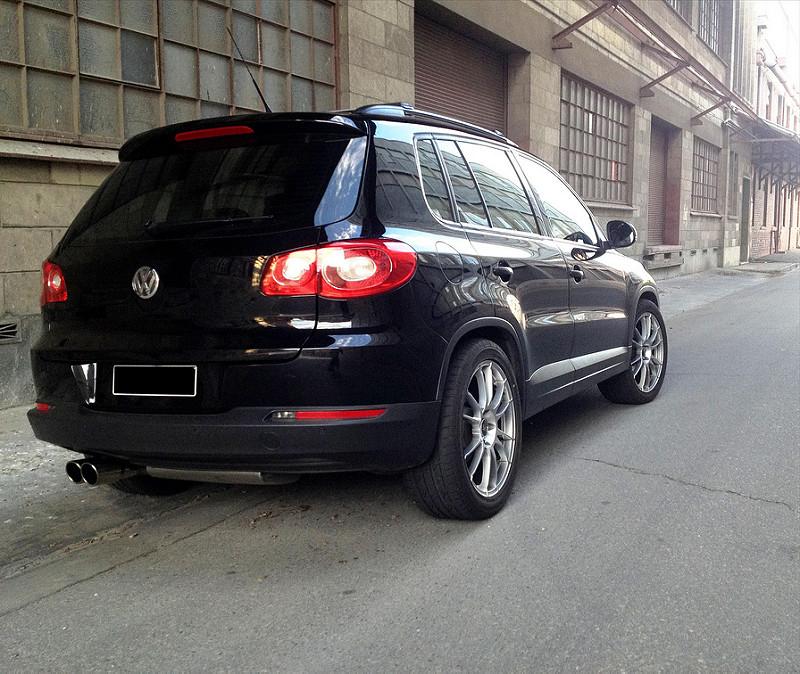
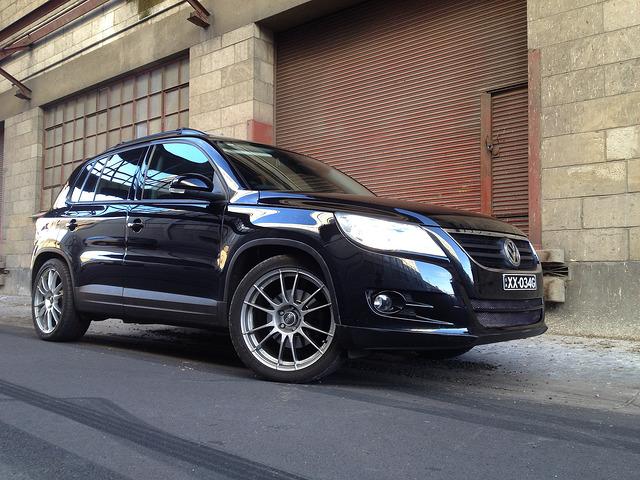
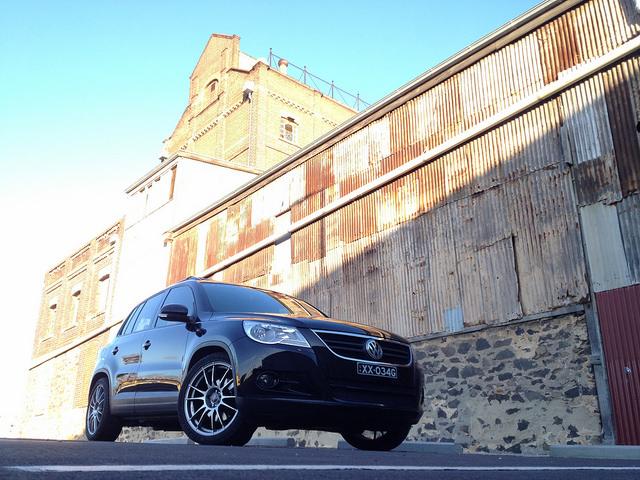
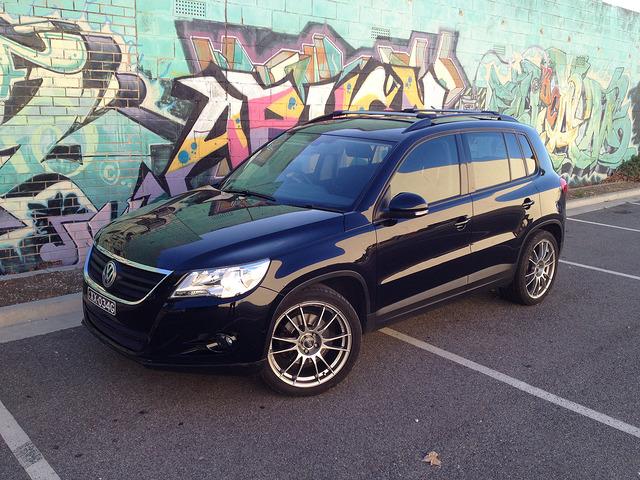
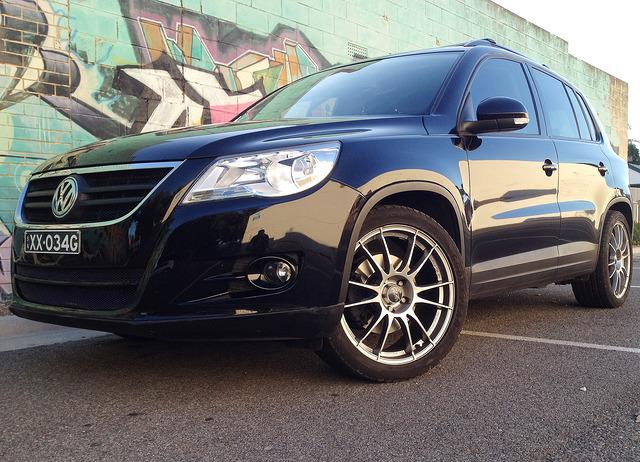
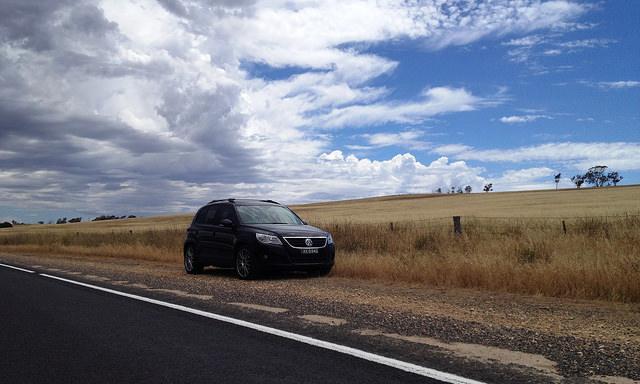
I've been doing a bit of modding to my VW Tiguan 125TSI since I bought it in late 2011. It started out with a few small upgrades and kind of grew from there.
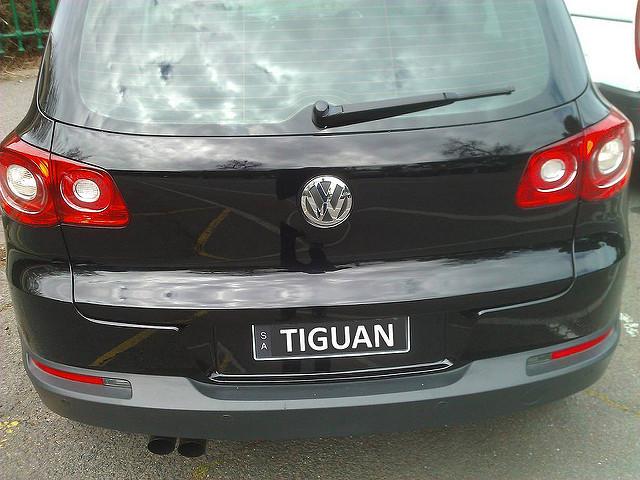
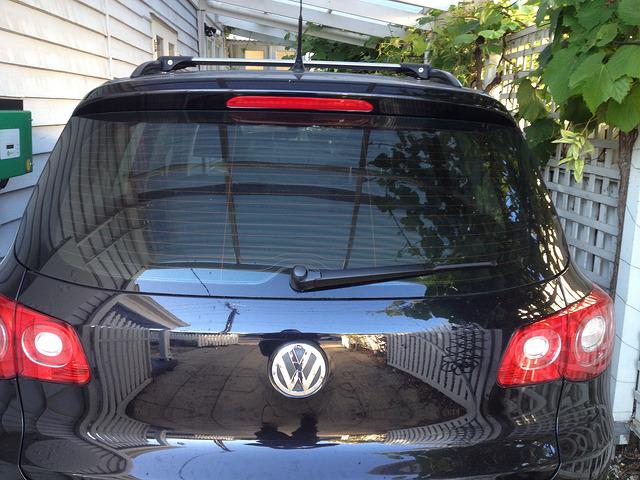
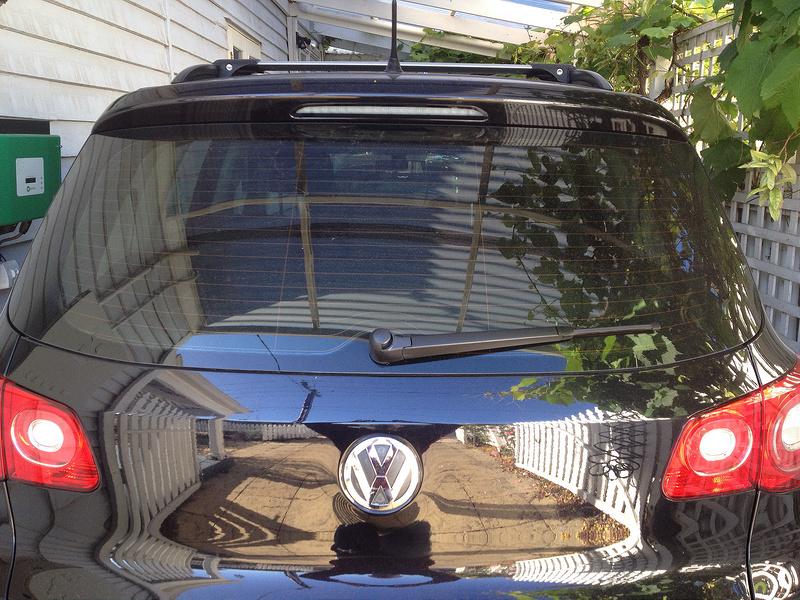
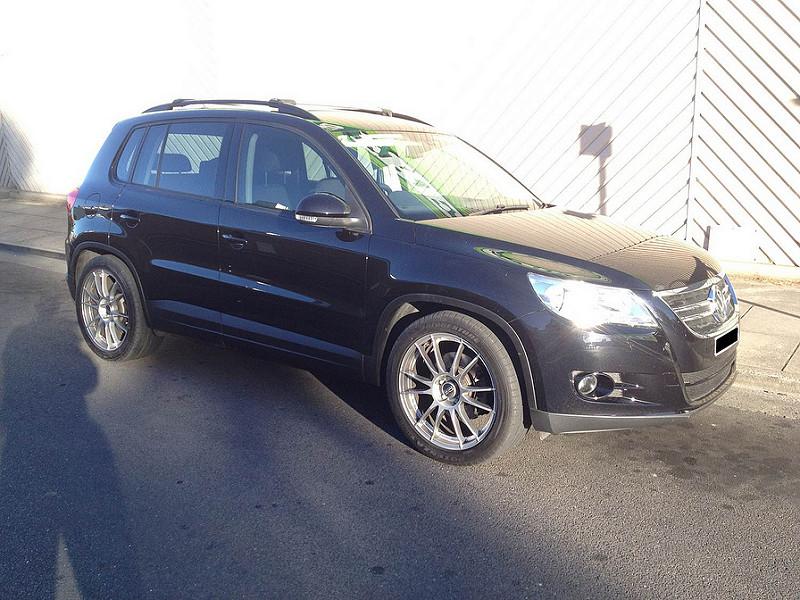
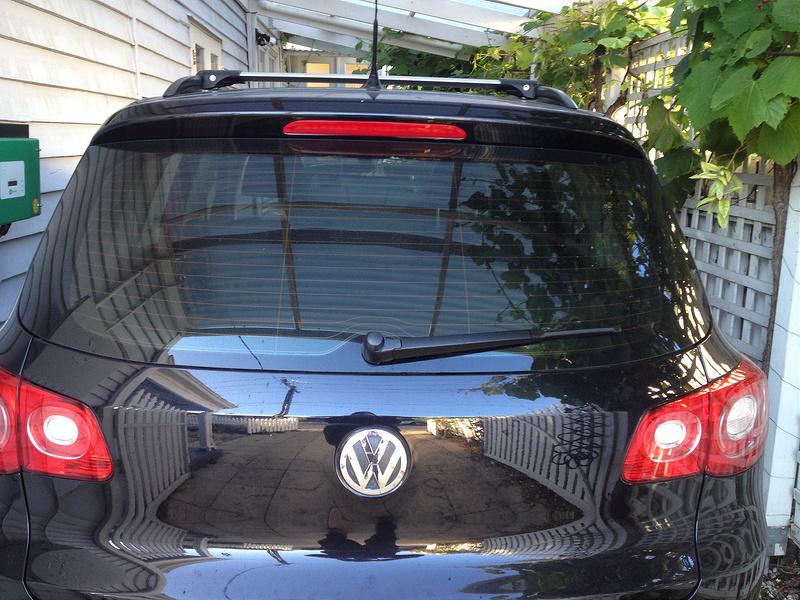
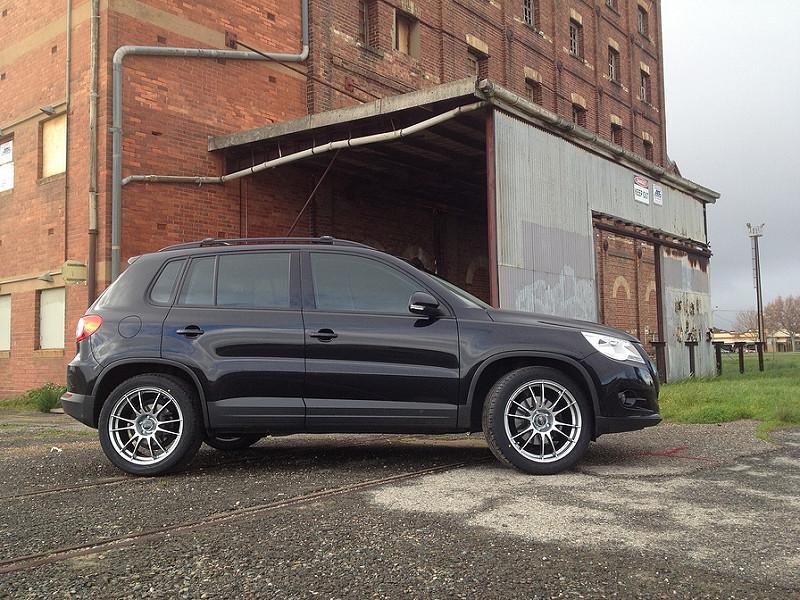
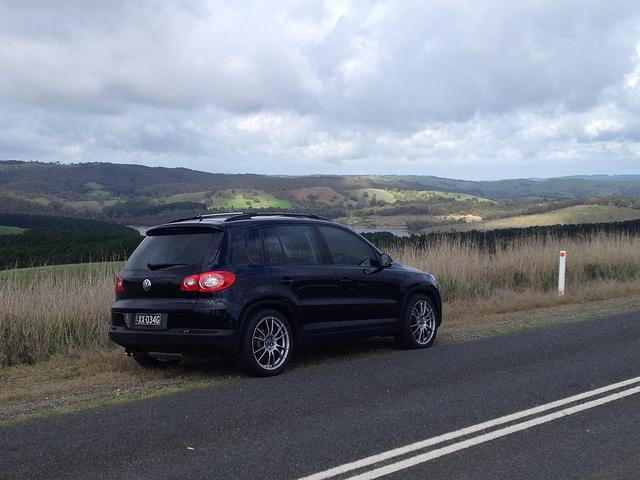
Recent shot:
Original spec of my VW Tiguan:
And then the mods started....
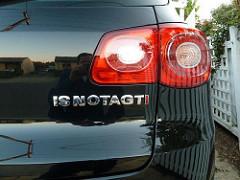
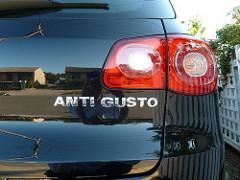
Exterior:
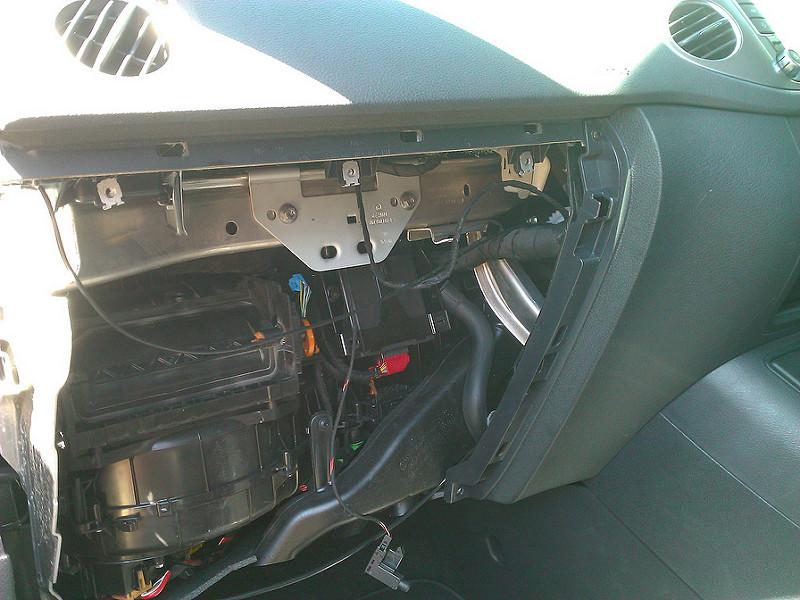
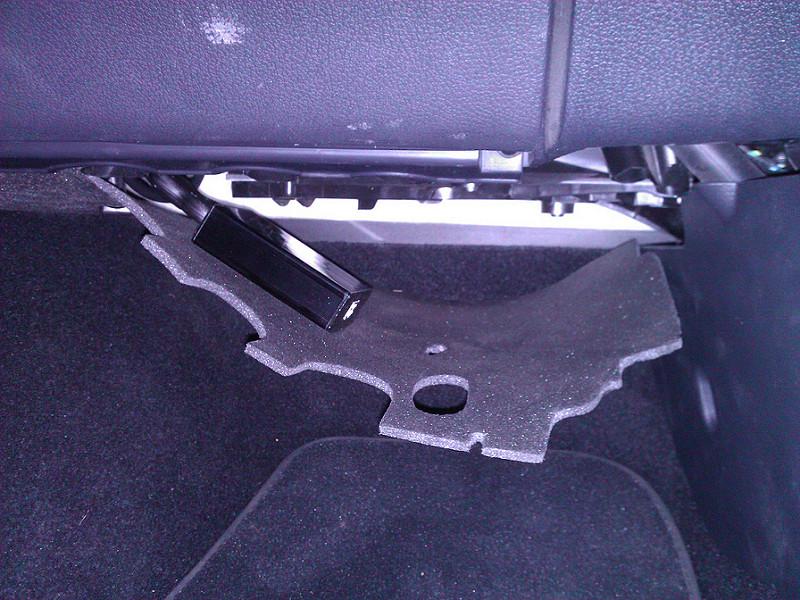
Audio/Electronics:
Engine/Performance Upgrades:
Interior/lighting:
Suspension Upgrades:
Wheels/Tyres:
Links
Here's a bunch of useful links for where I've sourced various parts:
And a number of useful DIY/installation threads:
Tiguan | 2011 | 125TSI | DSG | black | comfort pack | park assist | fog lights | MDI | RCD510 | 9w7 | prorack whispbar | flappy paddle MFSW | S2T Paddle Shifters | VAR 3" TBE | VAR CAI | APR stage 2+ tune | HP DSG tune | R8 coil packs | Sprint Booster | S3 Intercooler | Haldex Race Controller | Whiteline front & rear sway bar + ALK | AutoPolar FIS+ Advanced | door warning lights | interior LED upgrade | chrome window buttons | VW door laser lights | painted brake calipers | 19 x 8 ET35 OZ Racing Ultraleggera | Eibach Prokit Lowering Springs |
Recent shot:
Original spec of my VW Tiguan:
- 2011 125TSI 4Motion
- DSG
- black
- comfort pack
- park assist
- fog lights
- MDI
- 18" RS4 (non-OEM fitted by previous owner)
And then the mods started....
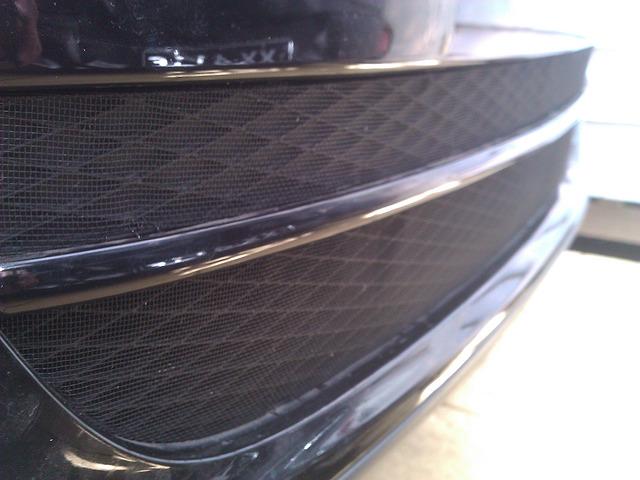
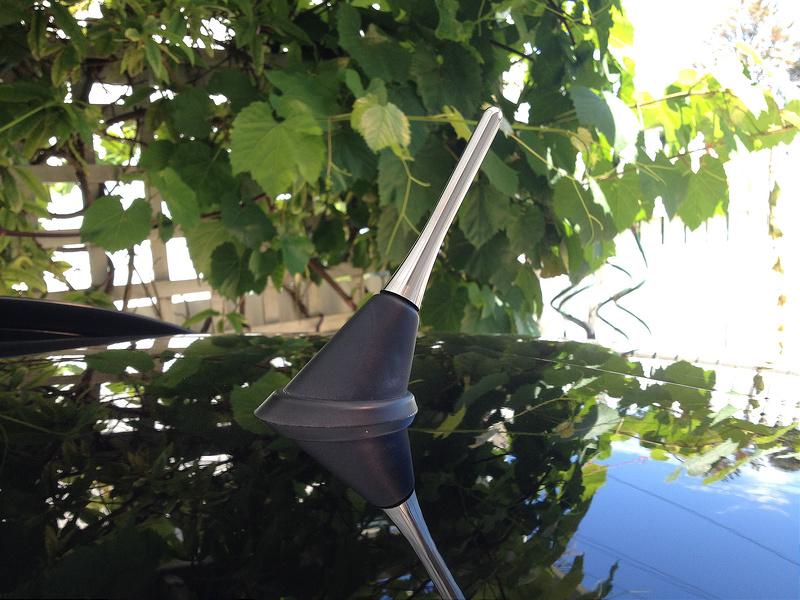
Exterior:
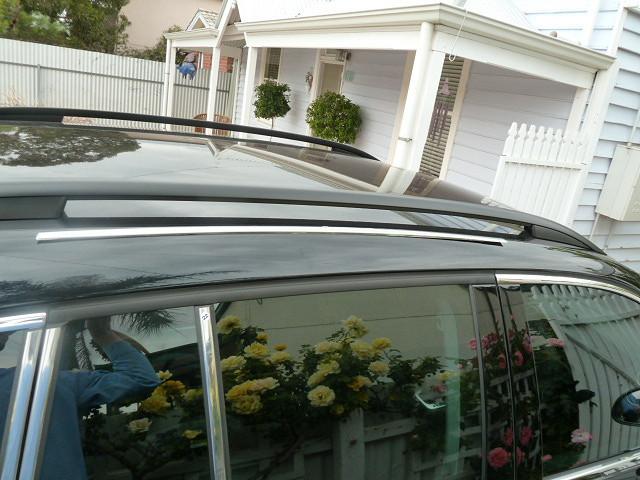
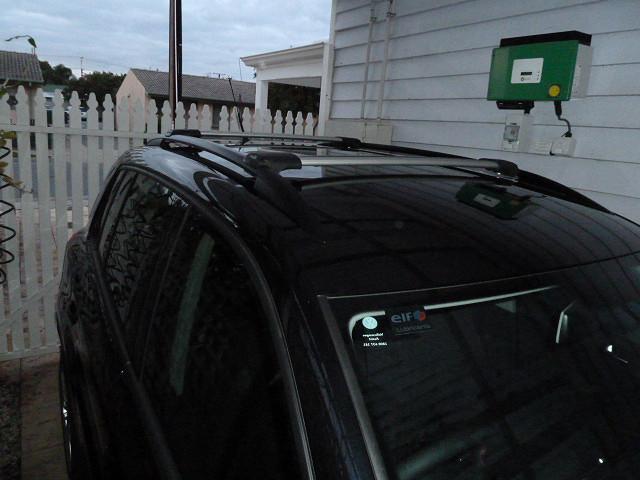
- prorack whispbar
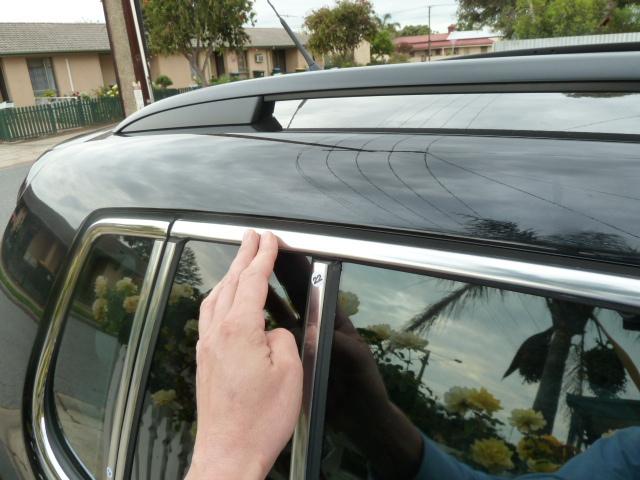
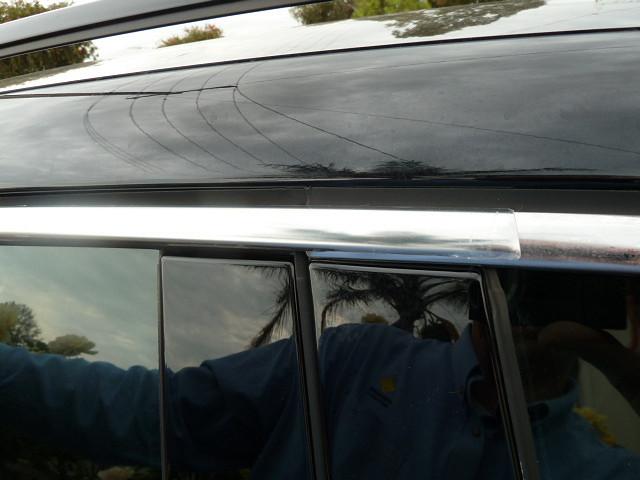
- chrome window trims (removed)
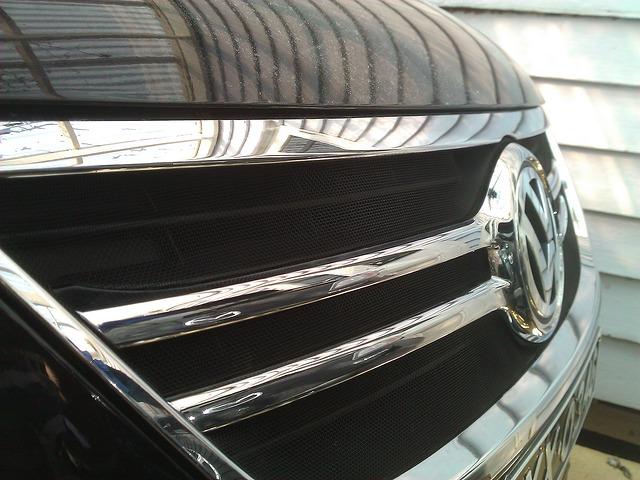
- front grille mesh
- chrome fog trims (removed)
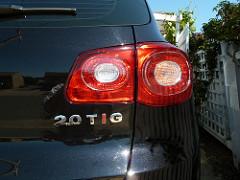
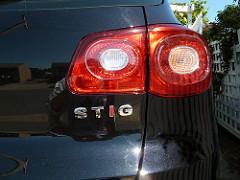
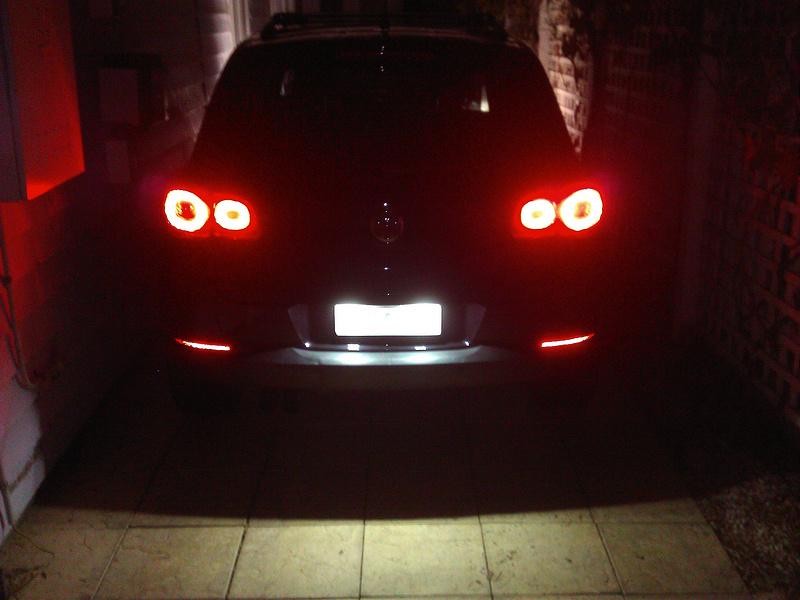
- Hella smoked 3rd brake light
- stainless stubby antenna
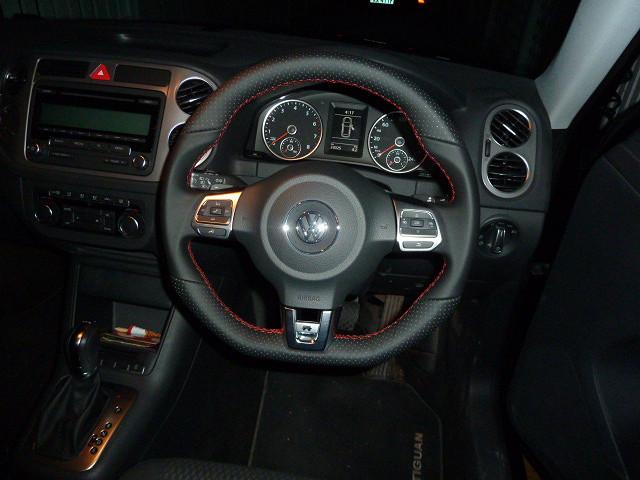
Audio/Electronics:
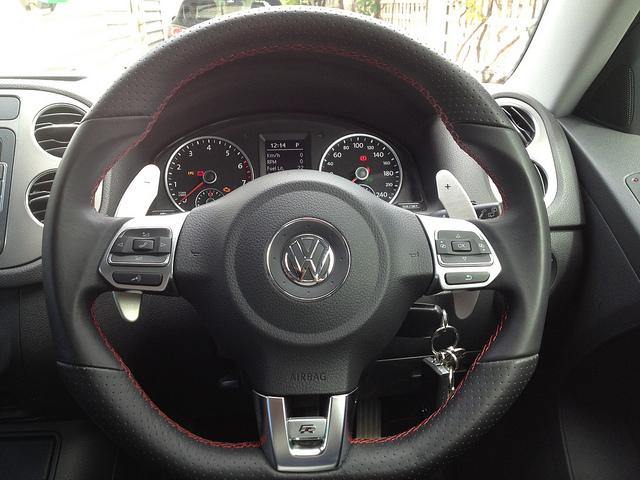
- Flappy Paddle MFSW
- S2T Paddle Shifters
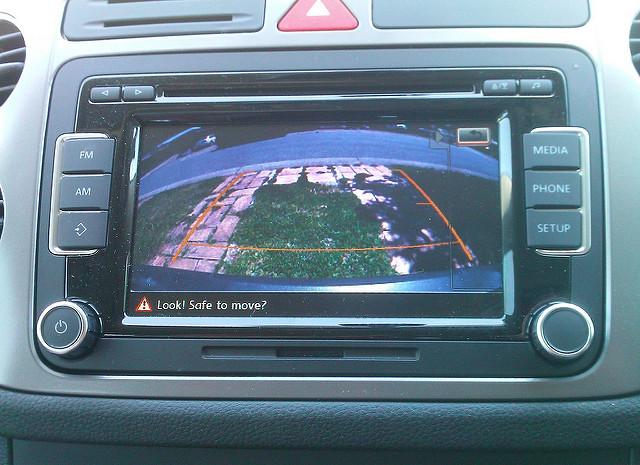
- RCD510
- 9w7 Bluetooth
- RVC
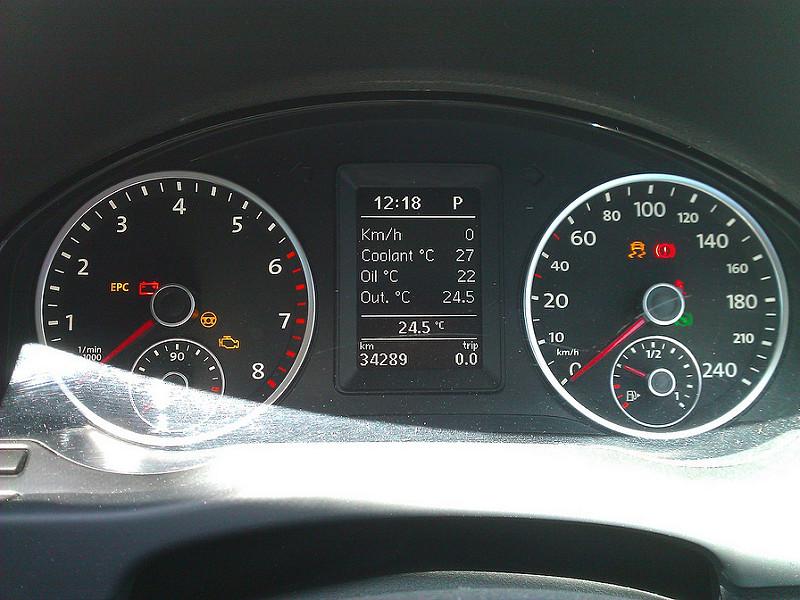
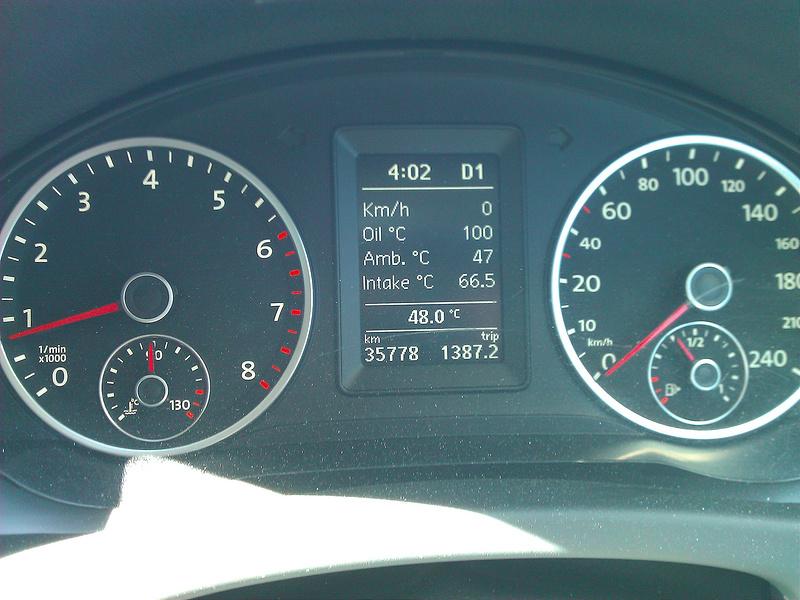
- AutoPolar FIS+ Advanced
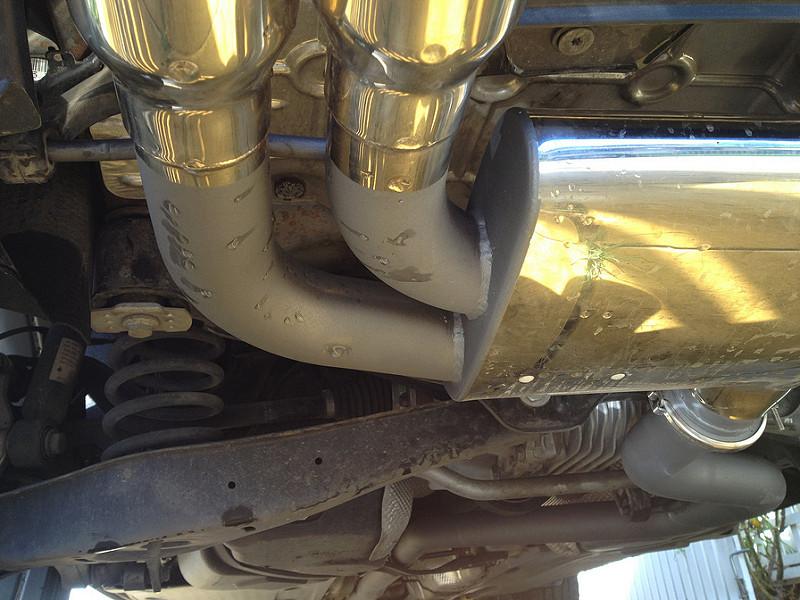
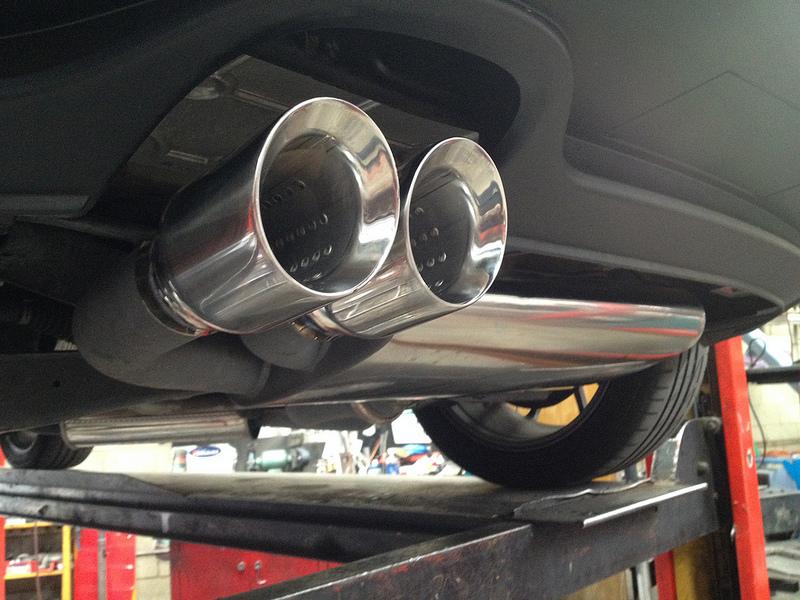
Engine/Performance Upgrades:
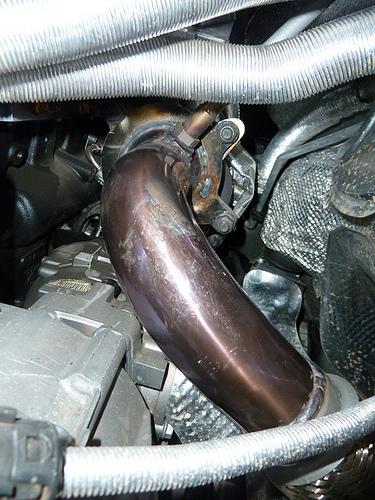
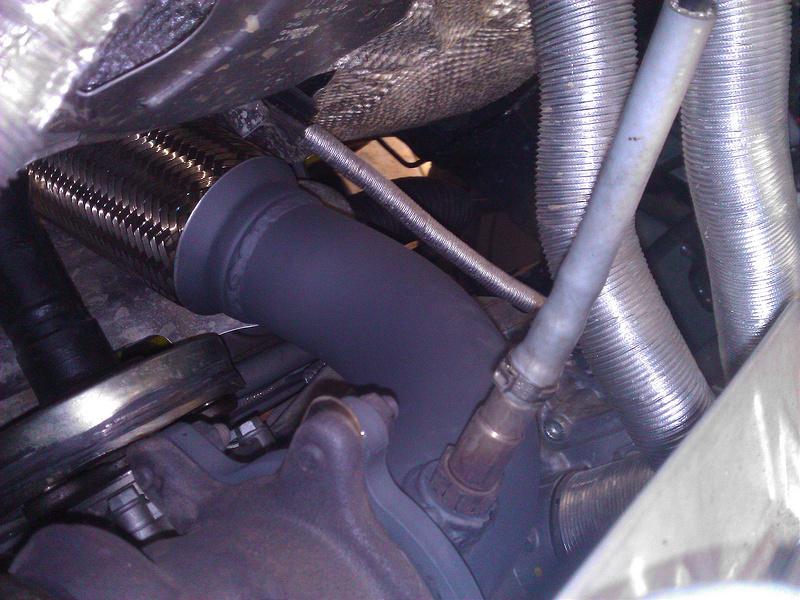
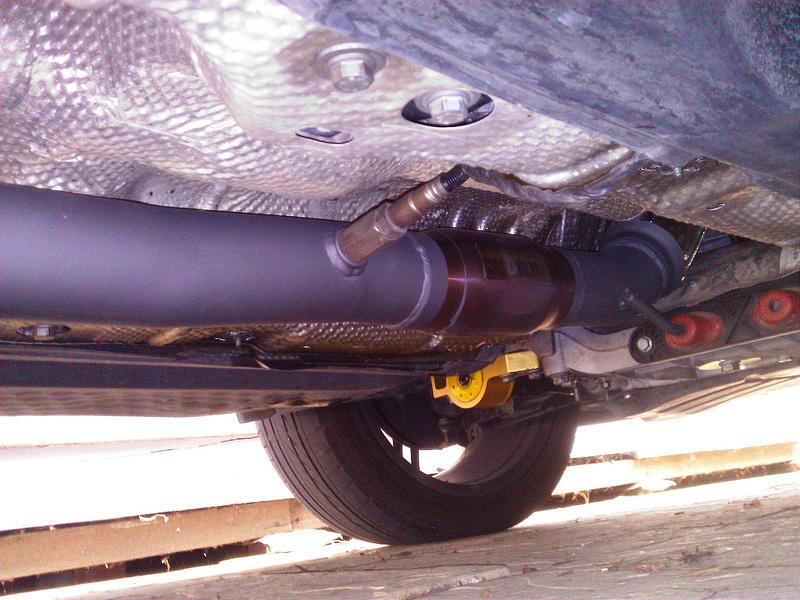
- VAR 3" DP
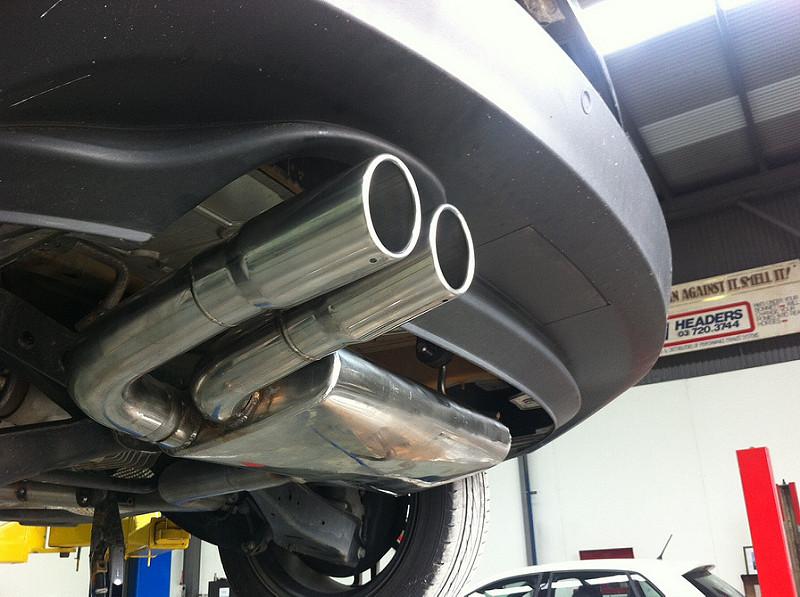
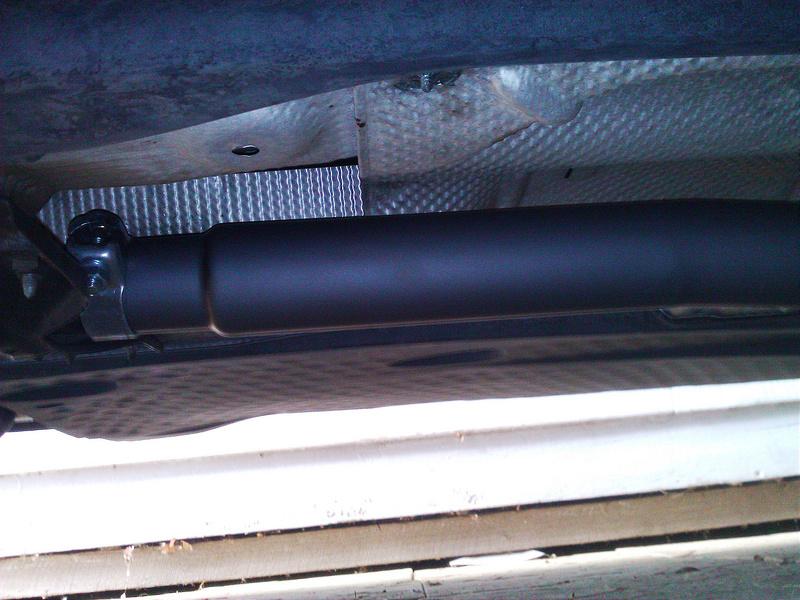
- VAR 2.5" catback exhaust (resonated)
- APR stage 2+ tune
- HP DSG tune
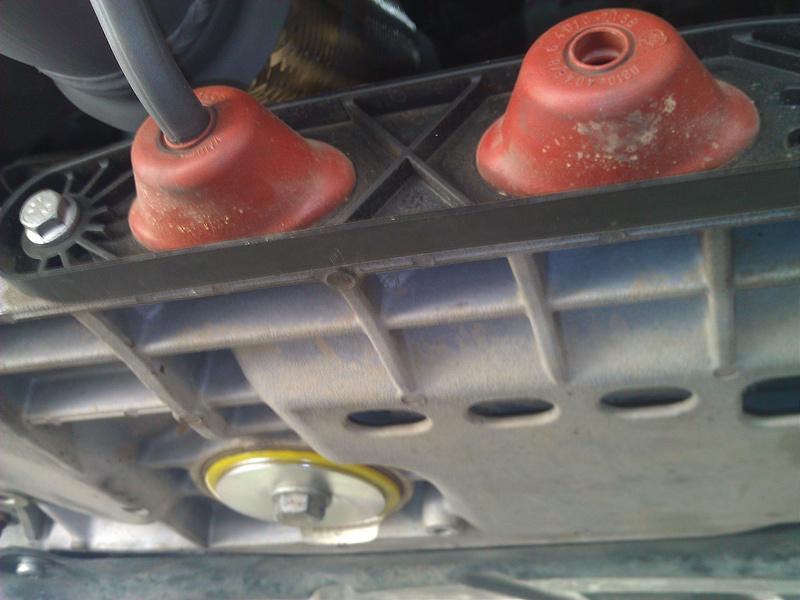
- S3 Intercooler
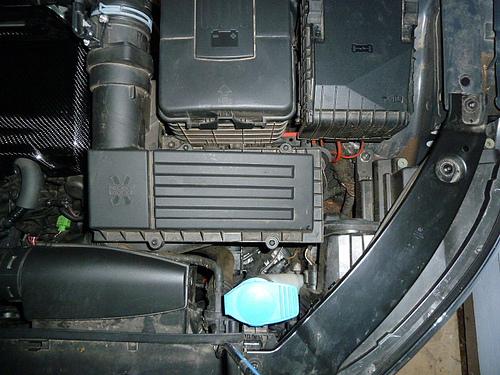
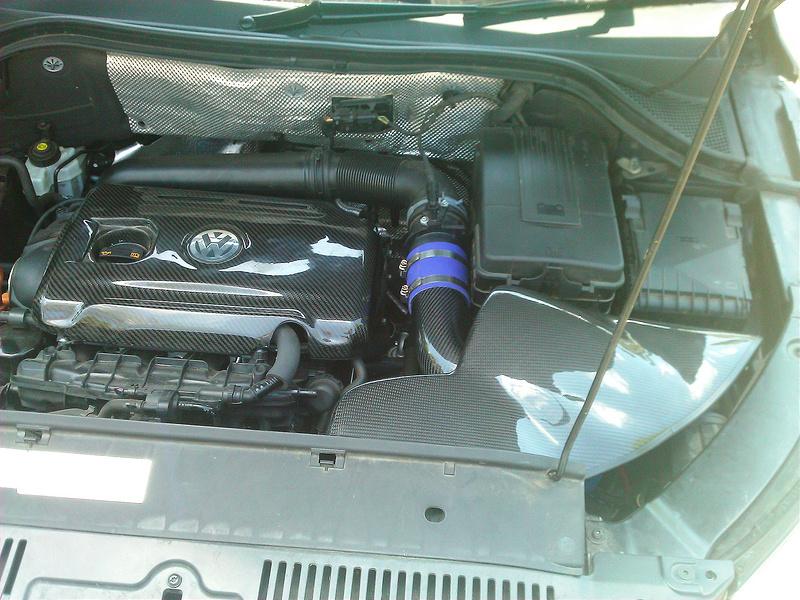
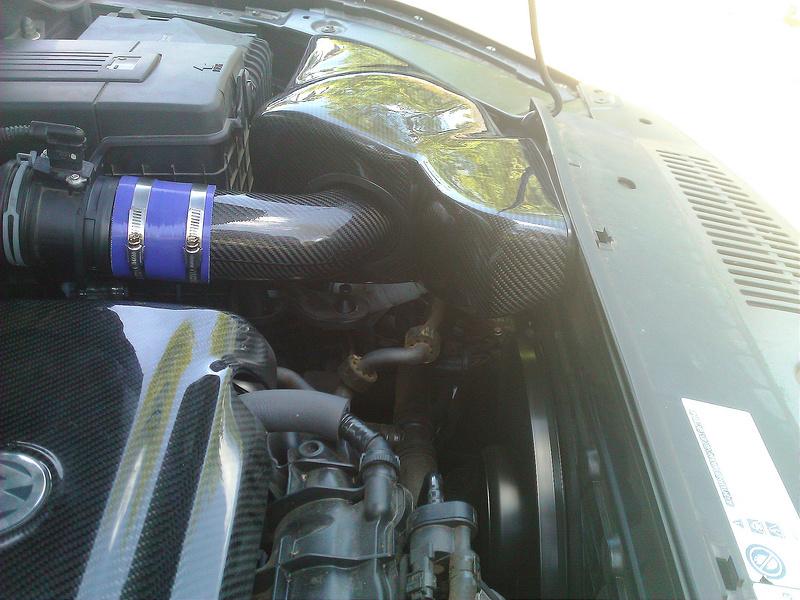
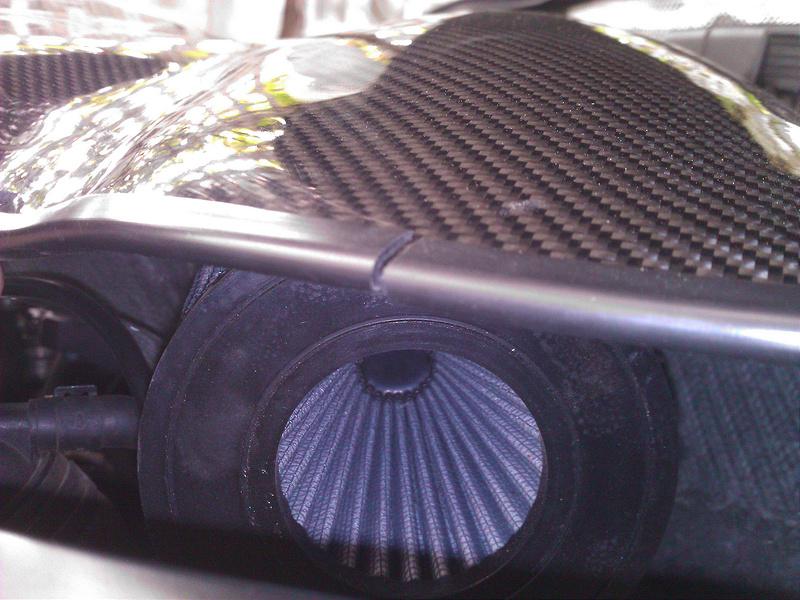
- VAR CAI (removed)
- VAR Carbon Engine Cover
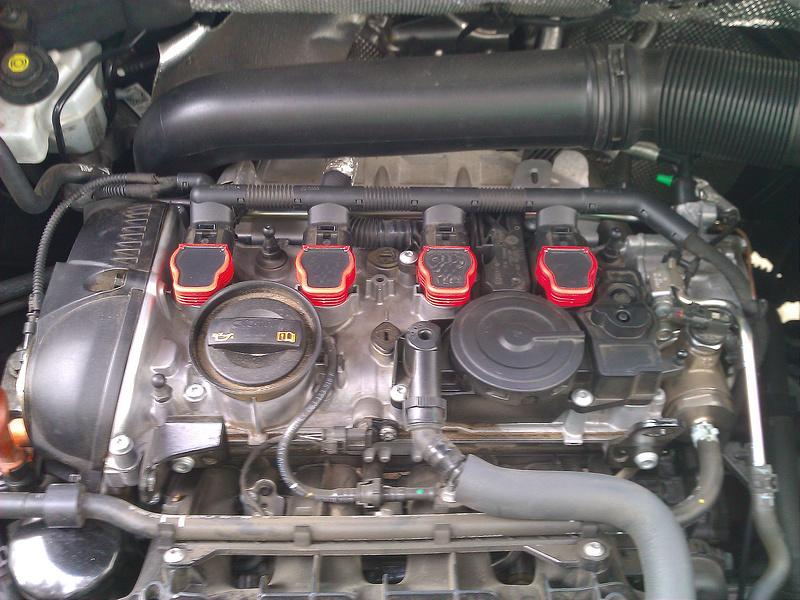
- R8 Coil Packs
- Sprint Booster
- Haldex Performance Controller (non-switch Race mode only)
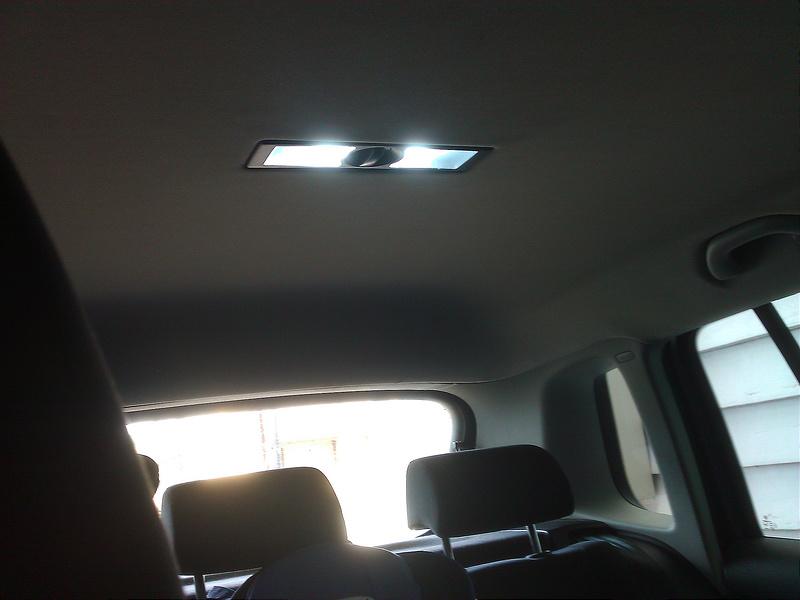
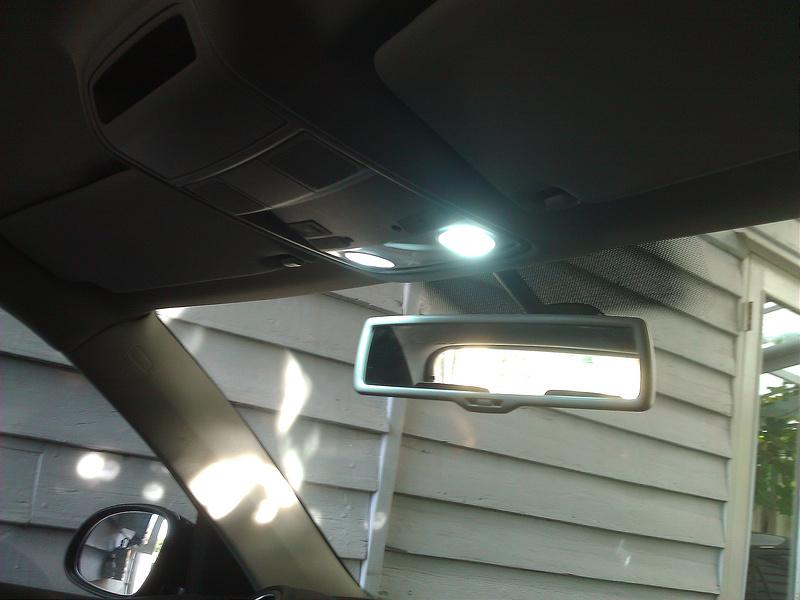
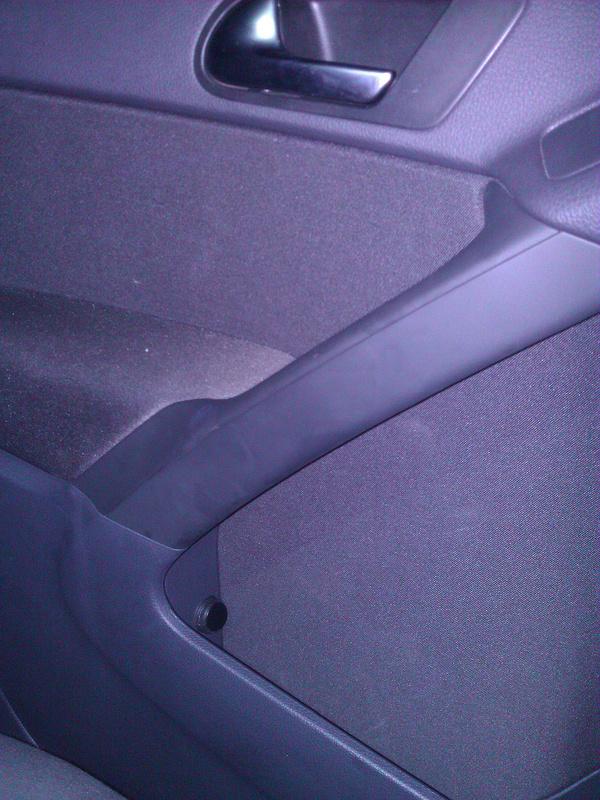
Interior/lighting:
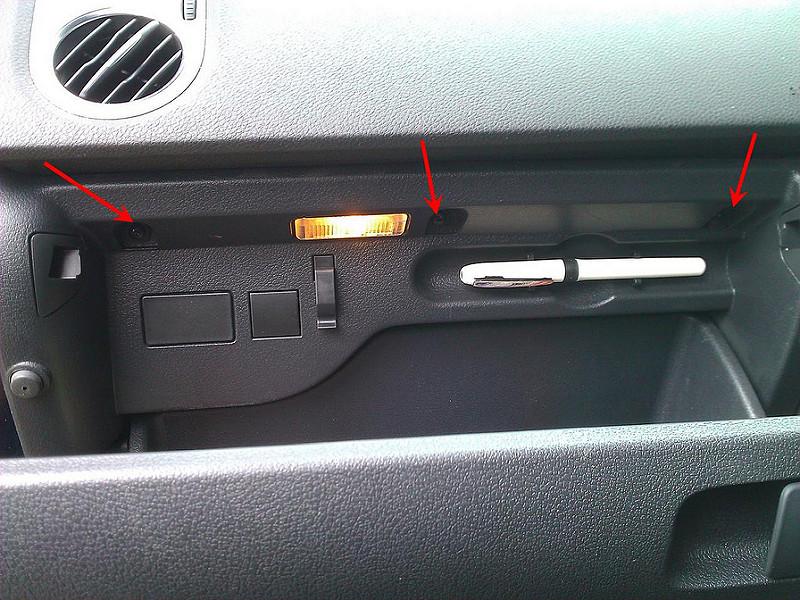
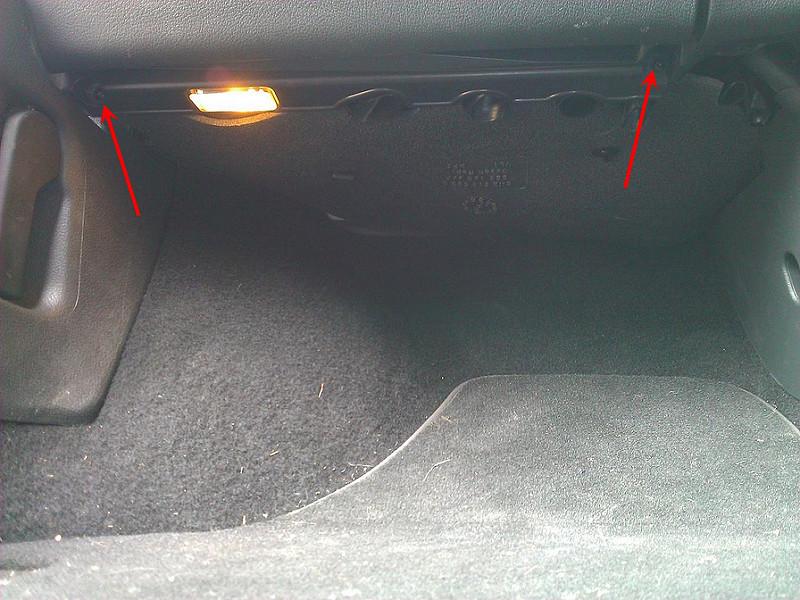
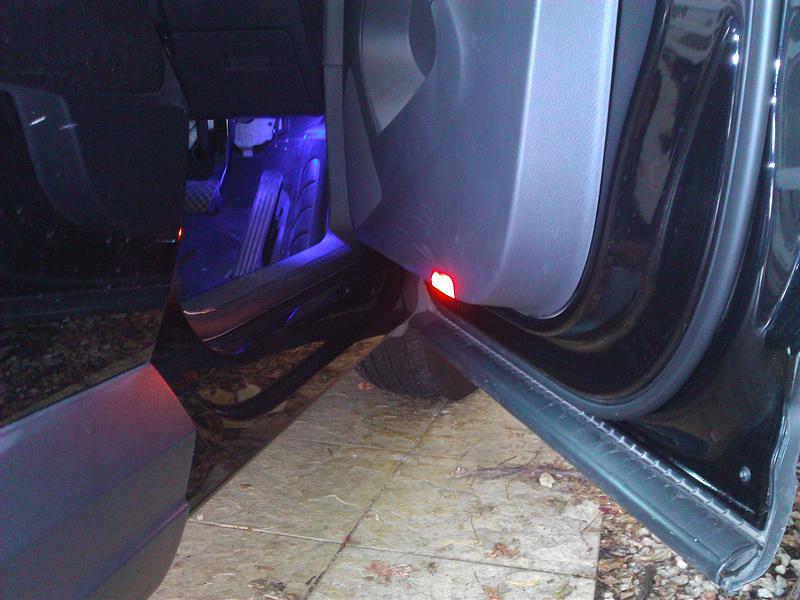
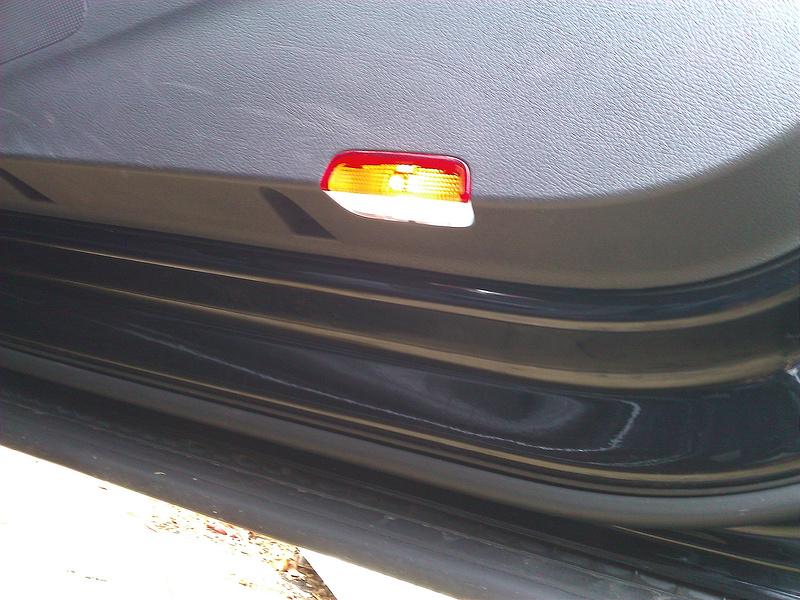
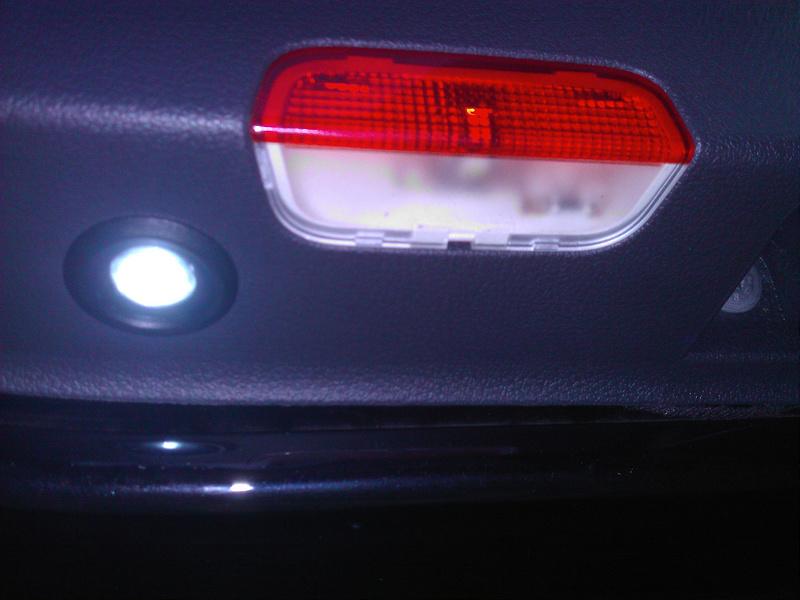
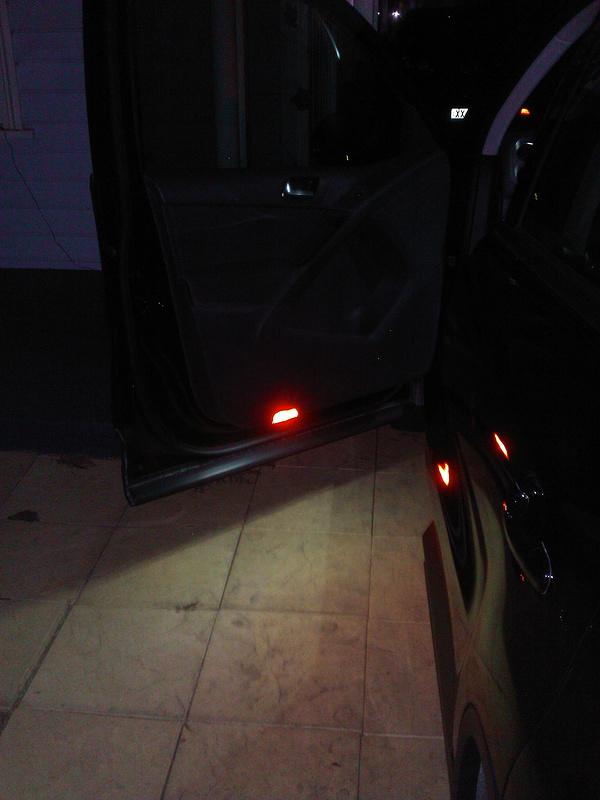
- Door warning lights
- Interior LED upgrade
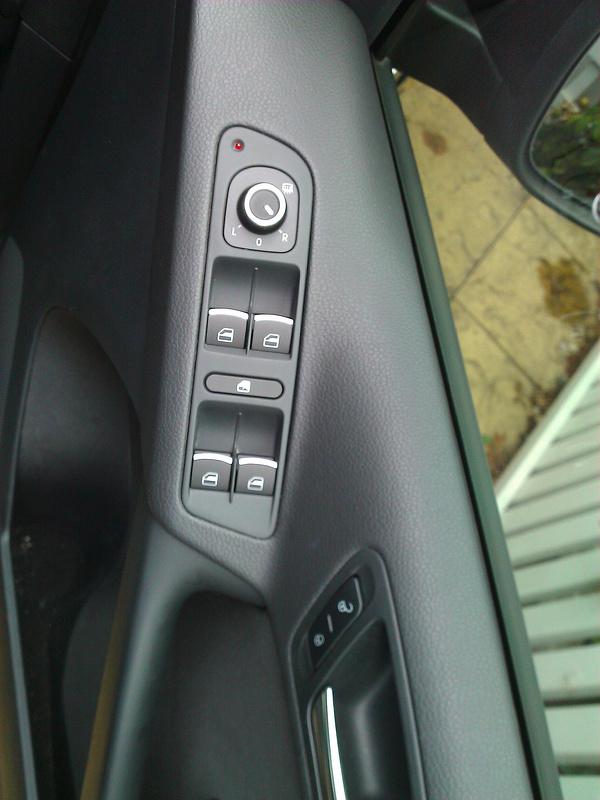
- Chrome window buttons
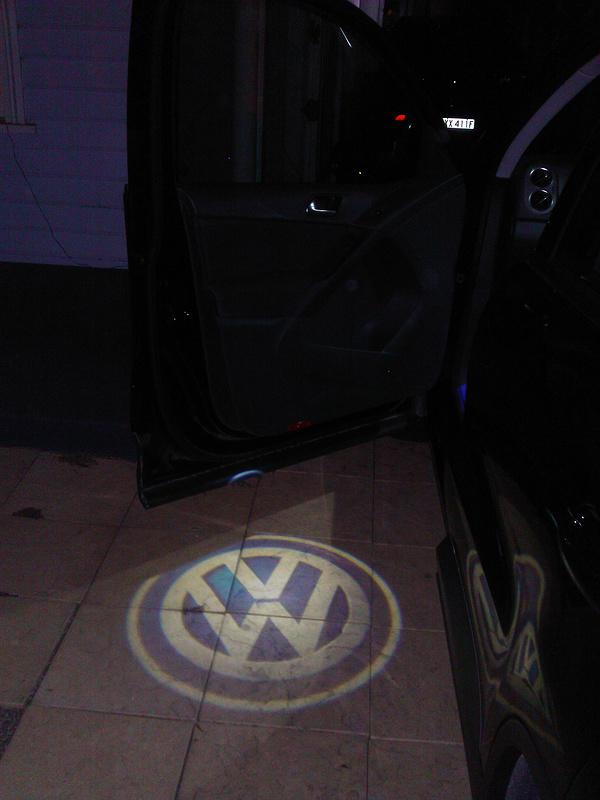
- VW laser projector lamps
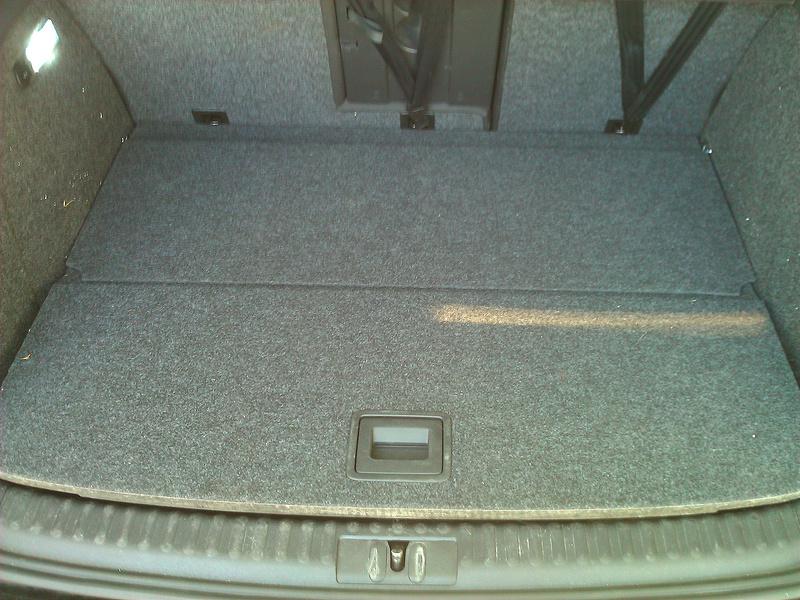
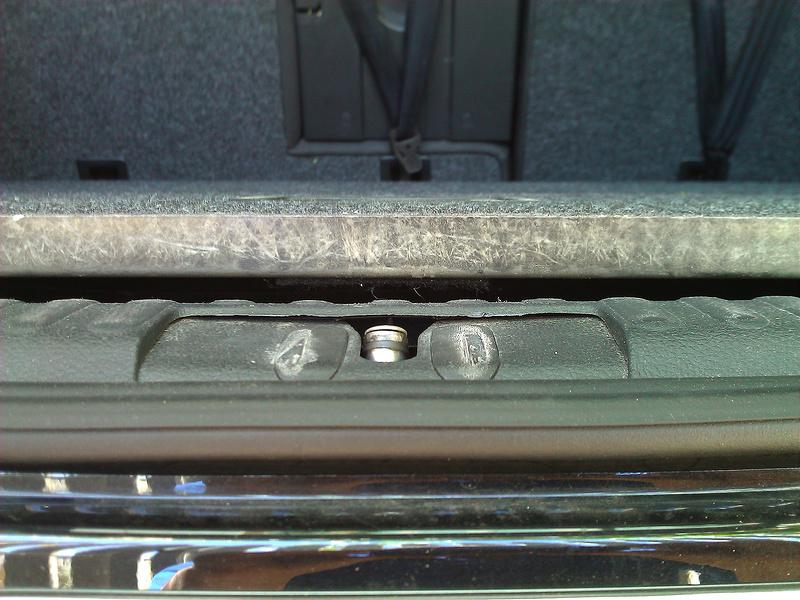
- Chrome boot hooks
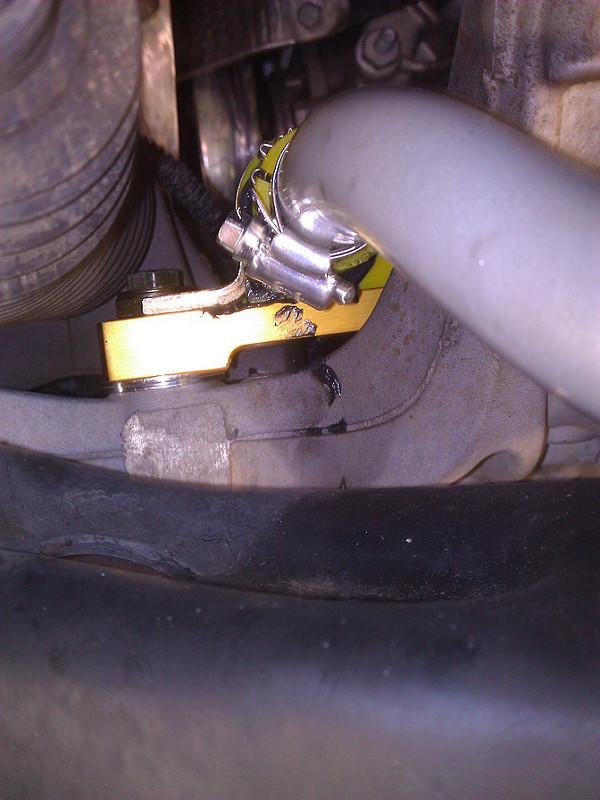
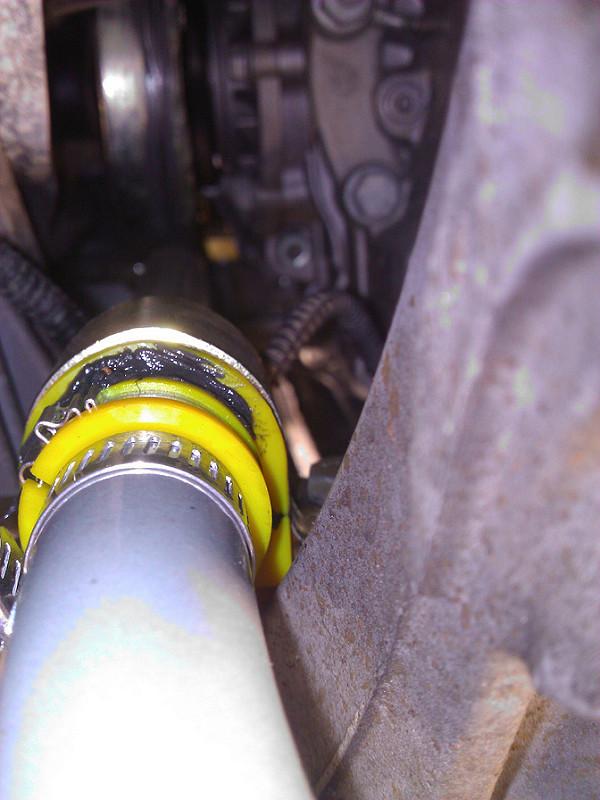
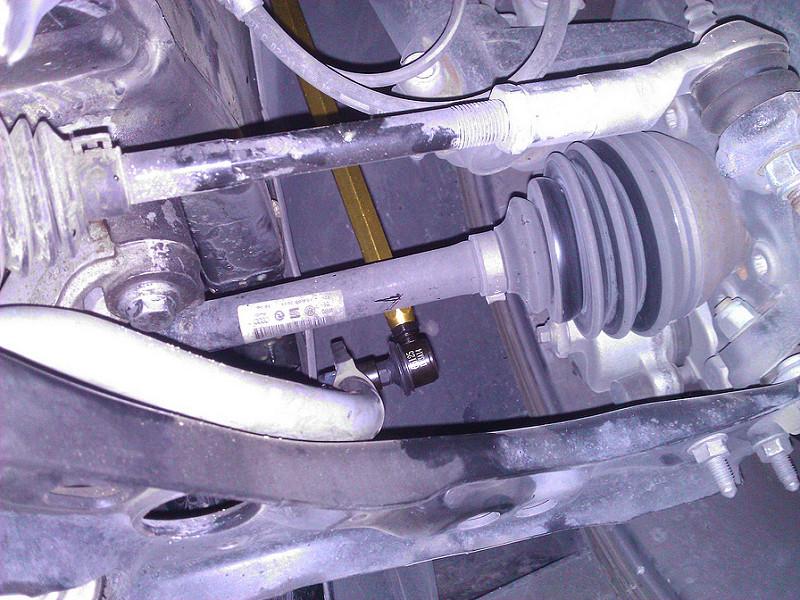
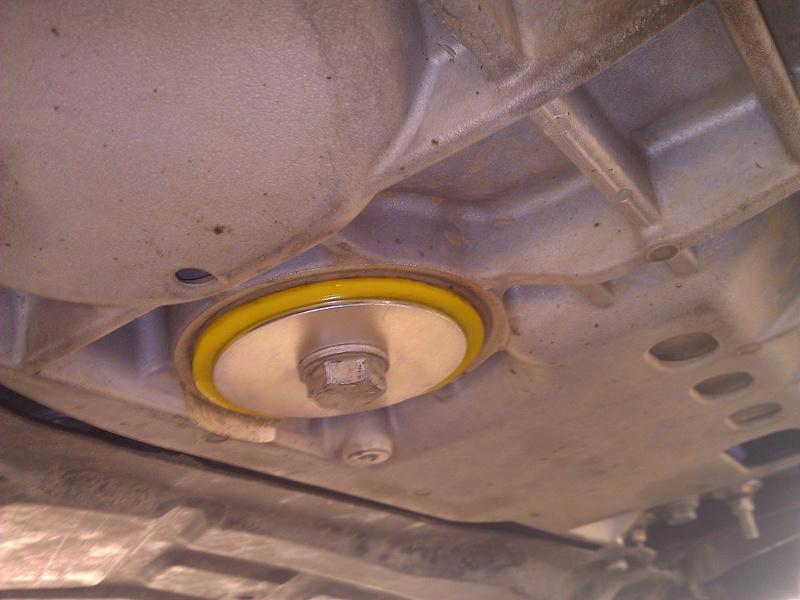
Suspension Upgrades:
- Whiteline Front sway bar
- Whiteline Rear sway bar
- Whiteline Anti-Lift Kit (ALK)
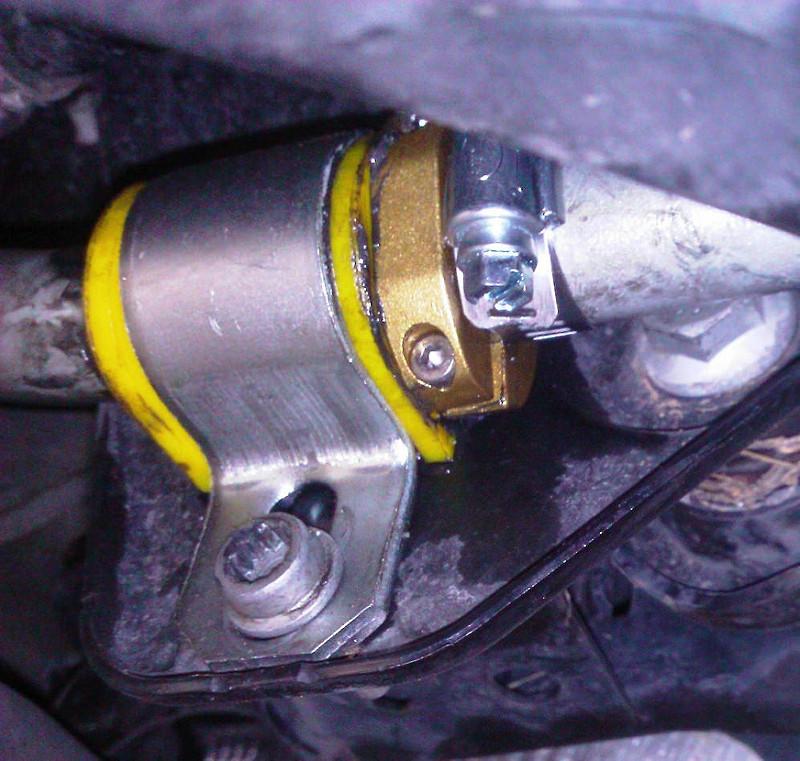
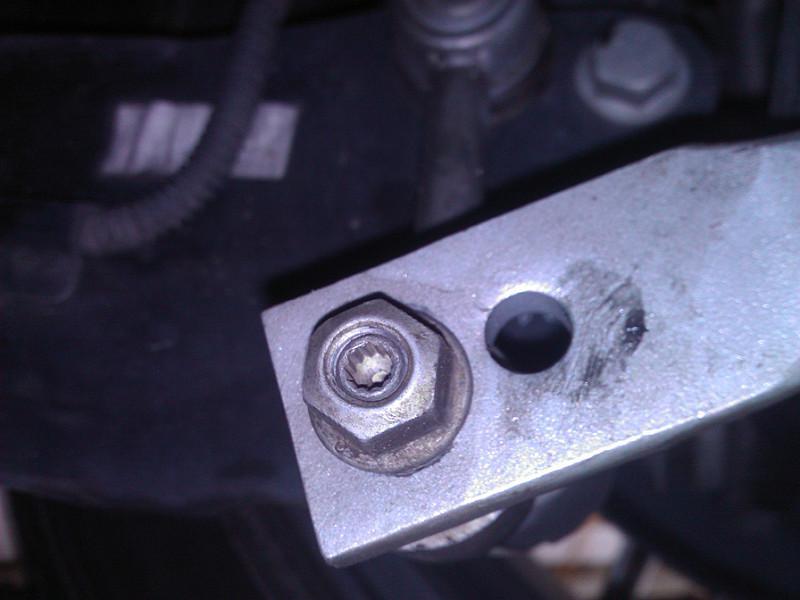
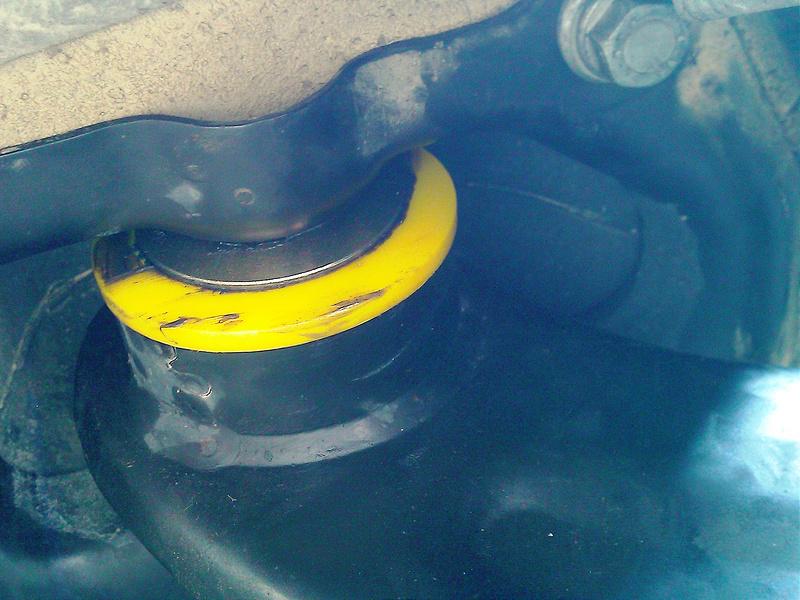
- Whiteline W0504 Rear Trailing arm - front bushing
- Whiteline KDT914 Engine - torque arm insert bushing
- Eibach Prokit Lowering Springs
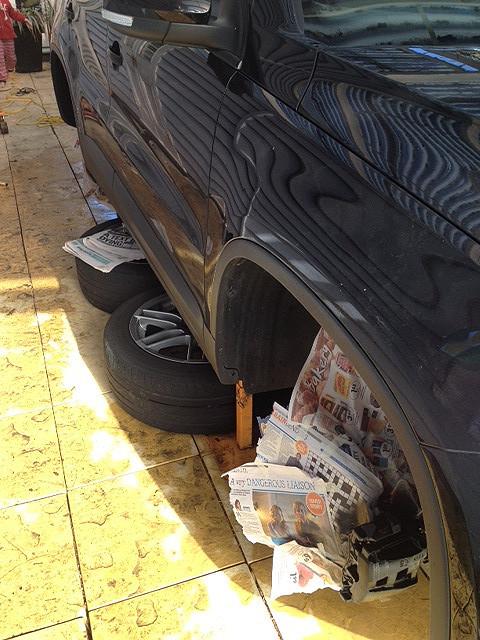
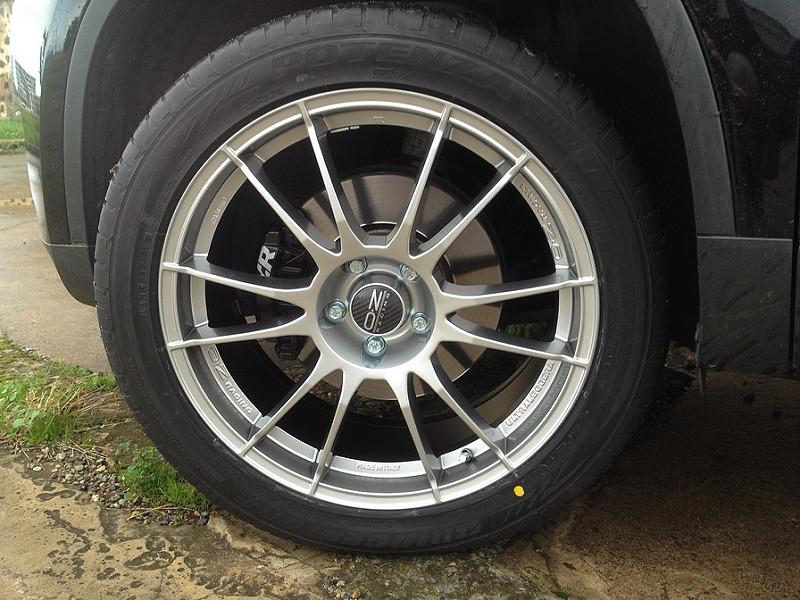
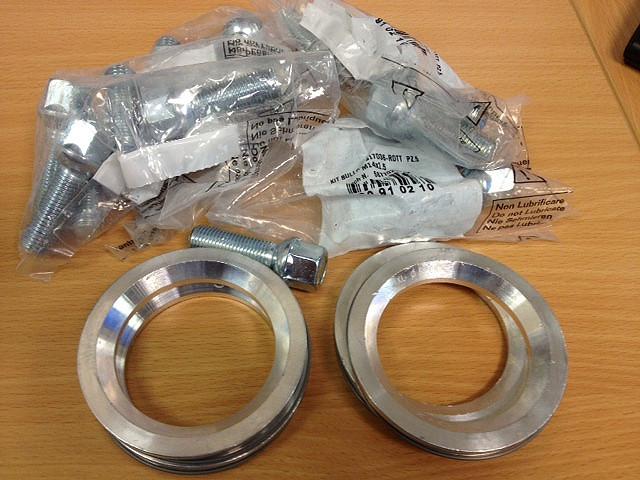
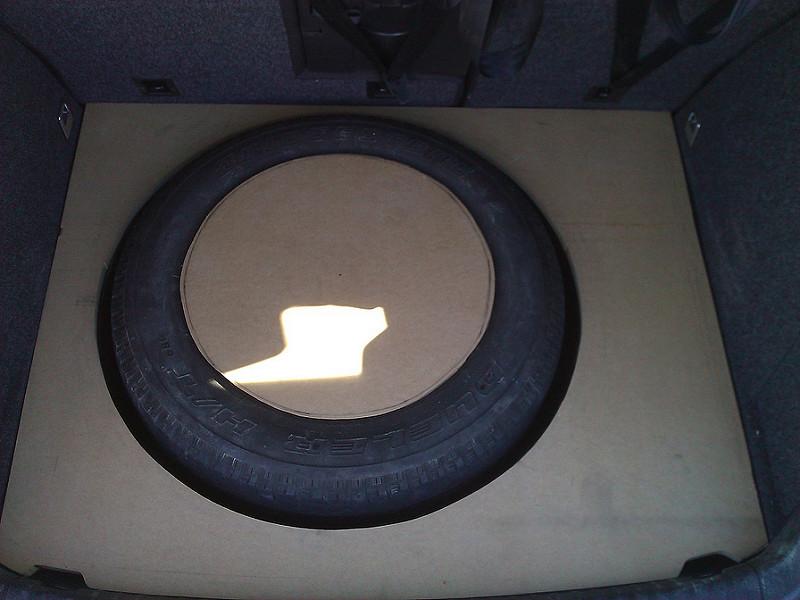
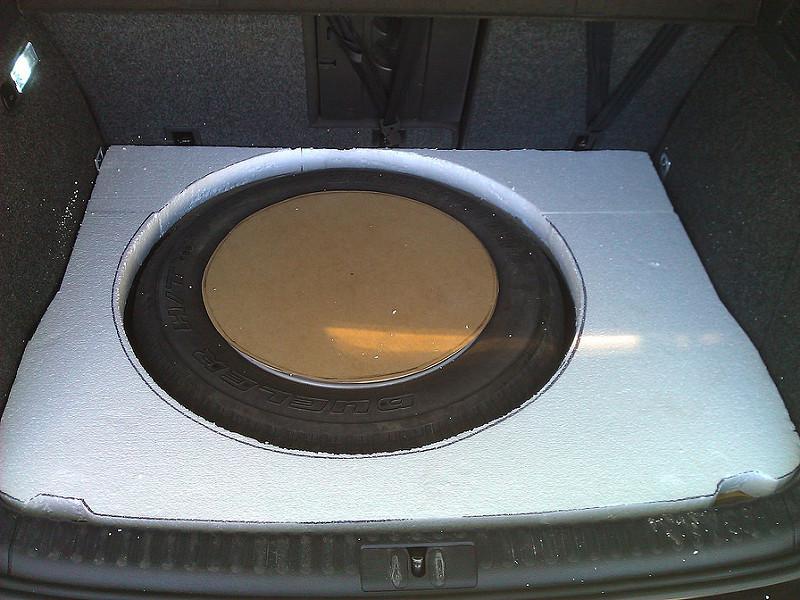
Wheels/Tyres:
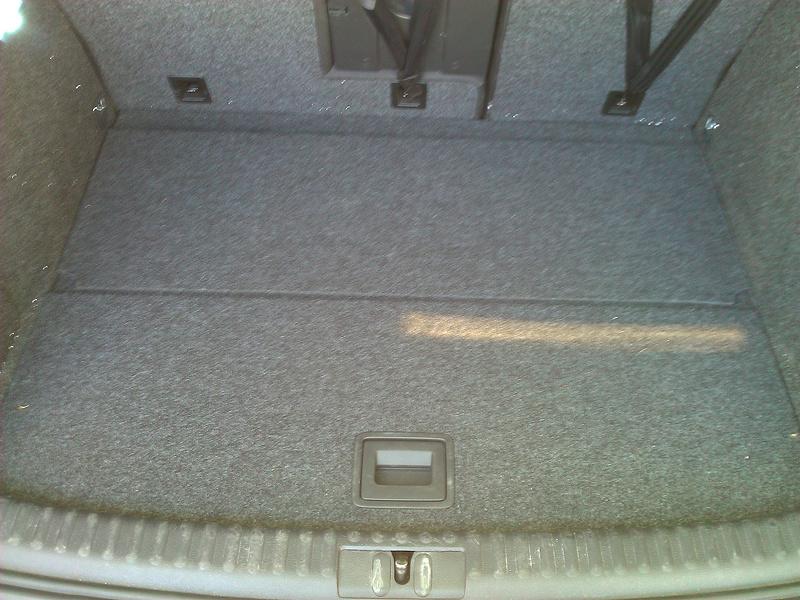
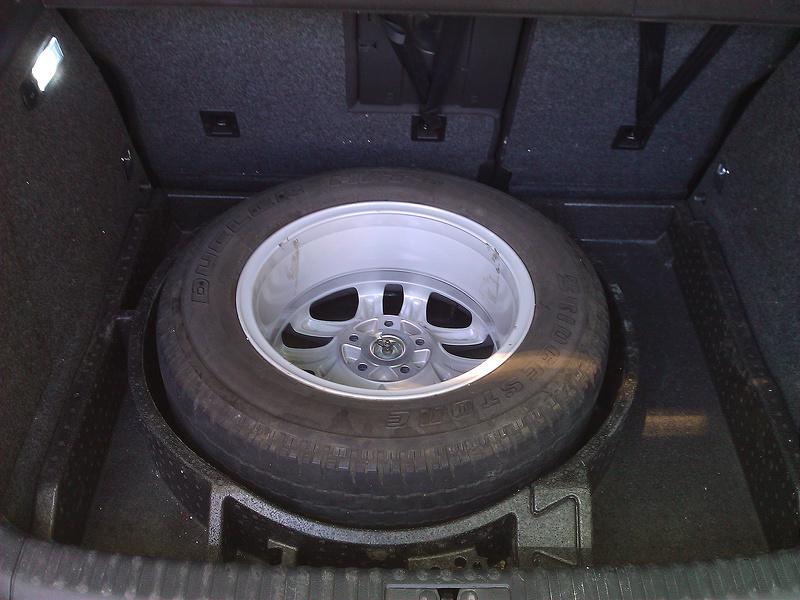
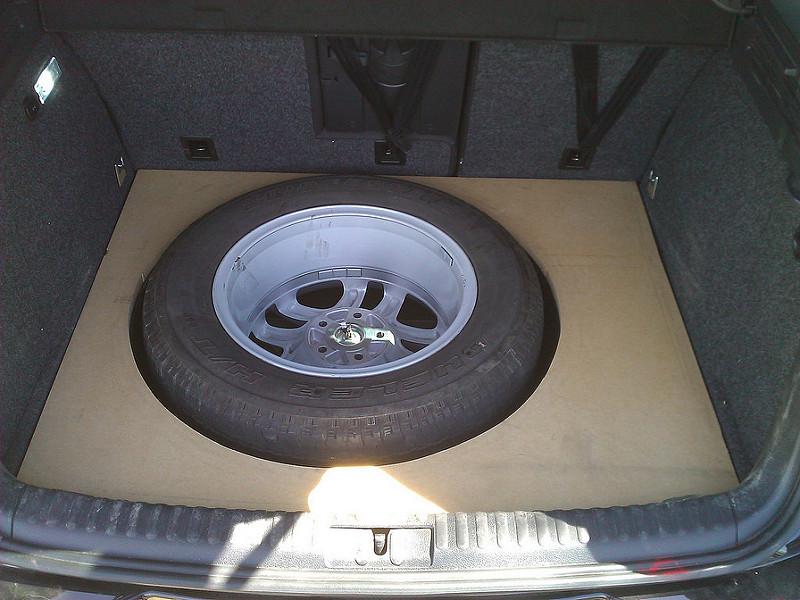
- Full-size spare
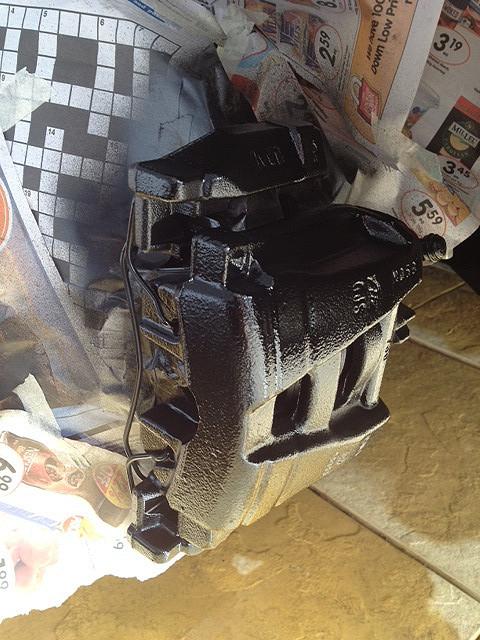
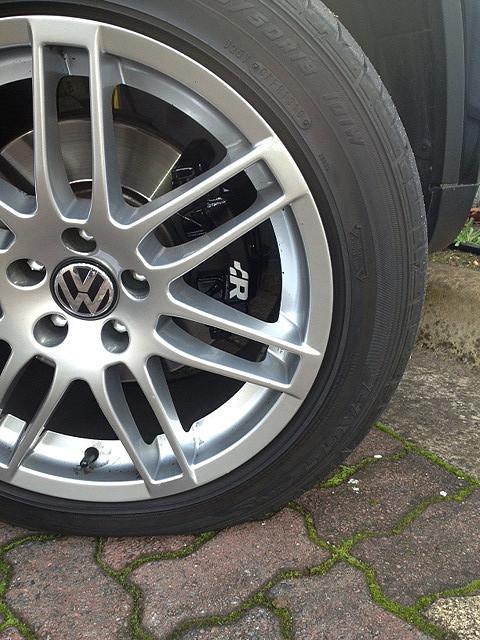
- Painted brake calipers
- 19x8 ET35 Oz Racing Ultraleggera + 245/40R19 Goodyear Assymetric 2
Links
Here's a bunch of useful links for where I've sourced various parts:
- Bold-Sport.com - door warning lights, chrome trimmed switches, door panel clips and cloth tape.
- VAG Navisystems - OEM 9W7 bluetooth units
- CarSystems PL - RVC camera kit, Multi-function sports steering wheel with DSG paddles + airbag
- Whiteline - front sway bar, rear sway bar, ALK
- Veizu - Performance tune, VAR Downpipe, VAR Cold Air Intake, VAR Carbon Engine Cover
- Harding Performance - DQ500 DSG Tune
And a number of useful DIY/installation threads:
- http://www.vwwatercooled.com/forums/...tml#post892571
- R8 Coil Packs installed into Tiguan
- Install of Switchable Safety/Laser Lights
- Door Warning Lights and Chrome Buttons Install
- http://www.vwwatercooled.com/forums/...uan-82296.html
- http://www.vwwatercooled.com/forums/...ild-78218.html
- http://www.vwwatercooled.com/forums/...med-80228.html
- http://www.vwwatercooled.com/forums/...oot-69320.html
- http://www.vwwatercooled.com/forums/...tig-77395.html
Tiguan | 2011 | 125TSI | DSG | black | comfort pack | park assist | fog lights | MDI | RCD510 | 9w7 | prorack whispbar | flappy paddle MFSW | S2T Paddle Shifters | VAR 3" TBE | VAR CAI | APR stage 2+ tune | HP DSG tune | R8 coil packs | Sprint Booster | S3 Intercooler | Haldex Race Controller | Whiteline front & rear sway bar + ALK | AutoPolar FIS+ Advanced | door warning lights | interior LED upgrade | chrome window buttons | VW door laser lights | painted brake calipers | 19 x 8 ET35 OZ Racing Ultraleggera | Eibach Prokit Lowering Springs |


 )
)
Comment