 Tweet
Tweet
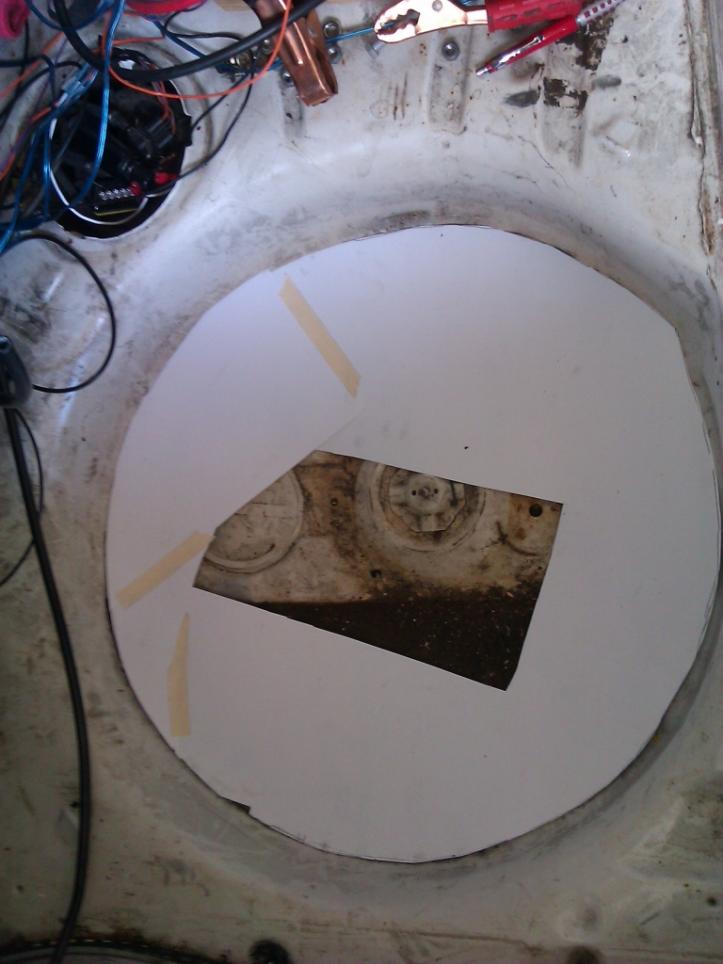
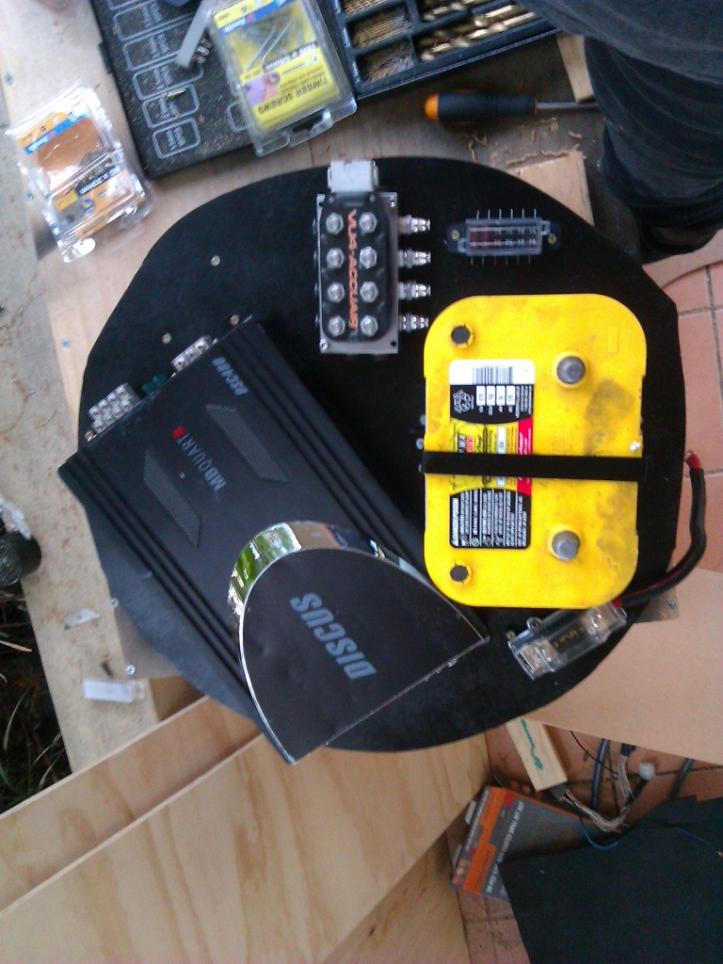
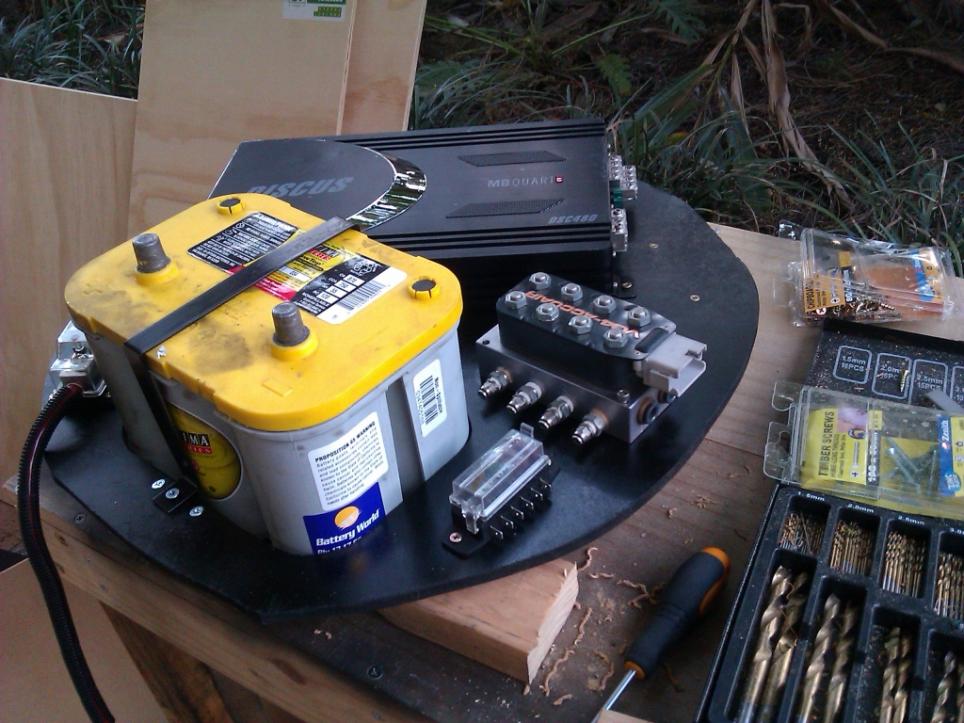
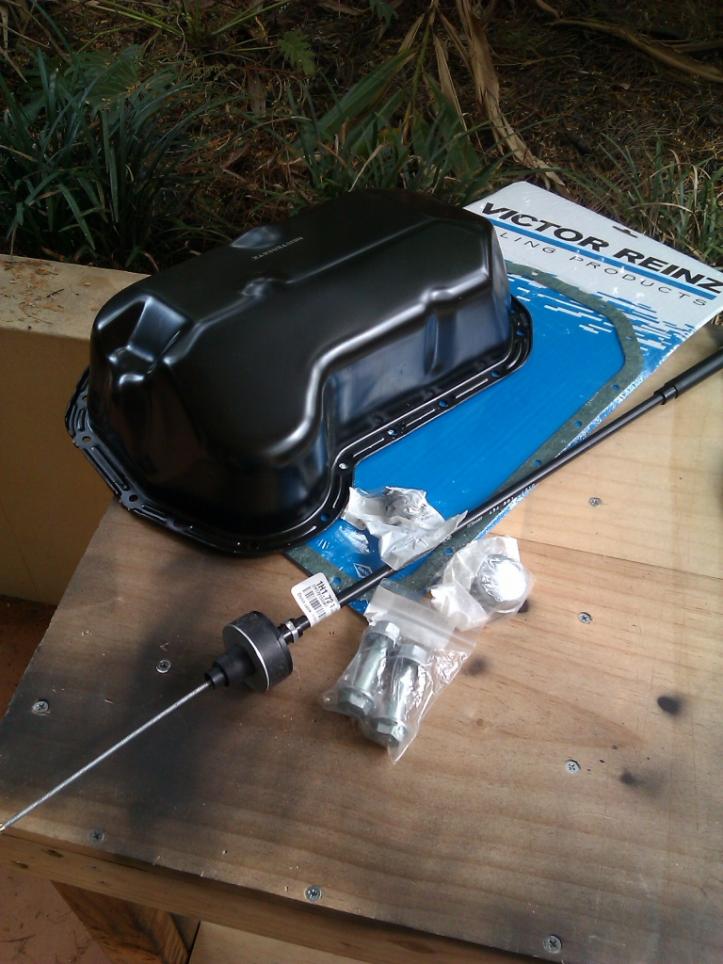
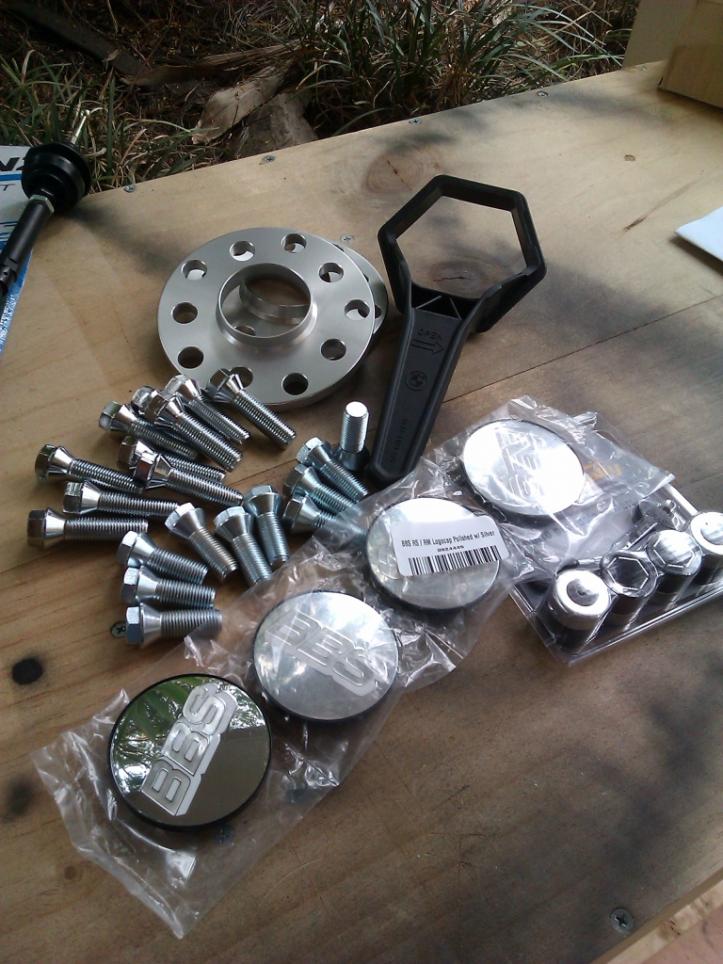
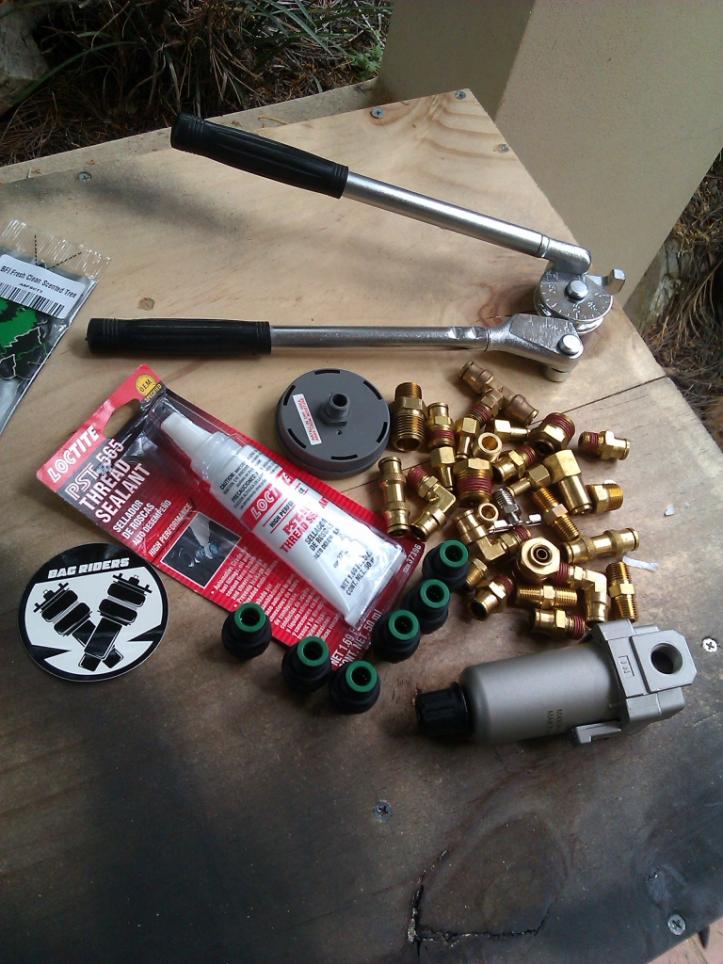
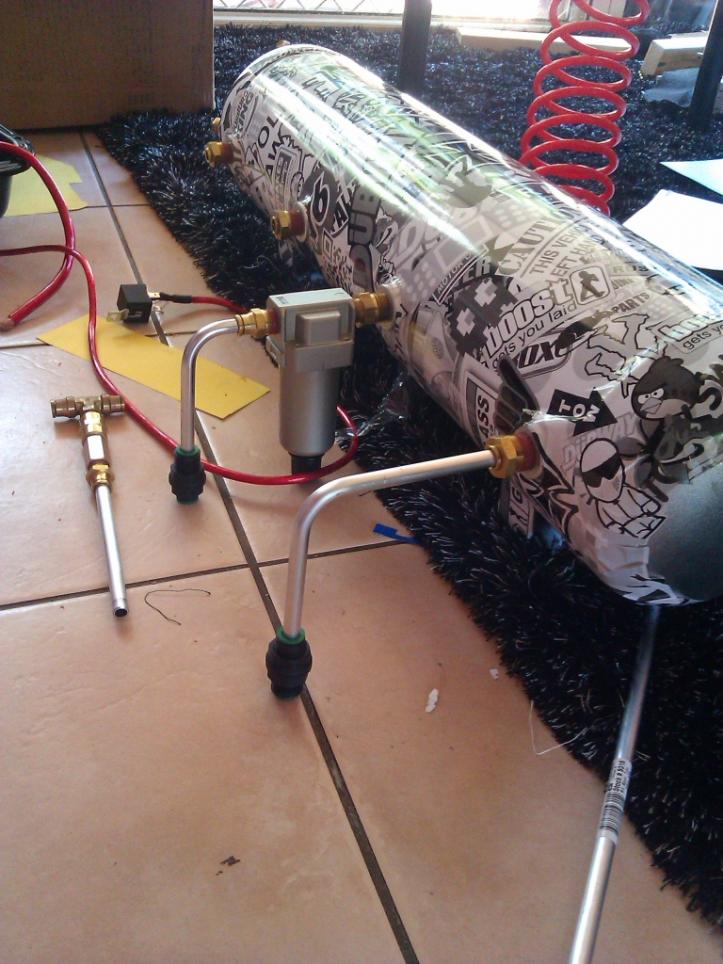
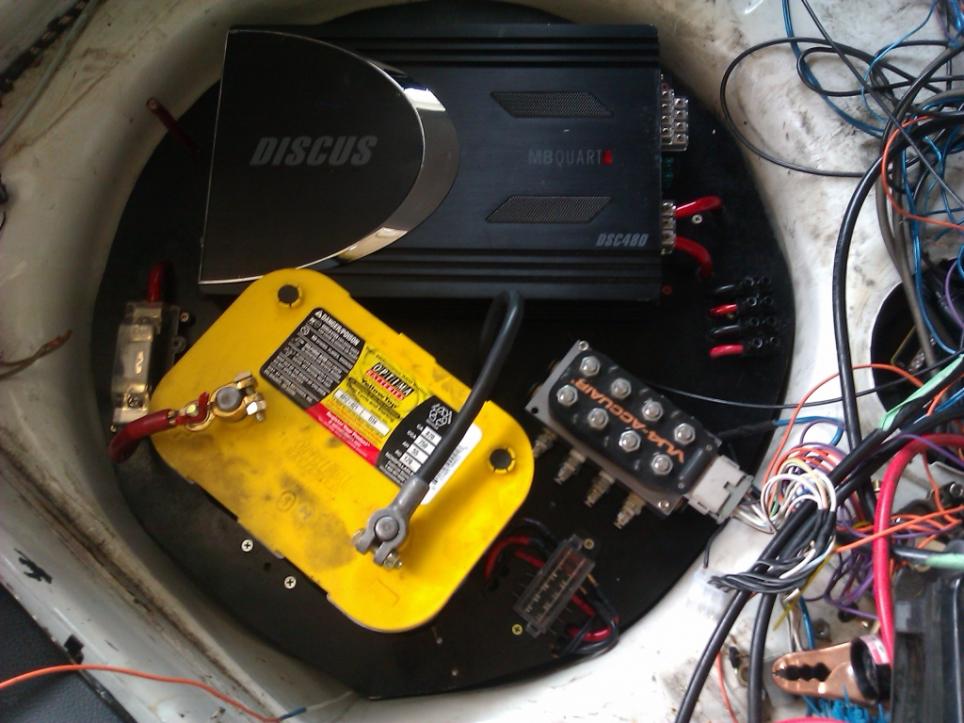
Haha getting closer. Over the last couple weeks I've spent nearly more than twice as much money as my old coilovers cost buying things to redo the boot setup. Should be pretty tidy, keen to get stuck into building it all but am still waiting on a couple little parts, and have been pretty busy with uni 
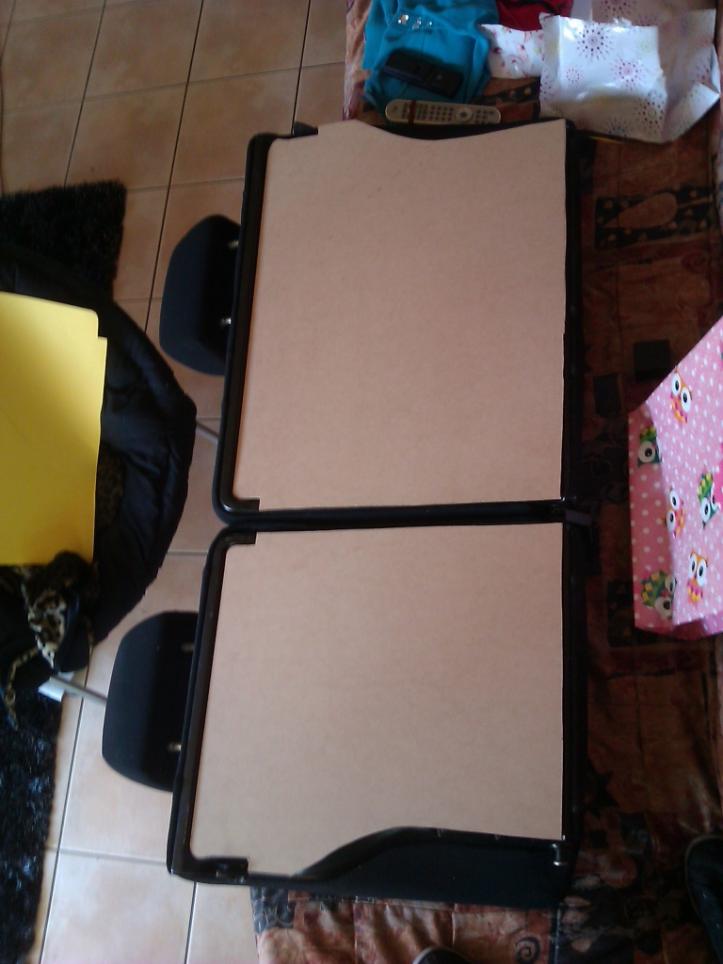
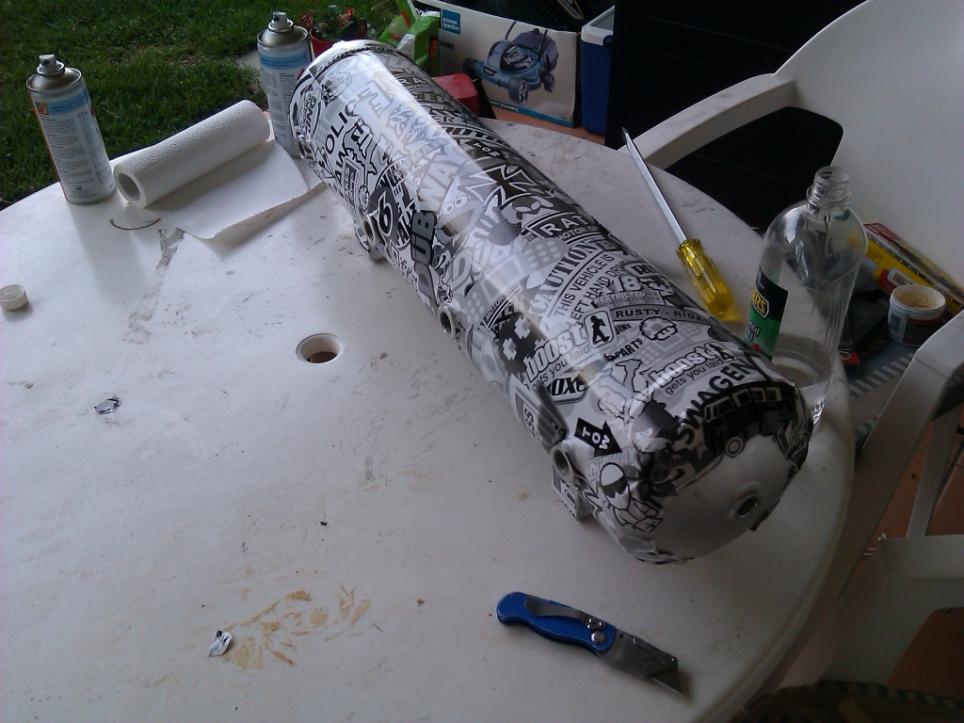
Procrastinating studies (I have an exam at 7 tonight) this morning I quickly carpeted the subbox I built a couple years ago, which I had only hit with cheap spray paint at the time. It looked pretty awful, the before photo I snapped doesn't even show how ratty it looked haha.

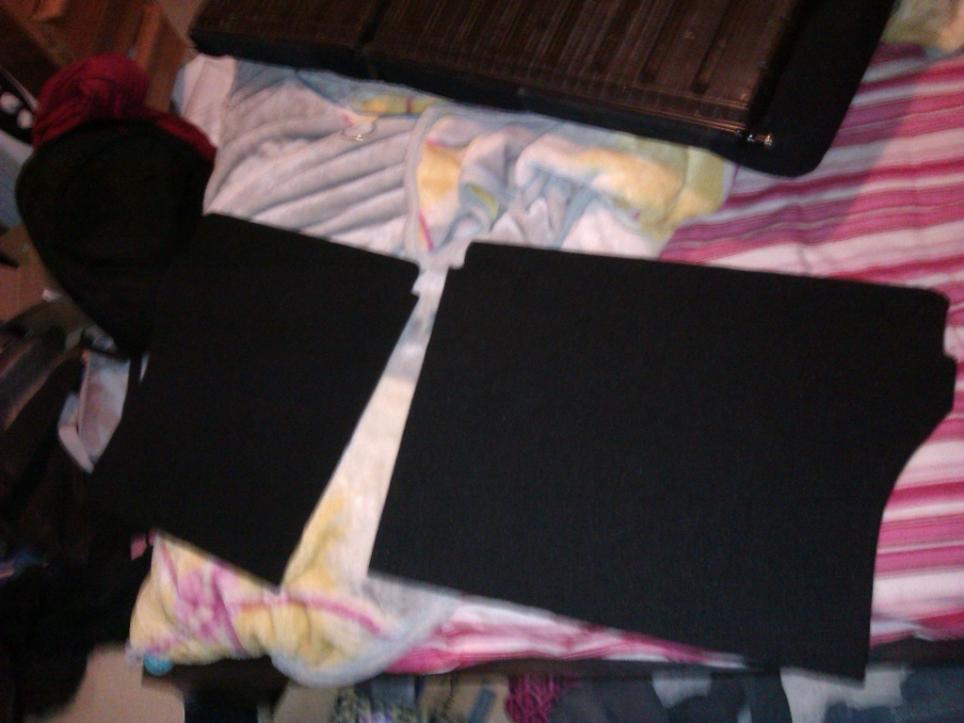
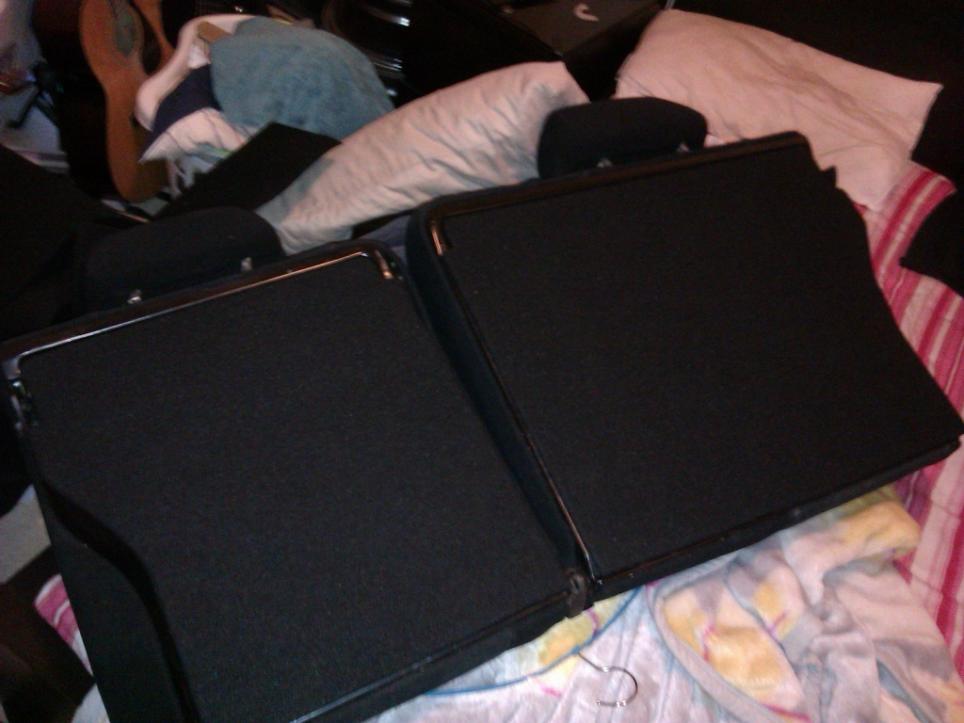
I've never tried carpeting a box before and I didn't get the seams as perfect as I had hoped, but still looks 100x better than it did. Might do it again if I still have carpet left over when I've finished it all (I bought 3x1.5 meteres of the stuff )
)

Was also the first time I've used the little $30 work bench I built not long ago, am not going to let the fact I live in a unit with no garage stop me from doing work
Procrastinating studies (I have an exam at 7 tonight) this morning I quickly carpeted the subbox I built a couple years ago, which I had only hit with cheap spray paint at the time. It looked pretty awful, the before photo I snapped doesn't even show how ratty it looked haha.
I've never tried carpeting a box before and I didn't get the seams as perfect as I had hoped, but still looks 100x better than it did. Might do it again if I still have carpet left over when I've finished it all (I bought 3x1.5 meteres of the stuff
)Was also the first time I've used the little $30 work bench I built not long ago, am not going to let the fact I live in a unit with no garage stop me from doing work


 HAHAHA
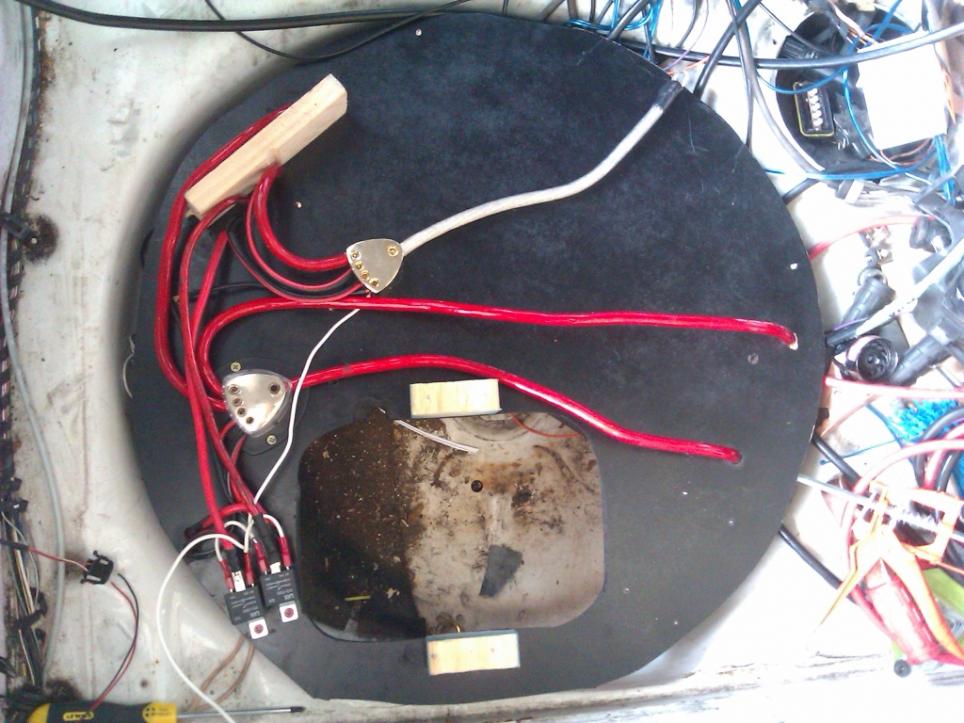


Comment