 Tweet
Tweet
Following on from this thread, I was inspired to actually do this. This guide will work for any vehicle, you just need to find an appropriate plate to mount the switch.
Integrated garage remote switch modification
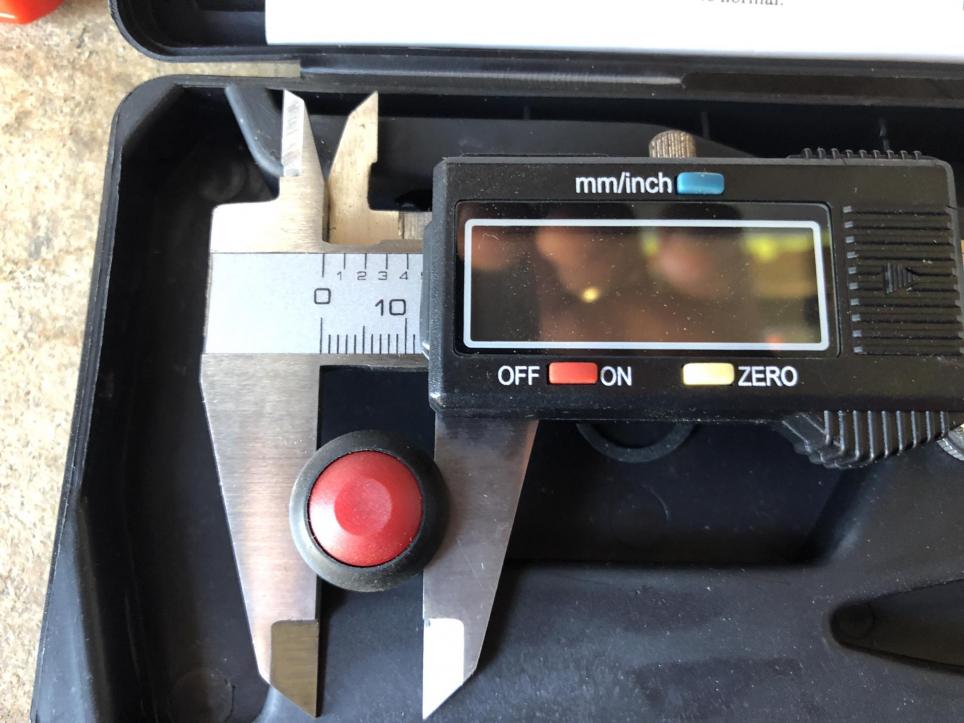
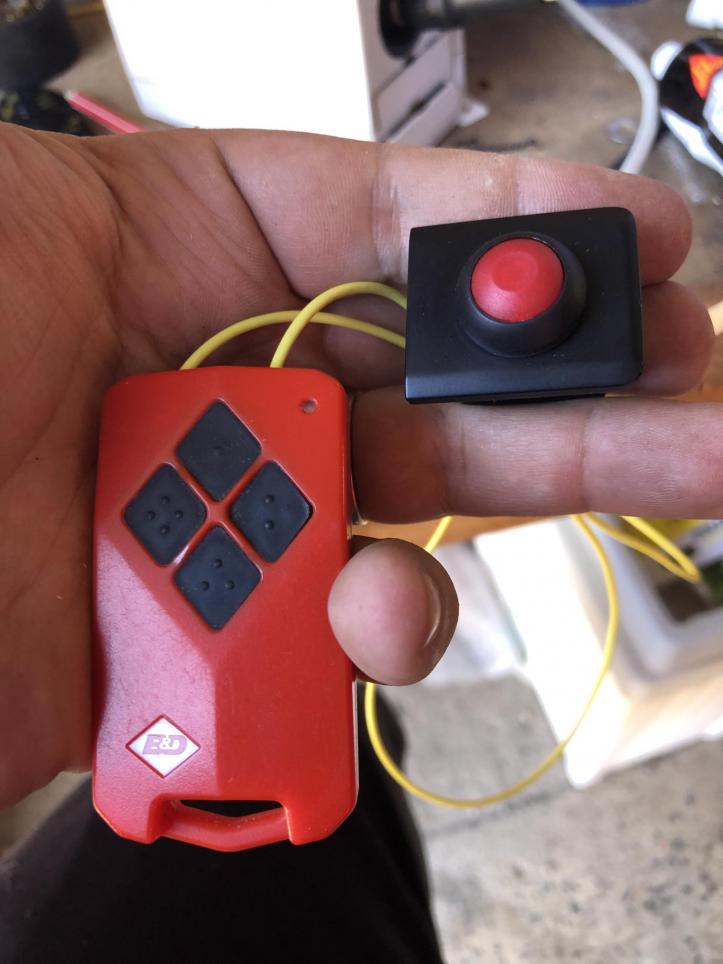
For the moment I've gone with the generic option. One day I might swap it out for an OEM button to clean up the look, for now this is functional and $4.95. Note my warning about the size of this one later.
IP67 Rated Dome Pushbutton Switch Red | Jaycar Electronics
There is going to be a lot of pictures here, so brace yourself.
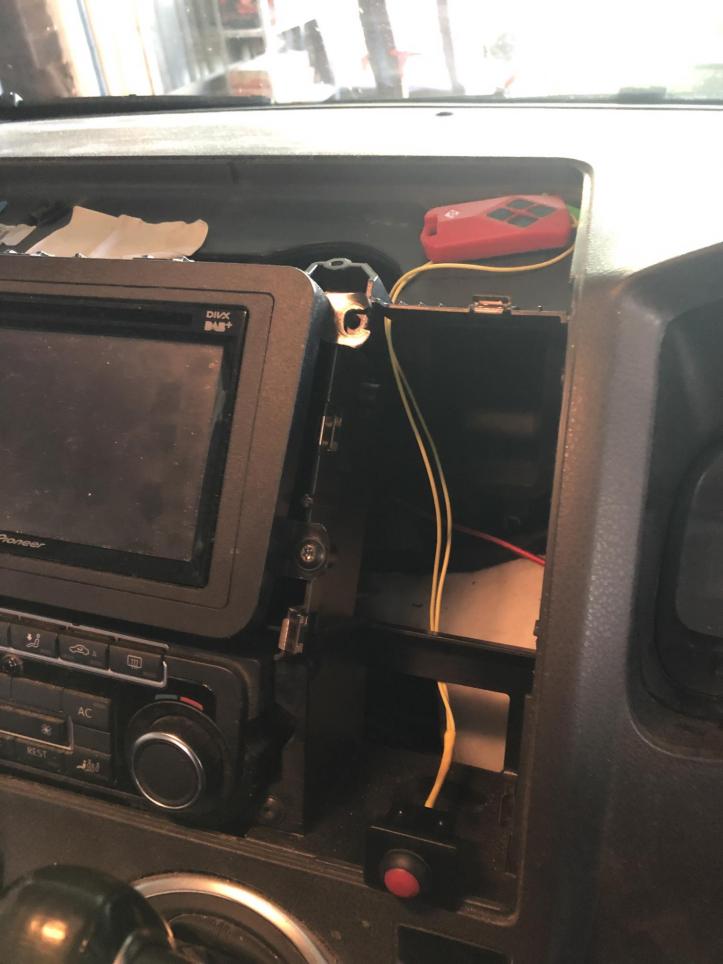
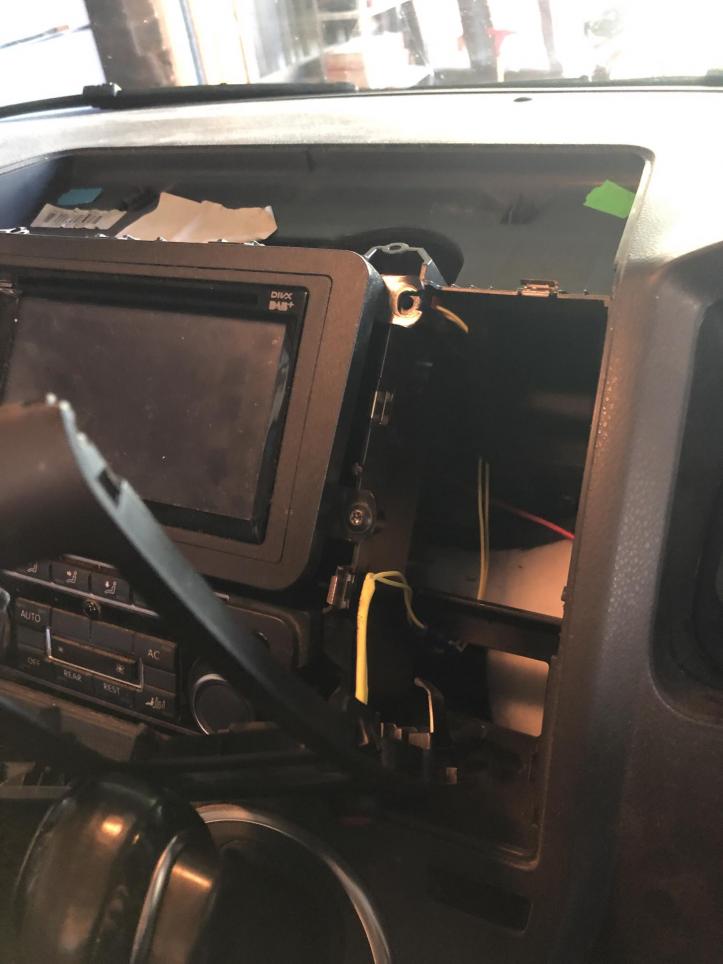
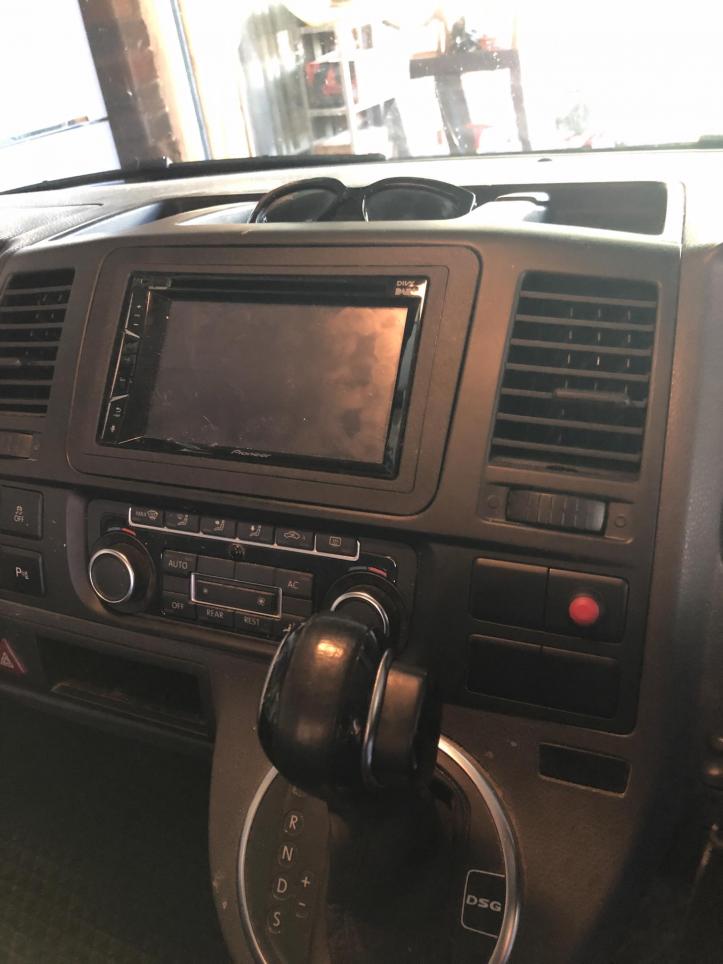
The Multivan Dash. I'm going to add the button to the top right spare button under the vent:
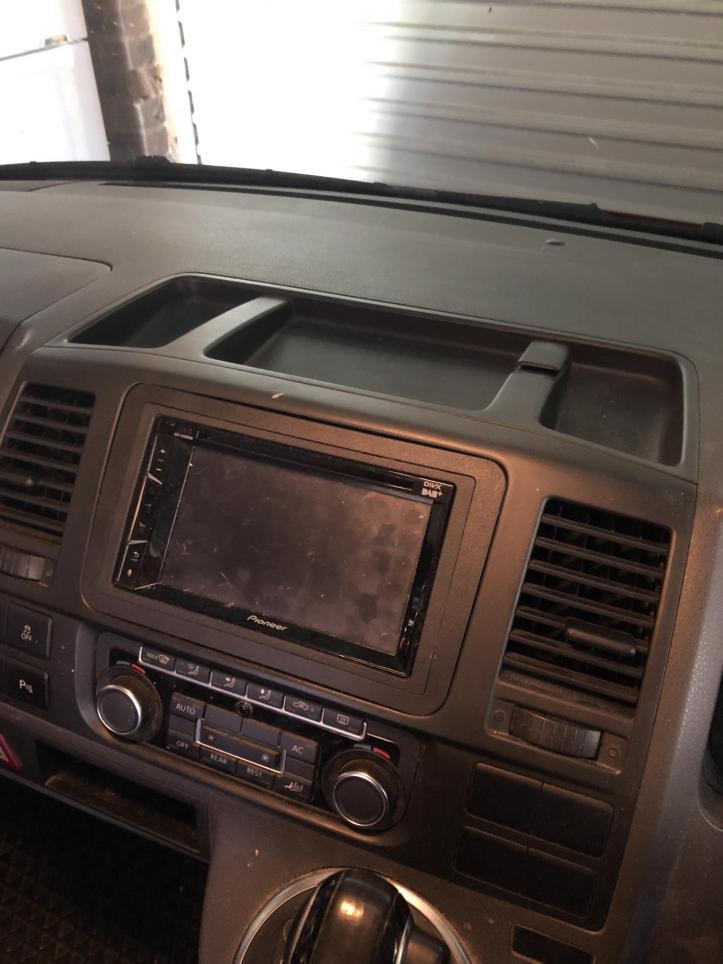
To get to it you pop the trim piece off above the radio, there is no screws needed for this, you should just be able to pull it off. Mine has been off a bunch of times so it might be a little looser than a stock one. A trim removal tool will help you would if needed.
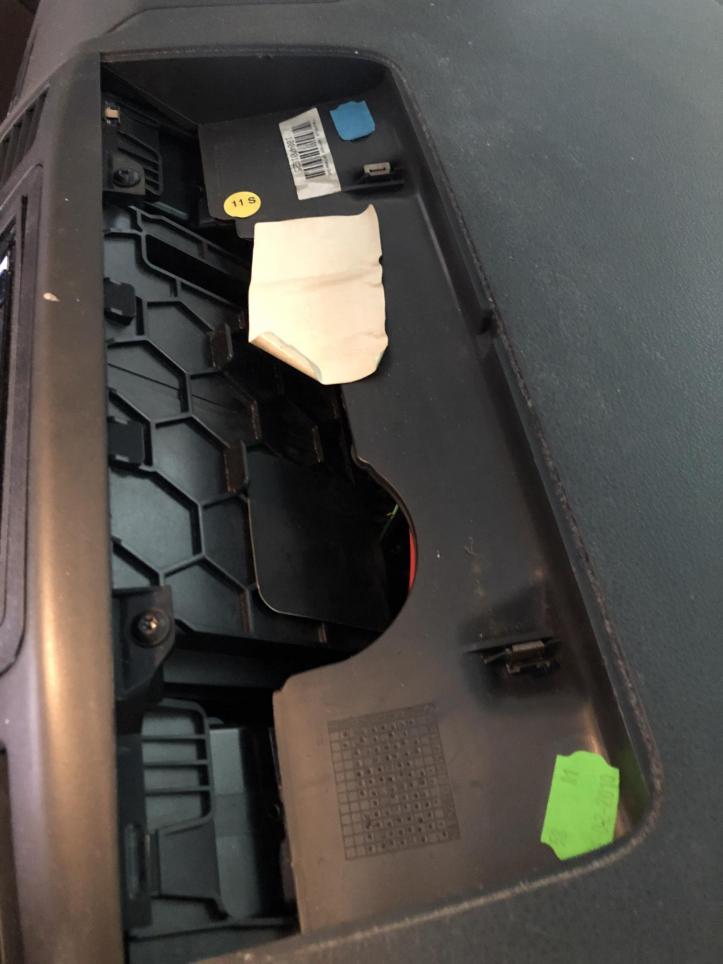
You can just make out on the left of the photo above there are two T25 screws that will release the front facia part of trim. Gently remove this starting at the top being careful of any connectors. In my case there are two, brown and white, for the parking sensors and traction control.
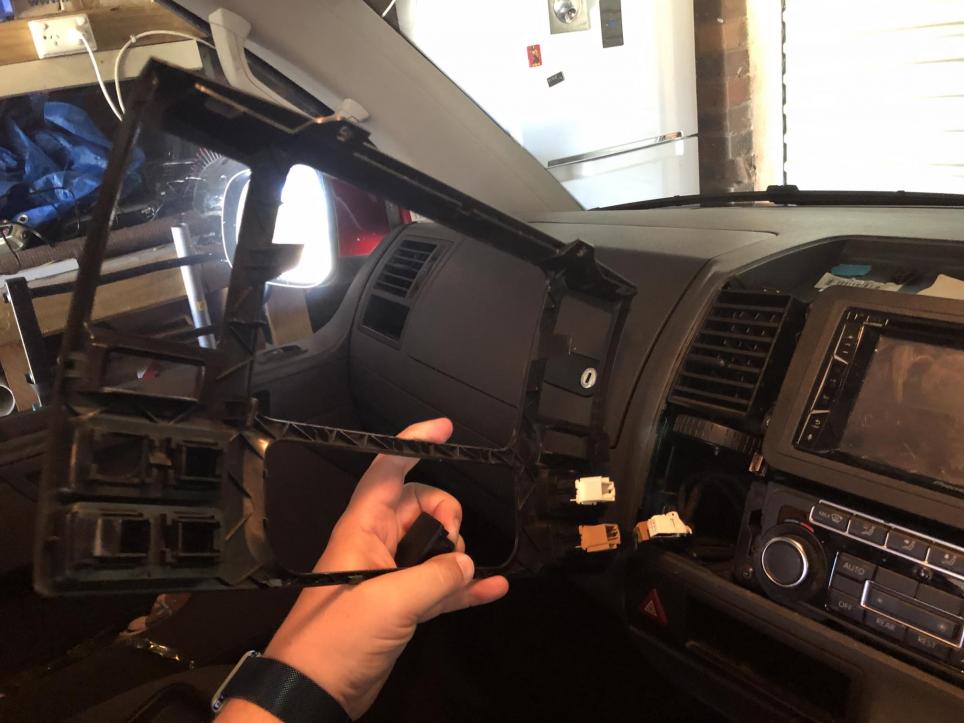
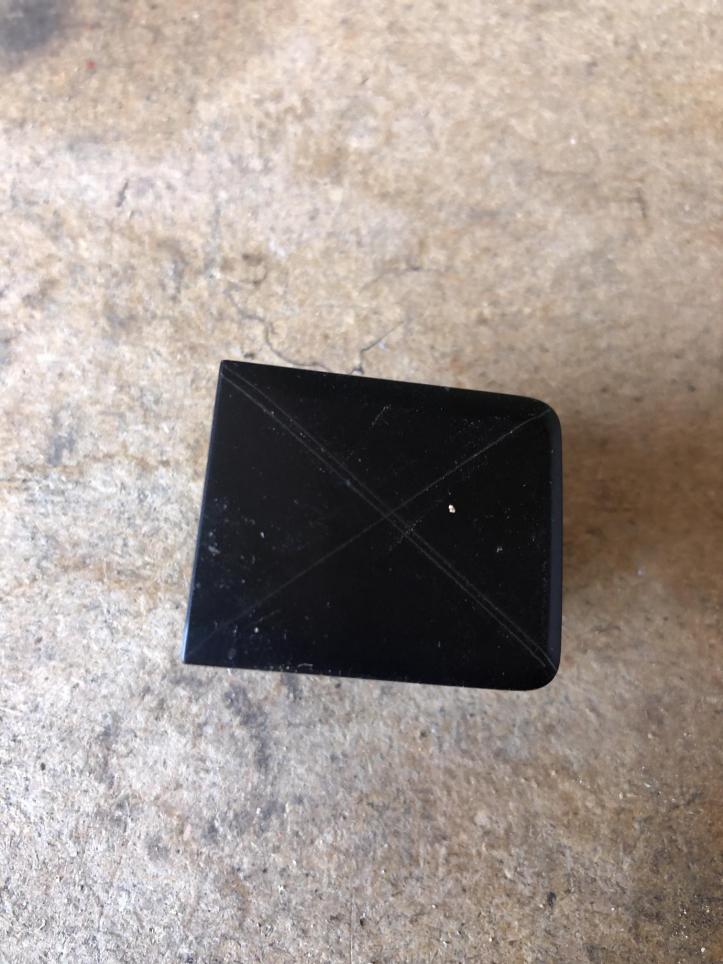
Pop out your desired blanking plate to mount the button:
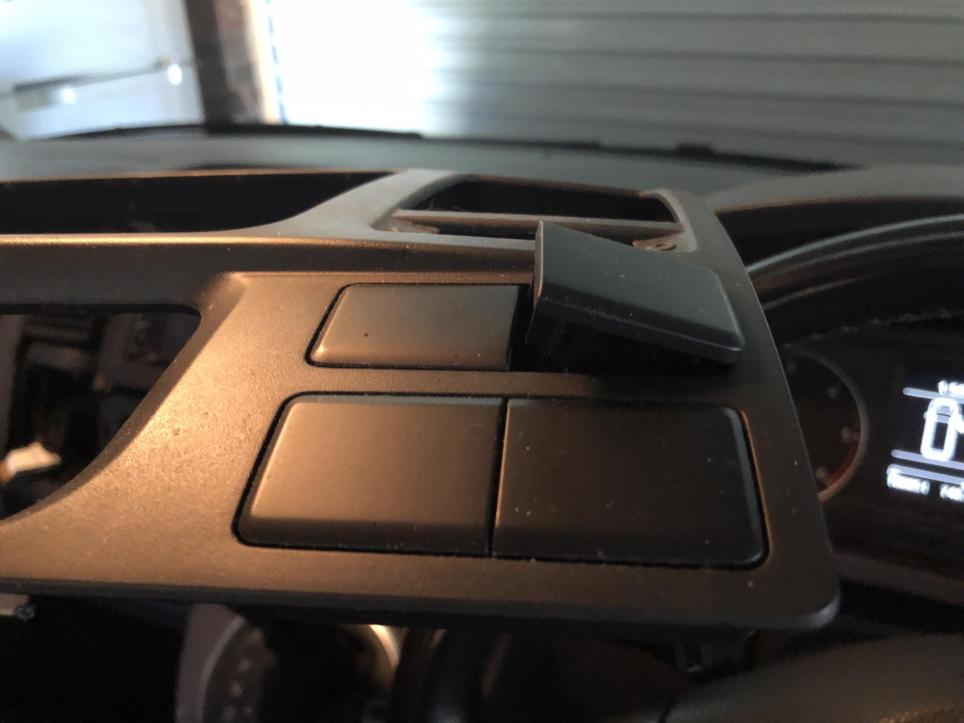
The button I have is a 12mm shaft. While I have a 12mm drill bit and was able to continue, most drill bit kits only go to 10mm so unless you have the right size bit or a round file you might want to opt for a slightly smaller button.
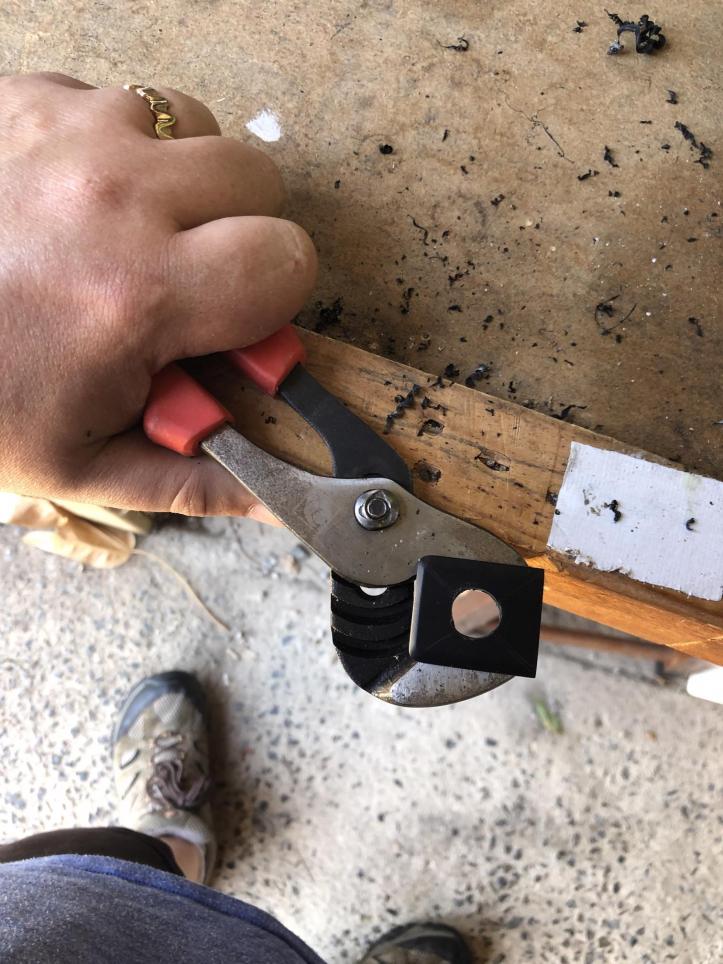
Mark the centre of your button:
Secure the blank and start drilling. I stepped up from 2mm to 5mm to 10mm and then 12mm. Even then that 12mm want to grab and twist the piece as it cut in. Watch our for your hands.
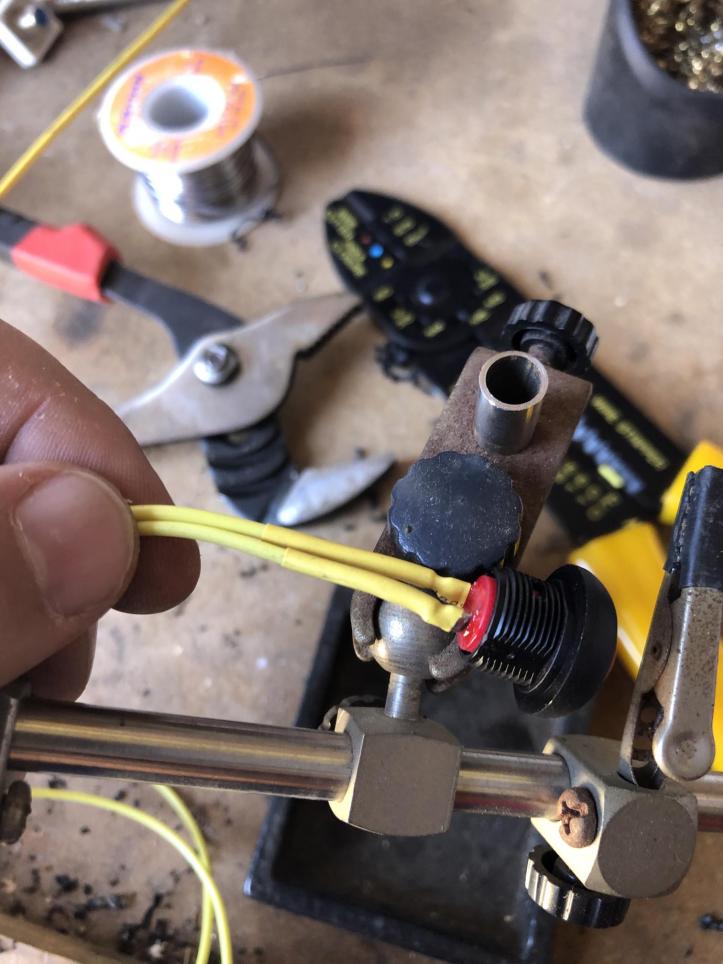
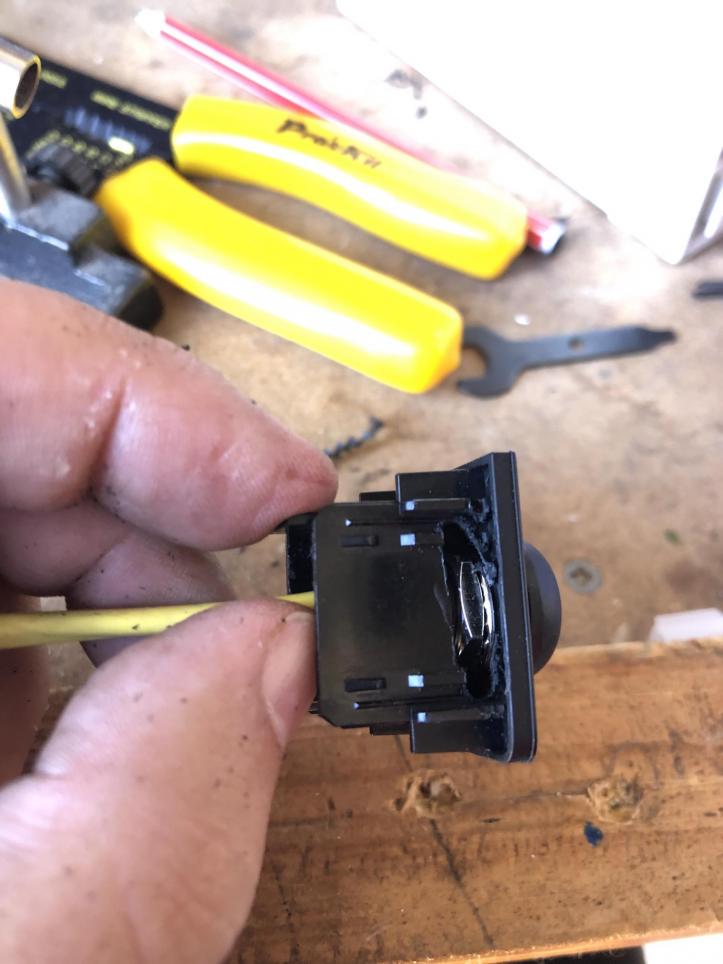
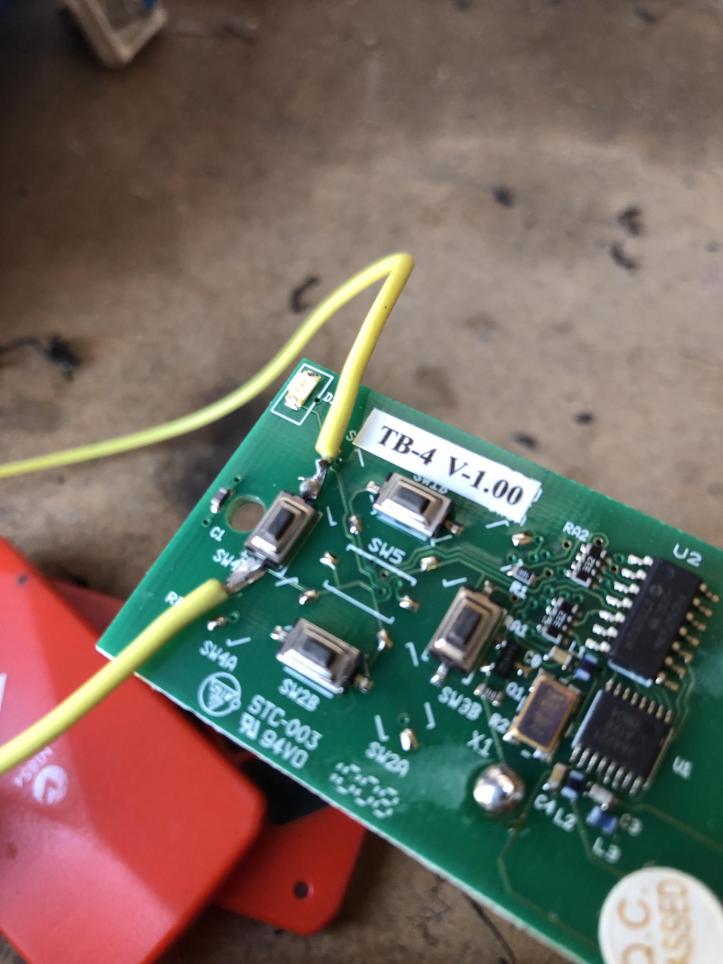
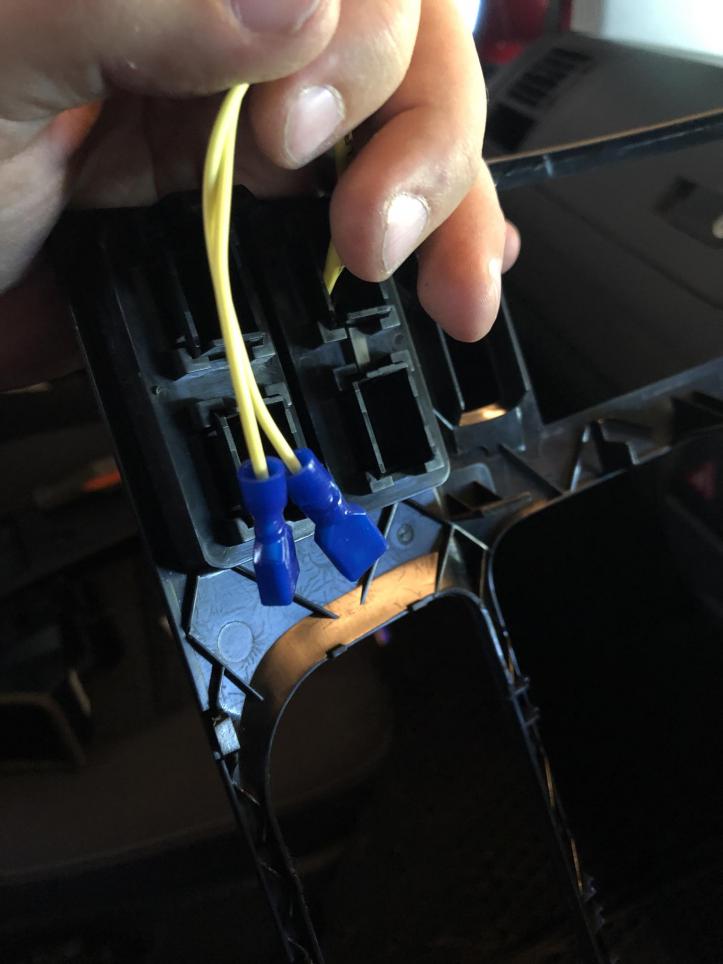
Next I soldered two wires to the legs on the button taking care to heat shrink them as well. You may notice it later photos, I also sent back and added in a large heatshrink over both wires to bind them together to help with keeping it all together while screing the switch into place.
Issue #1. On inserting the switch I discovered there was ZERO clearance inside the back of the blank to allow the retaining nut to fit in. I considered simply using hot glue or sikaflex to hold it in place, after all there is no "pulling" on the switch to make it come out in normal use. Instead I opted to take out the dremel and route out the inside back of the blank and cut a notch to slide the retaining nut in. I held this in place and screwed the switch in place. It was a bastard to line up for my fat hands but it came together without issue in the end. It's not the neatest job, but you will never see this anyway.
Integrated garage remote switch modification
For the moment I've gone with the generic option. One day I might swap it out for an OEM button to clean up the look, for now this is functional and $4.95. Note my warning about the size of this one later.
IP67 Rated Dome Pushbutton Switch Red | Jaycar Electronics
There is going to be a lot of pictures here, so brace yourself.
The Multivan Dash. I'm going to add the button to the top right spare button under the vent:
To get to it you pop the trim piece off above the radio, there is no screws needed for this, you should just be able to pull it off. Mine has been off a bunch of times so it might be a little looser than a stock one. A trim removal tool will help you would if needed.
You can just make out on the left of the photo above there are two T25 screws that will release the front facia part of trim. Gently remove this starting at the top being careful of any connectors. In my case there are two, brown and white, for the parking sensors and traction control.
Pop out your desired blanking plate to mount the button:
The button I have is a 12mm shaft. While I have a 12mm drill bit and was able to continue, most drill bit kits only go to 10mm so unless you have the right size bit or a round file you might want to opt for a slightly smaller button.
Mark the centre of your button:
Secure the blank and start drilling. I stepped up from 2mm to 5mm to 10mm and then 12mm. Even then that 12mm want to grab and twist the piece as it cut in. Watch our for your hands.
Next I soldered two wires to the legs on the button taking care to heat shrink them as well. You may notice it later photos, I also sent back and added in a large heatshrink over both wires to bind them together to help with keeping it all together while screing the switch into place.
Issue #1. On inserting the switch I discovered there was ZERO clearance inside the back of the blank to allow the retaining nut to fit in. I considered simply using hot glue or sikaflex to hold it in place, after all there is no "pulling" on the switch to make it come out in normal use. Instead I opted to take out the dremel and route out the inside back of the blank and cut a notch to slide the retaining nut in. I held this in place and screwed the switch in place. It was a bastard to line up for my fat hands but it came together without issue in the end. It's not the neatest job, but you will never see this anyway.


Comment