 Tweet
Tweet
Over the last few month's I've been increasingly getting bored & needed something to do, other than help my friend's with there project's.
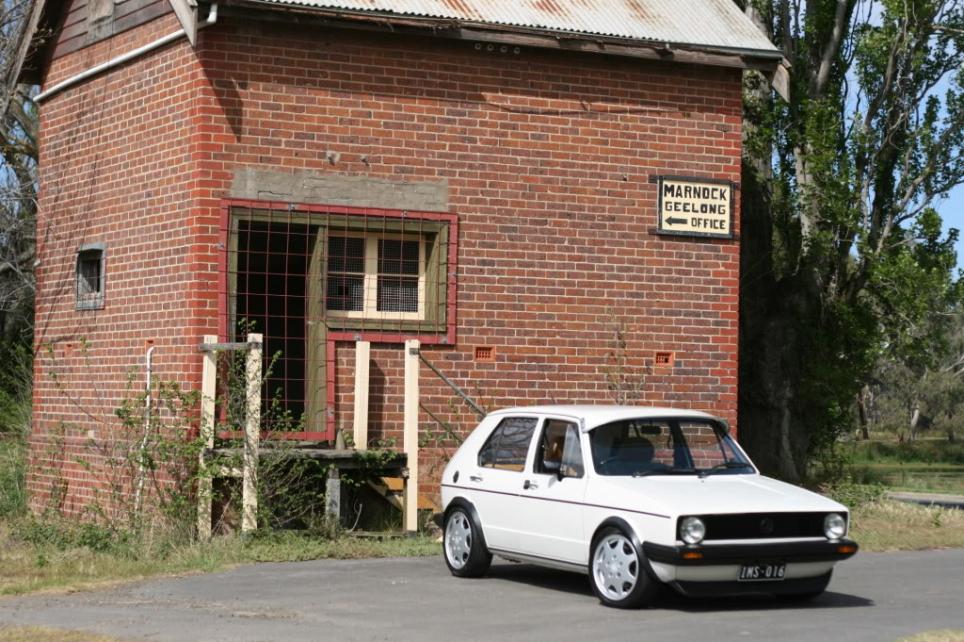
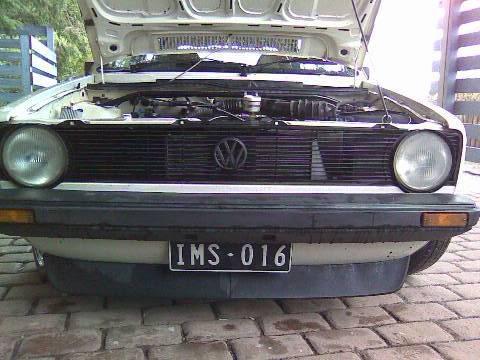
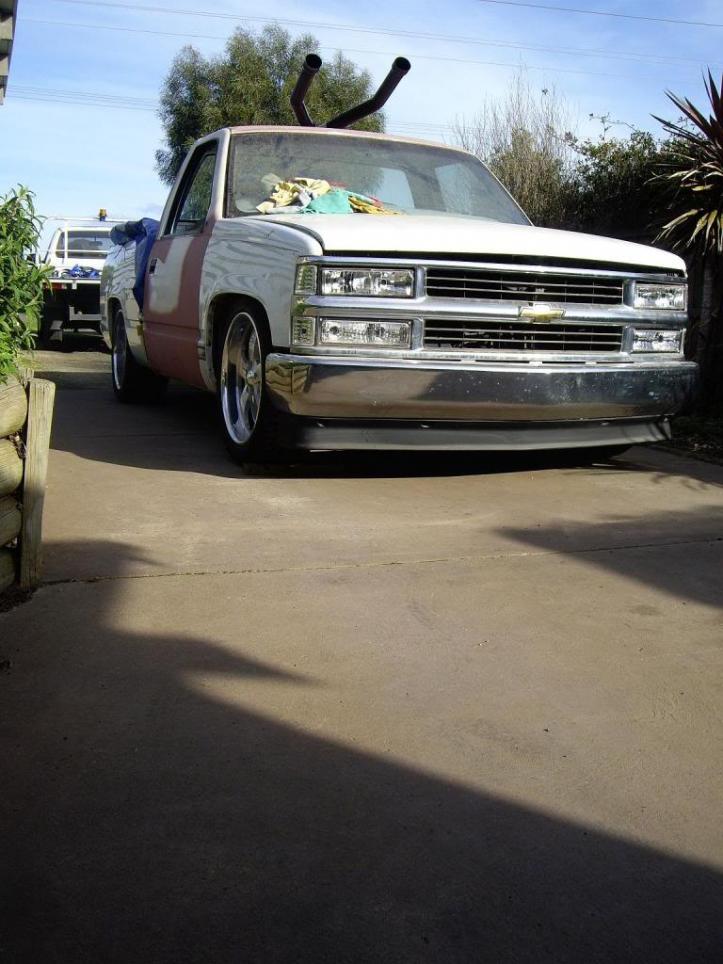
Which has led me to get motivated to continue carry on with phase #2 on the 76er, my daily since building it in May 08.
I've been gathering part's for the build over the last few month's for the turbo build up.
I thought I'd have a go at doing it "ol skool" style being a K-Jet turbo.
The spec is very basic & very, very mild. (only running 10psi, but maybe more if I can get the fueling right!) Nothing outrageous - Power expectation is unknown at this point. But hopefully it should be fun for awhile once sorted out.
Bone stock low compression "GX" "SLUG"
Autotech 270 Cam & Valve springs
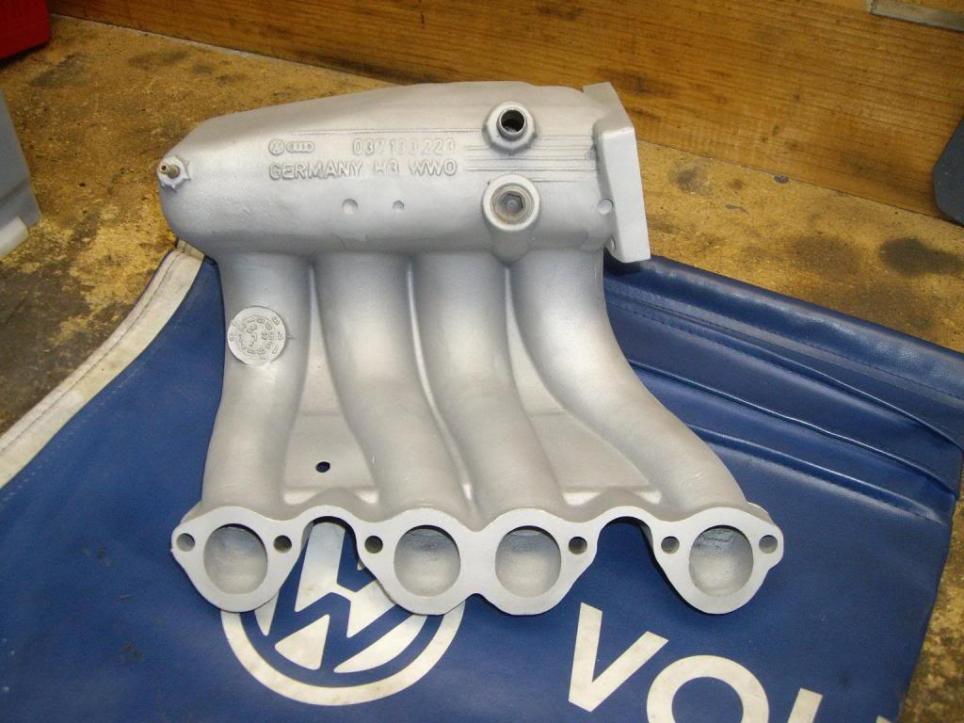
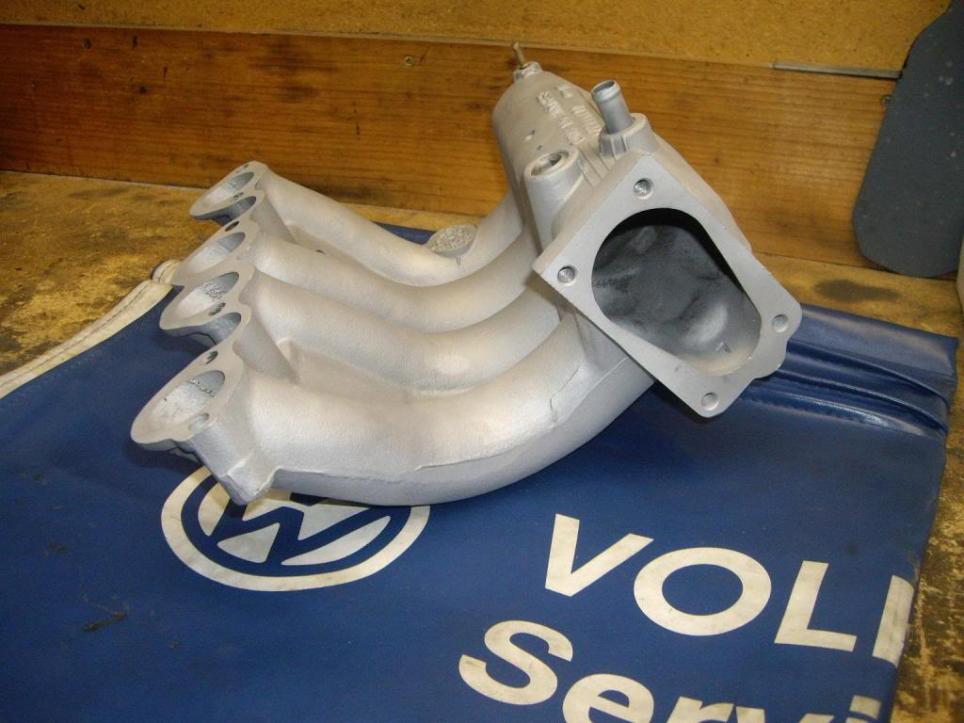
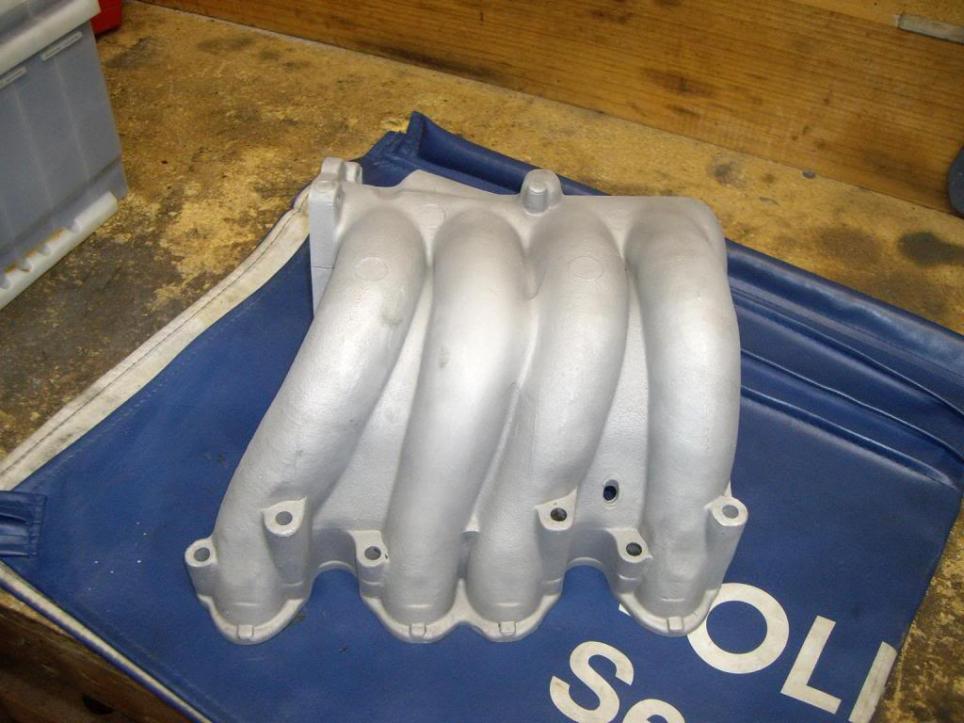
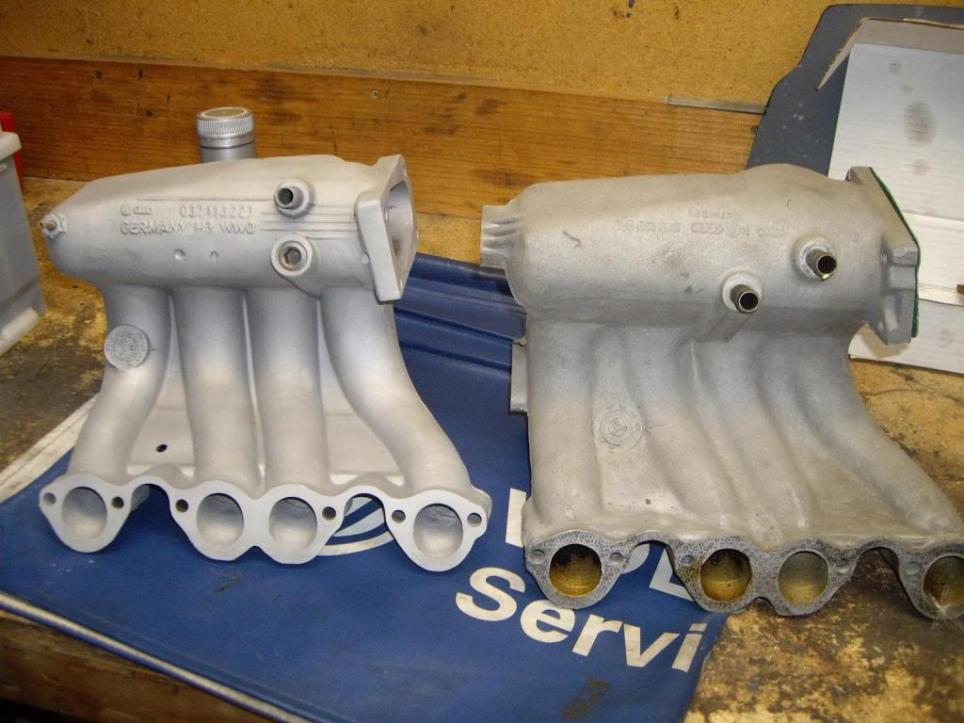
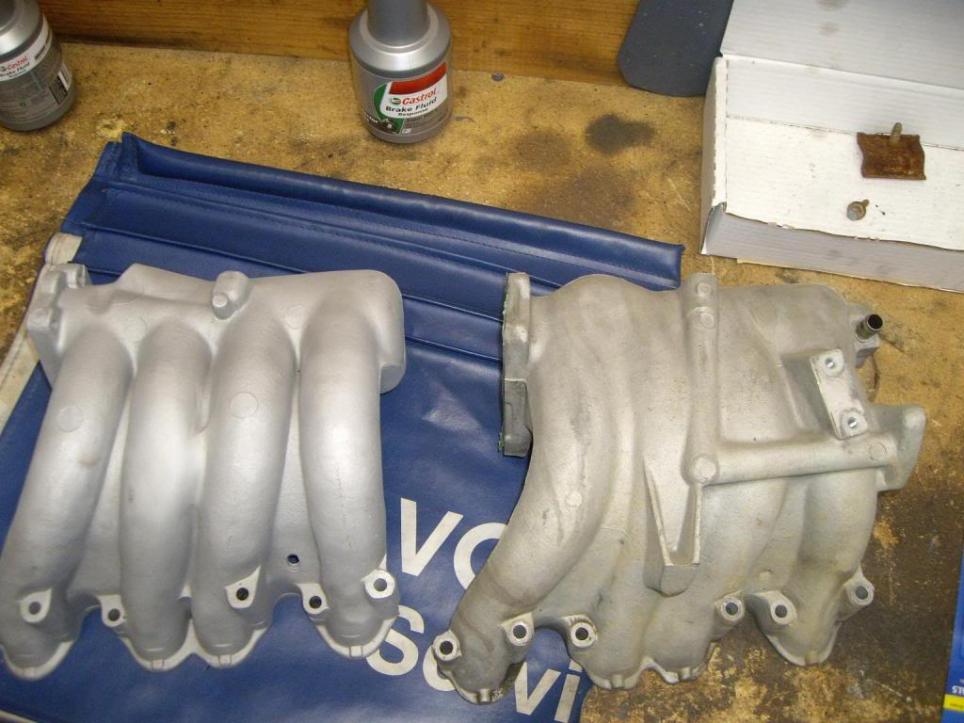
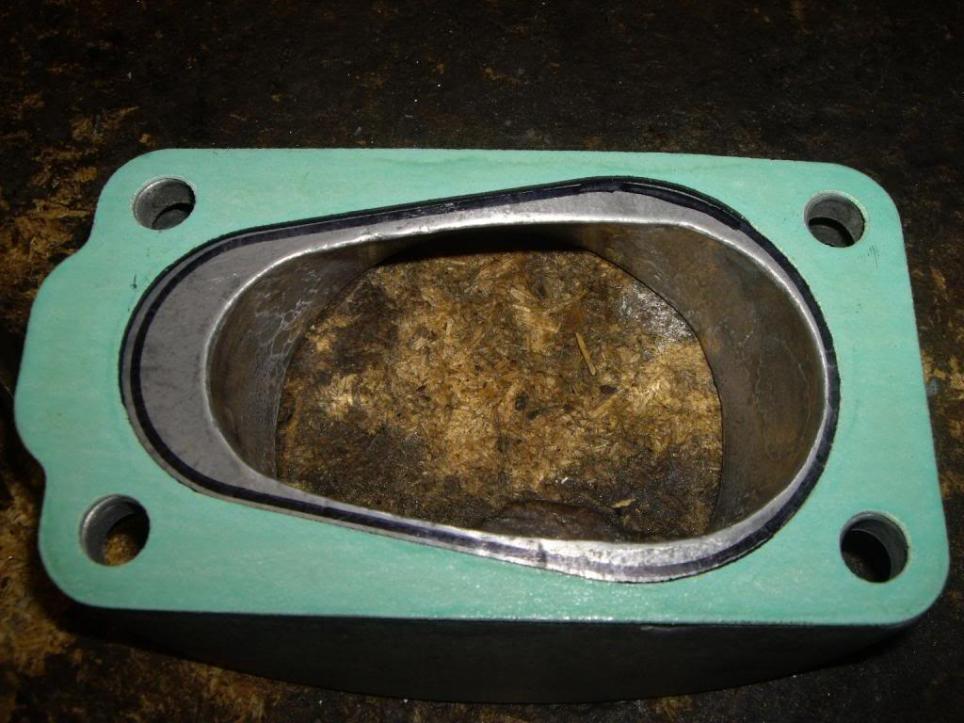
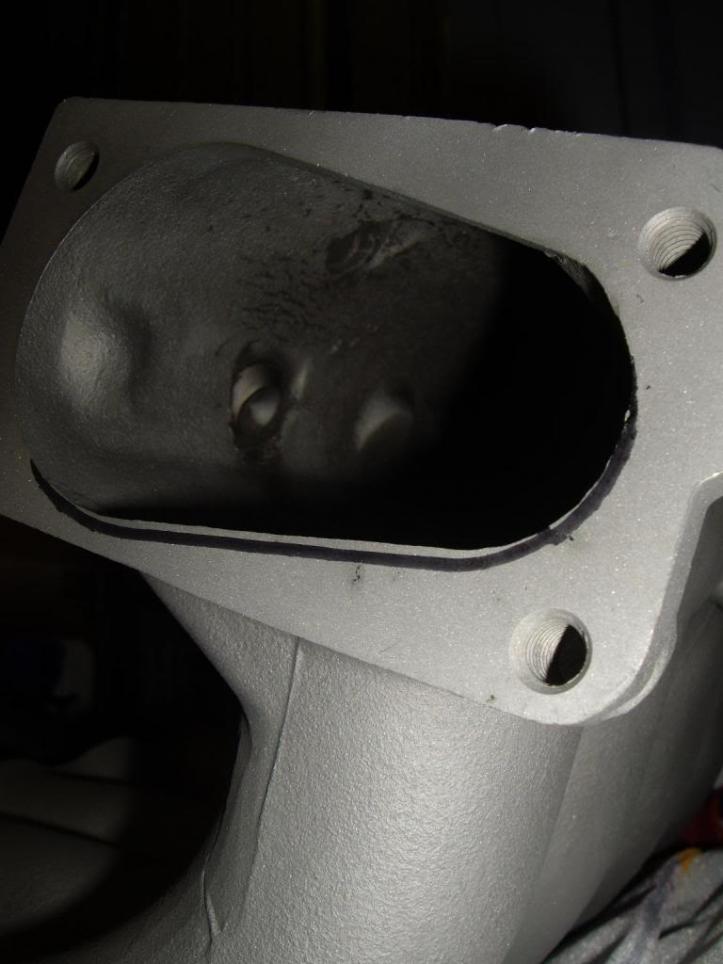
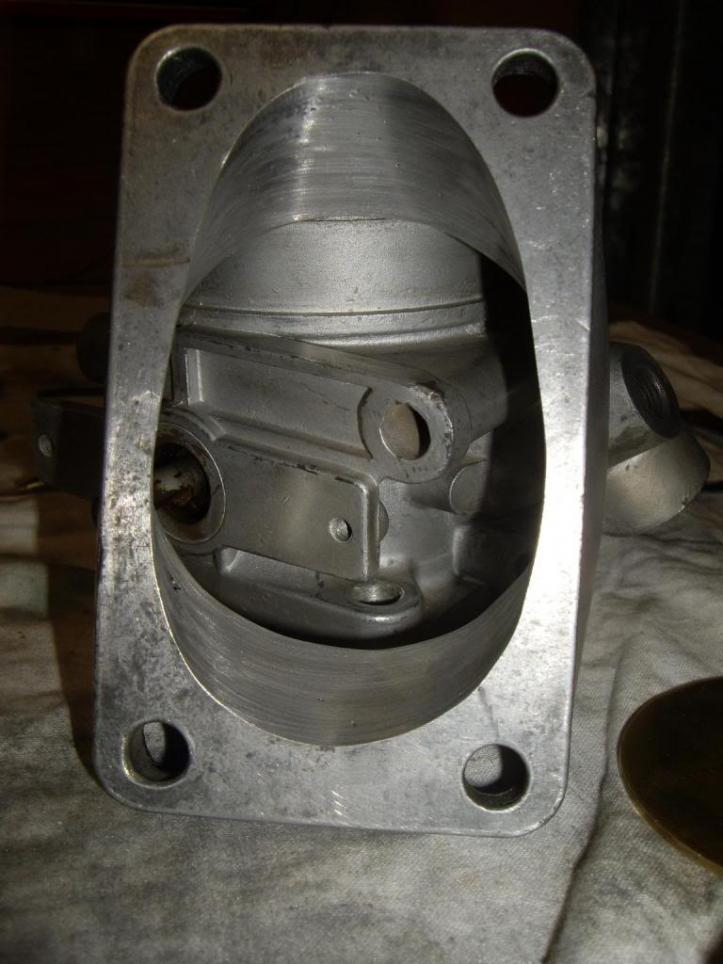
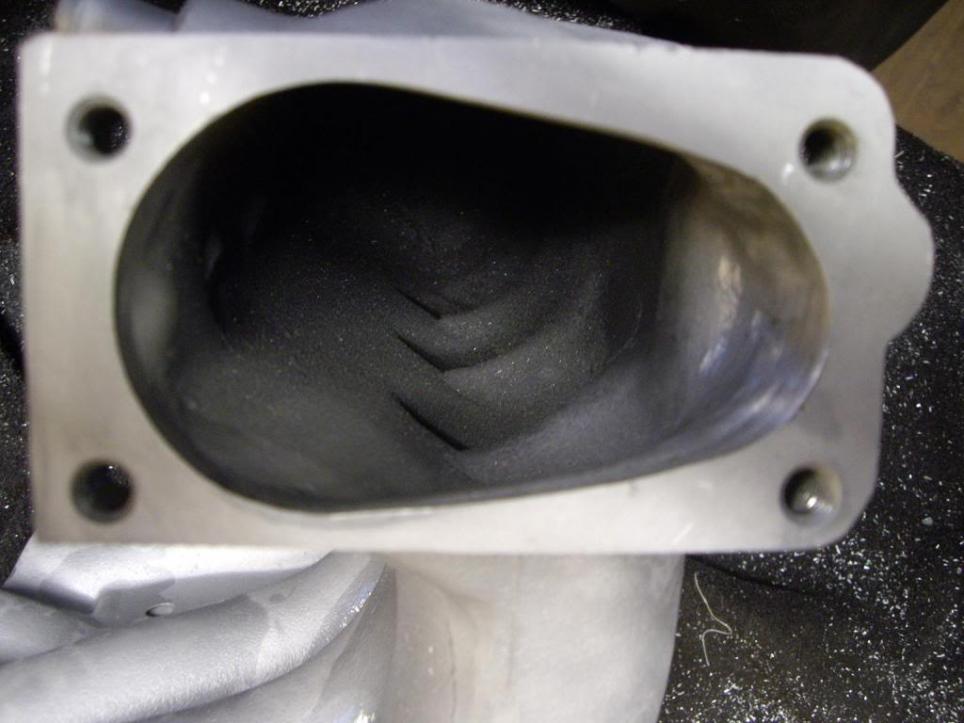
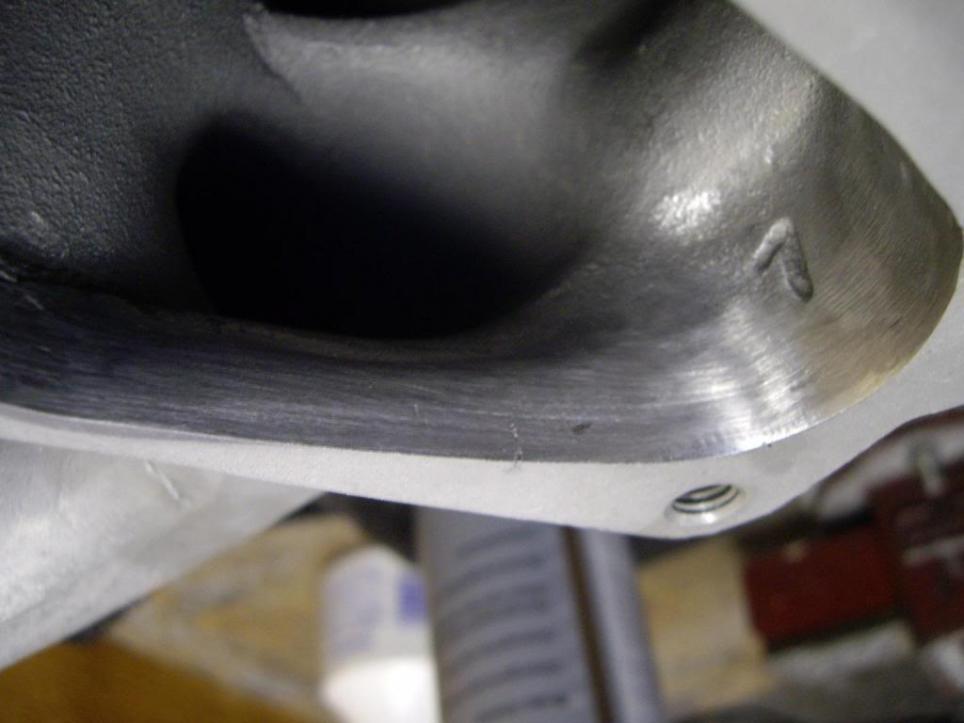
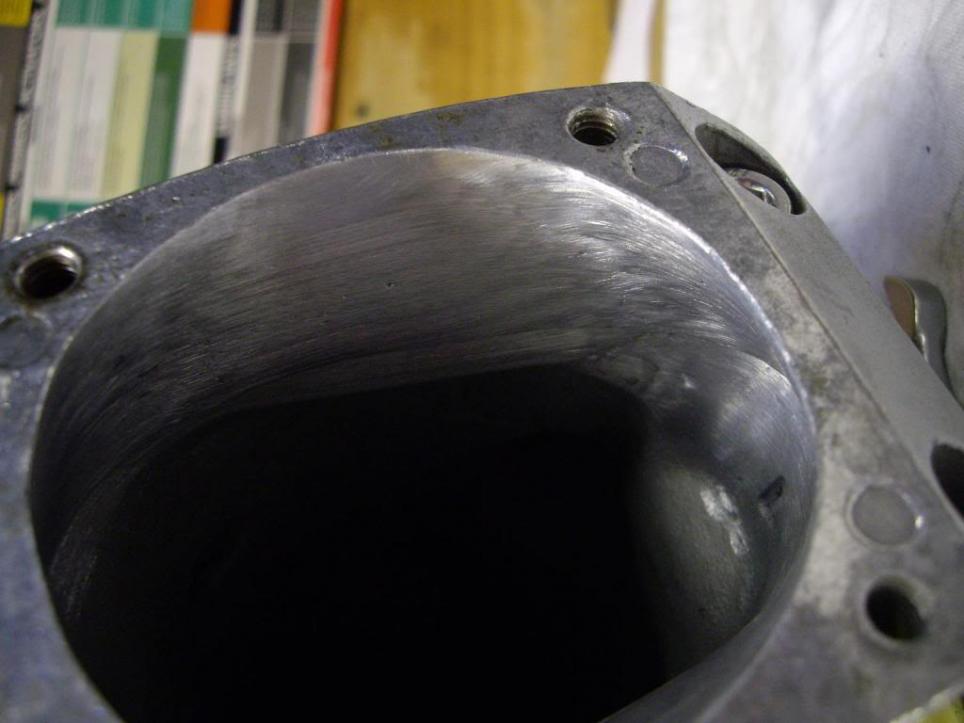
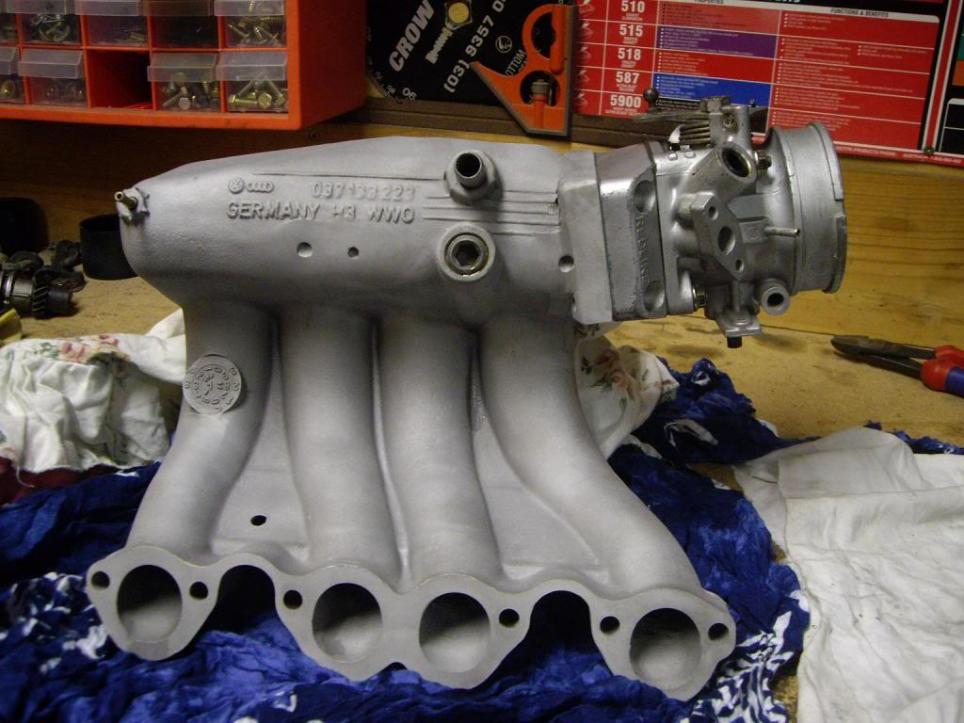
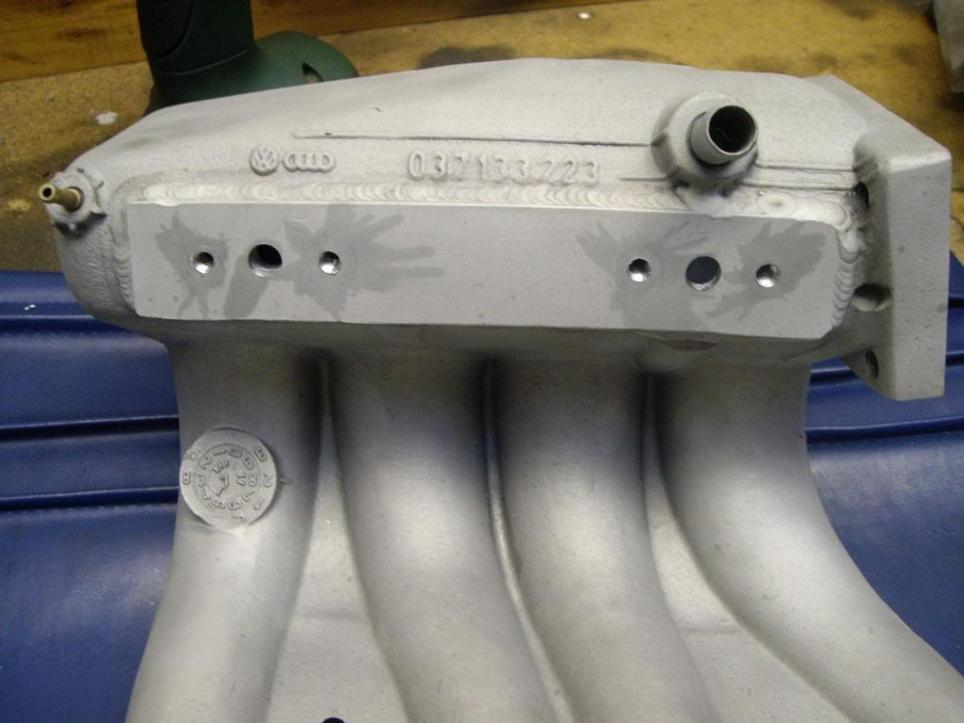
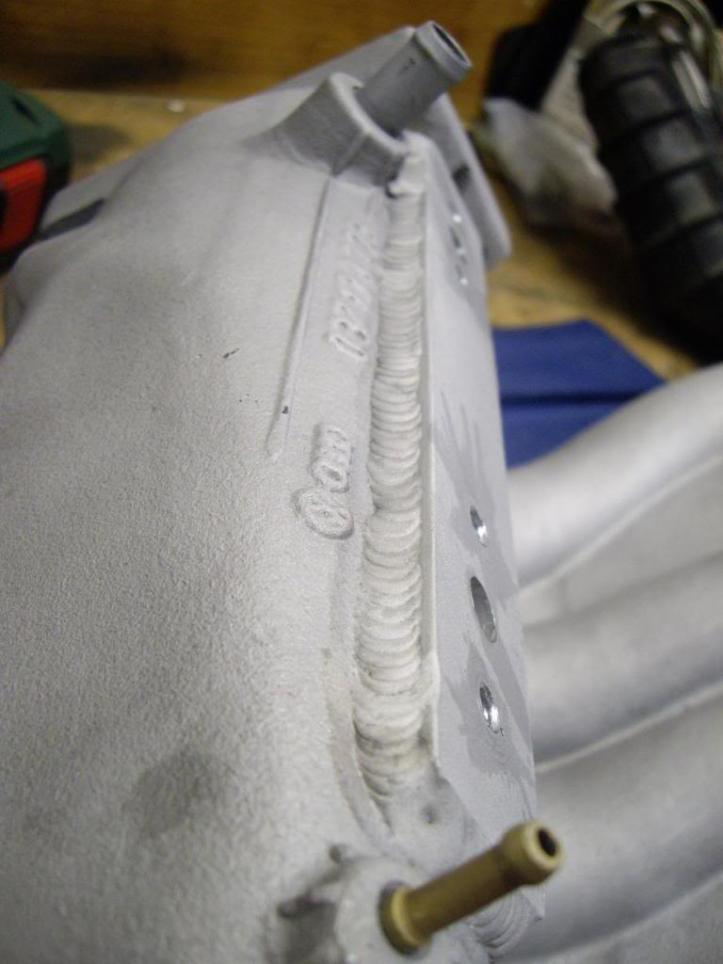
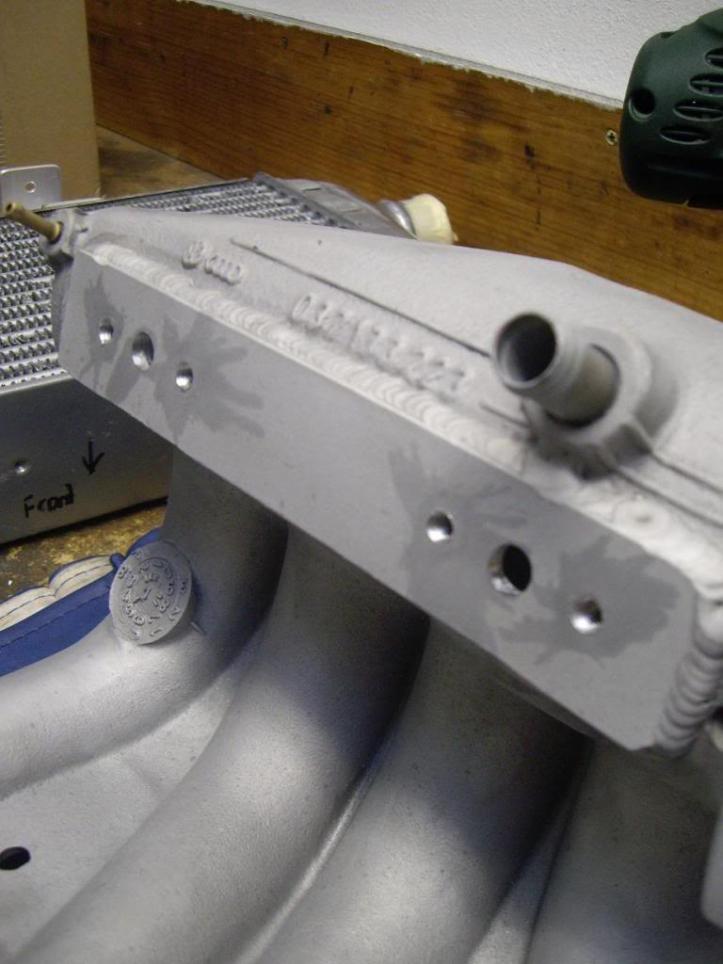
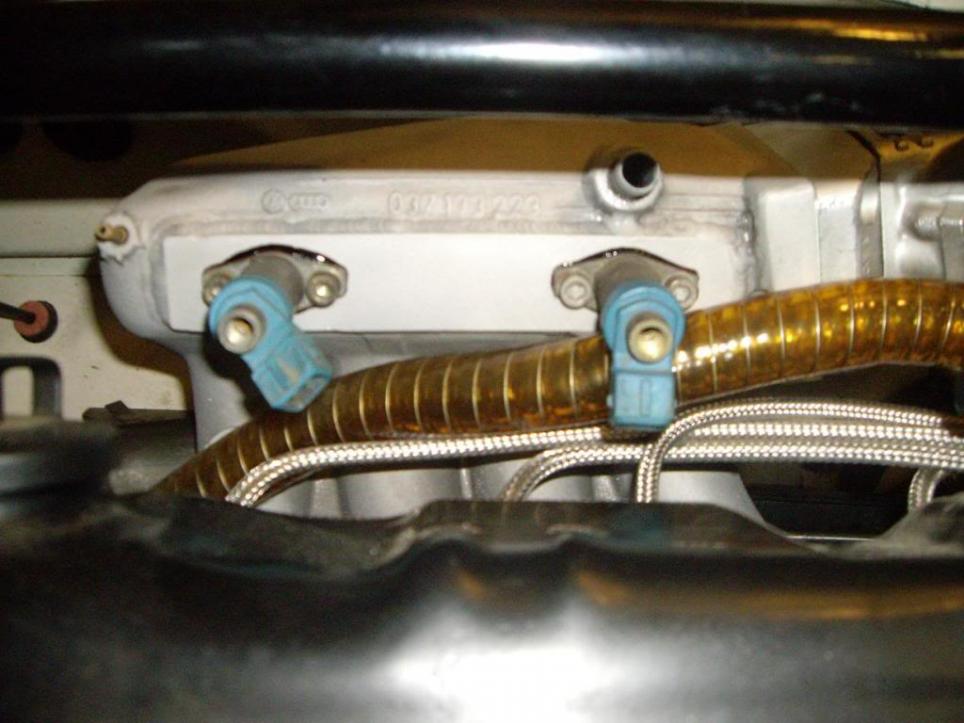
Modified G60 intake
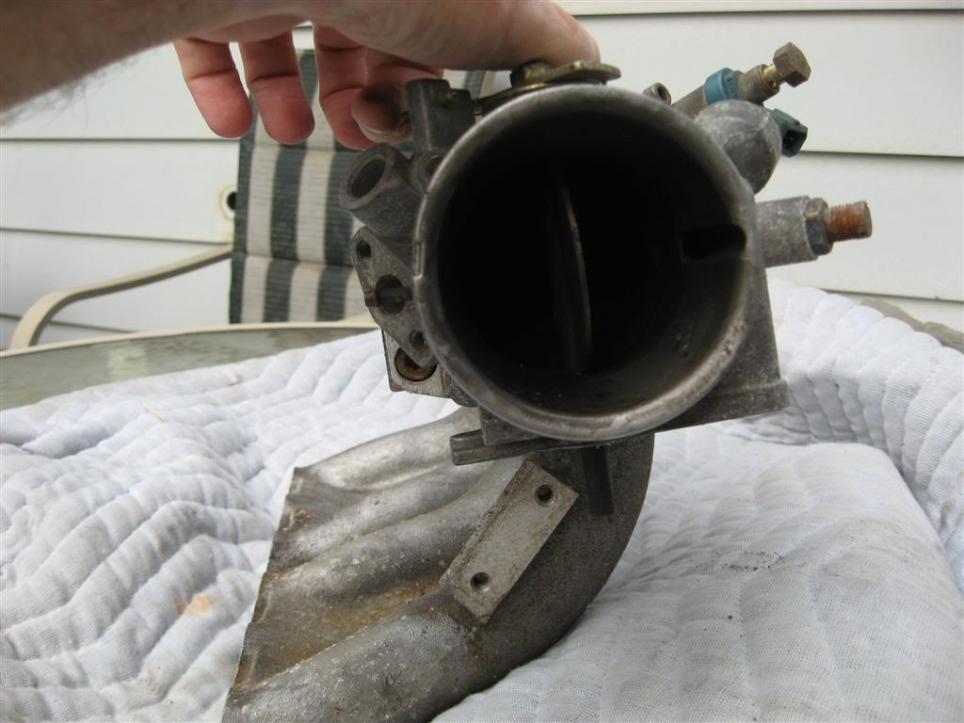
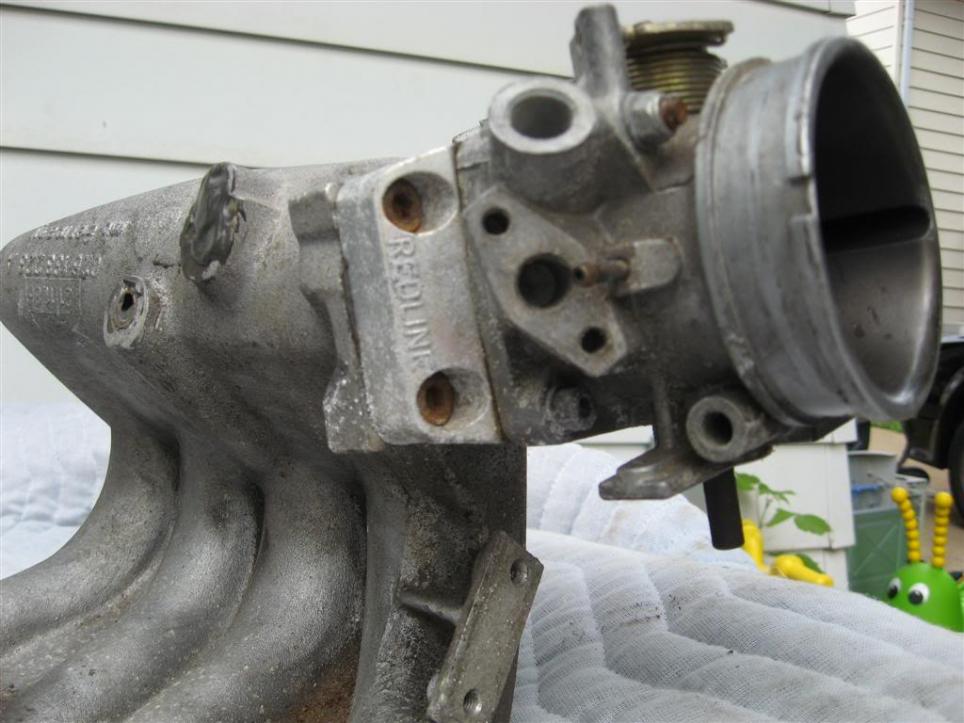
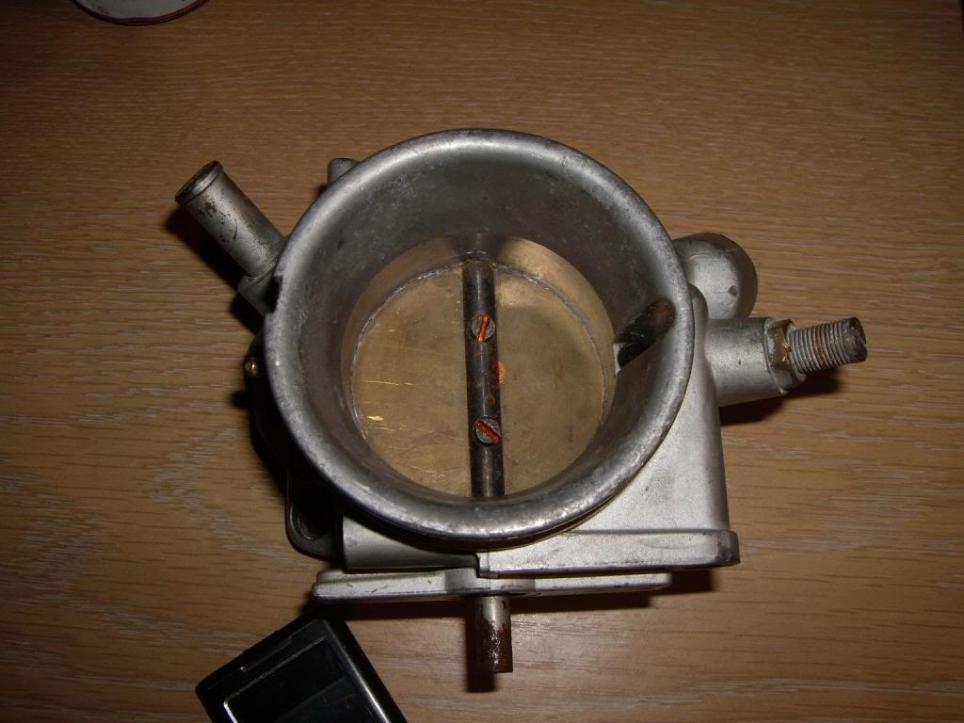
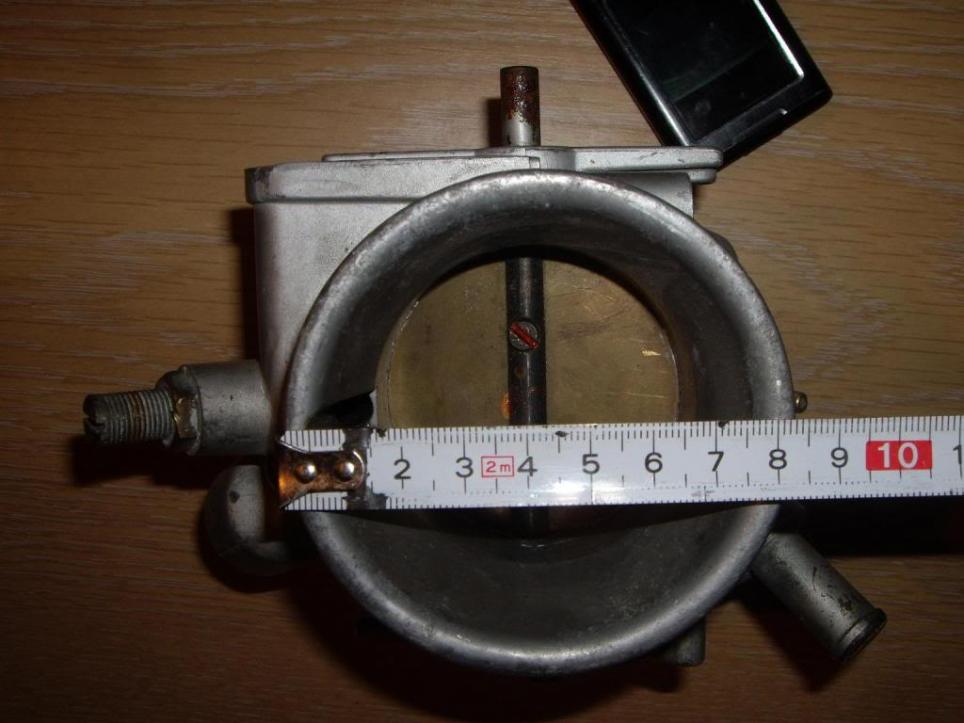
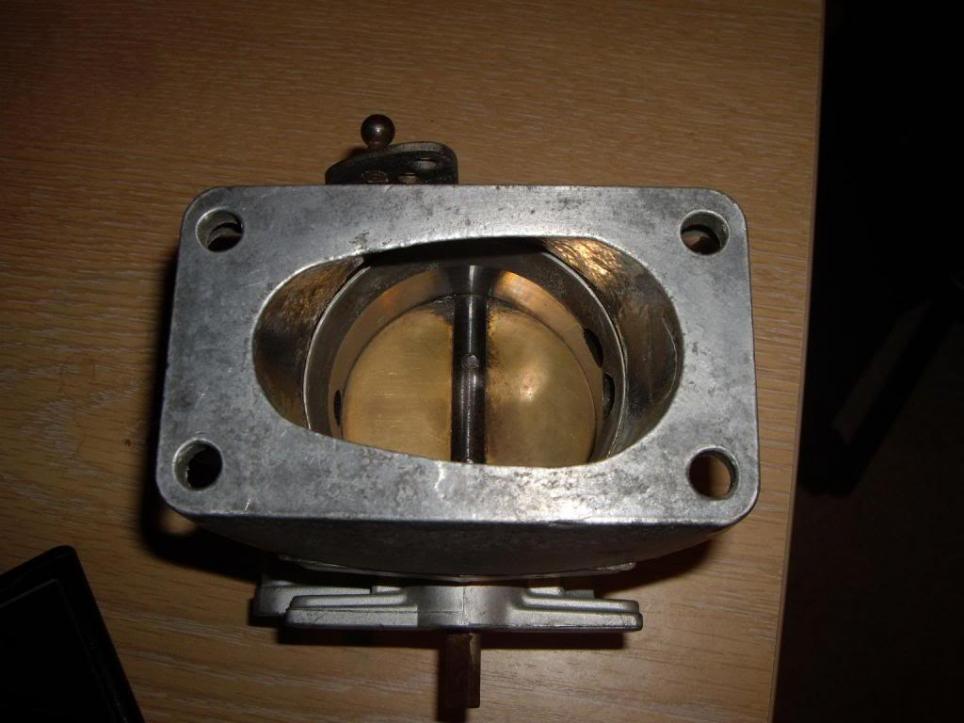
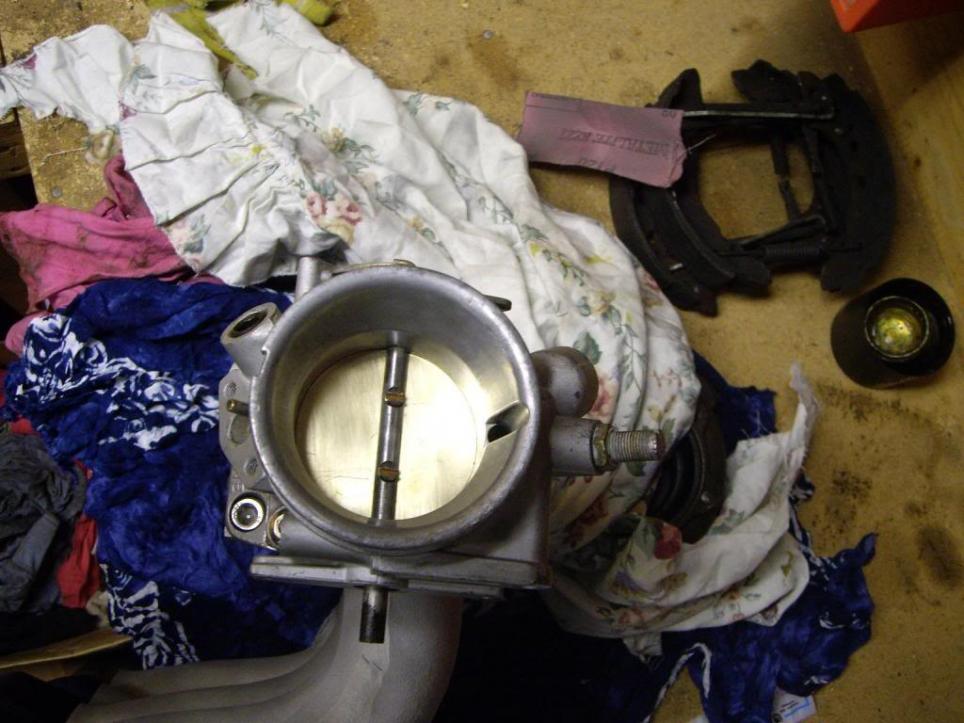
Ol Skool "BIG" Weber/Redline Throttle body I found. (This was a common mod to replace the stock twin throttle body in the 80's & can be a pain in the arse to find one)
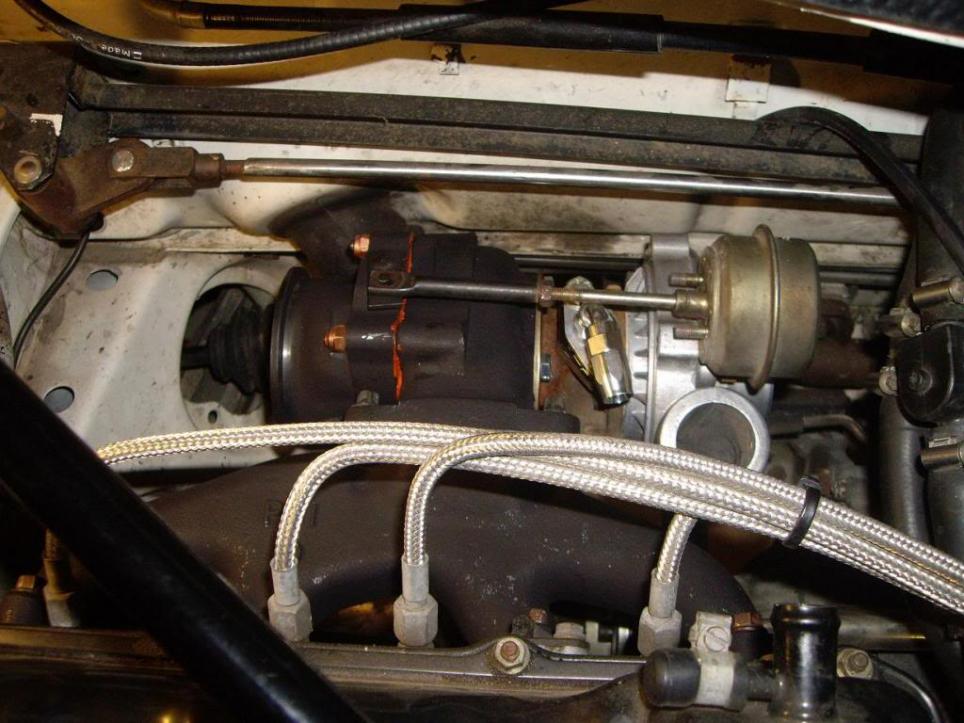
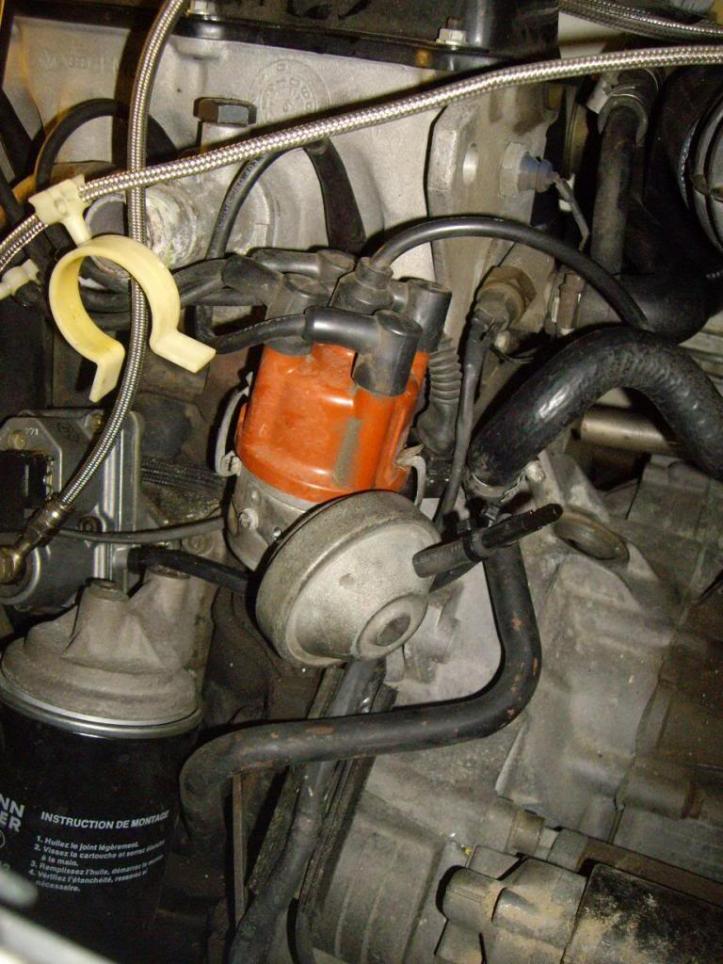
Same stock Volvo K-Jet I've already fitted, except deleted Aux. air valve & Cold start valve
Audi 5000T boost referenced Warm up Regulator
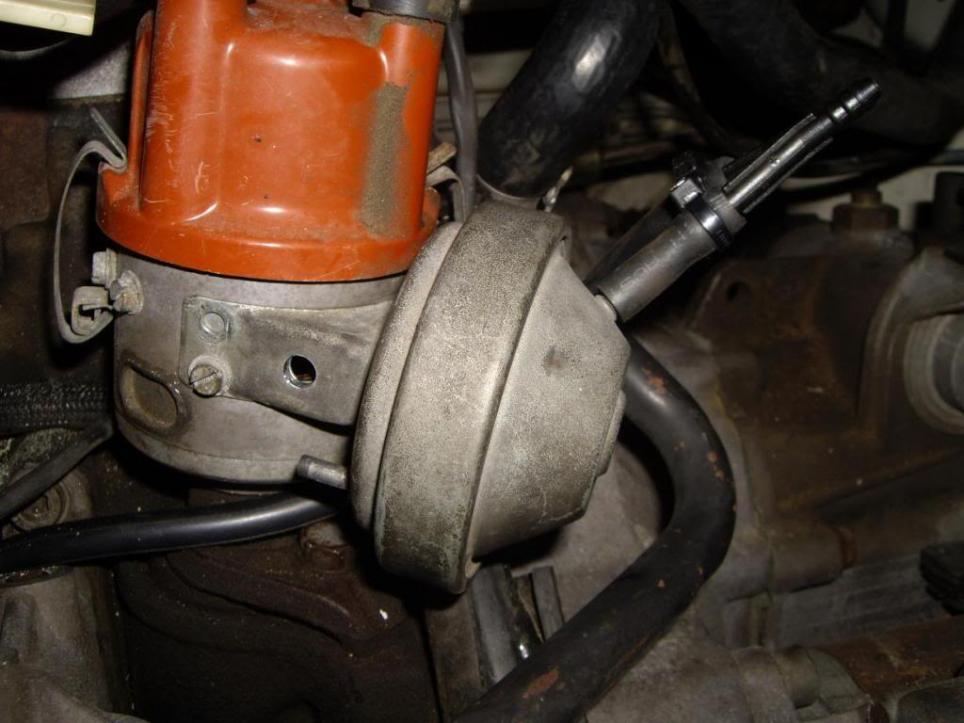
Stock modified Distributor
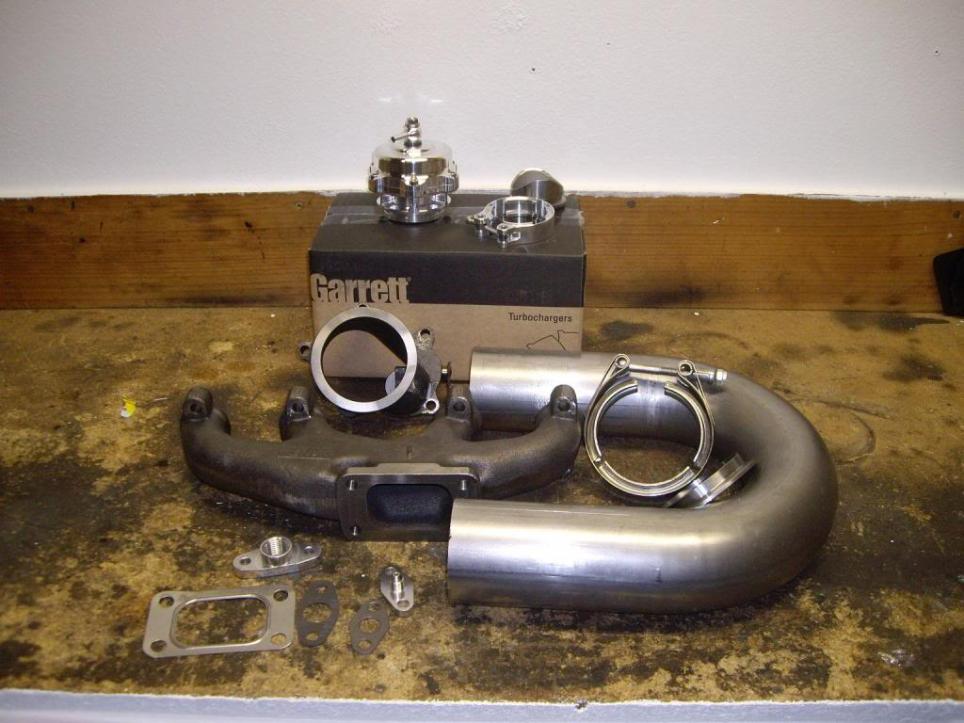
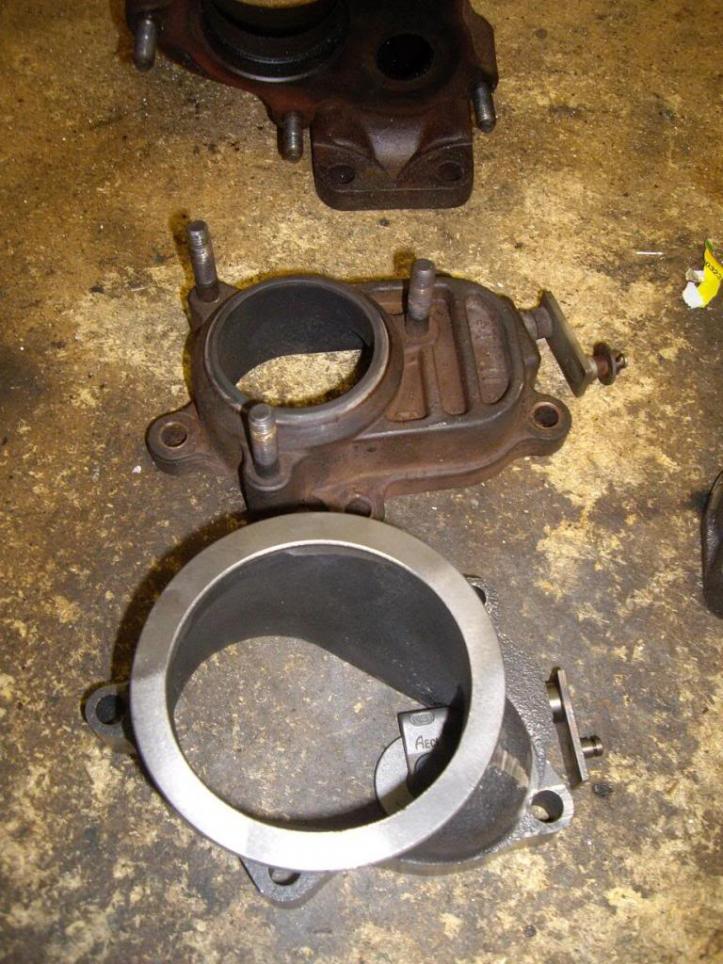
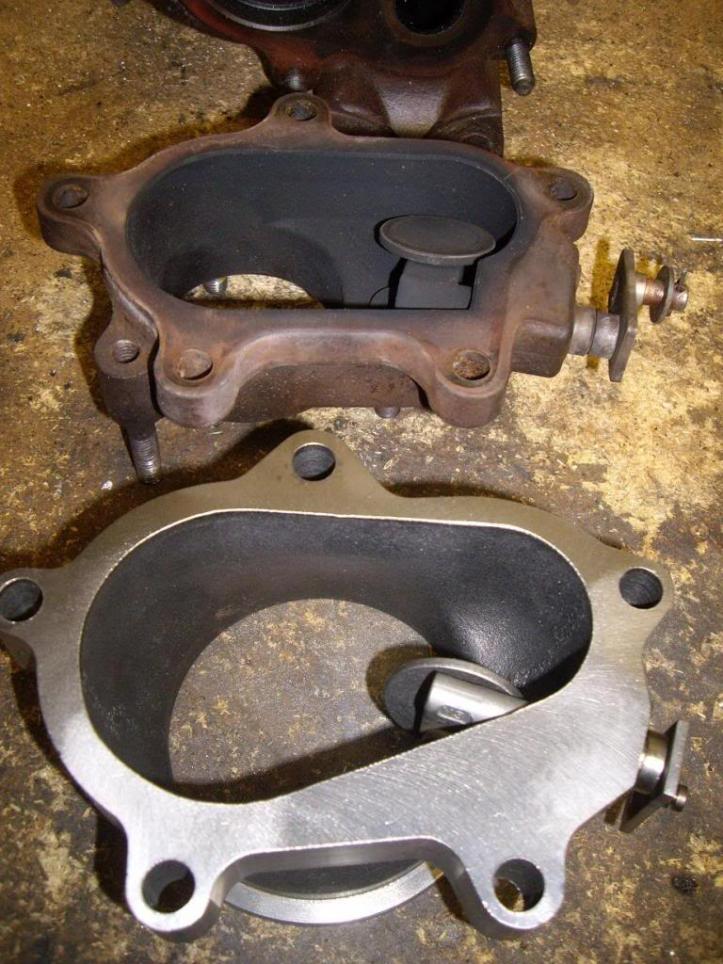
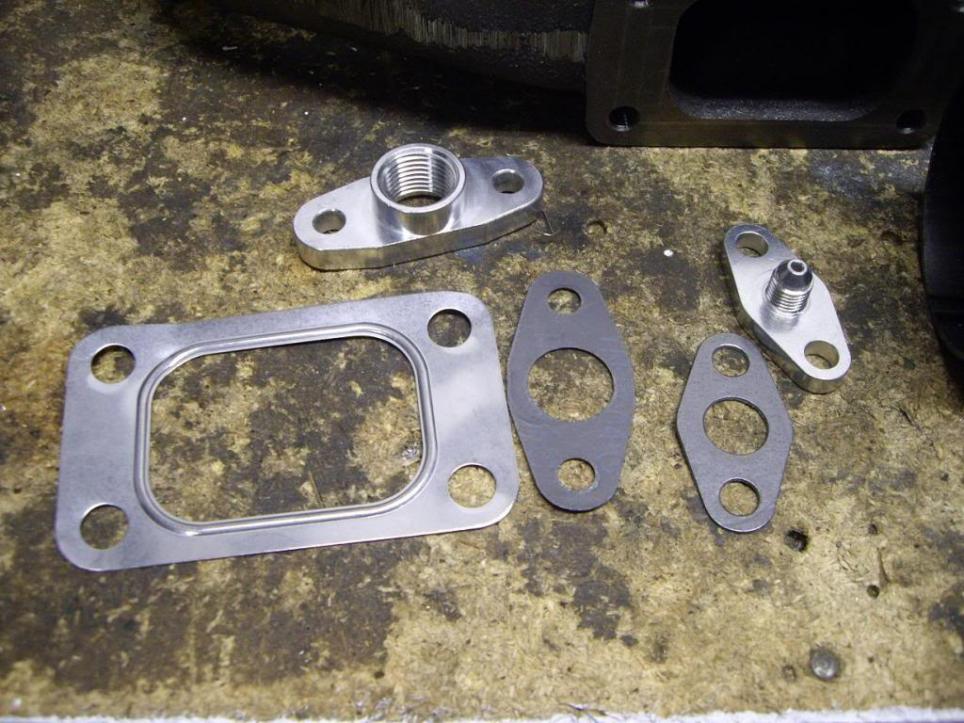
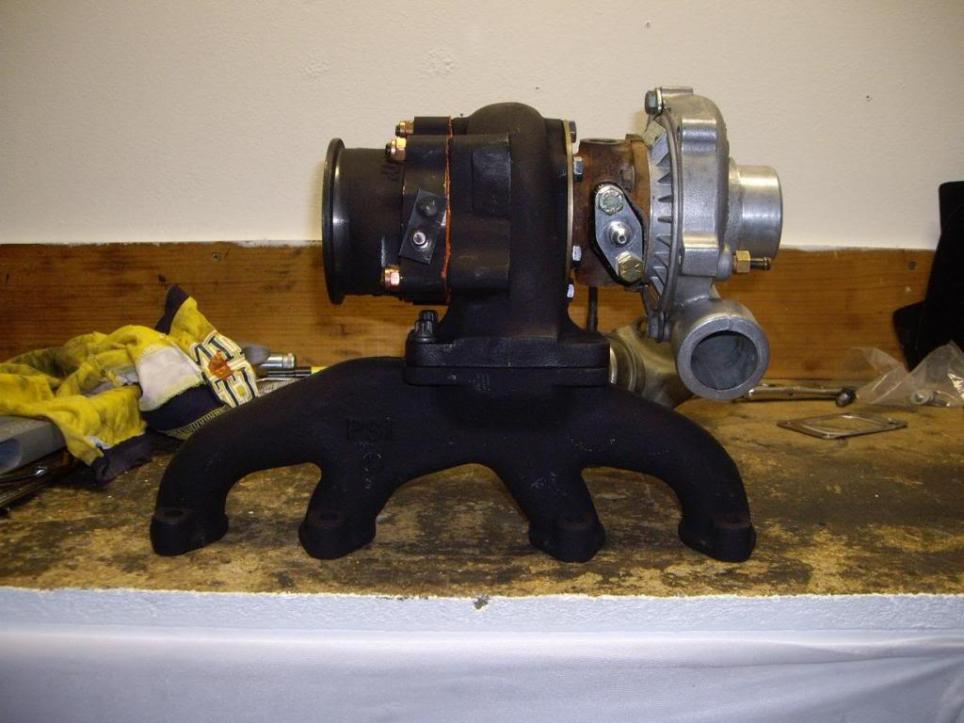
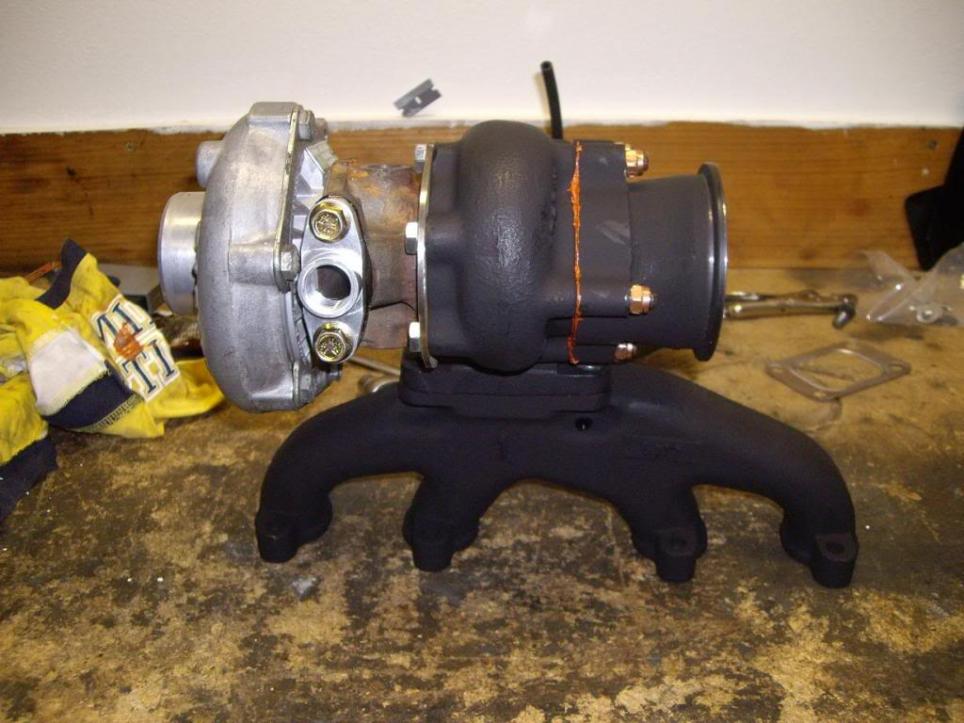
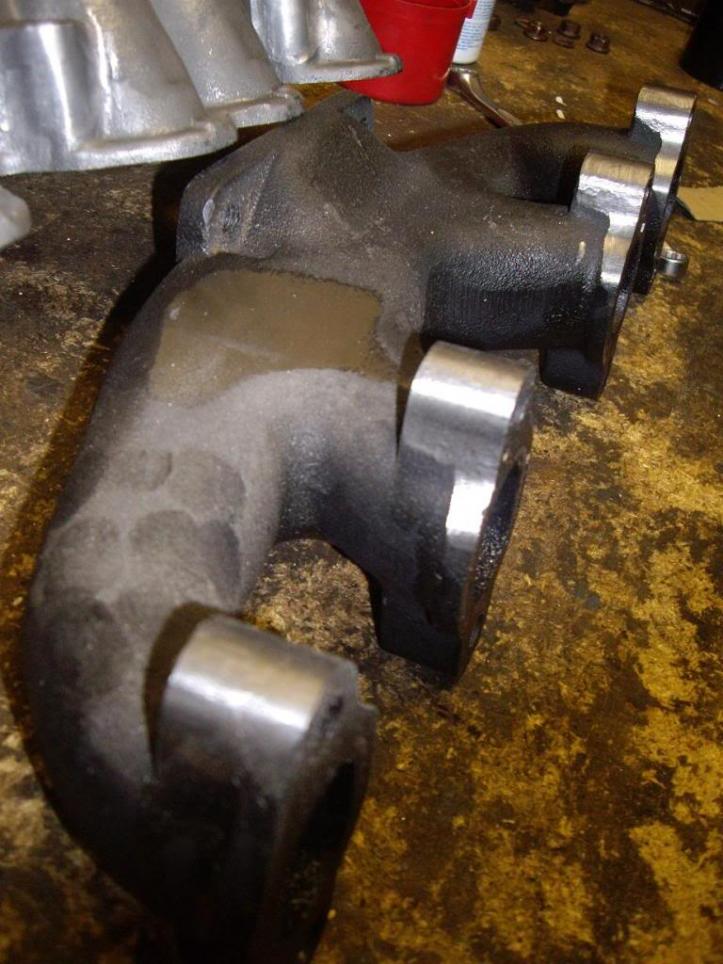
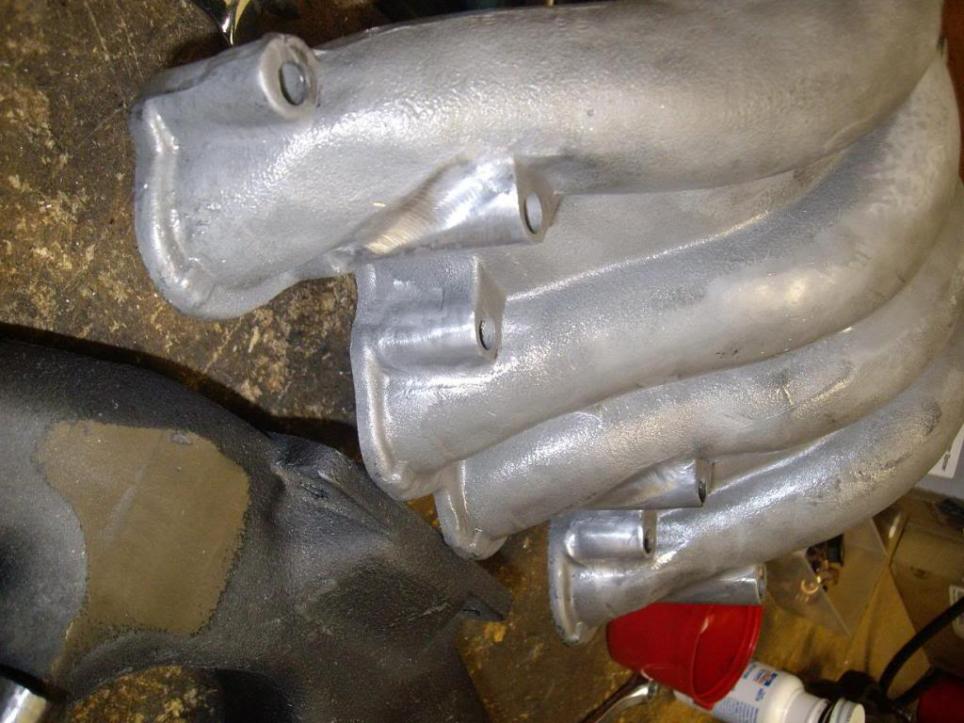
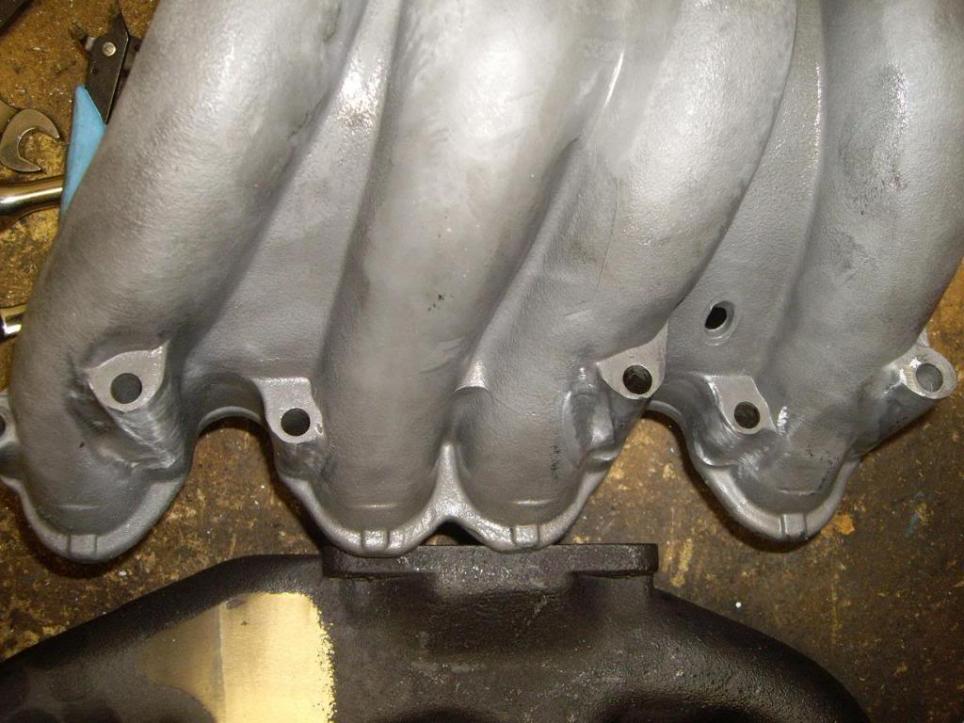
ATP Cast 8V exhaust manifold
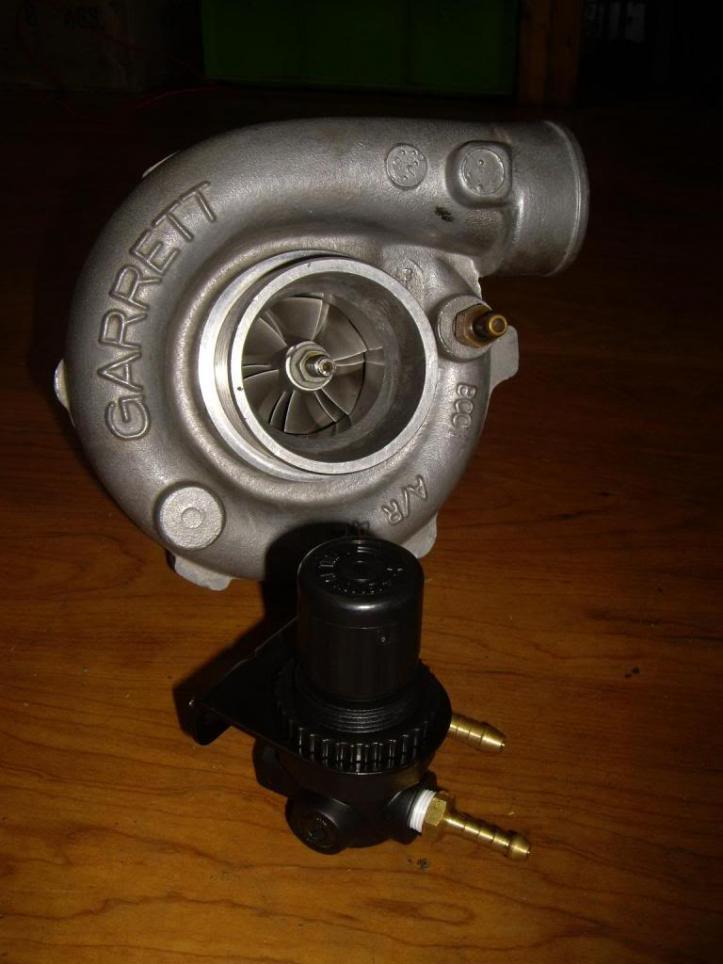
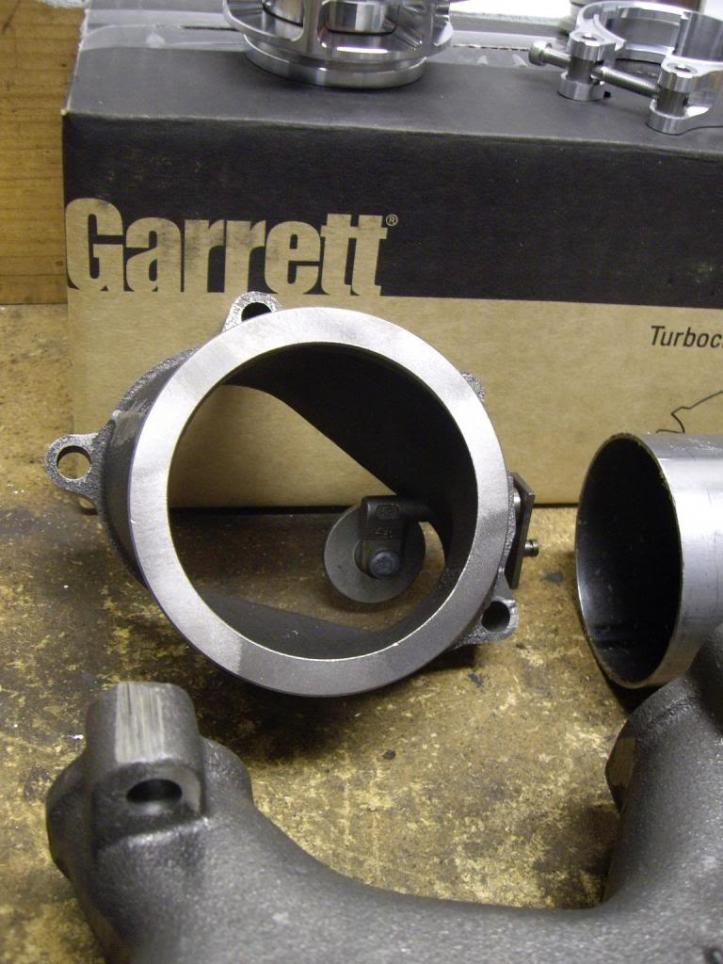
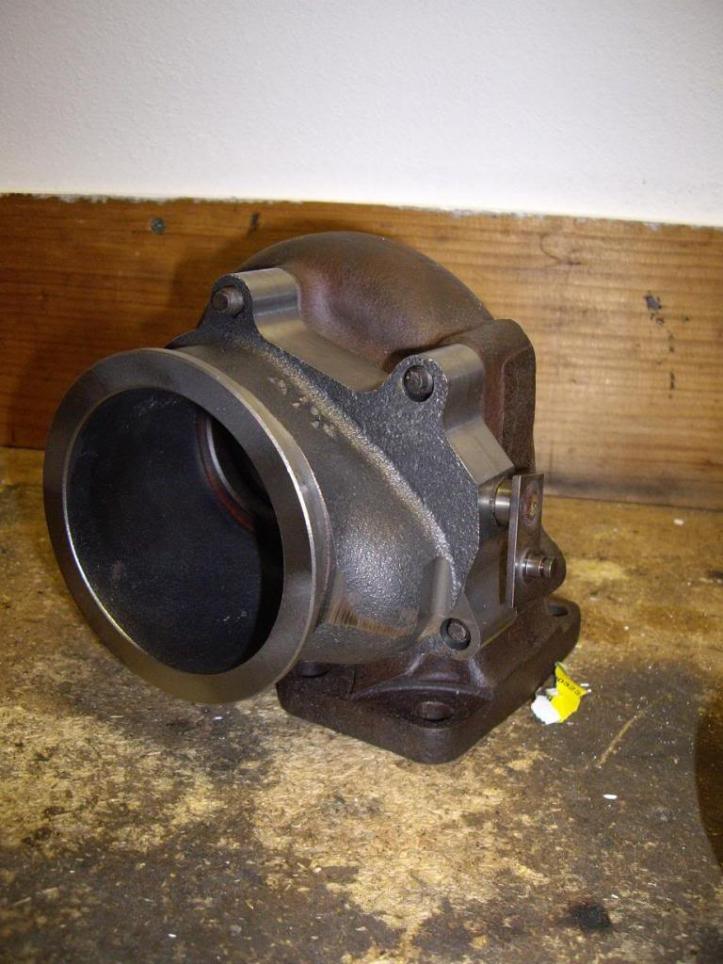
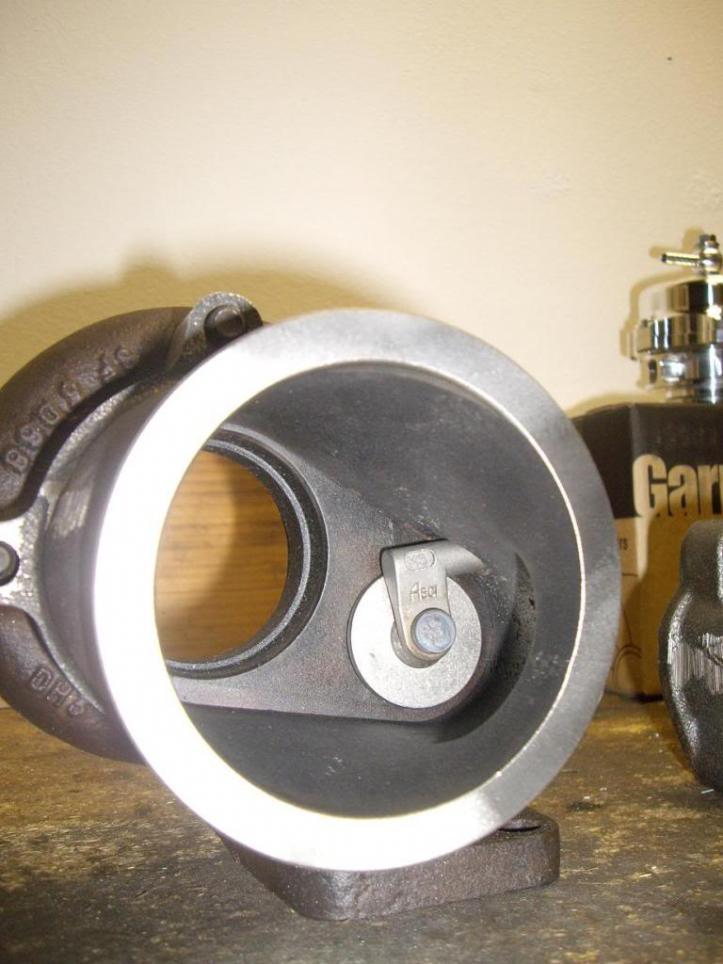
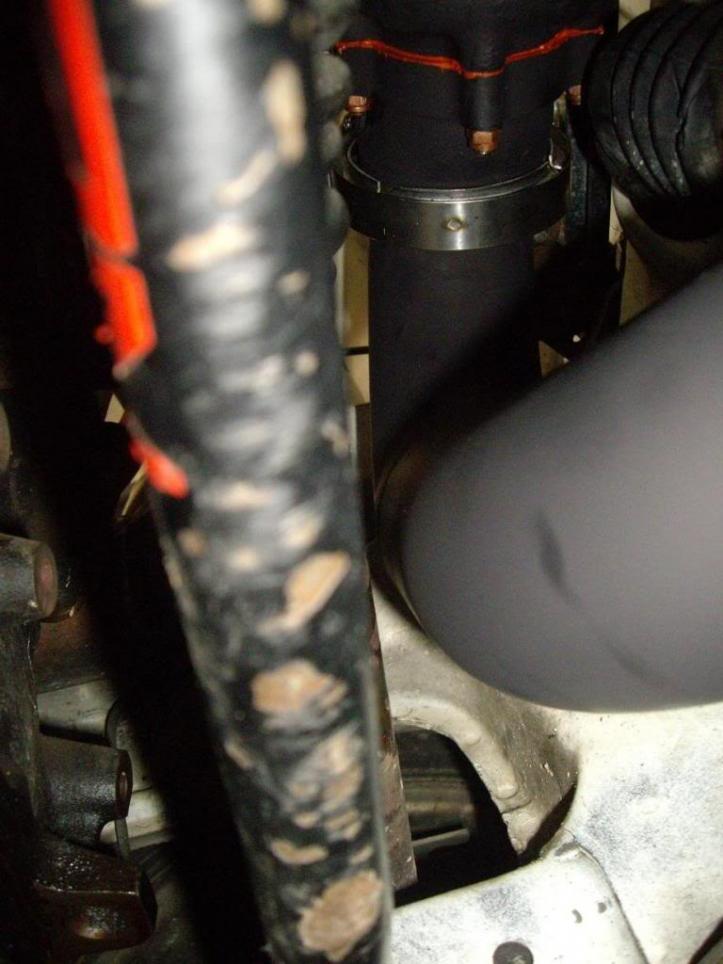
Saab T3 oil/watercooled turbo. V-Band 3" wastegate/dump pipe
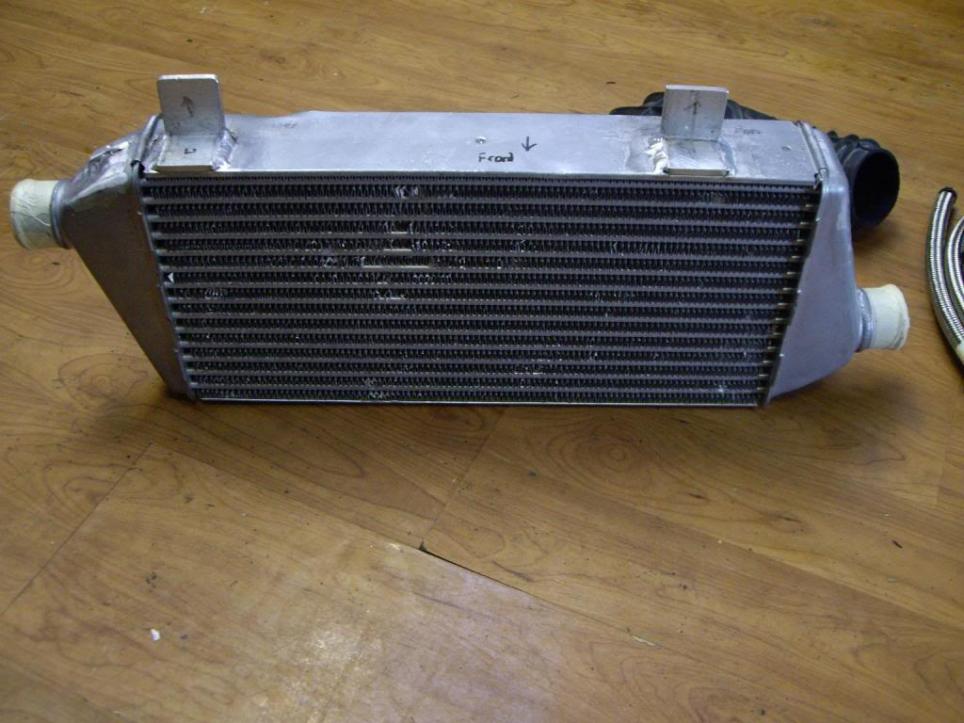
Mitsubishi Galant VR4 Intercooler
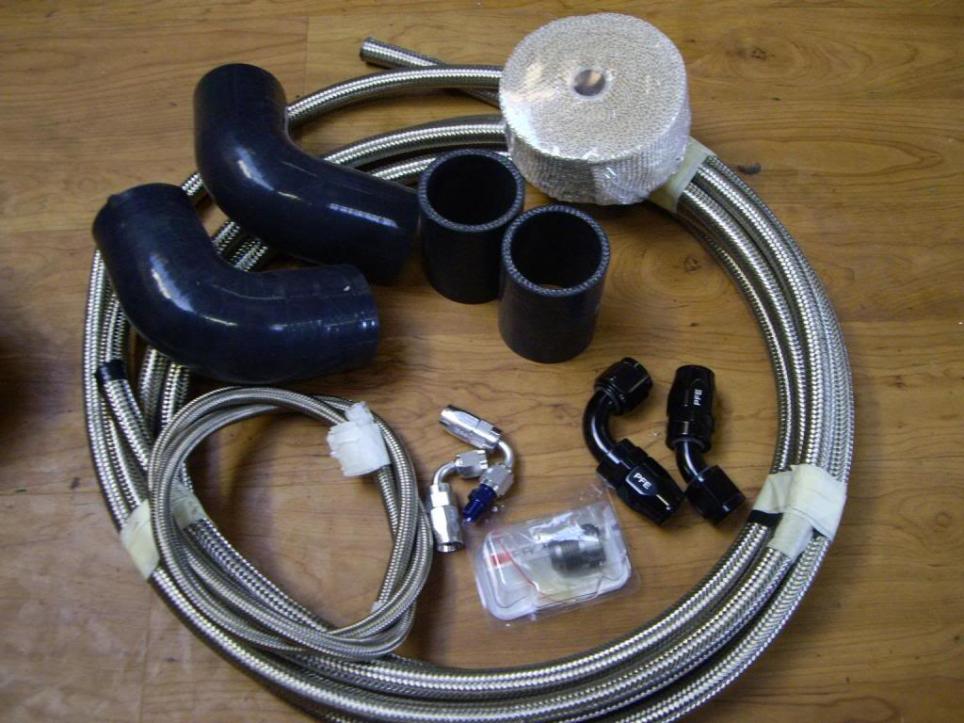
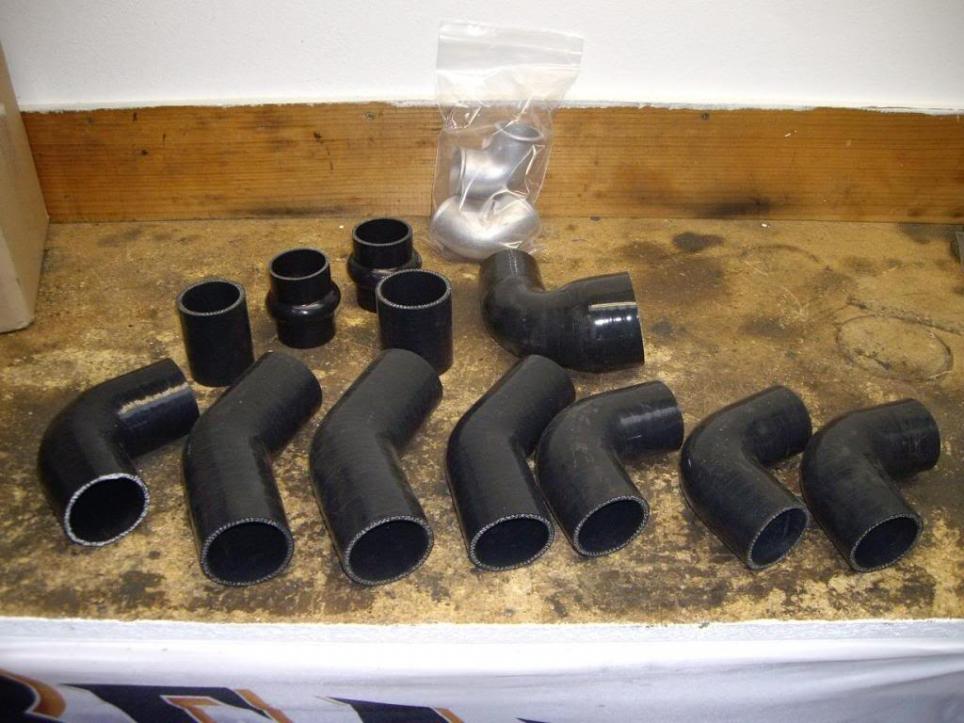
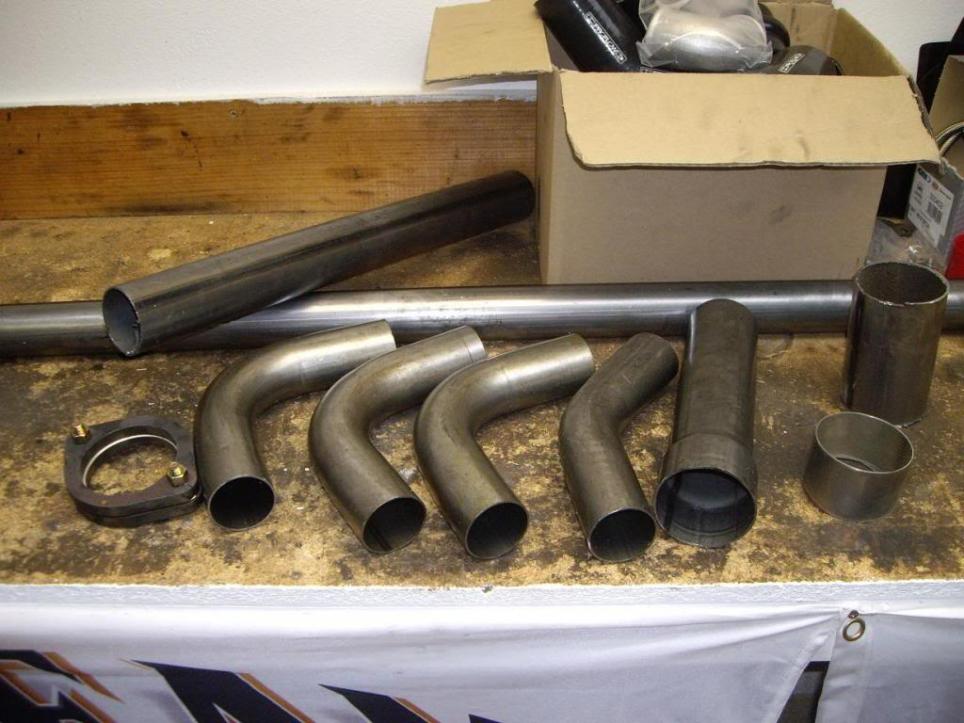
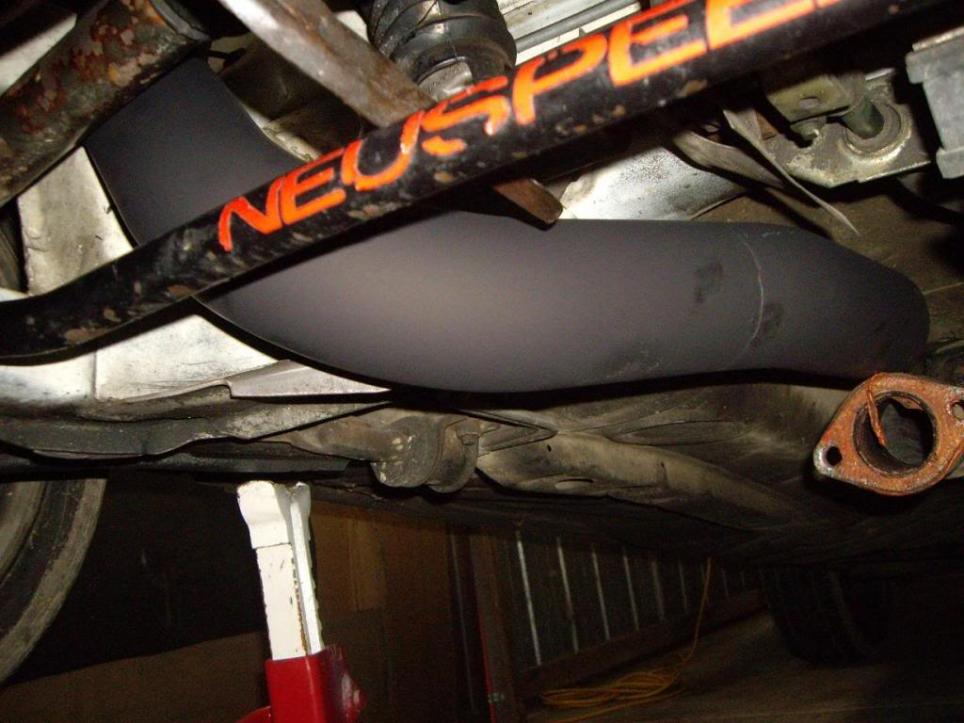
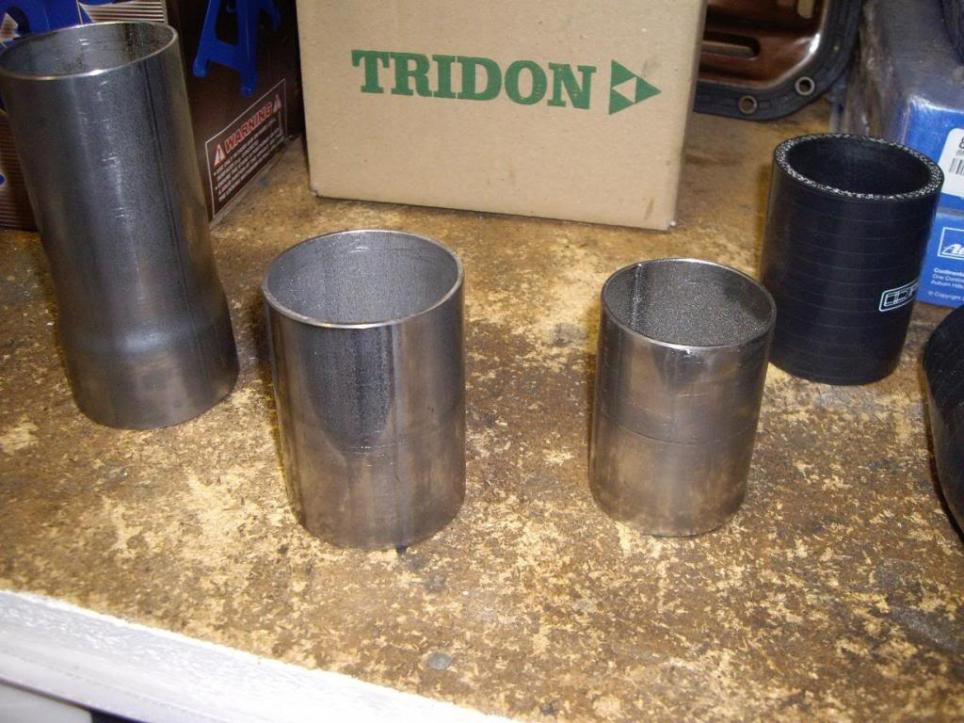
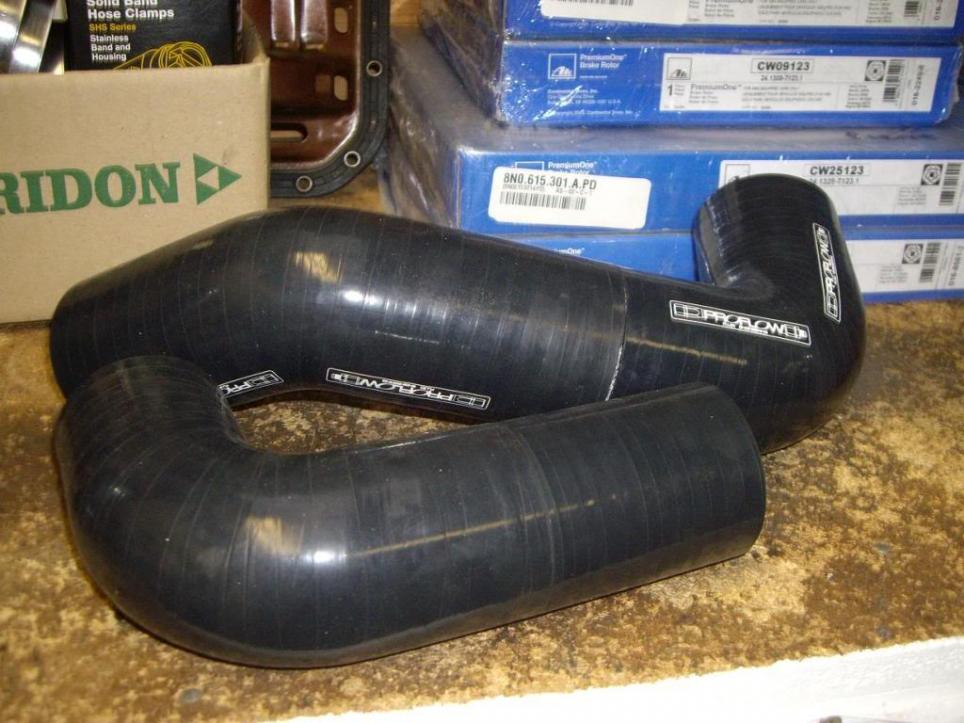
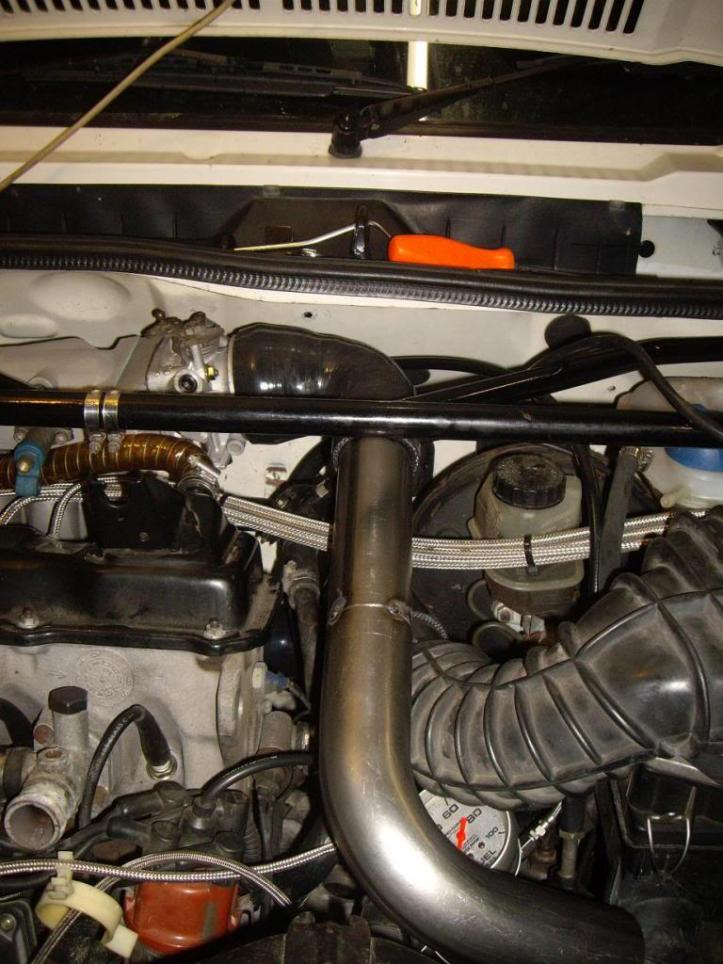
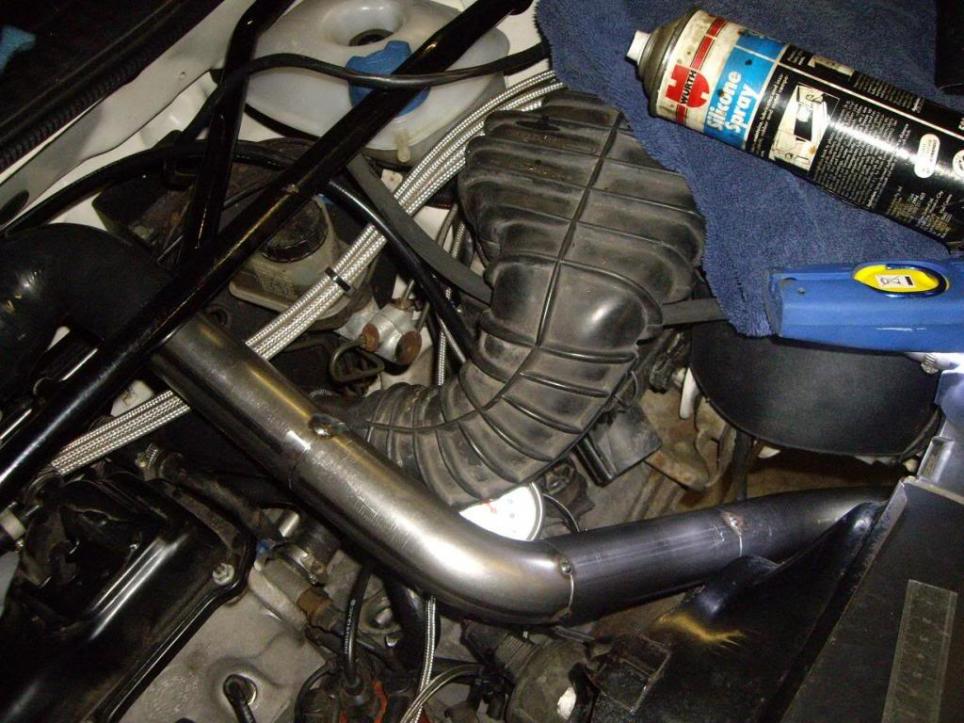
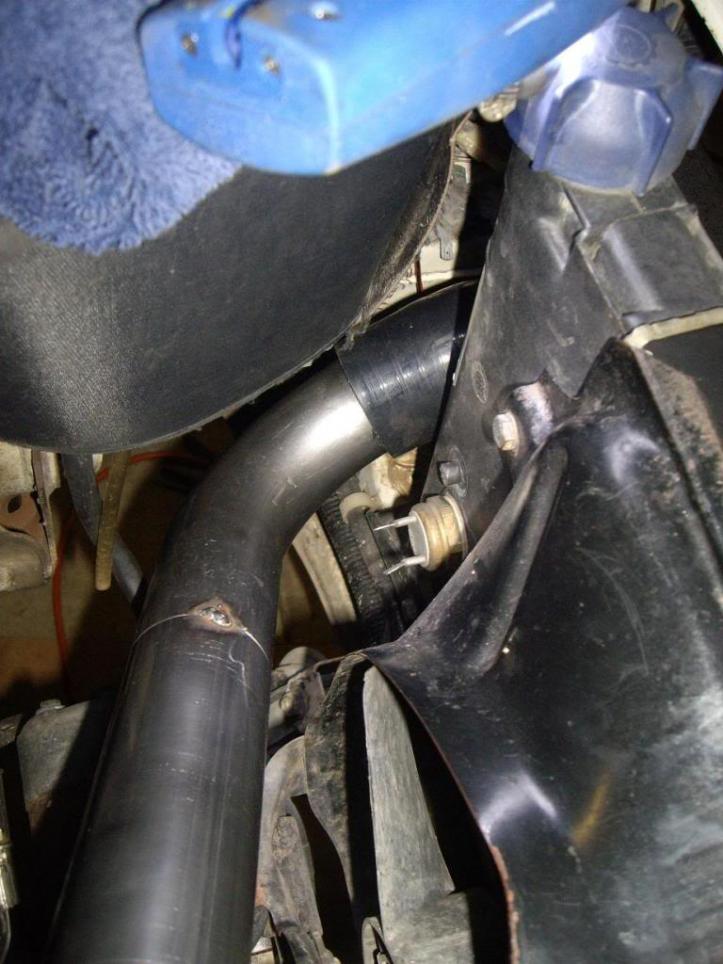
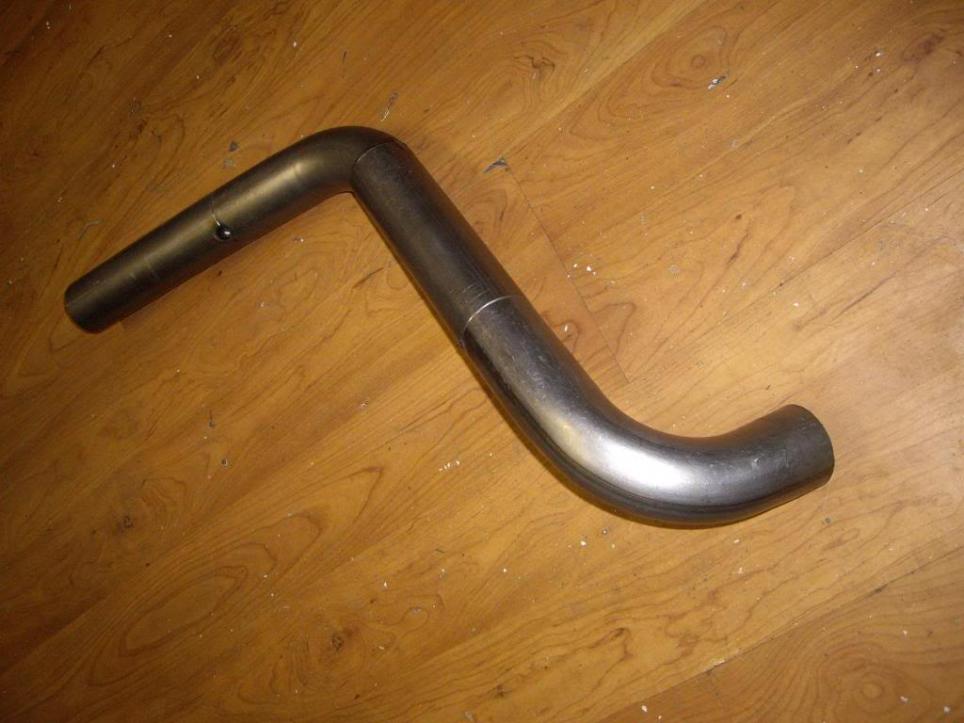
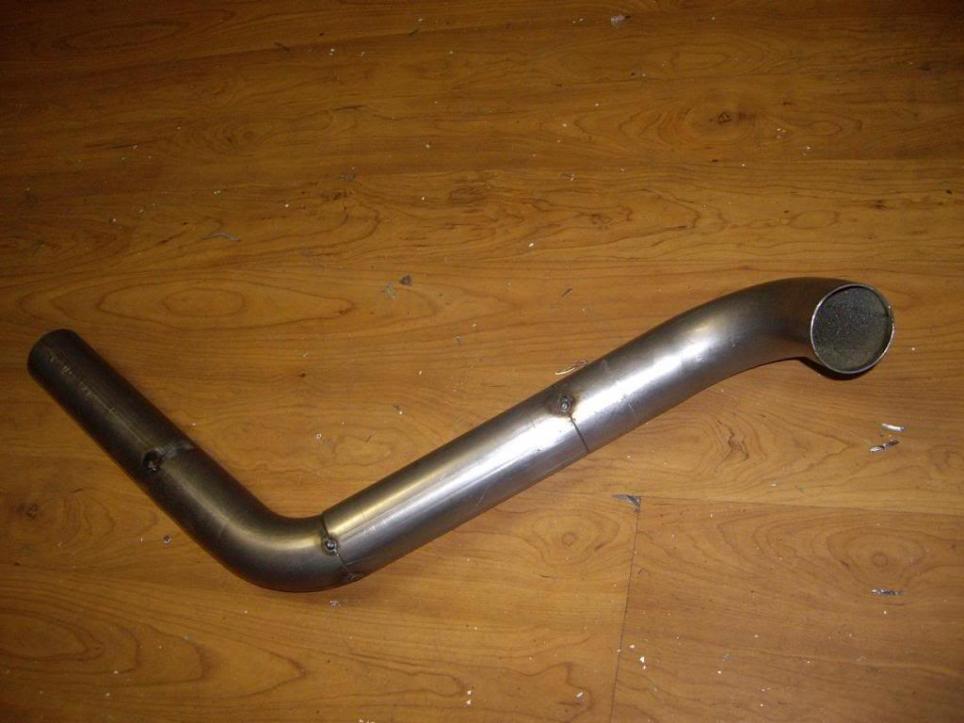
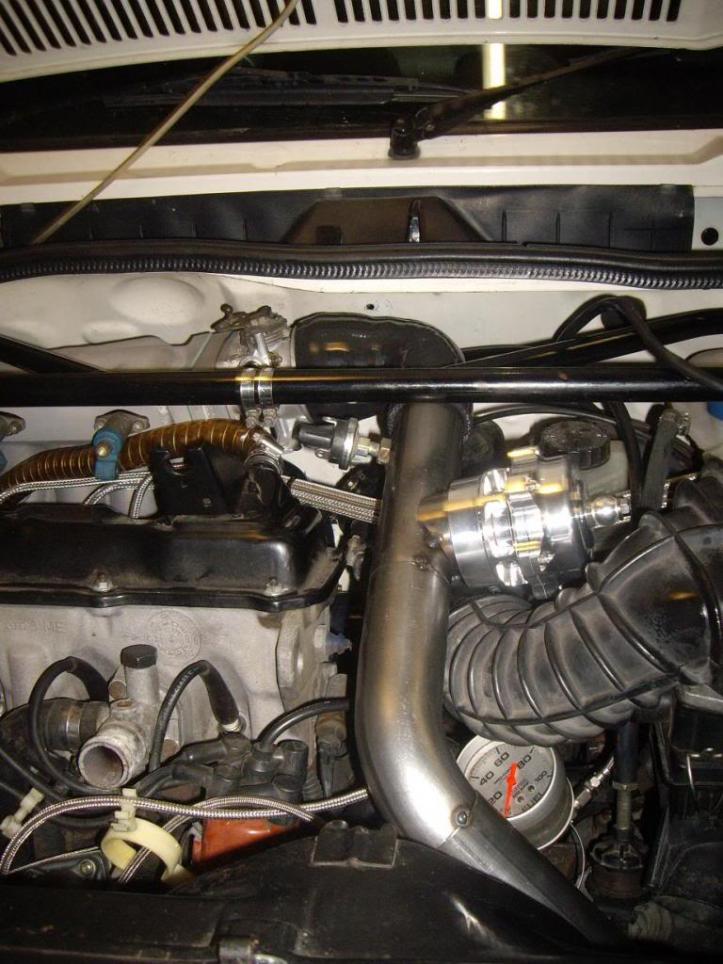
Custom 2.5" exhaust & 2" intercooler piping
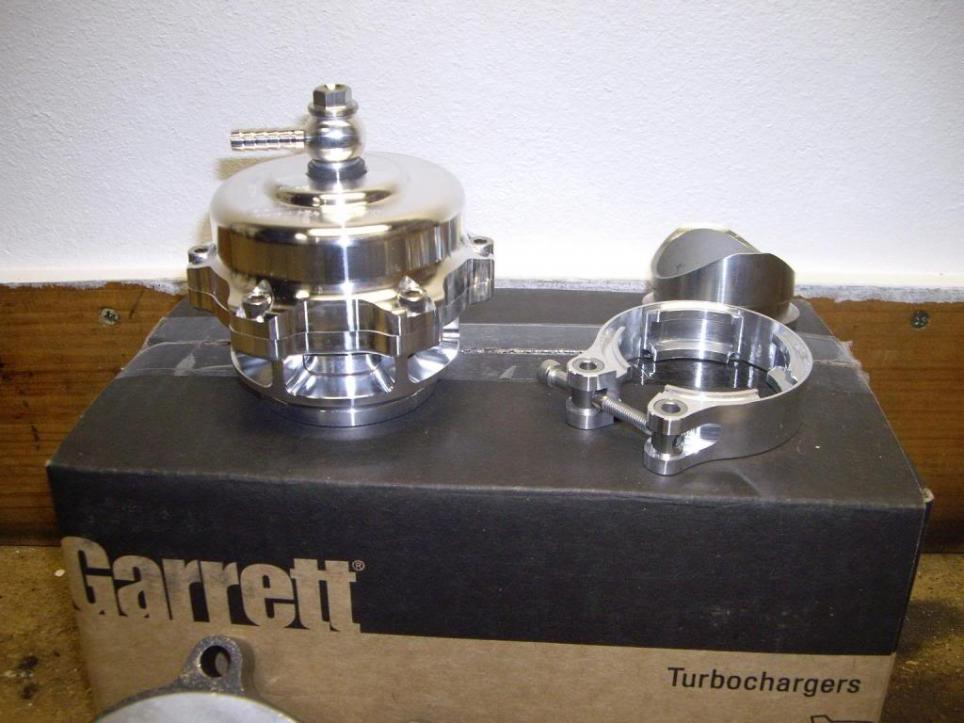
Tial 50mm BOV. (I'll be using this for my next project in the future.)
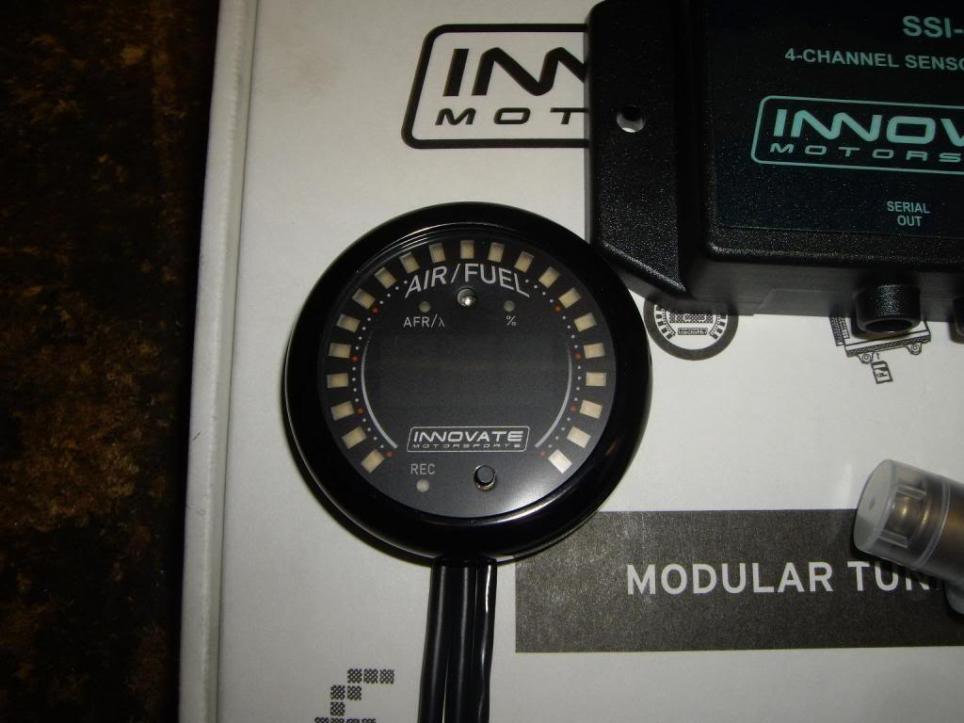
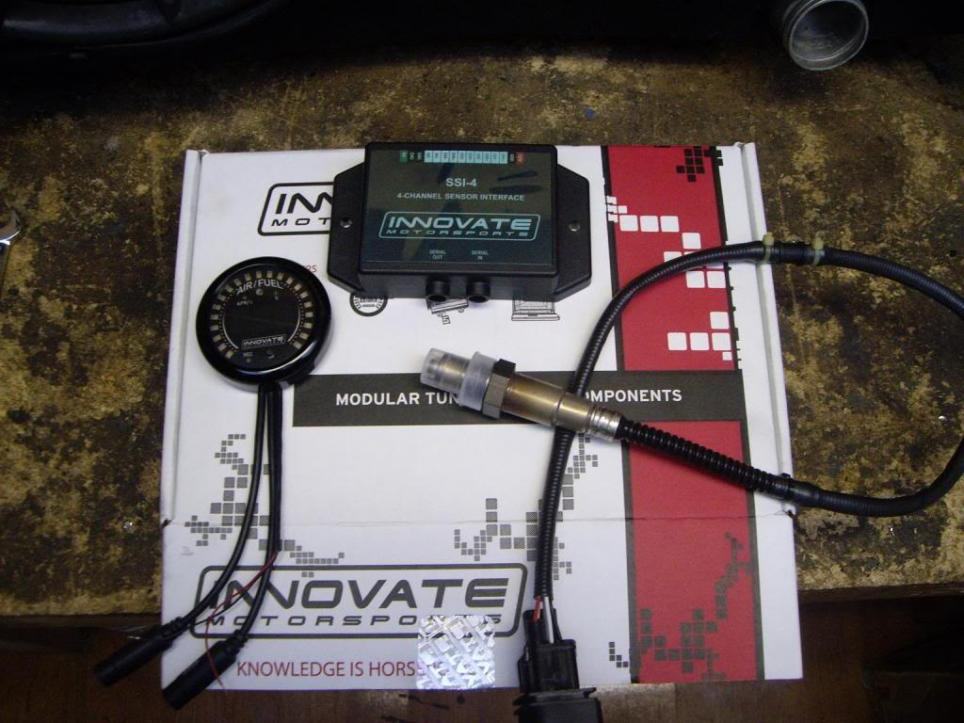
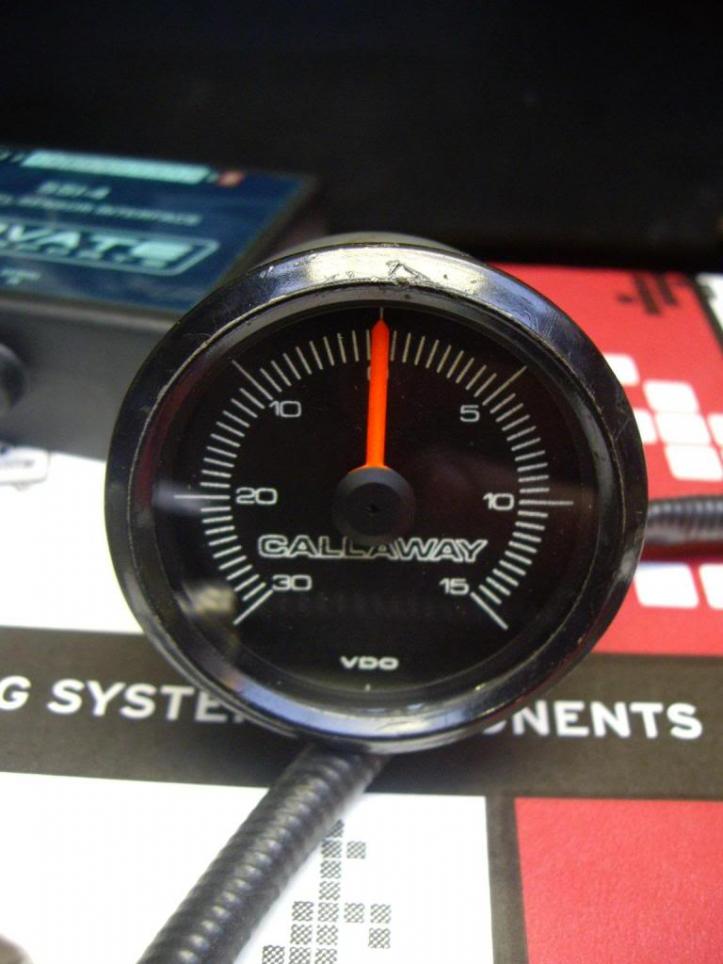
I'll also be fitting a Innovate Motorsport's wideband Air/Fuel meter/data logger to help me with the tuning side of thing's along with a modified Autometer fuel pressure gauge setup & also my favorite part. A genuine Callaway boost gauge, as fitted as part there Mk1 turbo kit's in the 80's!
I'll be tuning this myself, as there isn't a hell of alot of people out there who can successfully tune this sort of injection system, especially turbocharged too!
Once I'm happy with the tune, I'll put it on a dyno to get a idea of the power output.
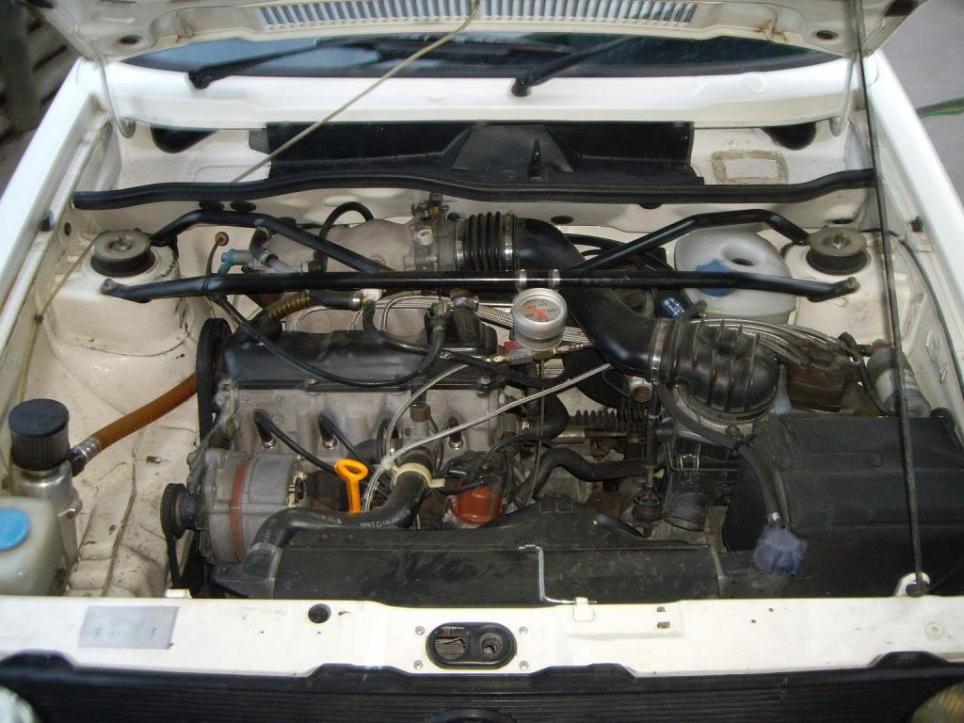
I'm still waiting on some part's to arrive soon, but I'll post up what I've got & work done so far.
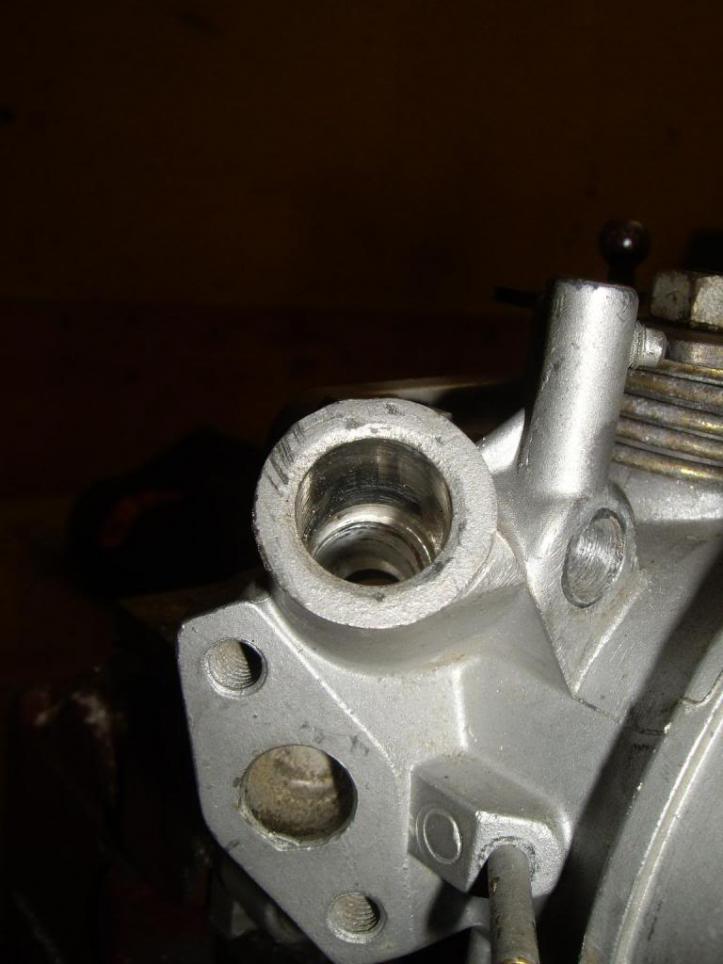
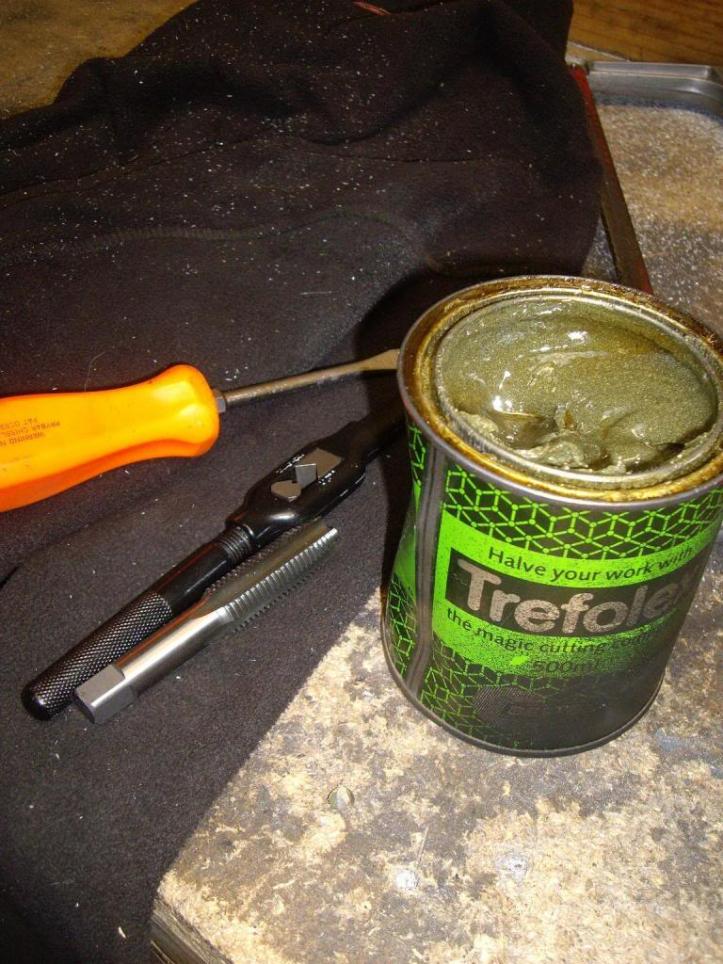
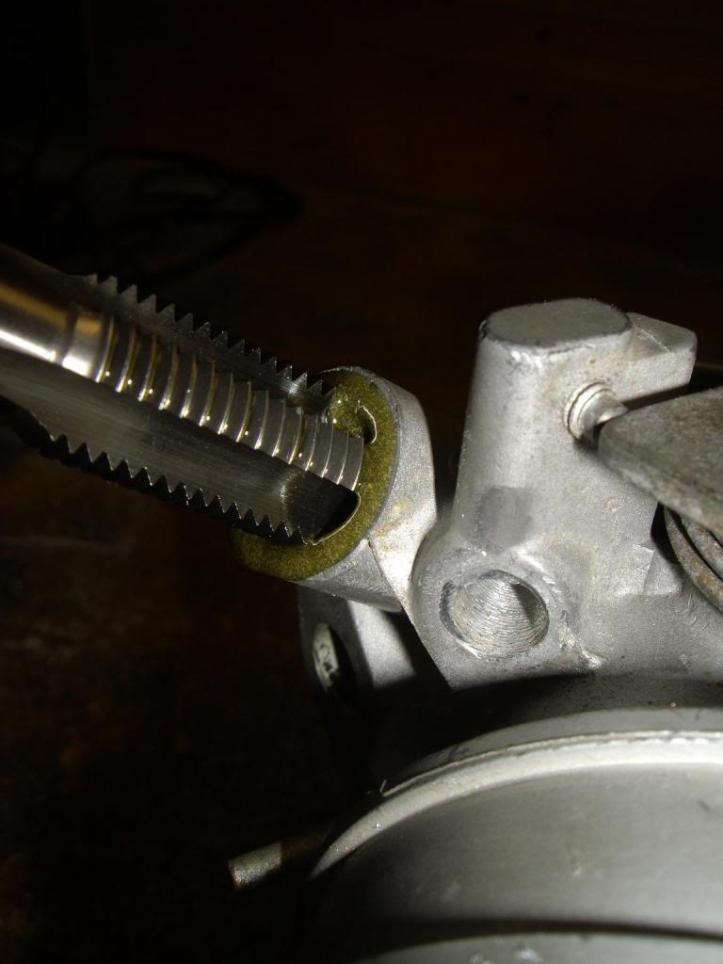
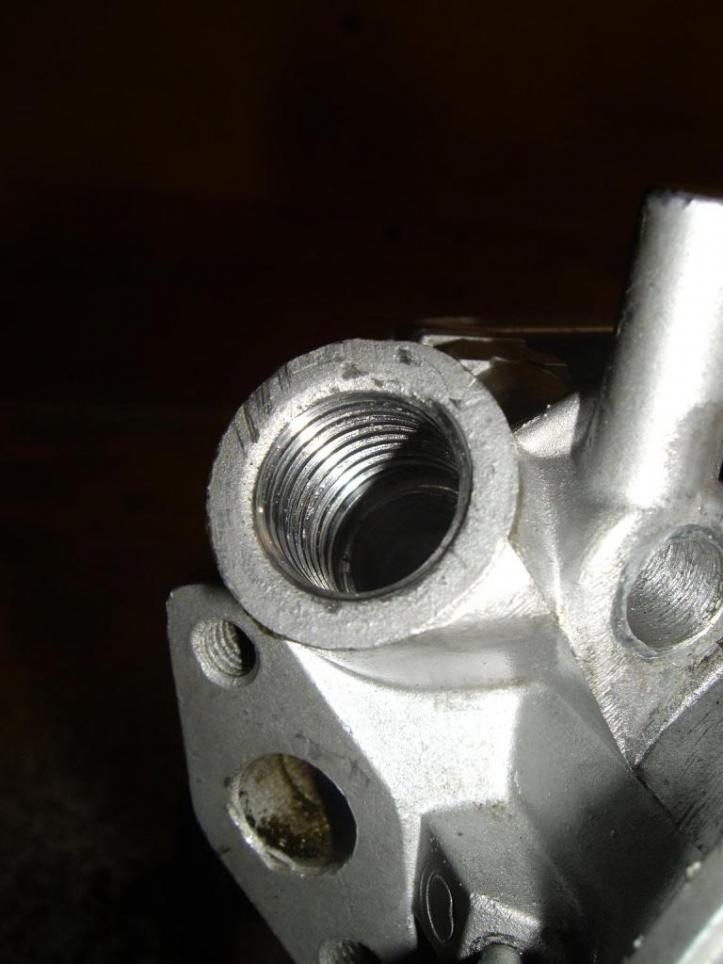
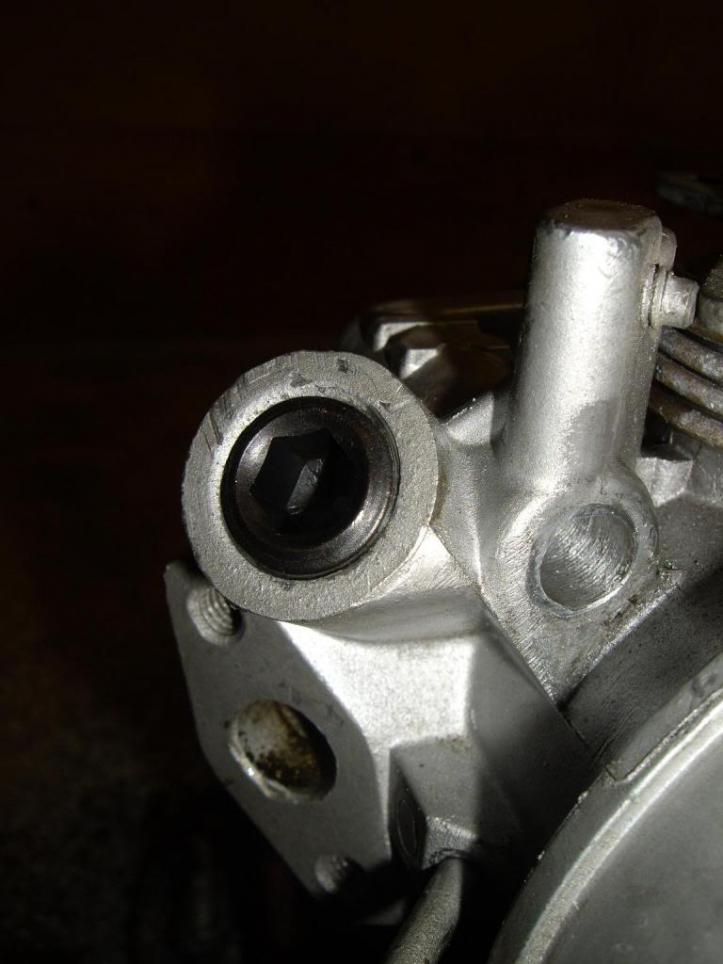
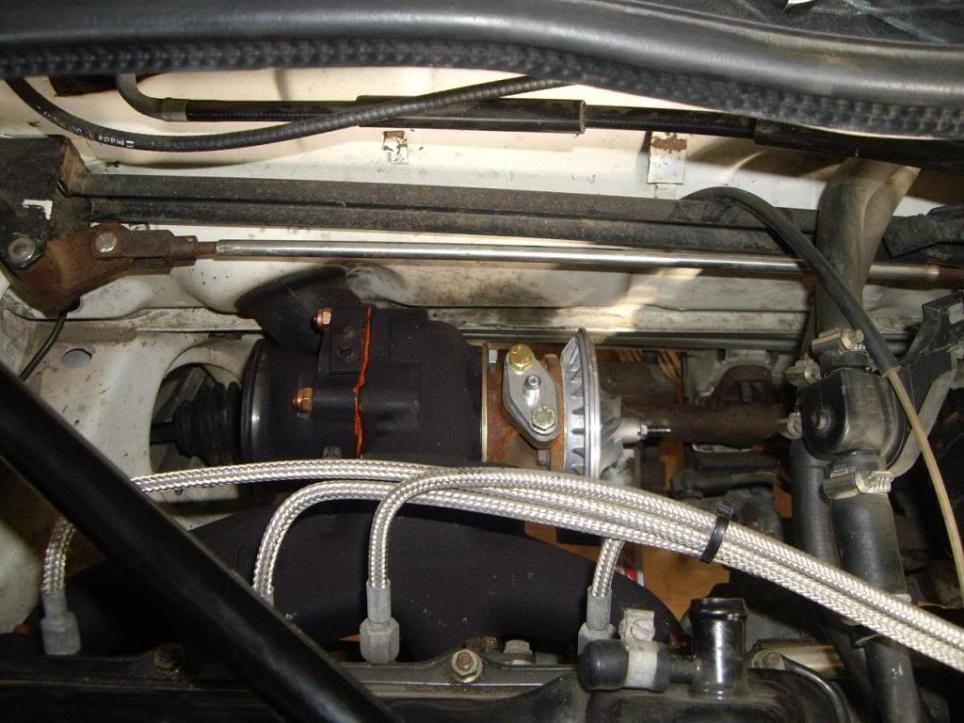
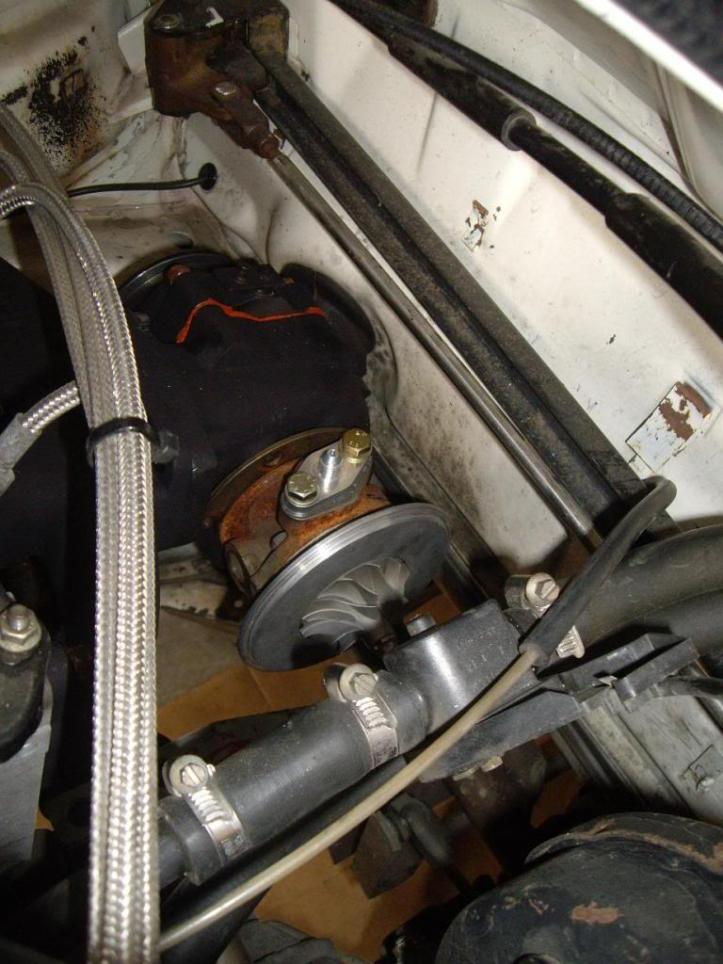
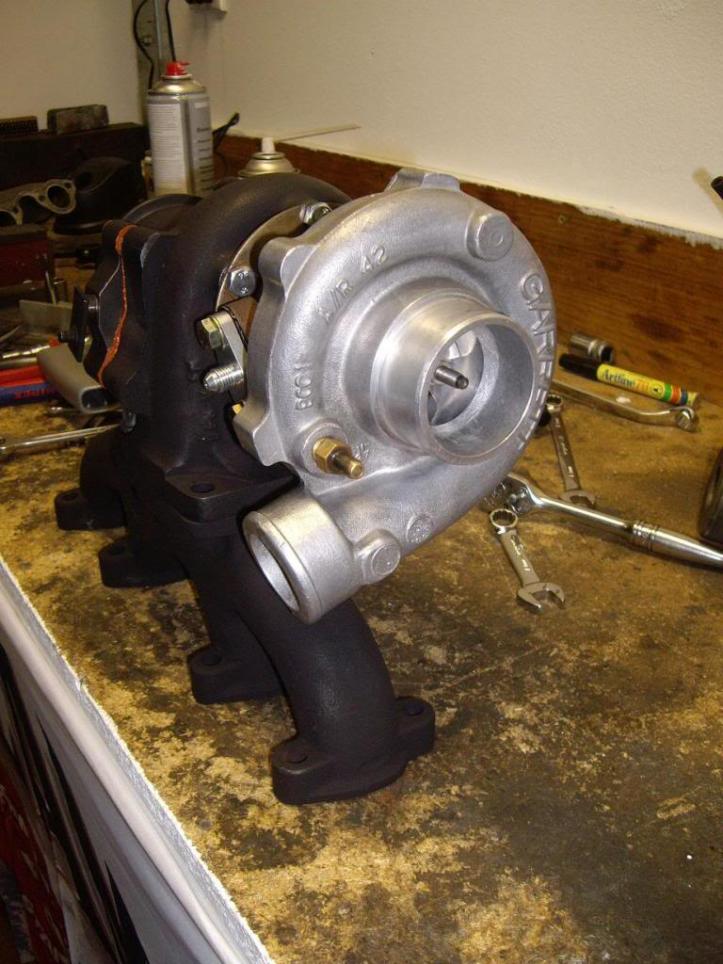
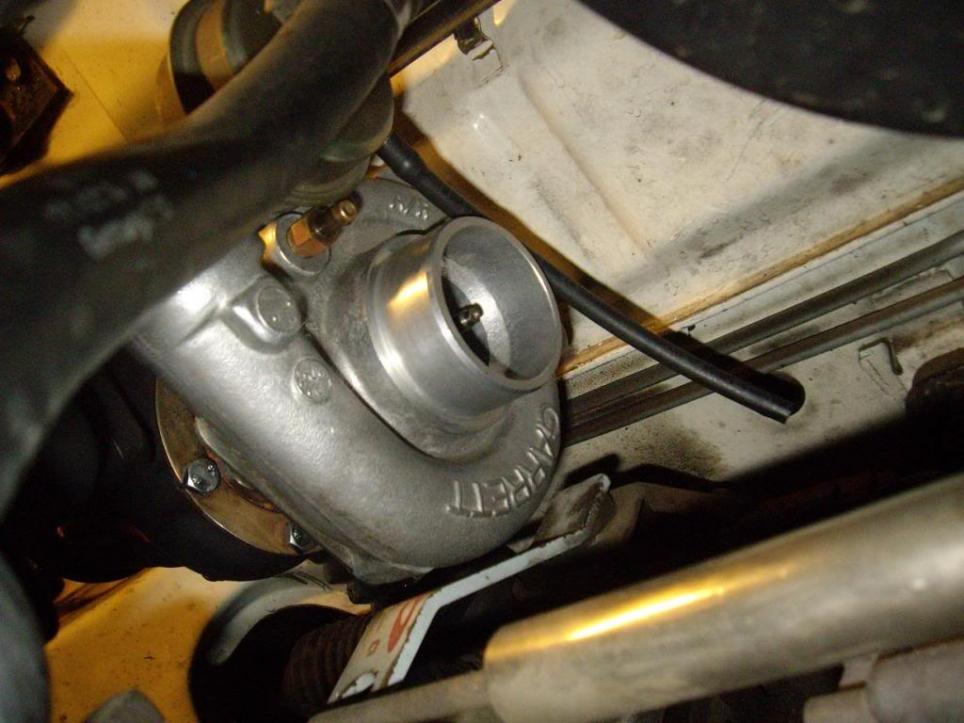
Saab Turbo & boost regulator (Just have to remove a broken bolt from the exhaust housing! DOH!) It's not a big turbo by all mean's (it's tiny to the other one I have here!), but it should be enough for now, until I get really power hungry. Only a matter of time! haha
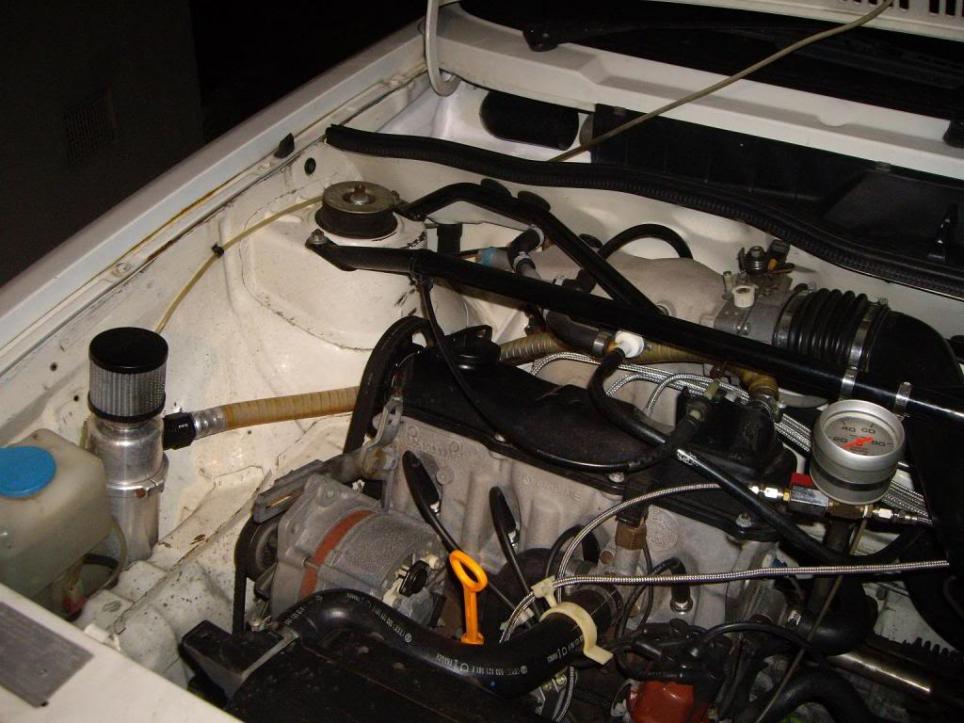
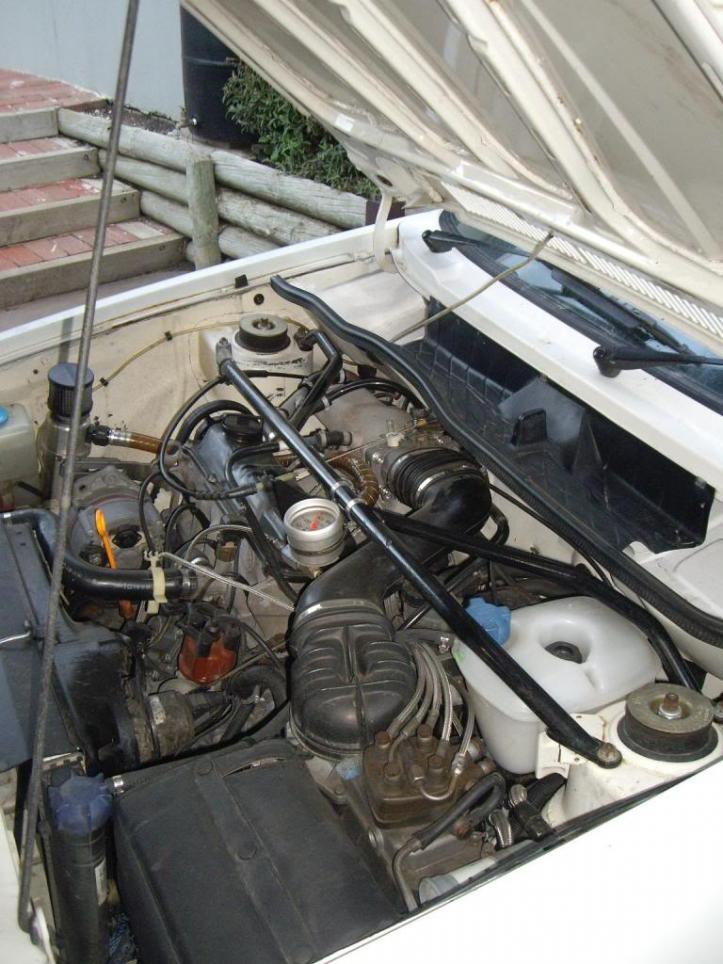
New Engine Breather/catch can setup. I know. No more Powerade bottle! haha
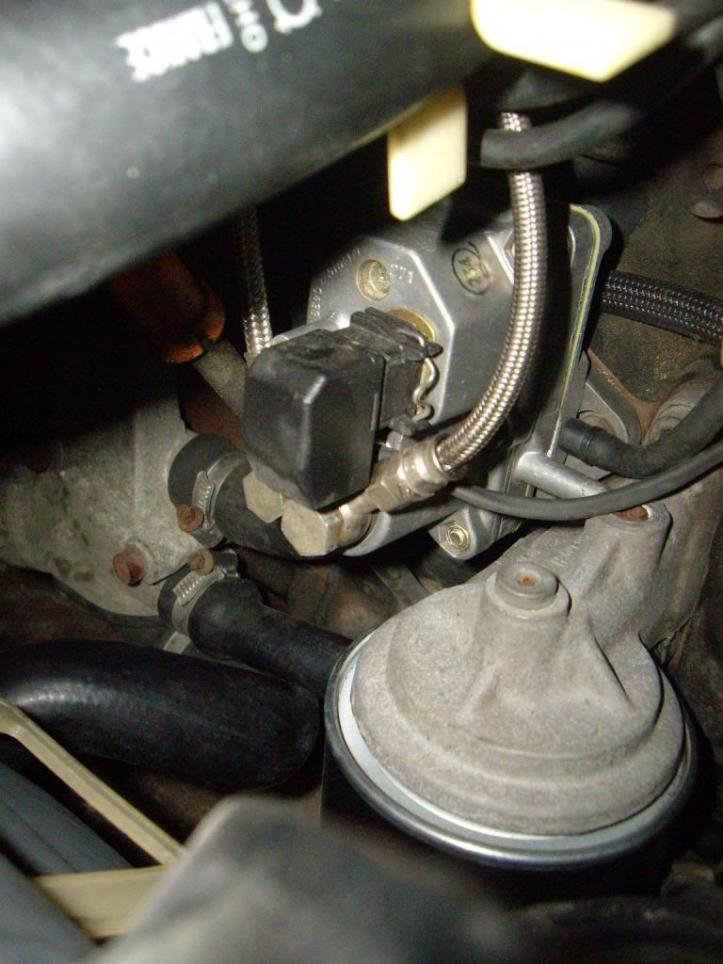
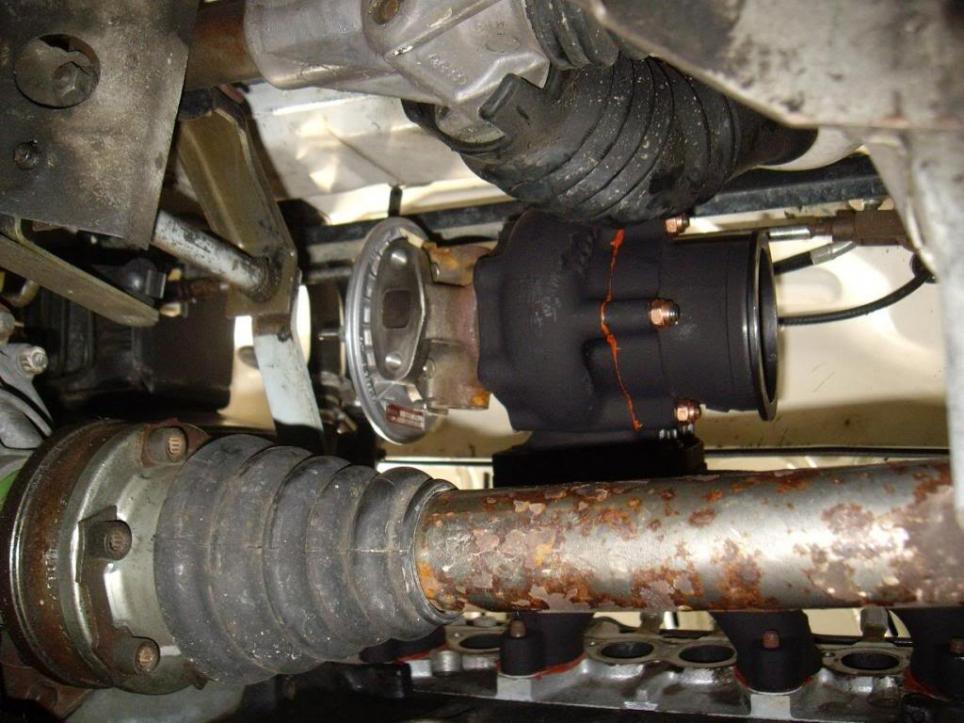
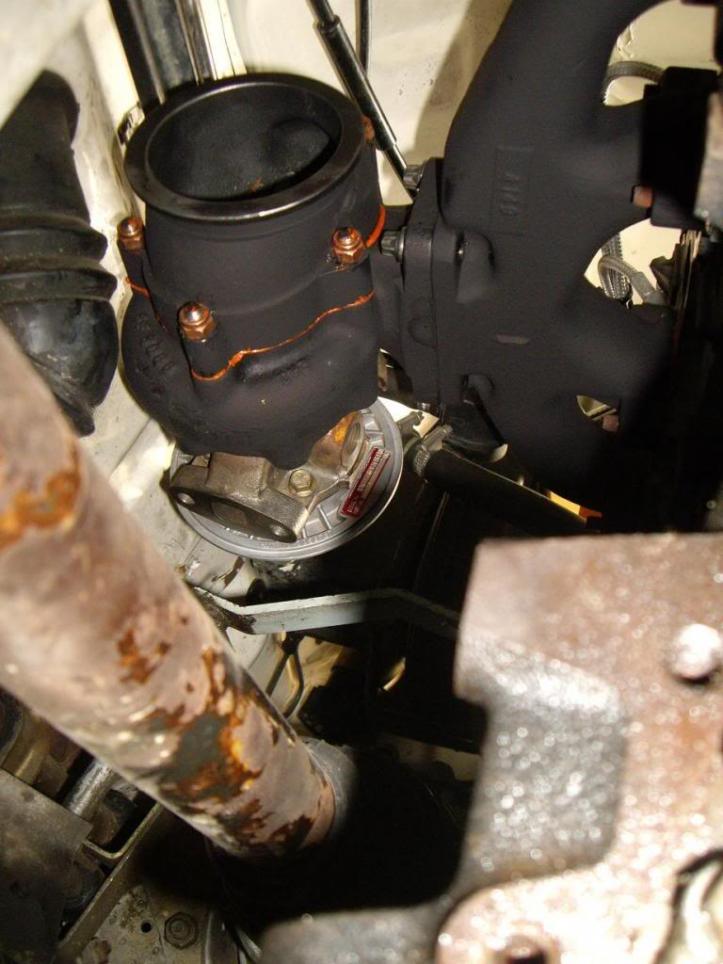
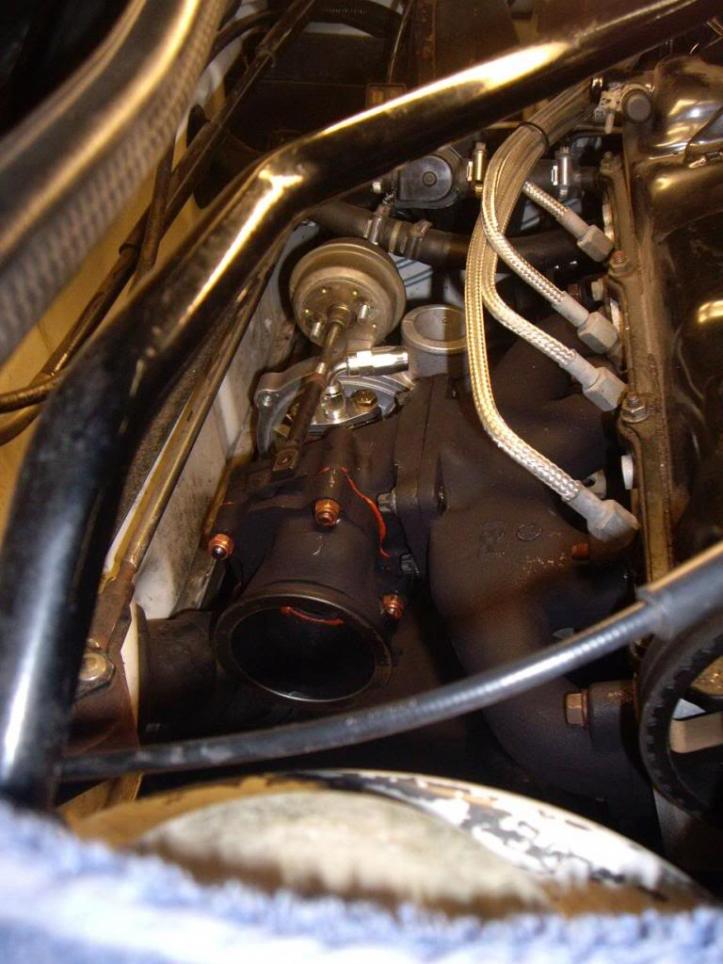
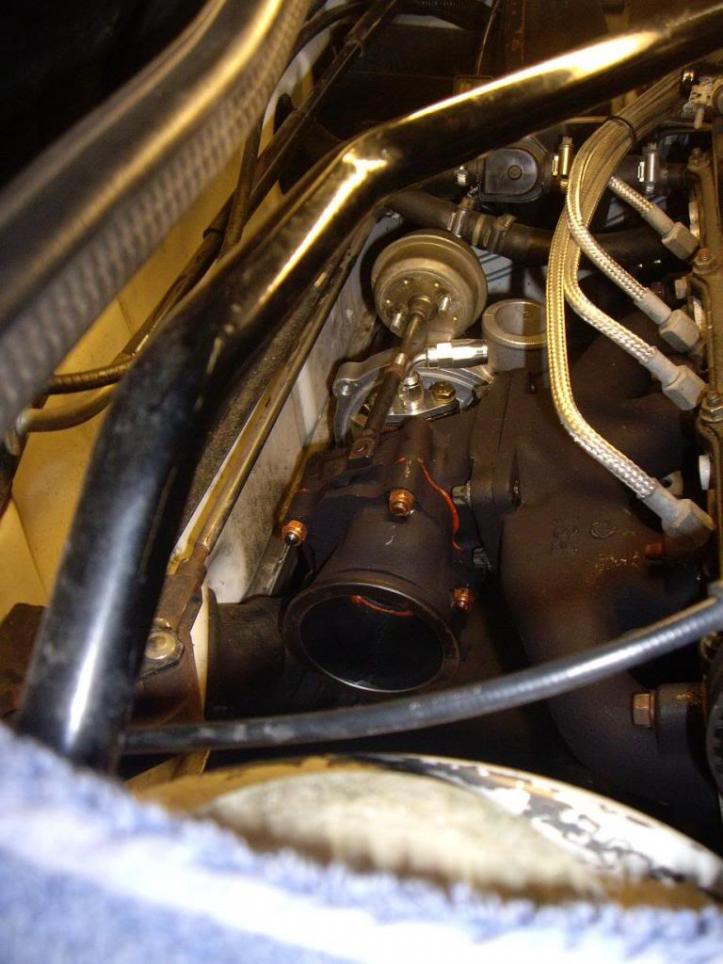
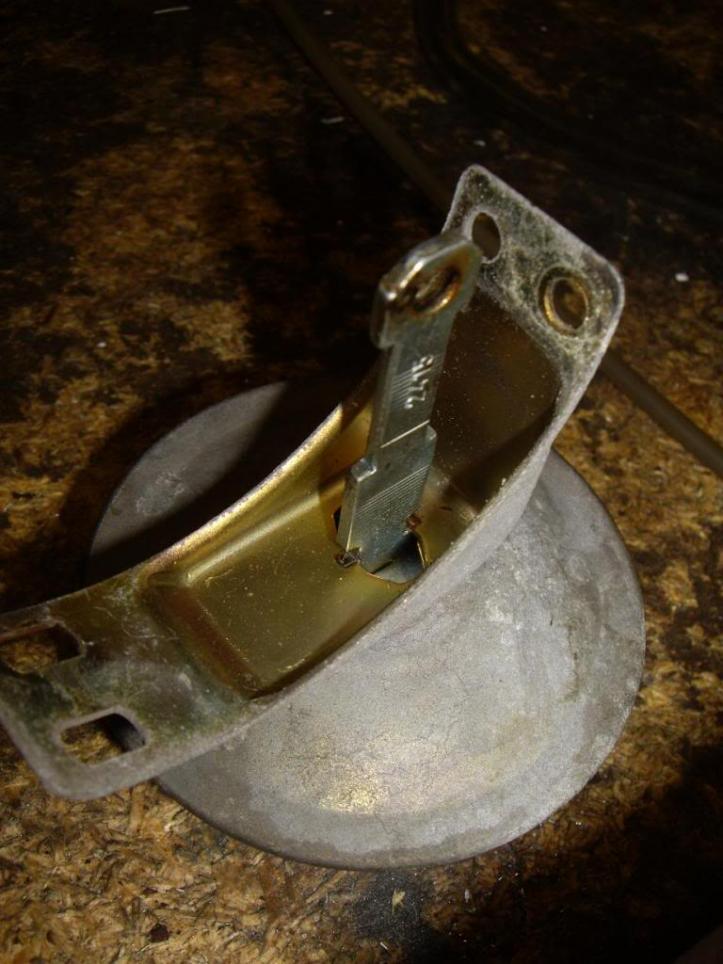
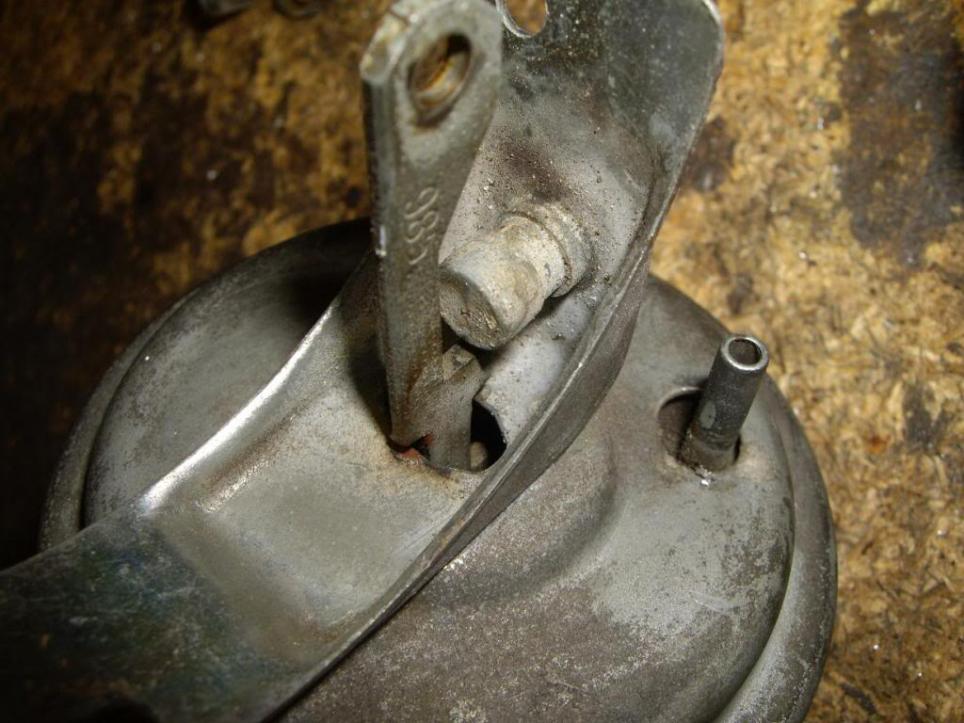
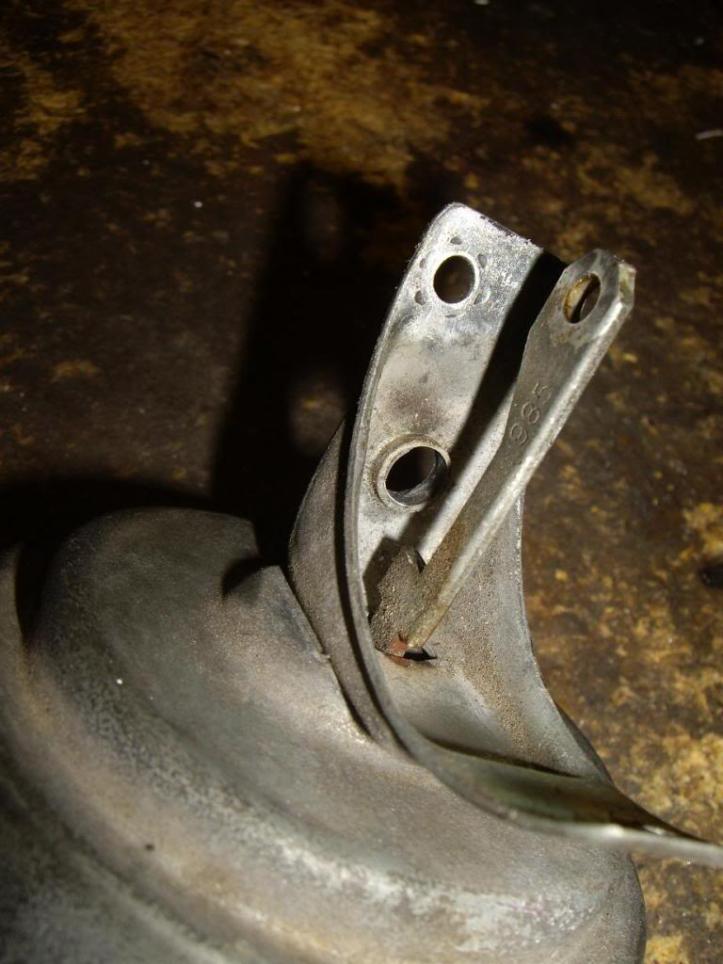
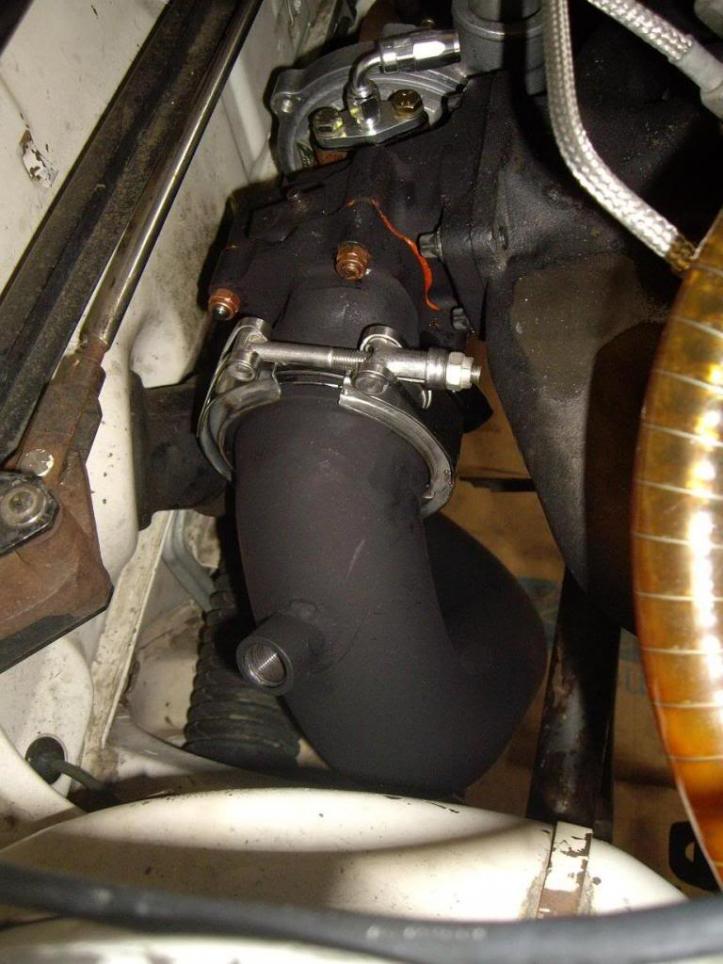
Audi 5000T boost referenced Warm Up Regulator fitted
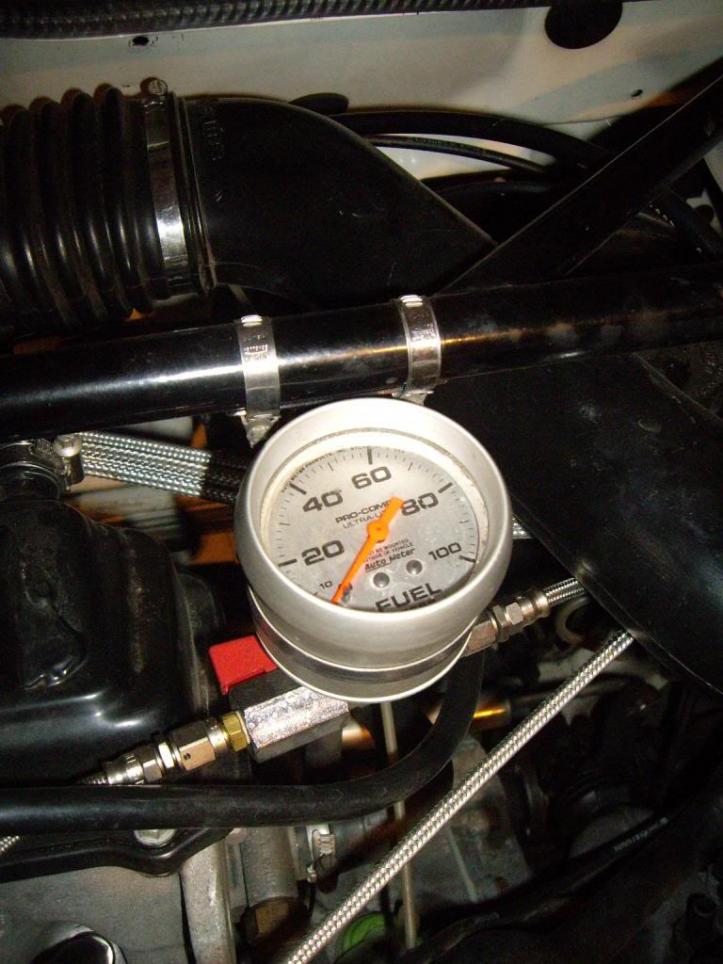
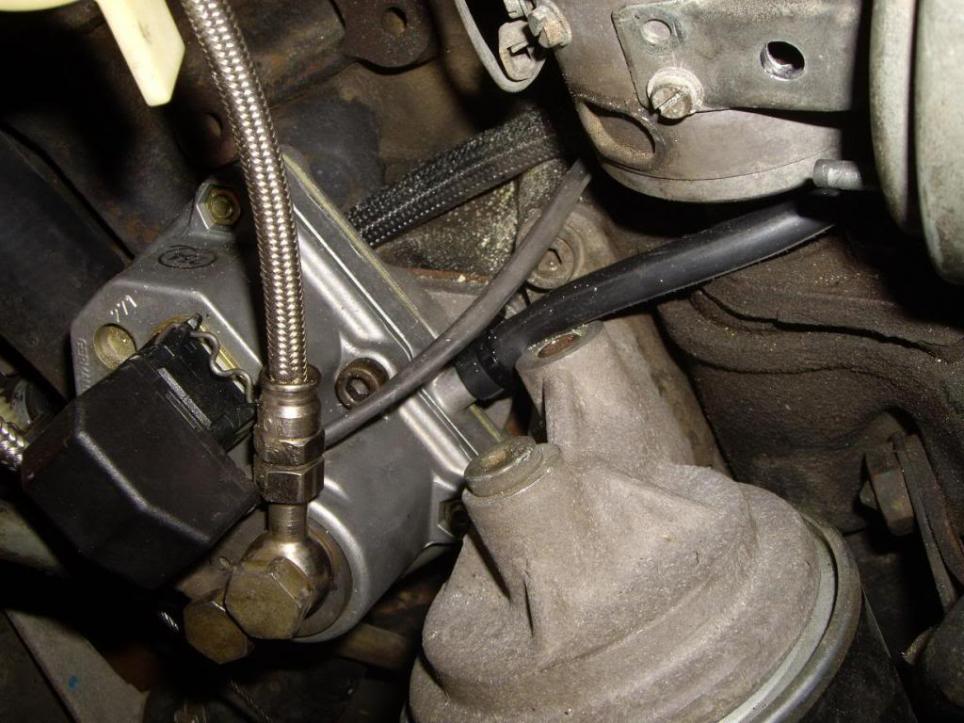
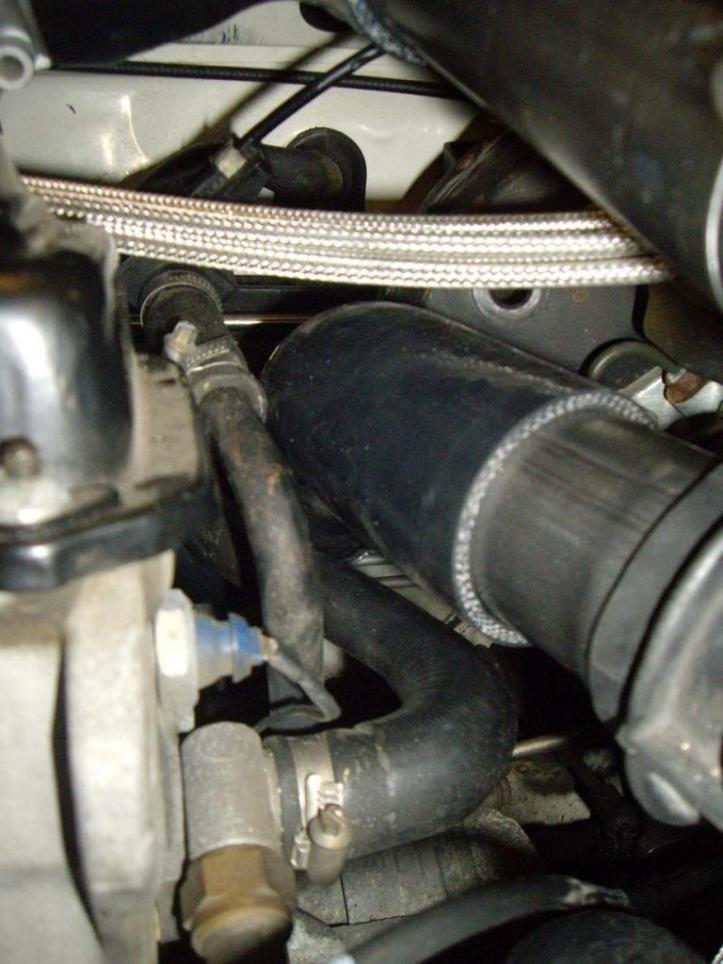
Autometer Fuel pressure tester I modified for testing purposes of the K-Jet, as this is how you basically tune a K-Jet system Note: the fuel tap to switch between "System" pressure & "Control" pressure
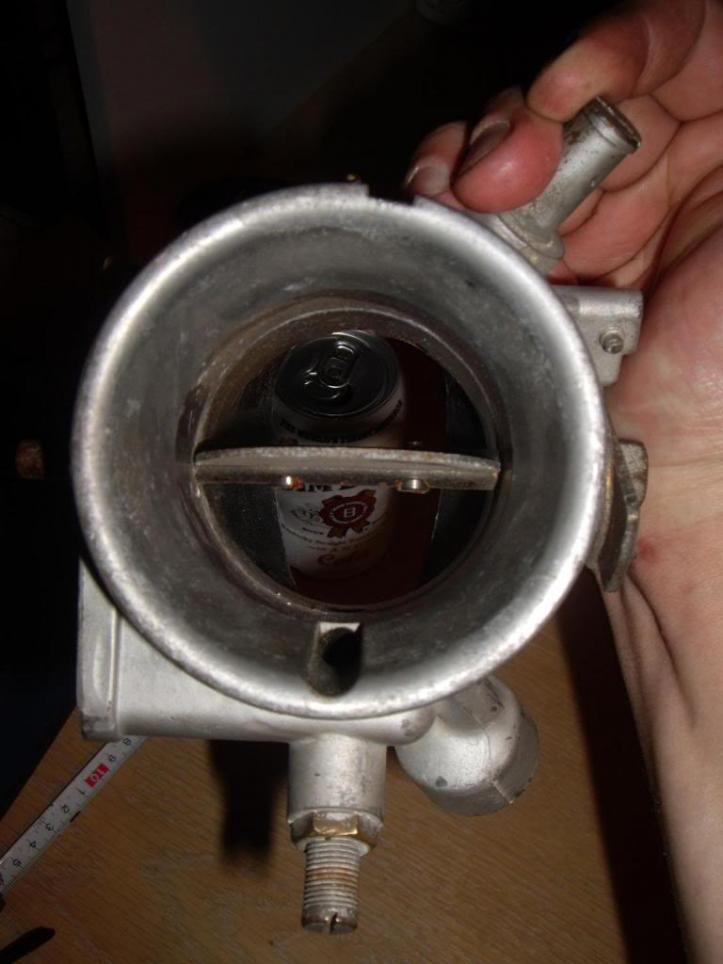
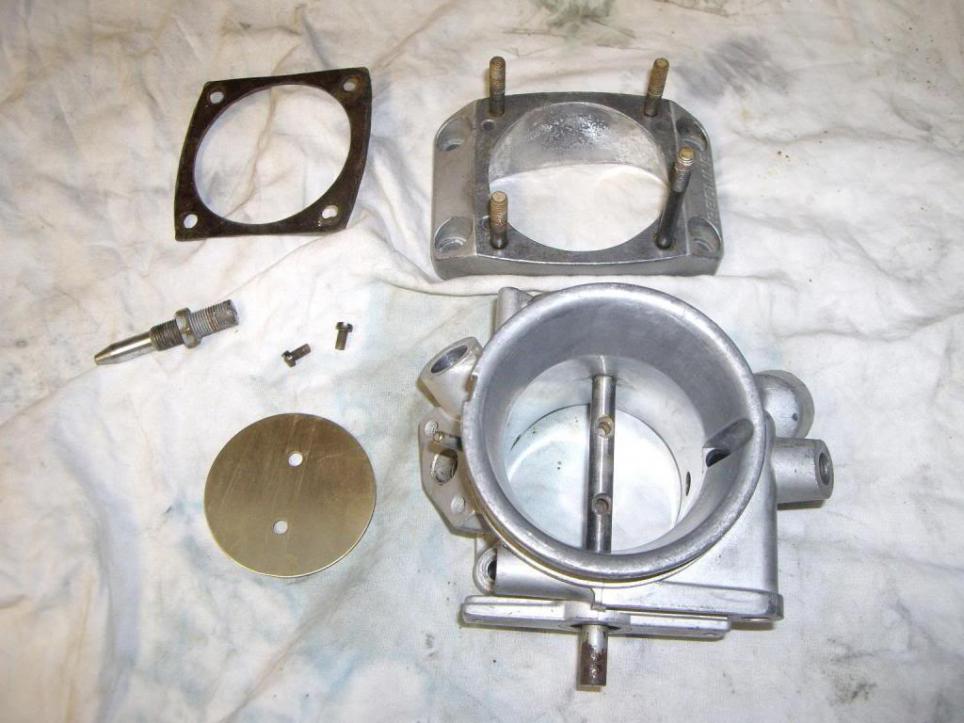
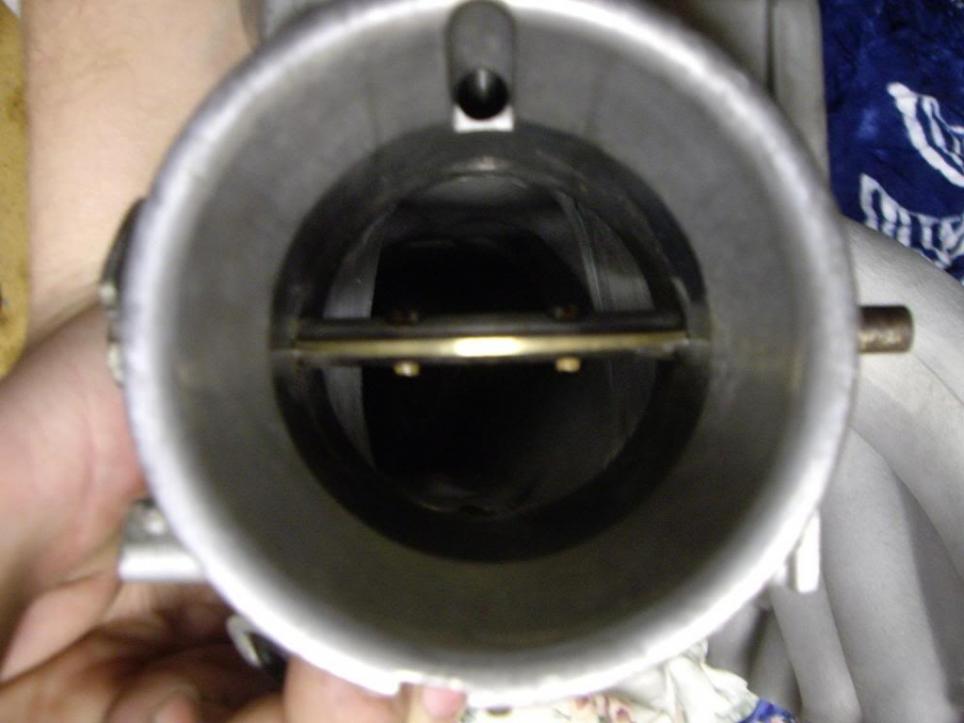
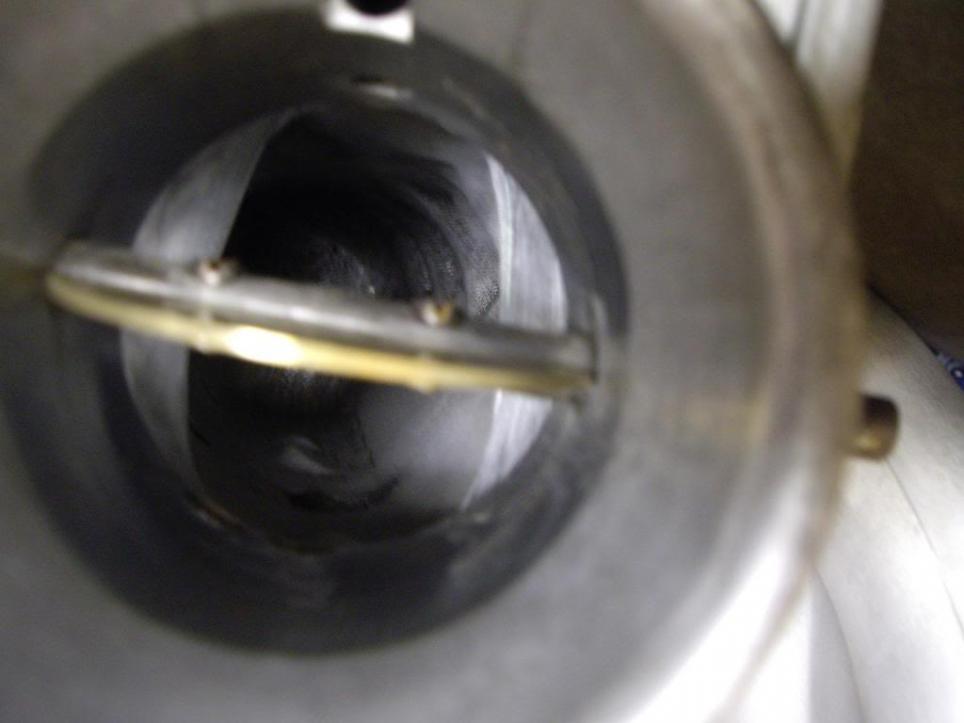
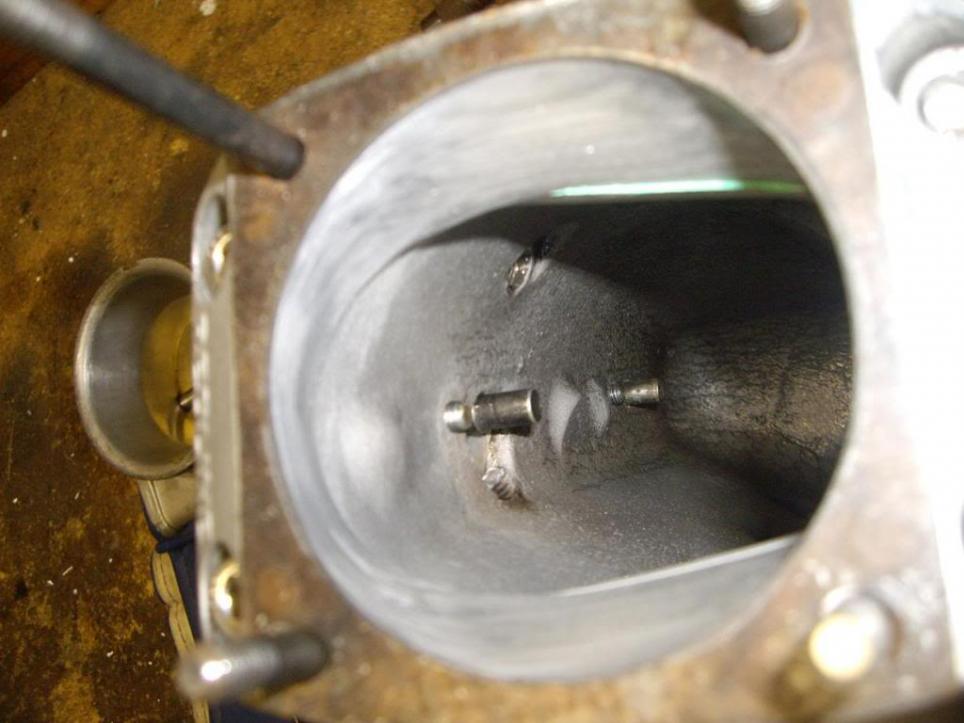
Weber "BIG" Throttle body
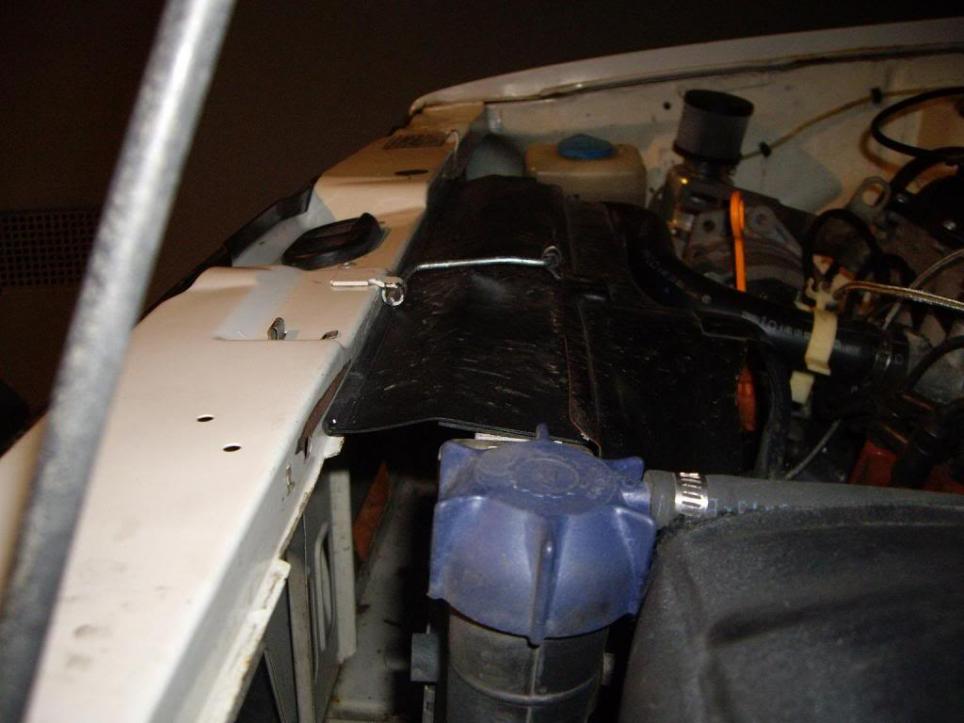
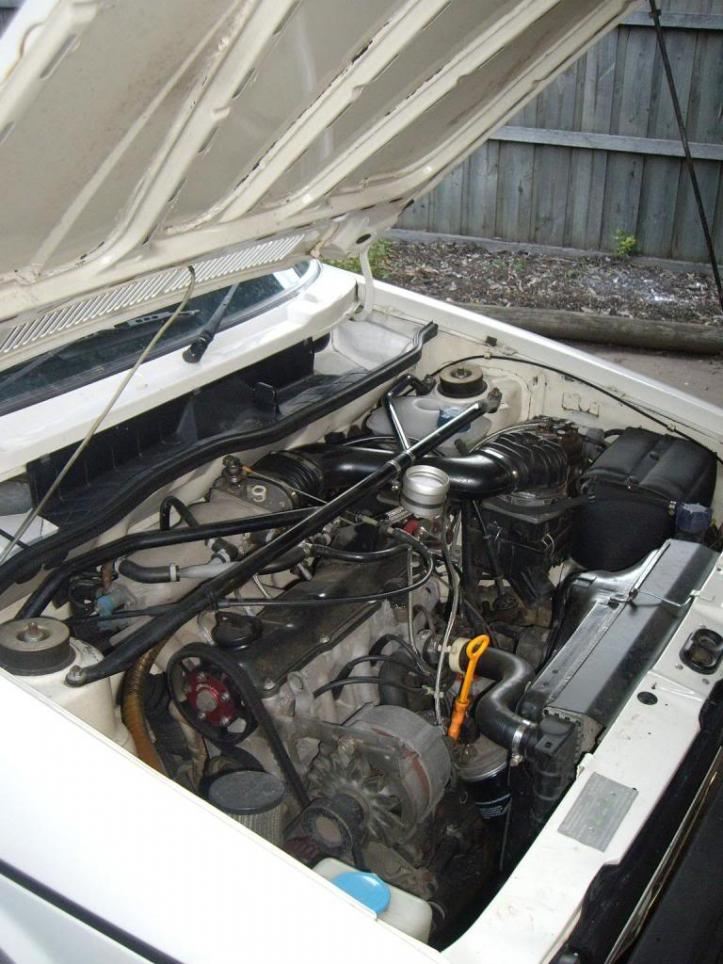
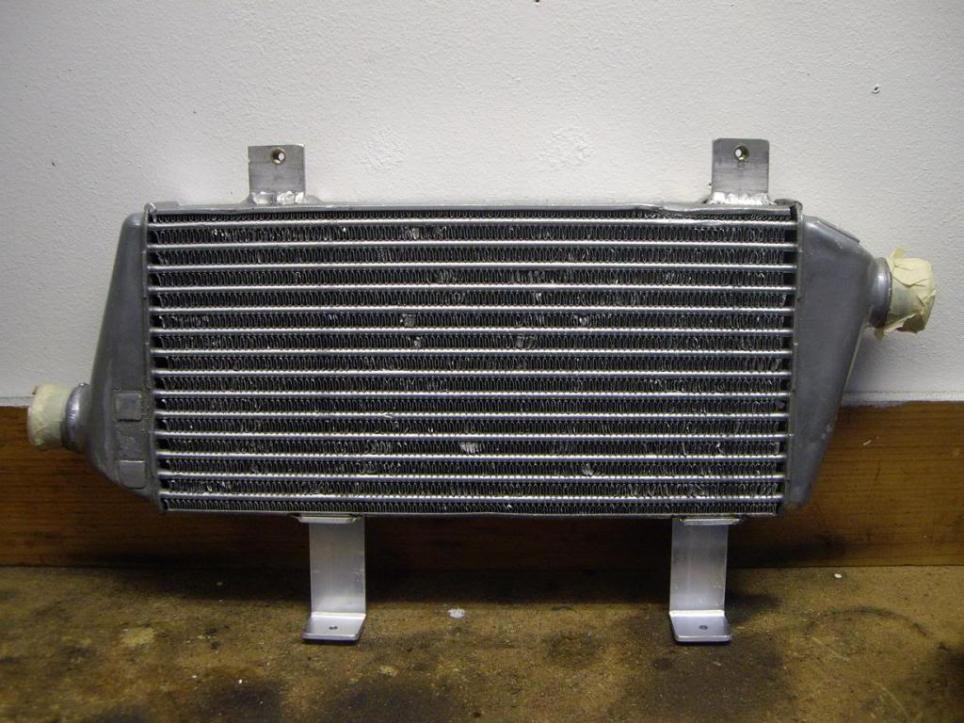
Test mounted up the intercooler to work out the bracket's & mounting after it was pressure tested. All good.
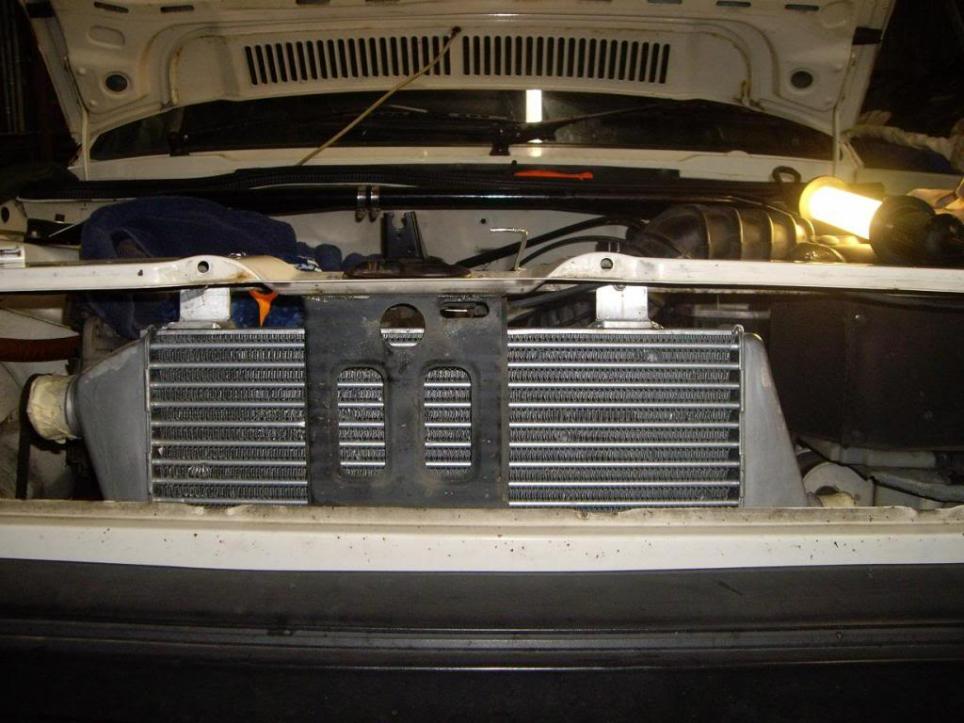
I placed it so it has full frontage coverage of the intercooler core & still has room to have the piping fitted. Once painted black, you won't even know it's there!
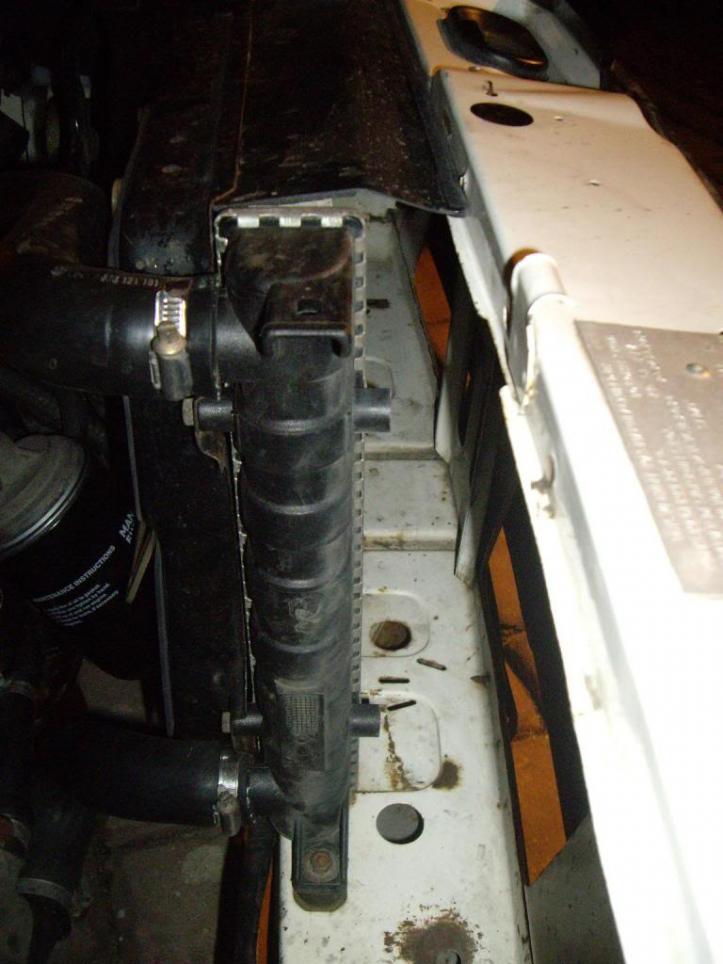
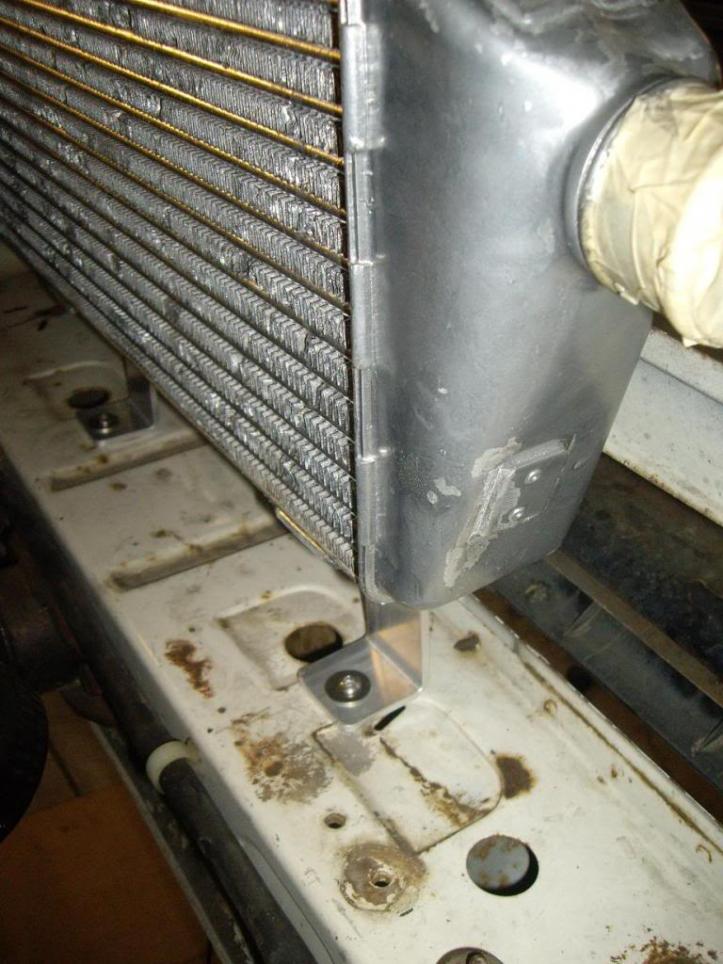
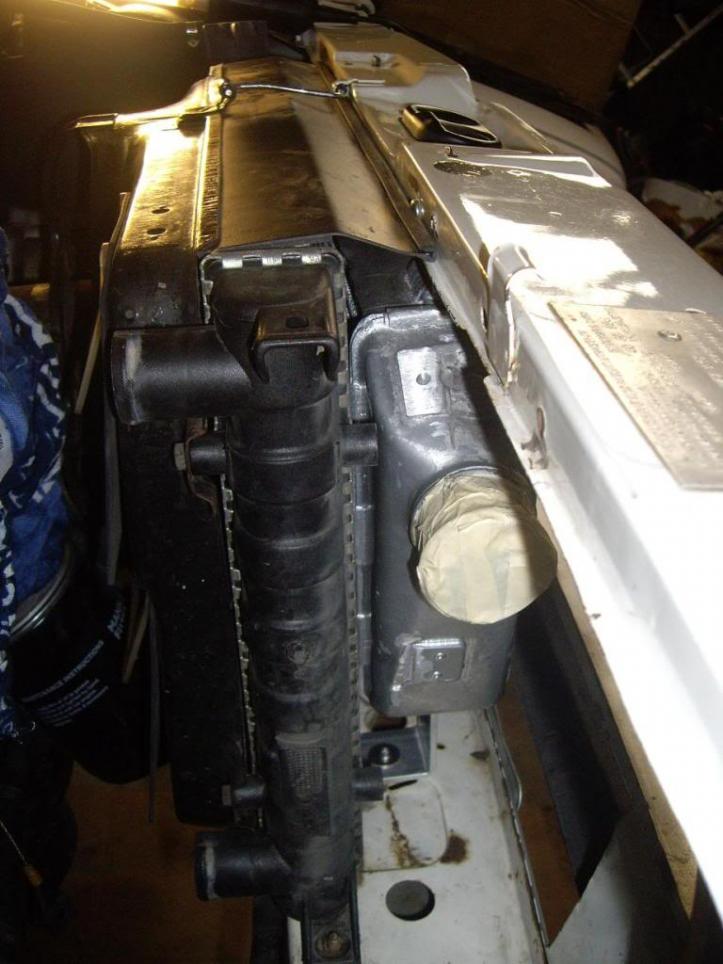
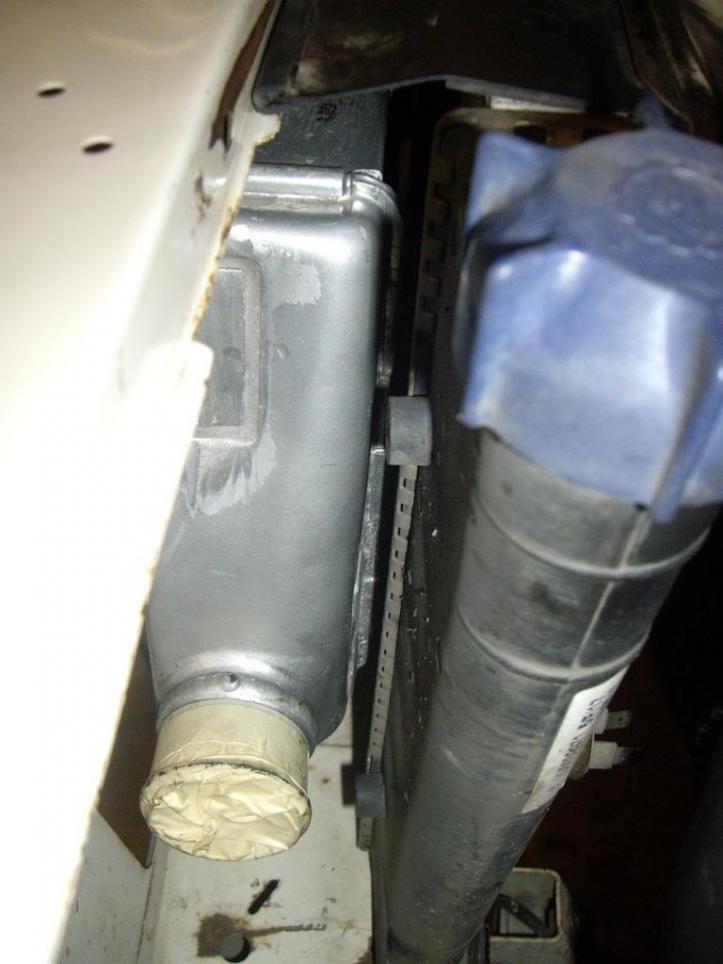
Had to relocate the Radiator back 1" & across to the driver's side 2" & then bend up a cover plate for the radiator core. Note: Underneath is is lined with some stick on foam to protect the rad. fins & keep it from moving.
Which has led me to get motivated to continue carry on with phase #2 on the 76er, my daily since building it in May 08.
I've been gathering part's for the build over the last few month's for the turbo build up.
I thought I'd have a go at doing it "ol skool" style being a K-Jet turbo.
The spec is very basic & very, very mild. (only running 10psi, but maybe more if I can get the fueling right!) Nothing outrageous - Power expectation is unknown at this point. But hopefully it should be fun for awhile once sorted out.
Bone stock low compression "GX" "SLUG"
Autotech 270 Cam & Valve springs
Modified G60 intake
Ol Skool "BIG" Weber/Redline Throttle body I found. (This was a common mod to replace the stock twin throttle body in the 80's & can be a pain in the arse to find one)
Same stock Volvo K-Jet I've already fitted, except deleted Aux. air valve & Cold start valve
Audi 5000T boost referenced Warm up Regulator
Stock modified Distributor
ATP Cast 8V exhaust manifold
Saab T3 oil/watercooled turbo. V-Band 3" wastegate/dump pipe
Mitsubishi Galant VR4 Intercooler
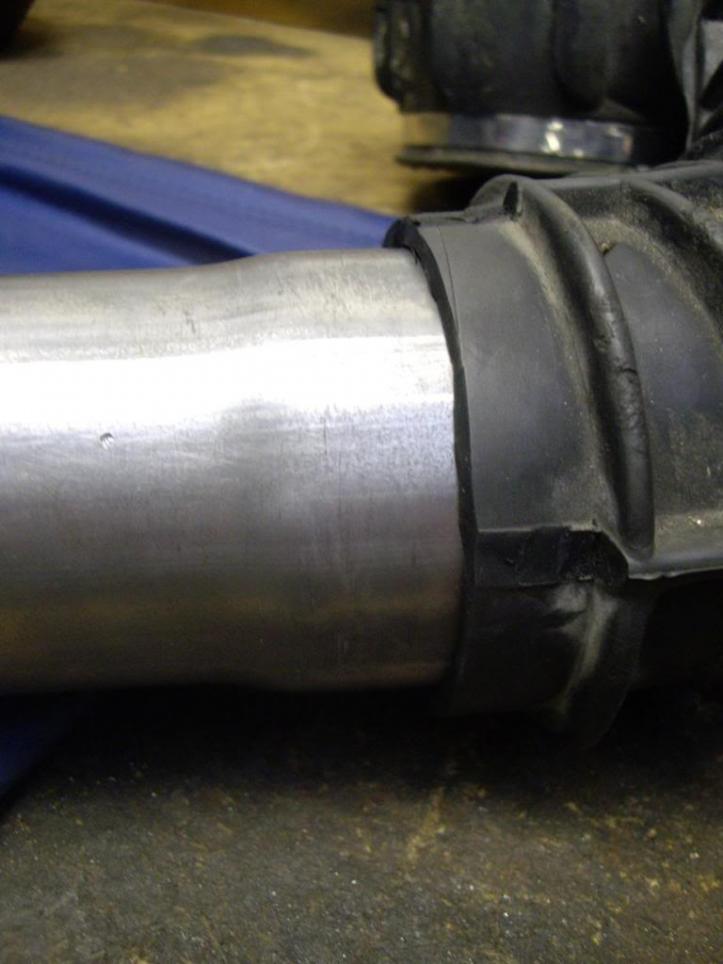
Custom 2.5" exhaust & 2" intercooler piping
Tial 50mm BOV. (I'll be using this for my next project in the future.)
I'll also be fitting a Innovate Motorsport's wideband Air/Fuel meter/data logger to help me with the tuning side of thing's along with a modified Autometer fuel pressure gauge setup & also my favorite part. A genuine Callaway boost gauge, as fitted as part there Mk1 turbo kit's in the 80's!
I'll be tuning this myself, as there isn't a hell of alot of people out there who can successfully tune this sort of injection system, especially turbocharged too!
Once I'm happy with the tune, I'll put it on a dyno to get a idea of the power output.
I'm still waiting on some part's to arrive soon, but I'll post up what I've got & work done so far.
Saab Turbo & boost regulator (Just have to remove a broken bolt from the exhaust housing! DOH!) It's not a big turbo by all mean's (it's tiny to the other one I have here!), but it should be enough for now, until I get really power hungry. Only a matter of time! haha
New Engine Breather/catch can setup. I know. No more Powerade bottle! haha
Audi 5000T boost referenced Warm Up Regulator fitted
Autometer Fuel pressure tester I modified for testing purposes of the K-Jet, as this is how you basically tune a K-Jet system Note: the fuel tap to switch between "System" pressure & "Control" pressure
Weber "BIG" Throttle body
Test mounted up the intercooler to work out the bracket's & mounting after it was pressure tested. All good.
I placed it so it has full frontage coverage of the intercooler core & still has room to have the piping fitted. Once painted black, you won't even know it's there!
Had to relocate the Radiator back 1" & across to the driver's side 2" & then bend up a cover plate for the radiator core. Note: Underneath is is lined with some stick on foam to protect the rad. fins & keep it from moving.


Comment