Above Forum Ad

Collapse

Announcement

Collapse
No announcement yet.

76er Swallowtail K-Jet turbo build

Collapse
X
 
  • Filter
  • Time
  • Show
Clear All
new posts

  • #16
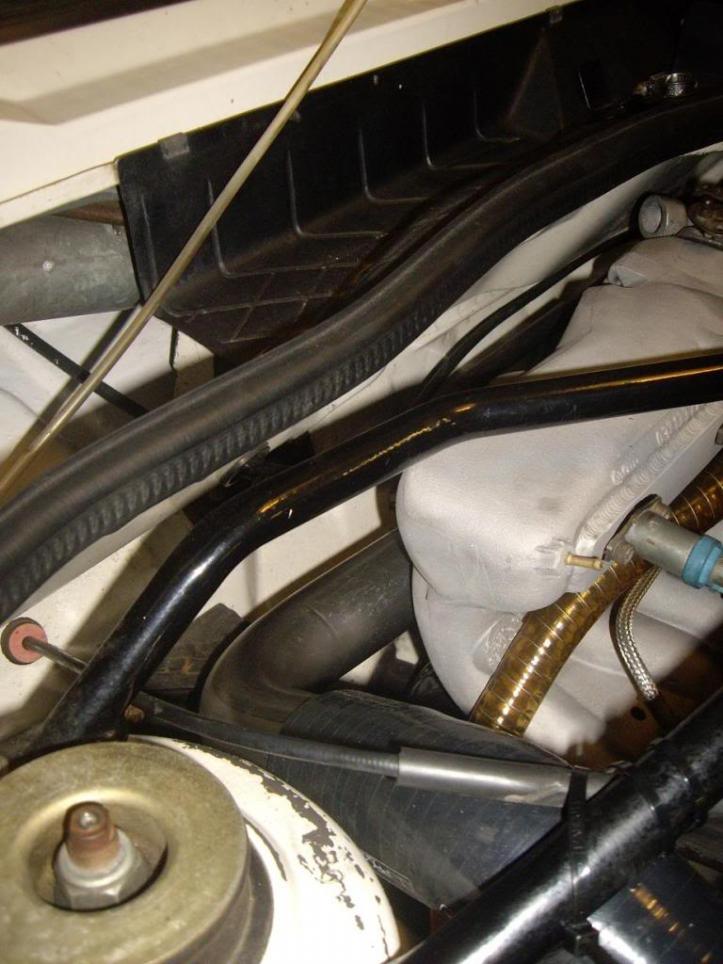
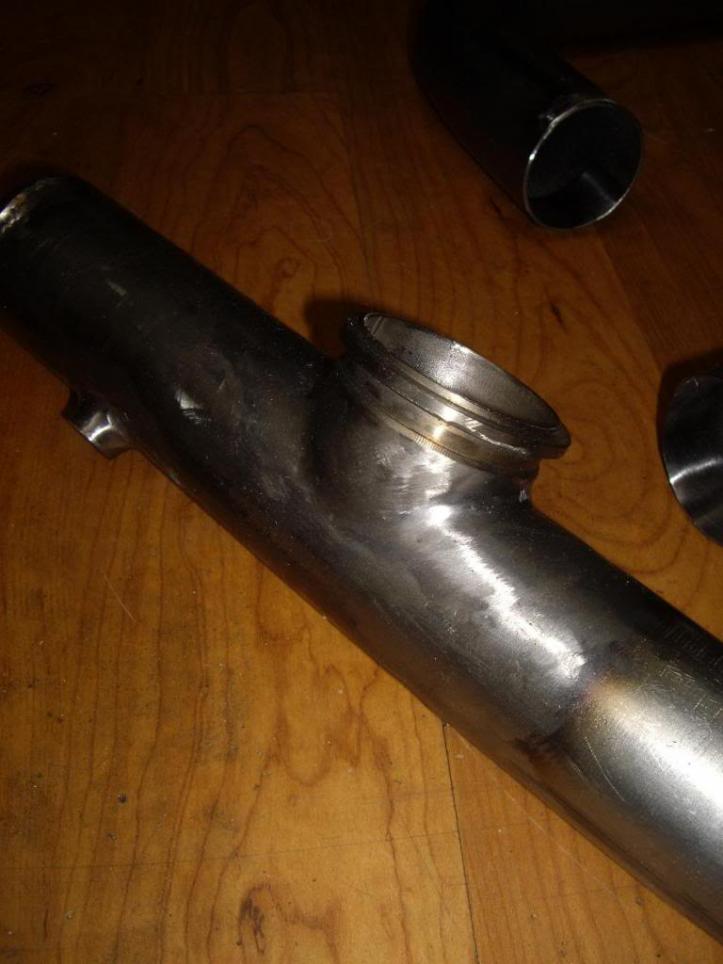
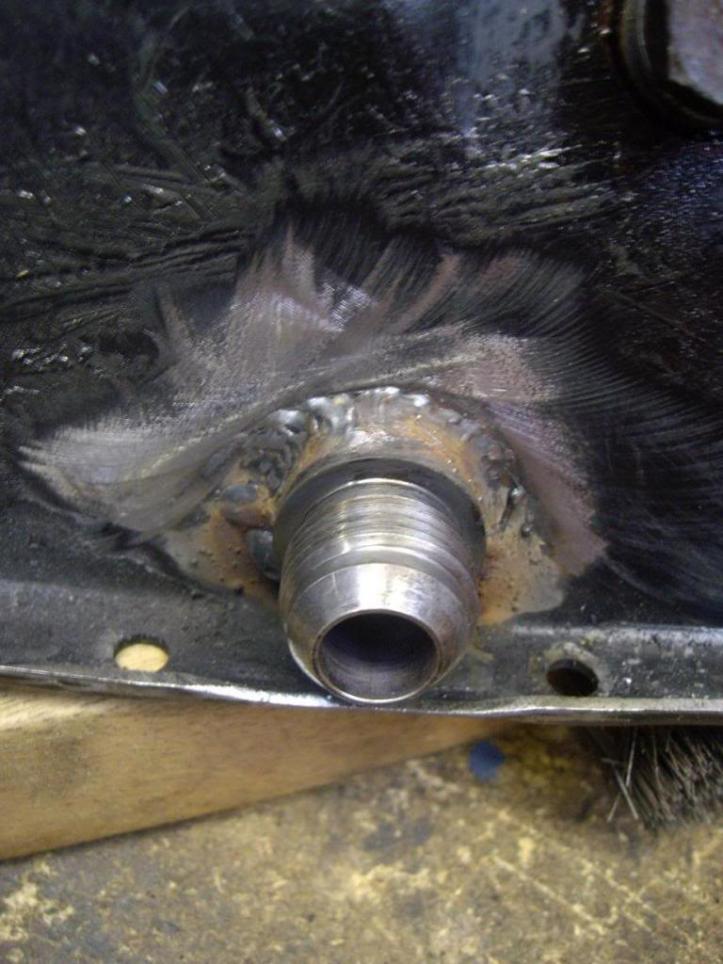
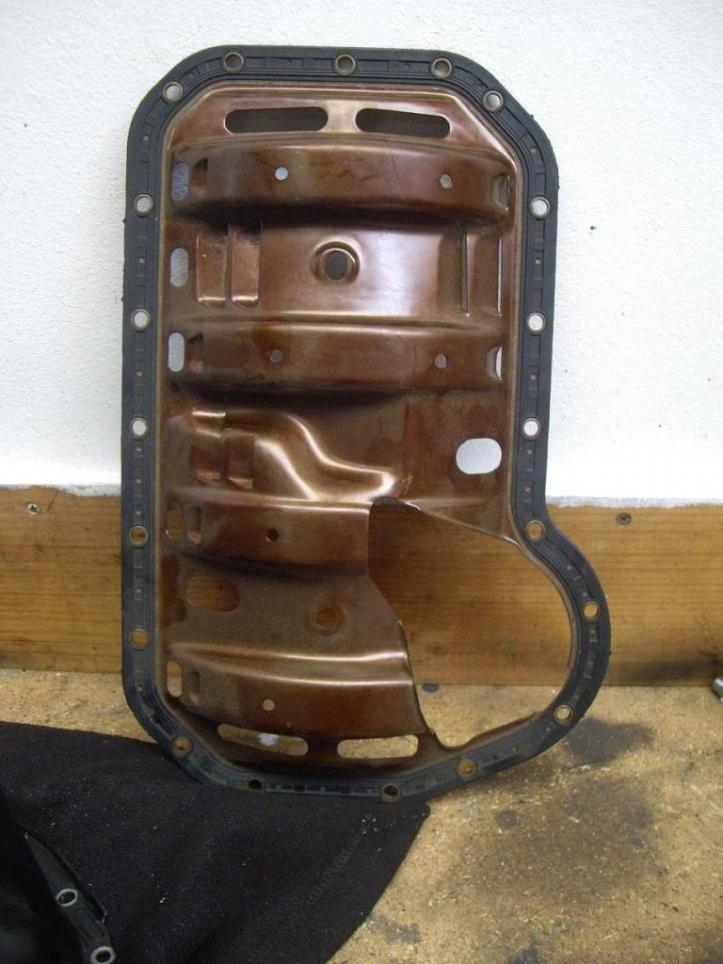
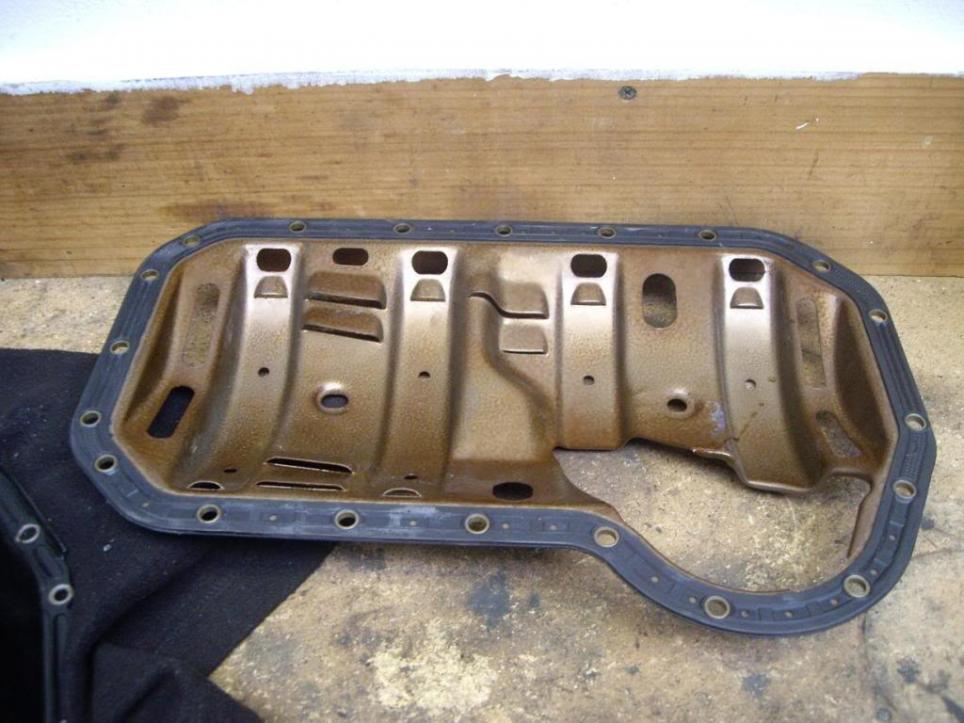
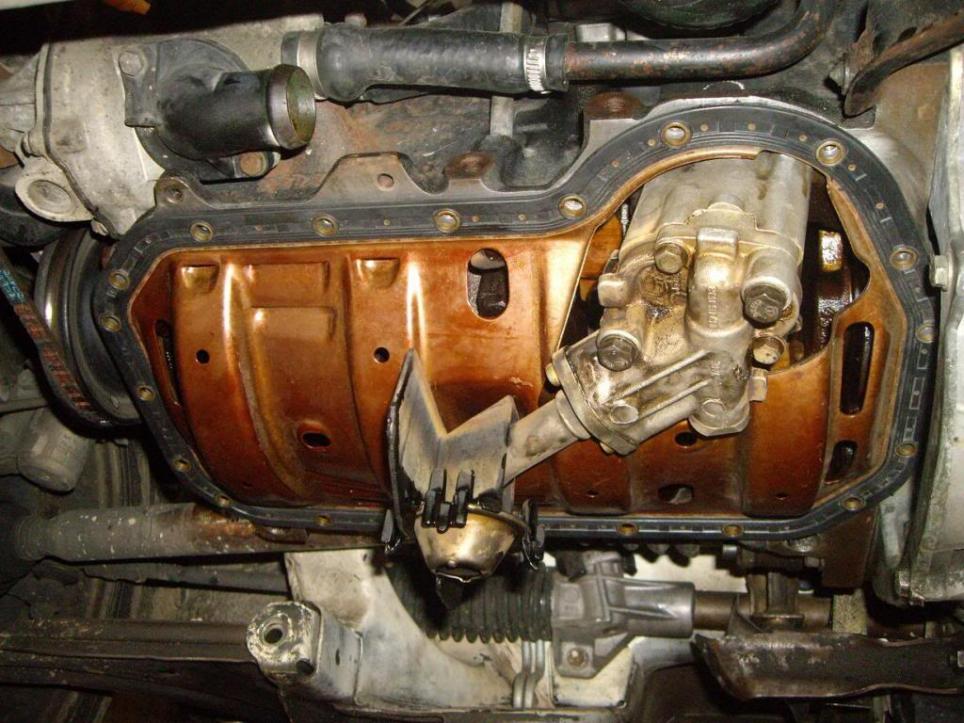
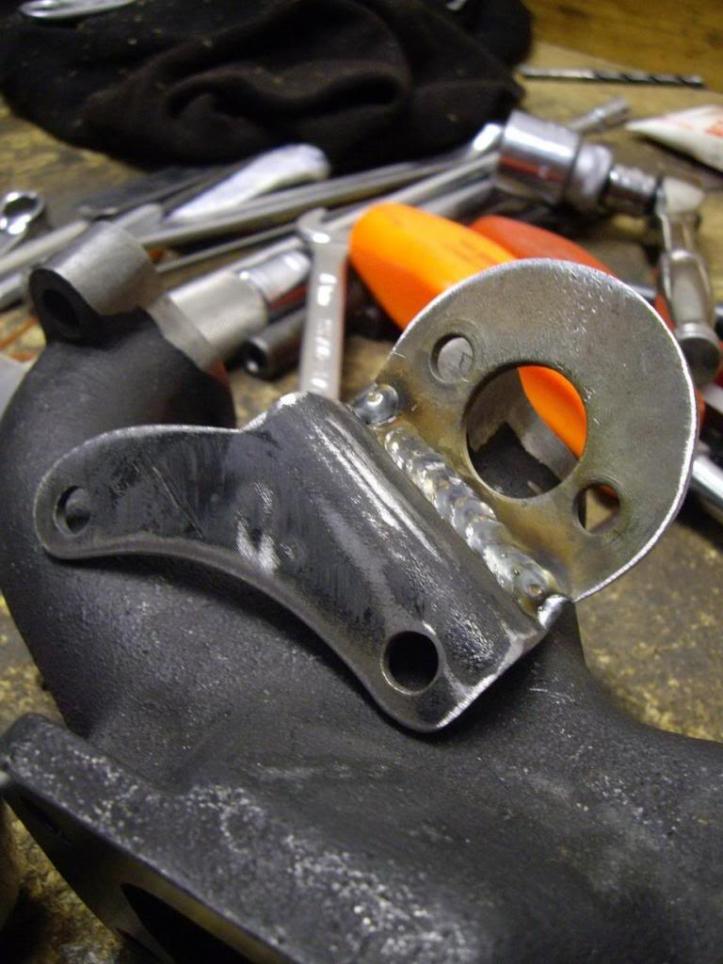
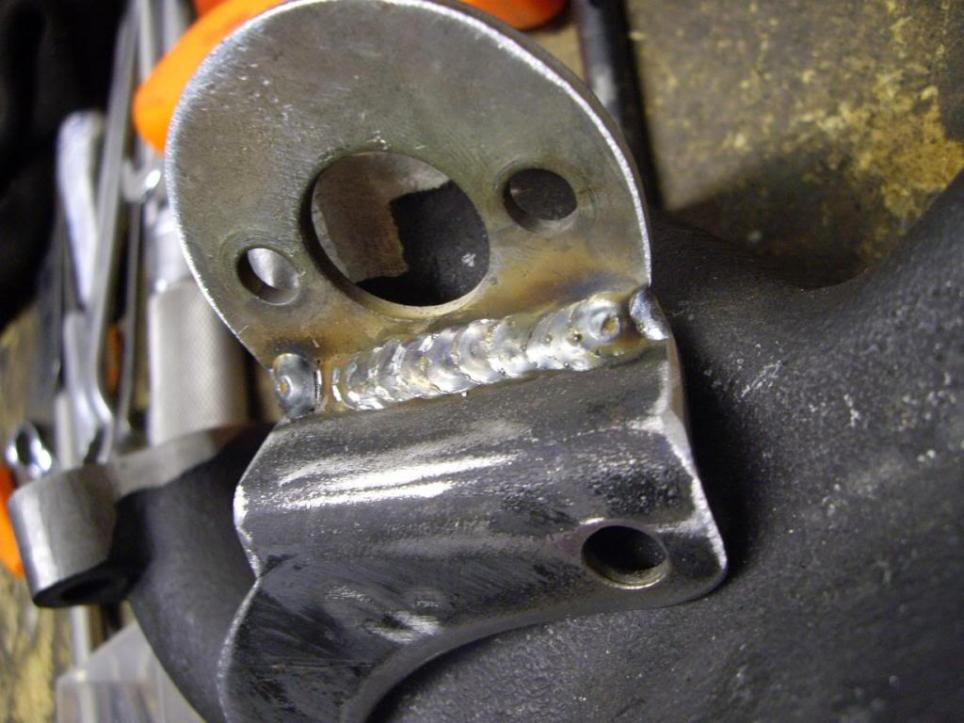
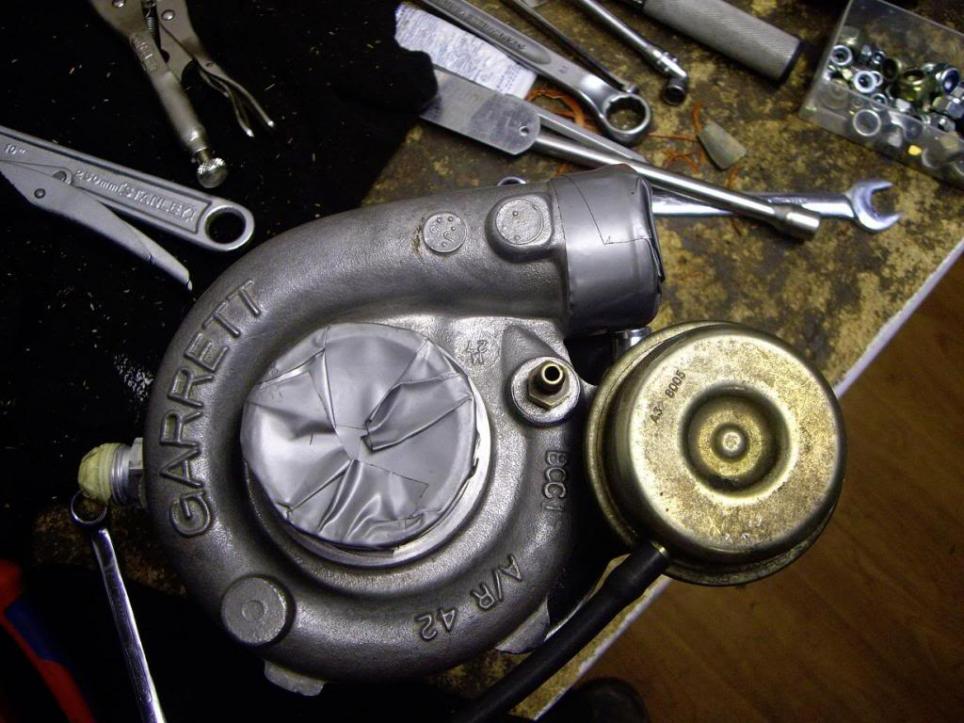
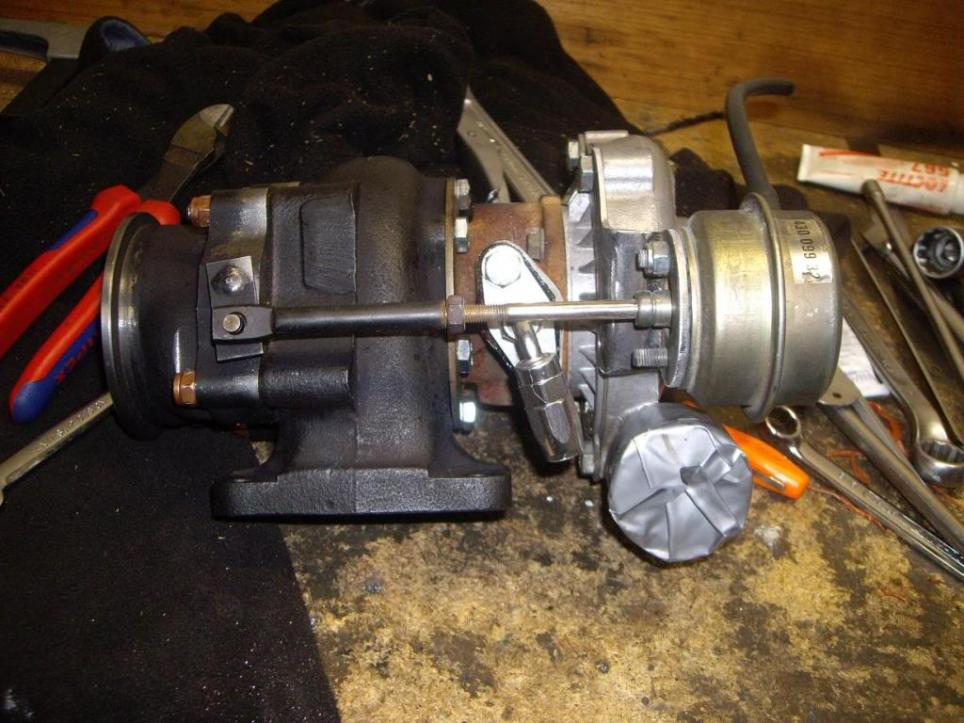
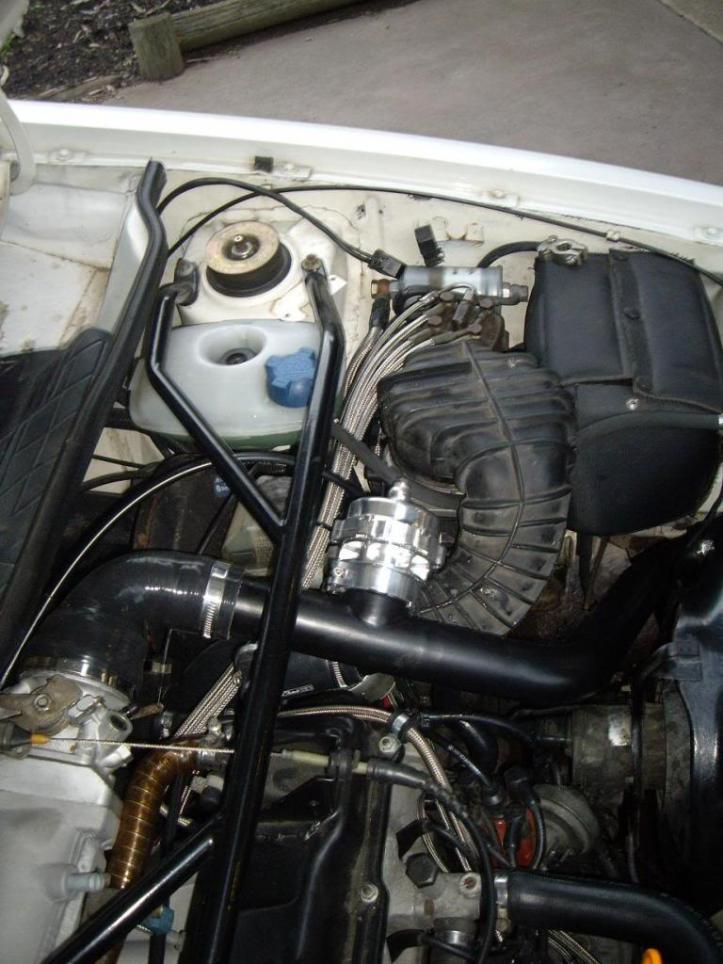
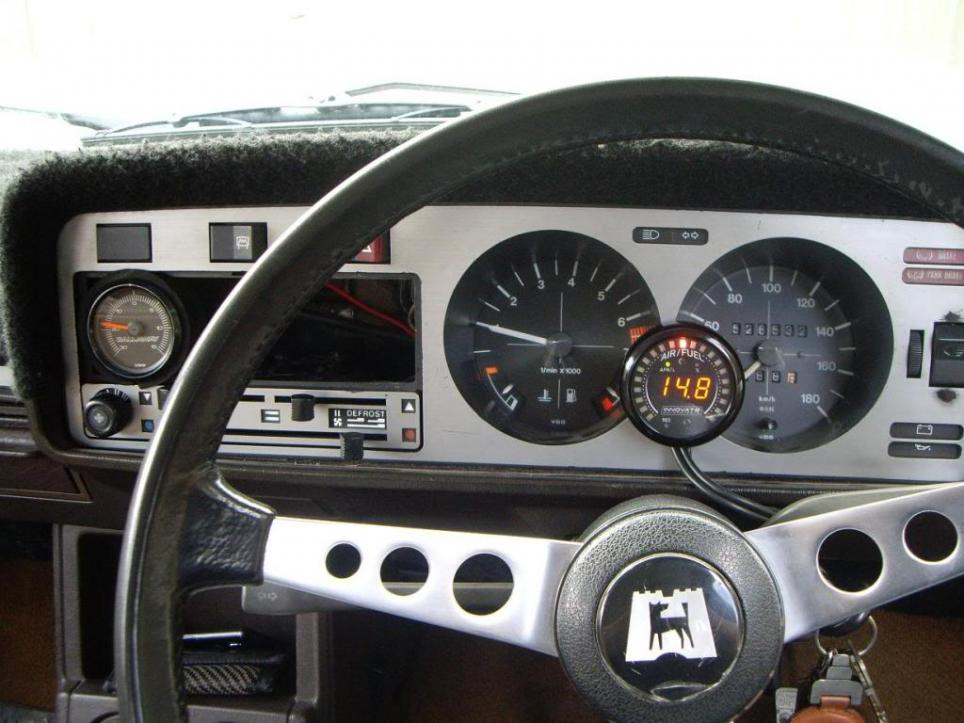
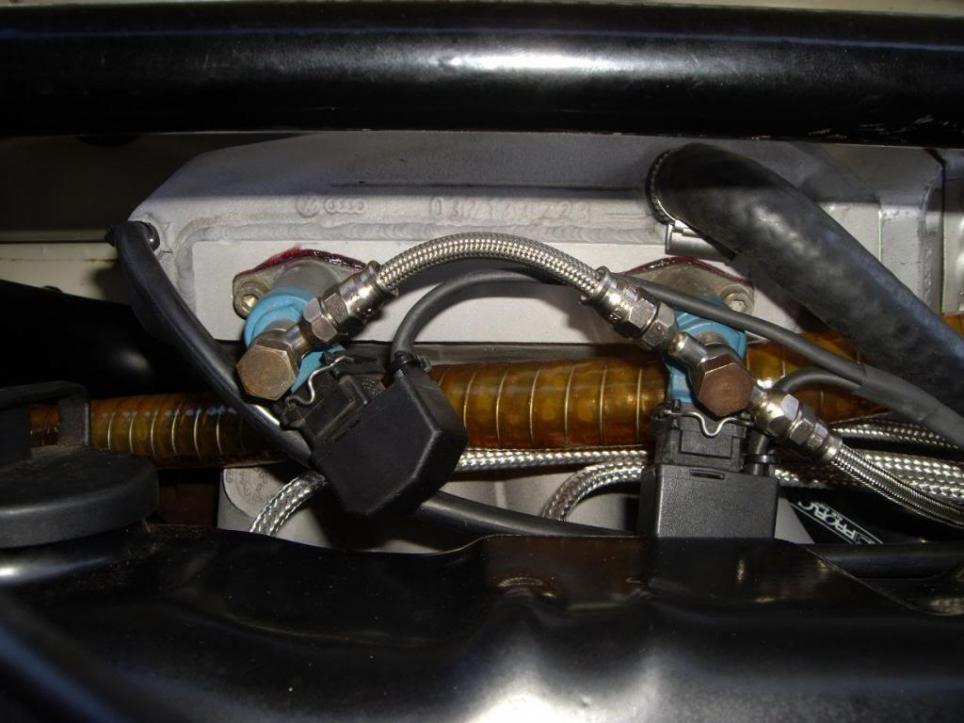
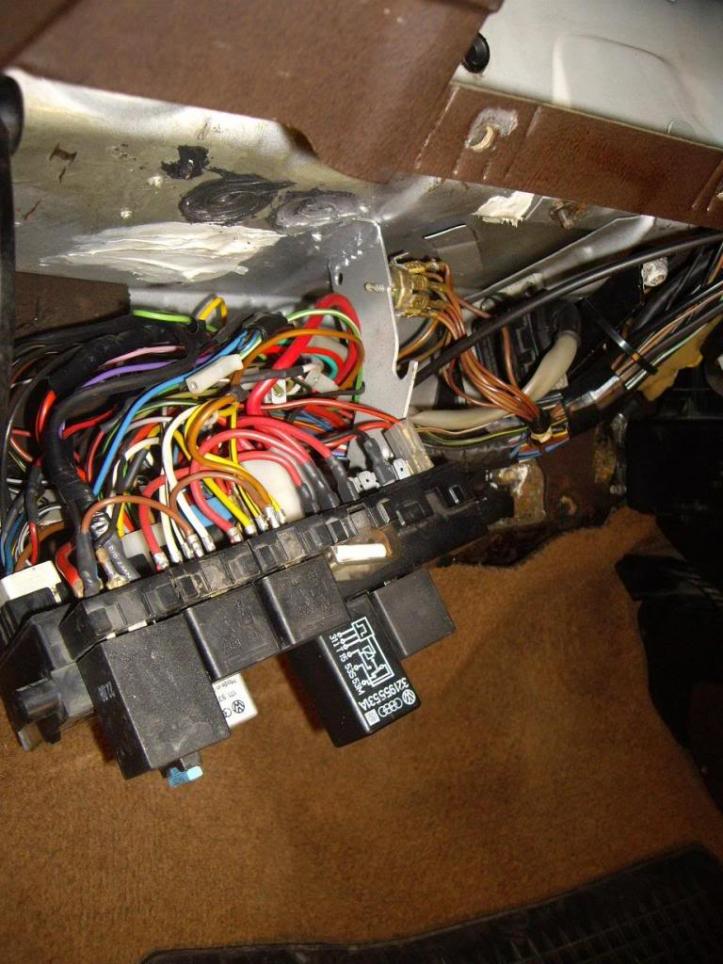
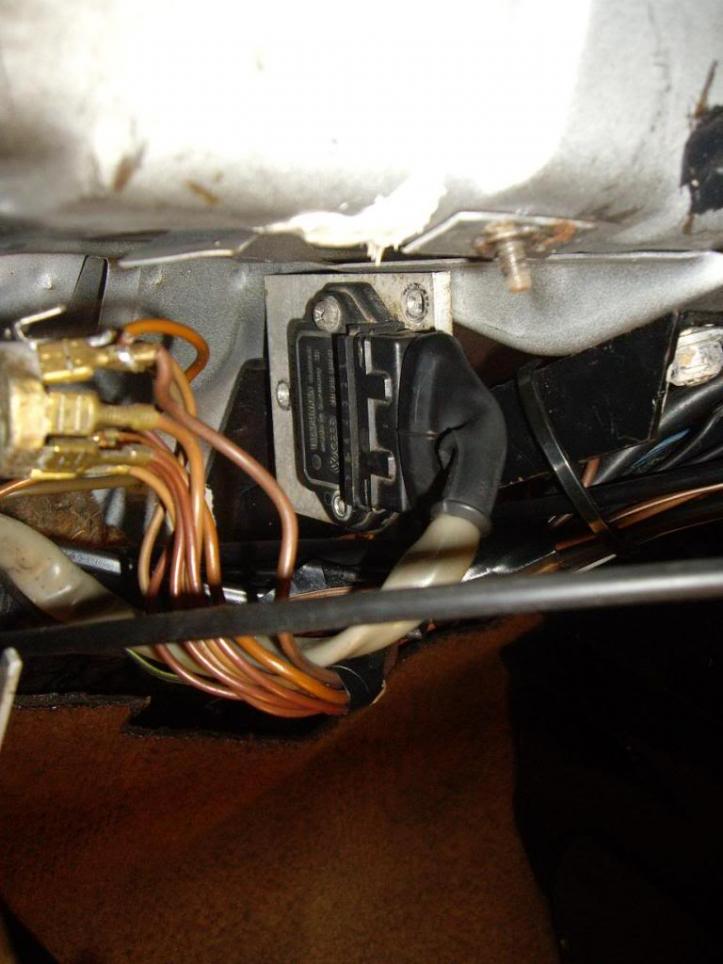
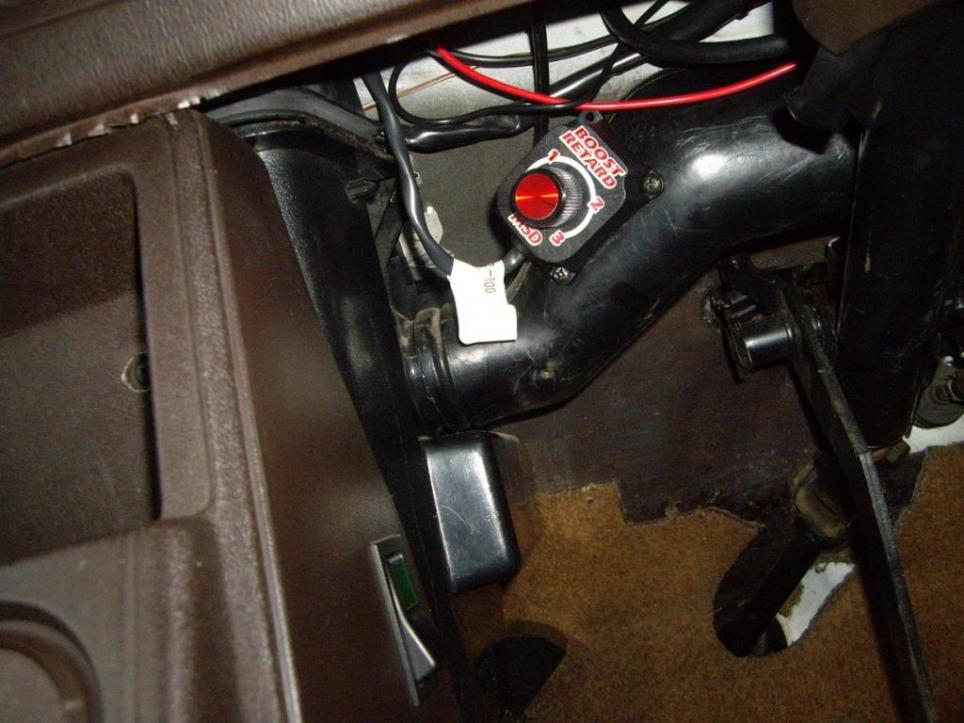
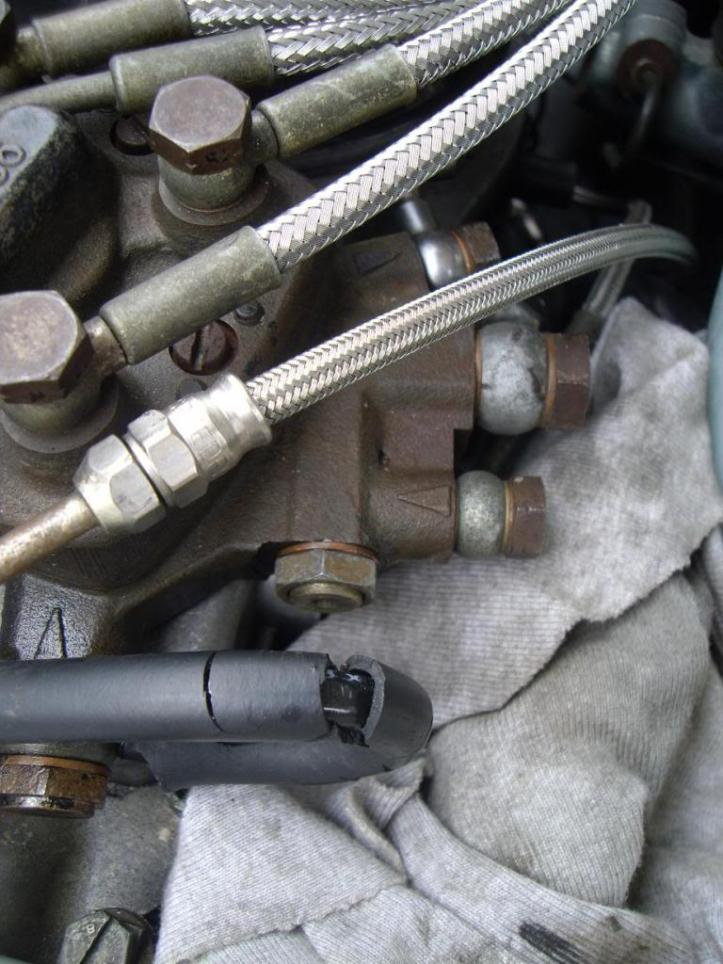
    Then started in the turbo outlet piping. Sorry but I forgot to get a pic of this out of the car


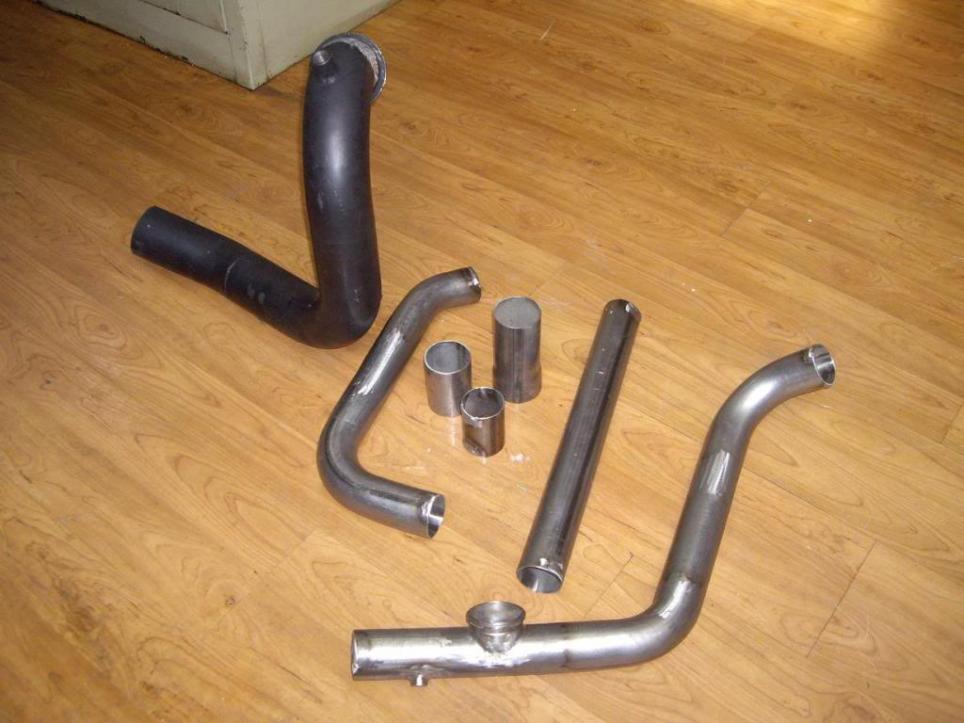
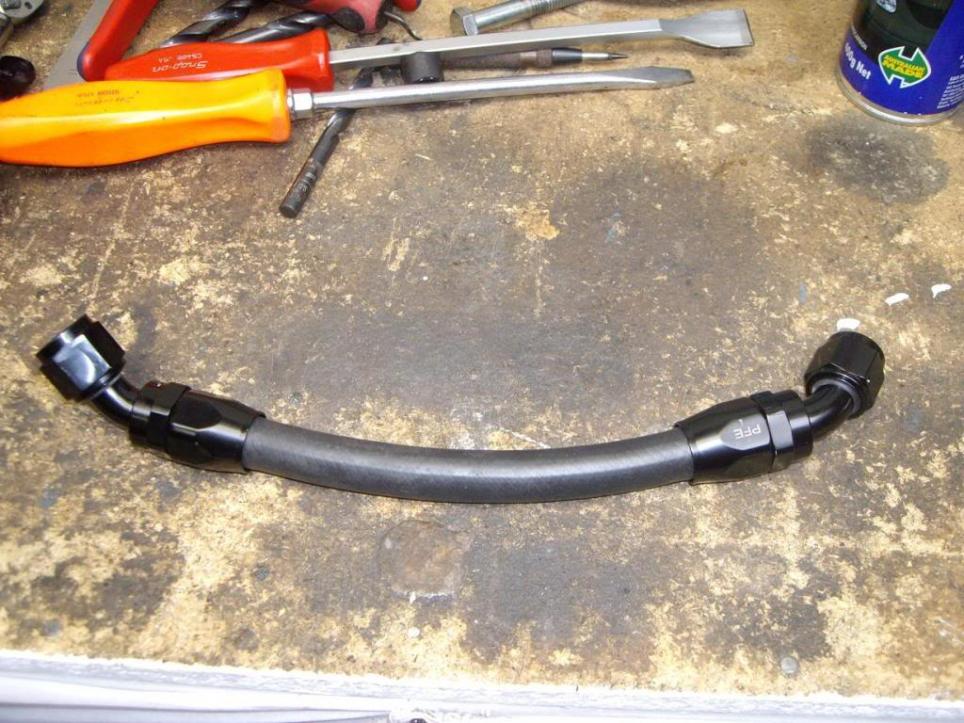
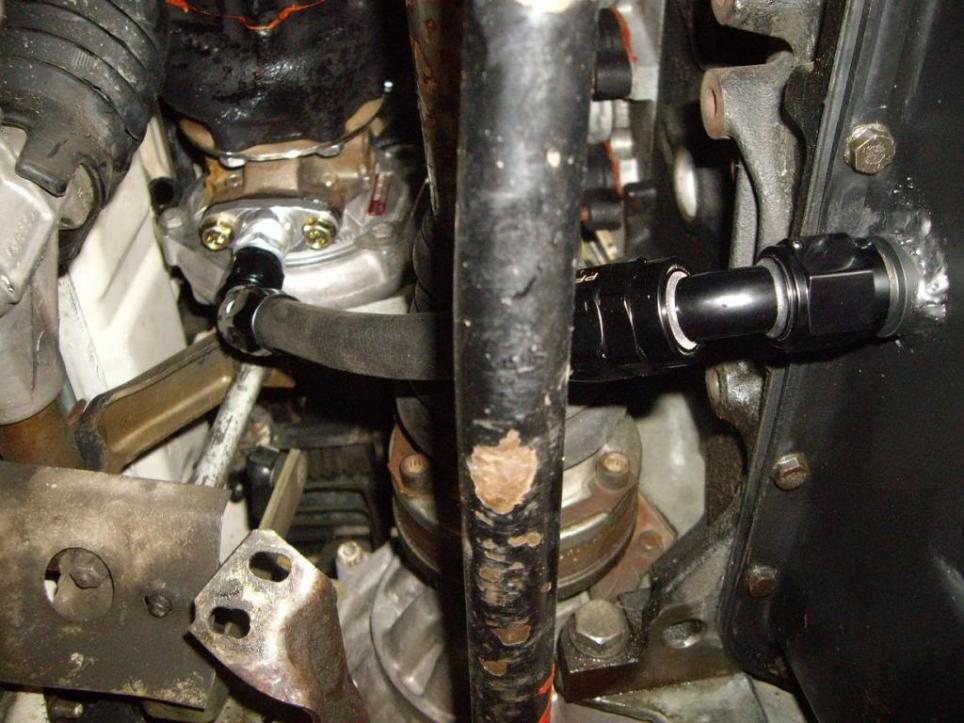
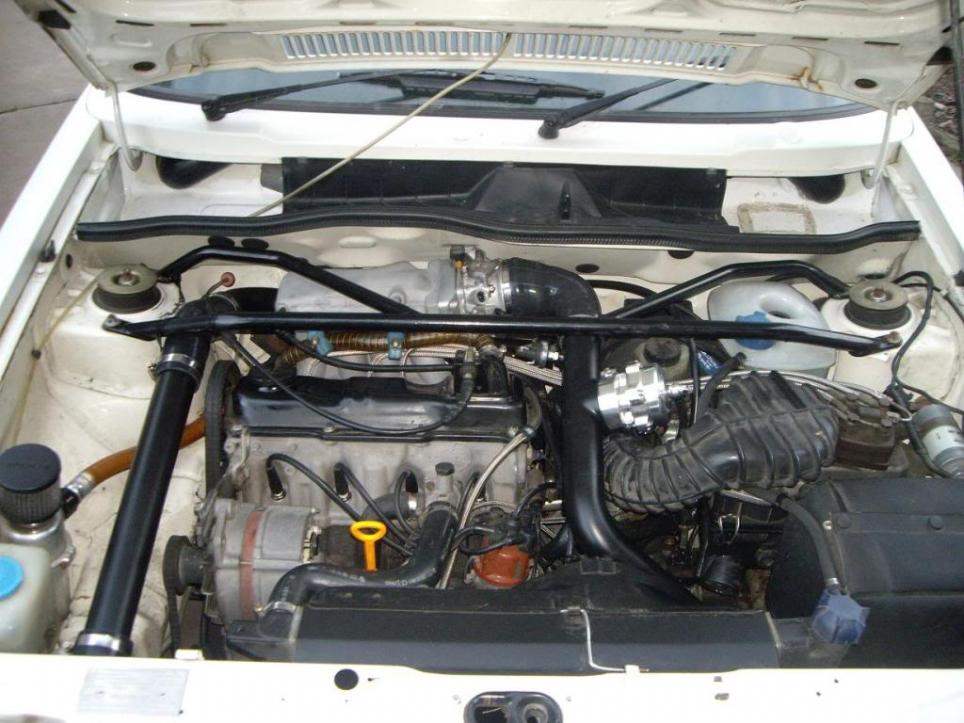
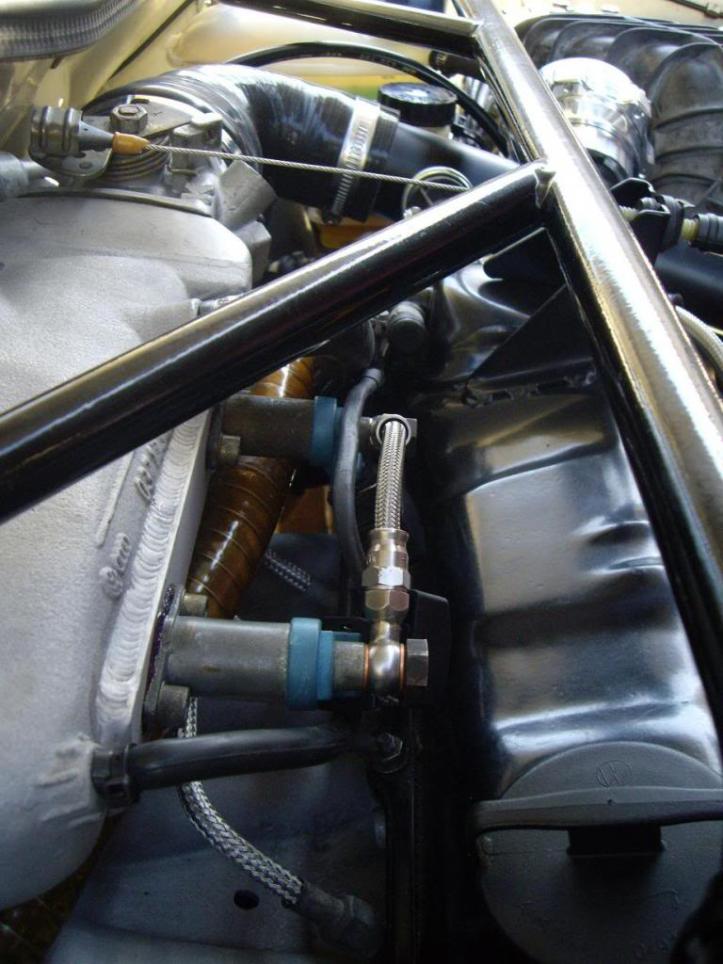
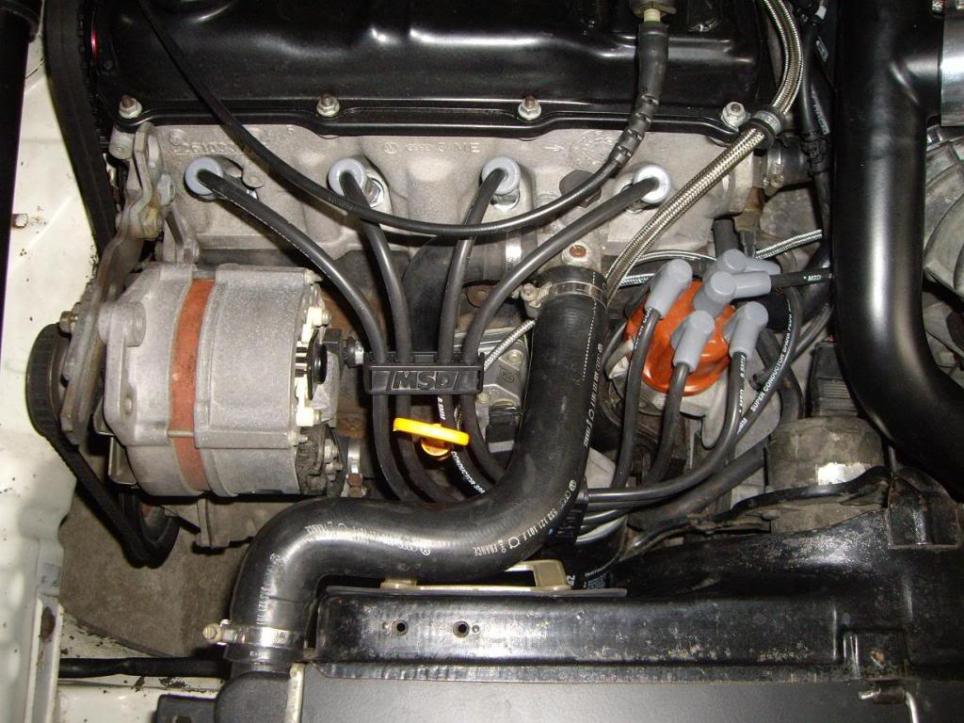
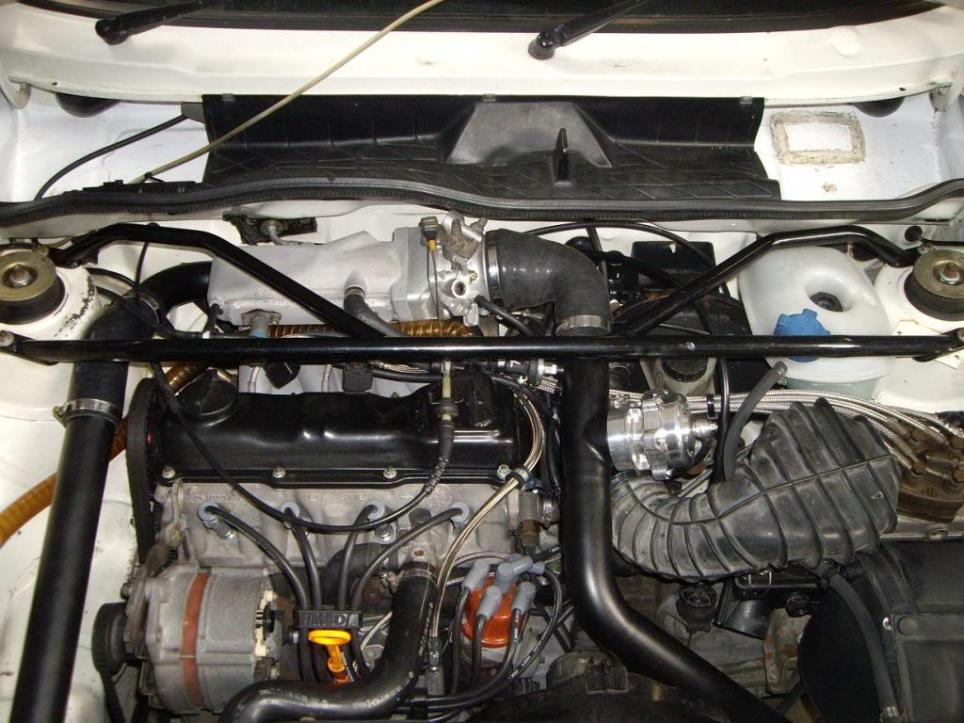
    Working out intercooler piping position


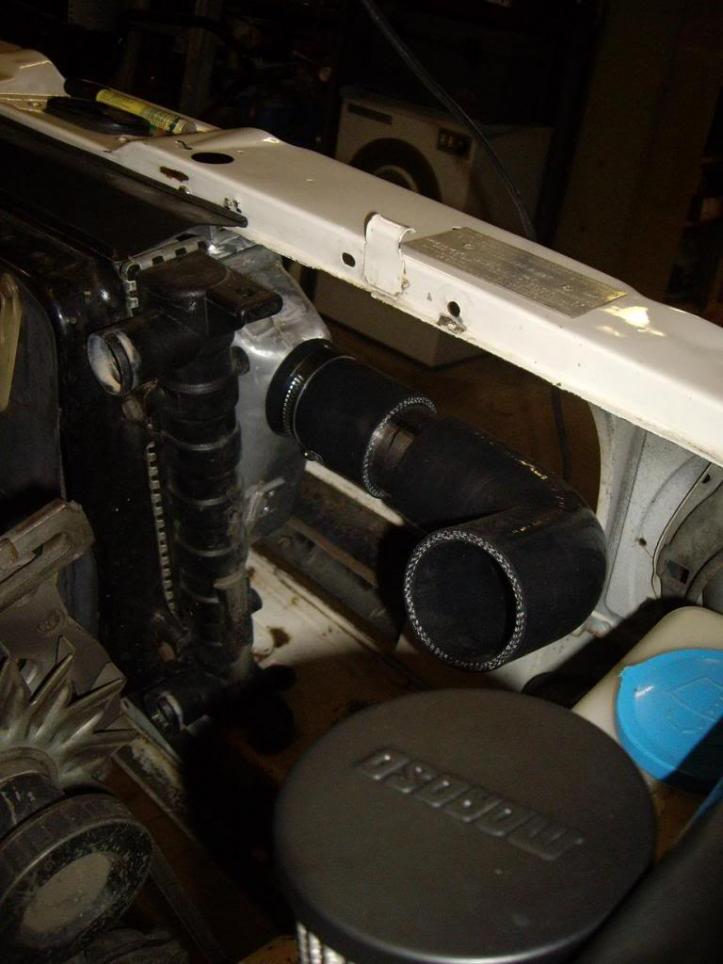
    I wanted both pipes to run parallel with each other & make it a clean fitment.


    Everything appears to clear everything, but only a test drive & time will tell. Hopefully I'll be fine with engine movement

    Progress will slow down this weekend, as I've got a 2 day training course over the weekend, but I'll try & get in some work during the night's & back on it on Mon.
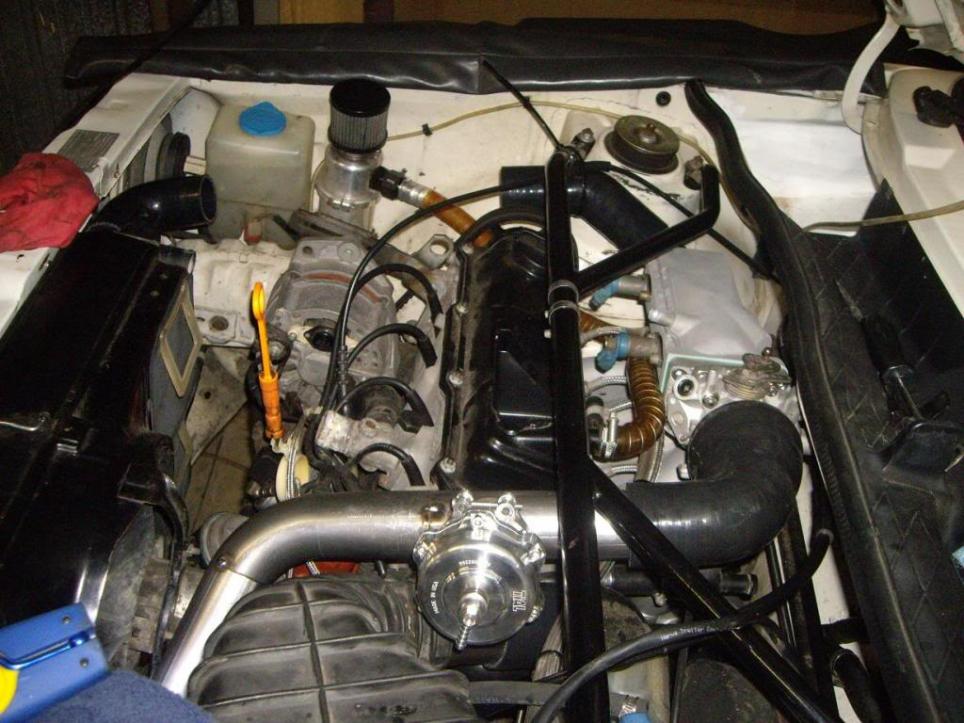
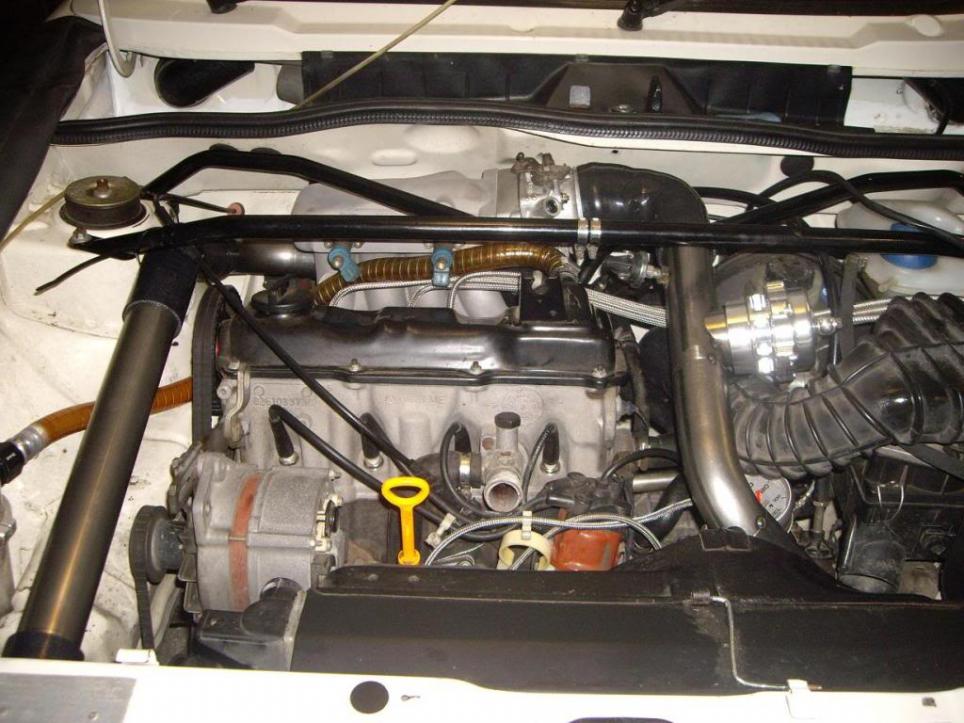
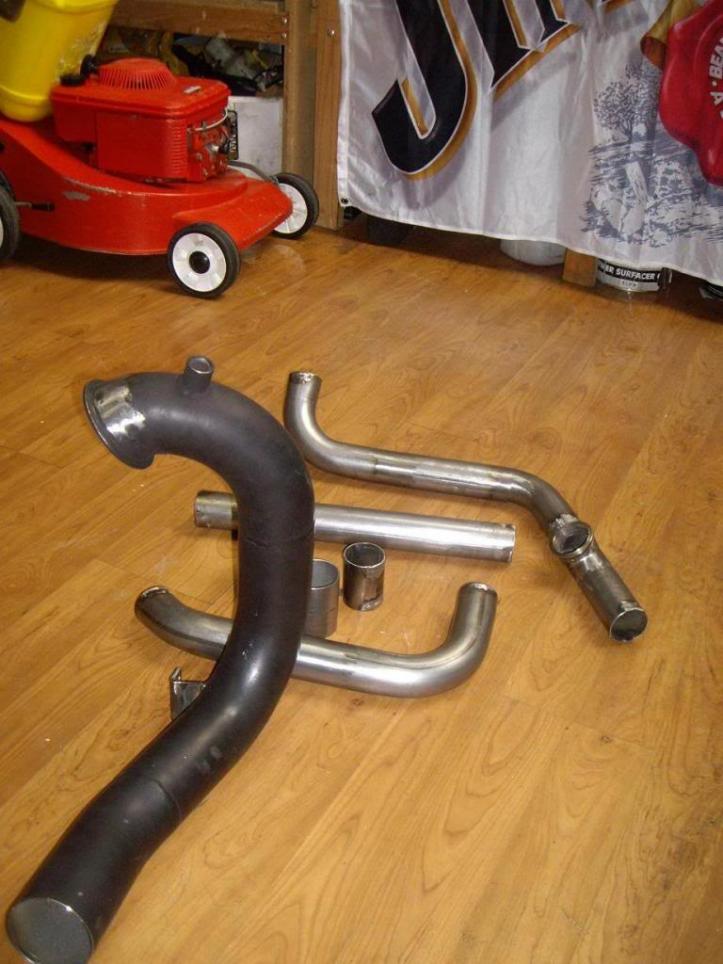
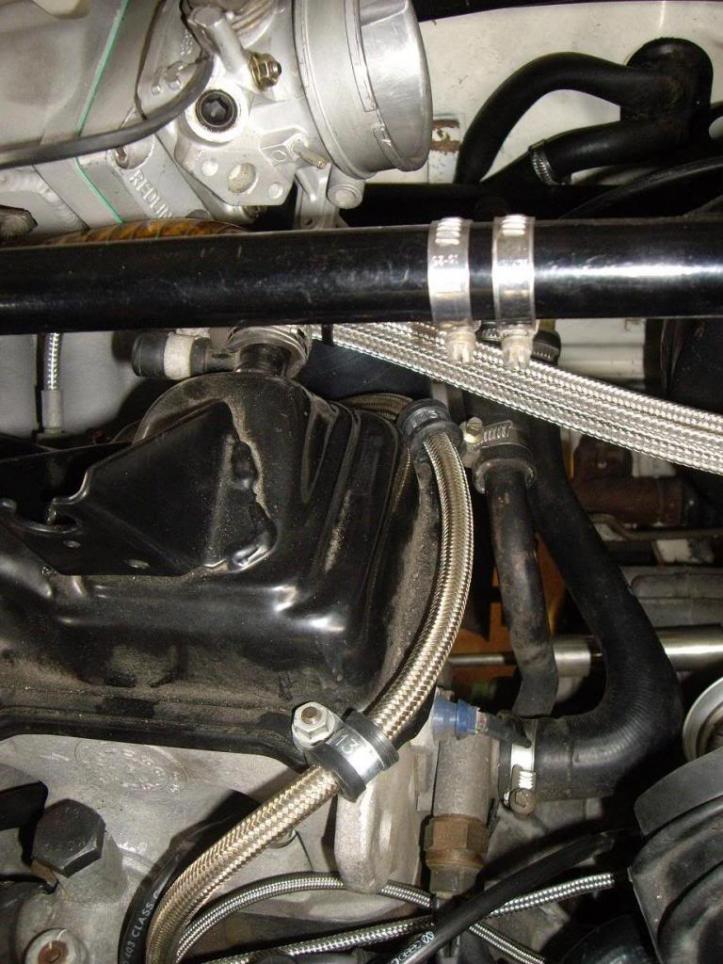
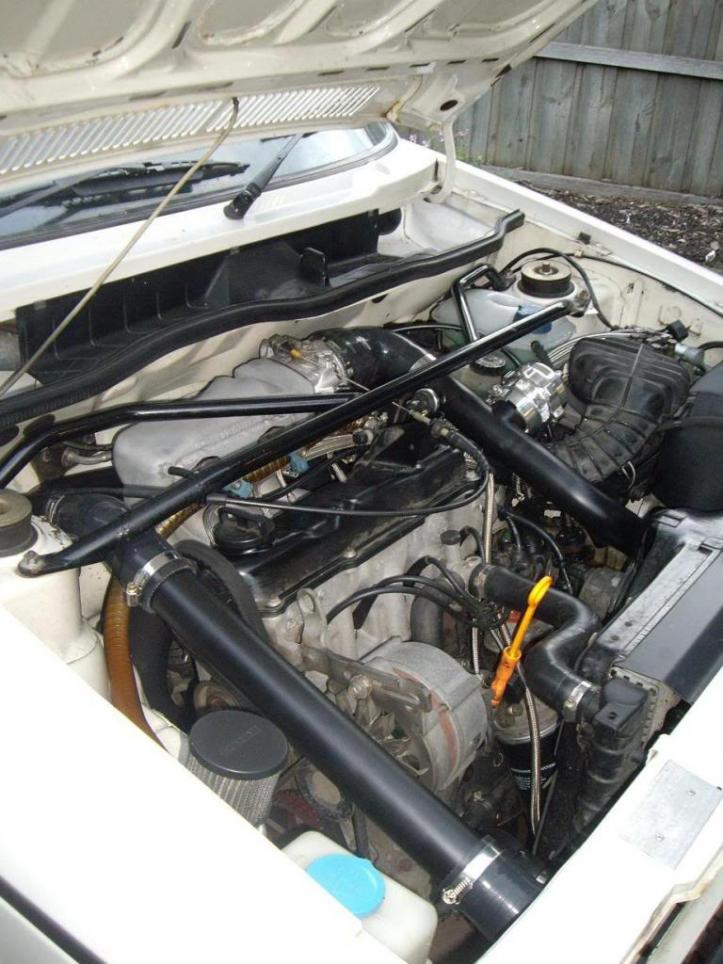
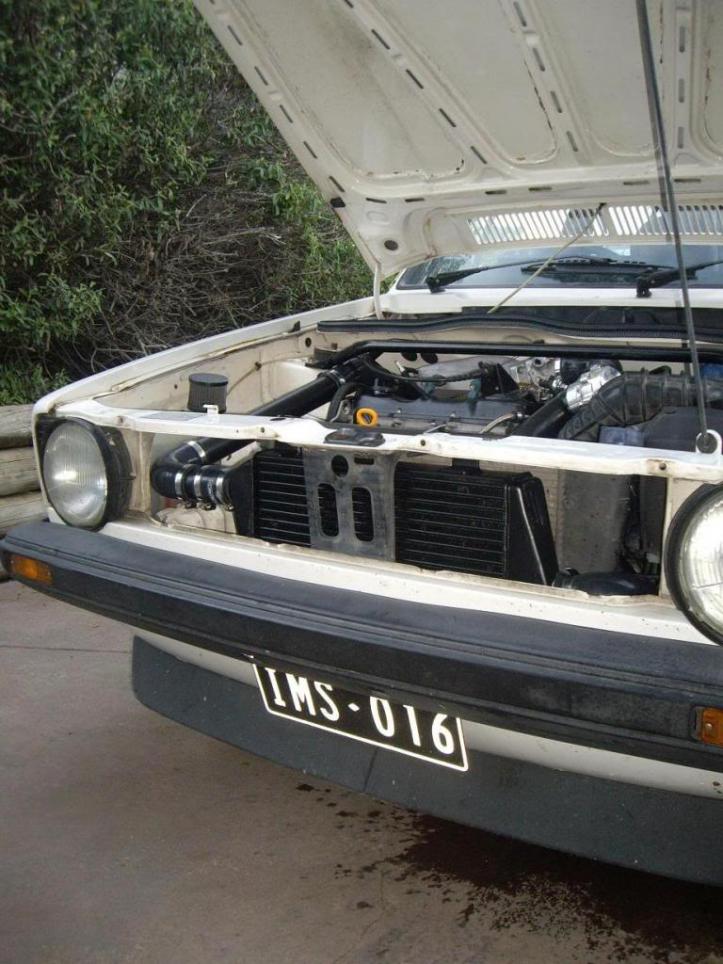
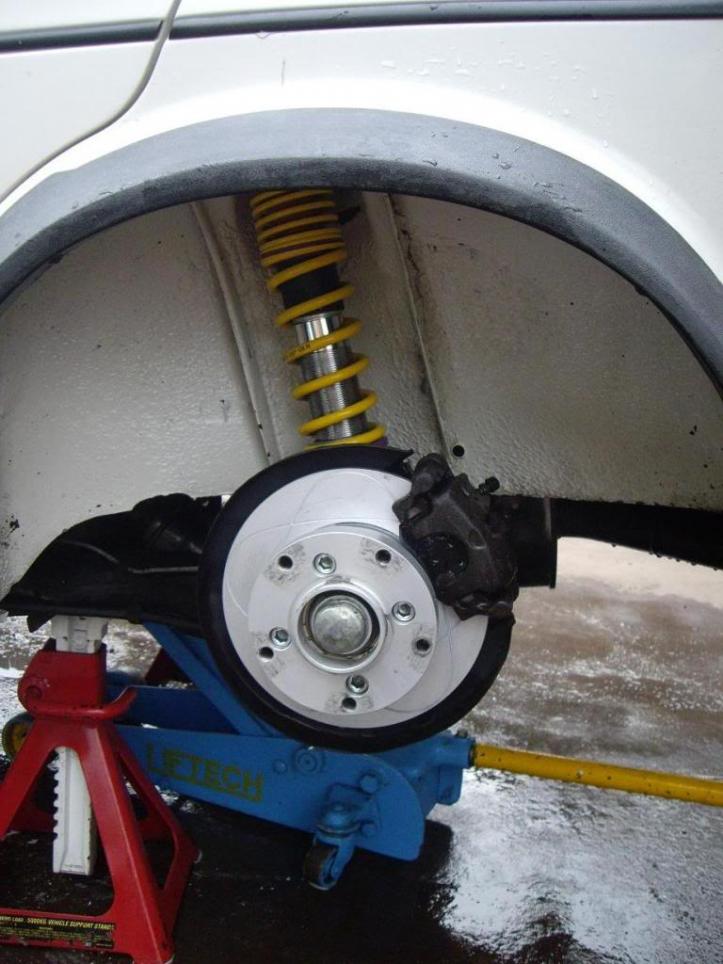
    Comment


    • #17
      Well this weekend was alittle dissapointing & not really happy with the progress. Crappy weather put a stop to painting & a so called dash -4 fitting decided to strip an oil supply adapter! Mmmmmmm.

      But I did get some stuff done.

      I finished welding all the pipe work, smooth & blended everything which took quite some time. Especially around the BOV. But the extra effort was worth it


      All the piping ready for paint tomorrow


      Dropped the sump & fitting the oil drain fitting


      I also decided to fit a VW Motorsport Windage tray I've had here for a long time. What better time to use it than now.


      Comment


      • #18
        Made up the oil return line & oil supply line For interest sake the supply is dash -4 & return is dash -10


        I also got time to modify the wastegate mounting bracket, due to how the turbo housing's are clocked, the original bracket jammed the wastegate pot against the intake manifold. I also had to mod the swing/push rod end too.

        So out came some scrap metal, the hacksaw, linisher & welder.

        My welds are slowly getting better.


        I'll be ordering some more part's tomorrow which broke, painting the piping & hopefully start reassembly tomorrow night!

        Comment


        • #19
          Got another good day in of work today.

          Decided to set up a makeshift booth in the shed as it was crap weather all day again & line it with old massive blanket's & got the patio heater going! Crap I know, but it all didn't turn out half bad.

          Managed to etch & spray all component's & then fit everything up.

          Just waiting on an oil supply fitting & then onto the wiring which shouldn't take all that long & then brake booster pipe, exhaust & aux. injector fuel line

          On with the pics. Very pleased with the final product. Almost look's factory apart from the Tial BOV.


          Comment


          • #20
            Before & after shot's.


            Engine look's alittle cleaner now with less aux. air valve supply hoses & the Warm up reg hoses tucked away too.

            Comment


            • #21
              Got a chance when I got home to wire up the A/F meter, calibrate it & fit the boost gauge. These will only be fitted temporarily for tuning. Once I'm happy with it all, it will all get removed & back to stock interior.

              Anyway I can safely say it runs!

              Cranked over on the 2nd revolution & fired into life. Although alittle noisey & once all the gasket goo & exhaust paint had settled, it idled perfectly as before at 1000rpm.

              I'll get a chance tomorrow arvo to drive it & see how it all goes.

              Comment


              • #22
                Well with the car still without an exhaust, test driving has been kept to a minimum.

                I did get a chance to drive it though & initially boost was kept as 5psi. The turbo isn't even working!

                The A/F ratio is spot on at idle & cruise. approx 14.6-14.9:1, but under boost it richen's upto low 10's:1! That's without the Extra injectors even hooked up!

                But after a few goes & alittle bit of playing around, I wound it up to 10-12psi & the surge starts to come in. Its still running rich as under boost, so there is sill some playing around to do yet with adjustment's etc.

                I'll get more tuning in, once the exhaust is fitted which should be tomorrow.

                But it's slowly getting there.

                No leak's, no fires & everything is smooth.

                Comment


                • #23
                  Well fella's, the full exhaust is now on which is a 2.5" full mandrel system with a resonator & high flow rear muffler.

                  The car is now nice & quiet to drive, idles nice & after a few runs, I'm seeing better increases.

                  I've since increased the ignition timing & set boost at approx 10-12psi & now it's taking off!

                  This would eat my old NA setup for breakfast!

                  At the moment I'm getting closer & closer to the tune. It's just timing & boost. Fuel is spot on!

                  Comment


                  • #24
                    Some more pics for the sake of it

                    Innovate Motorsports Air/Fuel meter. Awesome bit of gear & should be on everyone's list for the home tuner!

                    Happily idling away at 14.5-.14.9:2


                    Fitted the LC-1 in the rain tray. The oxy. sensor lead isn't long enough to reach into the car


                    Callaway boost guage


                    The matching pair of tuners tool's!


                    I'm still slowly honing in on the tune, but I'm now running out of fuel up top in the higher gear's/load, so the car is booked in next Fri. to have the aux. injector hosing made.

                    I took a friend for a spin on the light setting & he reckons it's alittle bit faster than a lightly modded WRX. Not sure on that though. It's scrabbling for traction in the first 2 gears, but it's still slow to me!

                    Comment


                    • #25
                      Got some more work done this arvo & also getting to the end of the part's list.

                      The faster I get this done, the sooner I can move onto other projects.

                      Fitted up my new ATE Powerdisc's & Pagid brake pads front & rear

                      I also decided to give the underneath a pressure wash, due to the weekend away bush bashing a few weeks ago.


                      Fronts are Corrado 280mm discs & stock Mk1 GTI style pads.


                      Rears are just standard size Mk2 16V rear disc's & pads

                      Comment


                      • #26
                        Well I finally broke something today.

                        My old ABD short throw shifter. The top relay lever broke clean off the shaft!

                        Stopped,opened the bonnet & manually selected 2nd gear on the gearbox & drove back to a mates house for some repairs too.

                        Other than that, its been smooth sailing. the car is performing without fault. Mixture's are good, fuel economy is the same as before if not better.

                        I've removed the tuning gear out of it, till I get my next upgrade which will be a MSD 6BTM. Boost retard ignition

                        The aux. injector fuel hose will be going on the Fri & I'll have some wiring to do as well.

                        Comment


                        • #27
                          Well not much has been going on apart from driving the car everyday & no problem's have arose since getting it going.

                          I managed to get in some time to get the Aux. injector fuel hose made & then wire it all up today. I also tested the system to see if it would all work

                          System all up & running


                          The cold start valve outlet


                          With the Hobbs switch bridged out


                          I'm yet to hook up the A/F meter & see what's going on. I'll do that once the MSD 6BTM has been fitted & then see how it all goes.

                          Comment


                          • #28
                            I also received another xmas present today. I ordered it Mon. night AUST time & it arrived THURS. morning form the States! Hell yeah!

                            All my Ignition component's arrived today incl. MSD 6BTM & RPM limiter pills, Blaster 2 Coil & bracket, Ignition Leads & separator's.


                            This weekend should be fun.

                            Once this is all fitted, I'll refit the boost & A/F meter & hopefully start to turn the wick up on this 300+K old stock GX engine! hahahah

                            Comment


                            • #29
                              well I finally managed to get some more work done, but it was a very very slow process. I started working on installing my new ignition when a friend decided to come down & help me. Well it was only a matter of time before the booze came out. That basically put an end to my progress.

                              I got the MSD & coil mounted & ran the wiring & started on the ignition lead's

                              Not much!

                              MSD box mounted up in the rain tray against the fire wall. I also fitted a 6600rpm limiter pill. I think I will change this back to a 6200 or 6400 pill.


                              MSD Blaster 2 coil mounted under the Expansion tank.


                              Onto today. Very slow & one very "very" bad hangover!!!!!

                              I finished off all the wiring, made the ignition lead's & got everything tidied up.

                              Bit of a mess under here, but aren't all Mk1's like this?


                              When I built this Mk1 I mounted alot of stuff out of view to clean up the engine bay. The only place to put it all is in the cabin under the dash!
                              Here is the TCI switch mounted up


                              Mounted up the Boost retard controller.


                              With all the lead's made & fitted


                              With everything refitted, the MSD is hidden away not too bad.


                              Anyway, I did get to drive it & have a quick play around with it tonight. I've now wound the boost upto 15psi & I can safely say the car is now fun to drive!

                              There is still some tuning/sorting out to do, as it now is just starting to lean out in the top end. I'll have more of a play around tomorrow. I think I'll start increasing the system pressure, to supply the aux. injectors with some more fuel & also retard the cam timing alittle bit. I can start to feel the engine nose off near the topend. I also had this problem when it was NA with the 270 Autotech fitted. I found 2-4 degrees retarded made a big difference to topend.

                              But just going off initial setting's, I can roll along at 60kph in 2nd & plant it & it will start to break traction. Whether it is turning the tyres or just trying to yank the steering wheel out of my hands & skipping the tyres, it's now very fun. It also try's & yanks the wheel in 3rd roll on from 80 too.

                              Comment


                              • #30
                                Well I had alittle bit of a sleep in but managed to pry myself outside to have a play around with some System Pressures on the K-Jet.

                                Here is what the system pressure was before

                                72psi.


                                Here is where the system pressure regulator is located on the side of the fuel distributor. Above it are is the warm up regulator supply, then the fuel return & then the cold start valve fuel supply.


                                This is what I'm going to adjust to increase fuel flow onto all the injectors incl. the aux. injectors too.

                                Here is what the regulator looks like removed. This one is out of a spare fuel dizzy I've got here & what I raided the o-ring & pressure spring shim's out of


                                Here is the one out of my car :Note the two shims on the left of the o-ring.


                                Shims removed


                                Then measure what size the shims are to increase or decrease if need be the fuel pressure.

                                My stock shims were a 0.30mm & 0.50mm giving a total of 0.80mm.

                                The fat shim was 1.3mm, so I installed this along with my other shims giving a total of 2.1mm


                                Everything refitted & onto testing the fuel pressures.

                                Now 82psi


                                As far as how much improvement is made.

                                It no longer lean's out in the top end & keeps a stable mixture right through the rev range, although on initial boost build up & can shoot as far as 9.5:1 A/F, but quickly lean's back off to normal.

                                Mind you today was 26+°C & I didn't have any problem's with pinging etc.

                                Very happy with all this has turned out.

                                Comment

                                Working...
                                X