If this is your first visit, be sure to
check out the FAQ by clicking the
link above. You may have to register
before you can post: click the register link above to proceed, registering will remove the in post advertisements. To start viewing messages,
select the forum that you want to visit from the selection below.
This means you should apply for your renewal now to avoid any disruptions to your membership whilst the renewal process is taking place! NOTE: If you have an auto renewing subscription this will happen automatically.
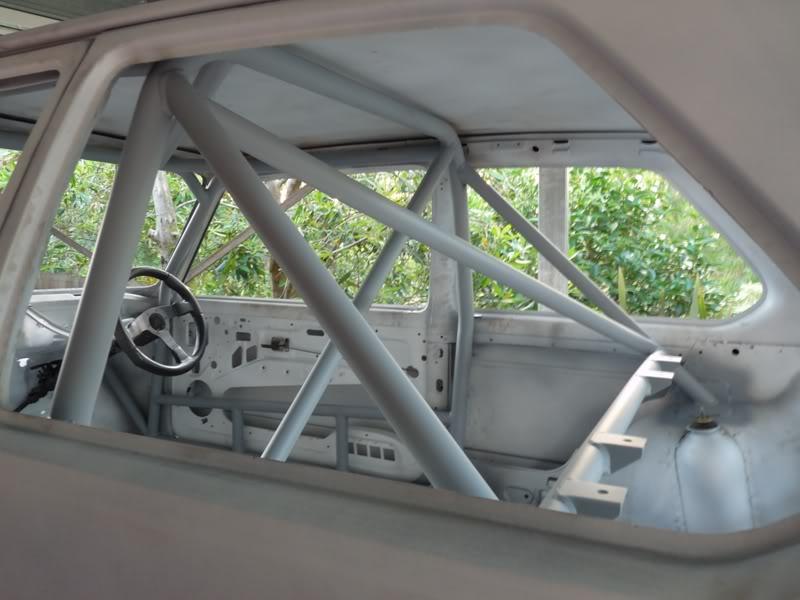
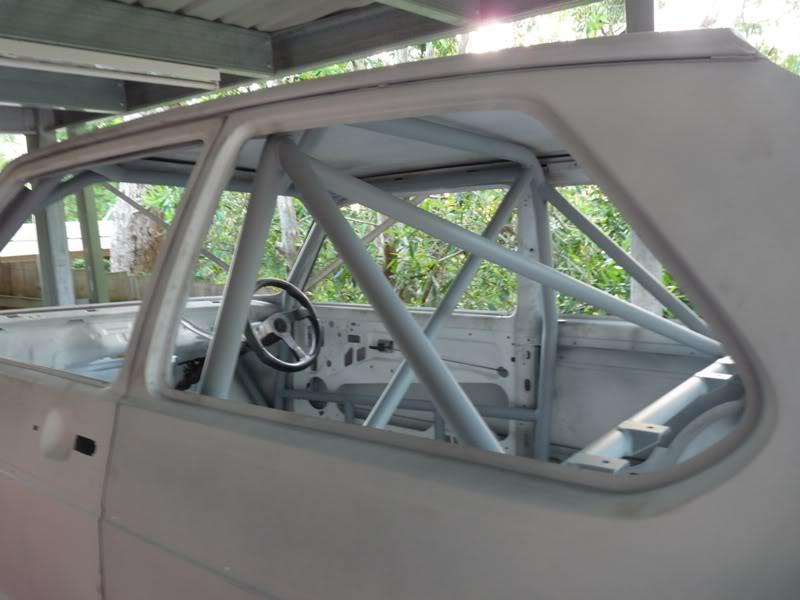
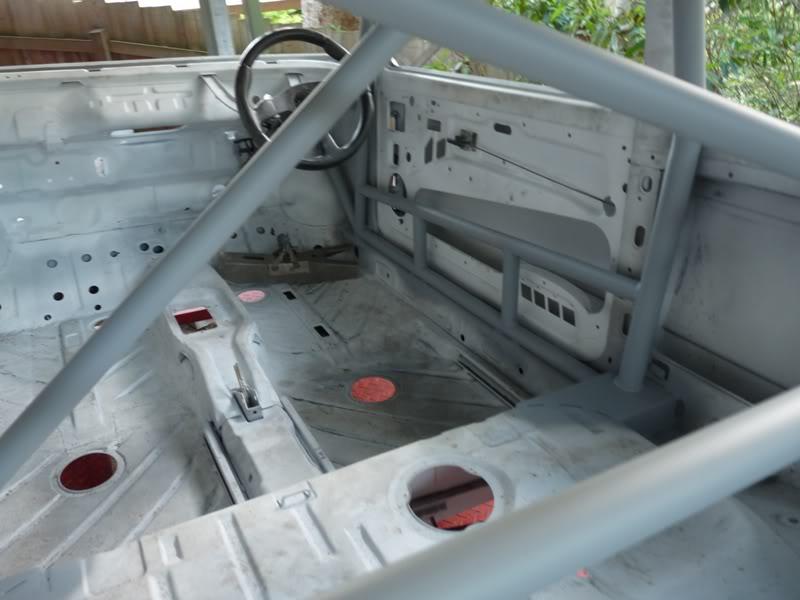
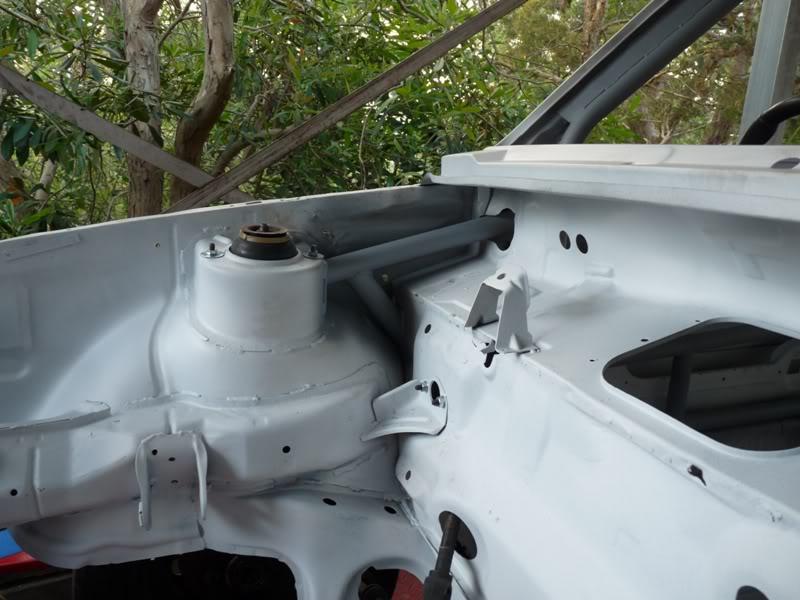
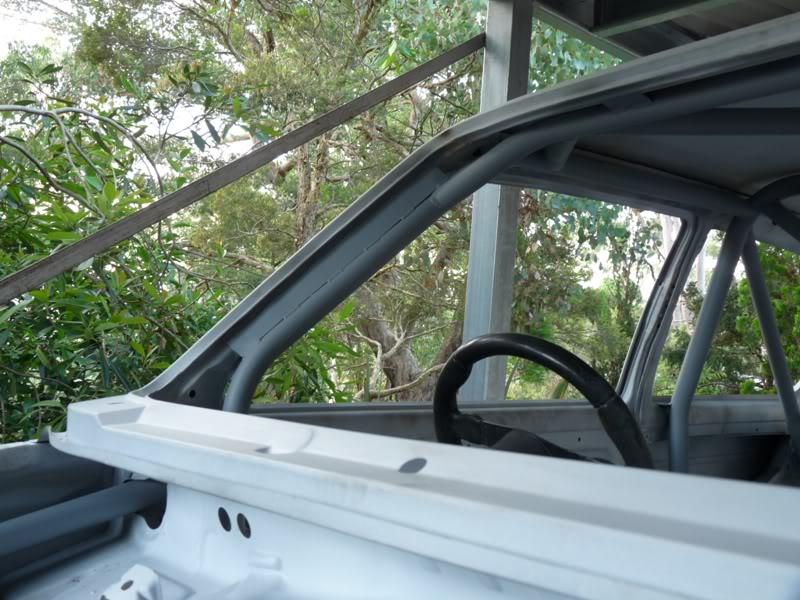
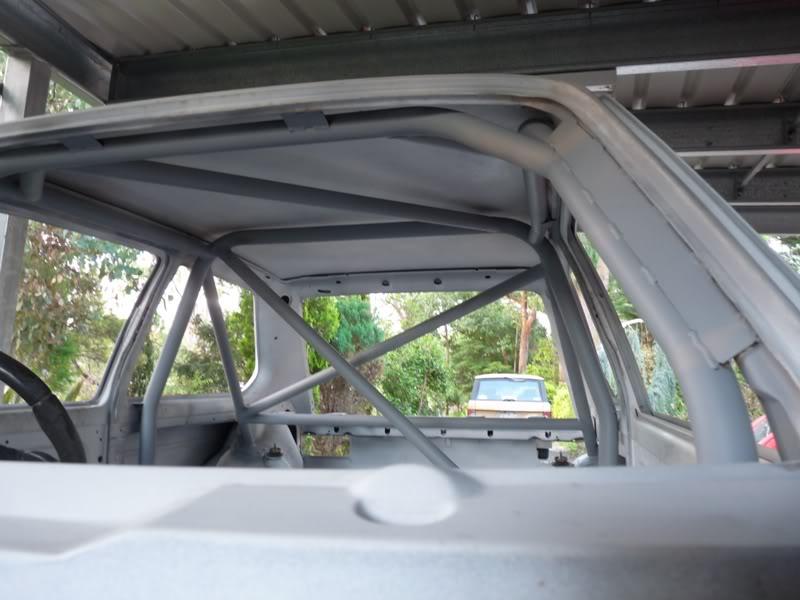
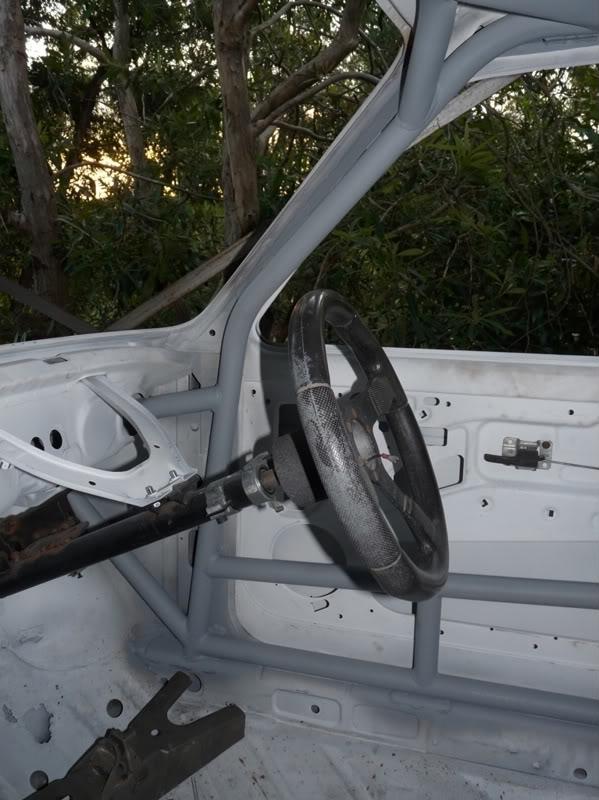
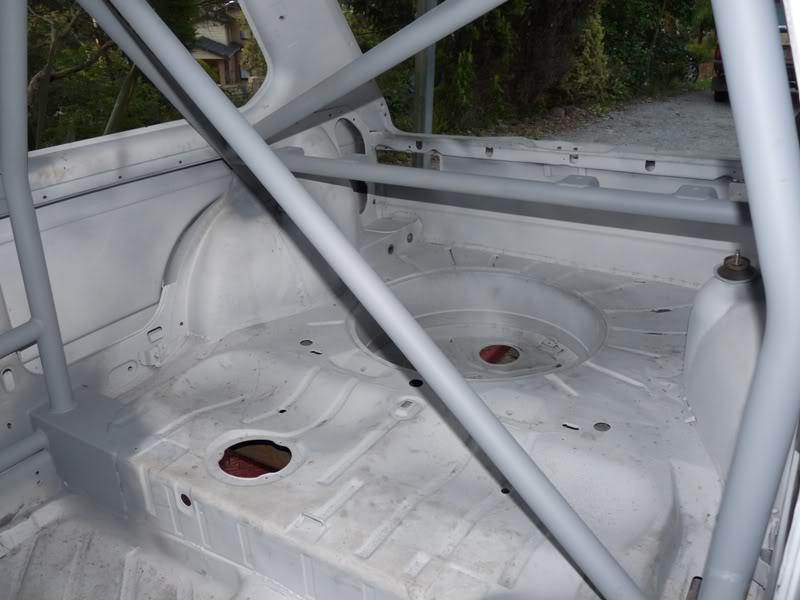
I wanted to keep it all as light as possible which is why the single diagonals in the roof, hoop and rear stays.
Weight is also the reason for the driver side getting full double intrusion bars and the passenger side is a basic single bar.
It's a single occupant setup for track work, you'd use a more comprehensive setup for rallying.
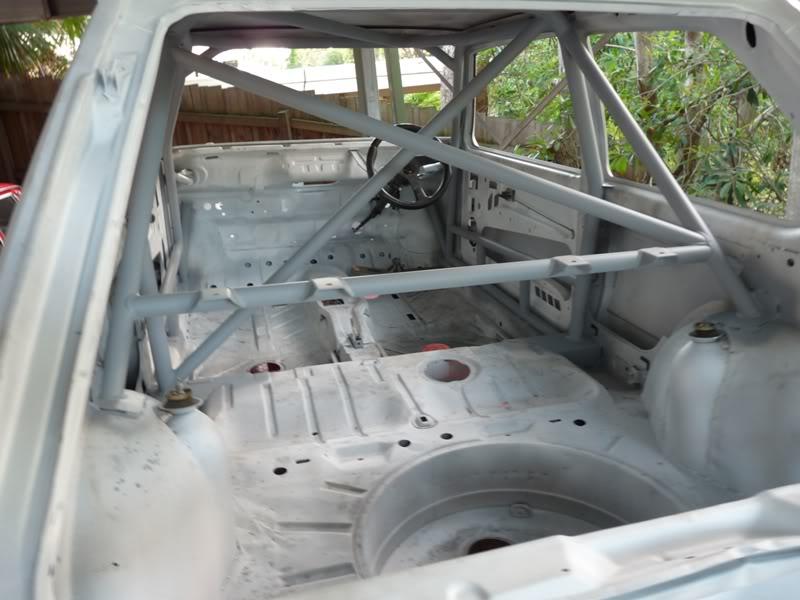
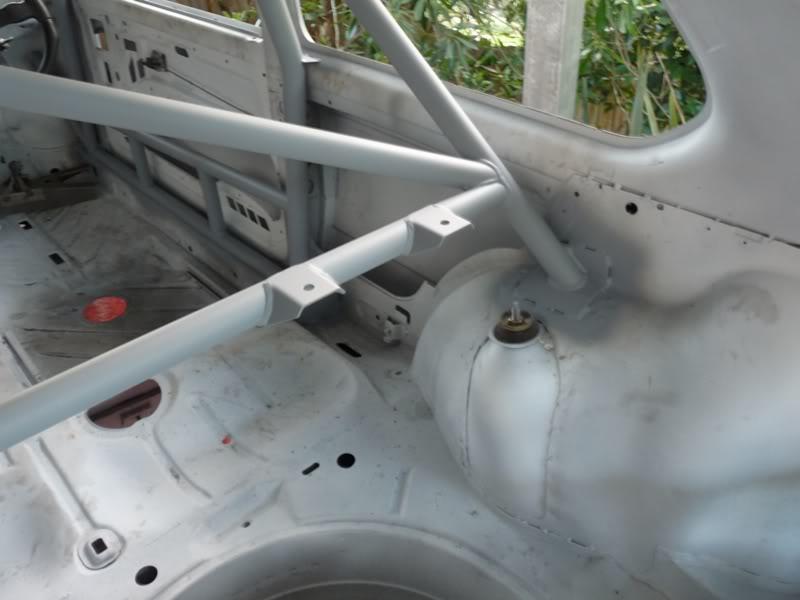
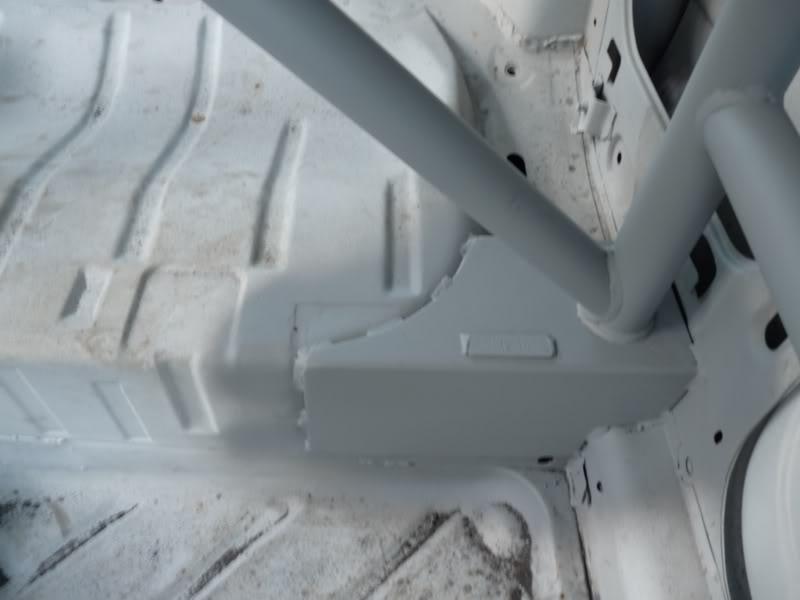
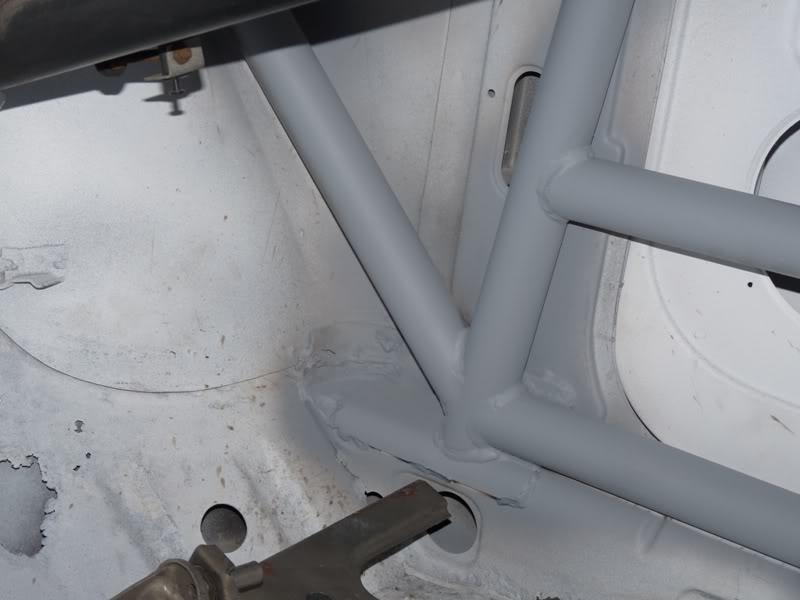
The boxes that the rear hoop is sitting on have a compression member inside them to prevent that box from being crushed in an accident.
It's an interesting science, all the pieces of the cage do different things, some parts are for safety, some are for rigidity and the main function of the rear horizontal bar is to hold the seatbelts up.
nice Pete! Good to see it progressing so fast! Next the Engine?
VW: it aint just a car, its a way of life There are few things more satisfying in life than finding a solution to a problem and implementing it
My Blog: tinkererstales.blogspot.com.au
OK. Been quiet for the last week, painted the bedroom and installed some stainless steel balustrading.
Back to the cars now
The golf is back up on the rotisserie now and the suspension is back out.
Just getting back into some rust repairs now.
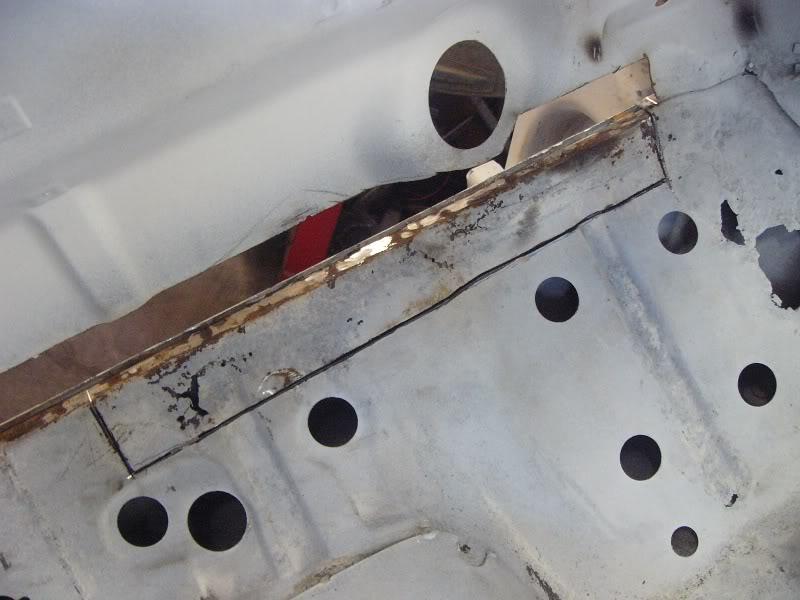
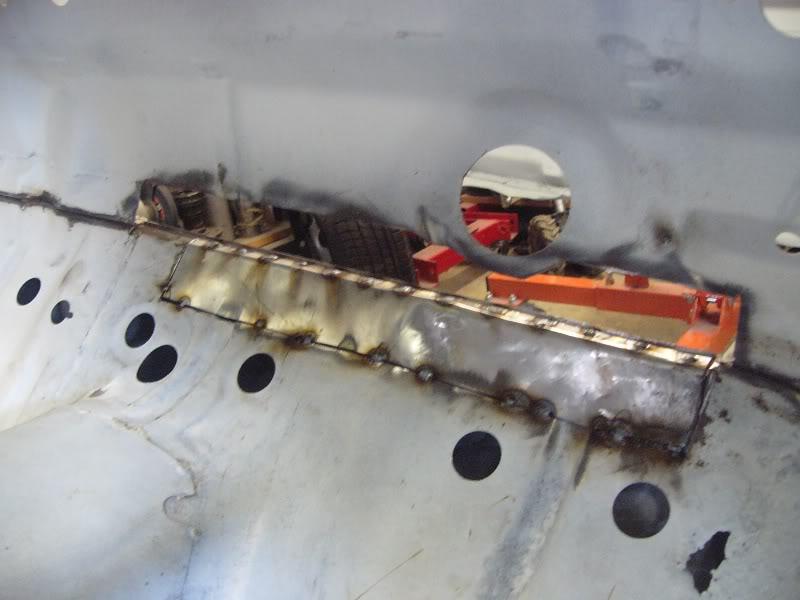
First up is a tricky bit, firewall.
There's actually 3 panels that meet at the seam across the firewall.
The lowest of the panels is the main bulkhead which has an upturned flange on which the next two panels sit. The bulkhead panel is quite thick being a structural member of the car.
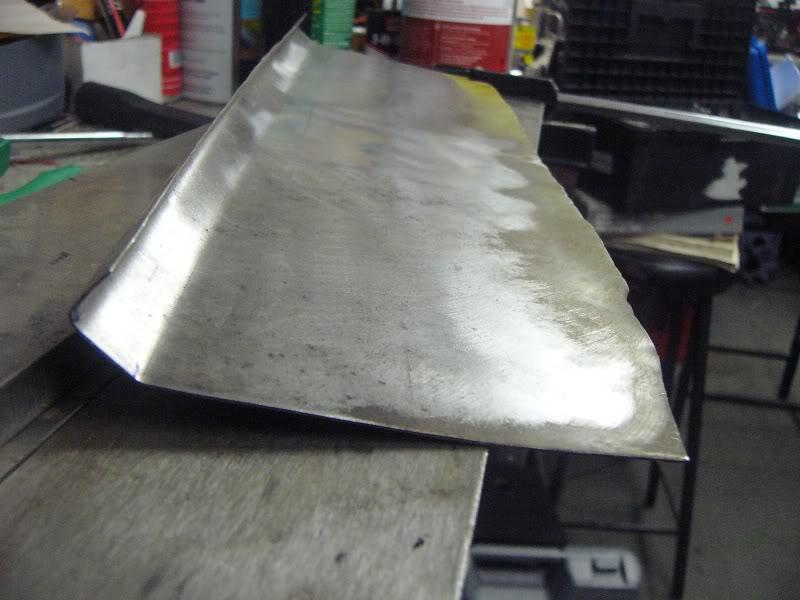
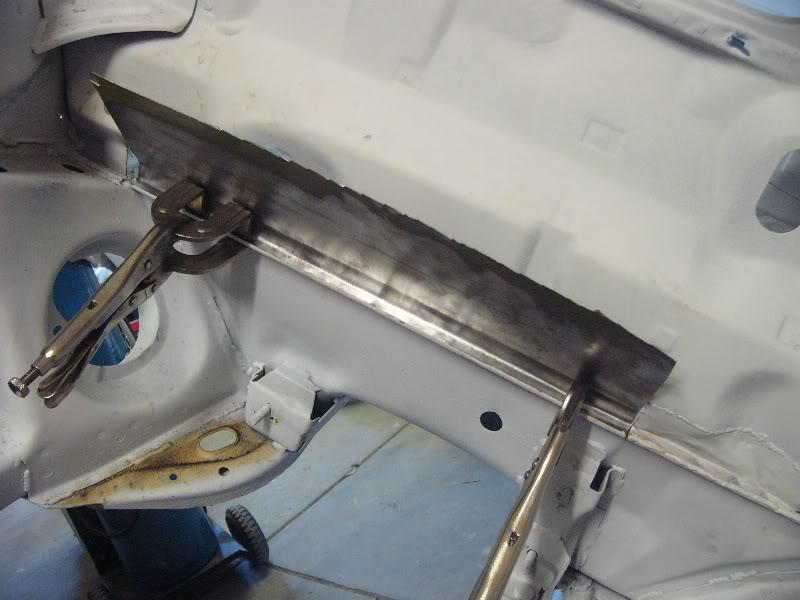
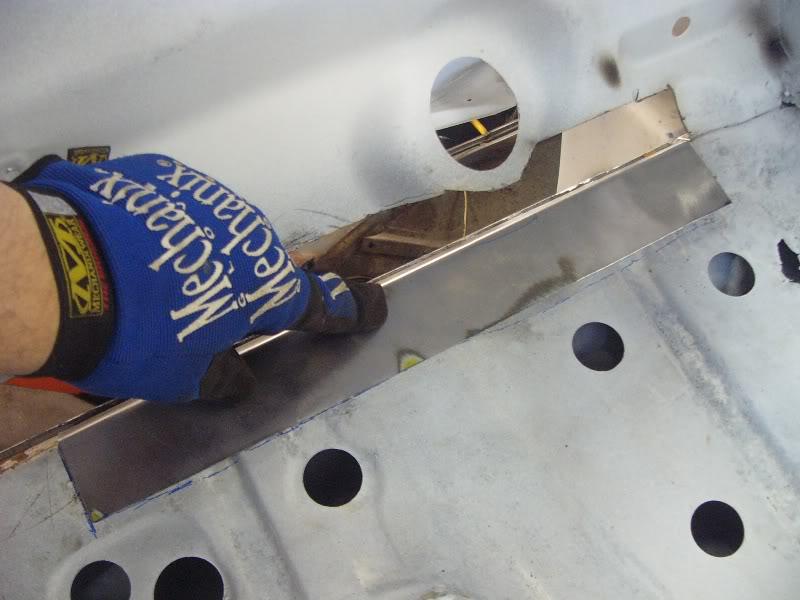
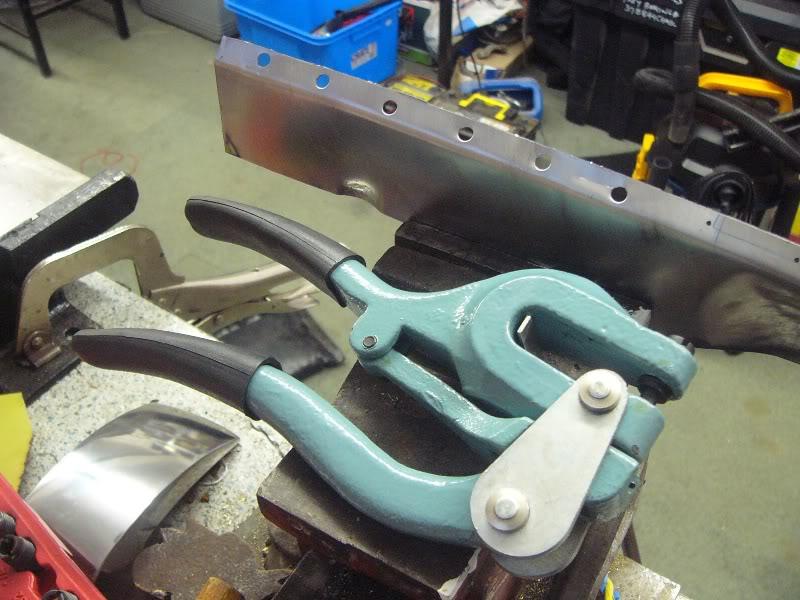
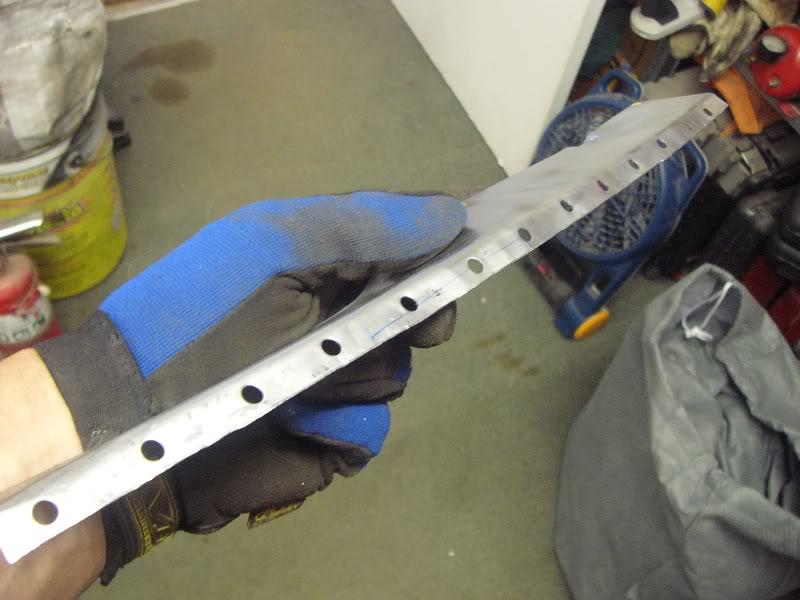
This is a panel I'm fabricating to replace the firewall above the seam. I made the bends with a cheap bender ($60) from the local tool place.
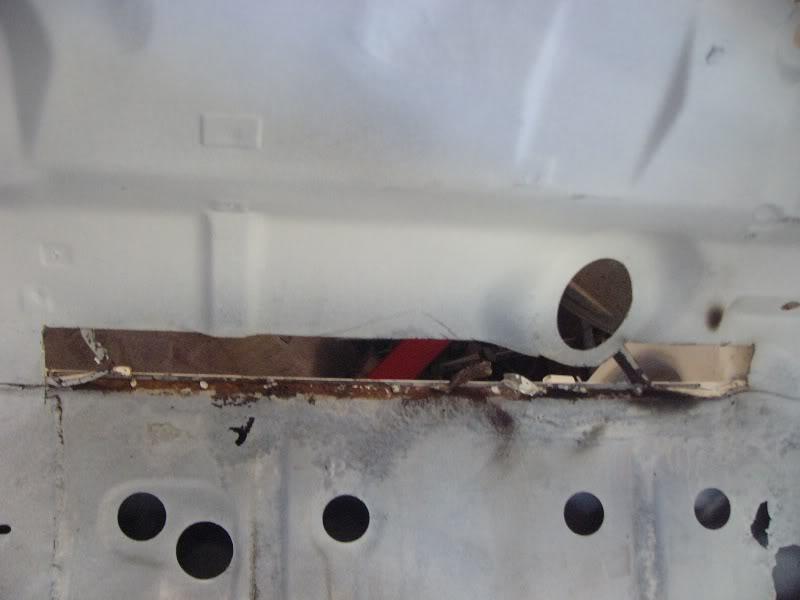
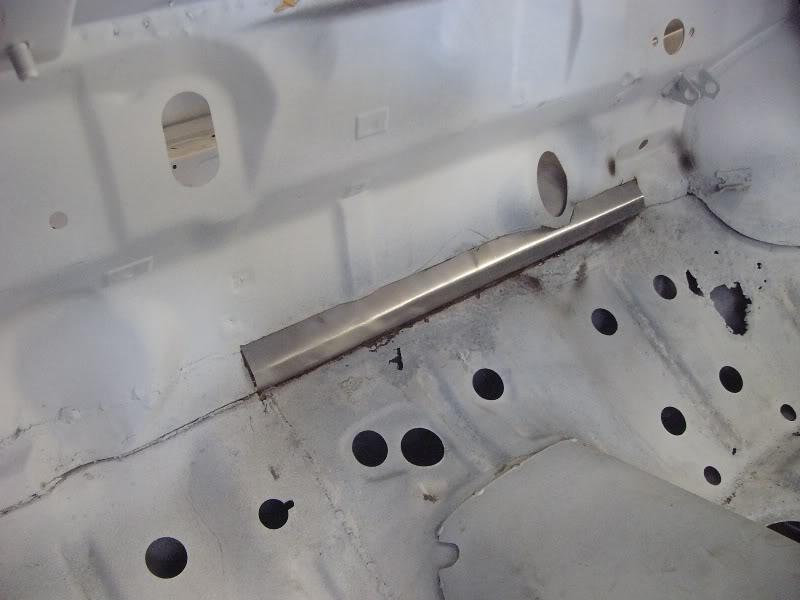
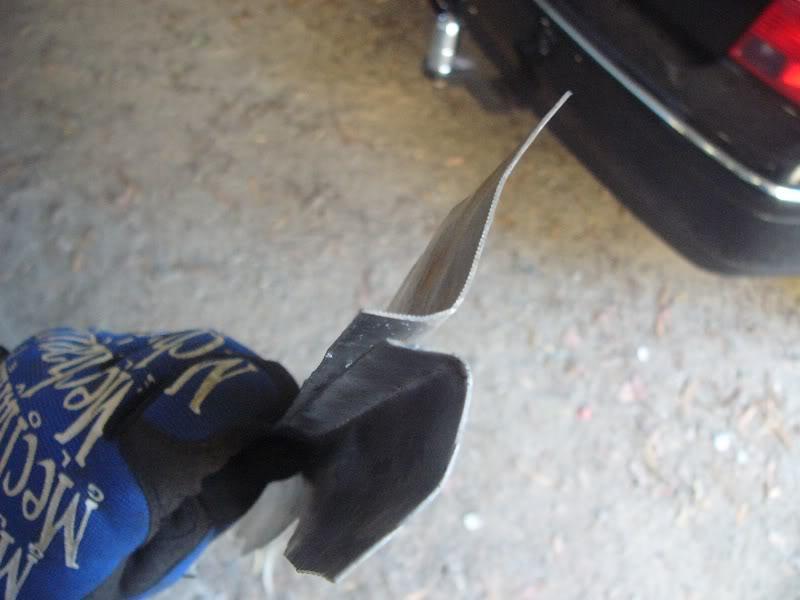
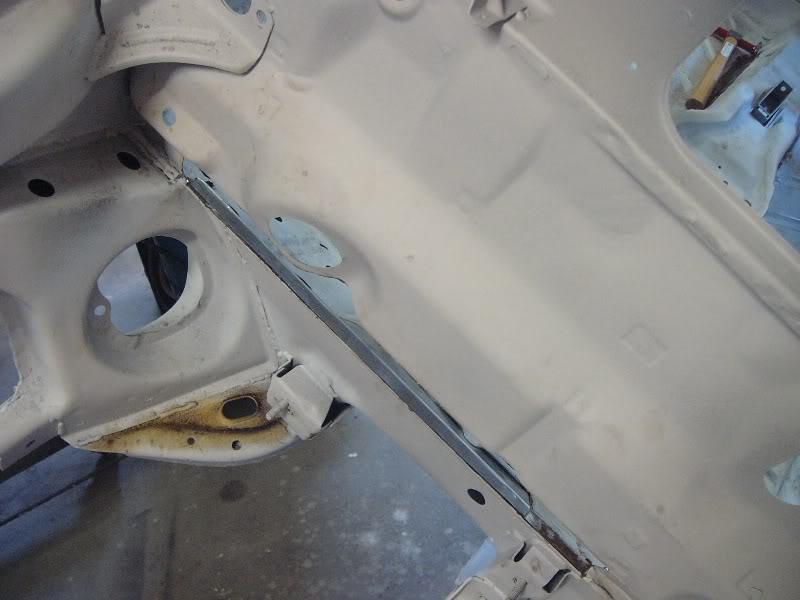
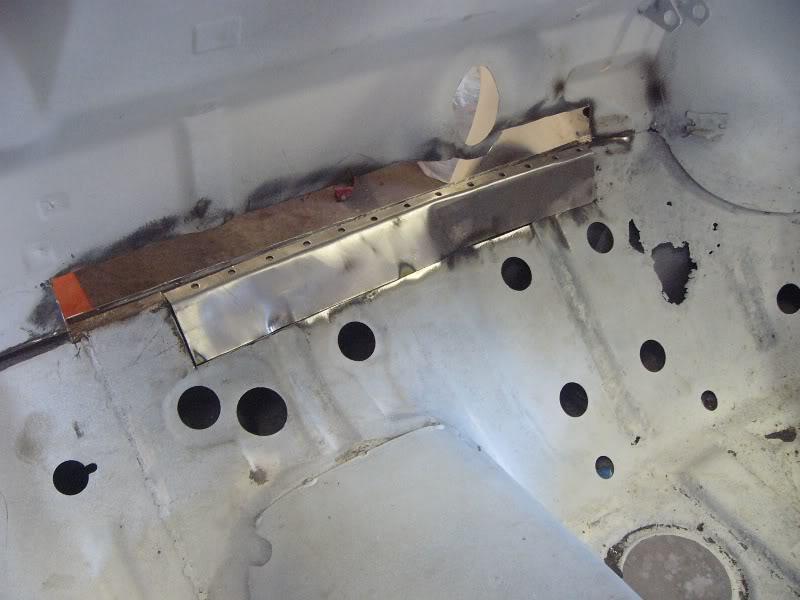
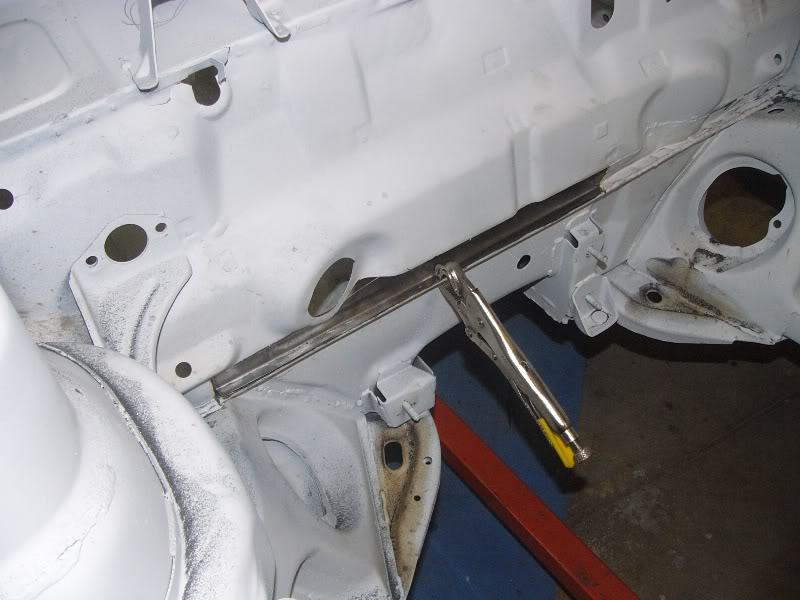
This is the section that the piece above is to replace.
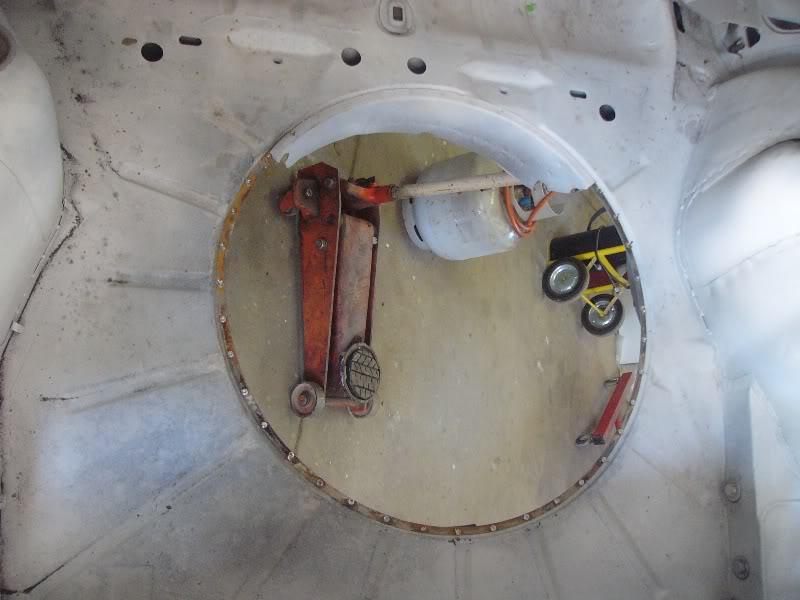
The wheel well came out yesterday. More on that later.
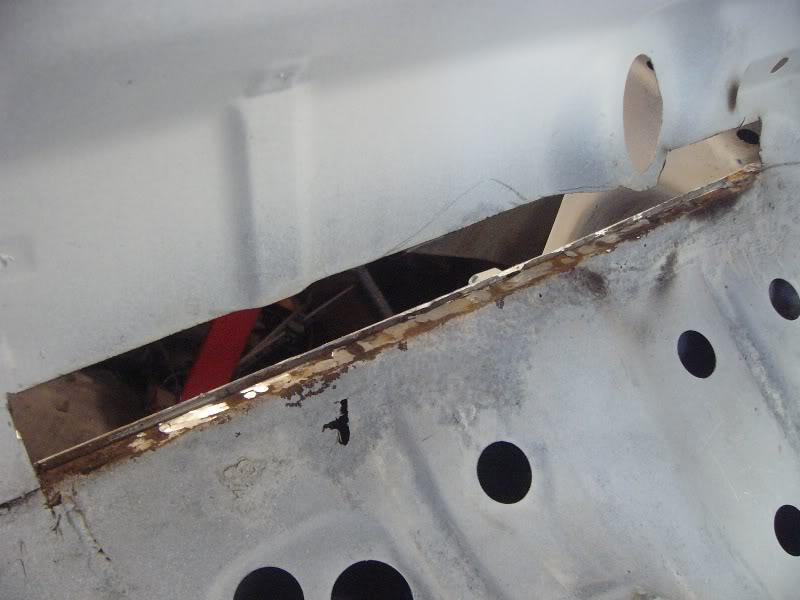
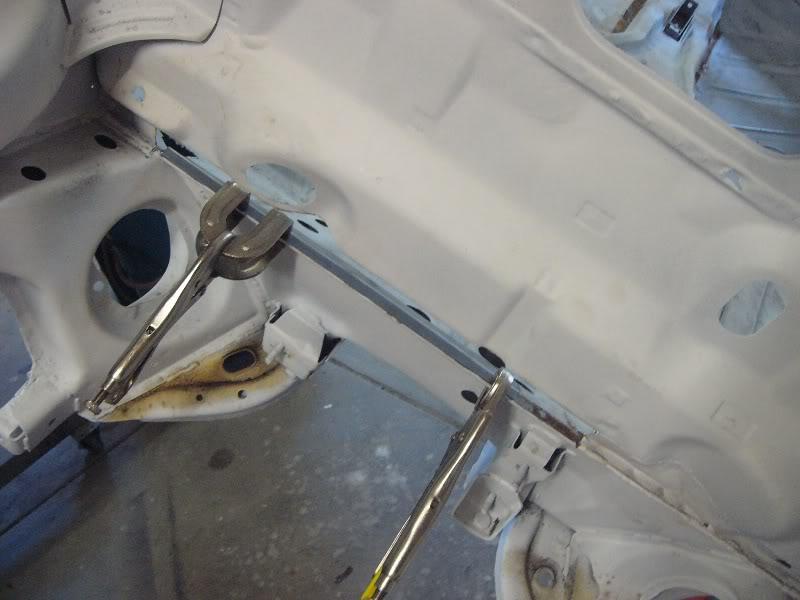
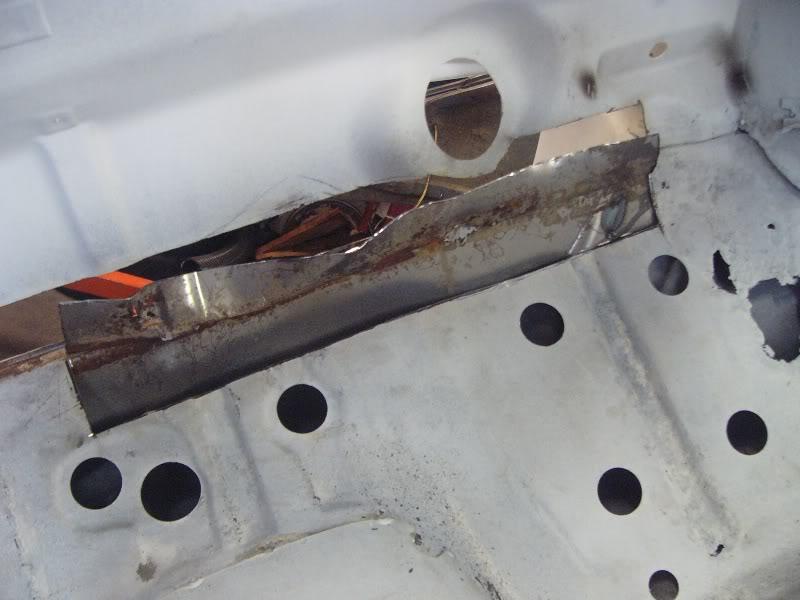
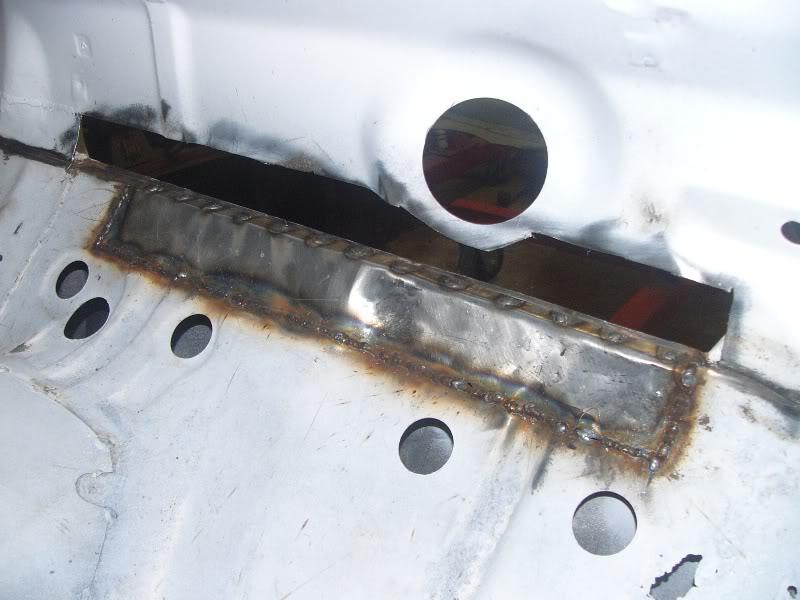
Spot welds cleaned up
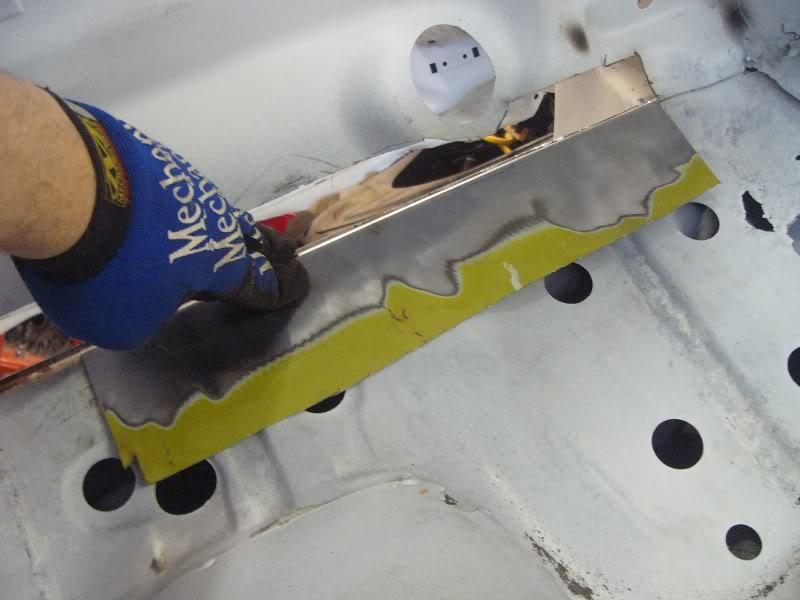
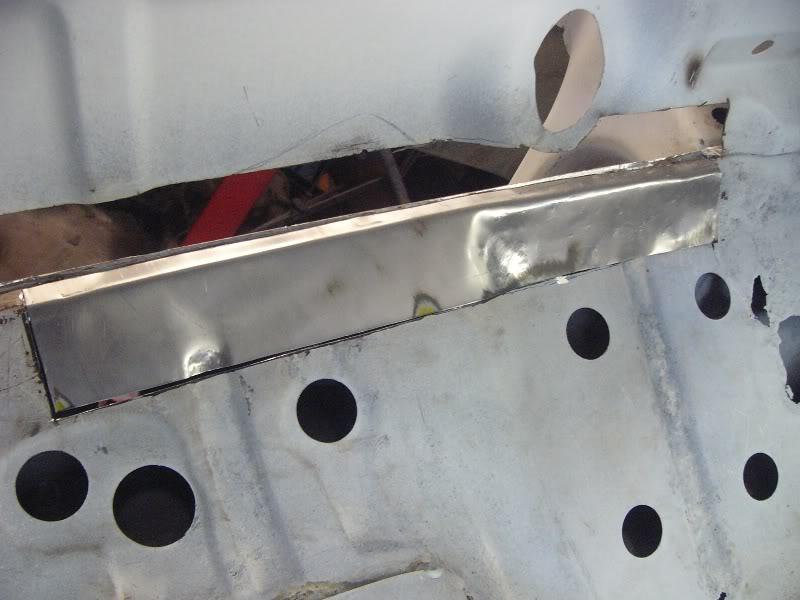
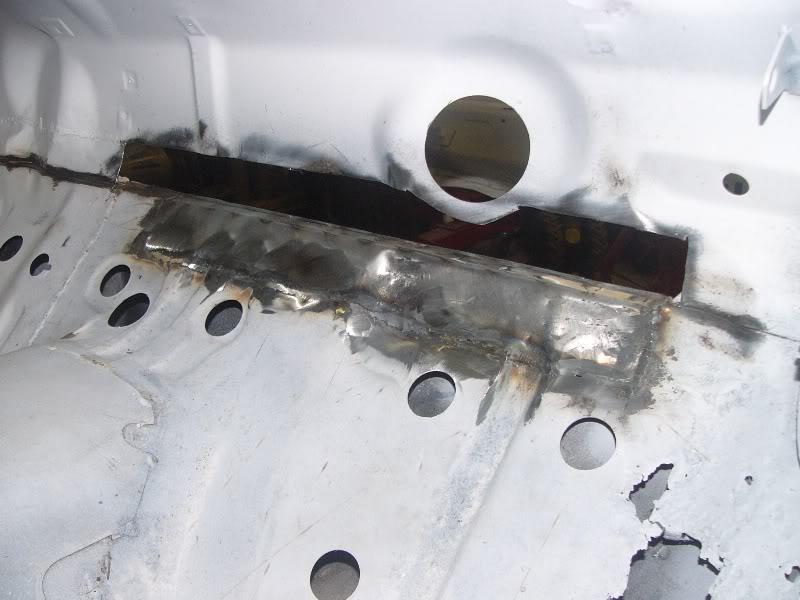
New piece held in temporarily for rough trimming.
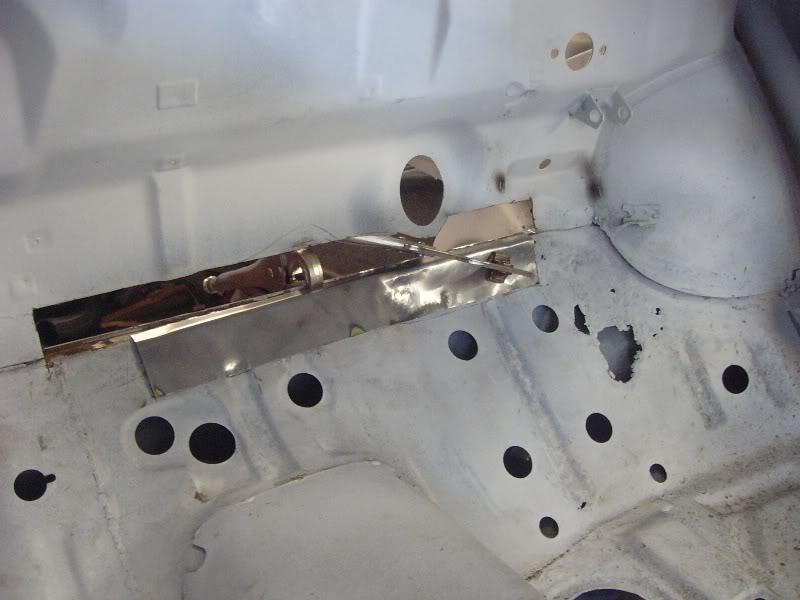
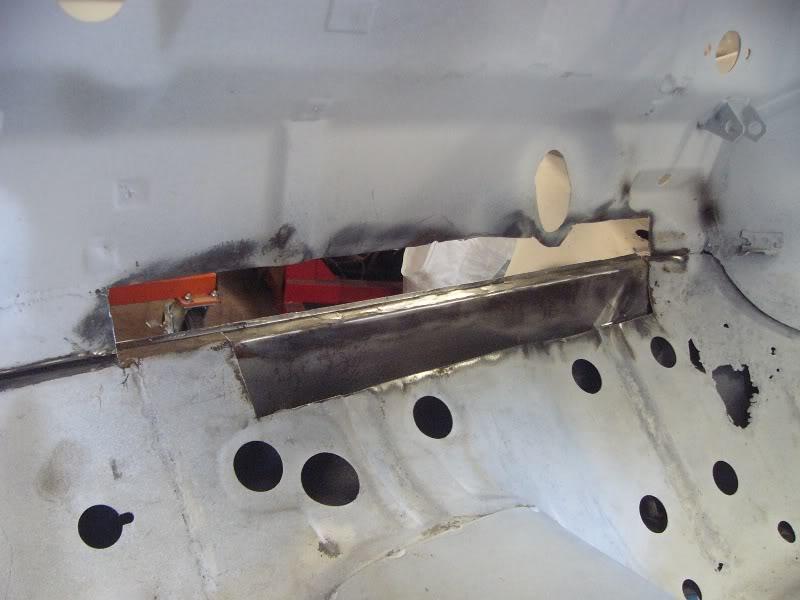
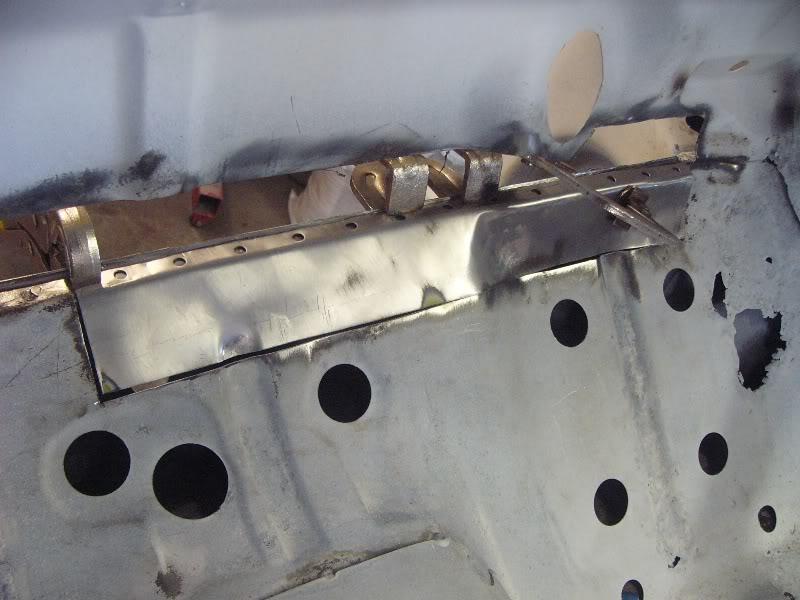
From the inside.
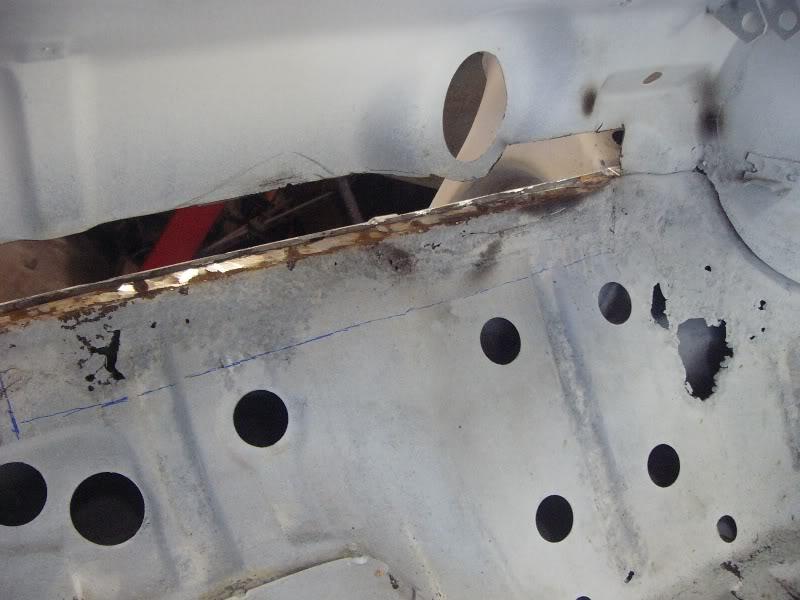
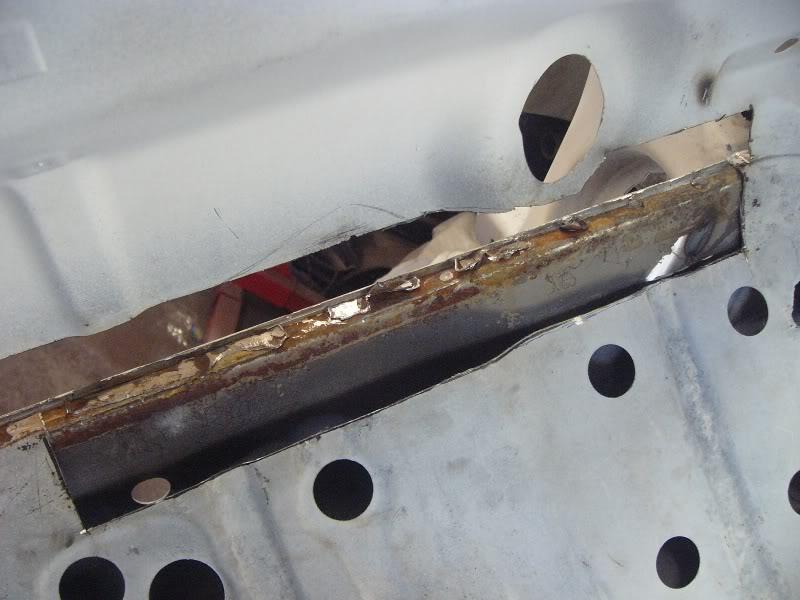
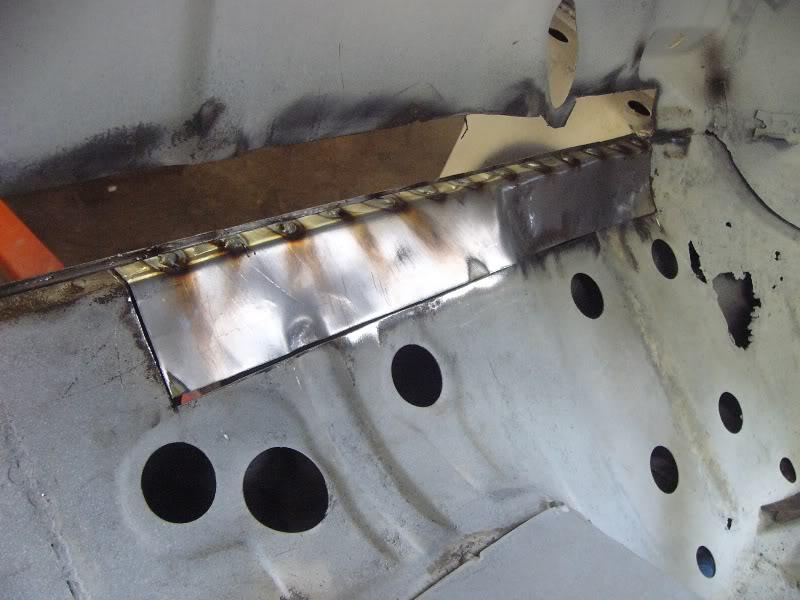
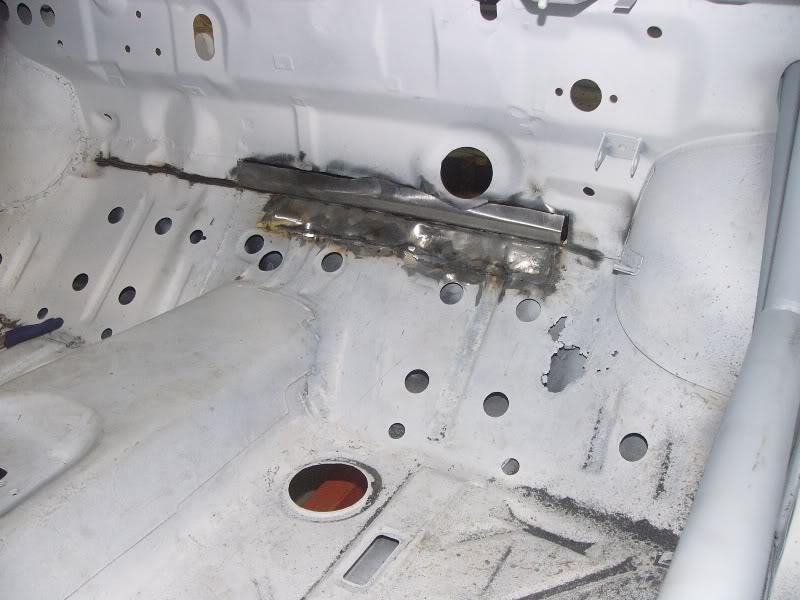
At this point I've got to make and install the lower repair piece before I can do any more with the upper section.
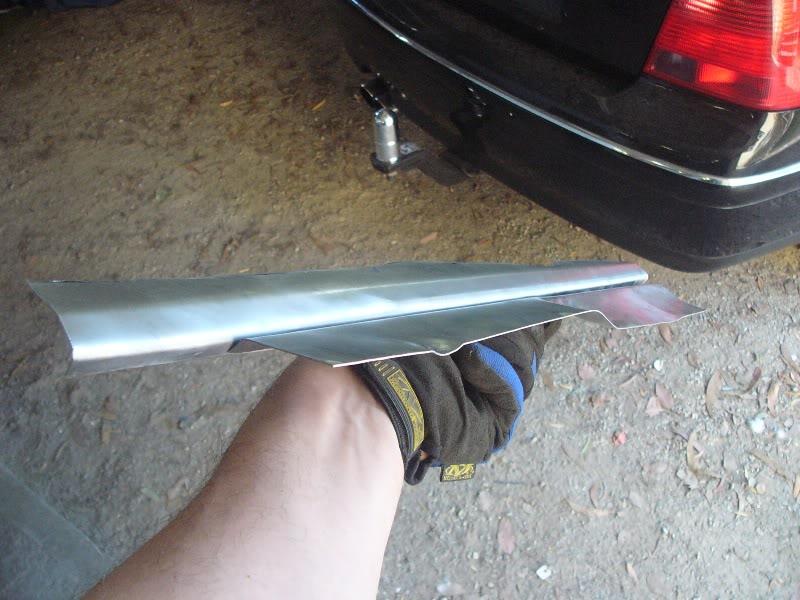
Before it gets cut out a new piece needs to be shaped. Here's piece 2 with another flange bent onto it.
 Tweet
Tweet


Comment