 Tweet
Tweet
Originally posted by GeorgeMK1
View Post
-
Had a similar issue with a Landrover but we heat bent a bolt with the right head so we could use the tube of the wheel brace as a handle. -
Wow talk about same thinking Kiels , exactly what I did with my sons T4 gear box , although I used brute force and a vise to bend the one I did .Originally posted by Kiels3927 View PostComment
-
Hahaha, of course if anything was to go wrong it would be at GAD.Originally posted by HaydEn View Post
yeah dude it's on there tight! I doubt I'll have any issues, but still worrying.
Originally posted by Kiels3927 View PostLove how everyone becomes and engineer when we get caught out haha. I didn't think of bending the bolt, that would have made me struggle a lot less! Will keep it in mind fellasOriginally posted by Sunny43.5 View Post - Orange Golf mk1 LS, 1.8 5speed, 32/36 - sold
- Golf mk1 Swallowtail rebuild, completely stripped
- Brown U.S import 81 cabby
- 88 Honda crx b18crComment
-
It,s probably because some of us [not everyone ] could be of the old school upbringing and we were taught to think outside the circle . When I did my first disc pad change on my T5 I had a hell of a job getting the piston back inside the caliper , when I figured out how it worked I then modified and old socket and used that in tandem with a G clamp and it works a treat .My uncle was a mechanic and taught me a few good ones as well , we were trying to remove the old front wheel bearings from my Morris Minor and hit the wall in the attempt . My uncle turns up gets a couple of bricks under the axle to brace the axle gets a hammer and an old chisel two whacks the the damn thing breaks in two , he walked away mumbling about useless back yard wanna be mechanics . Sixty seconds to do something dad and I had stuffed around with for ages . Keep up the good work with the conversion and remember think outside the circle , there is nearly always another way .Comment
-
Now if u used red silicone tubing and adapters, the van would have been faster and unbeatable
But as you used blue, its only awesome
loving the thread by the way, you are almost there.2017 VW T6 3200KG GVM LWB 132kW 7 Speed DSG (Campervan Conversion)Comment
-
Red is fast but blue is cool .Comment
-
Ever pull both floors out & drop the gearbox on your knees to change the clutch?Originally posted by Sunny43.5 View PostComment
-
Plus pulling the engine out with a piece of 2x 3 tied to the head to lift it out .Comment
-
No trees in your back yard?Comment
-
Nope I think from memory we lifted it out between us with the lump of wood , unlike these vans when I replaced the clutch in my T5 I had the van on ramps several jacks and chunks of wood , lying on my back and manhandling the bloody heavy gearbox at first on my chest until I got it to the ground and slid it out on a piece of plywood . Unlike when I changed the complete engine gearbox in my sons T4 just removed the whole front grill / bumper and then used and engine lift on wheels to roll it out what a dream to do that was . As I swapped out his engine and replaced it with a donor one and then refitted his old one to the donor van I got pretty quick around ten minutes to get it into place and do up the mounts etc .Comment
-
With vw gearbox drain plugs I use a bolt that fits then 2 nuts done up super tight against each other then you undo the Iner nut with a ring spaner works a treat and all parts are still usable (as long as you can get the nuts apart.) can use a socket if you use a smaller but on the outside.Comment
-
Also vwheratige has rad thermo switch for £8.77 + postageComment
-
I'm reserving red for the brake callipers, so I can stop extra fast hahaha.Originally posted by Bryn23 View Post
I've done that before!! Good timesOriginally posted by Sunny43.5 View Post
Yeah I know, but I had the opportunity at the time to get a genuine one, and thought why not. Sort of regret it now hahahOriginally posted by Tymk1 View Post
Had a cracker weekend and got so much done. Mrs wasn’t pleased at all, but atleast progress was steady.
I’ll break the update in two of what happened over sat/sun/mon as vww won’t let me do over 20 pics. Per post.
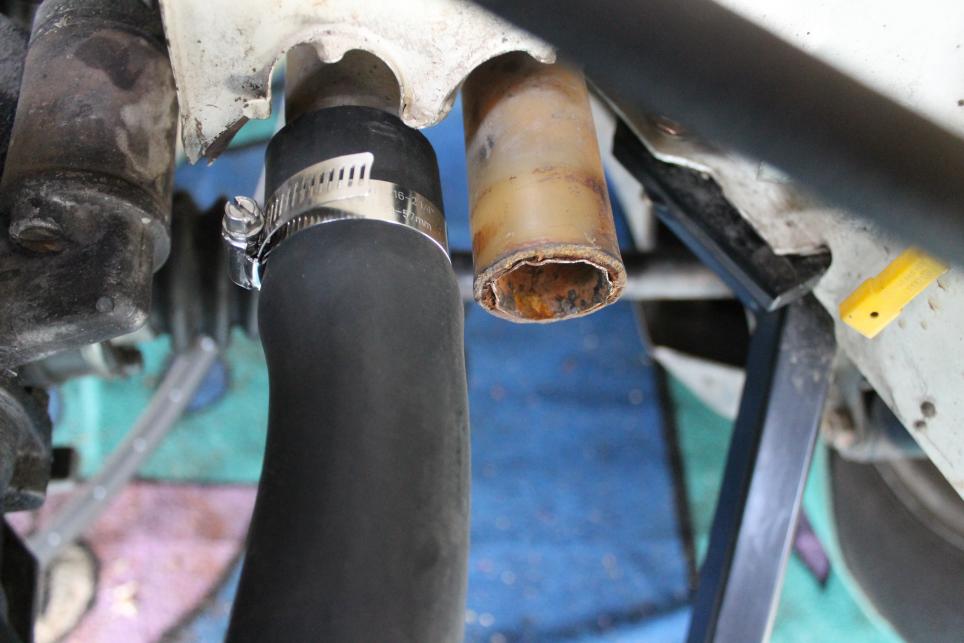
Finished work on Saturday and got to work on last rad pipe. Cut a 32mm hose again and wedged it in the 40mm pipe. This pipe had a stainless spring in there to keep it’s shape I’d imagine, so was happy about that too!
Due to one of the radiator pipes having a busted lip at the end, I was scared the hose could pop off a bit easier, so decided to add two clamps instead, as well as pushing in the hose approx. 100mm deeper than I should have. Am now content it will never come off haha.
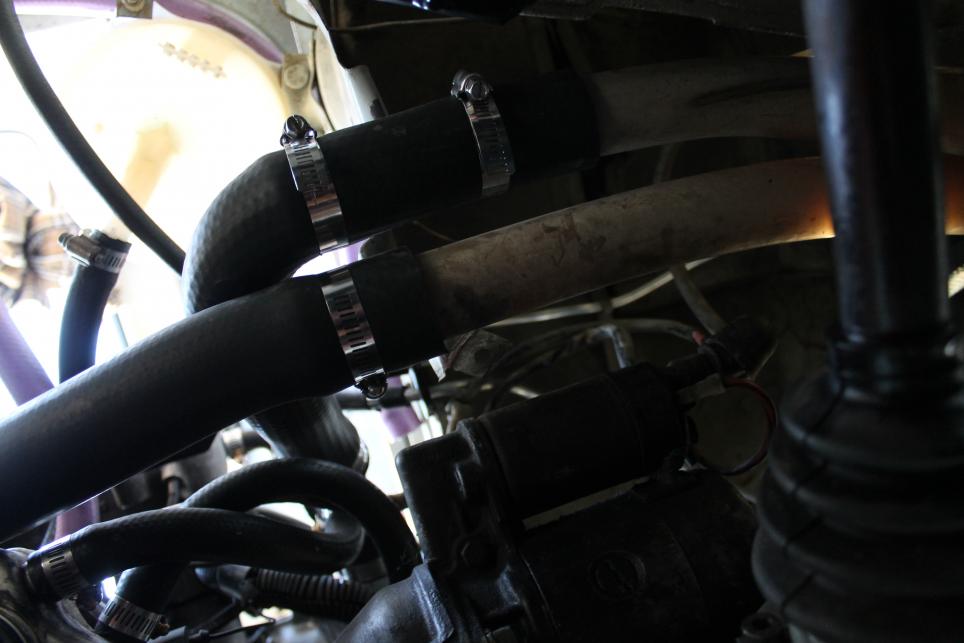
That pretty much concluded the dreaded radiator hoses.
Had a chance to go to Jaycar before the closed and picked up a couple of things to start on the wiring. The rest of the goods I had at home. I’ve got enough wire and soldering supplies at home to circle Australia for some reason….
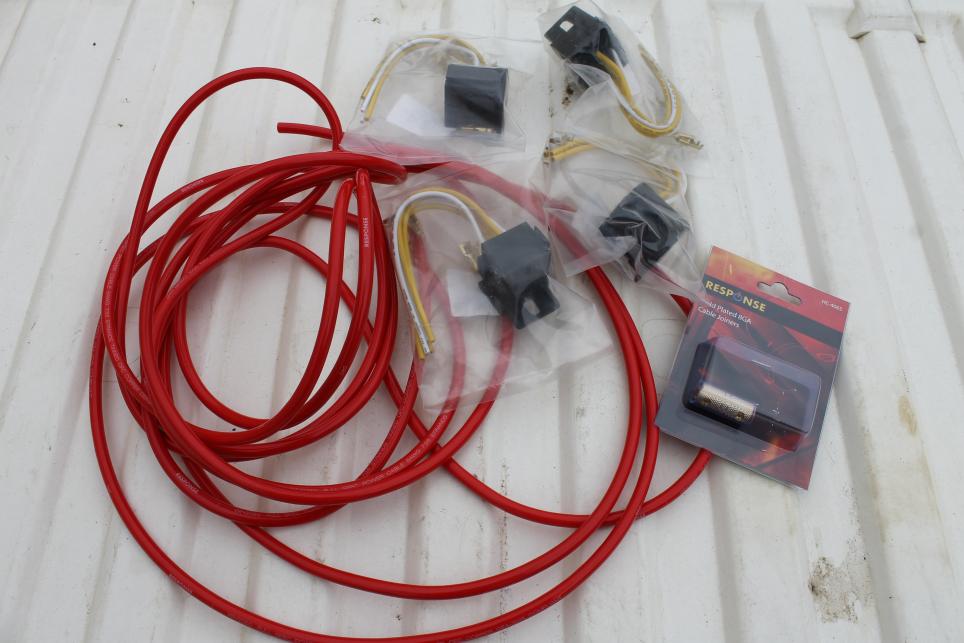
Anyhow. Picked up 8g power wire and relay holder that interlock with eachother, very neat little things.
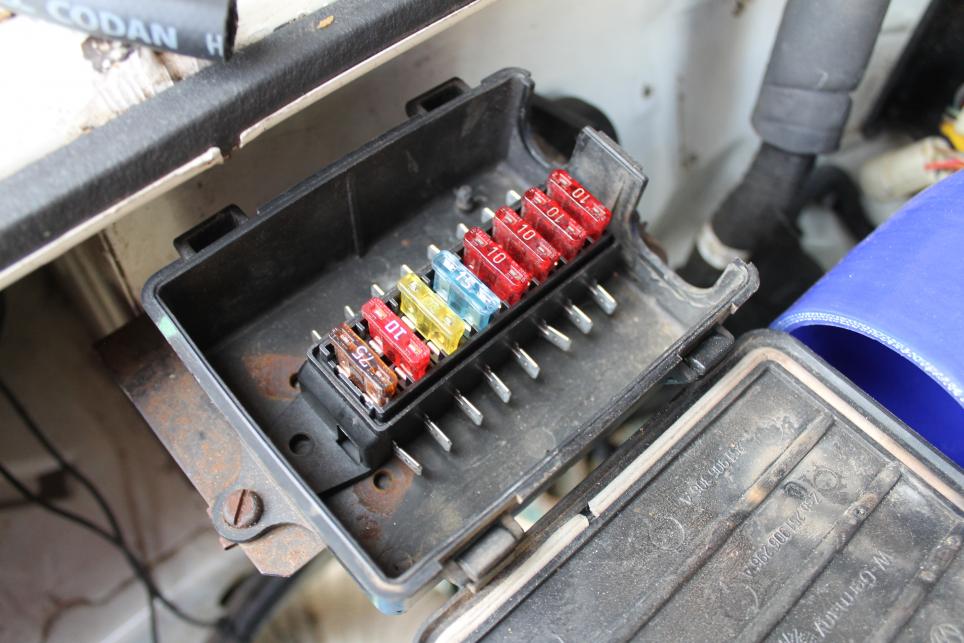
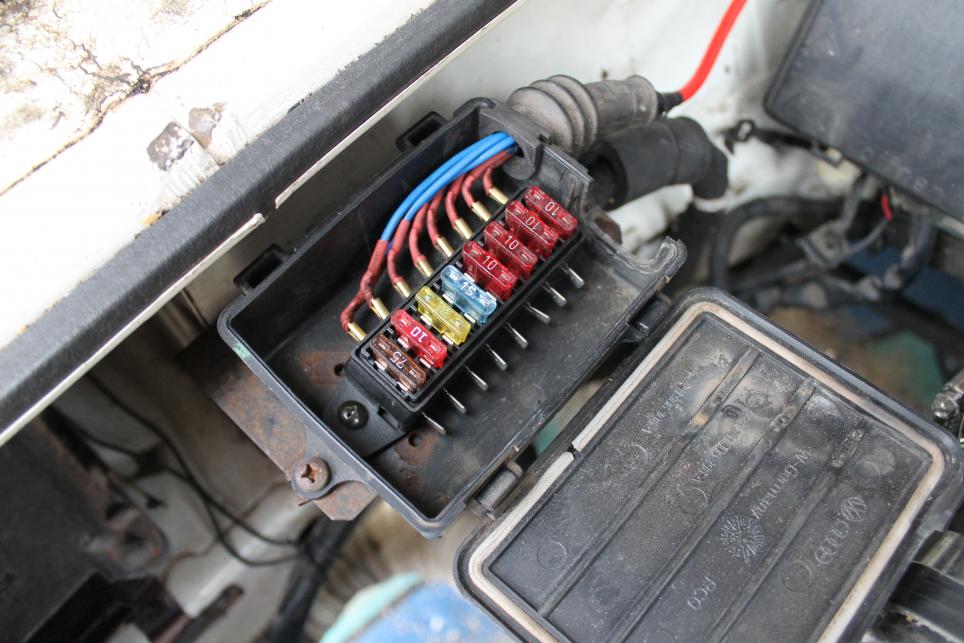
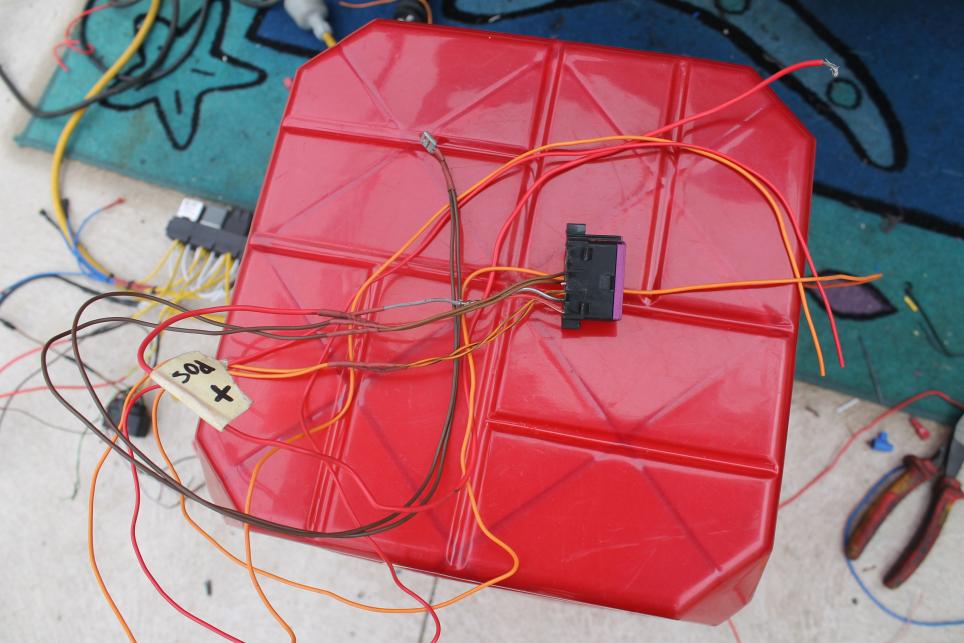
Settled on a location for my fuse holder. Thought this was a perfect re-use of the old relay box, and in a easily visible location should I need to check fuses.
This particular one is an 8 fuse holder, so will be a few spare if needed.
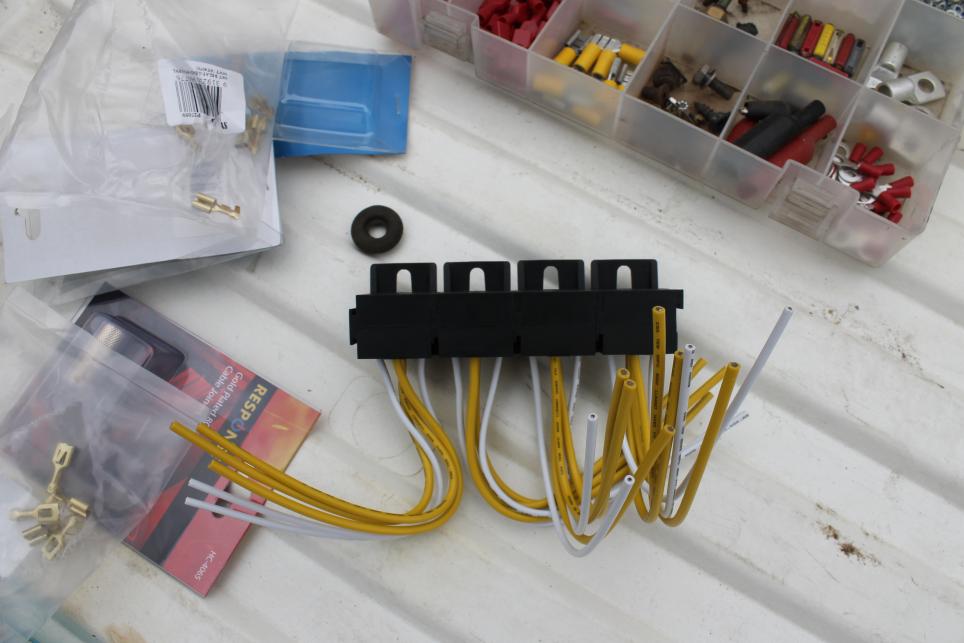
Had to make 8 of these little fellas.
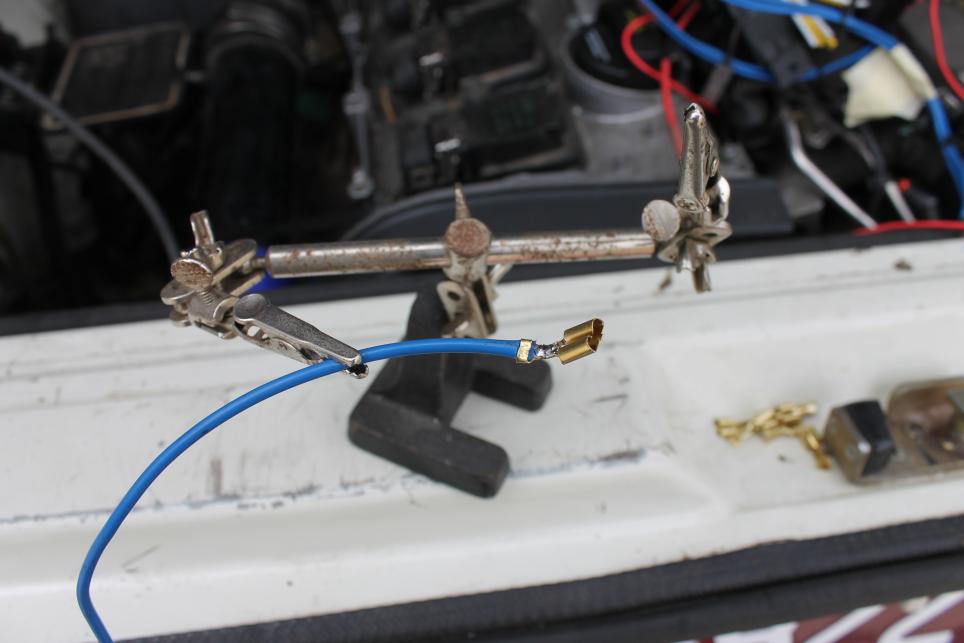
To fit on like so. This will then connect to 8g power wire, giving the feed to the fuse box.
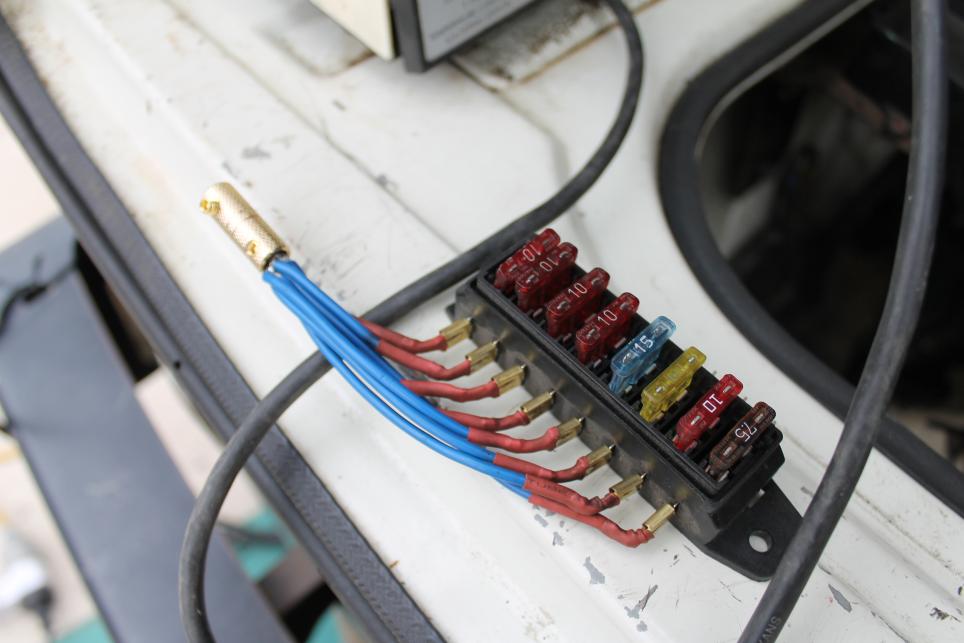
Connected and sorted. I like the oem feel to it ��
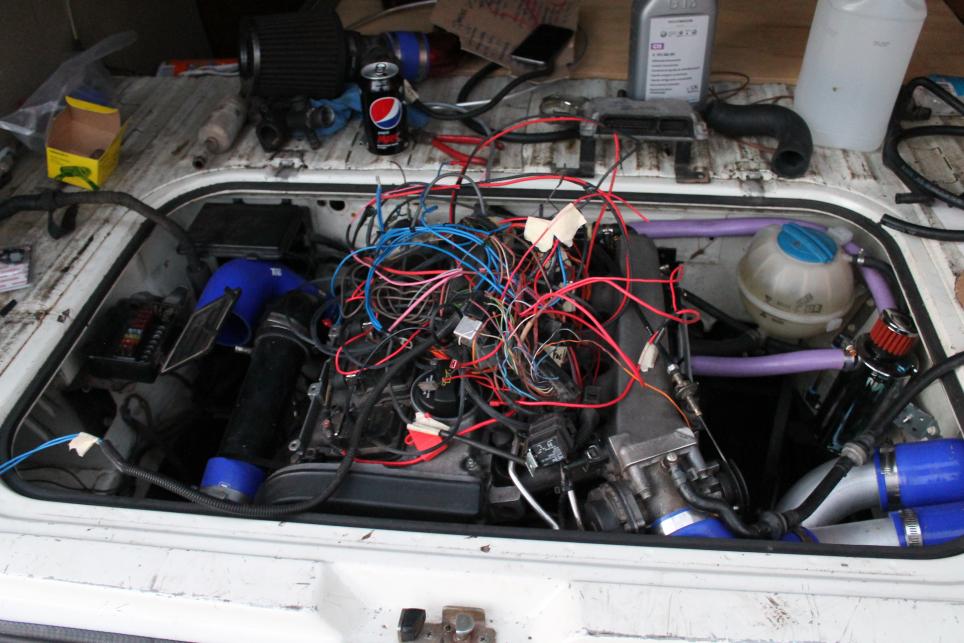
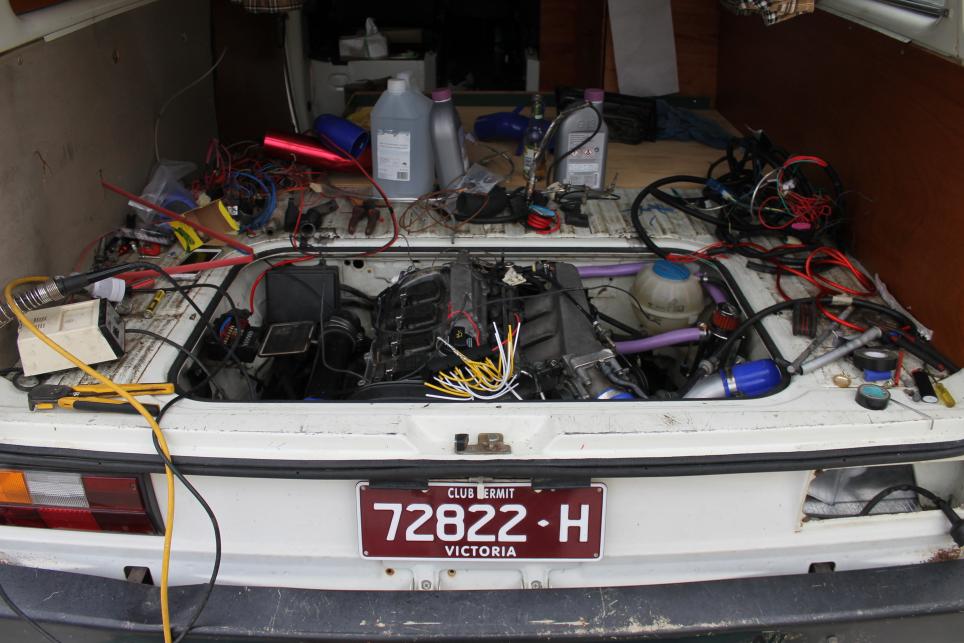
A pic to show just some of the wiring needed to go in.
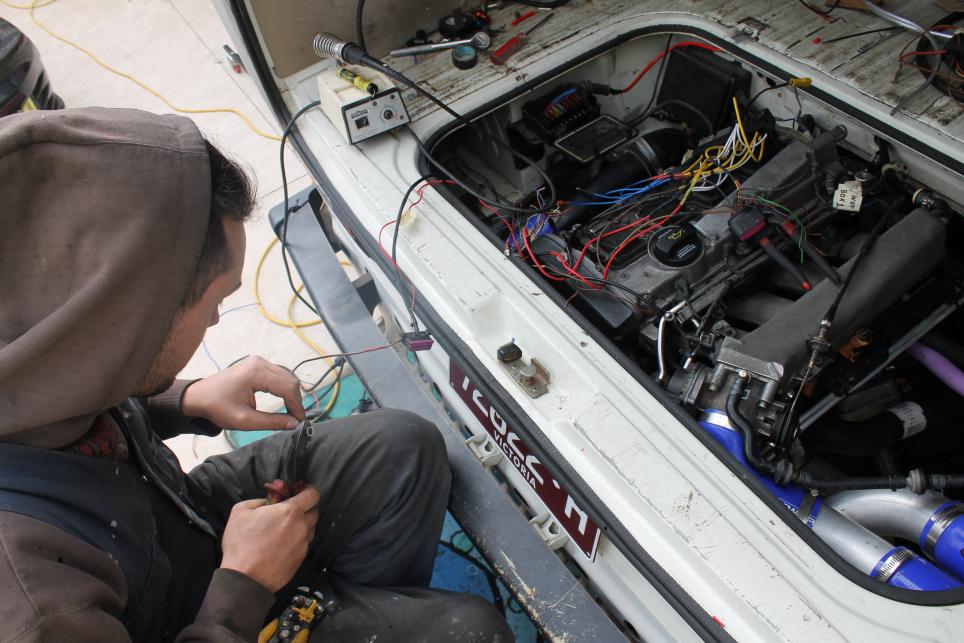
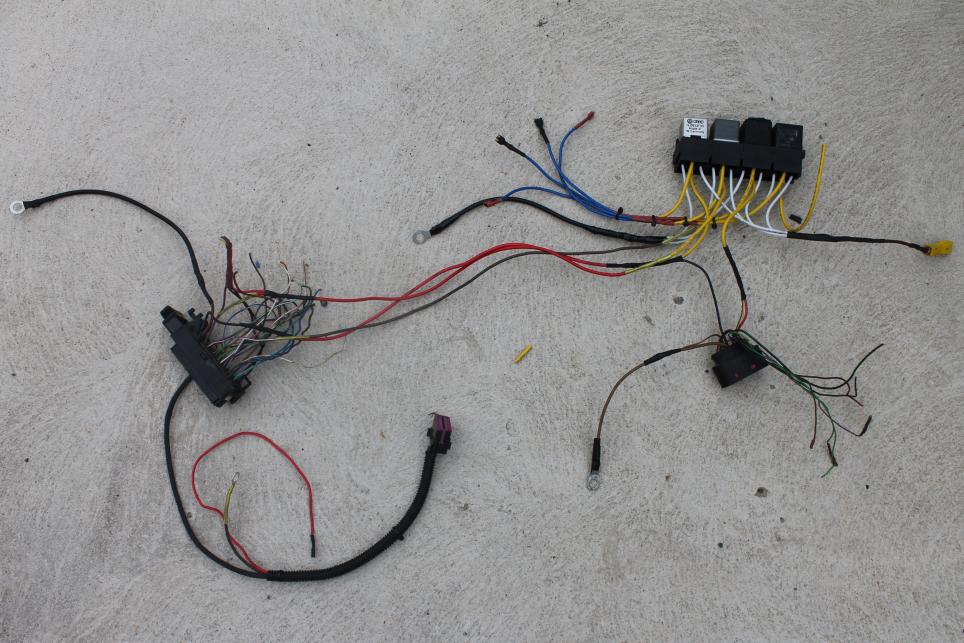
Before I finished for the day I started on the wiring loom and relay holder.
I couldn’t do without my trusty robotic arms….. They have been by my side for many years!
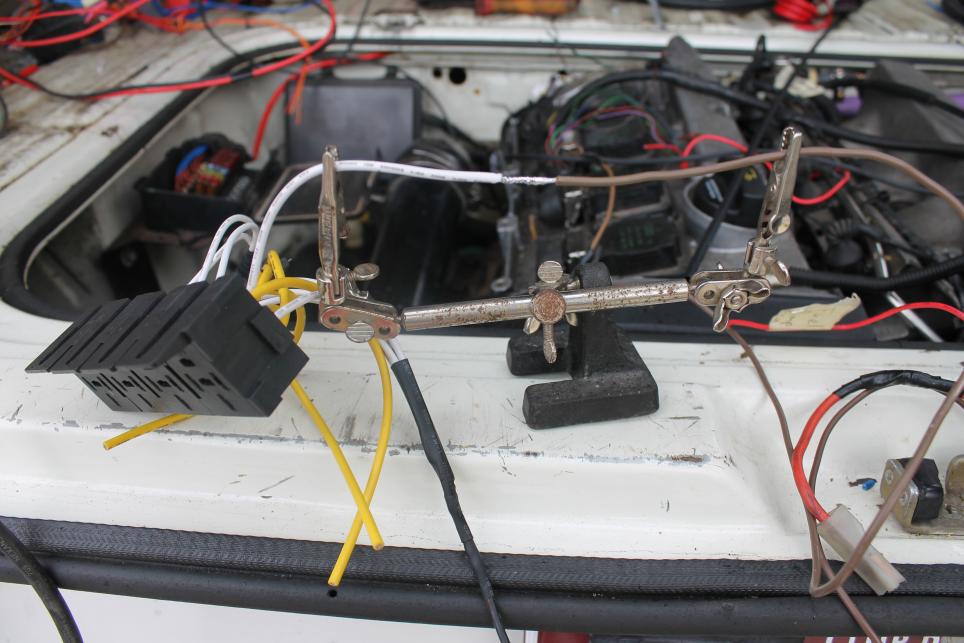
This was pretty much where I called it a night.
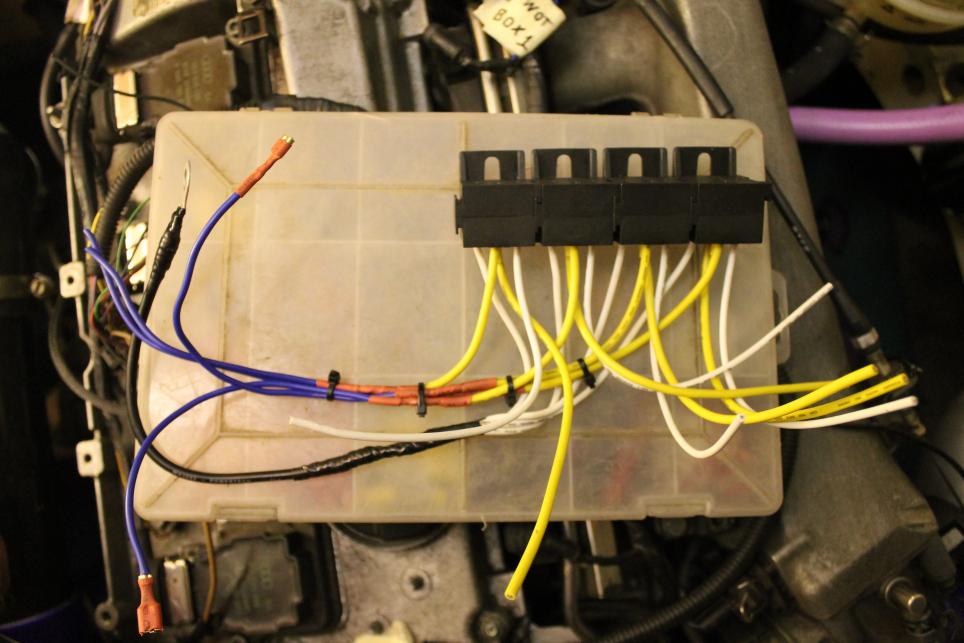
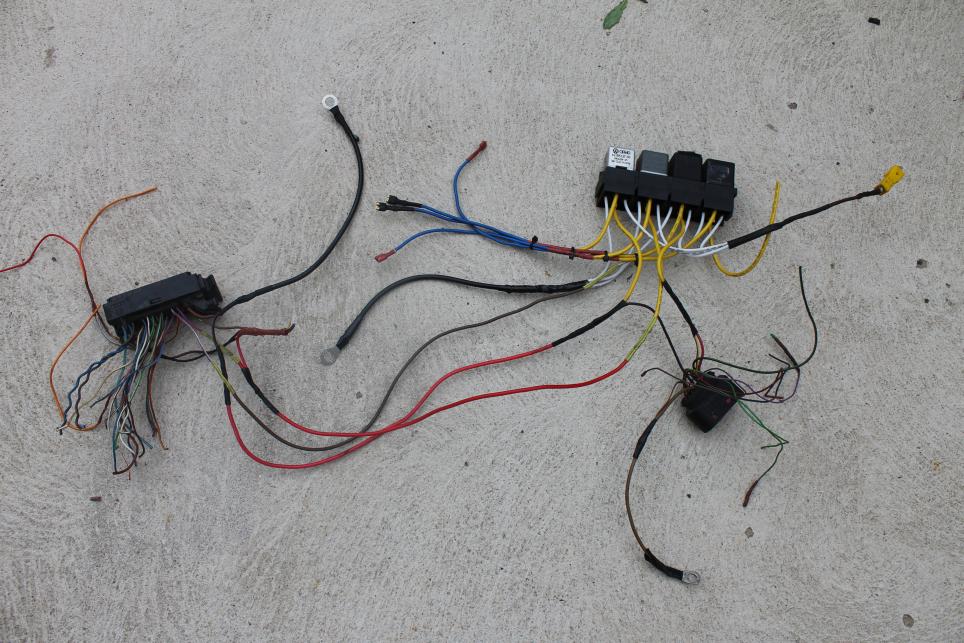
The basic structure of the wiring loom. Each relay will get its own power, however they share the same ground and same ignition to make it neater.
I used an ignition source from the old body loom, and am also trying to make all the grounding points ECU related, meet at the same point on the body too. In the past I’ve had grounding issues, and I’ve found that the closer they are, or even if they are bridged together – the better.
PART TWO next post!- Orange Golf mk1 LS, 1.8 5speed, 32/36 - sold
- Golf mk1 Swallowtail rebuild, completely stripped
- Brown U.S import 81 cabby
- 88 Honda crx b18crComment
-
CONTINUED !!
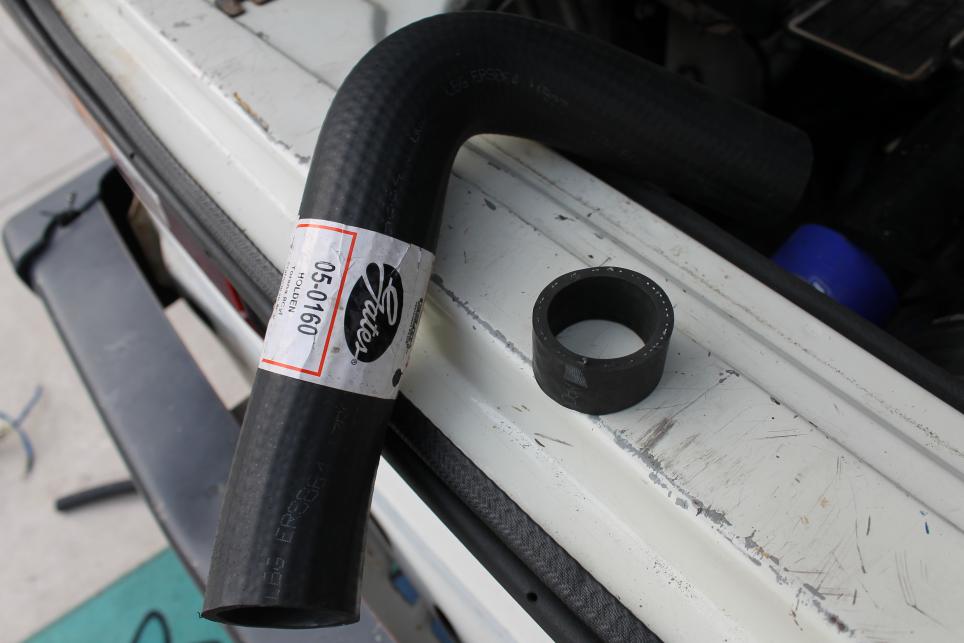
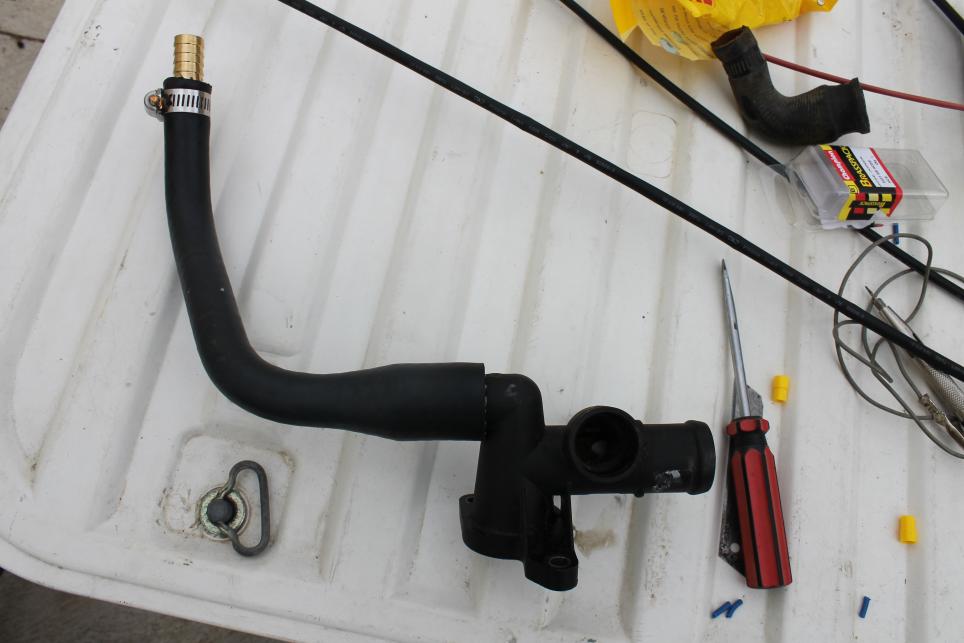
Sunday morning I went to yet another supercheap and managed to finally track the correct pipe down for the heater core hoses.
Here is my old crumpled one.
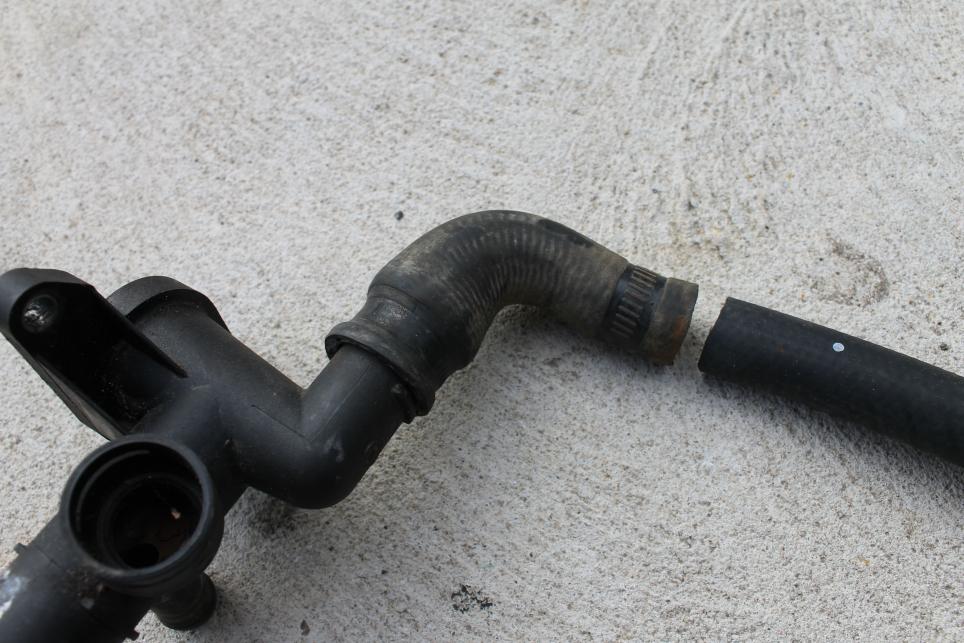
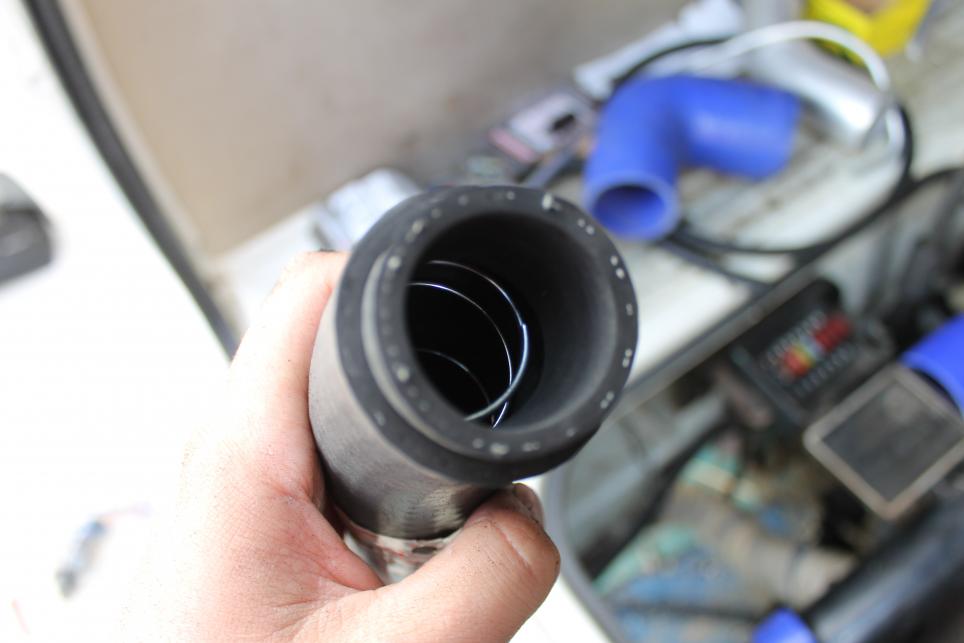
The replacement I found! Has a larger opening and closes to normal size again, its perfect.
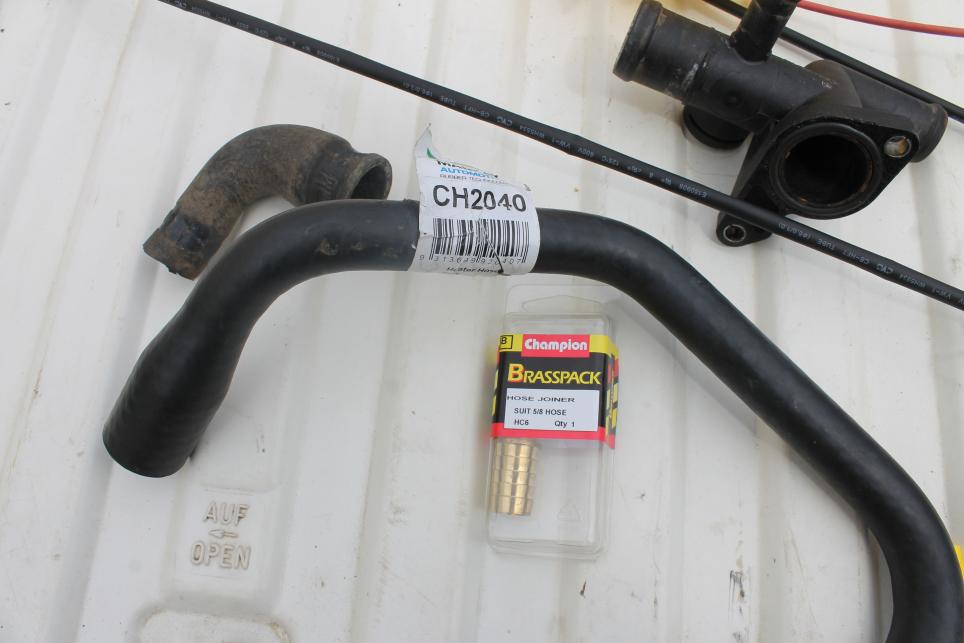
Yessssss (Jeremy Clarkson voice)
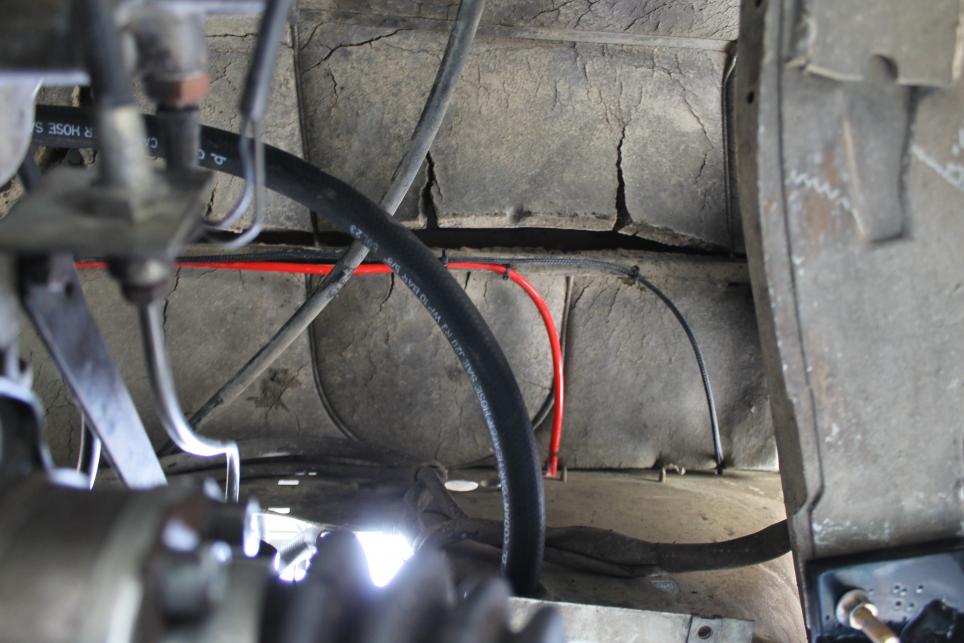
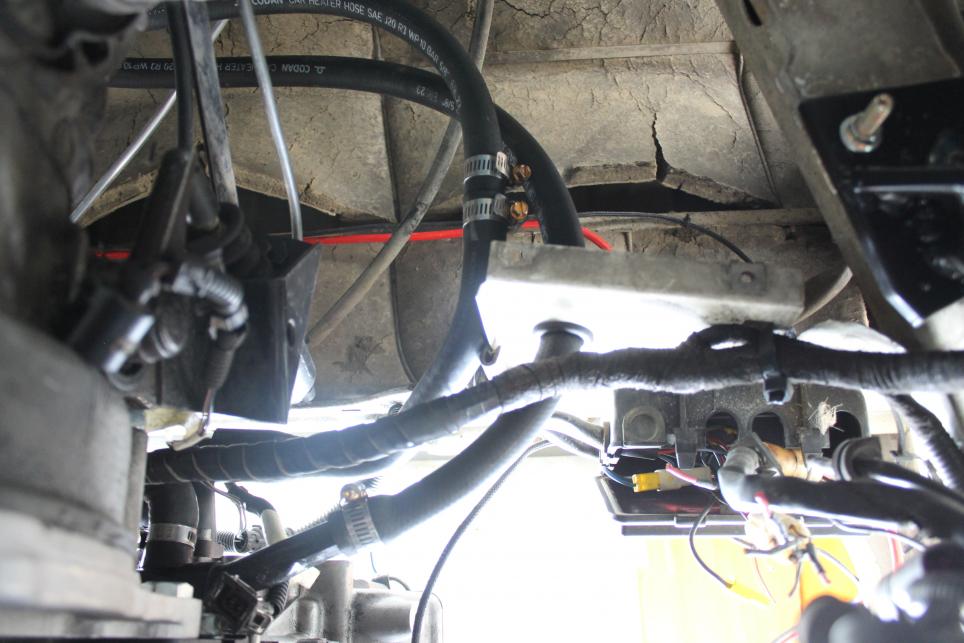
Before hooked it up, I ran the 8g cable and fuel pump wire under the car to where they needed to go.
Quick pic
Anyway, finally ticked another thing off the list (there’s not many left!)
Then for pretty much 6/7 hours this was me in my dirty overalls – soldering, soldering, soldering, soldering, reading wiring diagrams, soldering, cutting, soldering, some more diagrams, testing, soldering.
Gaaaahhhahhasdfsdasfasddfsajfsds.
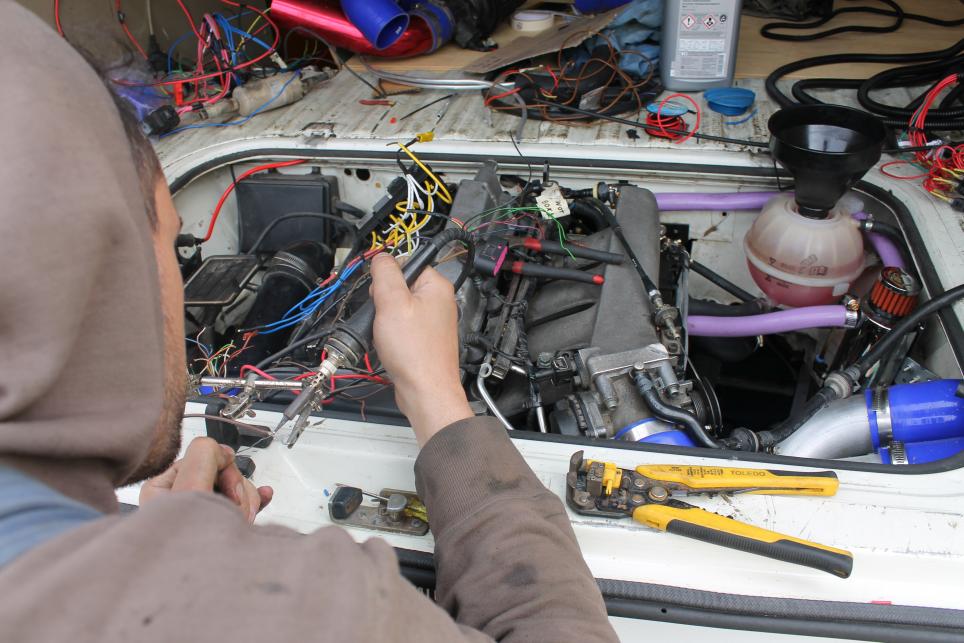
I sort of forgot to take photos around these brain dead moments.
In this pic I have added 2 sections of the loom I will need to connect. One connects to the engine loom, and the other goes into the ECU.
Most wires are for A/C, cruise control, reverse lights, evap/charcoal cannisters and other stuff I don’t need.
I found the power wires needed for lambda/coil packs/injectors/maf/etc and other small sensors such as water temp/knock and so forth.
These I ran to the relays that I made earlier.
I also wanted to be able to run the diagnostic port so I can bring it to work and one of the techs can scan it for me, to make sure all is ok.
Updated wring loom again, now with canbus diagnostic port.
As far as I could understand from the interweb – there is CAN high, CAN low, K line – then just power and neg.
Another hour went buy and I also hooked up the o2 wiring.
Unfortunately, the wiring for the o2 and MAF are not connected to the engine loom for some reason, so I had to trace these and hook them up separately to the ecu. I did this previously on the cabby, but only the o2 worked. The MAF had faults coming up – hopefully we have better luck this time.

That pretty much ended Sunday.
Come yesterday I thought myself, the loom is almost done, the only way to finish the rest of the sensors and such is to have the car running.
So went about putting the loom in and finished off a few other small bits – and decided to try start it (I haven’t hooked up MAF at this stage, but doesn’t matter).
Did the obligatory snapchat, otherwise…. Did it really happen?
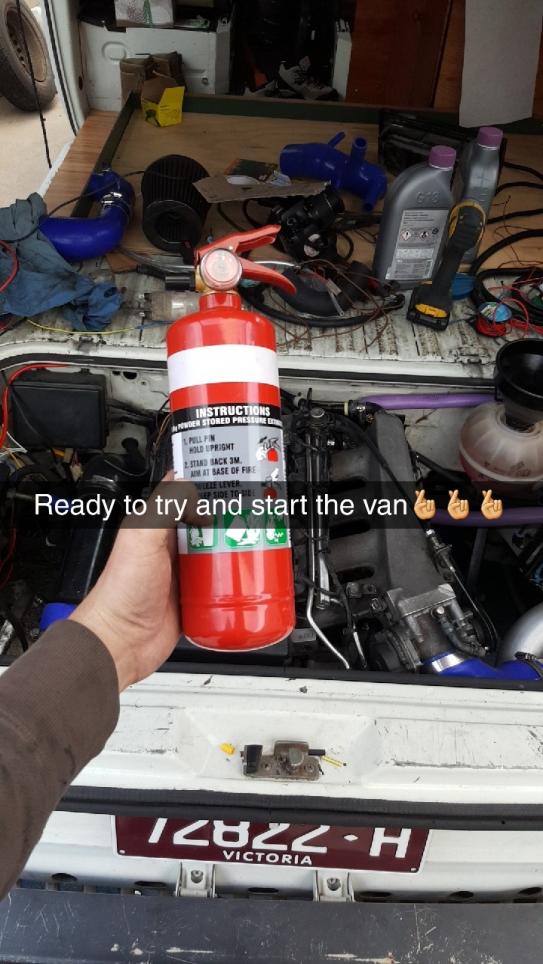
Tried to start it, but it wouldn’t crank. Wow, good work George.
Friend came over and we found out I had put one of the starter wires the wrong way around.
Got the jump starter hooked up
And
BAAAAAAAAAAAAAAAAAAAAAAAAAAAAAAAAAAAM!!!! We have our 20VT turbo van ALIVE!!!
If you have read this far, thanks for reading
It's been a really fun project and am sure as hell happy that it actually runs haha.
I put it in gear and it moved back and forth too. Super excited and have been smiling all morning.
It will take another few weeks to finish everything completely, but wow what a milestone.
3 long, cold and hard months with almost everyday work put into it - time to relax a bit!!Last edited by GeorgeMK1; 24-10-2017, 09:51 AM.- Orange Golf mk1 LS, 1.8 5speed, 32/36 - sold
- Golf mk1 Swallowtail rebuild, completely stripped
- Brown U.S import 81 cabby
- 88 Honda crx b18crComment
-
Legend!Comment
Comment