If this is your first visit, be sure to
check out the FAQ by clicking the
link above. You may have to register
before you can post: click the register link above to proceed, registering will remove the in post advertisements. To start viewing messages,
select the forum that you want to visit from the selection below.
This means you should apply for your renewal now to avoid any disruptions to your membership whilst the renewal process is taking place! NOTE: If you have an auto renewing subscription this will happen automatically.
Looks good, an Engineer should pass that if need be, Although I'm not a Engineer, the Reinforcement should help with stress cracks over time.
Impressive build, and your doing it without a Shed in Melbourne !!!
I think it should pass just fine too, I've seen a lot more shonky things about haha.
Haha, no amount of crappy weather can stop me from the build. Thanks for the kind words
Sorry for making you do extra work , I wasn't casting aspersions on your work just curious about flexing .
Hahahah thats ok mate, it was just what I needed to have a re-think over any major stress issues that there might be. And it's always good to be a bit extra cautious, as my mind rests easy now
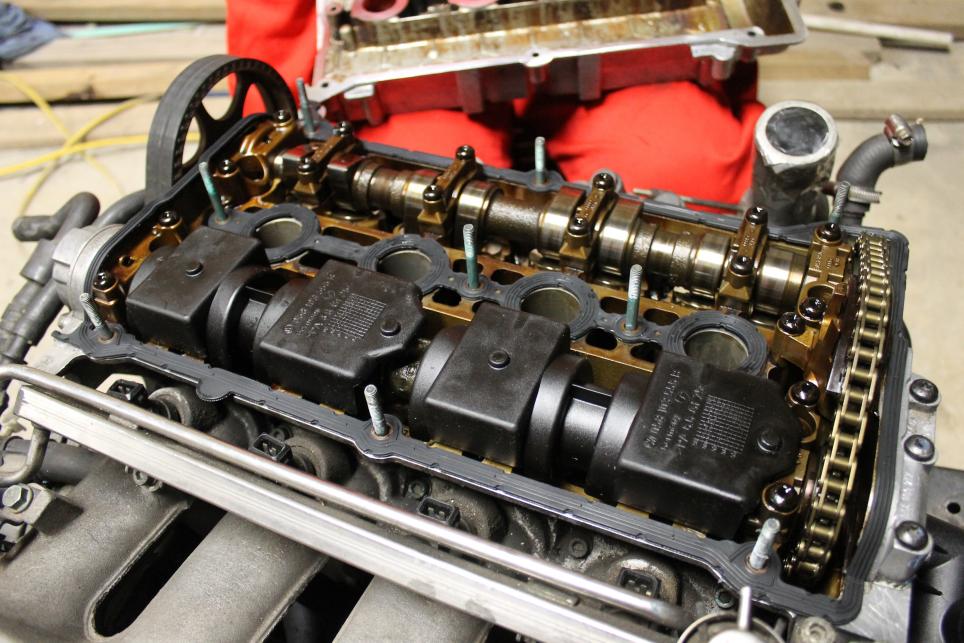
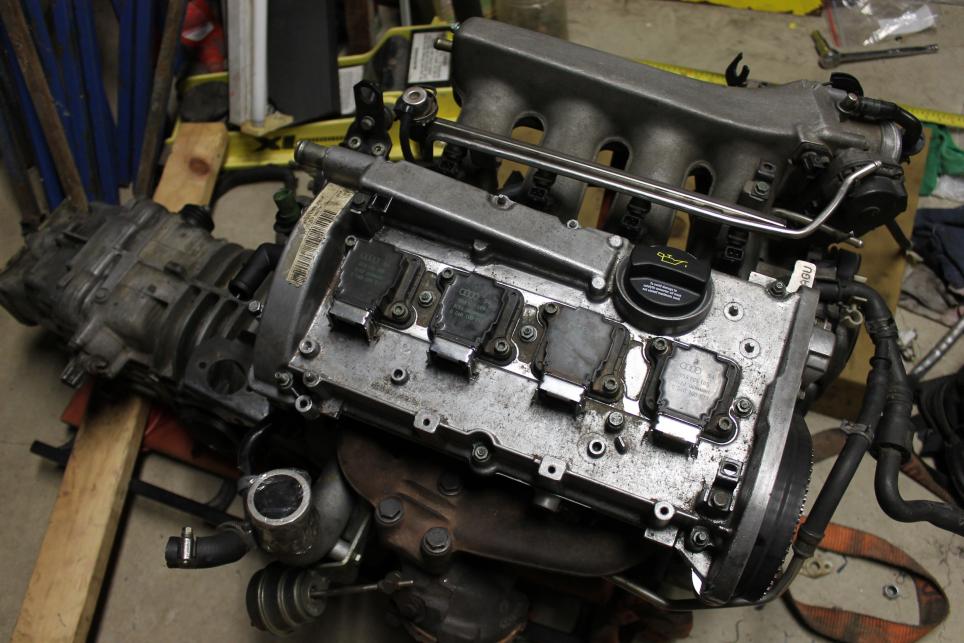
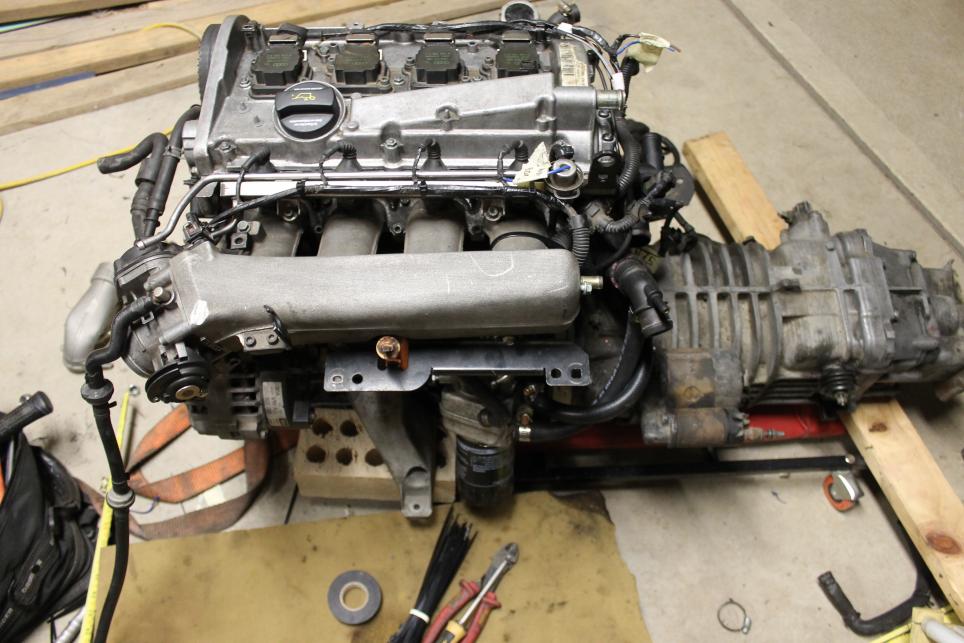
Ok so engine is now completed and ready to be installed, woohoooooo!!
Replaced the rocker cover gasket and assembled the rocker cover again along with its new oil cap. That was a easy task.
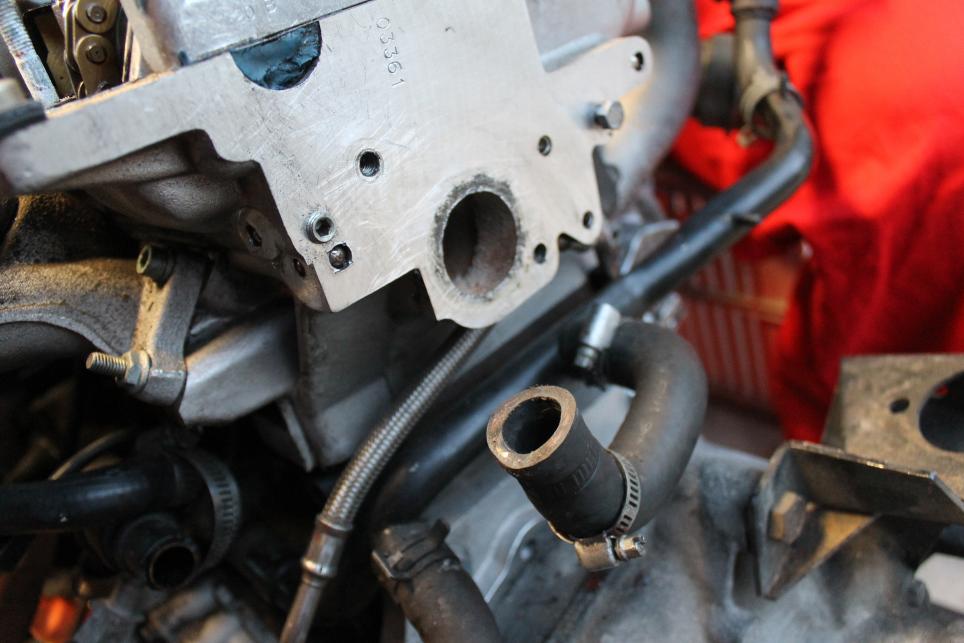
Had to finish off the plumbing and re-route everything due to the direction the engine is now facing, a lot of it was boring little changes so I wont bother with any pics there. I did however have to re-route all the oil cooler hoses and also the water bottle filler hose too. I decided to add in a after market water temp sensor adaptor, so I can manage the water temp accurately.
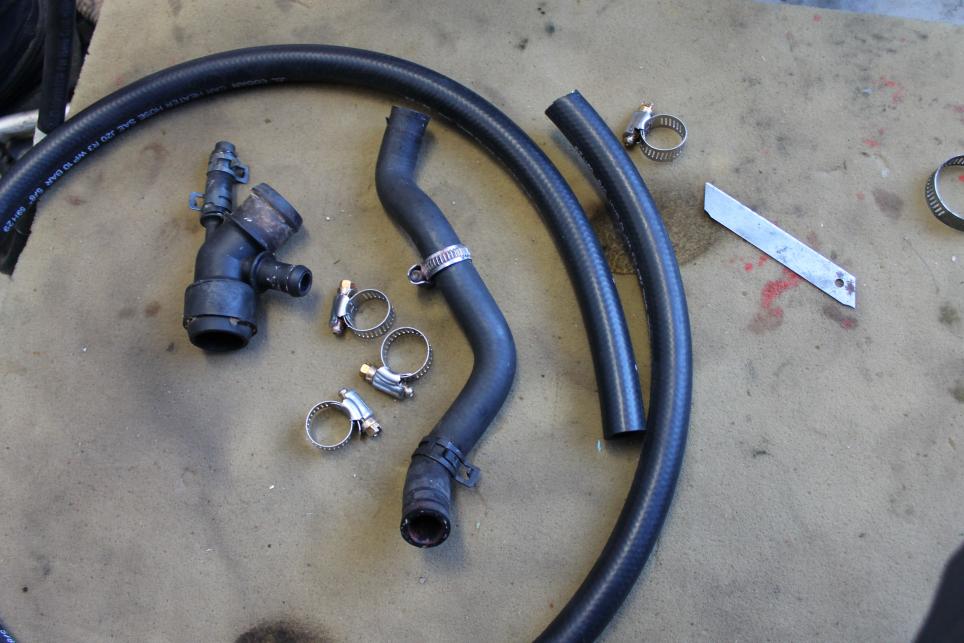
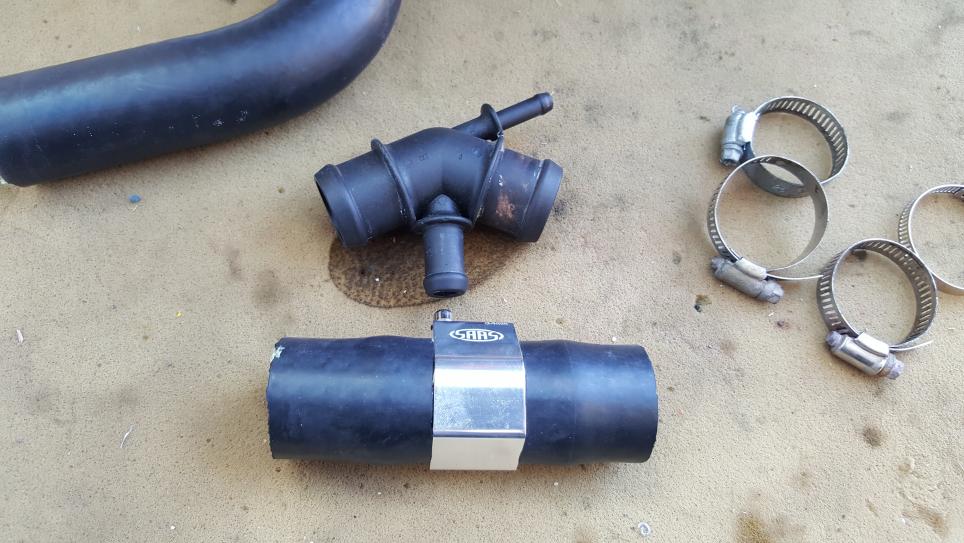
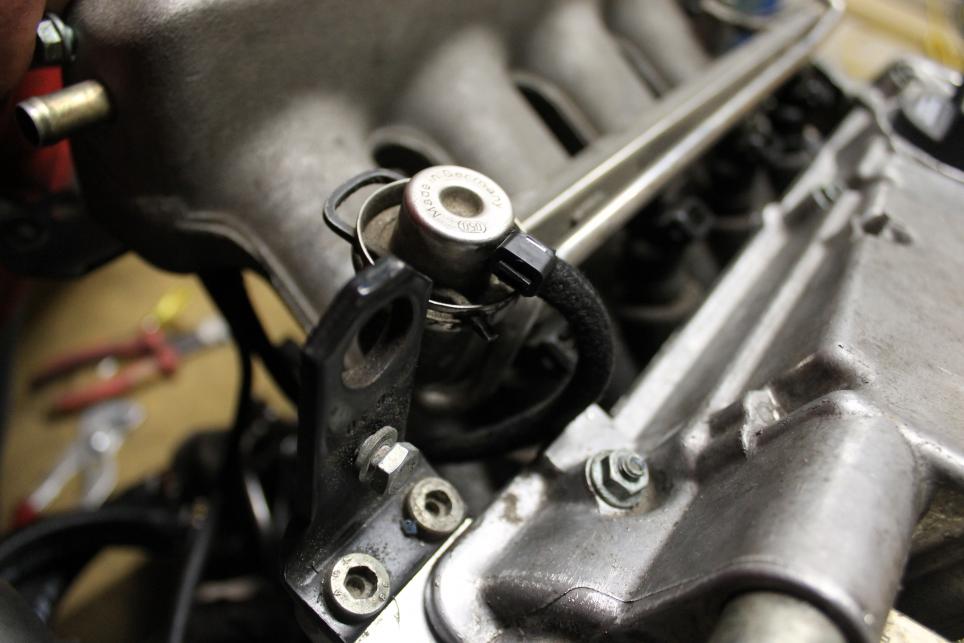
Removed the old water pip adaptor as these are very prone to breaking on the mk4 motors.
Adaptor and hose cut to length
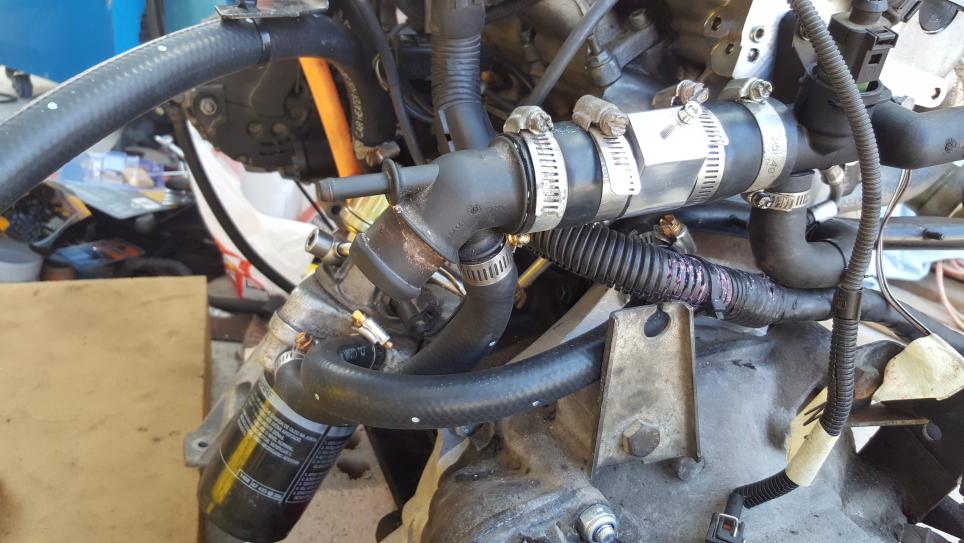
All installed, made sure to use quality hose clamps from past mistakes haha.
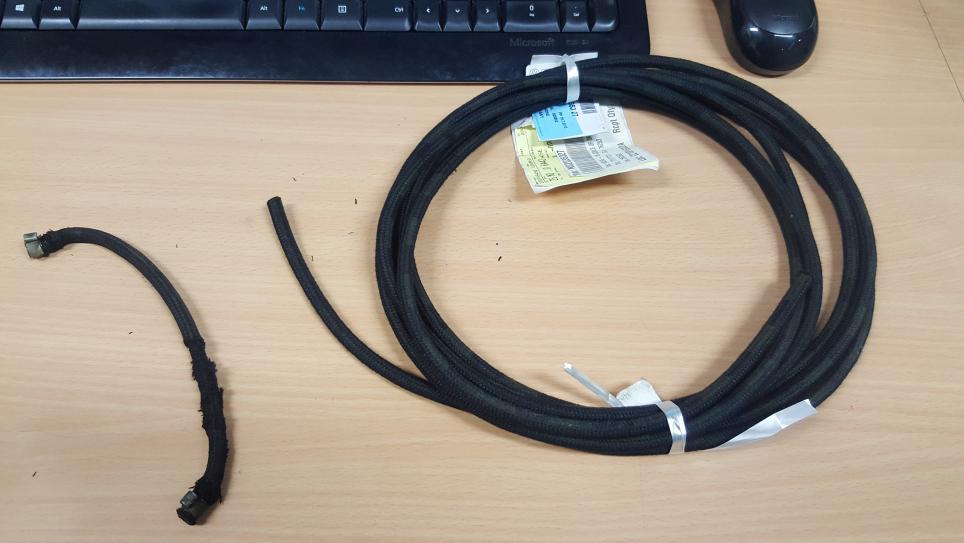
Also managed to chafe the fuel reg vac hose somehow, luckily we had a long roll at work that was donated to me!
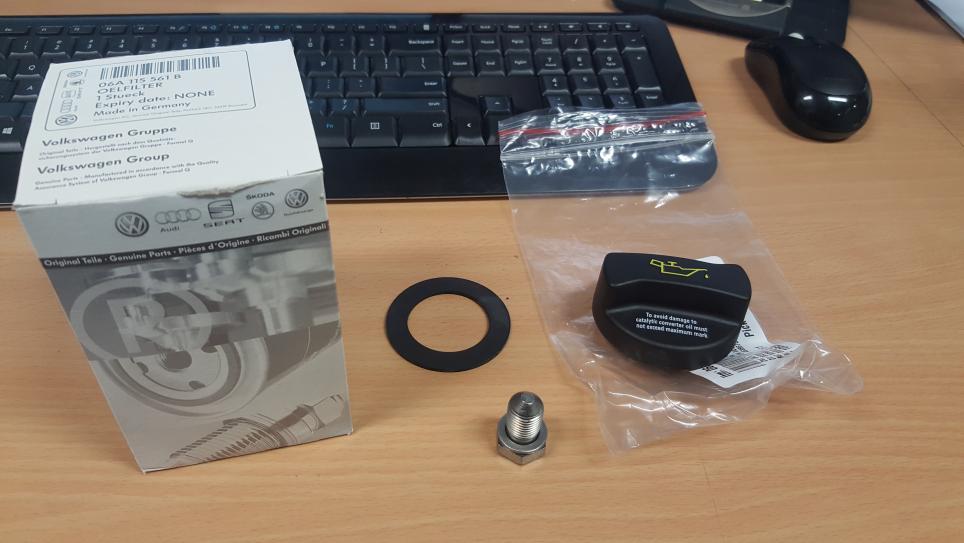
Also thought now is the perfect time to do a quick oil filter change while the engine is out. I found a leak coming from the oil cap too, when I looked I found there was no seal for the oil cap and was leaking through.
Zip tie made short work of the vac hose
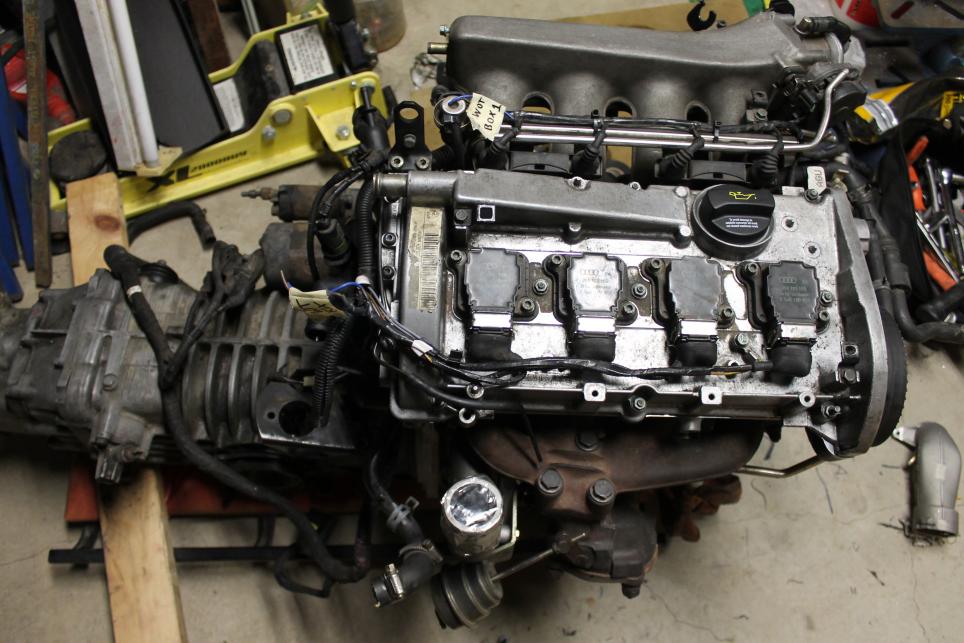
At this point, I needed to add the wiring harness in again. This is the early DBC ME3.8 system, so only really needs a few basic sensors, due to that reason wiring is very minimal and easy for me to wire up into the van with a few simple + and - hooked up.
Wiring harness back in again. I do have to re-solder the coil pack harness wires as I used to run a WOTBOX and it needed to be spliced into the coil pack harness. For those who don't know what a WOTBOX is, it basically allowed me to run launch control and 2-step, as well as no-lift-shift in the cabby previously. Awesome little box. Would run it again, but kind of pointless having it in the van, other than scene points haha.
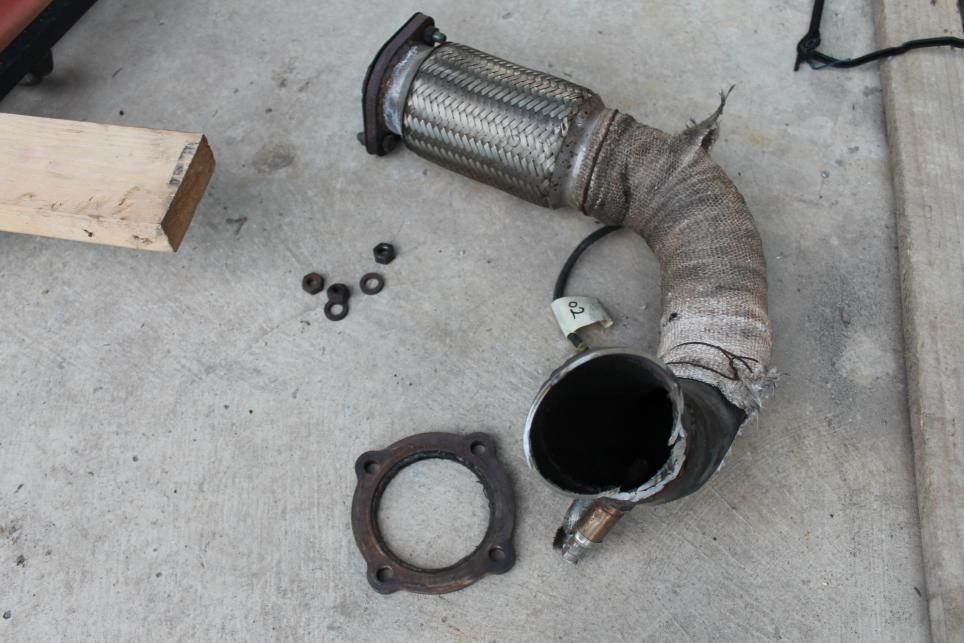
Now it was time to start on the down pipe.
I used my old down pipe from the cabby and cut off the flange, to allow me to use it for the new one we will be making.
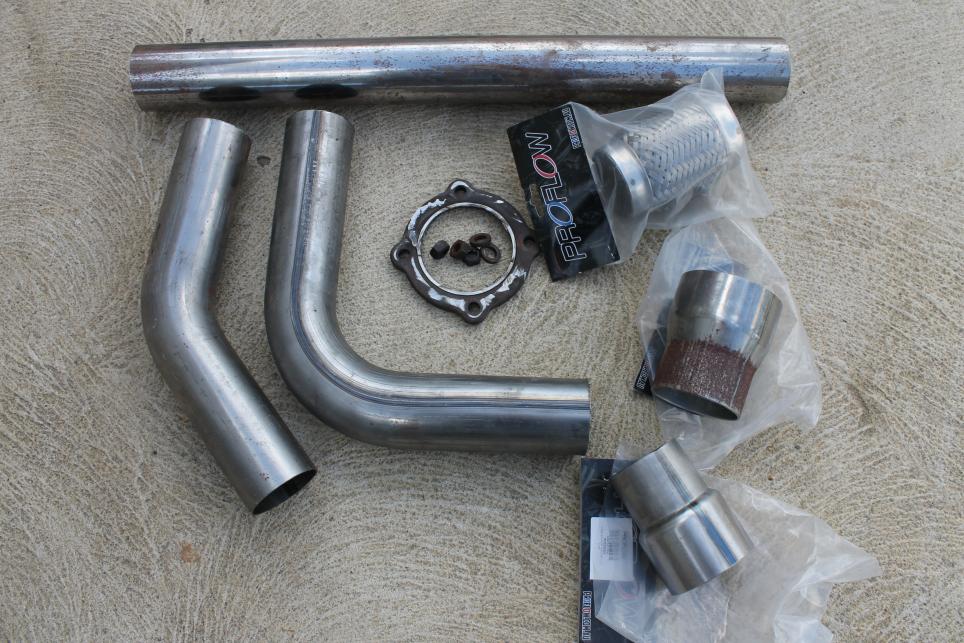
Had some time to go to VPW on Saturday to collect some bits I'll be needing for the exhaust. I already have some 2.5" piping laying around, so decided to stick with that sizing for the exhaust.
The turbo flange size is 3.5" so I needed to get 2 reducers. One is 3.5 - 3 and the second is 3 - 2.5 this allowed me to correctly step down the sizing with optimum flow. I studied a lot of the after market performance mk4 GTI down pipes and this is the predominant design.
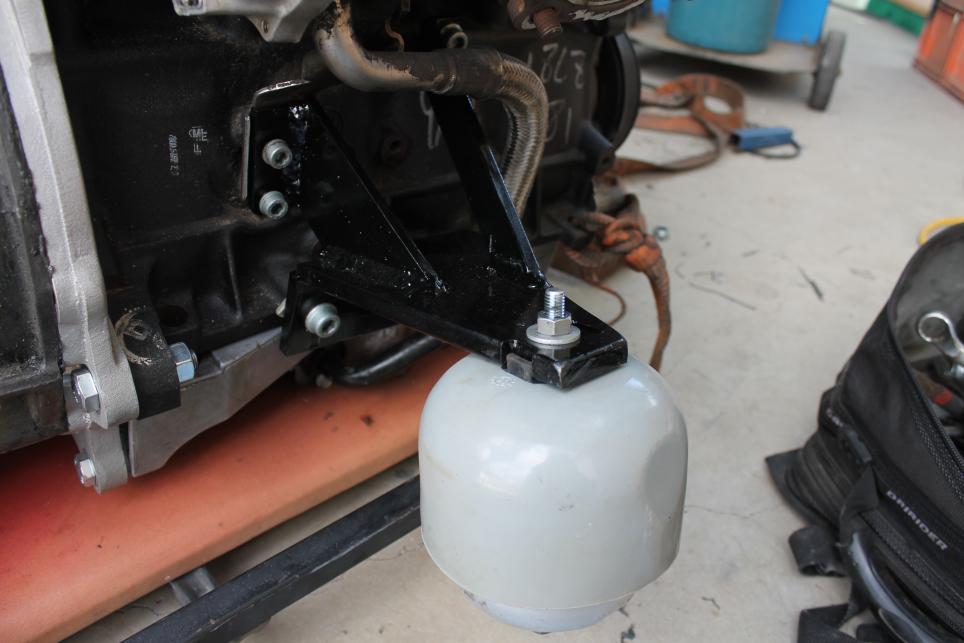
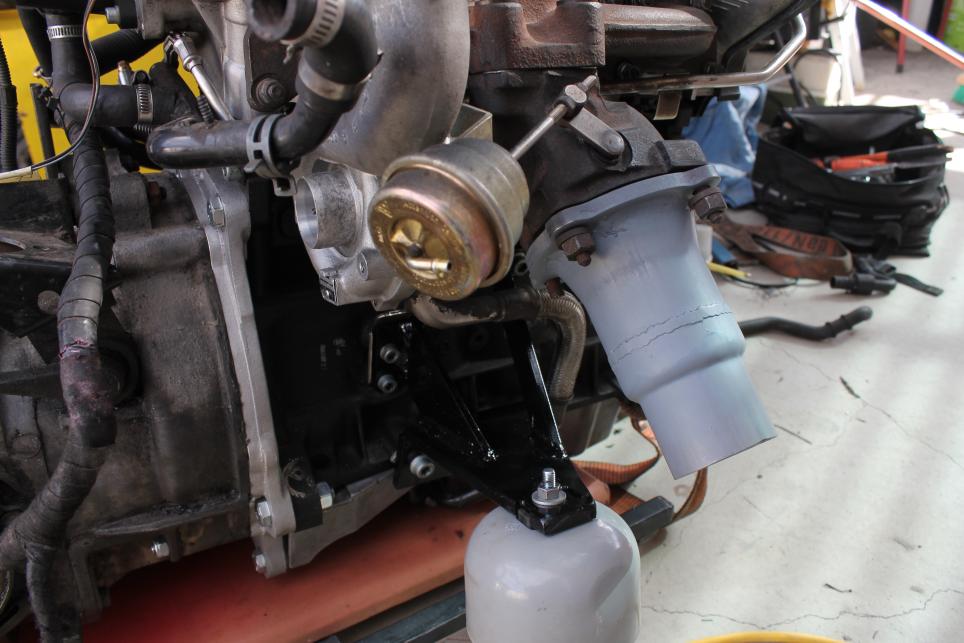
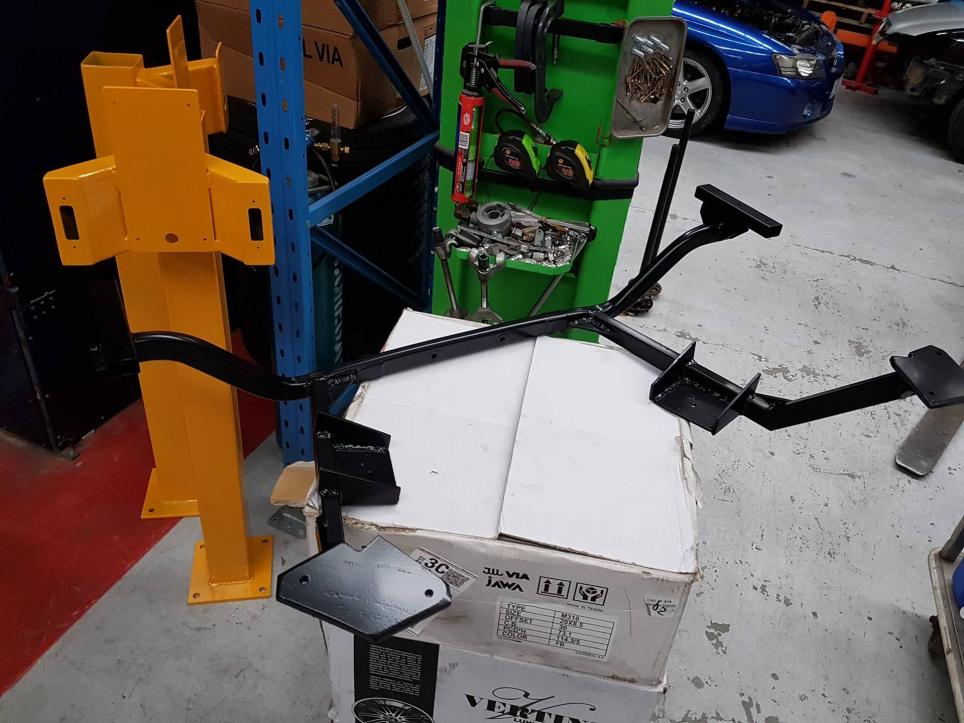
But before I started on the exhaust, I put the newly painted engine mount on to make sure the down pipe will clear it well. Almost looks OEM with some paint!
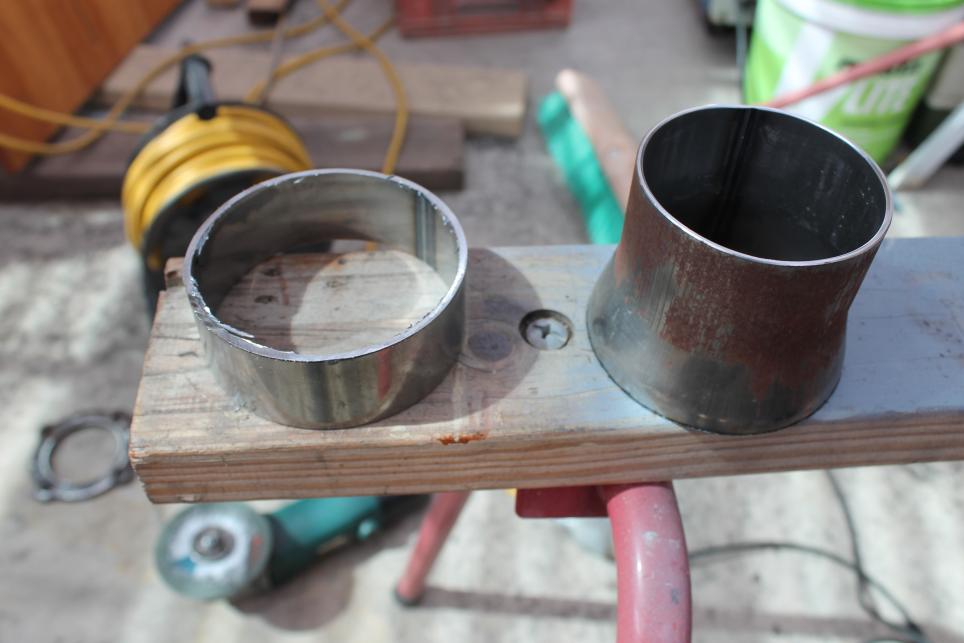
Had to chop the reducer down to where it just started to reduce in size, from what I understand, it will ensure there is enough pressure to pass the gasses through efficiently.
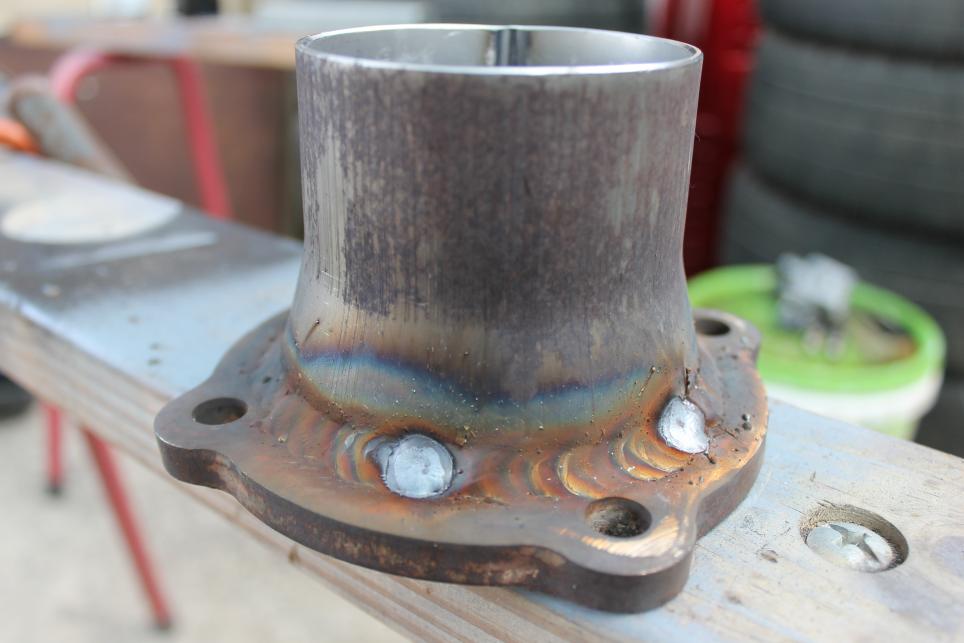
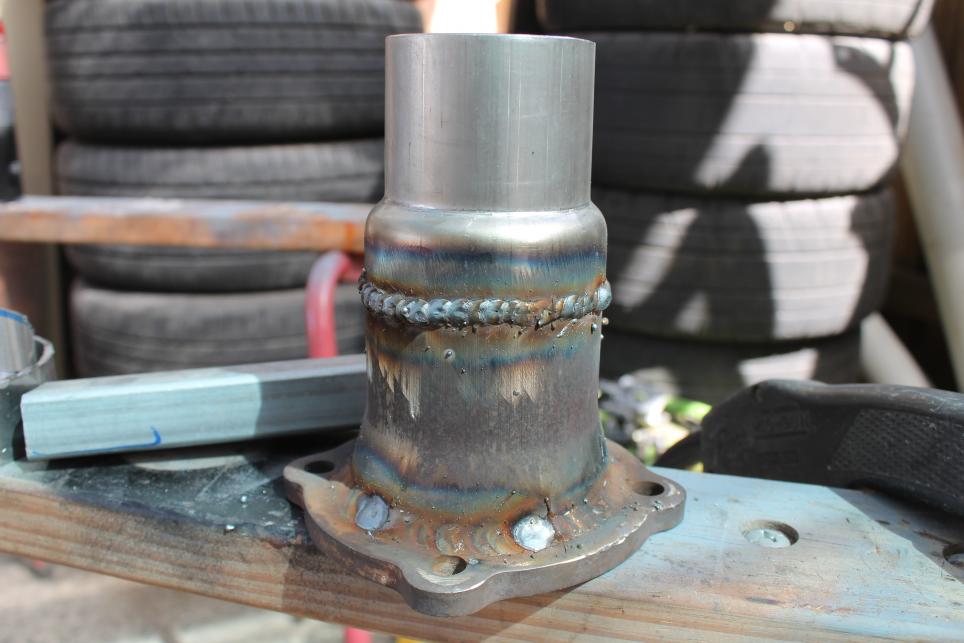
All welded up. Made sure to take my time with this.
Second reducer welded up. I also bought an o2 bung, and will weld it in when the rest of the exhaust gets pieced together in due time.
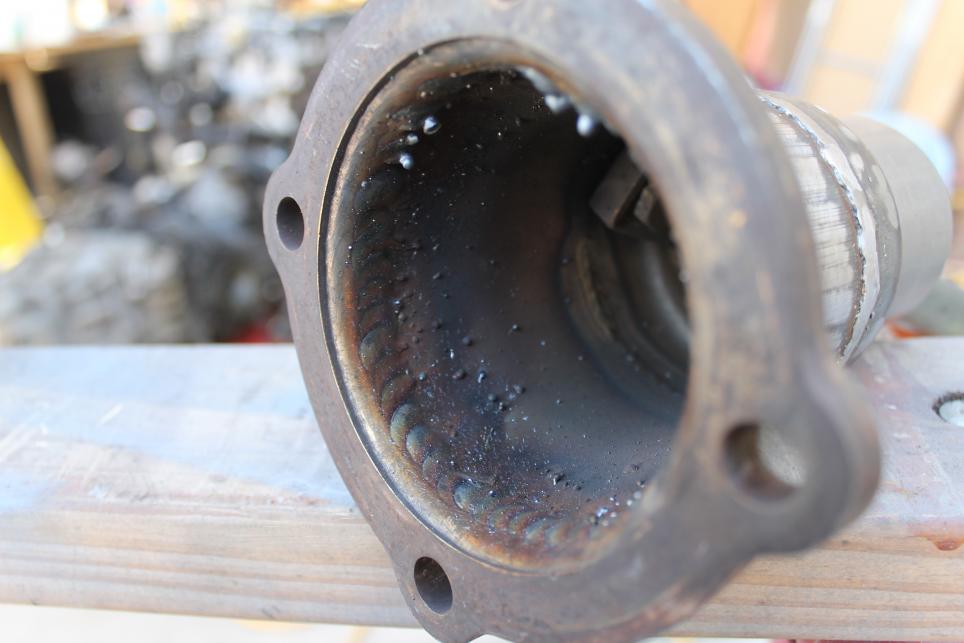
I then read an article where an exhaust fabricator was giving tips on how he made his down pipes. He said once the pipe is welded to the turbo flange on the outside, he always runs a bead of welds on the inside, he mentioned this is important for strength as this is where the pipe gets the hottest.
Made sense to me, and only took me an extra half hour - so went for gold yewwww
Don't worry, I then spent another 45 minutes of my life running a dremel over everything making sure its clean and as smooth as a baby's behind.
Gave it a quick grind down and etch paint for the time being and on she goes. Very proud of this, and was surprisingly fun to make
That was it for the weekends worth of work. I have actually also started another project on my mk1 GTi, which also has its own thread. For now, I have done as much as I can until the engine brace comes back from powder coating. The engine is ready to go and all is finished on it.
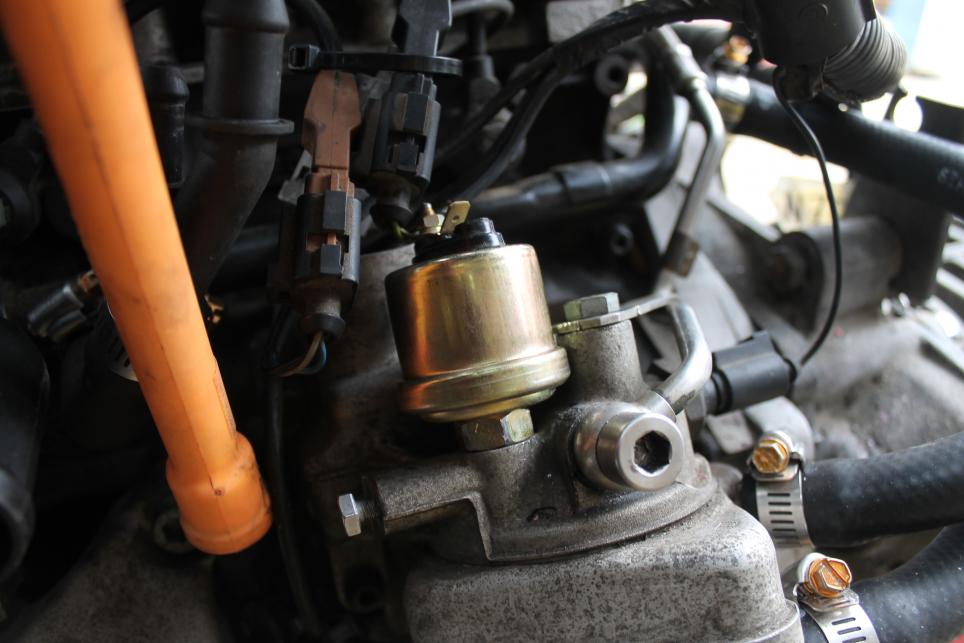
I did forget to mention I also added an oil pressure switch, so I can keep an eye on everything as I do my trekking.
Thanks for reading
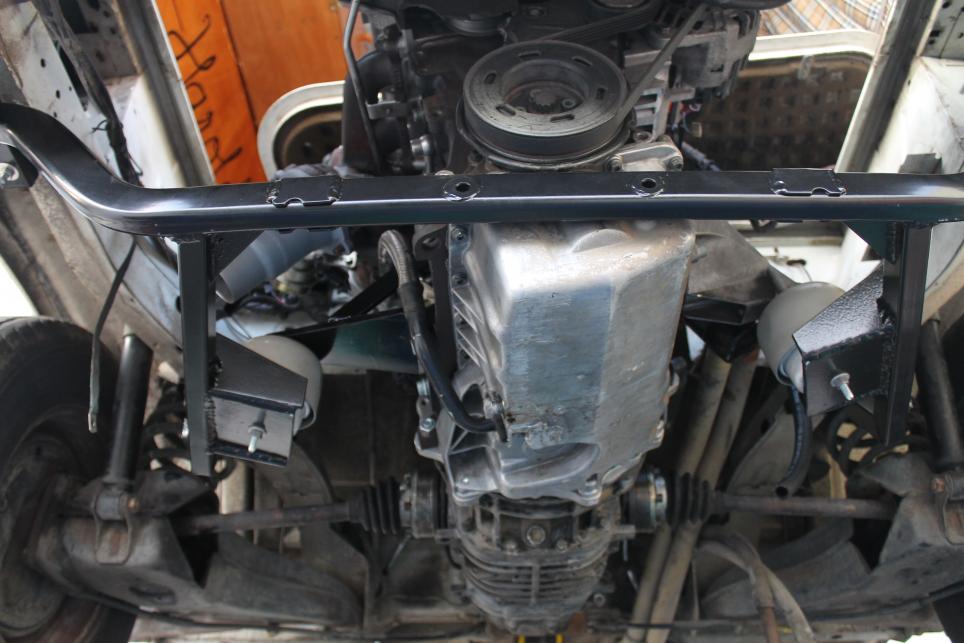
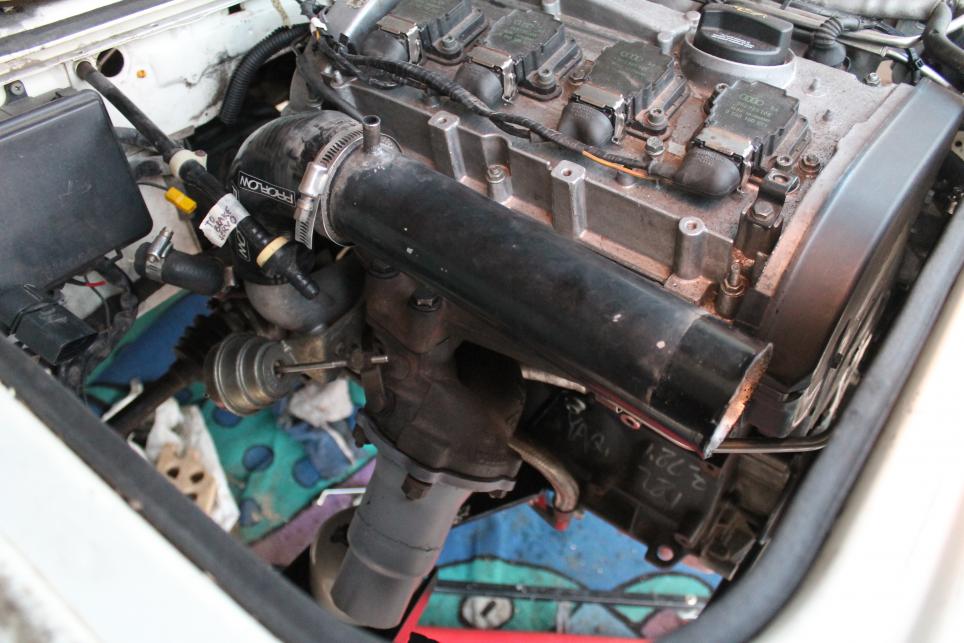
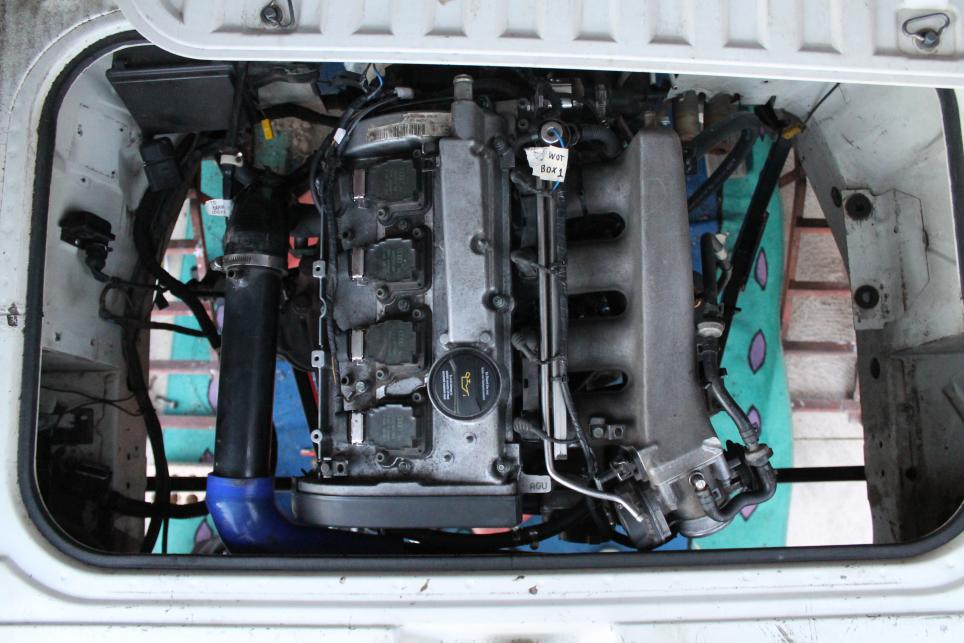
Got it in on Friday! Was a bit of a battle doing it alone but it's all on. Such a huge milestone to have the engine supporting itself!! So happy
Driveshafts hooked up, slave cylinder and reverse switch, starter motor wired up etc. Slowly getting it back together.
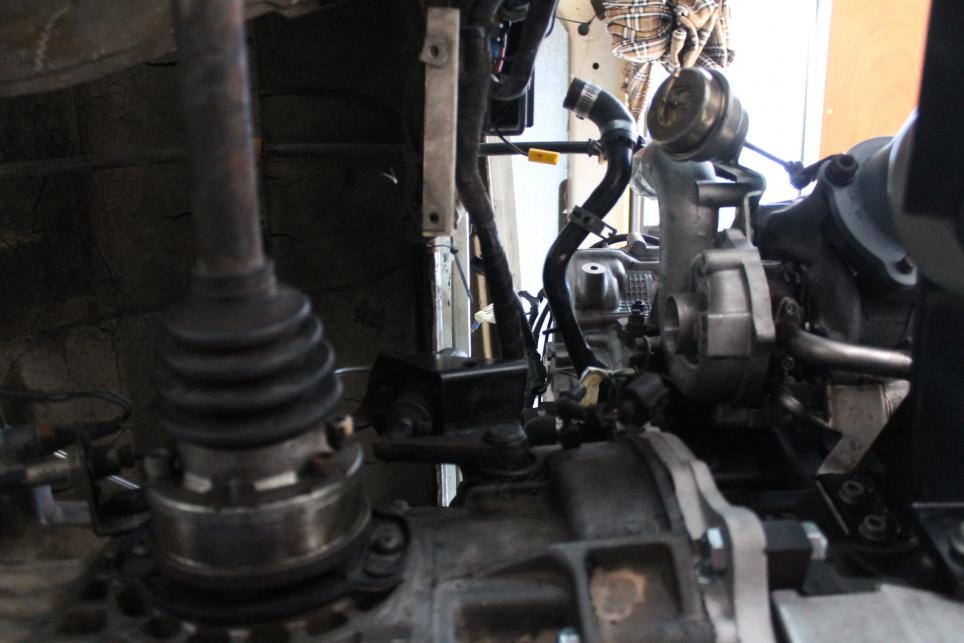
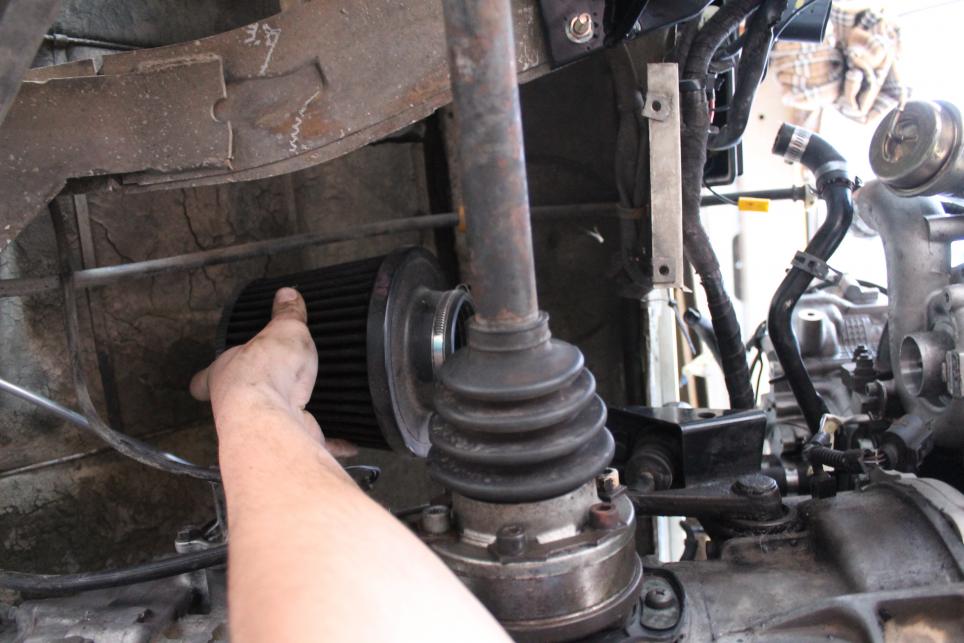
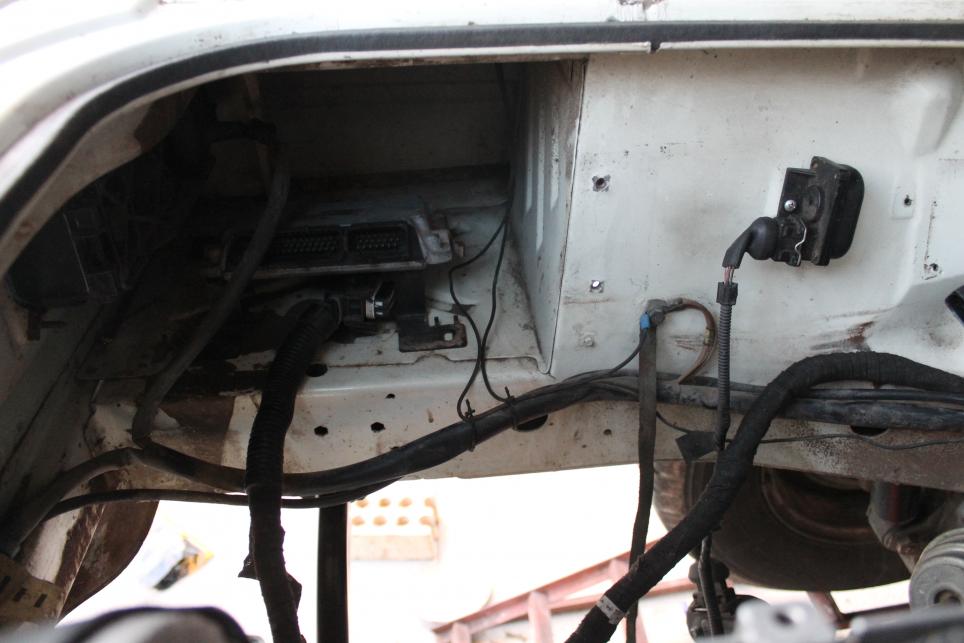
While I was under there I had an idea for the intake. Most folks in the states run the intake to the d piller box, which I'll soon show in a few pics.
But I looked above the gearbox and there is heaps of space, and also convenient as its pretty much one 3" straight pipe from the turbo. However there will be lots of dust etc, i'm thinking of maybe running the OEM mk4 gti intake box? Who knows, here is what I am contemplating.
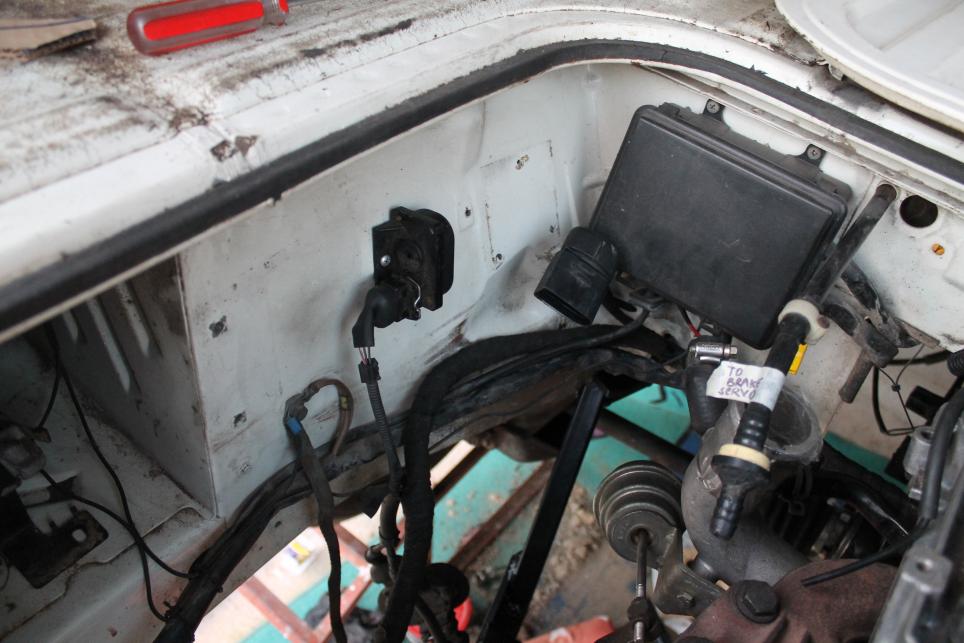
This is where most intakes go in these 1.8t swaps. However I think it makes a perfect spot for the ecu to go. I have also started routing the wires slowly. Just trying to figure out what goes where really. It wont be complicated, but its a bit over whelming until I cant traction and get moving. Really trying to re-use all the old relay boxes that was used for the old engine just to make it tidy and OEM sort of look.
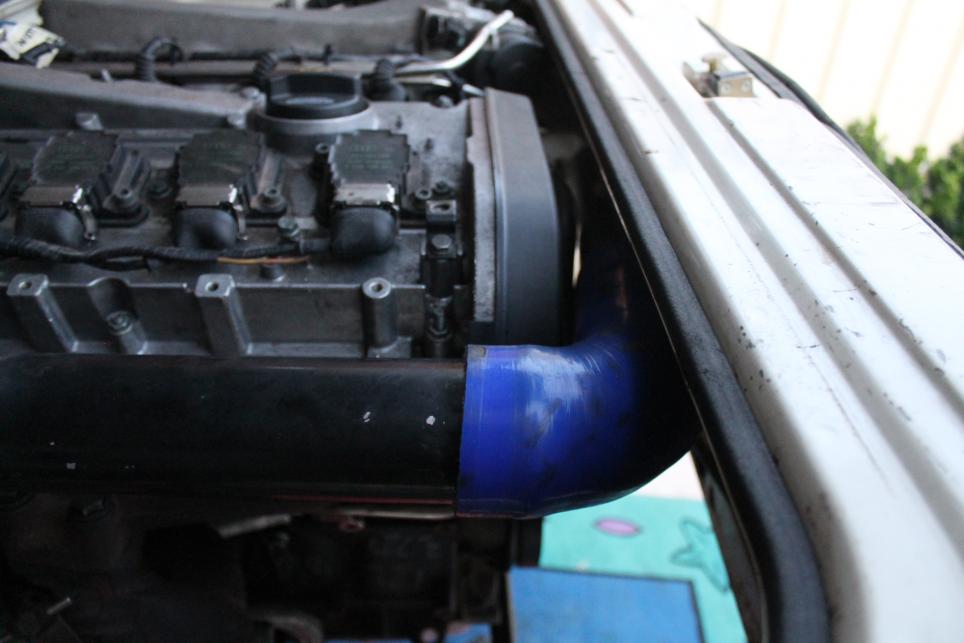
Started slowly thinking about the intercooler piping too. Looks like I was pretty lucky, most of the aluminium piping and hoses seam to be re-cycleable from my old build, and it fits quite well too!
I am going to order a Renault R5 intercooler tonight after much research, and will be fitting it in the drivers side D pillar.
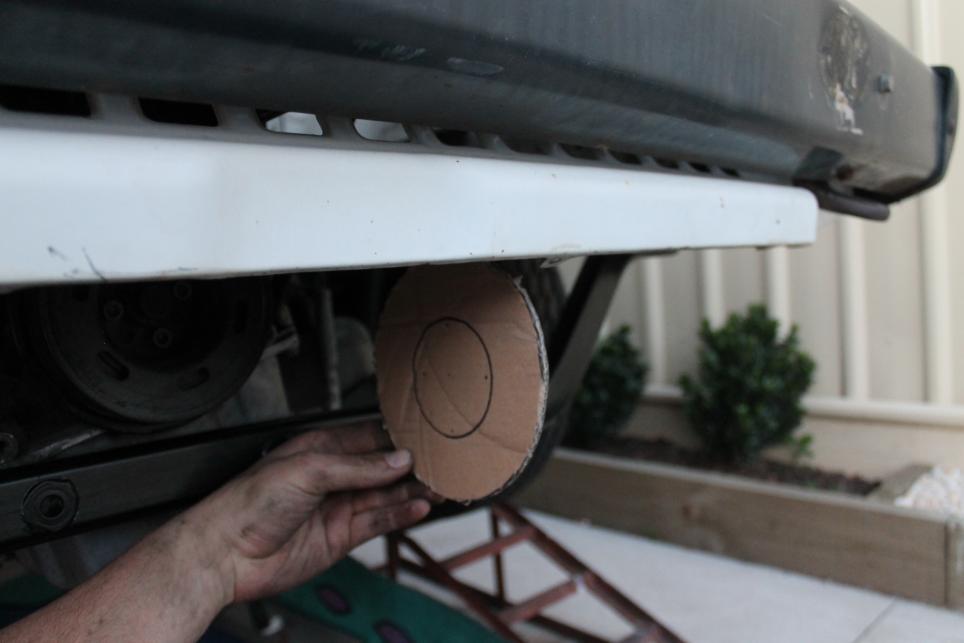
We ordered our muffler the other day too. I won't be running a cat at this moment, but when the engine is up and running well, I will most likely take it in to an exhaust shop to have a cat and proper exhaust setup. In the mean time I have started making my own which I will finish today and update tomorrow.
Made a cardboard template so I can see where to mount the exhaust and start making the piping while I wait for it to get shipped to me.
The list of things to do is slowly getting smaller..
Things I still have to figure out (they are small tasks but still real head scratchers!!!)
Heater core hoses
Rad hoses
Intercooler mounting and working out how to get a temp sensor for a cooler fan
Cooler piping
Air intake to turbo piping
Wiring and relay setup
New radiator install
And thats pretty much it I'm sure, and I will be stuttutuuuu-ing down the road.
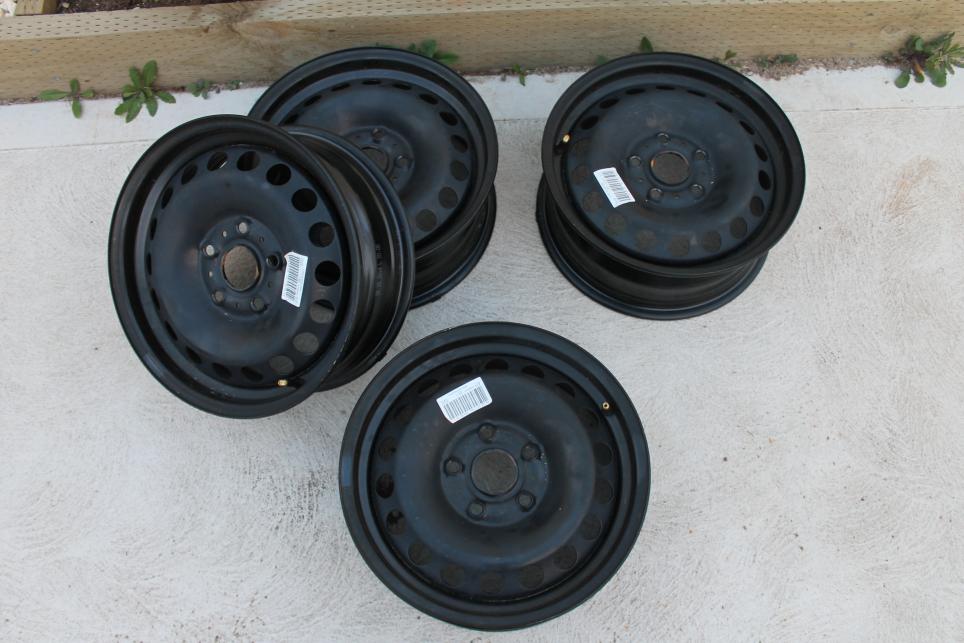
Also, one of our used cars in the yard upgraded to some alloy wheels, and its 15" steel wheels were going to the bin - so naturally I put my hand up to take them home
Scored some 15x6 5x112 golf steels, but they will fit Harold just fine. Thinking of getting them re-banded to 15x8 with low offset, maybe et10. Then some all terrains or muddies. Woo
Thats all for today guys, thanks for reading as always
 Tweet
Tweet


Comment