If this is your first visit, be sure to
check out the FAQ by clicking the
link above. You may have to register
before you can post: click the register link above to proceed, registering will remove the in post advertisements. To start viewing messages,
select the forum that you want to visit from the selection below.
This means you should apply for your renewal now to avoid any disruptions to your membership whilst the renewal process is taking place! NOTE: If you have an auto renewing subscription this will happen automatically.
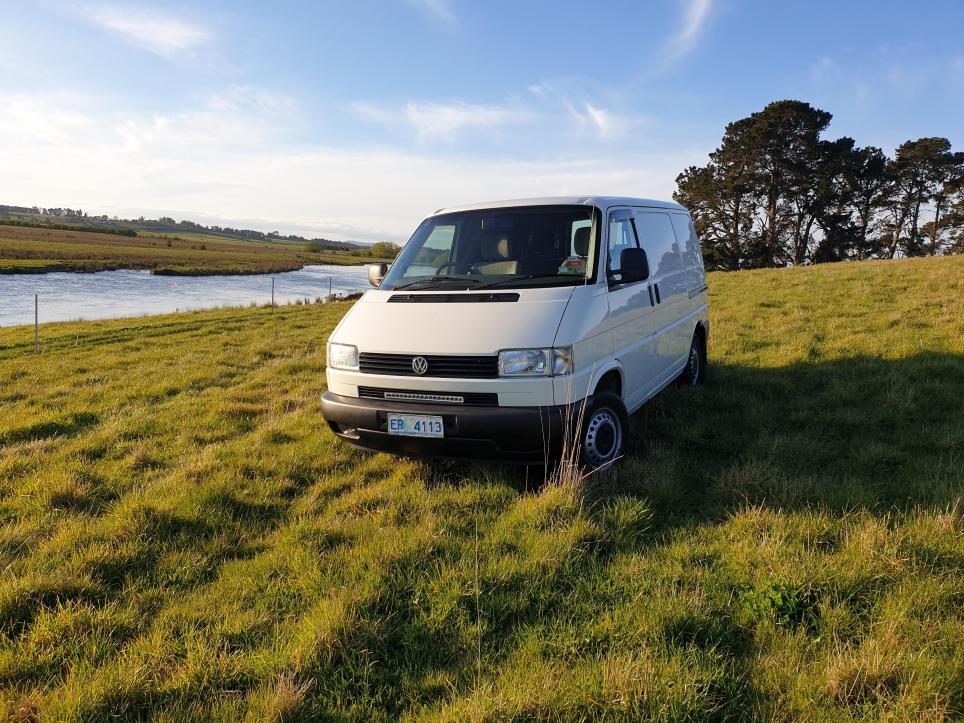
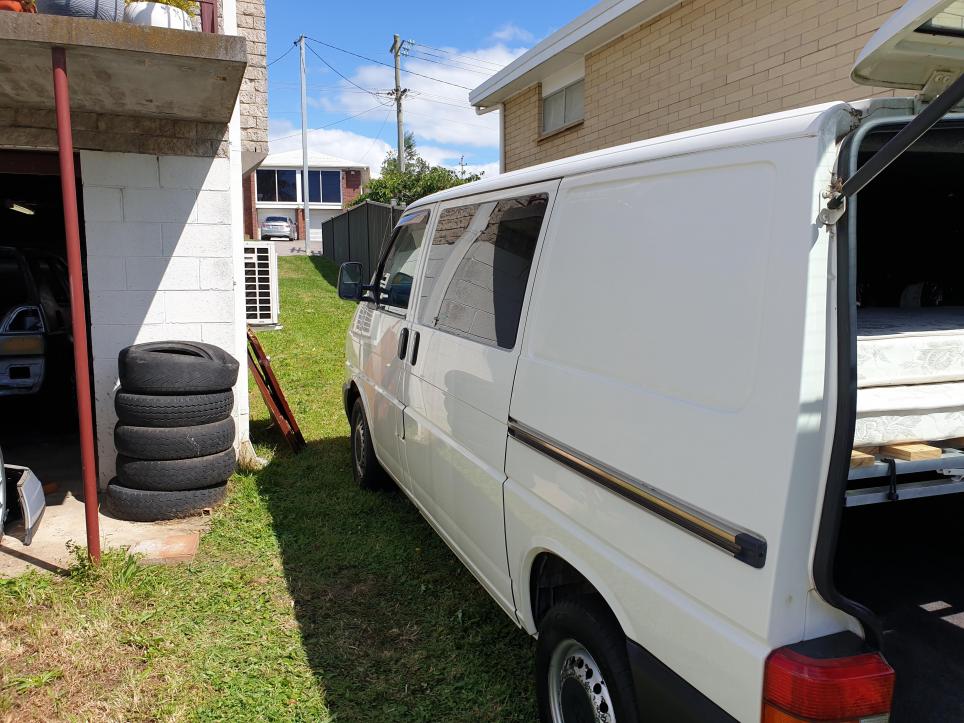
@jets checked my rain tray area the other day, have some paint peeling, but no rust. The only rust is in the gutter seals that I will fix sometime. Sounds like you got a neat one too
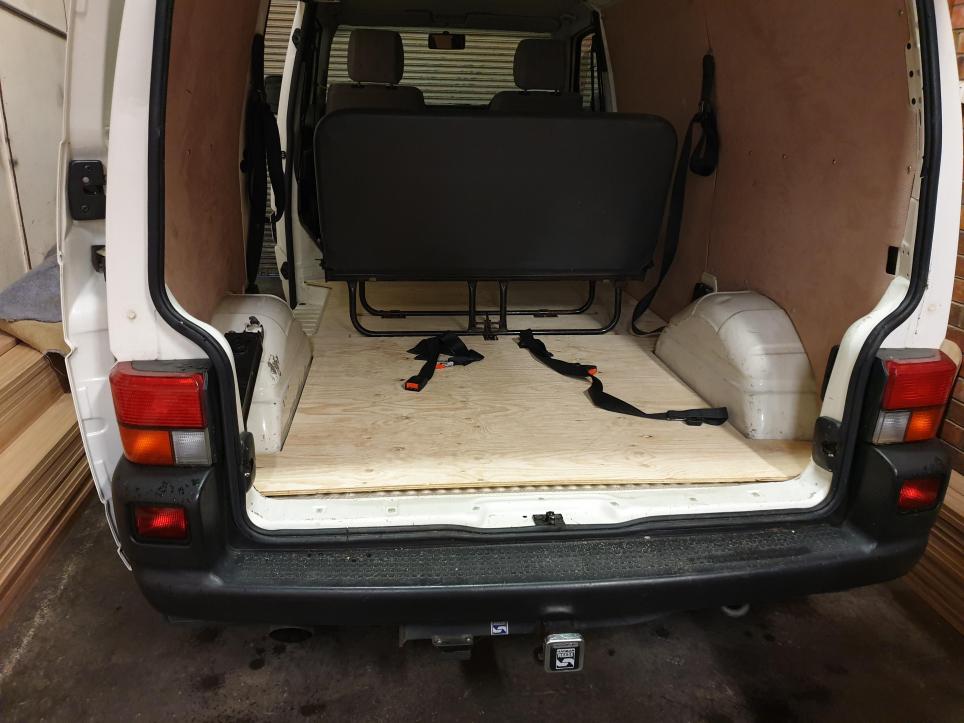
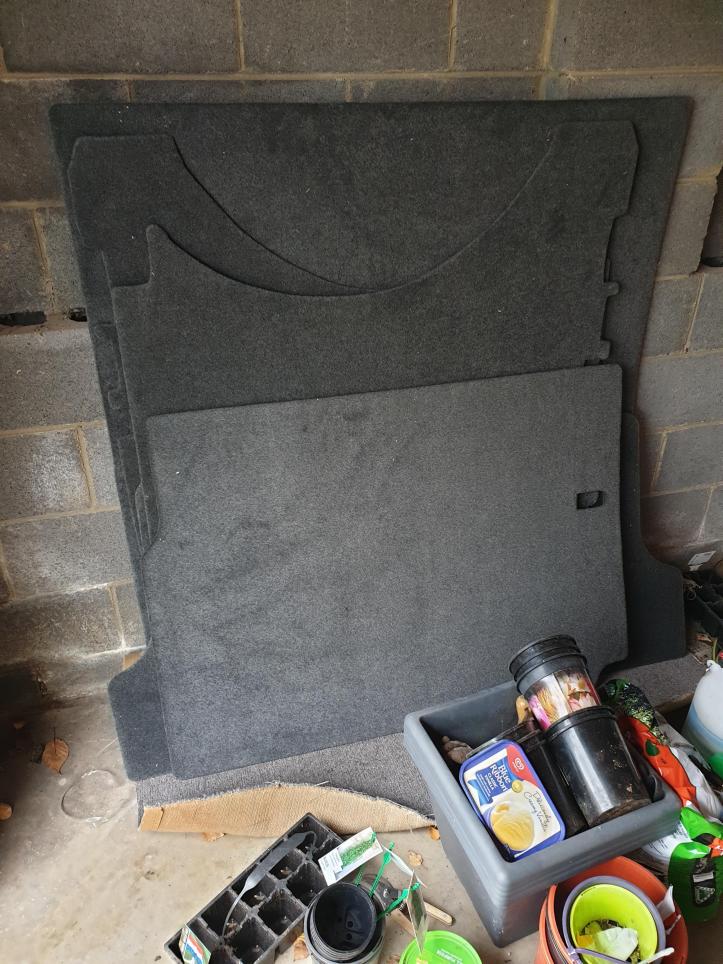
Ply wood floor installed, had to shape it around my rear seat. Have got some insulation ordered to go underneath then can put my carpet back over the top and fix it down. Rear seats are easily removable and also fold over forwards so are extremely handy for putting a bed frame and drawers around. Everything from here on will bolt into the ply wood, want to avoid drilling into the van sheet metal.
@jets checked my rain tray area the other day, have some paint peeling, but no rust.
Sent from my SM-G965F using Tapatalk
I know I said in the lower windscreen area, but specifically just under the lower edge of the windscreen rubber. VW, to their credit
anticipated this could be a potential for rust to form & have 3 small drain points in the panel. Mine formed away from one of those.
Over the years, I have seen many T4s with rust forming in this area.
Understand how it works, troubleshoot logically BEFORE replacing parts.
2001 T4 TRAKKA Syncro 2.5TDI,2006 Mk5 2.0TDI Golf manual,2001 Polo 1.4 16V manual [now sold], '09 2.0CR TDI Tiguan manual,
Numerous Mk1 Golf diesels
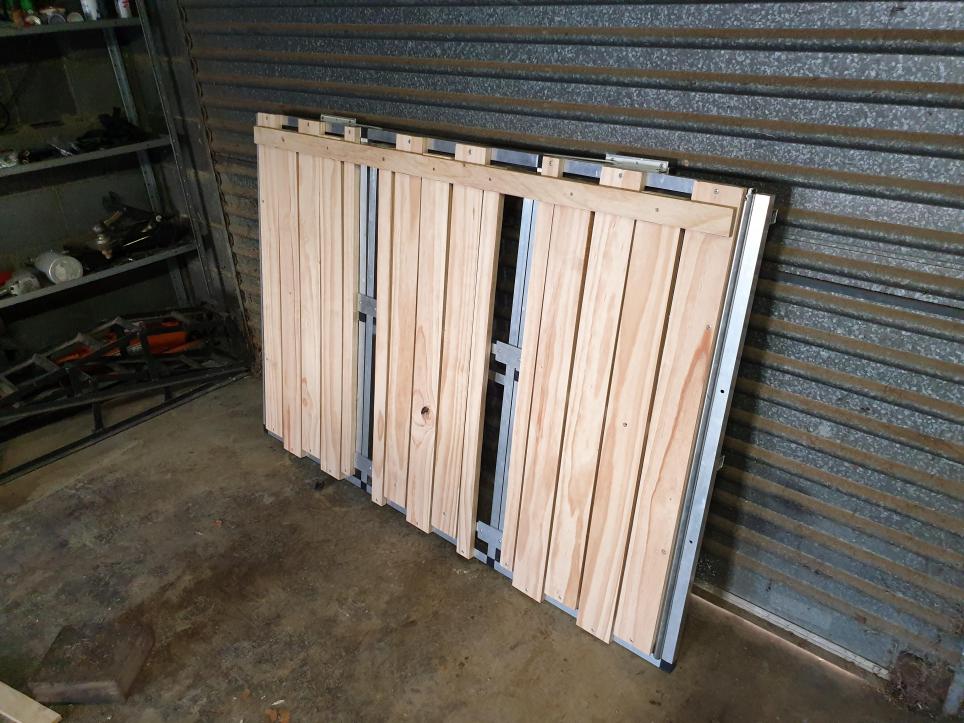
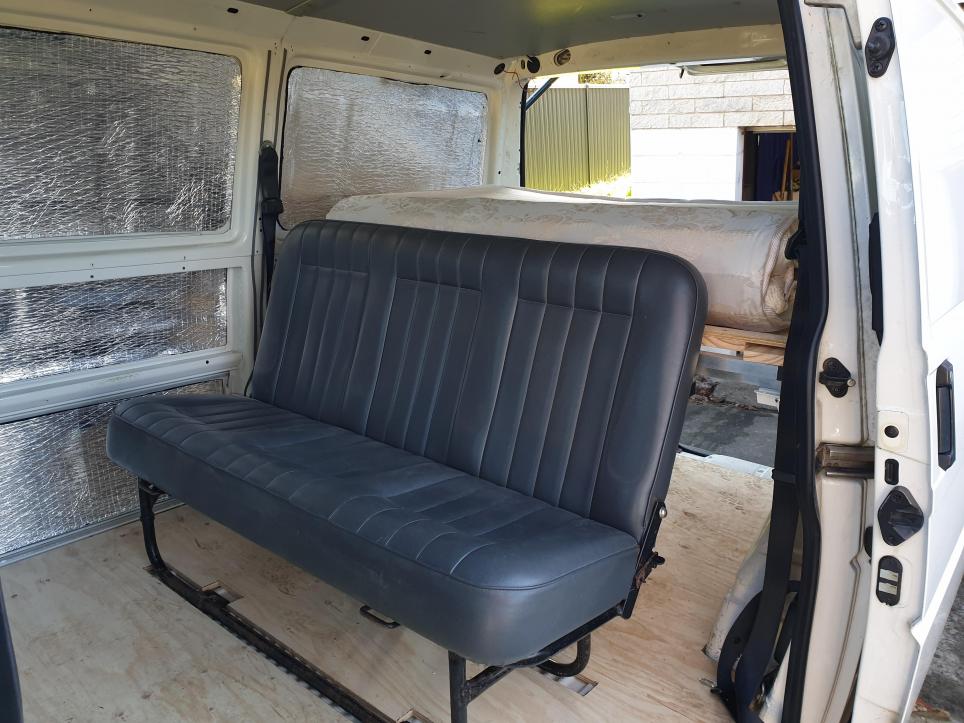
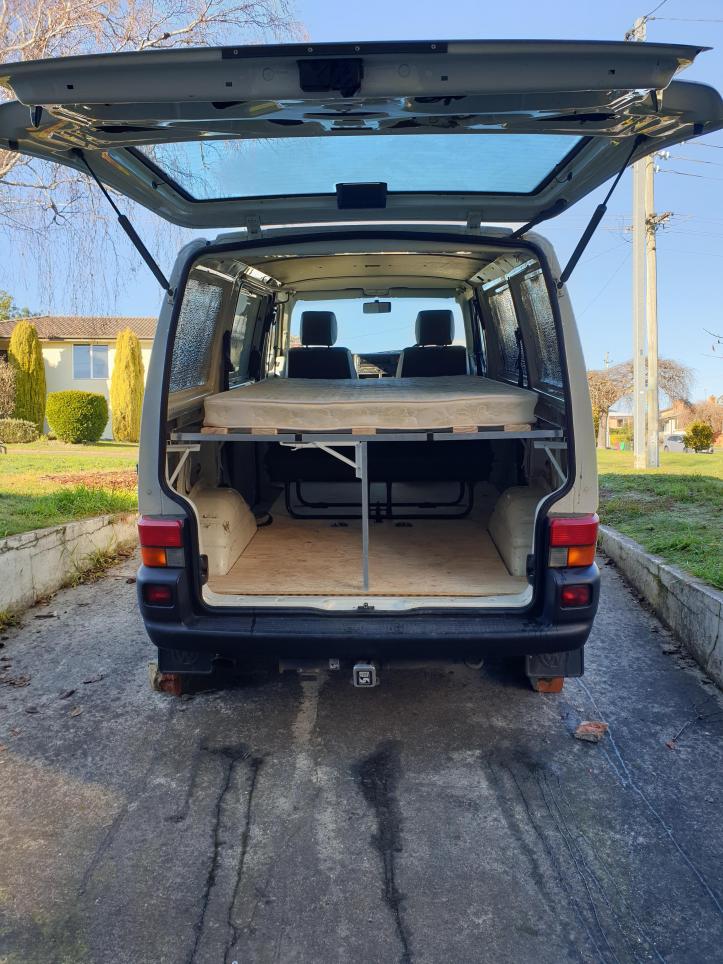
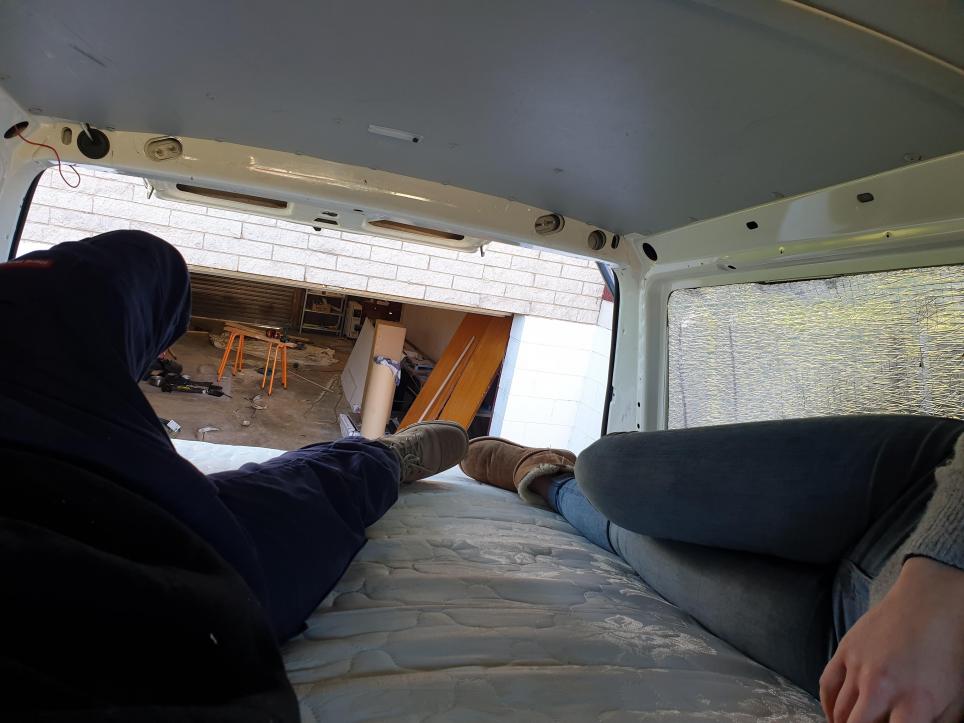
Been spending a fair bit of time over the last week to get this bed frame in. Basically a list of things it needed to be able to do:
- Slide/extend out to clear the folded down rear seats which were 550mm high.
- Be lightweight but still strong enough for my wife and I.
- Easily removeable.
- Allow for draws and other items to be installed underneath.
- Pack away tightly.
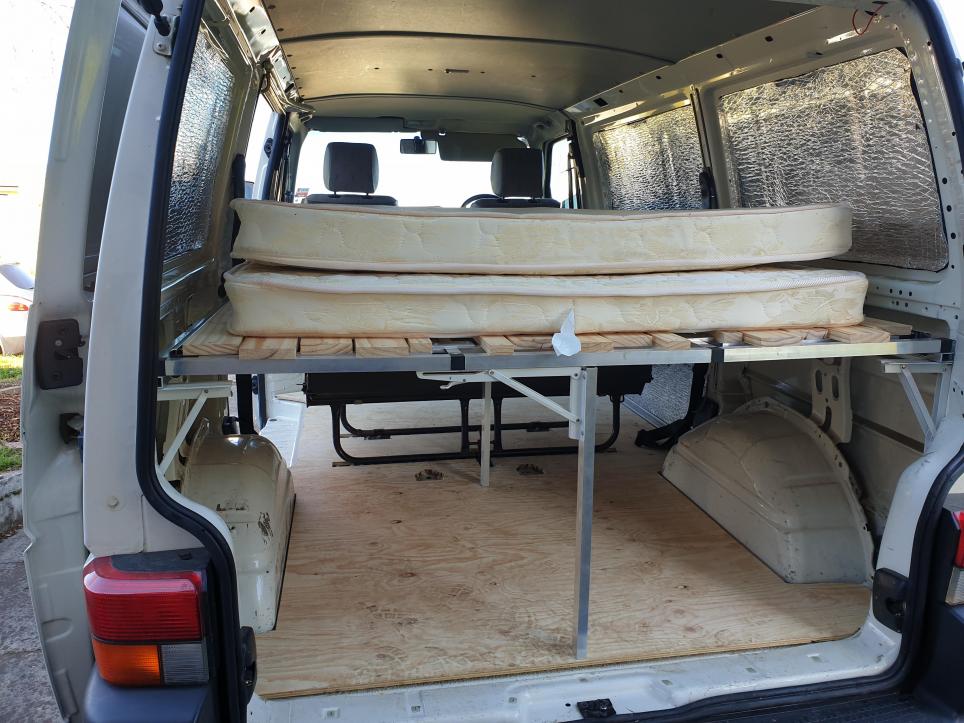
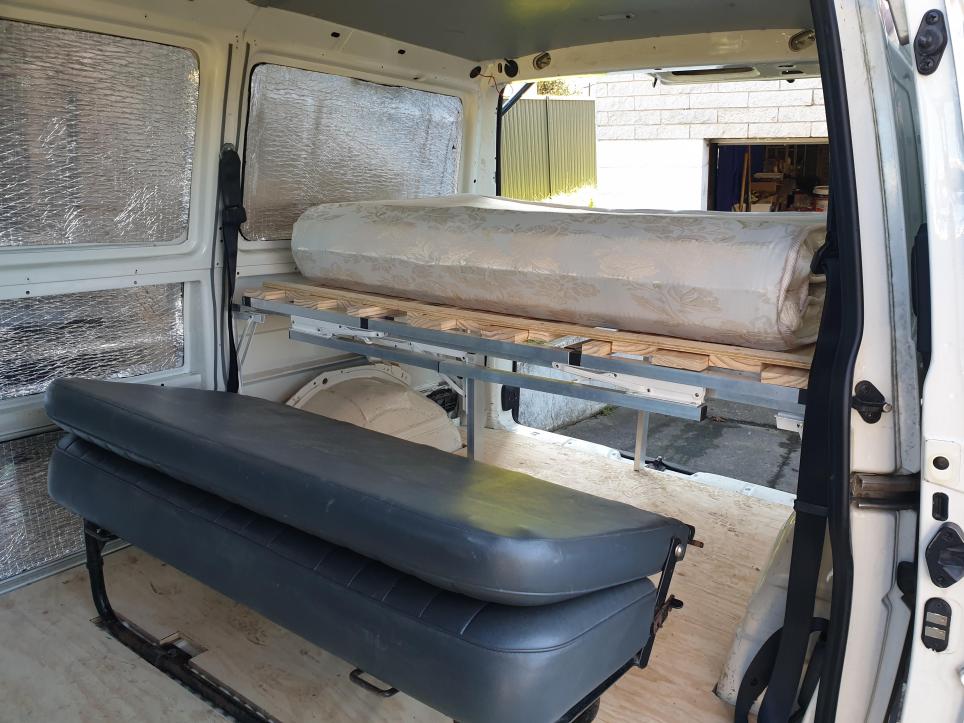
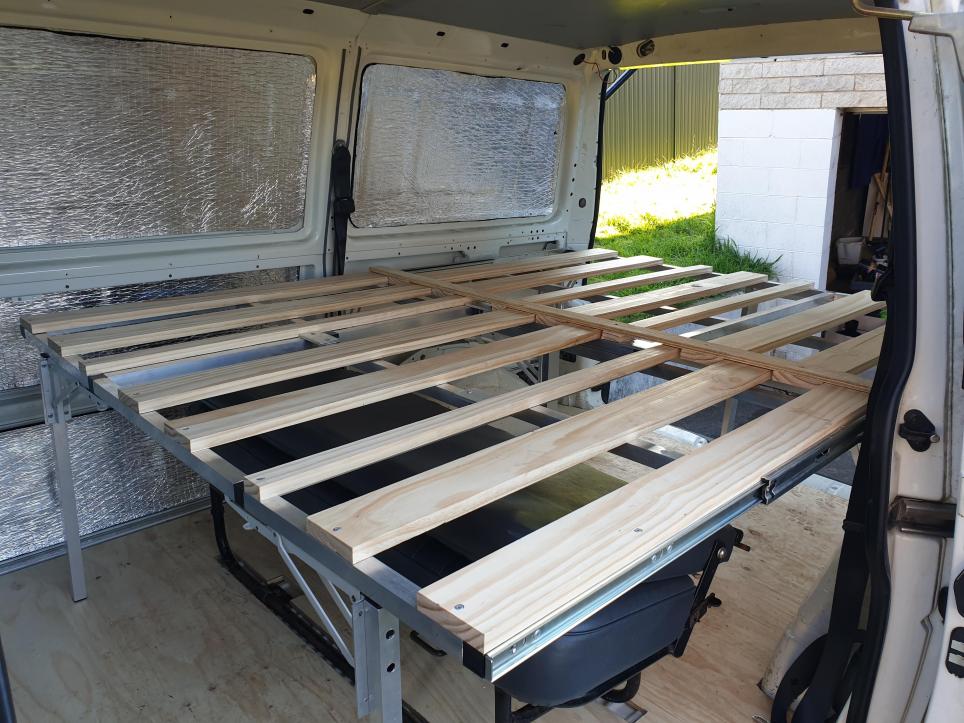
Made it all out of aluminium and used little plastic connectors for joins to save welding. There are two bases and these slide into each other with 1000mm heavy duty drawer slides. The wooden slats also slide in between each other to help it pack up nicely. I installed two side rails on foldable brackets that will stay permanently installed on the van, but look nice and tidy and still stay out of the way. These basically make it a floating bed. 4 legs were installed too, two at the front, one in the middle and one at the back, which still gives good room for big items to still fit underneath.
I've tried to attach the pictures in the installation order! Honestly I am really happy with this. It was a little expensive using all the aluminium and other things such as the folding brackets (8 in total) and the heavy duty drawer slides, but it had to be done. Just want to give the alumnium a good polish now!
I also recovered all the interior boards with Car Builder's dark grey carpet.
Something else too has been fitting electric windows using all the items from a Caravelle. The loom plugs into the fusebox and runs to both windows, where I swapped the manual regulator the electric regulator. Then just used a little dremel to cut tidy holes in the door cards for the factory switches. So much better than the horrid manual windows! Didn't take any pics of the install process.
Been working hard for the last month, finally deadened, insulated, carpeted out the van and ran all the electrics, re-adjusted the bed frame to fit and now its all together! Looking forward to going on a trip over the coming weeks as the weather gets better.
Installed some touch sensitive lights, installed numerous lights wired to the switch panel, usb plugs both side, 3 cigarette sockets and then the dual battery system with a smart isolator (DCDC too expensive on my budget). All panels have been bolted in using rivnuts, allowing for me to take them off in the future for other changes. Still got some more things in the future like a solar panel and battery monitor but they can wait. Very excited, it finally has come together.
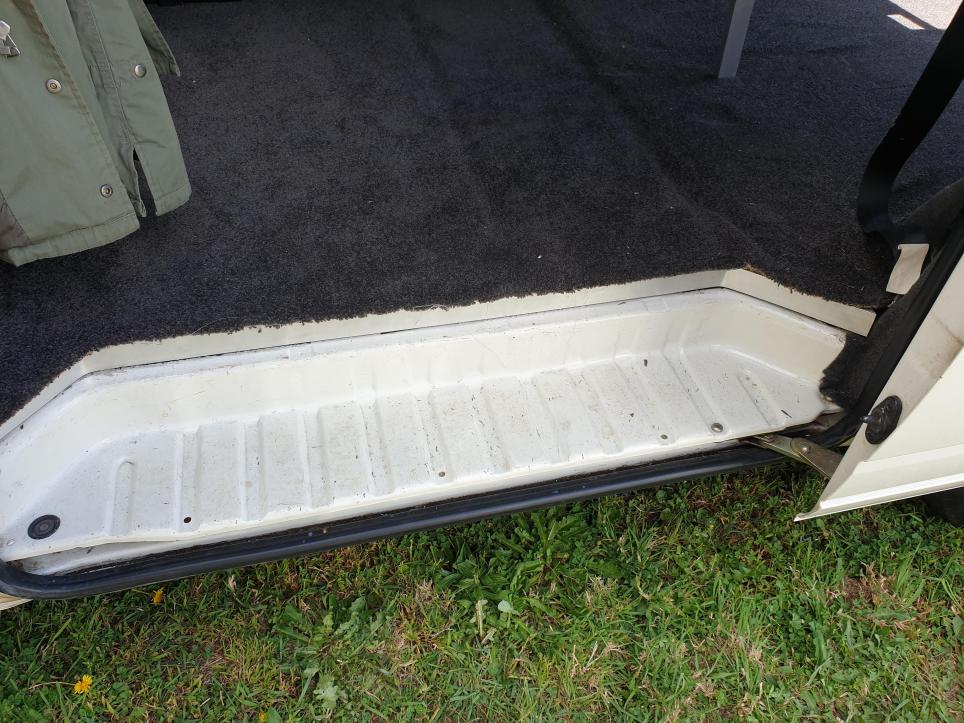
Not too bad , from a motor trimmer you have done well for a handyman . I might not have agreed with the fasteners used but as you said in case you make changes to the interior it was the best way , for that side step you could check out the hardware shops for an alloy strip with a lip to overlap the top surface of the carpet and screw it to the ply . There are also some alloy cover strips that could be used to cover the join in the roof , just make sure you mark where there is suitable places for the screws to go into and be very careful when drilling so you dont go through the roof itself I used to use a piece of hard plastic tube over the drill bit to prevent going too far in. Did you get some clues from my sons one I posted a few posts ago ?
Na it was all my own thinking. That strip for the roof I'm waiting new plastic clips to put the original piece back in and yea I might look into an alloy piece to cover the step. Otherwise a nice plastic step ordered from the UK would be good, once I am happy to pay the horrid shipping fees...
Na it was all my own thinking. That strip for the roof I'm waiting new plastic clips to put the original piece back in and yea I might look into an alloy piece to cover the step. Otherwise a nice plastic step ordered from the UK would be good, once I am happy to pay the horrid shipping fees...
Sent from my SM-G965F using Tapatalk
Not sure if the original plastic step would fit now that you have made the floor somewhat thicker than standard .
I was indicating the raised aftermarket ones they make to suit vans with floors installed. Found a loose piece of alloy floating around so might go for that method instead.
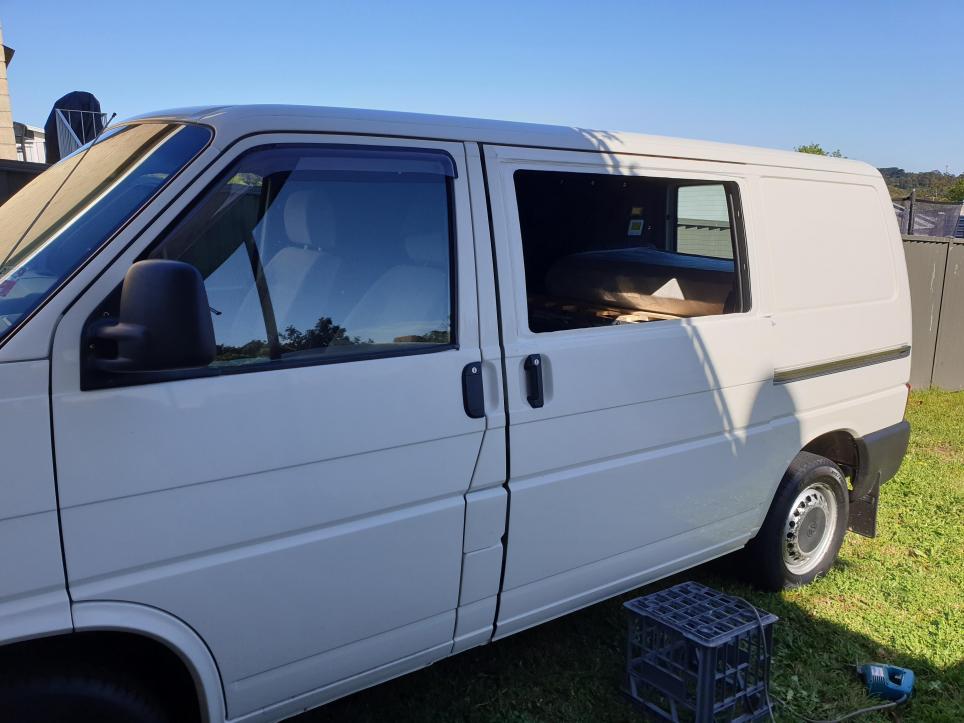
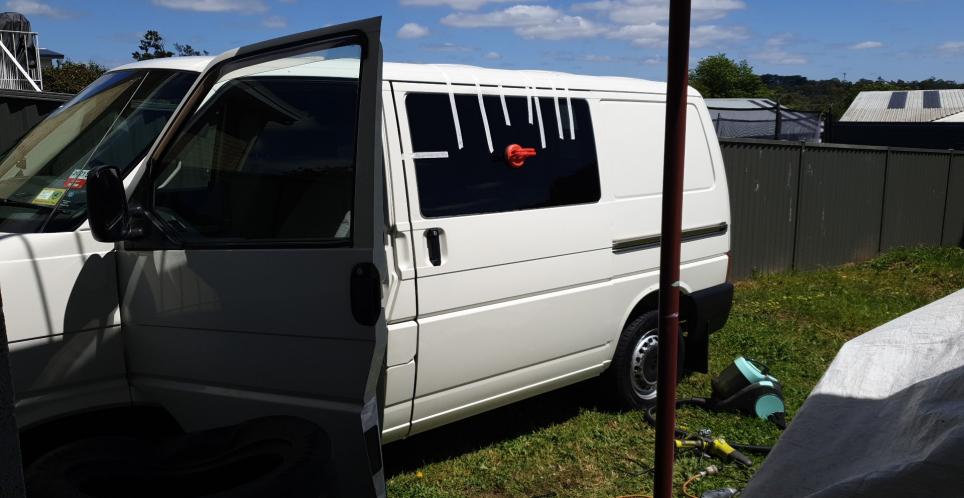
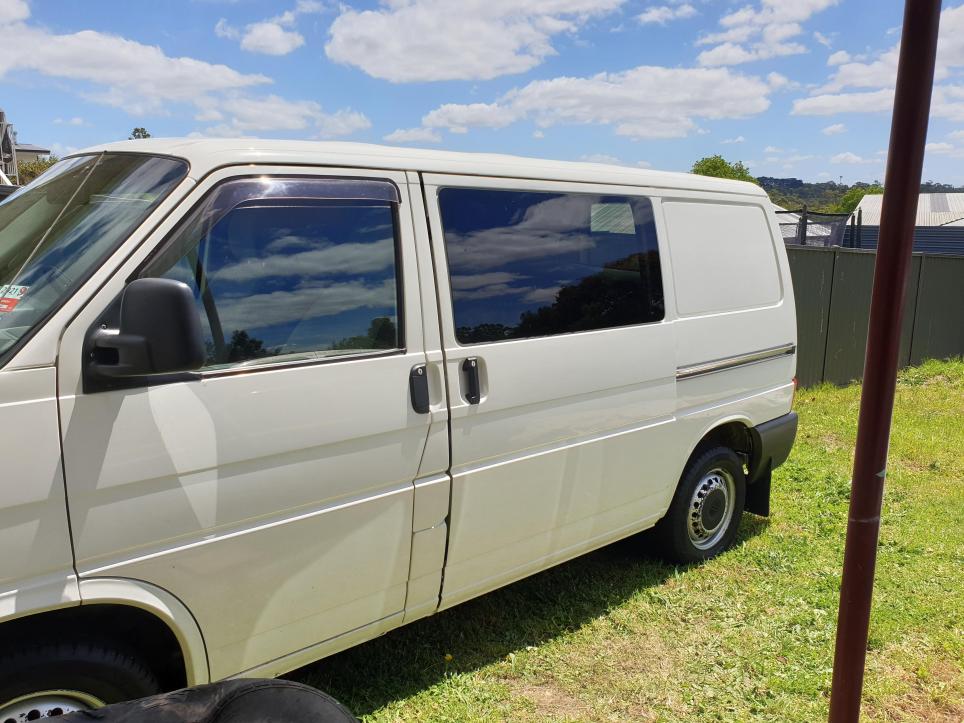
Headlight upgrade harness installed to help with my new LED globes so that I have correct voltage at headlights. Put a new aluminium lip in on the step to hide the ply and insulation. And finally a new window in today which I'm very pleased with, love the look of it too. Will hopefully get to tinting the rest of the van to match now!
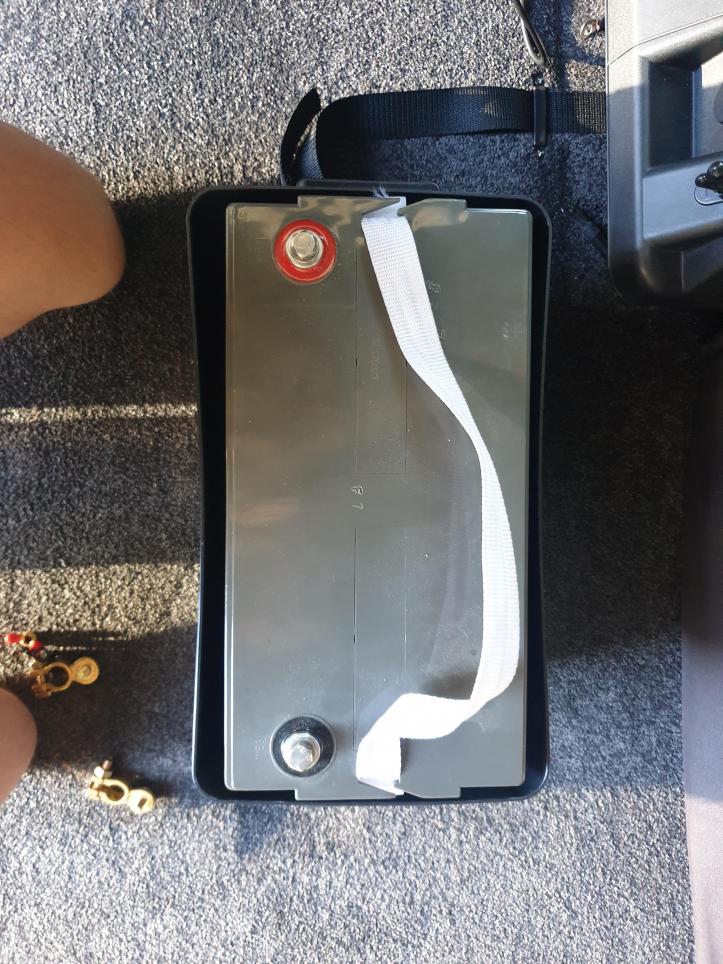
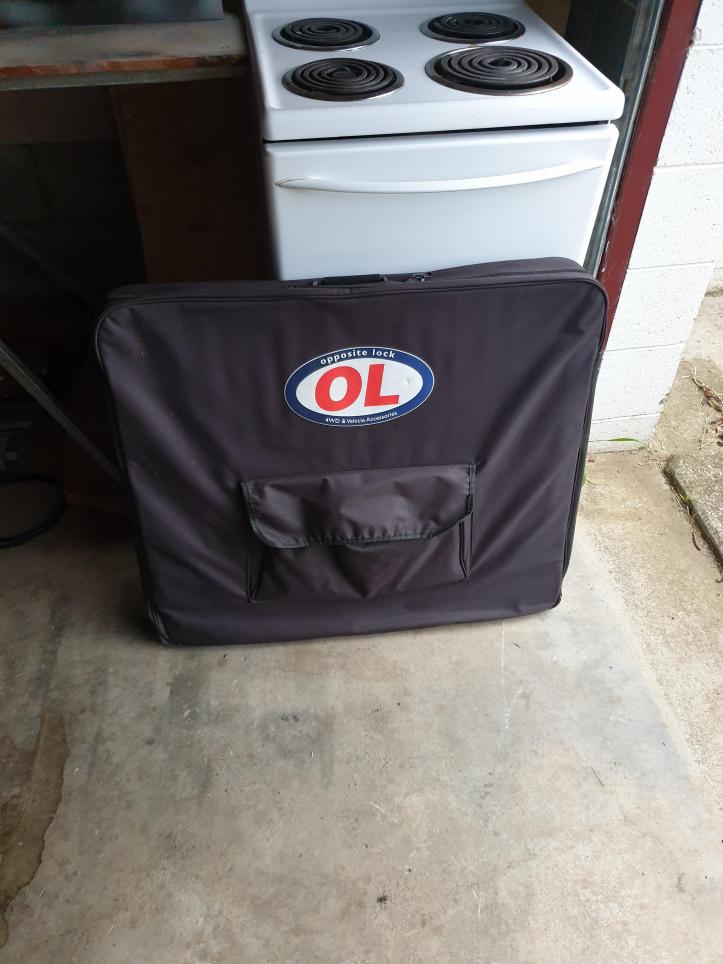
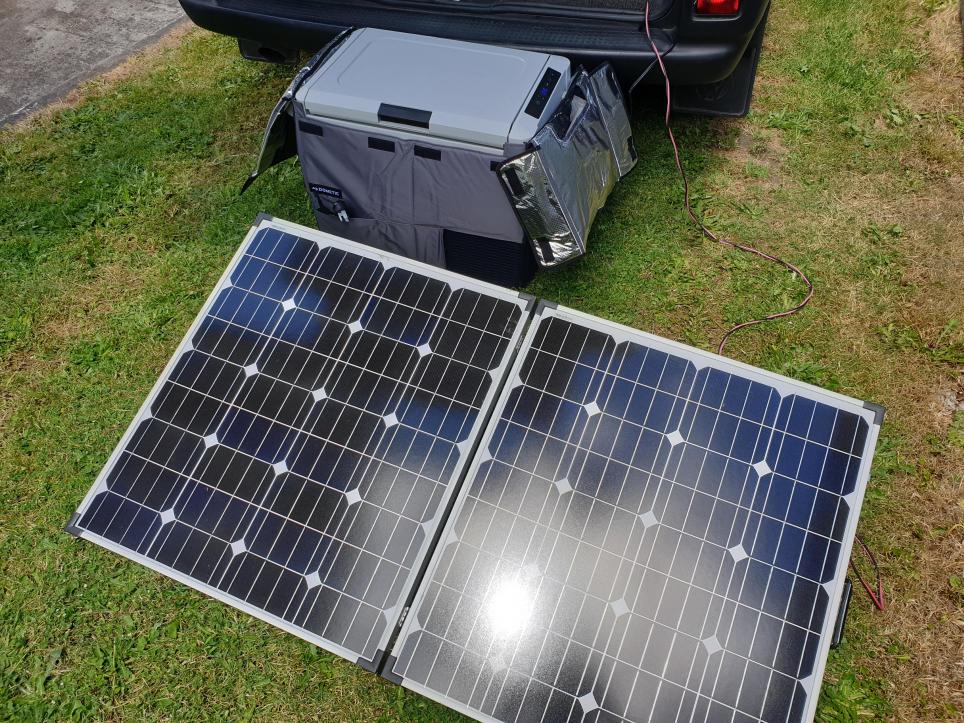
To top it all off, got some toys to finish off really all I want for the T4. 120Ah AGM deep cycle battery, fits absolutely spot on in the battery box. An Opposite Lock 150W solar panel, that just alligator clips straight onto the 2nd battery, then finally a 45L Dometic single zone fridge! We couldn't decide for whether to go for a single or dual zone fridge/freezer but considering we only go away 2 to 3 nights tops, the extra money for the dual zone just wasn't worth it. Time for some cool drinks I'd say
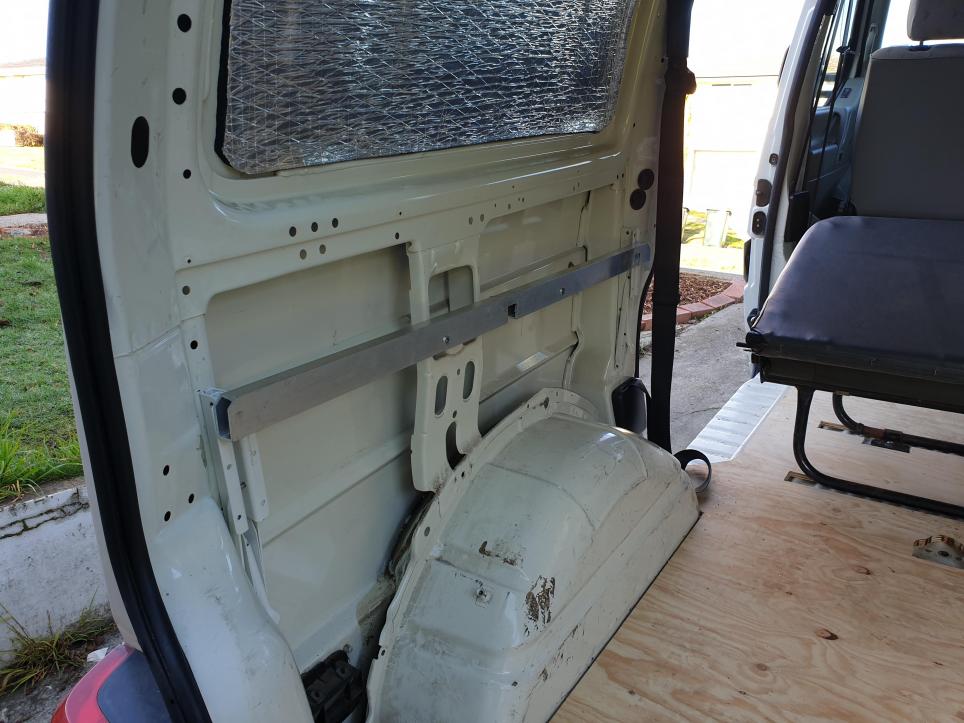
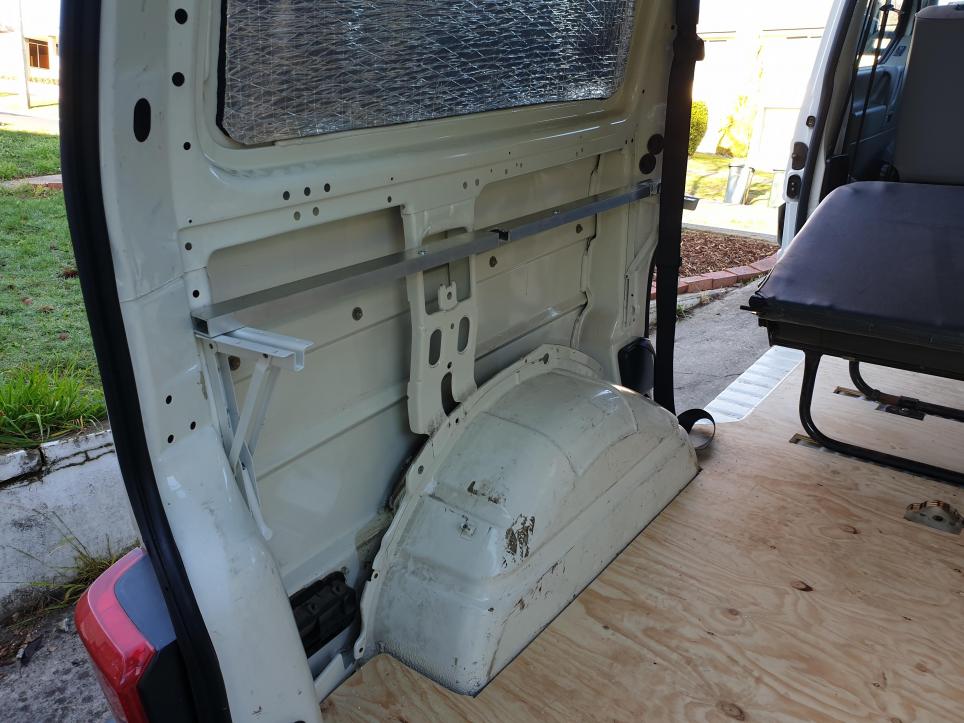
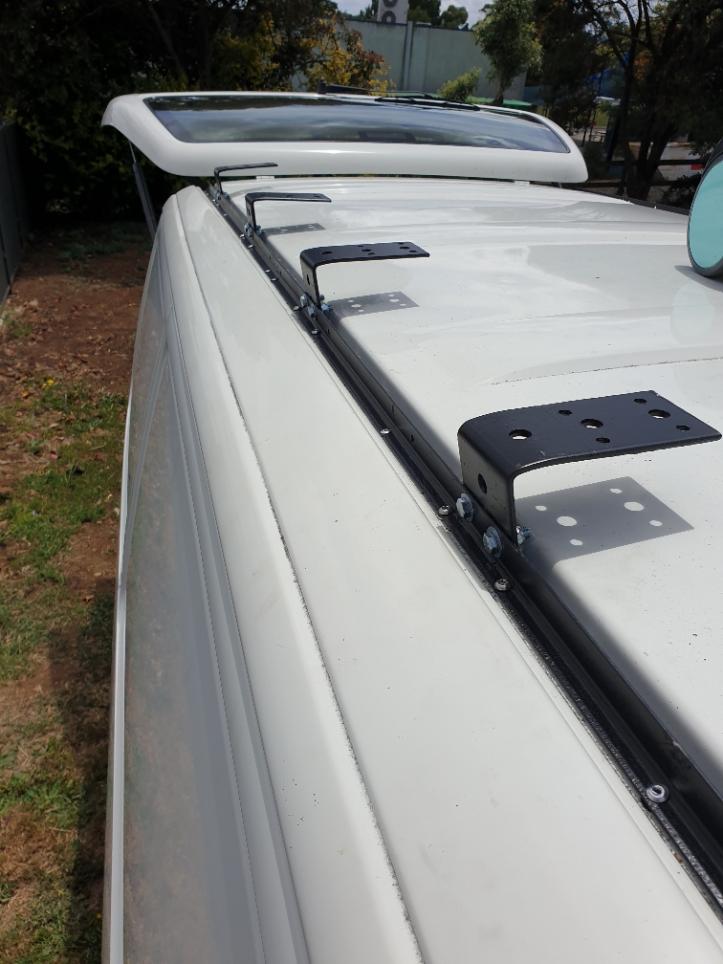
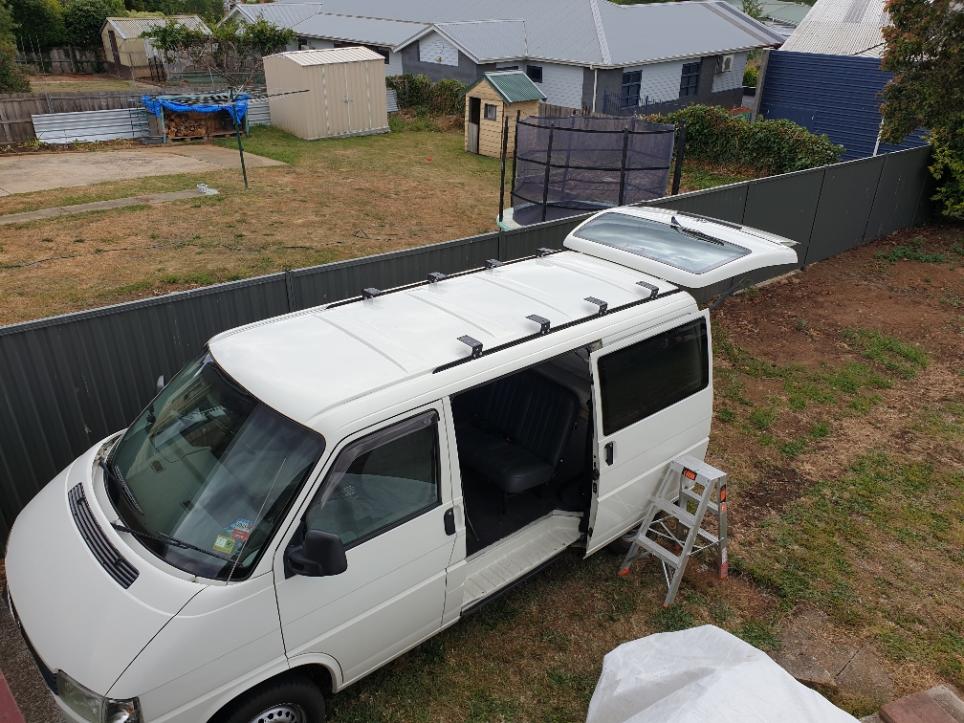
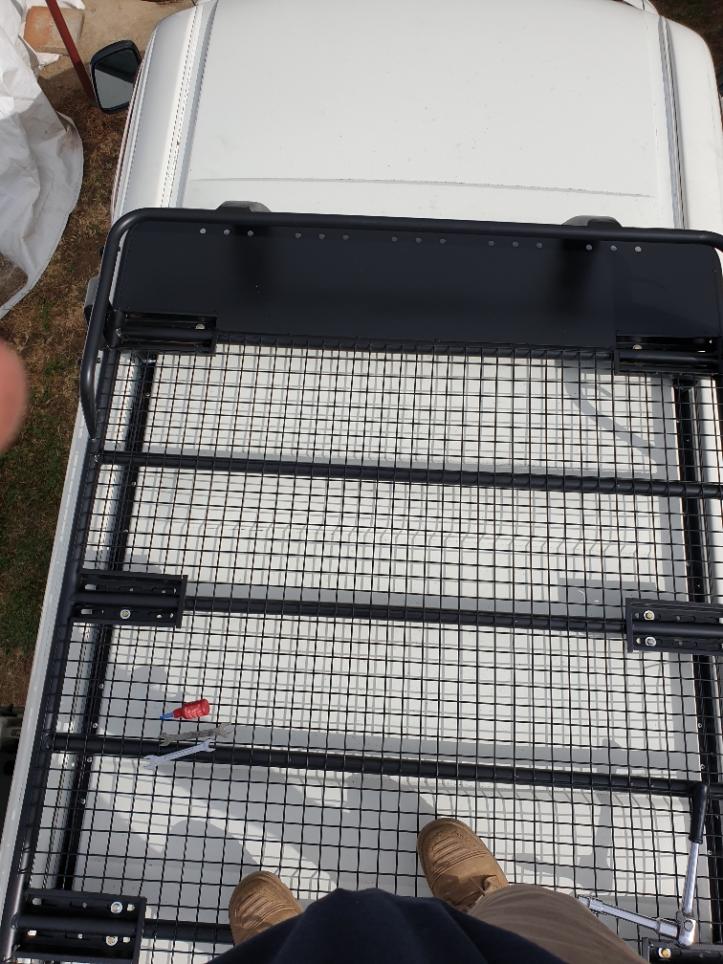
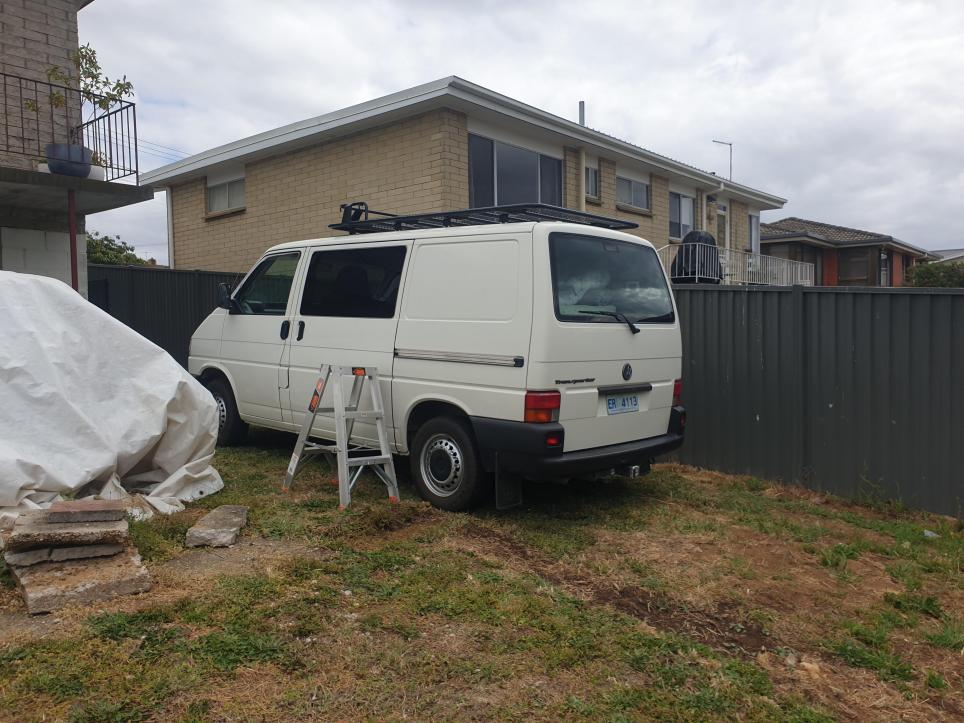
I have been looking for a cheap way to install a roof basket and ended up making my own mounts. I bought 2nd hand roof basket and bought mounts/tracks just from hardware store, using T extrusions and heavy duty right angle brackets. Lots of rivets and a few rivnuts and its worked a charm.
Also leaves just enough room for a solar panel to go in front!
 Tweet
Tweet


Comment