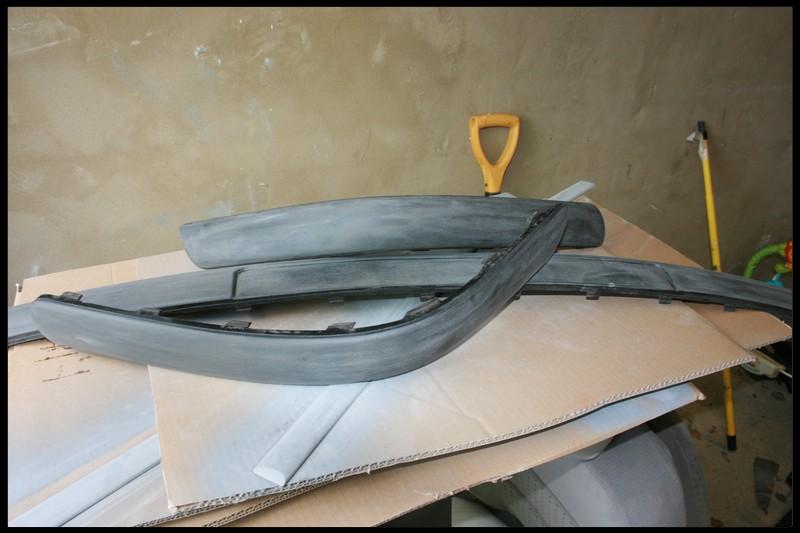
Got all the prep finished today, so should be able to wrap up these tomorrow. The front and rear rubstrips were a bit more involved as you'd expect due to their size. You need to remove the bumpers to get them out properly - not as big a job as it sounds.
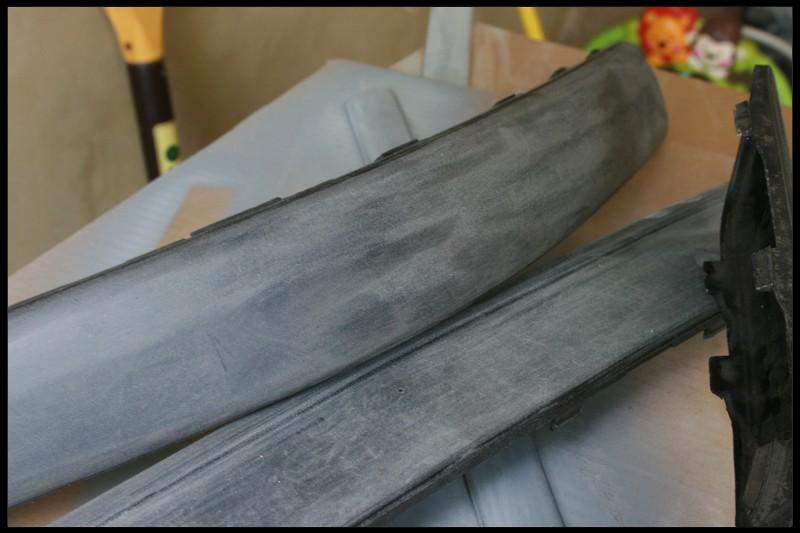
Same process as before - some photos after they were rubbed down.
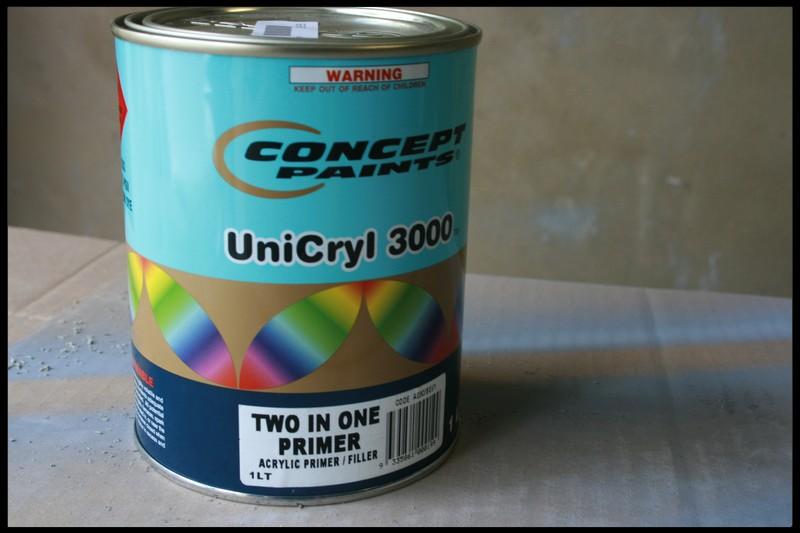
Once all the parts were plastic primed, I put down a coat of high build primer - bought it at VG Autopaints in Girraween. They also mixed up the colour for the top coat.
Once dried, there is still a visible texture on the plastic. The general idea is that the high build will fill the indentations on the part. Removing the texture by sanding, prior to primering, means there is less risk of sinkage when the paint dries over time.
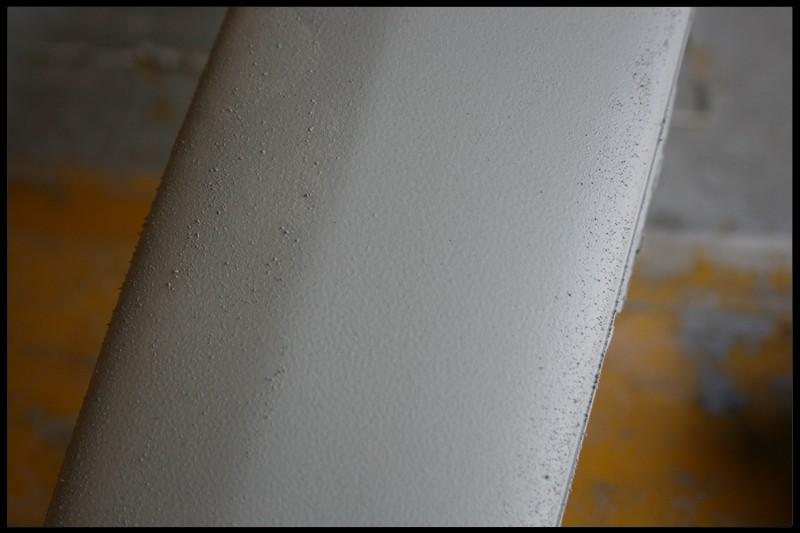
After a rub down - looks a lot better
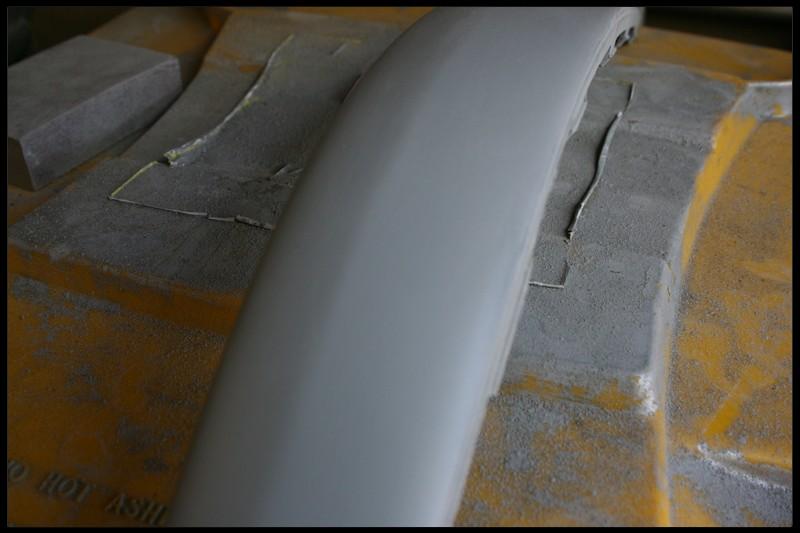
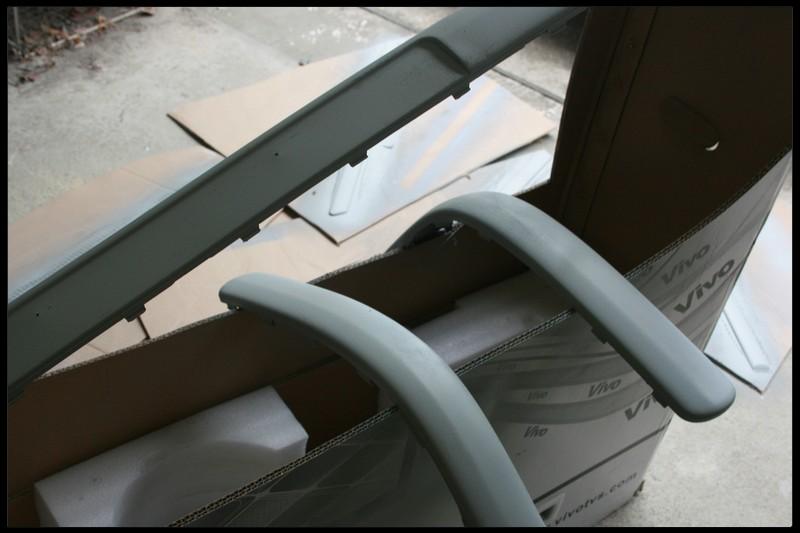
Once I'd sanded all the parts, I put down another coat of primer. This was mainly to cover areas which had needed more initial sanding resulting in some plastic showing through.
As this was the final coat of primer, I wet sanded it down and have left it to dry overnight. Looks fine now - colour goes on tomorrow!
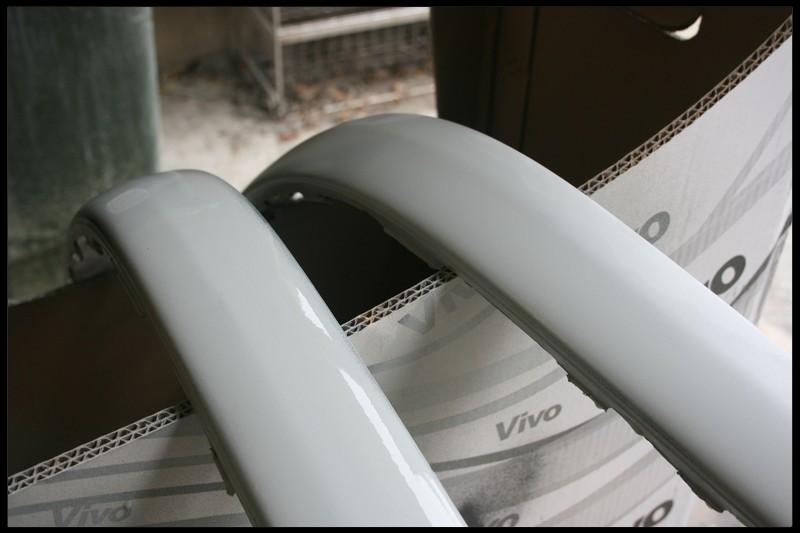
Same process as before - some photos after they were rubbed down.


Once all the parts were plastic primed, I put down a coat of high build primer - bought it at VG Autopaints in Girraween. They also mixed up the colour for the top coat.


Once dried, there is still a visible texture on the plastic. The general idea is that the high build will fill the indentations on the part. Removing the texture by sanding, prior to primering, means there is less risk of sinkage when the paint dries over time.

After a rub down - looks a lot better

Once I'd sanded all the parts, I put down another coat of primer. This was mainly to cover areas which had needed more initial sanding resulting in some plastic showing through.
As this was the final coat of primer, I wet sanded it down and have left it to dry overnight. Looks fine now - colour goes on tomorrow!



Comment