 Tweet
Tweet
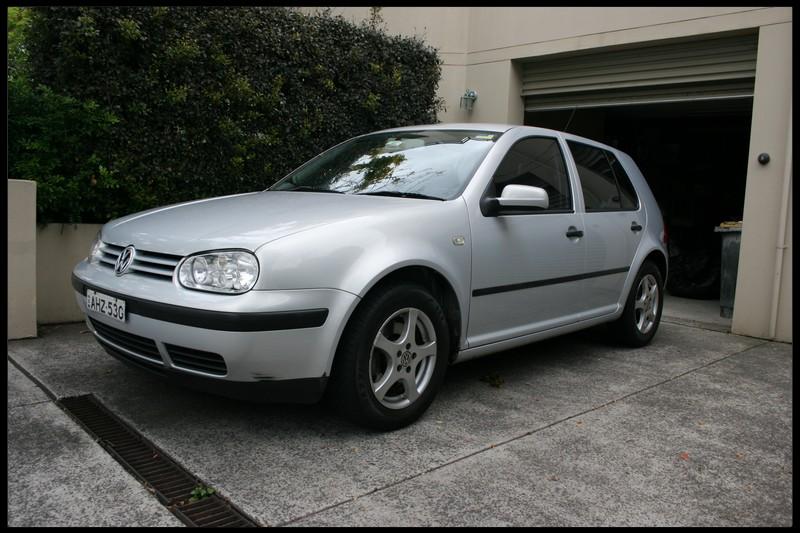
I sold my Mk5 GTi about two weeks back, and got this to do me as a runaround.
Dropped it into VW Village for a health check and quick service. Needed some minor bits - CV boot was torn, had an injector service and a repair to the aircon. They noticed the tyres had worn badly on the inside - makes sense as the tracking felt off.
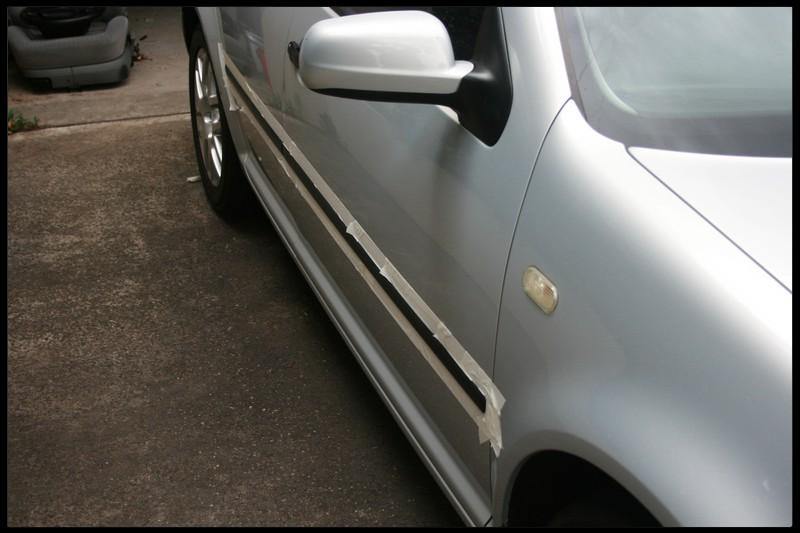
Managed to pick up some GTi wheels for it - the tyres are more or less gone, but I'm happier putting new rubber on the 16's instead of the 15's which were on it. They don't exactly fill the arches, but they do look a lot better than the older ones imo.
Before:
After:

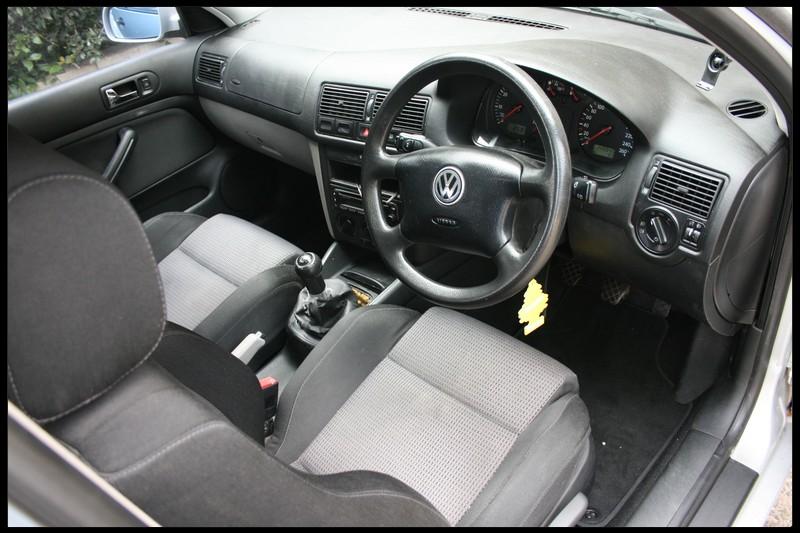
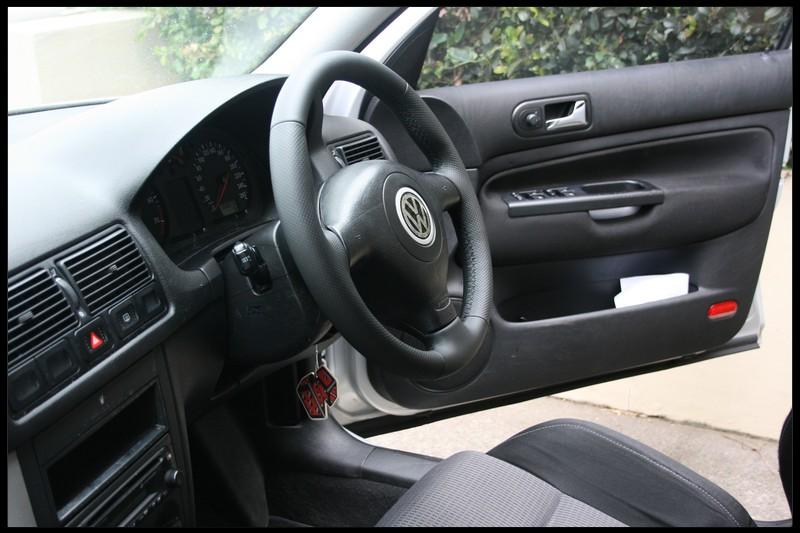
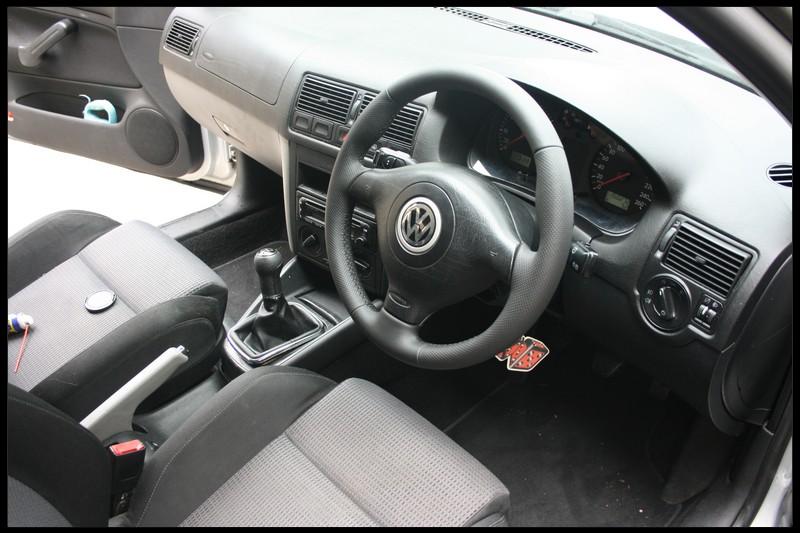
Next up was a new interior - not the best of days to do it with the heat outside, but what harm did heat stroke ever do to anyone!
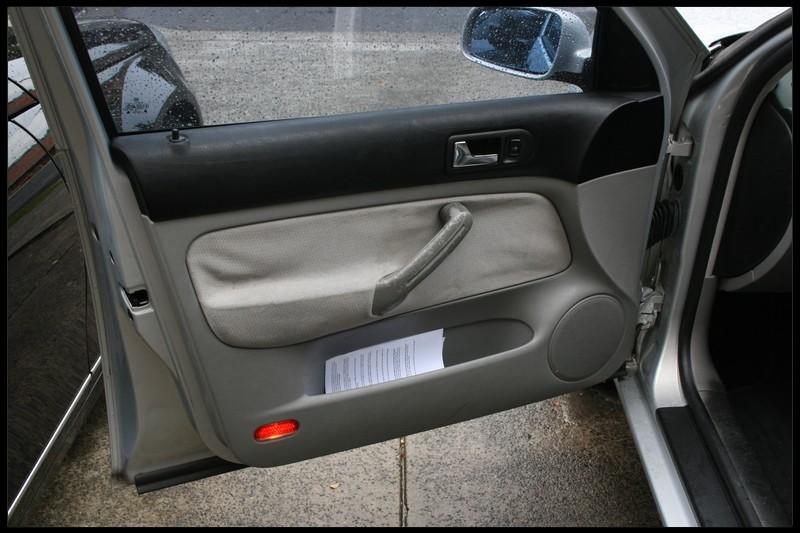
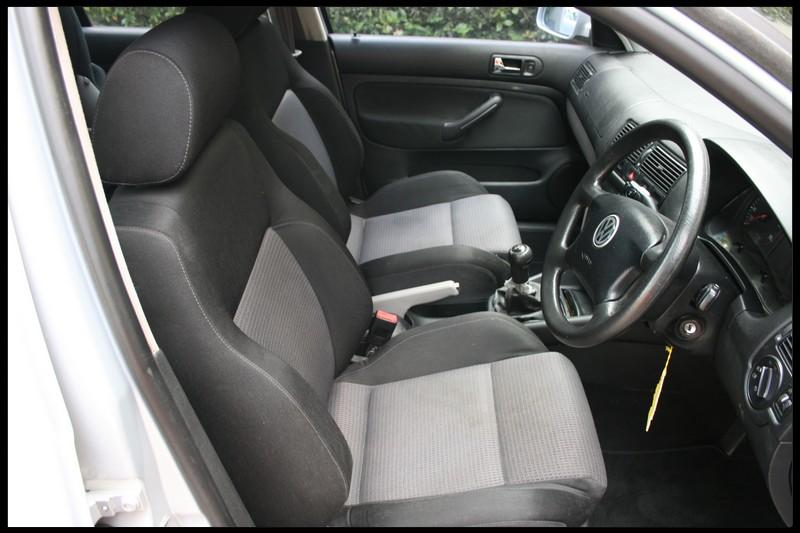
Interior before:

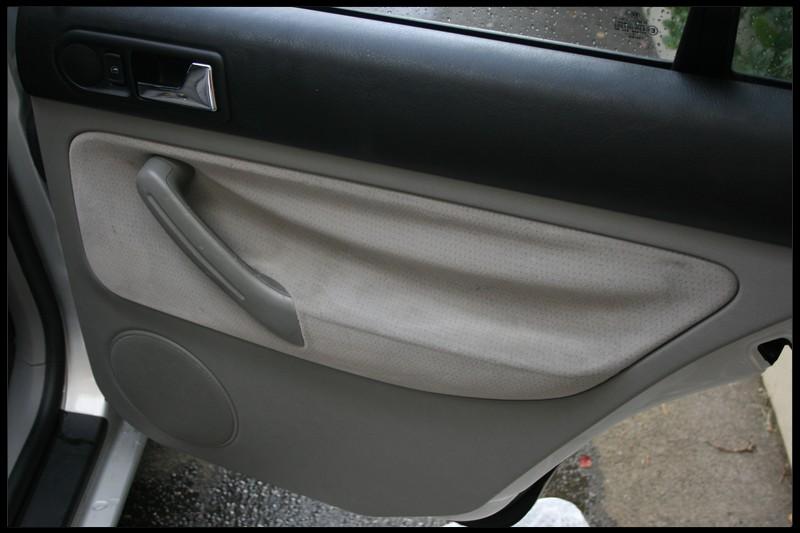
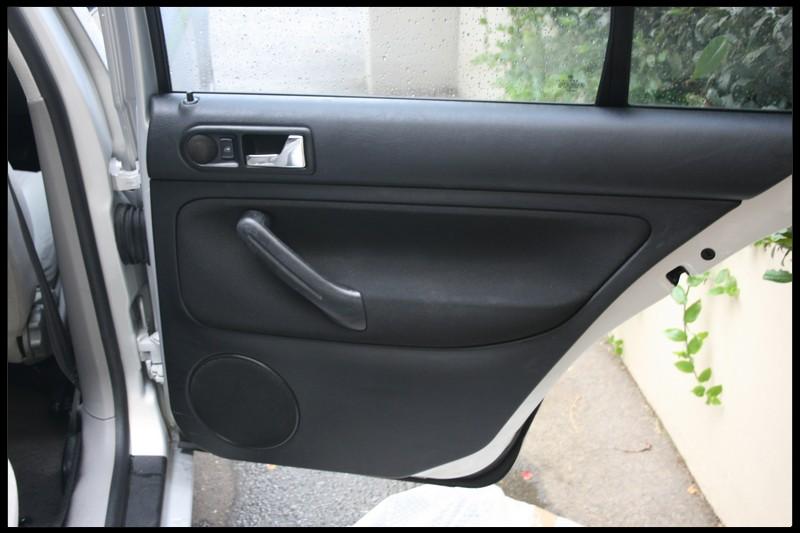
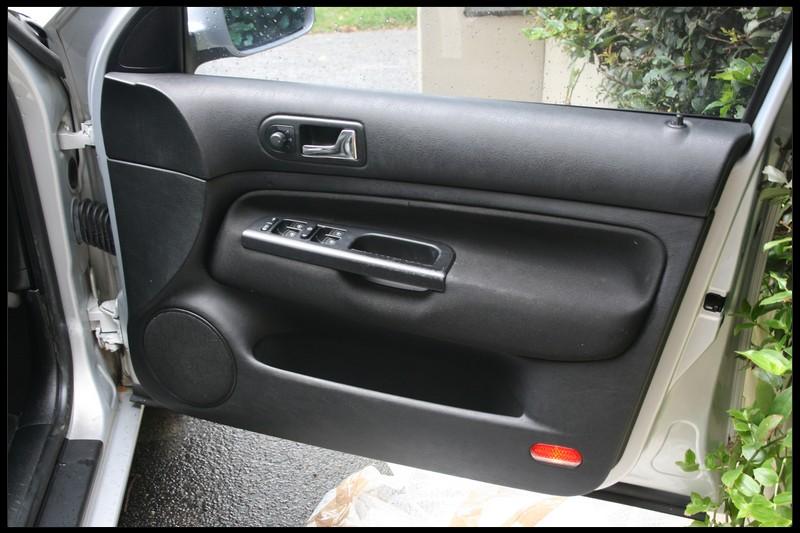
Doorcards -
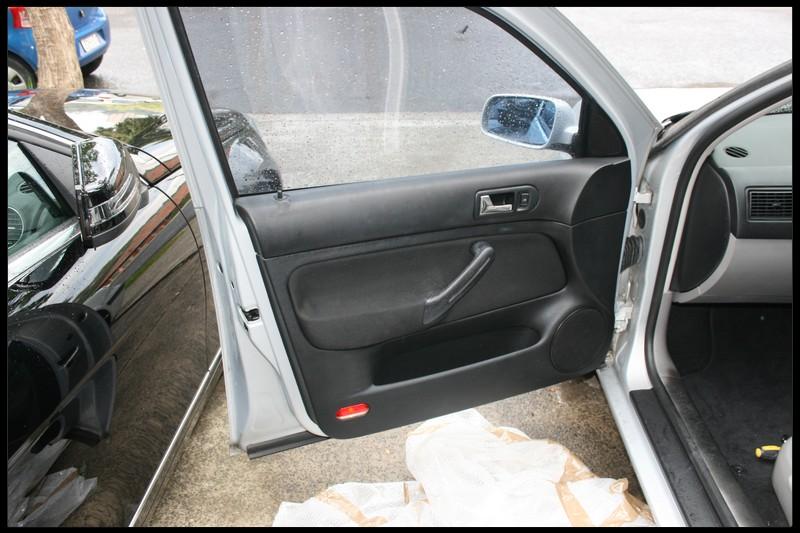
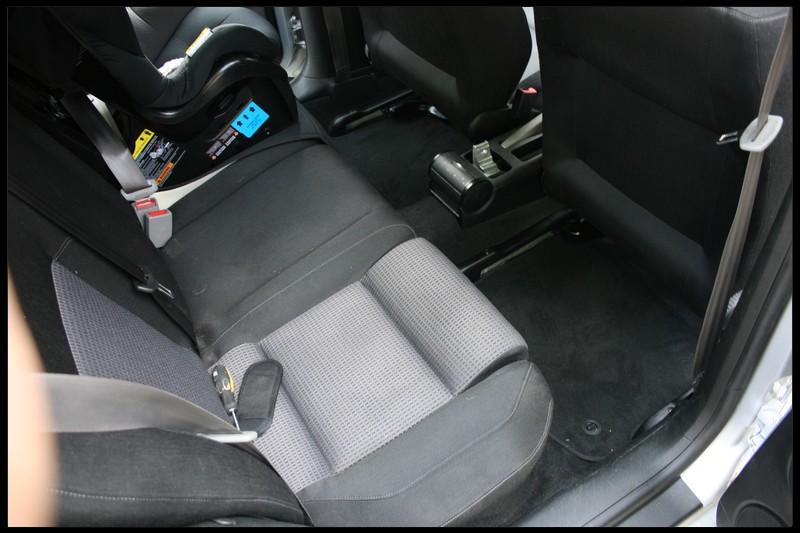
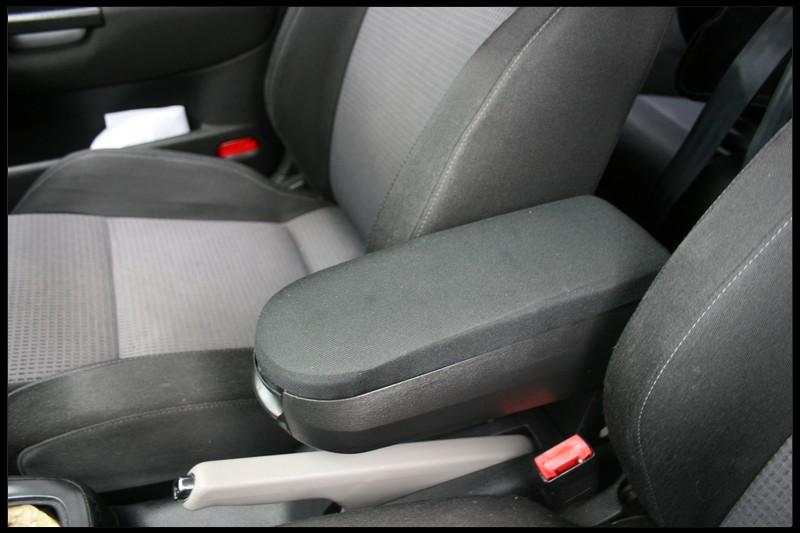
Needed to dye the carpets from grey to black or it would have looked pretty odd. I used VHT Vinyl dye - make sure to use a facemask if you're using it, pretty strong fumes.
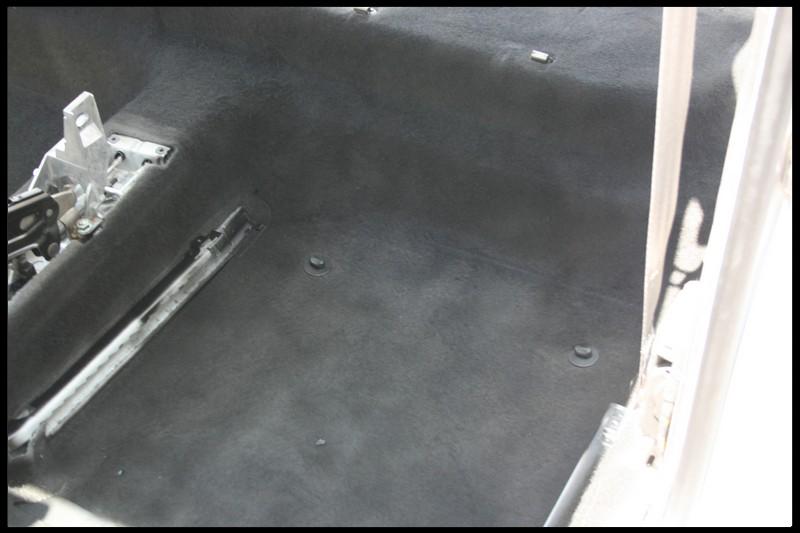
Got part of them done while the interior was in place - so with the seats out you can see the before and after difference.
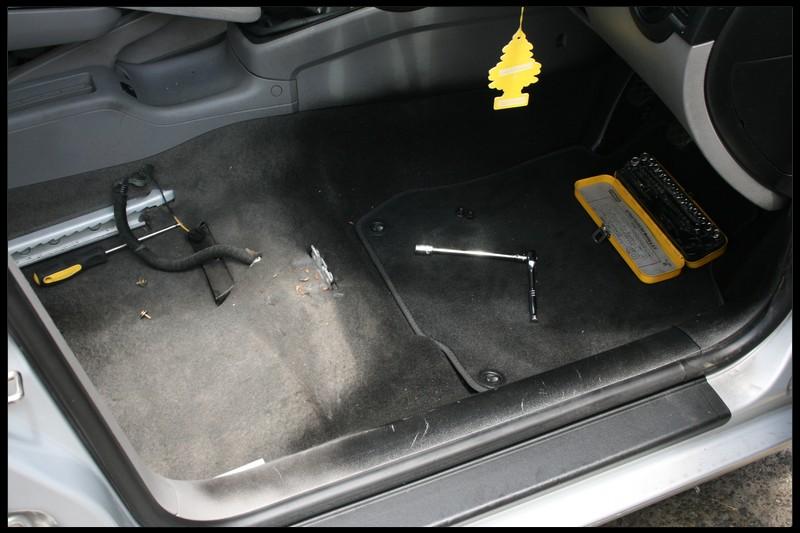
Pretty good photo showing the difference too -
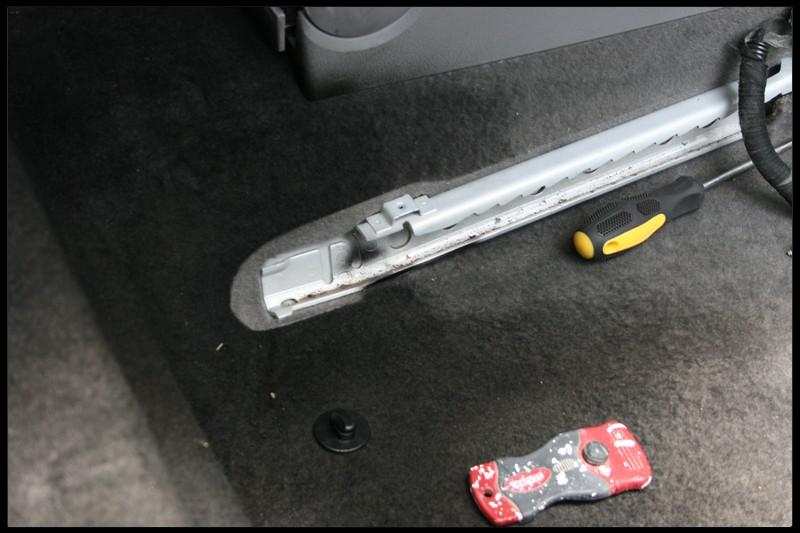
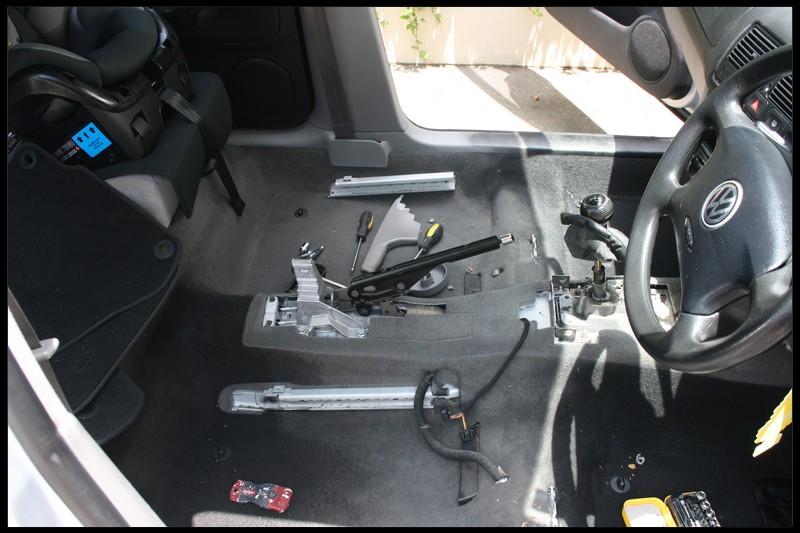
Got all the plastics out:
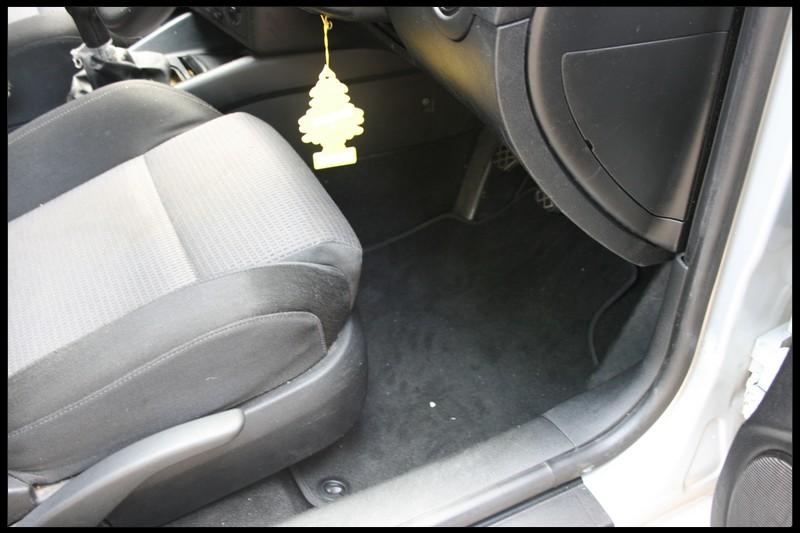
Heres the result after one pass - I didn't get a photo after the second pass.
Turned out very well - the carpets don't go hard after being dyed. You can see from the photos before that they're a good match for the brand new OEM floor mats I put in.
Dropped it into VW Village for a health check and quick service. Needed some minor bits - CV boot was torn, had an injector service and a repair to the aircon. They noticed the tyres had worn badly on the inside - makes sense as the tracking felt off.
Managed to pick up some GTi wheels for it - the tyres are more or less gone, but I'm happier putting new rubber on the 16's instead of the 15's which were on it. They don't exactly fill the arches, but they do look a lot better than the older ones imo.
Before:
After:
Next up was a new interior - not the best of days to do it with the heat outside, but what harm did heat stroke ever do to anyone!
Interior before:
Doorcards -
Needed to dye the carpets from grey to black or it would have looked pretty odd. I used VHT Vinyl dye - make sure to use a facemask if you're using it, pretty strong fumes.
Got part of them done while the interior was in place - so with the seats out you can see the before and after difference.
Pretty good photo showing the difference too -
Got all the plastics out:
Heres the result after one pass - I didn't get a photo after the second pass.
Turned out very well - the carpets don't go hard after being dyed. You can see from the photos before that they're a good match for the brand new OEM floor mats I put in.

Comment