Above Forum Ad

Collapse

Announcement

Collapse
No announcement yet.

Satin Silver GLE 2.0

Collapse
X
 
  • Filter
  • Time
  • Show
Clear All
new posts

  • #16
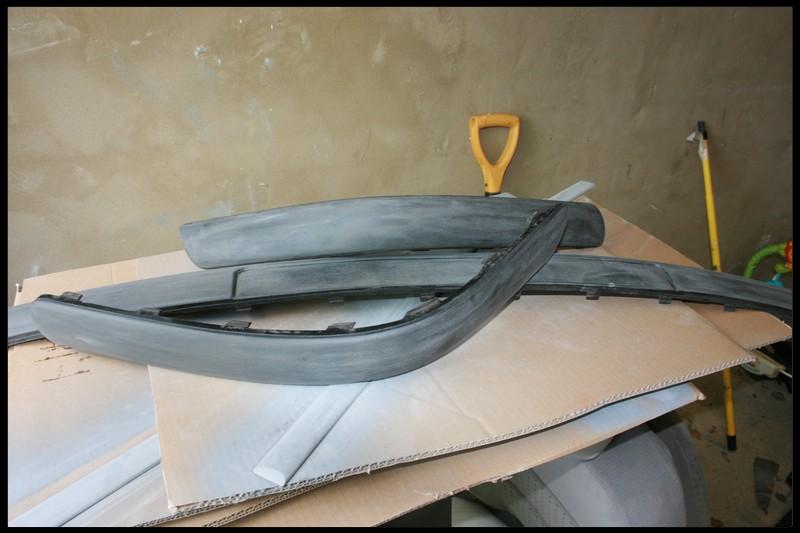
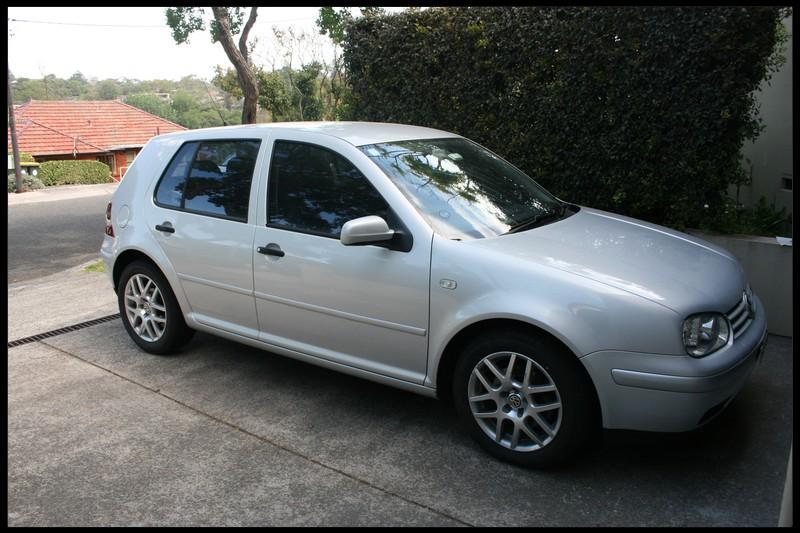
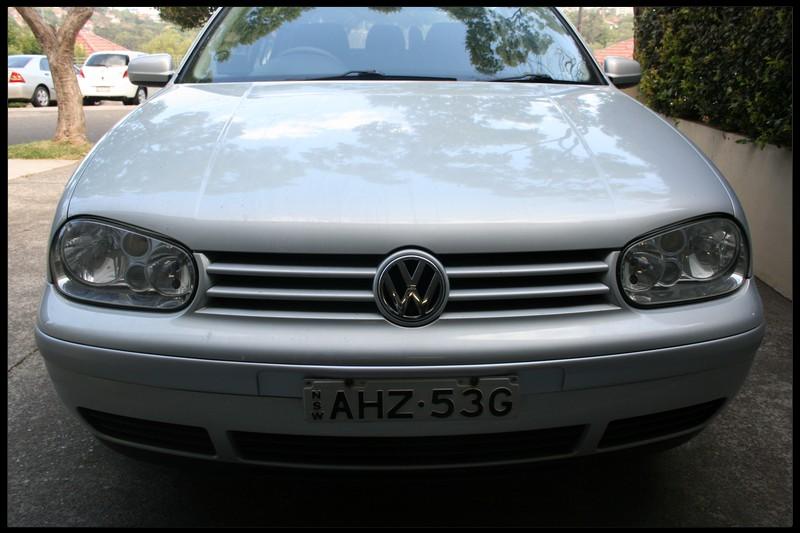
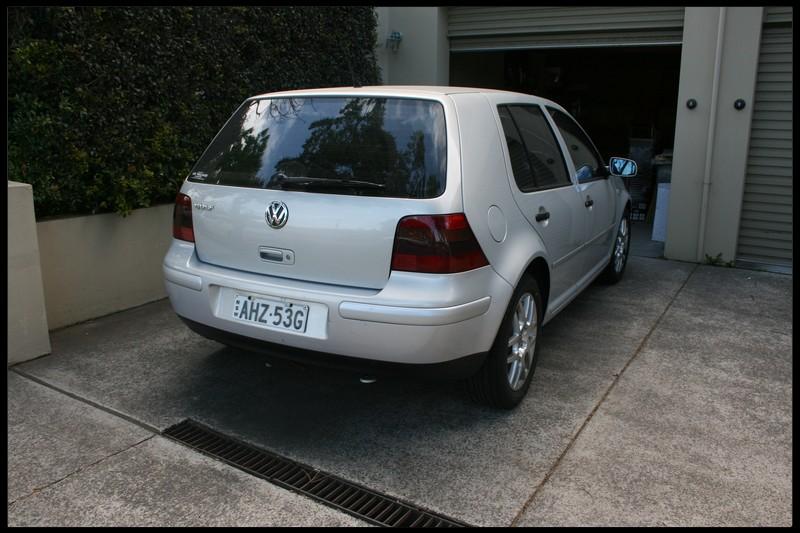
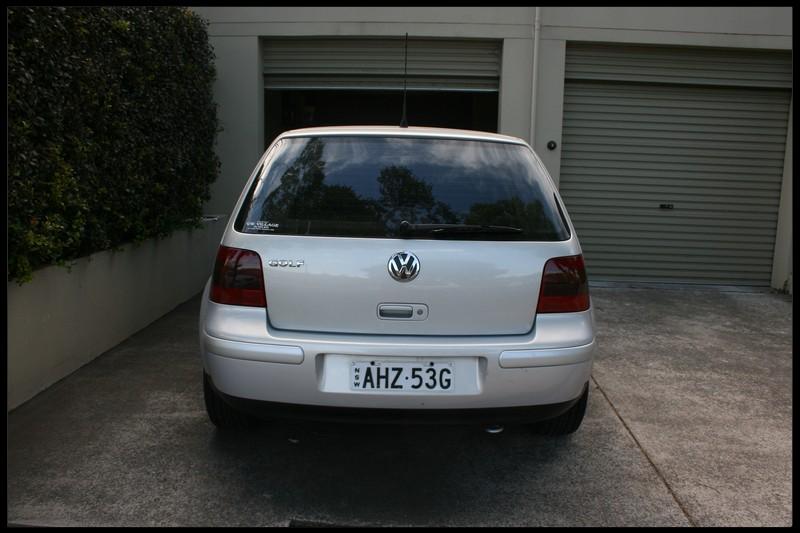
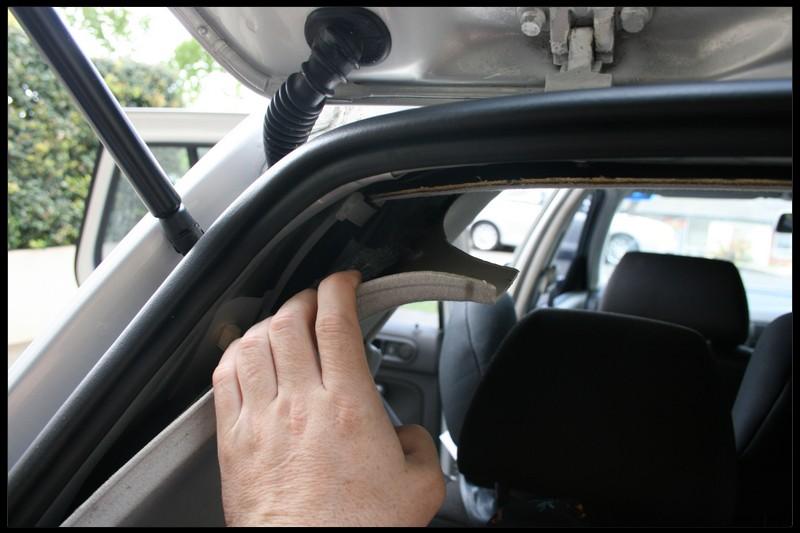
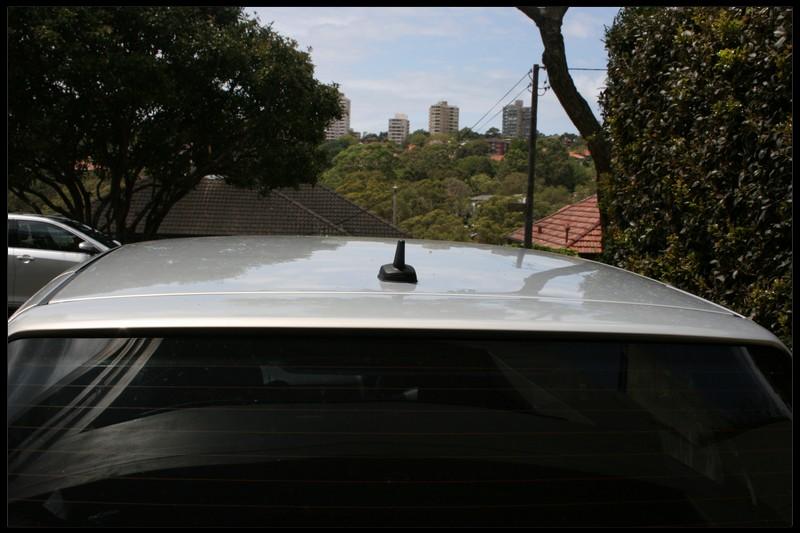
    Got all the prep finished today, so should be able to wrap up these tomorrow. The front and rear rubstrips were a bit more involved as you'd expect due to their size. You need to remove the bumpers to get them out properly - not as big a job as it sounds.

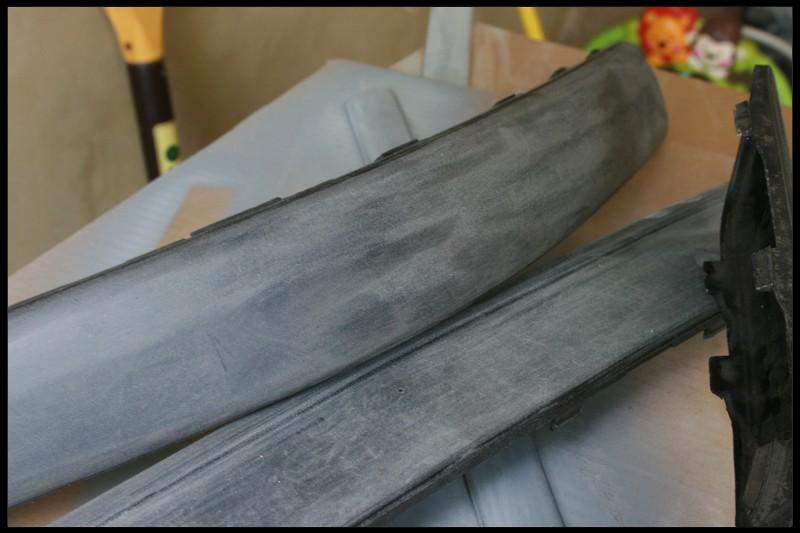
    Same process as before - some photos after they were rubbed down.


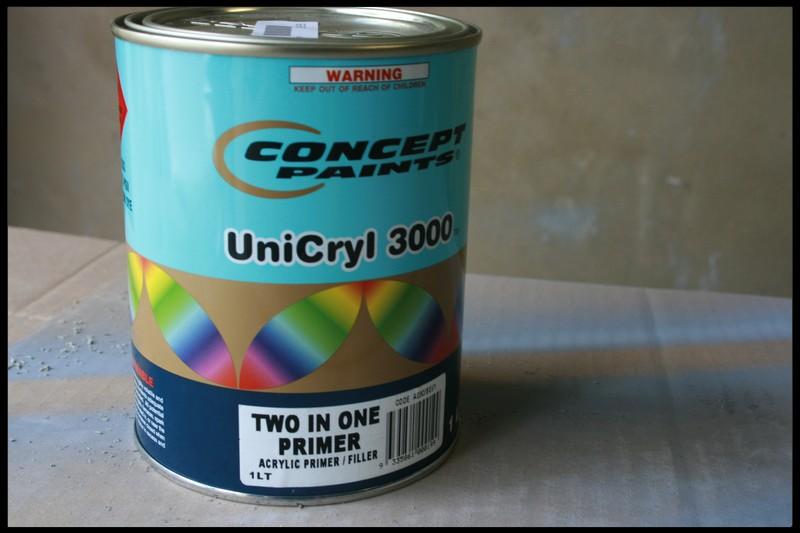
    Once all the parts were plastic primed, I put down a coat of high build primer - bought it at VG Autopaints in Girraween. They also mixed up the colour for the top coat.


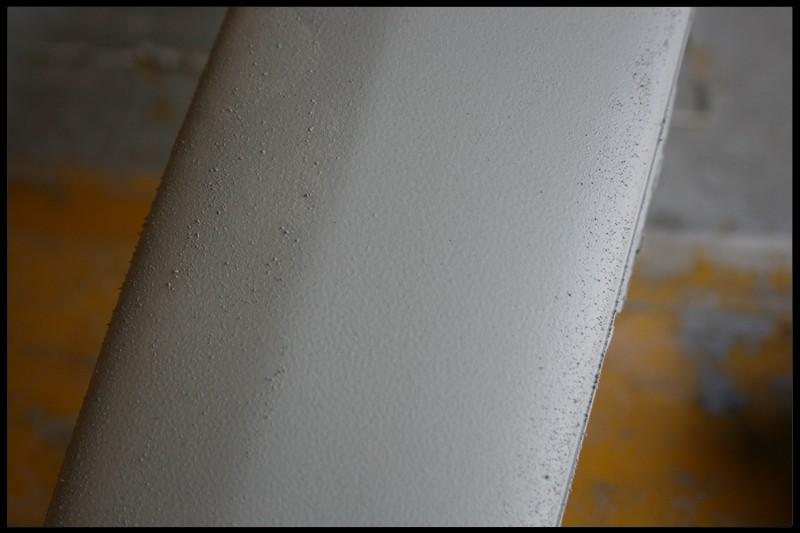
    Once dried, there is still a visible texture on the plastic. The general idea is that the high build will fill the indentations on the part. Removing the texture by sanding, prior to primering, means there is less risk of sinkage when the paint dries over time.


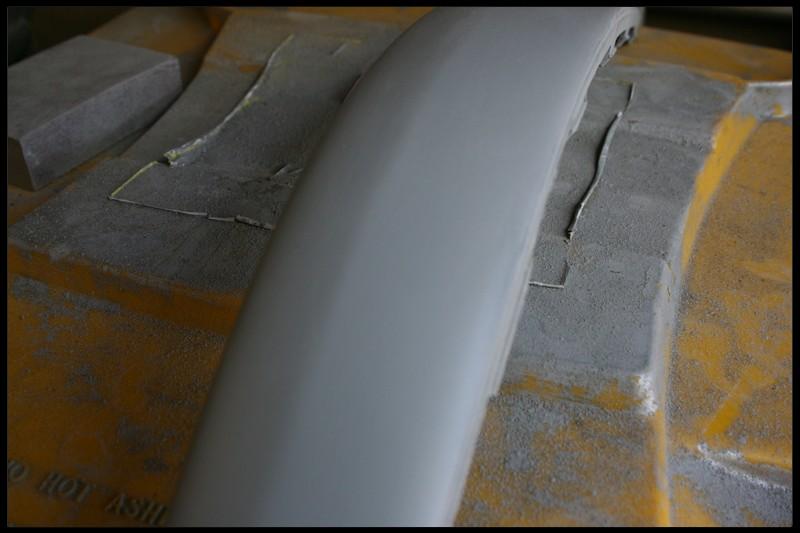
    After a rub down - looks a lot better


    Once I'd sanded all the parts, I put down another coat of primer. This was mainly to cover areas which had needed more initial sanding resulting in some plastic showing through.

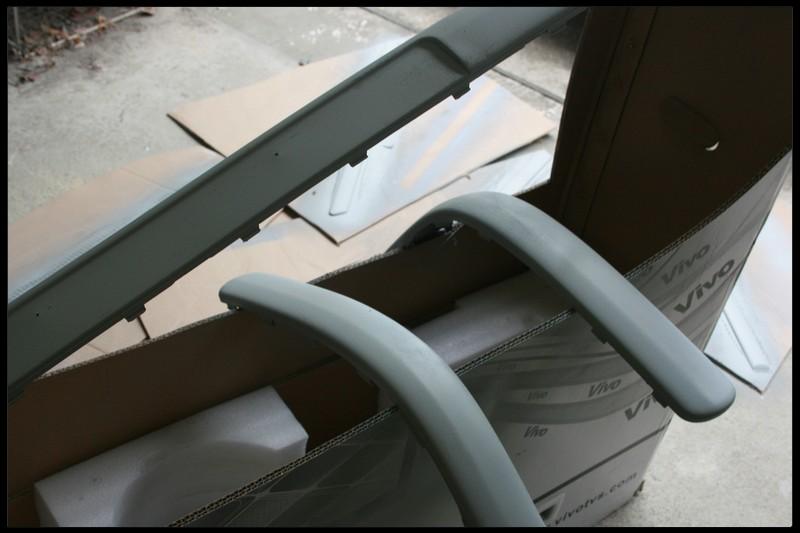
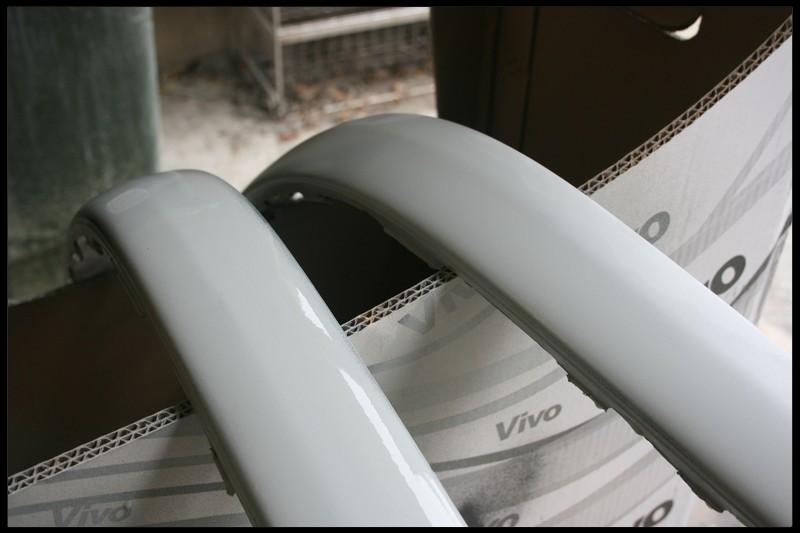
    As this was the final coat of primer, I wet sanded it down and have left it to dry overnight. Looks fine now - colour goes on tomorrow!

    Last edited by kdevitt; 24-12-2012, 10:16 AM.

    Comment


    • #17
      Good to see the hard work still continuing Ken; it really is a pleasure reading your build threads and seeing how much time and sweat you put into lifting your cars whether it be big or small changes. From me it definitely is all worth it!

      The body coloured bumpers really do lift the appeal of the car compared to those textured plastic bits that just make the car feel cheap and old I just wish I followed through with that quote I got to have all the exterior plastic bits body coloured for $1200 but it wasn't worth it for what the car was worth.

      Are you doing the door handles as well?

      Keep it up bud!
      Last edited by robbie; 24-12-2012, 12:42 AM.

      Comment


      • #18
        I'll be doing the door handles alright - I need to replace the lock actuator and have the part on the way, so might take that opportunity to spray them up. Have considered just buying new ones and spraying them, and just replacing the ones that are on the car. Unfortunately the car is constantly used (mainly by the wife) so while I can get away with having the rub strips off for a few days, I don't think I can leave the door handles off for so long

        Comment


        • #19
          Hi kdevitt

          Really like what you've done to the golf!

          I too have a Silver GLE and want to do some similar stuff to mine.

          Just wondering where you got the sports seats from and if you don't mind roughly how much?

          Thanks,
          Bruce

          Comment


          • #20
            Nice to see it done properly. The last guy to show us his work just masked them off and hit it on the car.
            MK4 GTI - Sold
            MK5 Jetta Turbo - Sold
            MK5 Jetta 2.Slow - Until it dies.

            Comment


            • #21
              Originally posted by bruce93 View Post
              Just wondering where you got the sports seats from and if you don't mind roughly how much?
              Saw them on eBay - was listed by European Parts Centre (europeanpartscentre.com.au). Cost was $500 - probably about double what I'd pay at home for it, but the car needed a new interior badly!

              Originally posted by JustCruisn View Post
              Nice to see it done properly. The last guy to show us his work just masked them off and hit it on the car.
              Cheers - definitely not a job which should be done with the parts in situ.

              Comment


              • #22
                More or less wrapped up this job today - in smashing weather conditions too I might add!

                Gave the parts a quick wipe down with panel wipe prior to painting - just to remove any debris caused by yesterday's wet sanding. Once this was done, I put down 3 layers of colour and the same of clear coat. Important thing to remember with acrylic paints is that you don't try and do anything more with the parts until the paint has dried thoroughly - thats at least 1 week!

                So the last step will be wet sanding and then buffing with the orbital. This can be done with the parts on the car - it would be next to impossible to buff the parts off the car anyway.

                The front and rear rub strips obviously just clip back into place. The side strips need to be stuck back on. To do this, use VHB (very high bond tape). Its the exact tape which was used from the factory. I got this roll from eBay cheap enough for when I did my MkV sideskirts.


                Once its stuck on firmly, peel the film and stick it back on the car - simples!

                Side on -


                Front view -


                Rear - with the GTi style rear lights in place!


                Kind of disappointed with the colour match - VG have always been reliable though, so reckon I mightn't have mixed it up enough. Still looks ok though!

                Ended up replacing the tyres on the car as well on Friday - got a set of Yoko A460's from Taleb tyres for a very reasonable price. First impressions is that they're nice and quiet! Don't really need anything to control monster power - not until I drop in a V6 anyway

                A heap of parts have arrived in over the last few days - so should have a few more updates over the next few days.

                Comment


                • #23
                  Loving the car Ken those painted door moulds really do look so much better. Some BBS LM's would look phenomenal on this MK4 Ken something to consider.

                  Can't wait to see it dropped on coilovers.

                  Comment


                  • #24
                    Looks great mate. Such an improvement. A little TLC goes far...

                    Current Ride: Golf GTI Mk7 MY2014|DSG|Carbon Steel
                    Previous Ride: Polo GTI MY2012|DSG|RNS510|Shadow Blue|Lenso GF7 18” rims
                    Instagram: @lemonskin

                    Comment


                    • #25
                      Originally posted by robbie View Post
                      Loving the car Ken those painted door moulds really do look so much better. Some BBS LM's would look phenomenal on this MK4 Ken something to consider.

                      Can't wait to see it dropped on coilovers.
                      I'd like LM's alright - but they'd cost as much as the car! Will see how things go and might change the alloys at some stage - want to get all the niggly stuff fixed up. New lock actuator arrived today, so need to get that sorted. Few other bits after that - and then I'll look at the cosmetics again!

                      Didn't actually order coilovers - went for the cup kit, its just matched springs and shocks. Should drop it significantly, but it won't be decked. Should also hopefully stop it feeling like a boat on any undulating surfaces

                      Comment


                      • #26
                        Originally posted by kdevitt View Post
                        I'd like LM's alright - but they'd cost as much as the car! Will see how things go and might change the alloys at some stage - want to get all the niggly stuff fixed up. New lock actuator arrived today, so need to get that sorted. Few other bits after that - and then I'll look at the cosmetics again!

                        Didn't actually order coilovers - went for the cup kit, its just matched springs and shocks. Should drop it significantly, but it won't be decked. Should also hopefully stop it feeling like a boat on any undulating surfaces

                        I reckon MK4's are often understated but personally i think they have lots of potential to look good and performance to match. Any thoughts of a tune perhaps? Will be good to see how it turns out with the suspension mods.

                        I hope you have ordered a stubby antenna Ken haha....

                        Comment


                        • #27
                          Originally posted by robbie View Post
                          I reckon MK4's are often understated but personally i think they have lots of potential to look good and performance to match. Any thoughts of a tune perhaps? Will be good to see how it turns out with the suspension mods.

                          I hope you have ordered a stubby antenna Ken haha....
                          Short of fitting a turbo, I don't think there's any way to improve performance on the 2.0 engine. It really isn't up to much. If I take it home to Ireland with me I'll throw in an R32 engine - wouldn't be cost effective to do it over here though.

                          New antenna arrived yesterday

                          Comment


                          • #28
                            Few small bits today done. First up, got the new coolant temperature sensor fitted. The temperature needle had started acting up - dropping back to cold, and then back to the centre. It can apparently lead to running issues - the ECU gets it temp feed from the same sensor. Took 5 mins or so to swap out.

                            Then whipped out the magic eraser again for some interior treatment. The steering wheel plastic was looking pretty shiny compared to the brand new leather, so gave it a quick going over. You just damped the sponge and wipe the plastic down, it brings it back to a perfect matte finish. You can used it on leather steering wheels and gearknobs too. Photo probably doesn't show the full effect, but it did a great job.


                            Fitted a new antenna as well - the old one was missing the full rubber base section, and it was a bit long! Picked up a cheap one from eBay - had intended colour coding it at the same time as the body trim, but it arrived literally 10 minutes after I cleaned the gun down after spraying. Will probably do it when I have a few more bits to spray.

                            To fit it you need to get the headliner down - first remove the trim section just inside the rear hatch. You can pull this off with the hands, you shouldn't need any additional leverage.


                            Once this is off, unclip the trim either side of the hatch - doesn't need to be removed, just needs to be moved enough to allow you to get access to under the headliner.


                            Pull the headliner down slightly and you'll see the nut holding the antenna in - remove with a 22mm socket.


                            Once thats off, unclip the antenna connection and you can remove the old one - which will leave a net hole in the roof. I took the opportunity to clean the area down totally.


                            Fitting the new one is the reversal of the process above - I taped the antenna down while I was bolting it in to stop it popping out.


                            Also got a new OEM gearknob fitted - and gave the console a quick spray of matt black paint to make it slightly more presentable. Looks a lot better -

                            From this -


                            To -

                            Last edited by kdevitt; 26-12-2012, 11:40 AM.

                            Comment


                            • #29
                              Well done mate. Very nice work!

                              Comment


                              • #30
                                The central locking hasn't worked since I bought the car - which has been pretty annoying to say the least. Tried spraying contact cleaner into the lock, but it didn't have any effect - so decided to replace the lock actuator. Took about 1.5 hours start to finish, which wasn't bad for a first attempt. I bought a new actuator rather than try and re-solder the connections in the old one - didn't want to go to the hassle of stripping the door down and than still end up with no central locking. Thankfully it worked first time once all connected up.

                                With the central locking now working - I could go ahead with installing the remote central locking kit I picked up a few weeks back. I got it from Tuning Fanatics on eBay (listing here), its roughly $25. The kit comes with two fobs, with blank blades. Haven't found any install guides for the lux.pro unit elsewhere - so worth sharing in case anyone else goes for it and wants a hassle free install -


                                First task is to remove the door card - pretty straightforward, and there are plenty of guides online for it.


                                I decided to mount the control unit under the dash - some people do it in the door - so remove the rest of the trim. Starting with the piece by the fuse box, then the 4 pieces under the dash.


                                Pop out the light switch while you're there - when its at 0, push it in, then twist clockwise.


                                End result -


                                Peel back the rubber connector from the door and body -


                                The only two wires you need to run to the door are the white and white/black wires. Tape them together and run them from through the body and into the rubber connector, pulling them through like so -


                                Next up - remove the rubber grommet at the far left of the door like so -


                                Tape the white and white/black wire to a piece of clothes hanger, and use that to get it through the full rubber connector - you won't get much joy if you try and push the wire through by itself!


                                Expose some wire on the section marked earlier - you'll need to remove the cloth taping. Be careful cutting it in case you damage any other wiring.

                                Connect the white wire to the Yellow/Blue (Lock), and the white/black to Green/Black (Unlock). Solder the connections if you can, scotchlock them if you can't. Once connected, cover the exposed wire with electrical tape. The Red (small) wire triggers total closure - connecting it to the White wire will do the trick. This can be done under the dash - it doesn't need to be run into the door.


                                Then re-cover all the wire, and use the supplied cable ties to secure the new wires to the loom. You can put the doorcard back on at this stage.


                                Pull the light switch out, and disconnect the loom from the back of it. On the wiring loom, expose wire on the Grey/Purple and Grey/Brown wires.


                                The brown wire from the lux.pro unit splits into two brown wires, it has a diode wired in line which allows the signal pass up from the locking unit to the parking light wiring, but not back up towards the unit, or from grey/purple to grey/brown - which would cause issues. Just connect each of the brown wires to the exposed wires, solder up and cover with tape.


                                Reconnect the light switch, and put it back in place. Orange and Orange/Black are not used for the Golf (or another negative polarity triggered cars) so just wrap them up and out of the way. Red/Black is for trunk release, and wasn't used either -


                                For negative trigger applications, the Yellow/Black and Yellow wires go to ground. So solder on a ring connector to the main ground wire (black), along with the Yellow/Black and Yellow ones, and one onto the 12+ wire (thick red). I reused a connector I had - hence the crimp connector at the top!


                                In a (for once) very handy piece of design - you can bolt the ground onto the panel under the dash. The 12+ bolts on to the terminal in the bottom left of the picture (i used third from left)


                                The remote locking unit has a wire antenna which I fed up into the A pillar trim. Once done, the unit was secured under the dash. Put all the trim back and admire your handiwork.

                                Wiring schema is below -

                                Comment

                                Working...
                                X