 Tweet
Tweet
Hi ive just joined the forum and thought i would share my build thread well rebuild thread all comments welcome
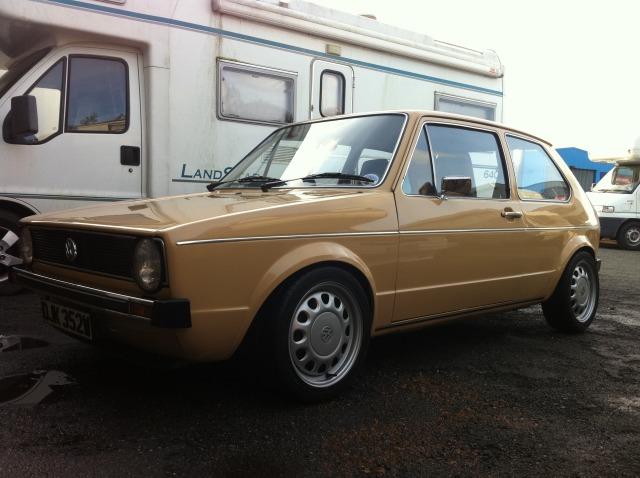
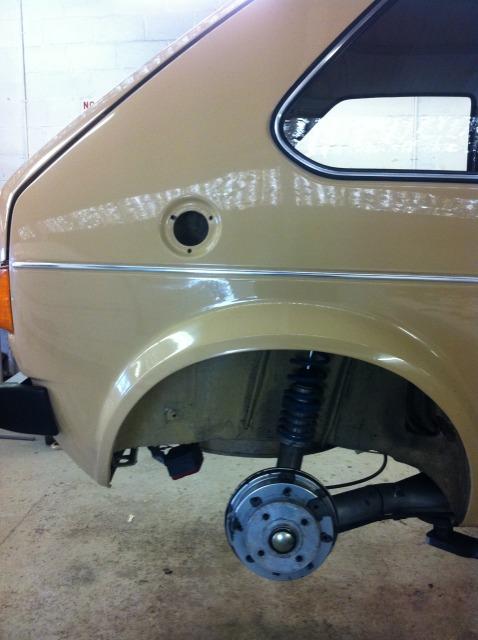
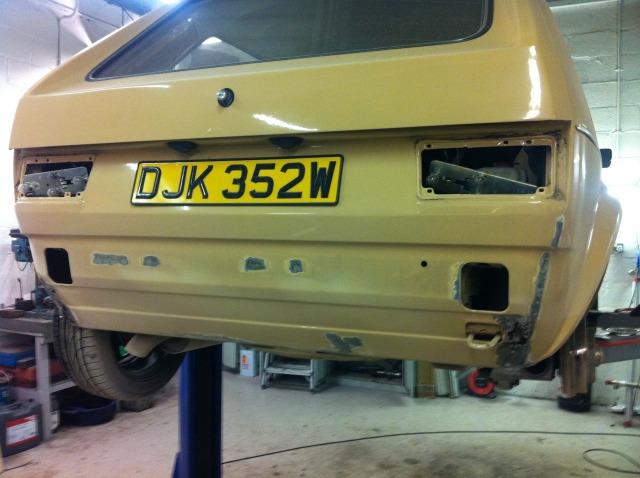
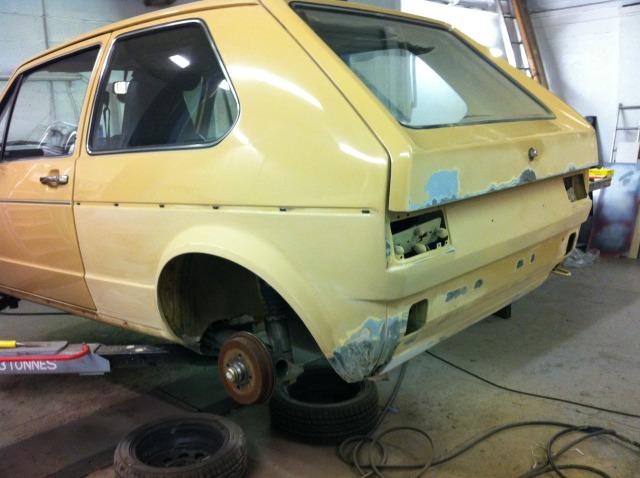
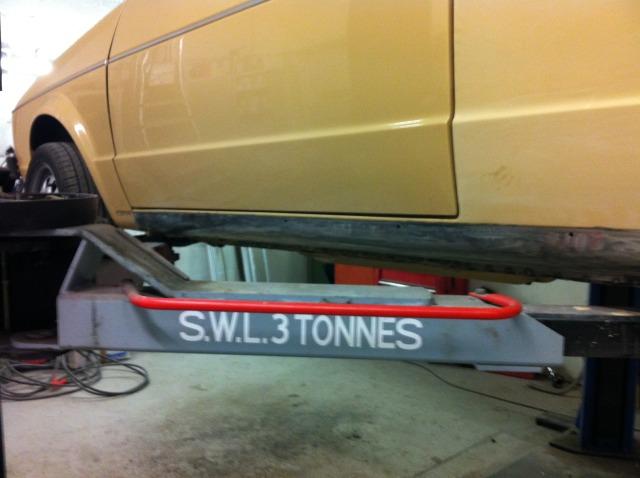
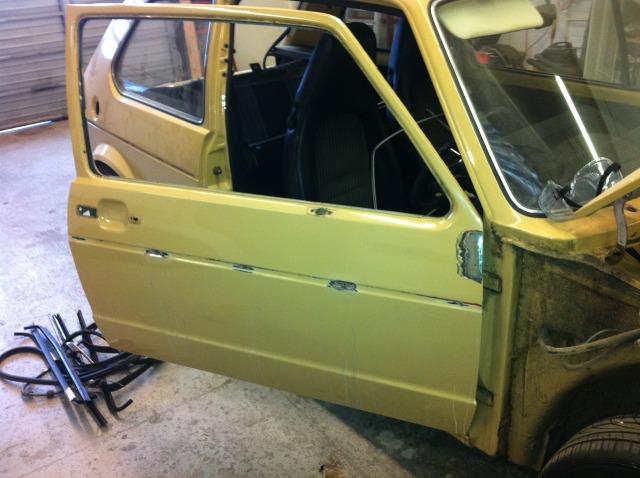
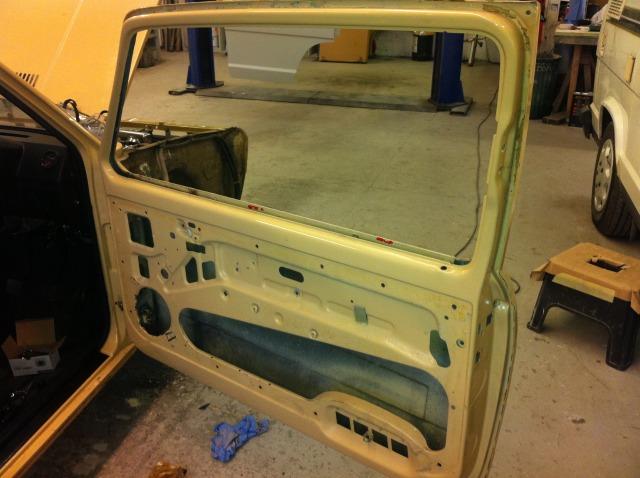
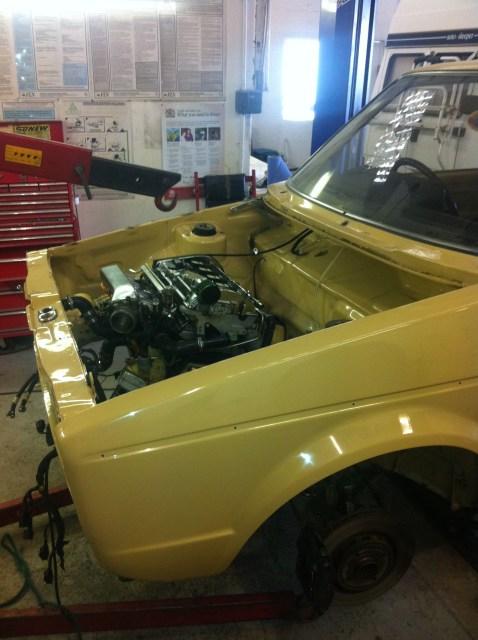
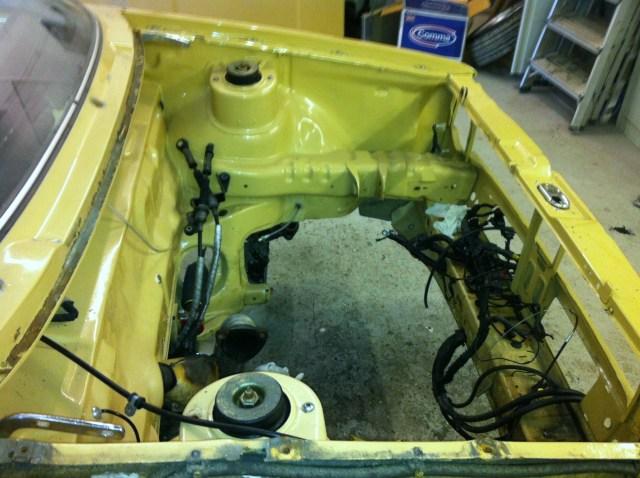
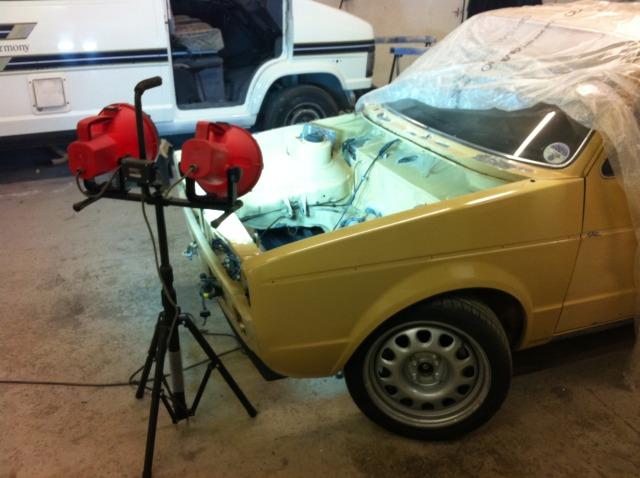
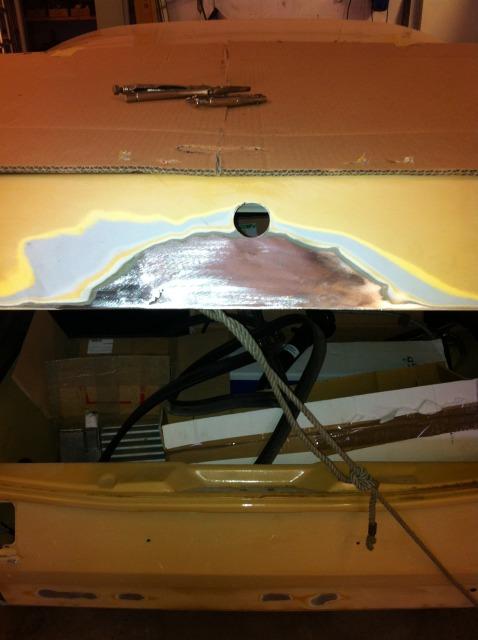
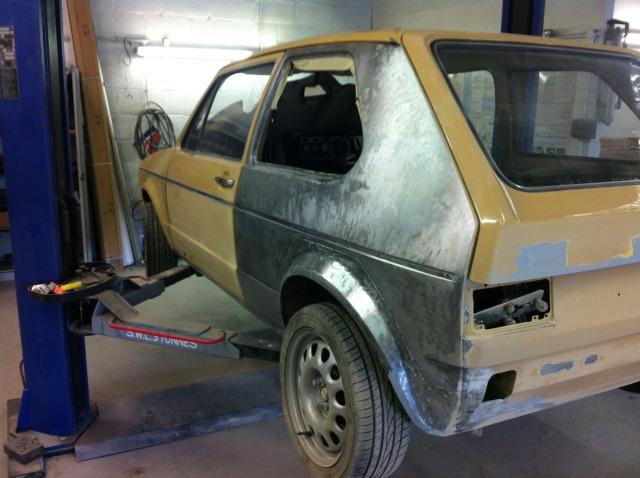
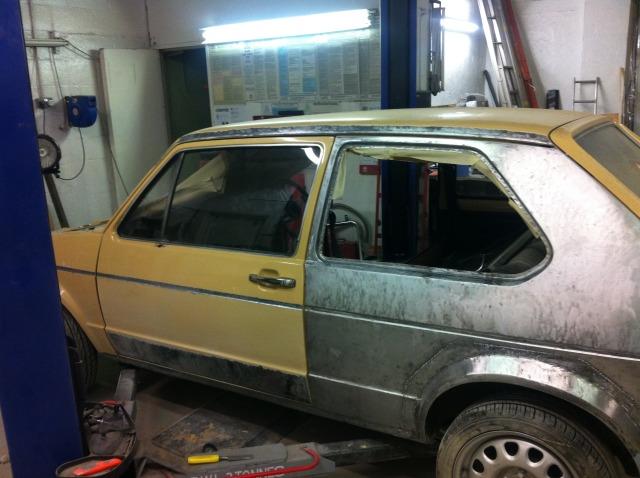
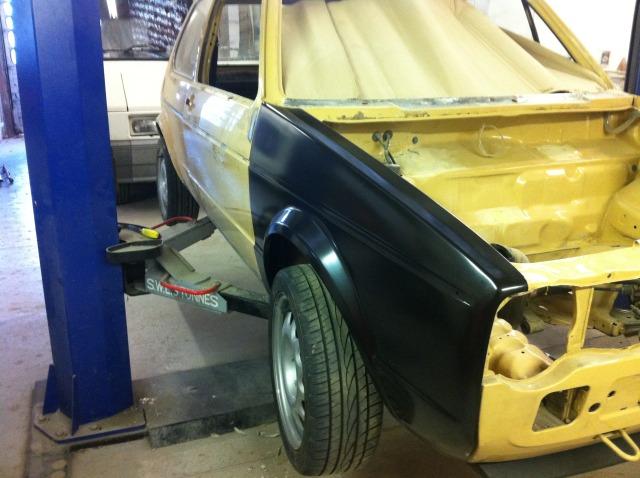
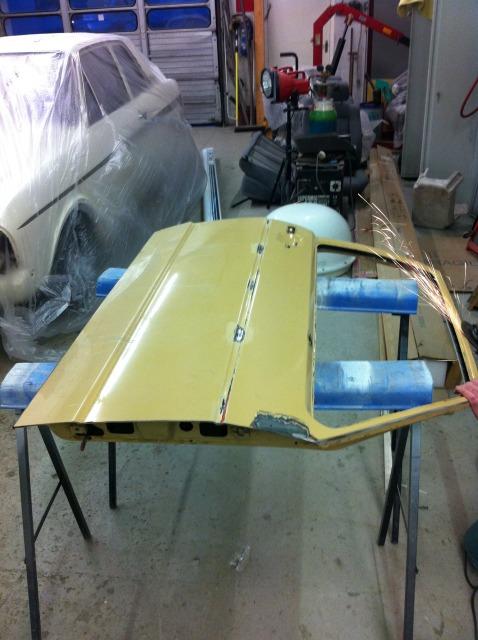
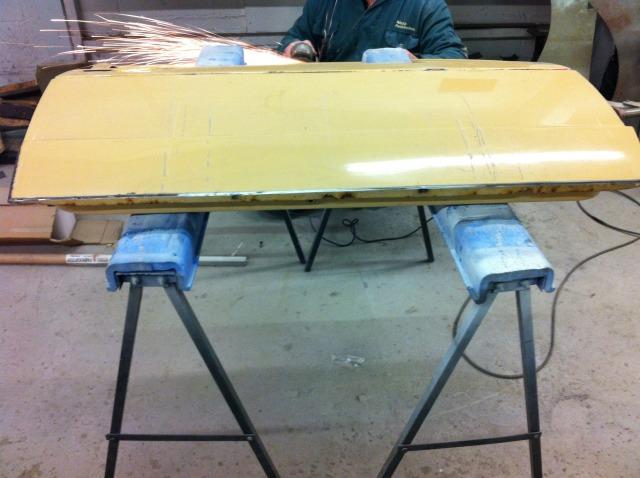
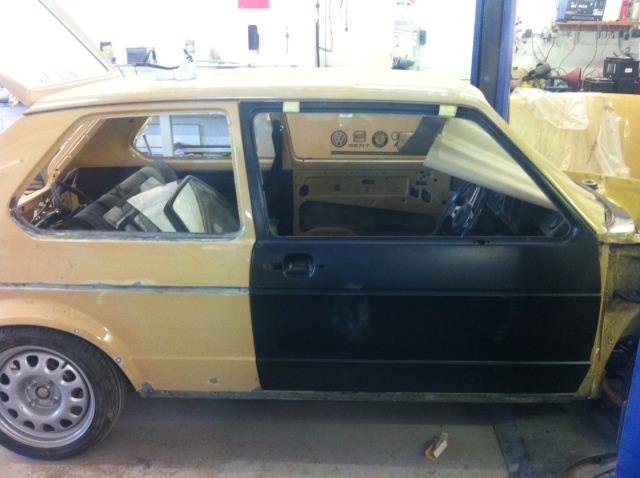
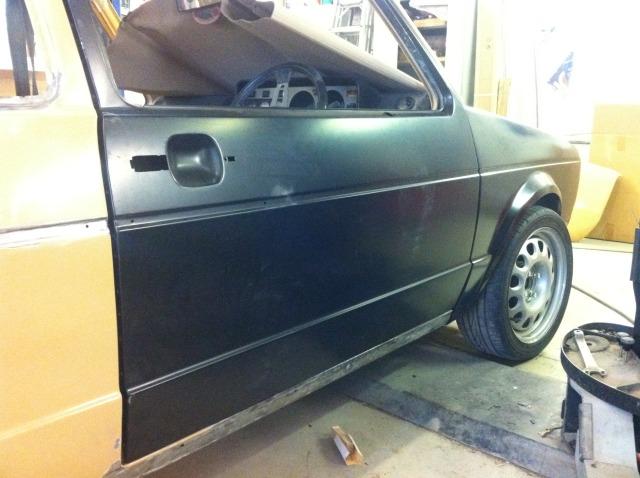
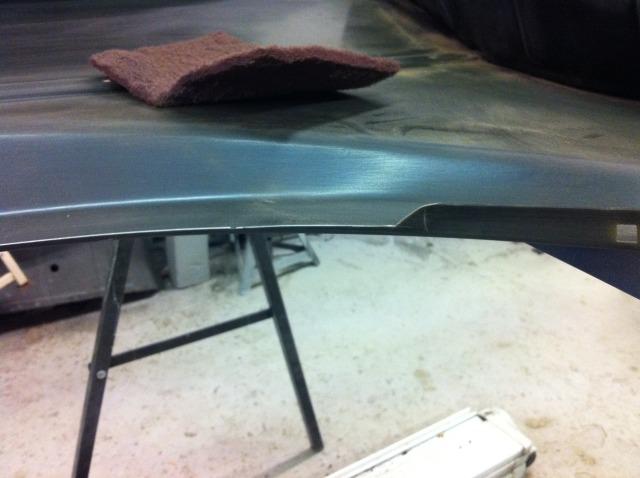
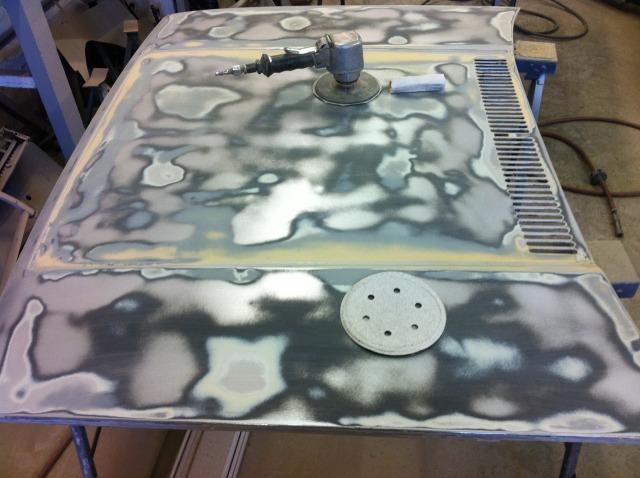
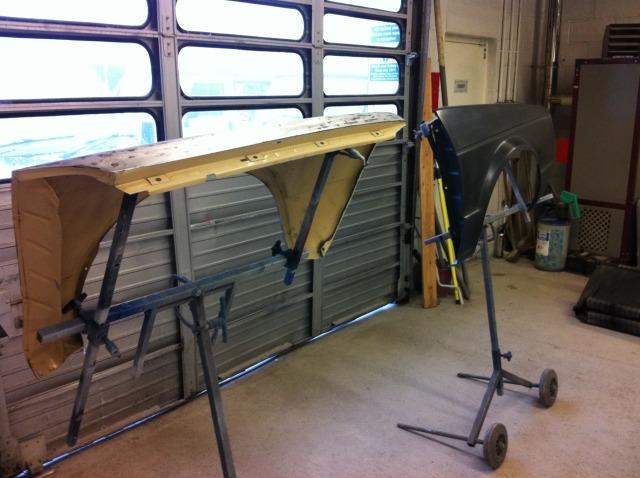
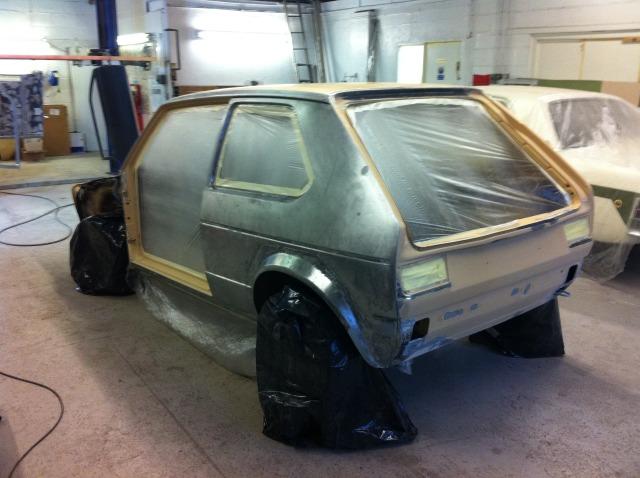
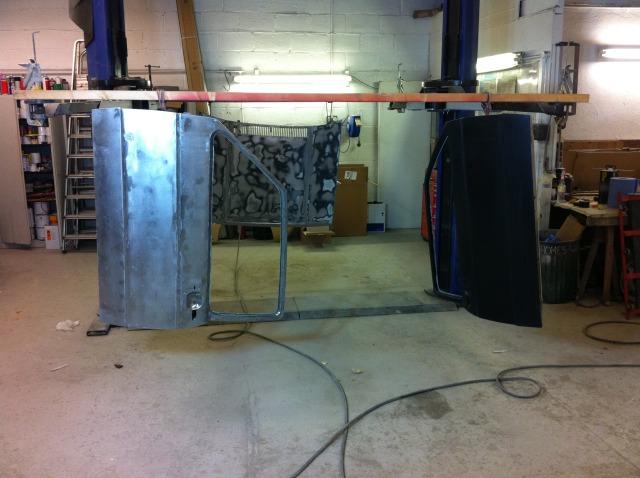
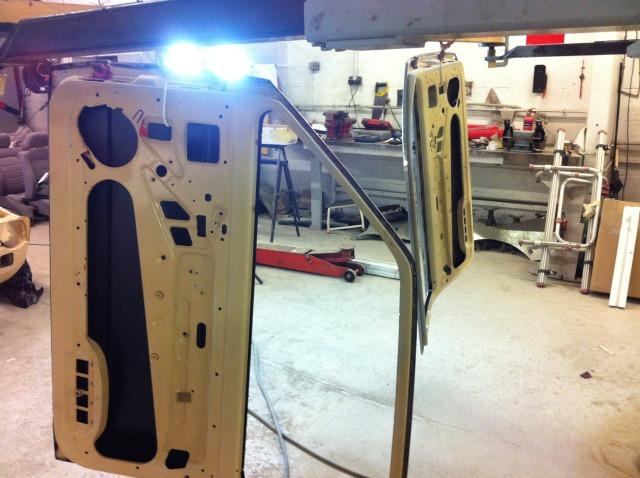
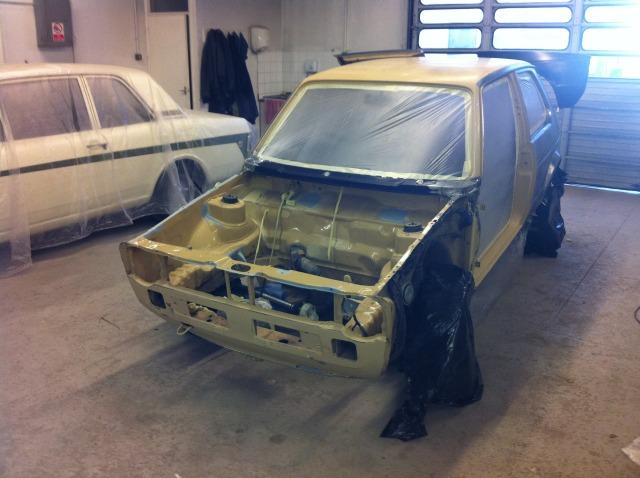
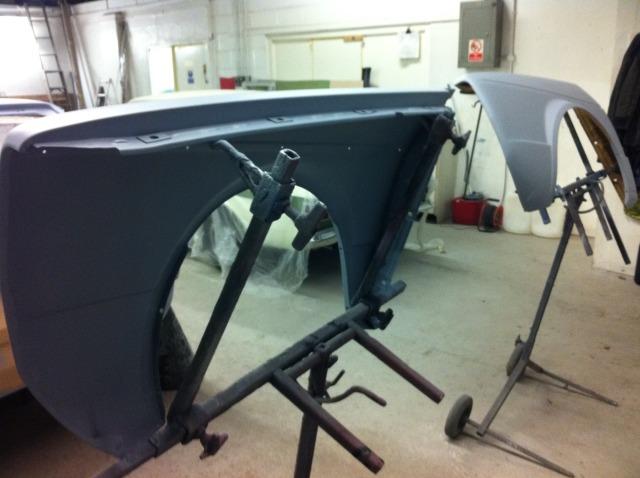
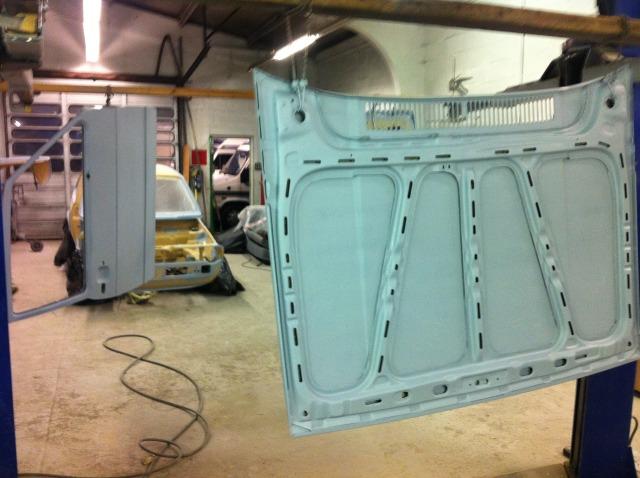
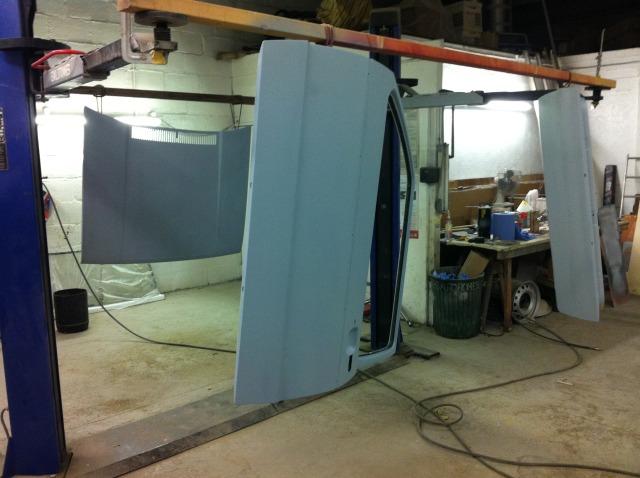
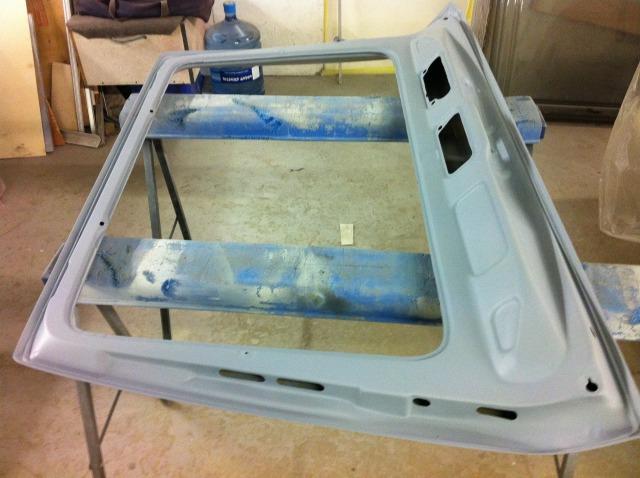
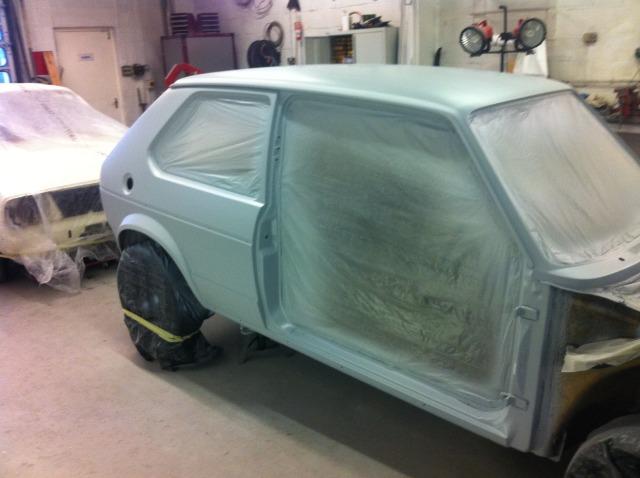
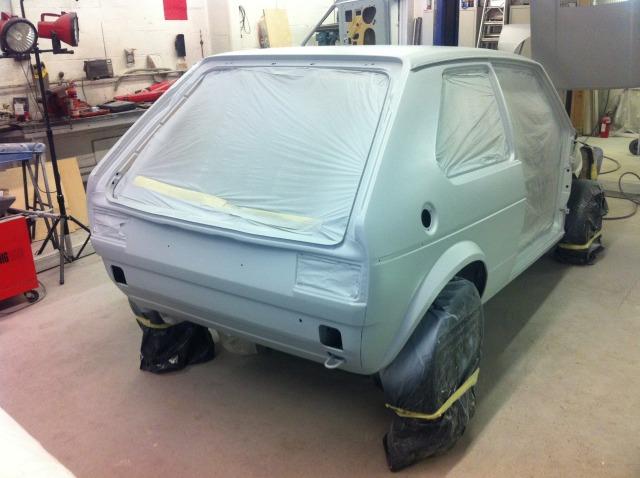
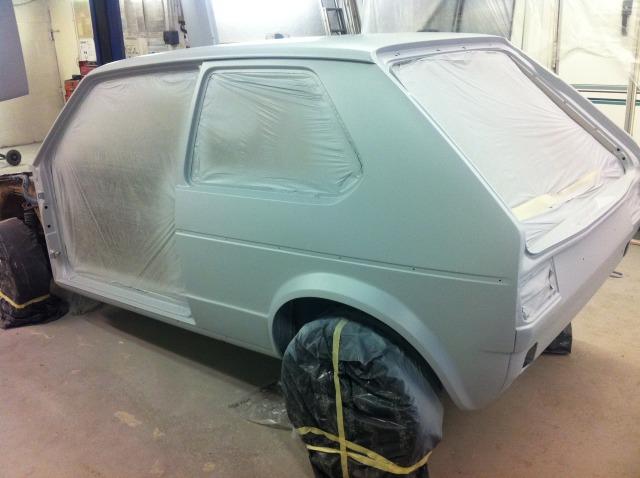
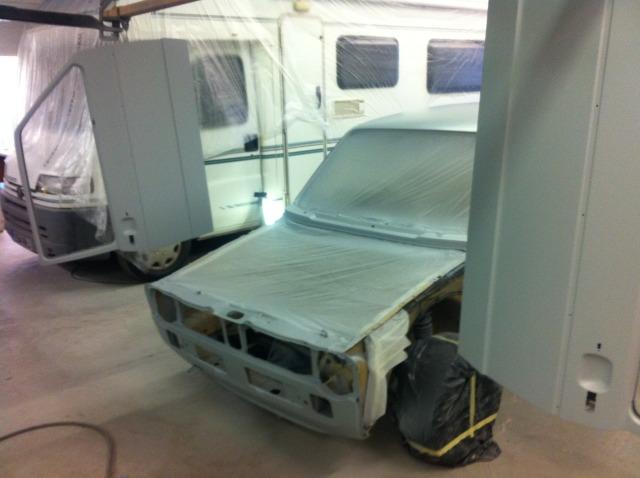
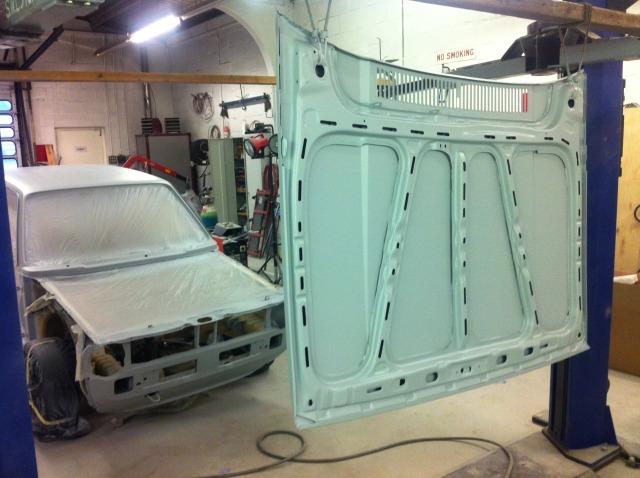
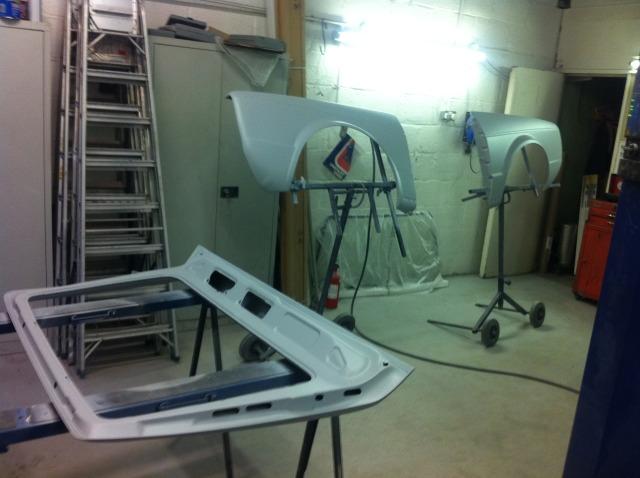
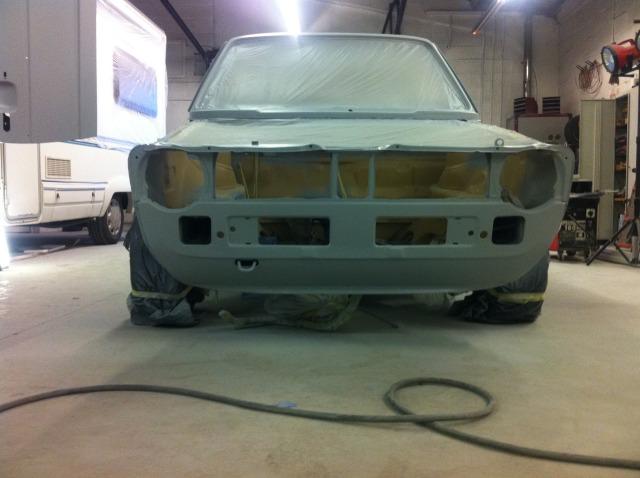
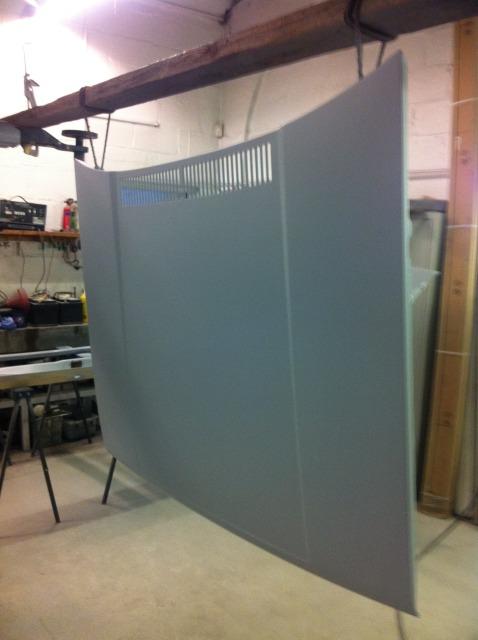
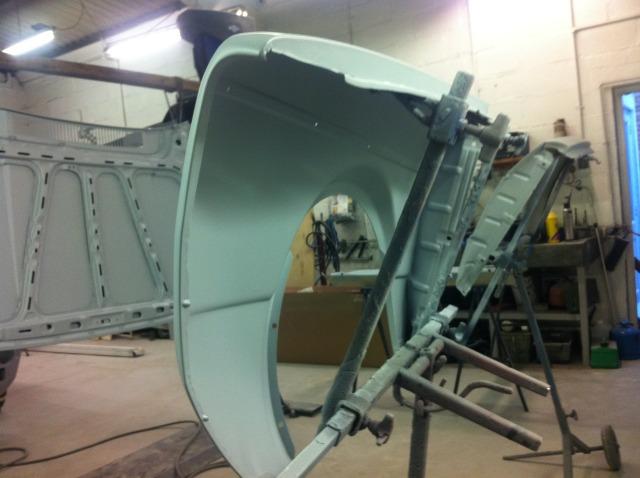
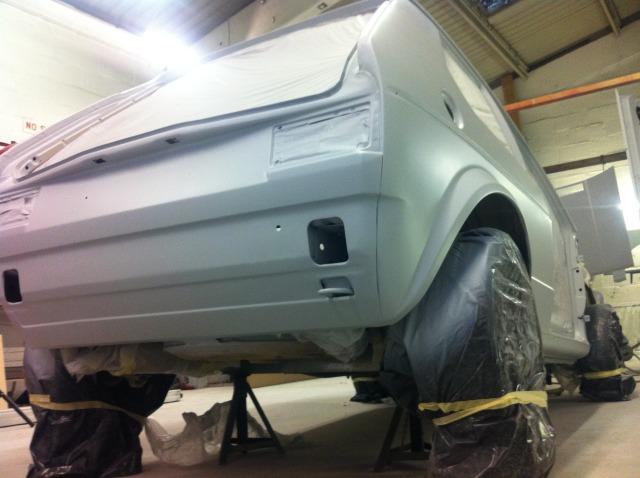
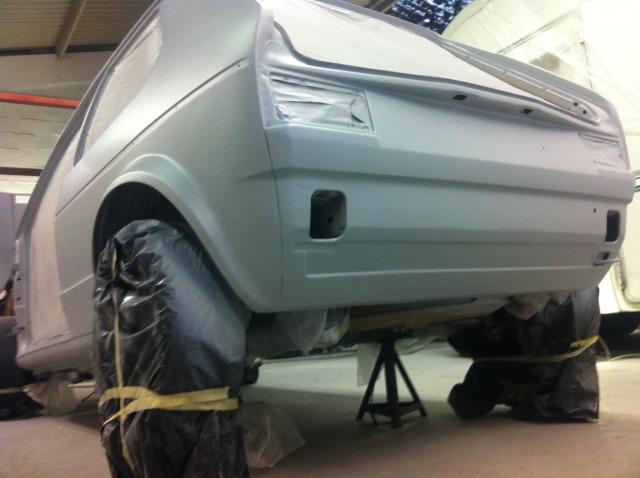
I bought the car last october (2012) a 1980 series one mk1 golf and although the car looked great it wasnt to my standard and there were a few things i wanted to change, so much to my friends horror after driving it for just 2 weeks i stripped the car and so began the rebuild.
My aim was to have it show ready by the following march 2013 under 5 months away!
The spec is as follows when i bought the car
Body
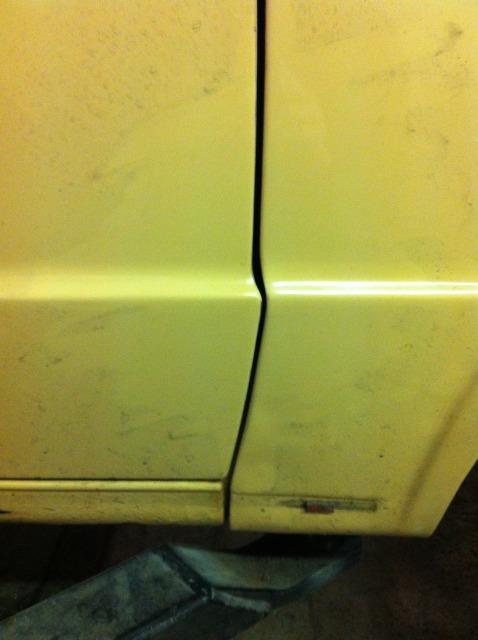
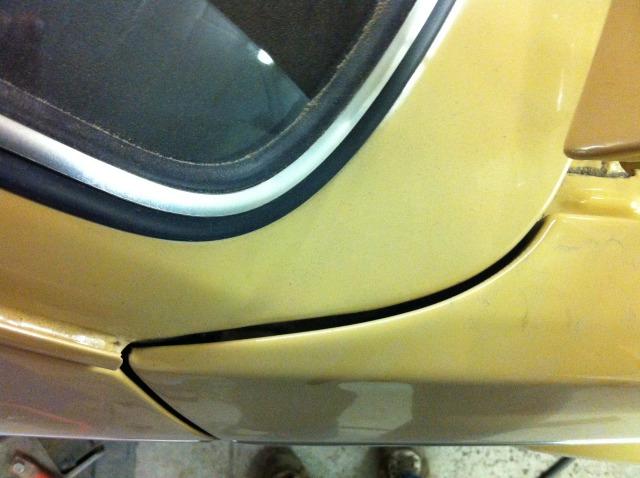
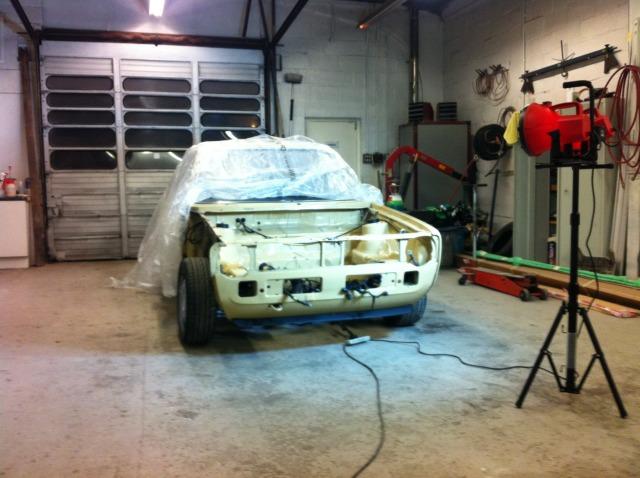
Painted original Mexico Beige
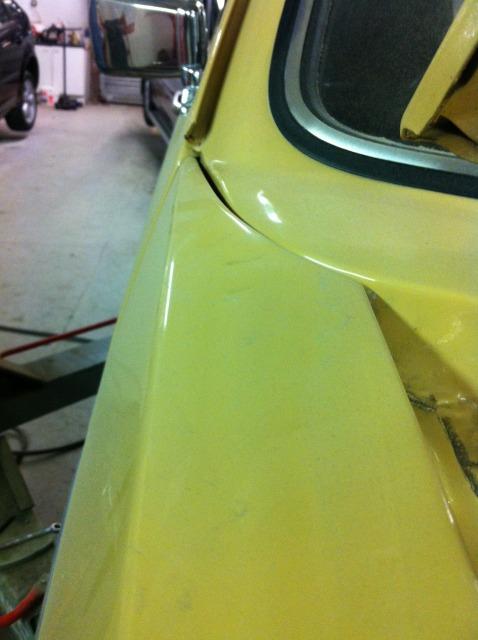
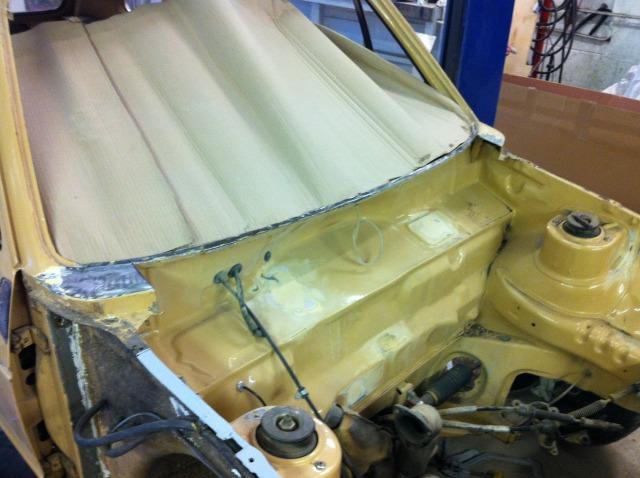
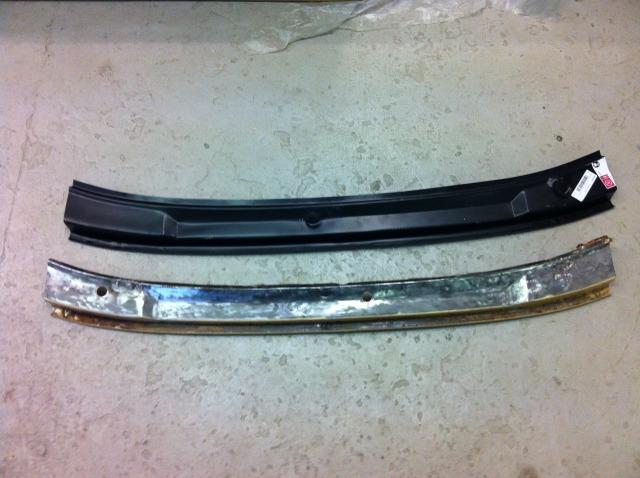
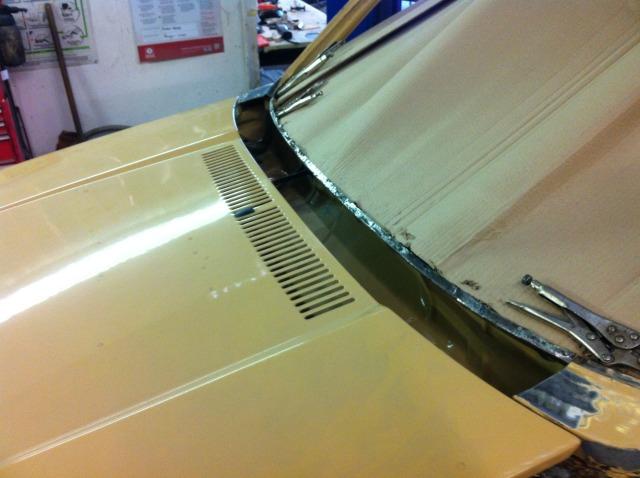
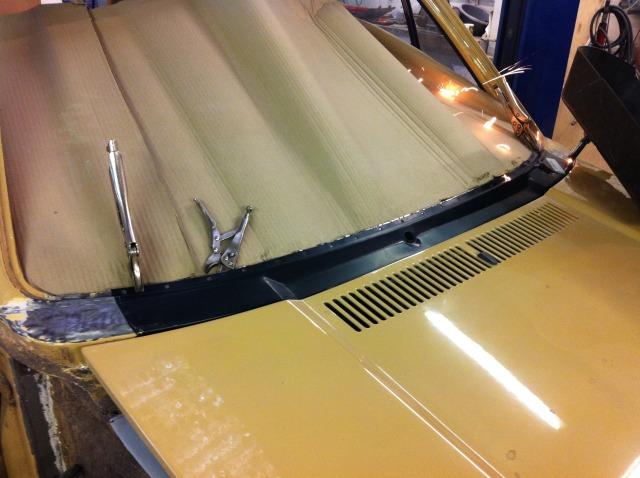
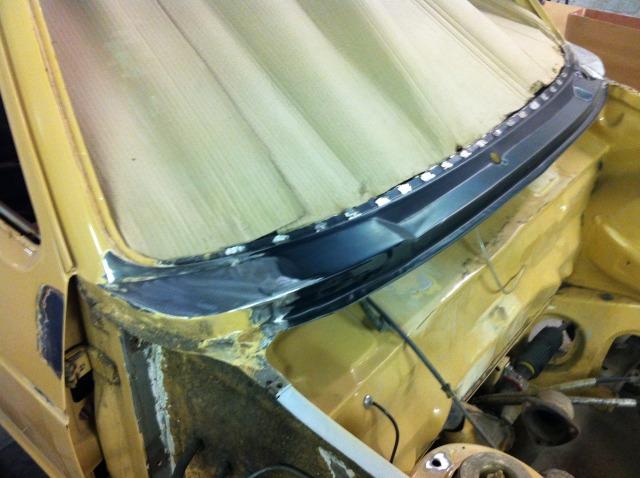
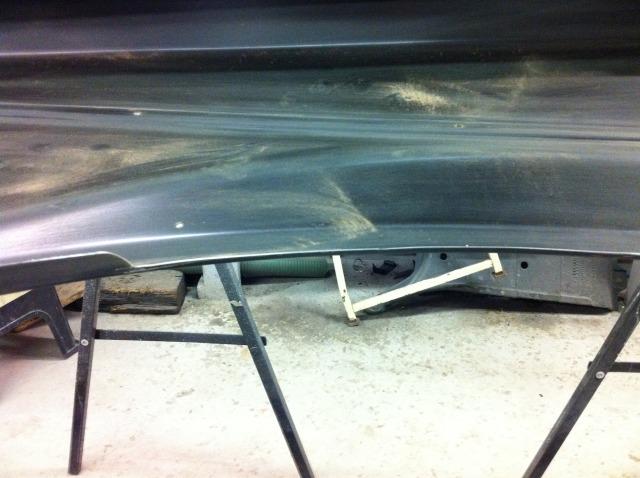
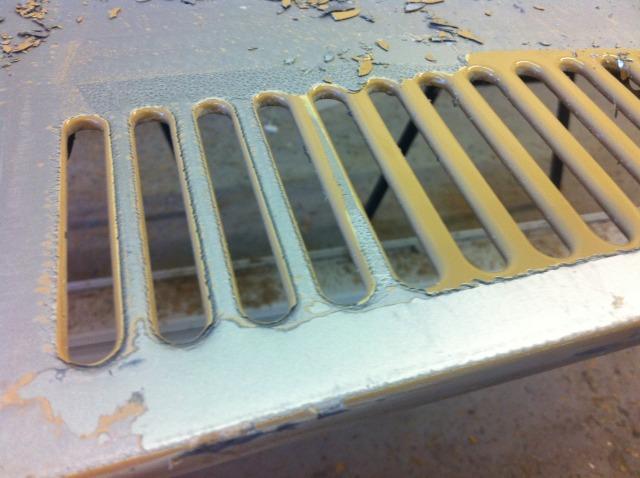
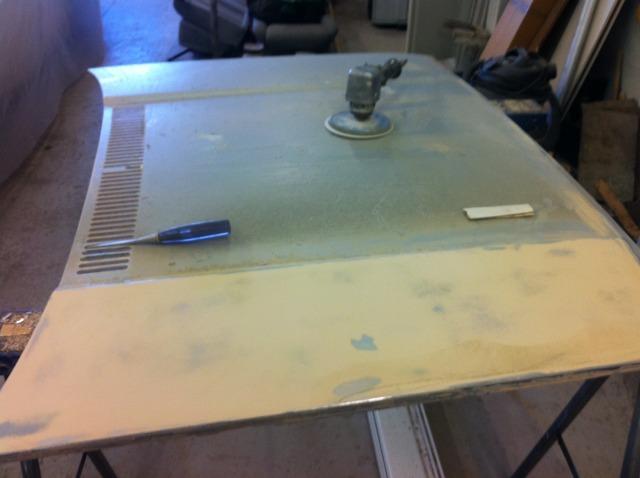
Scuttle panel smoothed
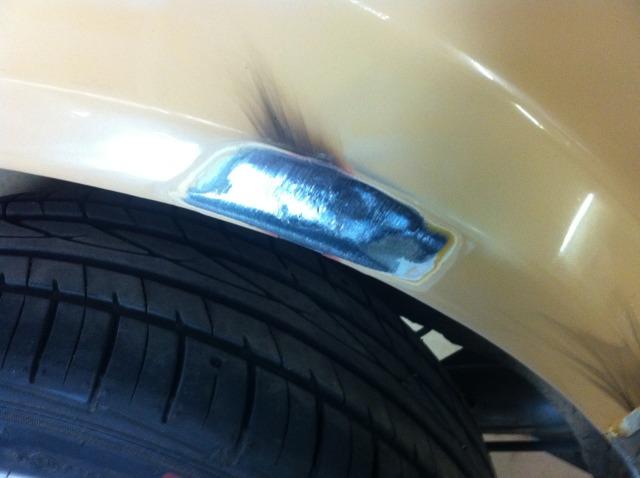
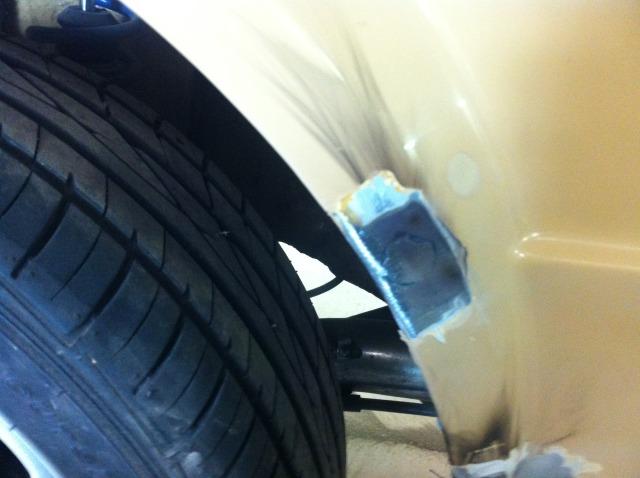
Arches rolled all round
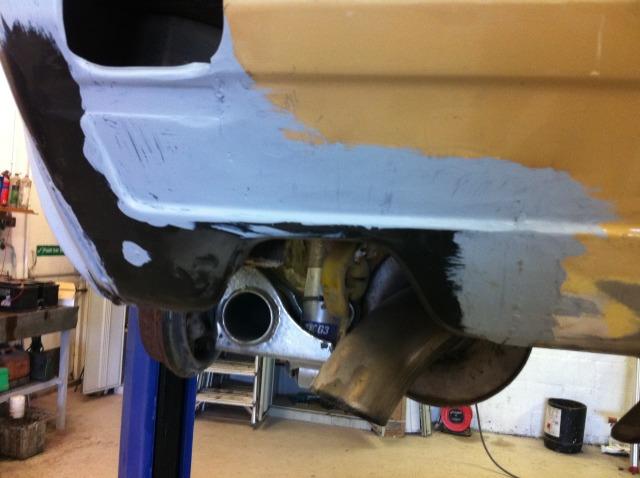
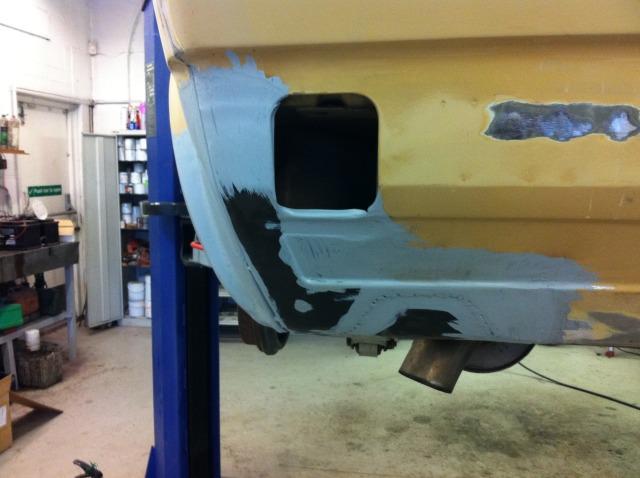
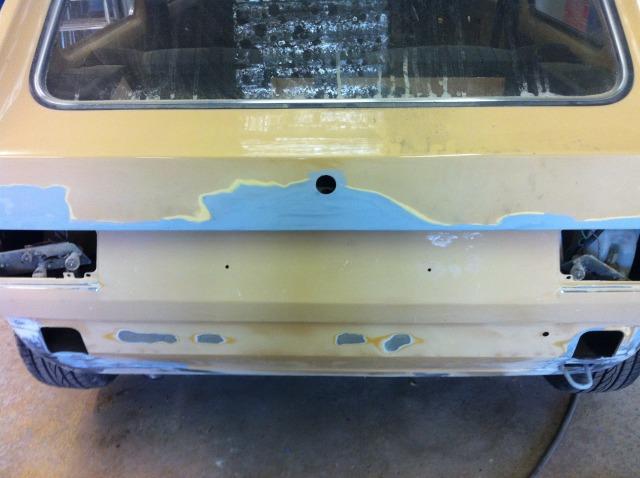
Exhaust recess removed
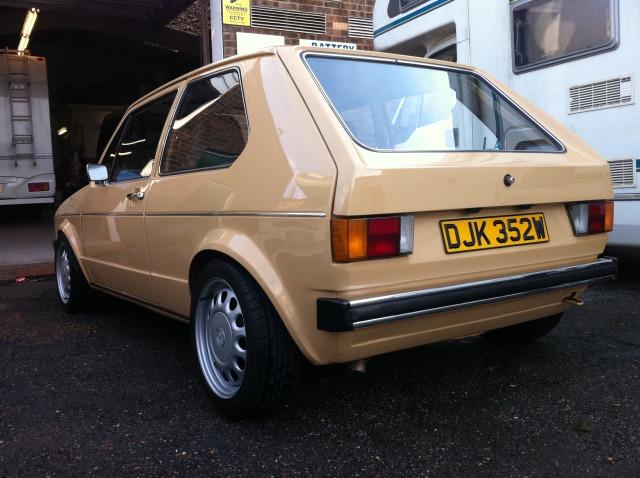
Chromed bumpers
Chrome side trim
Chrome Flag mirrors
Chrome Porsche door handles
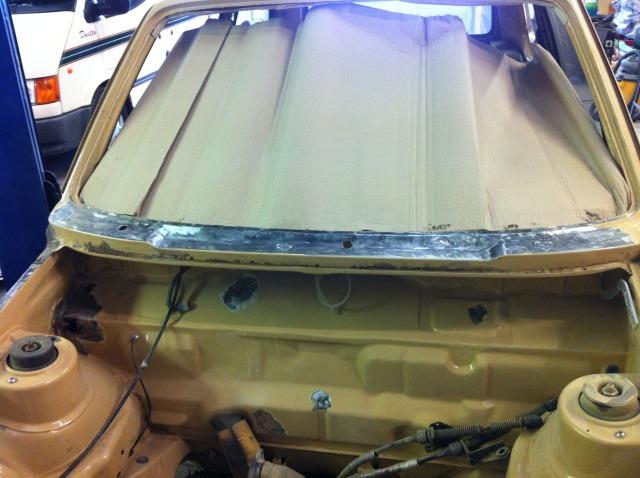
Removed rear wiper and rear badges
Sanded and Tinted red rear lights
All original glass (except front screen changed to laminate)
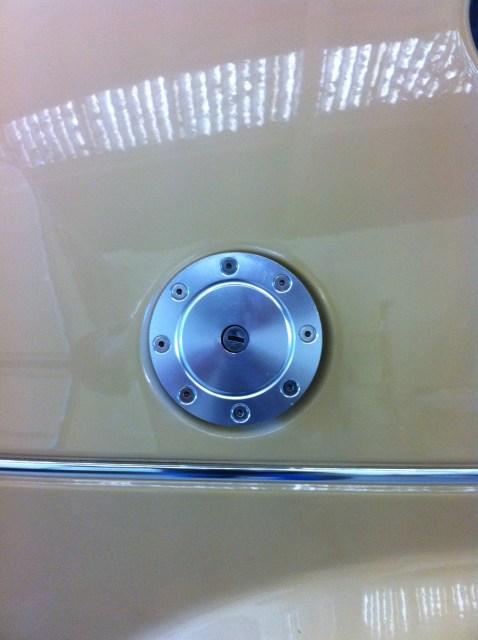
Chrome audi TT filler cap with trim ring
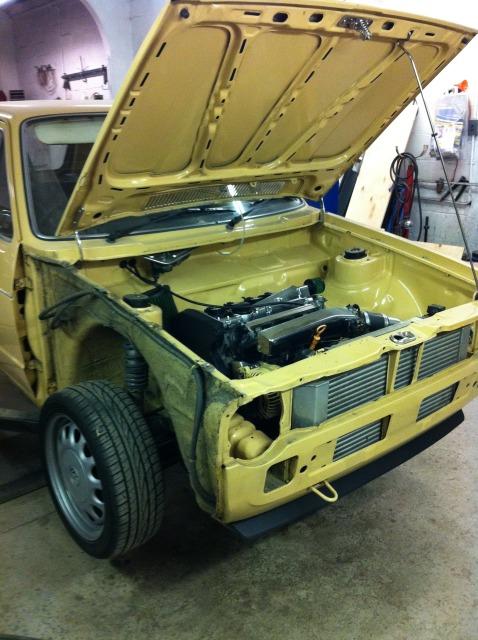
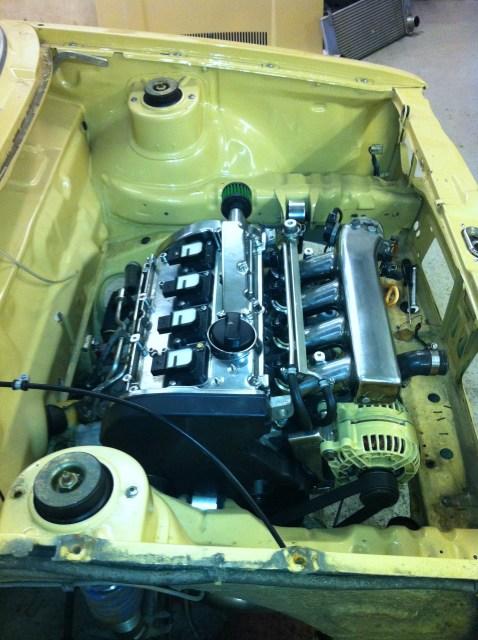
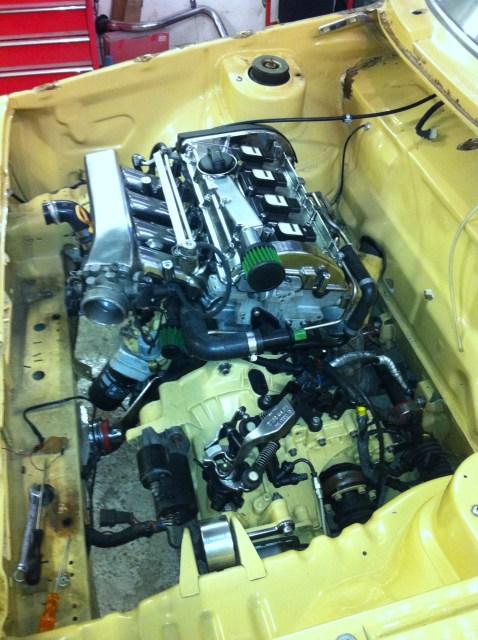
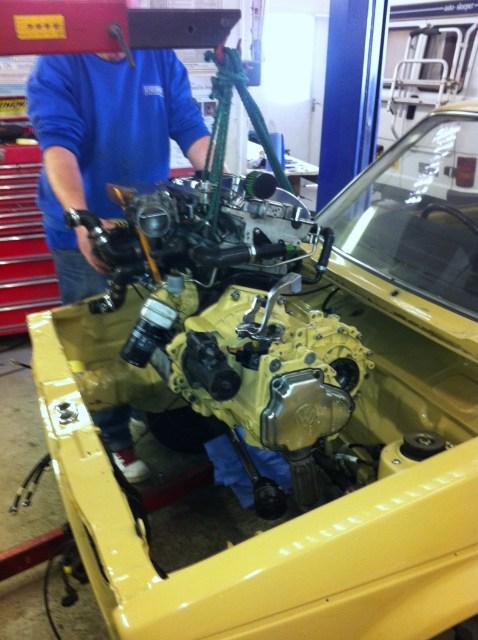
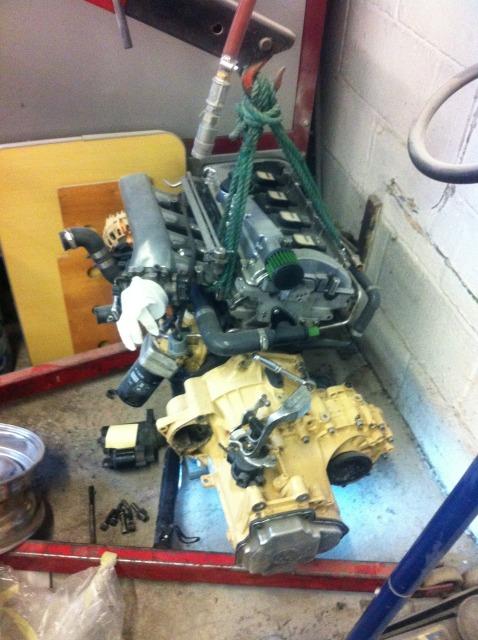
Engine
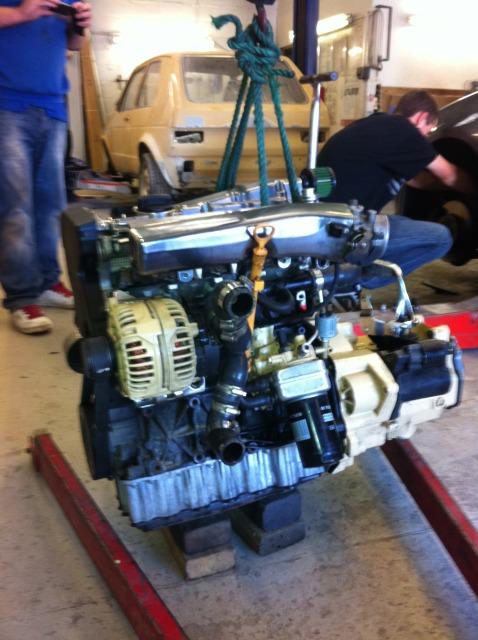
1.8T four cylinder 20v (AGU code) - 226 bhp
QPEng MBE Plug and play management with switchable high low boost
Custom downpipe, stainless exhaust (with down turned tail pipe)
Custom engine mounts (engine sits square rather than at the usual slight angle)
Custom boost pipe and water to header hose.
Bailey dump valve
Front mount intercooler
Top fill radiator (removed header tank)
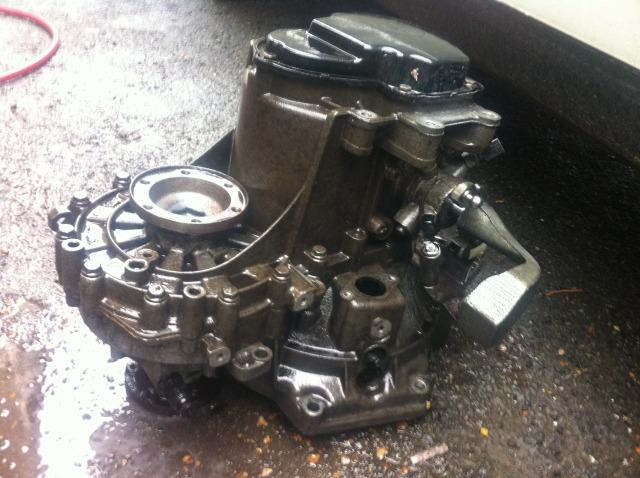
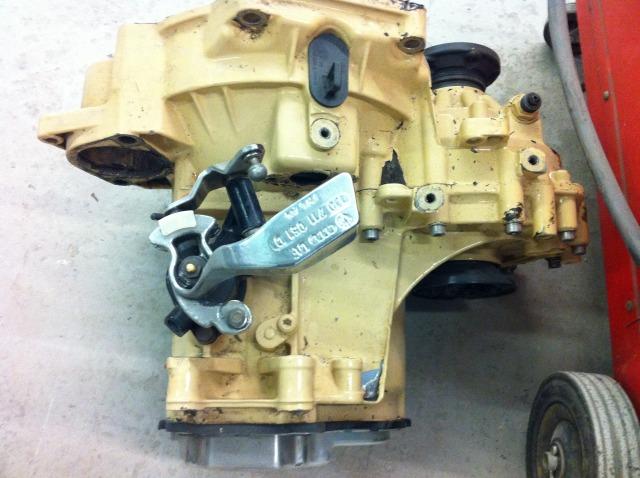
Altenator and MK4 2.0 litre cross flow gearbox painted body colour
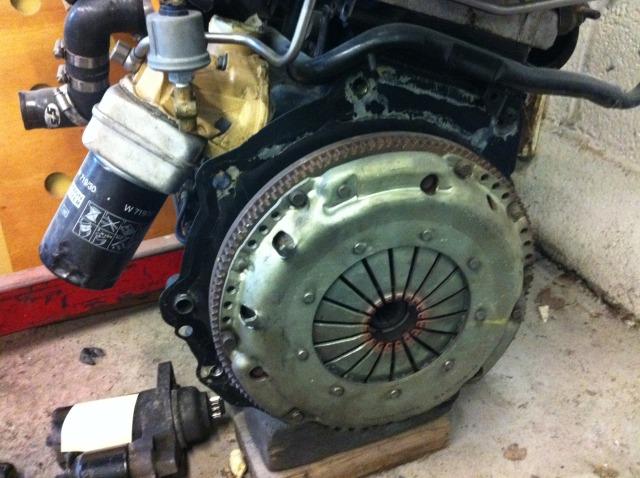
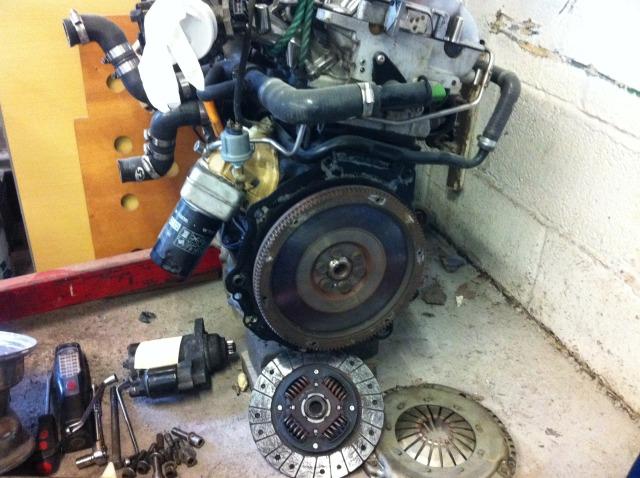
G60 Flywheel and VR6 clutch.
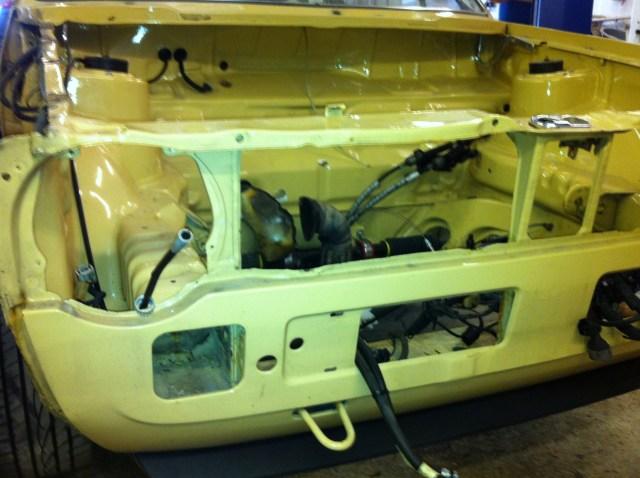
Raintray removed with Servo and mechanism
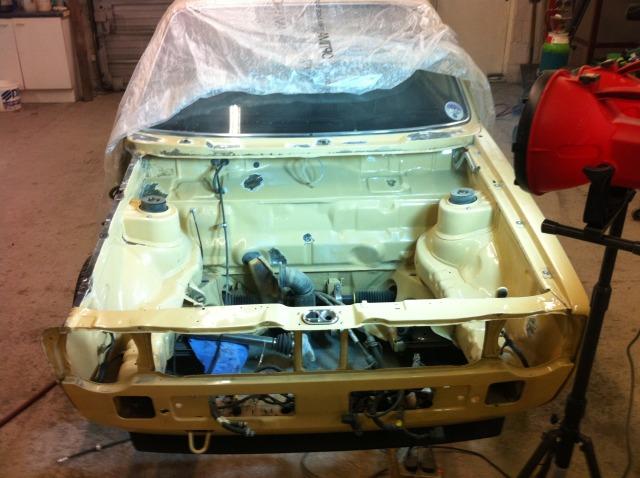
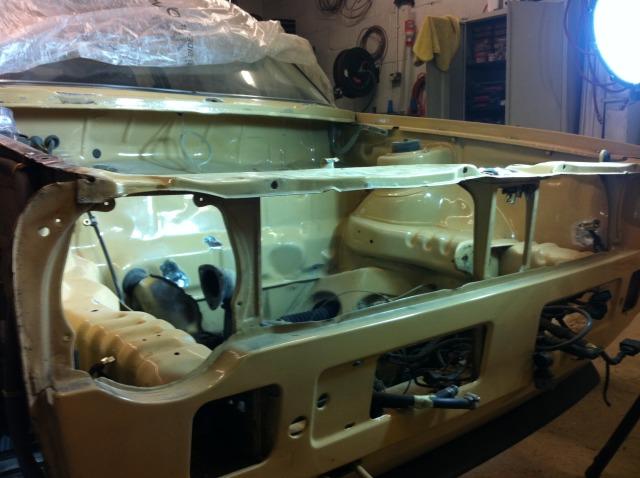
Smoothed bay with removed scuttle panel
Removed heater fan / matrix
Tilton pedal box fitted under dash
Relocated Battery and fuel pump to boot
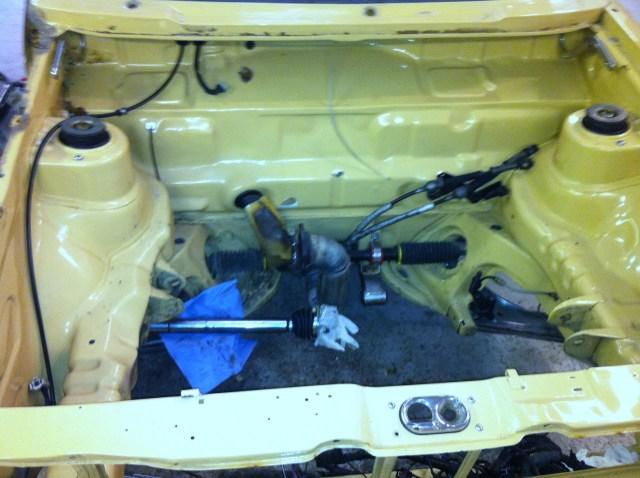
Suspension
FK Konigsport stainless coilovers
Polybushed throughout
Rear strut brace
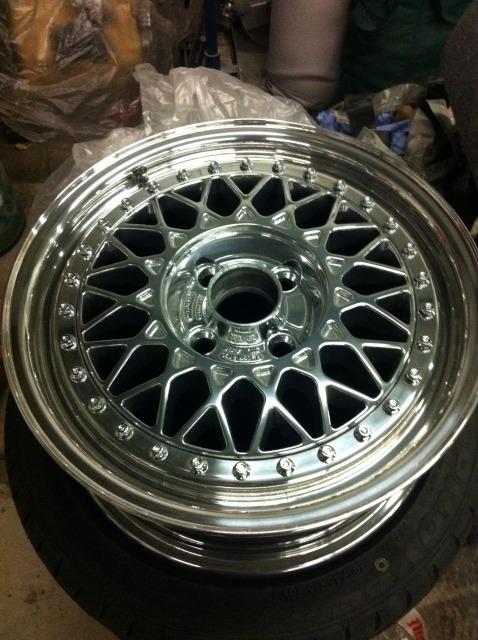
Wheels
15" G60 steel wheels (keeping it looking like a total sleeper)
195x45x15 Falken Tyres
12mm spacers on the front, custom made spacers with camber shims on the rear
Brakes
4 pot Wilwood midi lite calipers
Wilwood 280mm discs and pads
Interior
Porsche 944 Tombstones
Gti rear seat
"Euro cluster" series 1 dash
VDO boost gauge fitted to dash window vent
VDO flat fronted Voltage, oil pressure, and oil temp fitted in radio recess
Momo 280mm hand polished steering wheel with Porsche horn push
Mooneyes gear knob
And some photos
The car is an absolute animal traction is the main problem and will be addressed in the future the sound is just amazing its like a go kart only alot faster
I bought the car last october (2012) a 1980 series one mk1 golf and although the car looked great it wasnt to my standard and there were a few things i wanted to change, so much to my friends horror after driving it for just 2 weeks i stripped the car and so began the rebuild.
My aim was to have it show ready by the following march 2013 under 5 months away!
The spec is as follows when i bought the car
Body
Painted original Mexico Beige
Scuttle panel smoothed
Arches rolled all round
Exhaust recess removed
Chromed bumpers
Chrome side trim
Chrome Flag mirrors
Chrome Porsche door handles
Removed rear wiper and rear badges
Sanded and Tinted red rear lights
All original glass (except front screen changed to laminate)
Chrome audi TT filler cap with trim ring
Engine
1.8T four cylinder 20v (AGU code) - 226 bhp
QPEng MBE Plug and play management with switchable high low boost
Custom downpipe, stainless exhaust (with down turned tail pipe)
Custom engine mounts (engine sits square rather than at the usual slight angle)
Custom boost pipe and water to header hose.
Bailey dump valve
Front mount intercooler
Top fill radiator (removed header tank)
Altenator and MK4 2.0 litre cross flow gearbox painted body colour
G60 Flywheel and VR6 clutch.
Raintray removed with Servo and mechanism
Smoothed bay with removed scuttle panel
Removed heater fan / matrix
Tilton pedal box fitted under dash
Relocated Battery and fuel pump to boot
Suspension
FK Konigsport stainless coilovers
Polybushed throughout
Rear strut brace
Wheels
15" G60 steel wheels (keeping it looking like a total sleeper)
195x45x15 Falken Tyres
12mm spacers on the front, custom made spacers with camber shims on the rear
Brakes
4 pot Wilwood midi lite calipers
Wilwood 280mm discs and pads
Interior
Porsche 944 Tombstones
Gti rear seat
"Euro cluster" series 1 dash
VDO boost gauge fitted to dash window vent
VDO flat fronted Voltage, oil pressure, and oil temp fitted in radio recess
Momo 280mm hand polished steering wheel with Porsche horn push
Mooneyes gear knob
And some photos
The car is an absolute animal traction is the main problem and will be addressed in the future the sound is just amazing its like a go kart only alot faster


Comment