 Tweet
Tweet
Starting this thread for the install of the golf pop out badge RVC into the 6R polo using the following bracket.

the kit i purchased was from carsystems.
VW Rear Emblem Camera KIT - Retrofit - Golf 6 - 5K0827469AQ ULM
or you can order from Martin at Audi upgrades www.jku.com.au who has the brackets included in the kit
but there all pretty much the same. Just insure the wiring has all the plugs already attached as some dont. This is a pretty easy install if you have just the slightest mechanical abillity you should be fine but i will still add the following warning.
READ ALL THE THREAD BEFORE BEGINING SO YOU KNOW THE PROCESS BEFOR YOU START. I TAKE NO RESPONSABILLITY FOR ANY DAMAGE CAUSED FROM USING THIS GUIDE ATTEMPT AT YOUR OWN RISK.
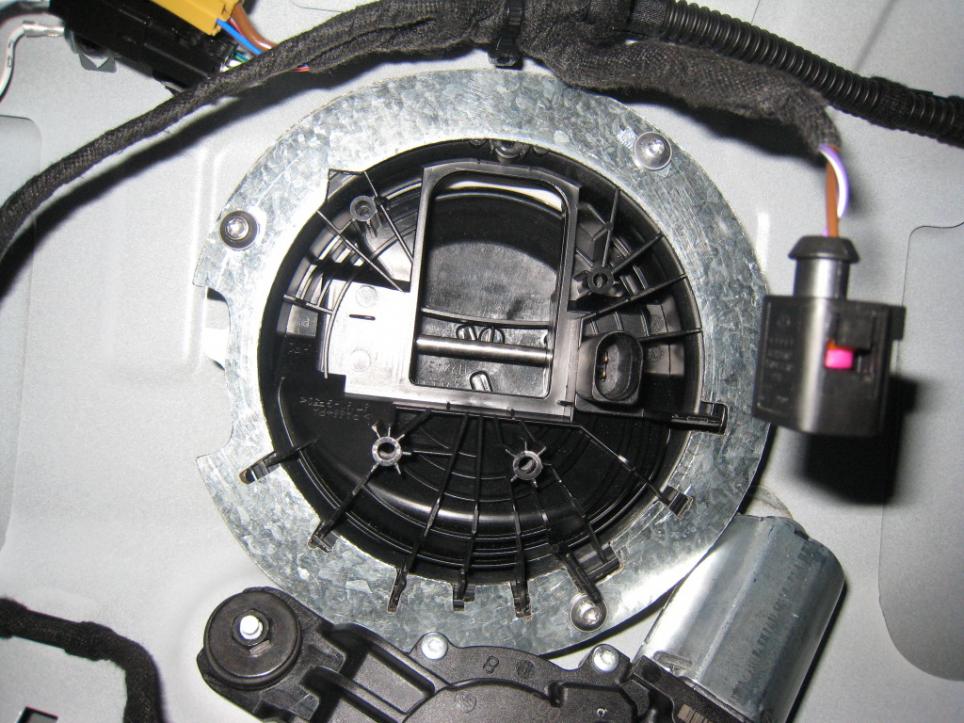
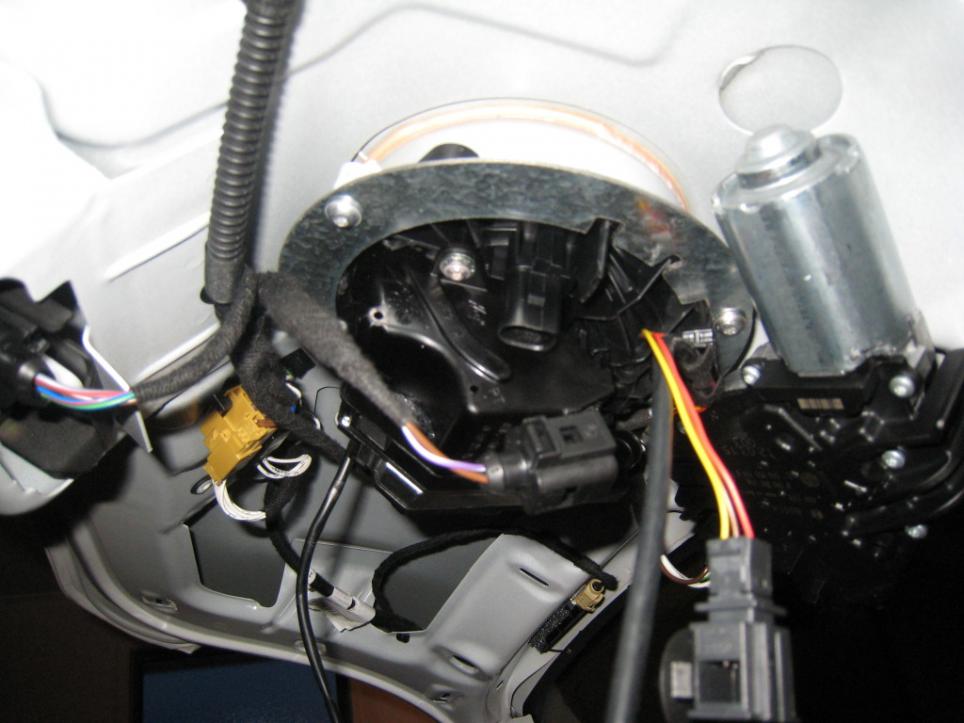
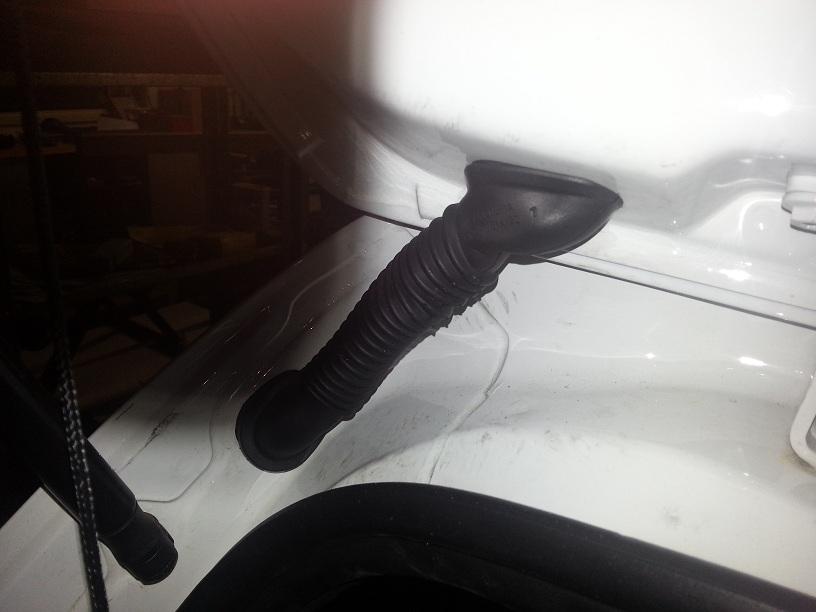
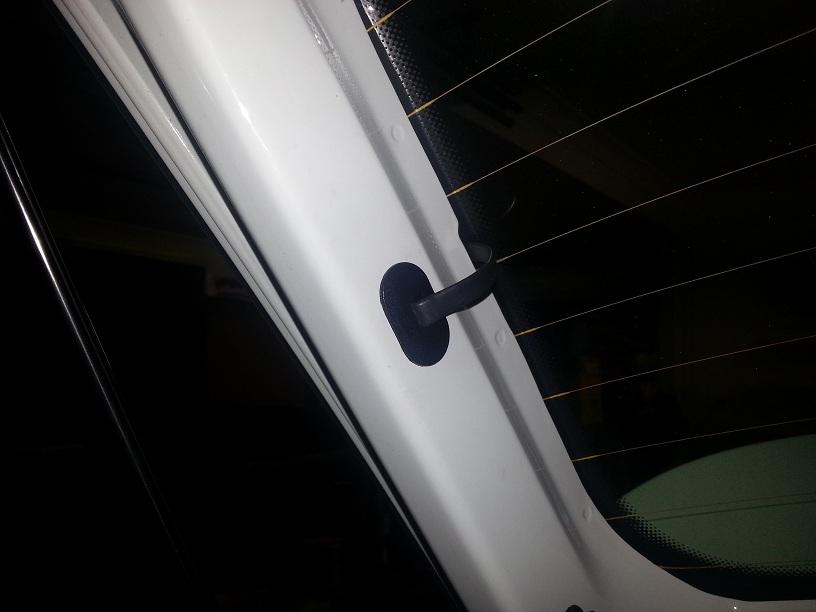
first you will need to remove the rear hatch cover. To do this you will need to remove the two torx screws using a T25 bit. The screws are located in the handle areas inside the lid.
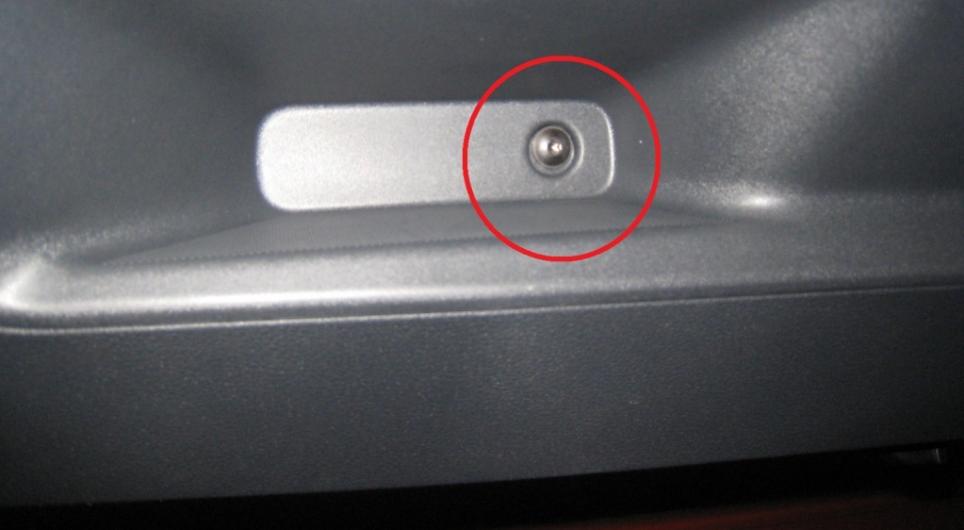
Then to remove the cover stick your finger in behind the plastic next to the latch and then move your hand down along the bottom and pull down. you will hear the clips pop out. It does take a little force along the edges to pop them out but keep moving right around till you get all the way up the side.
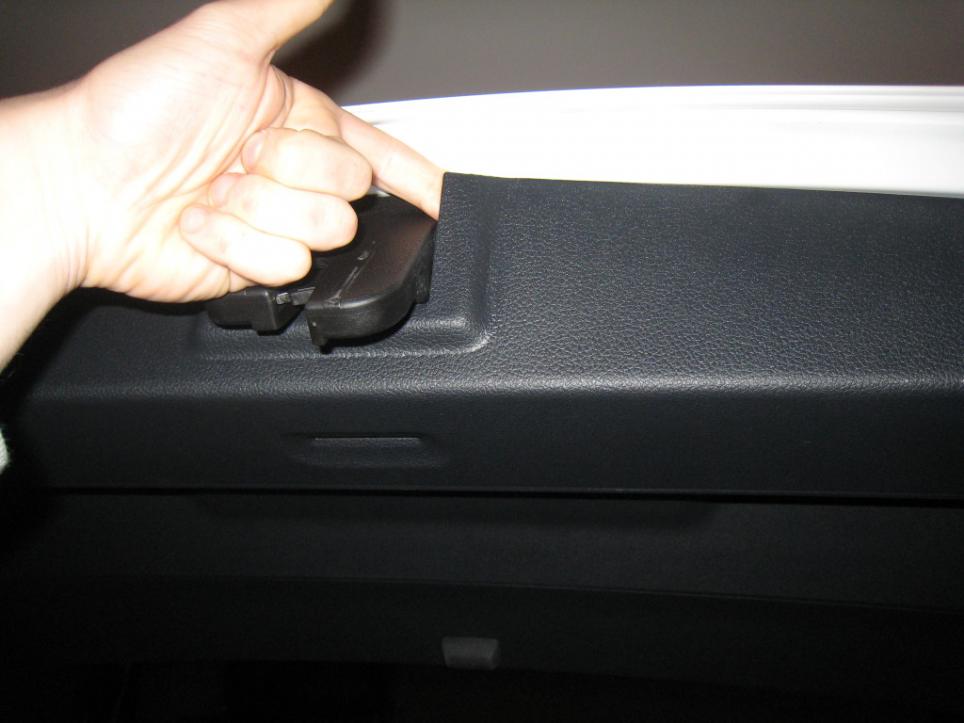

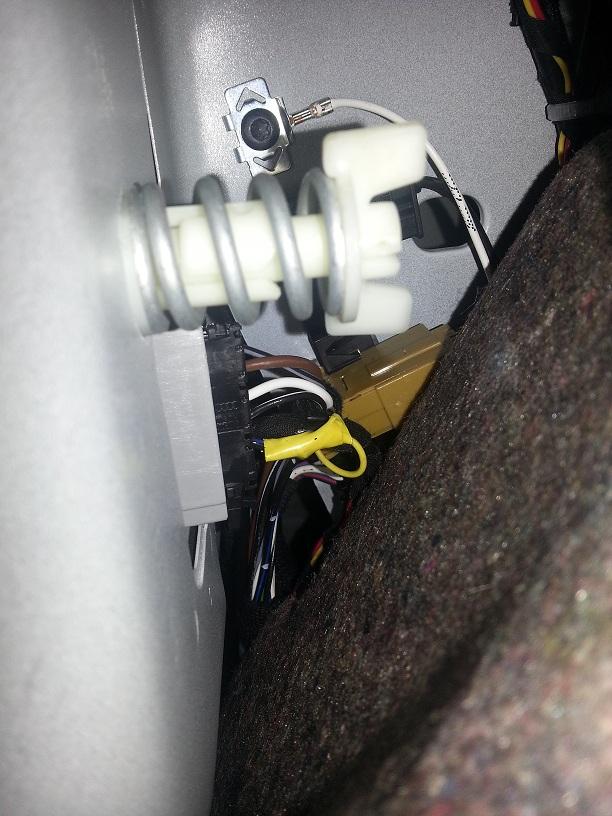
From hear you will need to unplug the boot release connector from the badge.
then unscrew the three screws holding the badge in using a T20 torx bit.
Then twist the badge clock wise and it will drop out.
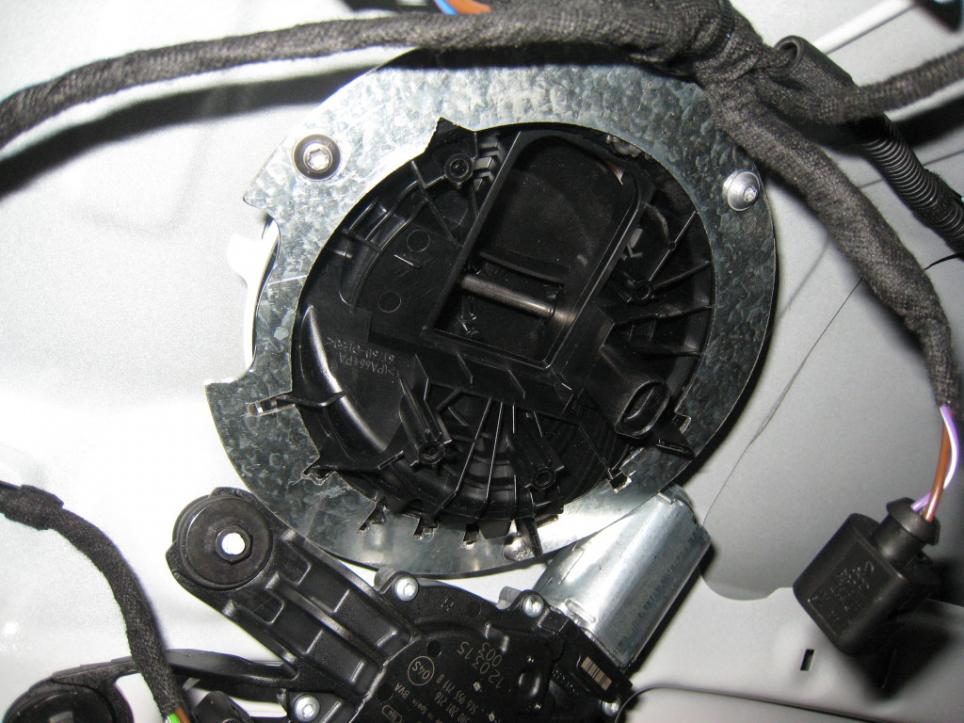
Before you can put the camera in you will need to do some prep work to it.
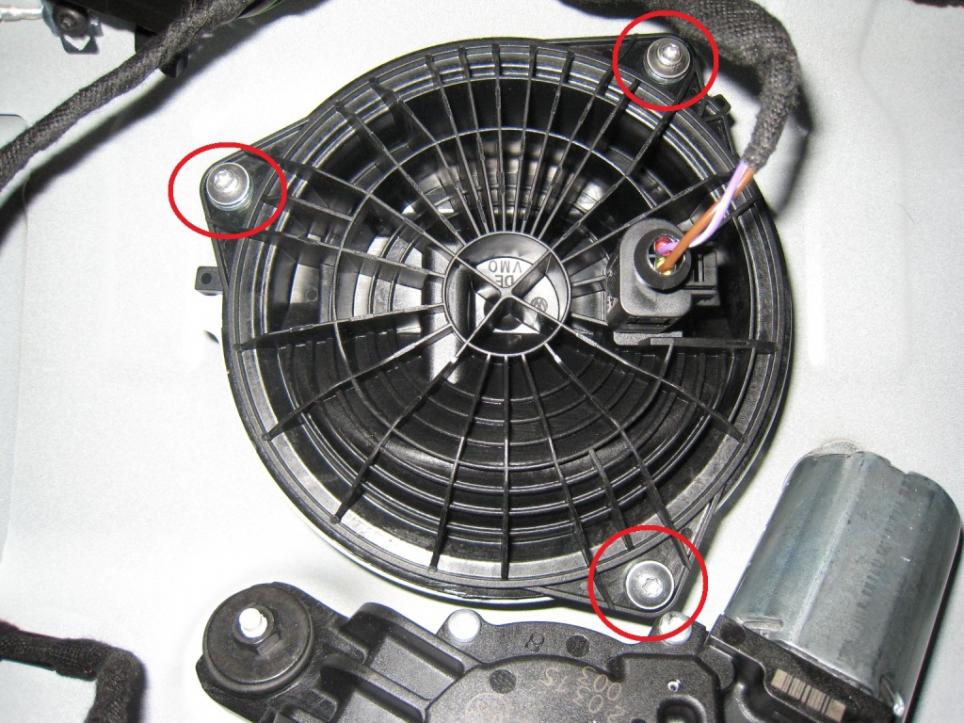
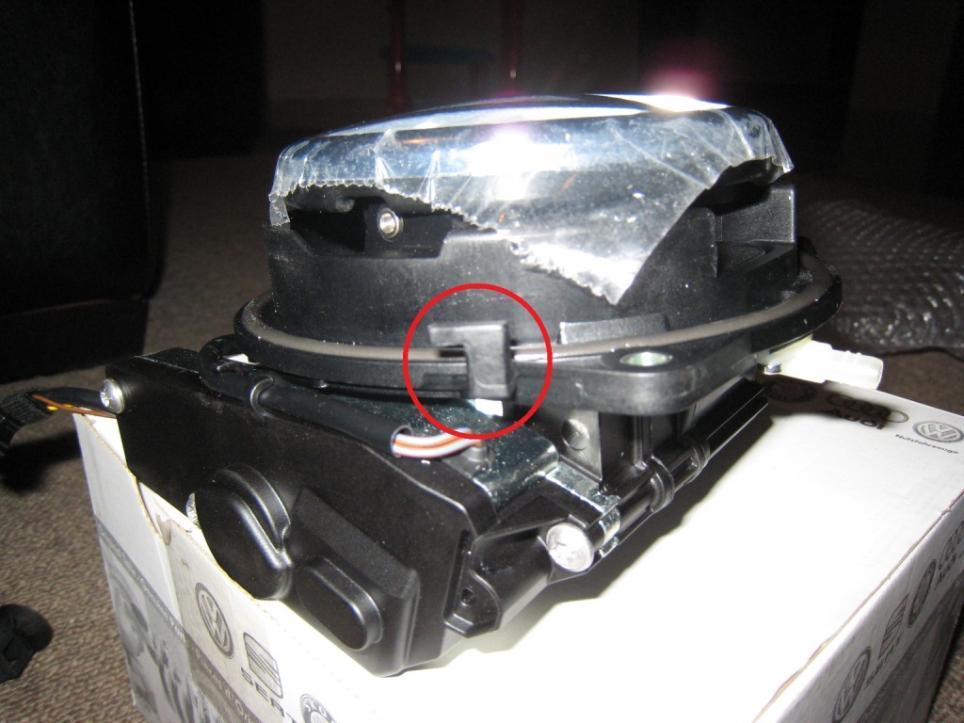
first you will need to cut of the lock tabs as the will strike the original mounting holes. Just use a pair of side cutters or a dremel if you have it. Even a sharp stanly knife can work. Ther are 2 tabs to remove.
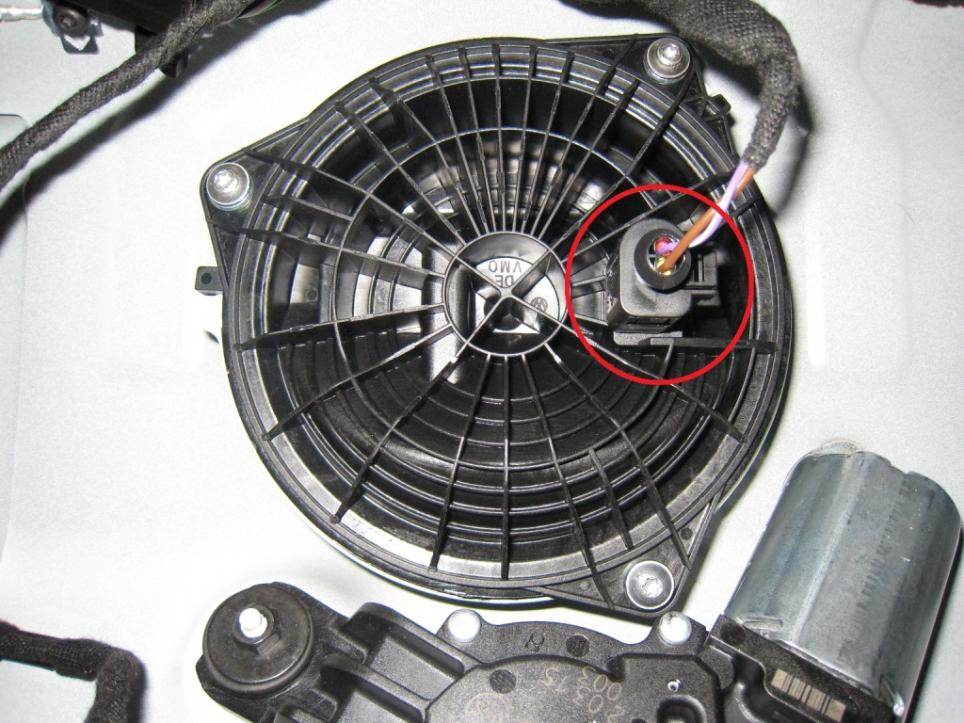
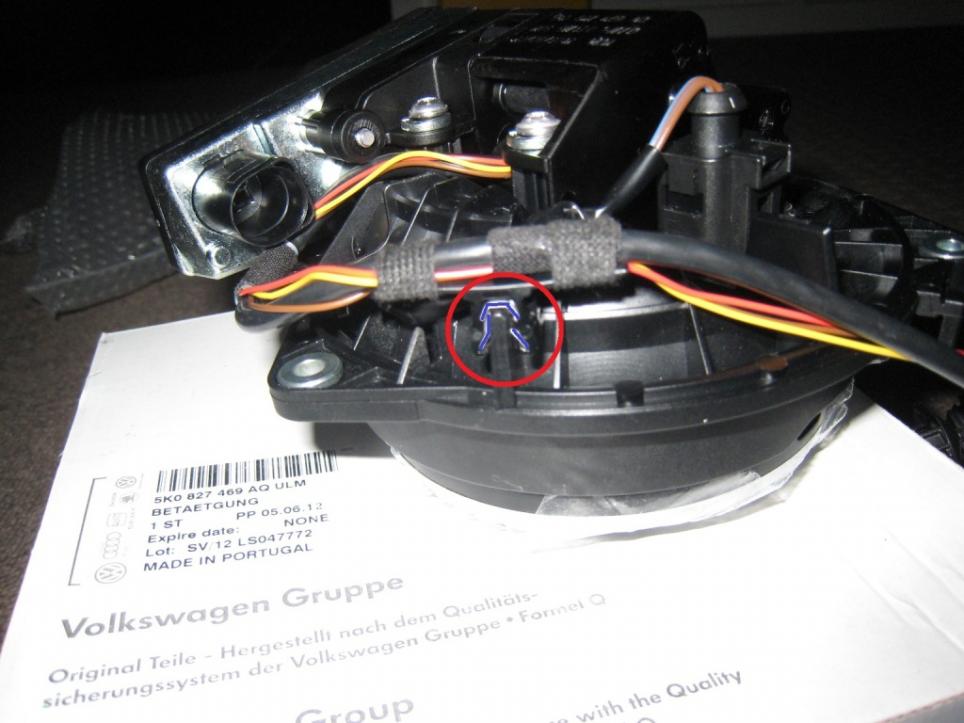
Then unclip the boot release connector.
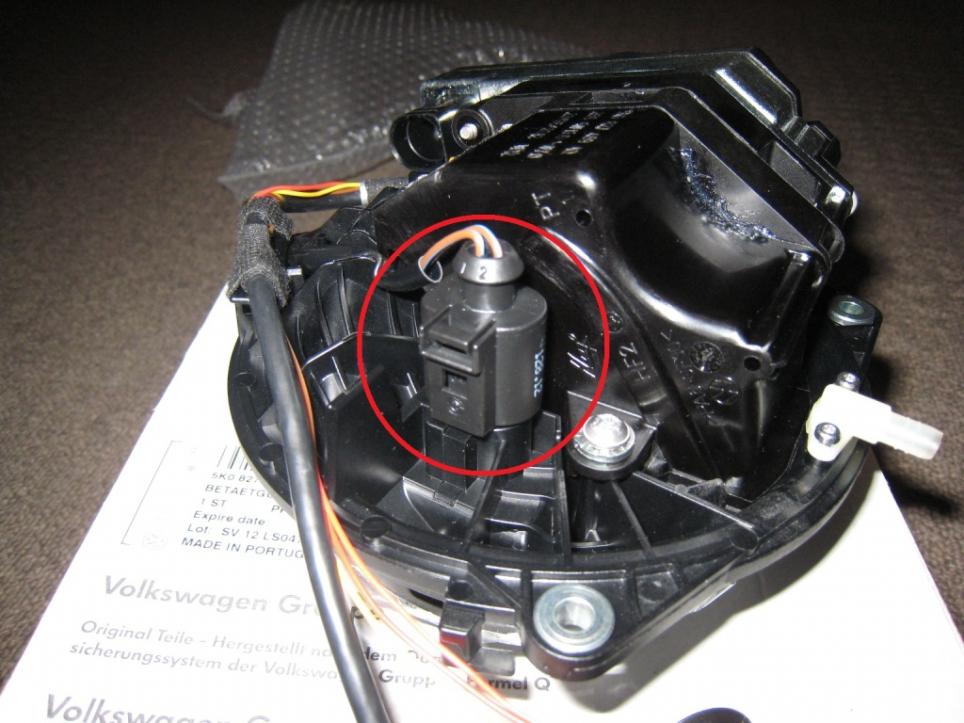
and the video signal cable clip from the camera badge.
then the camera part will pull apart from the badge.
Unlike the polo the golf badge has a drain point which i have removed for two reasons A: my bracket covers the hole and B: to direct a hose into the lid and out the bottom would have too many turns, notable at the point at which it exits the badge and hits the boot latch housing as the polo lid is not as long as the golf. I was worried it would just kink and not drain properly. The Polo badge has no drain and works fine so i removed the hose connector.
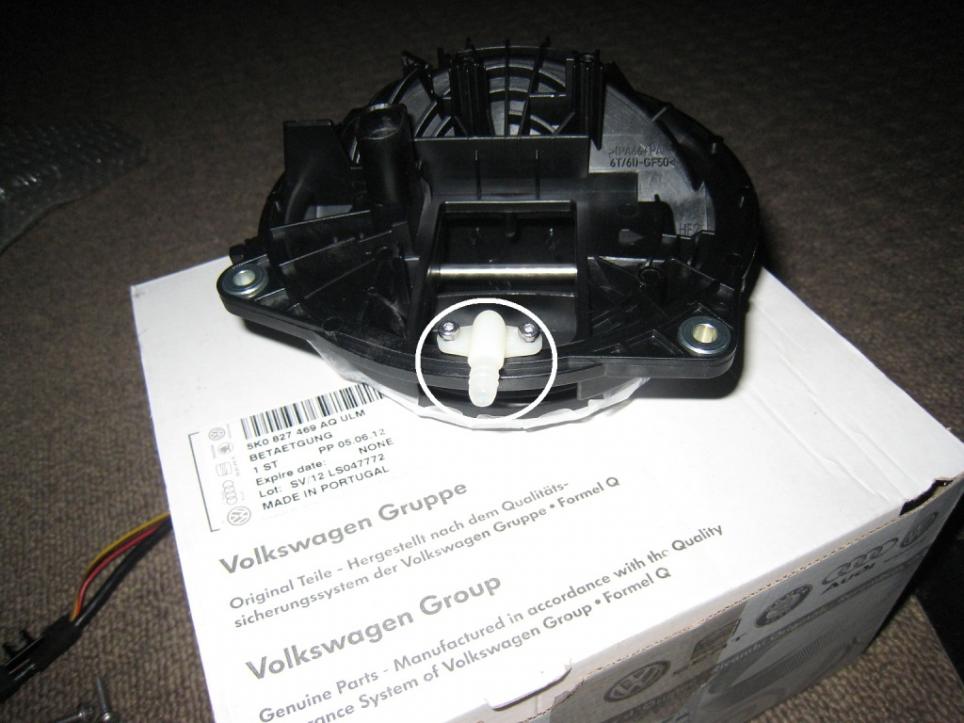
I used some silicon to fill the hole. Any water tight silicon will do. I used black sicaflex -227 as thats what i had in my garage plus it is automotive grade and the same silicon used for doing windscreens.

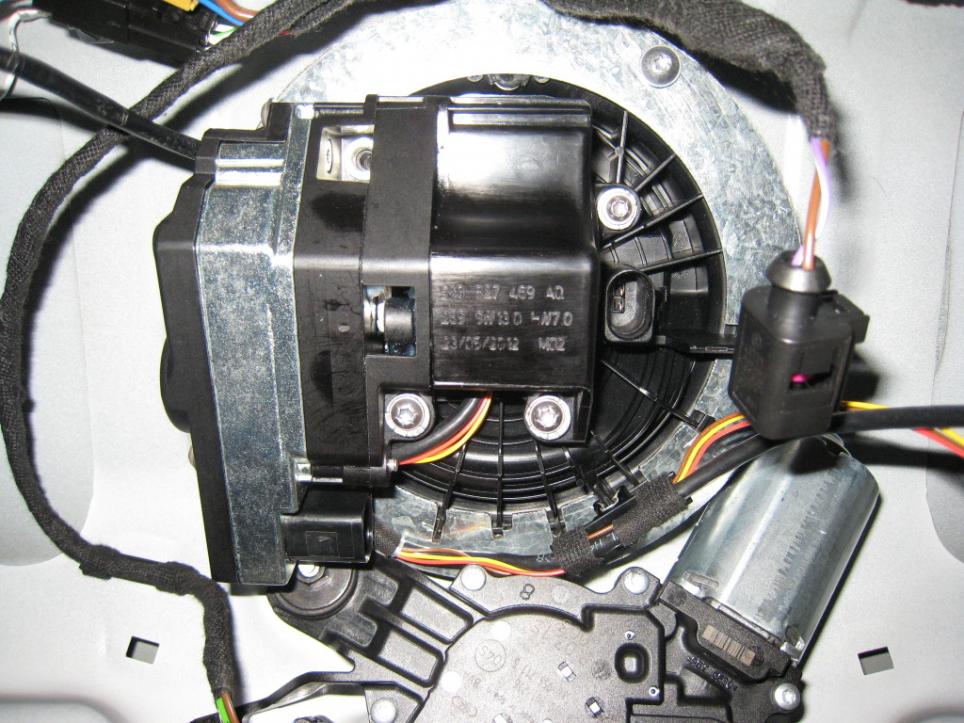
Once this is done the badge can be mounted using the original screws. Place them in till they just touch the bracket then adjust the badge so it is central looking from the outside. then tighten once happy its aligned.
then re attach the camera, using the 4 screws and reconnect the video cable clip and boot release connector.
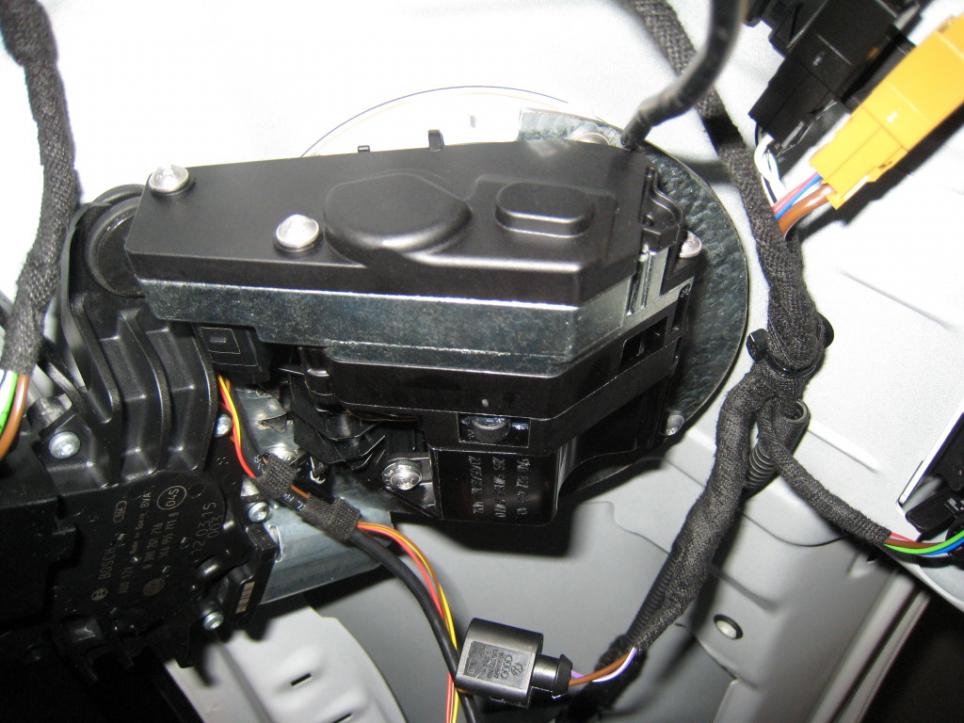
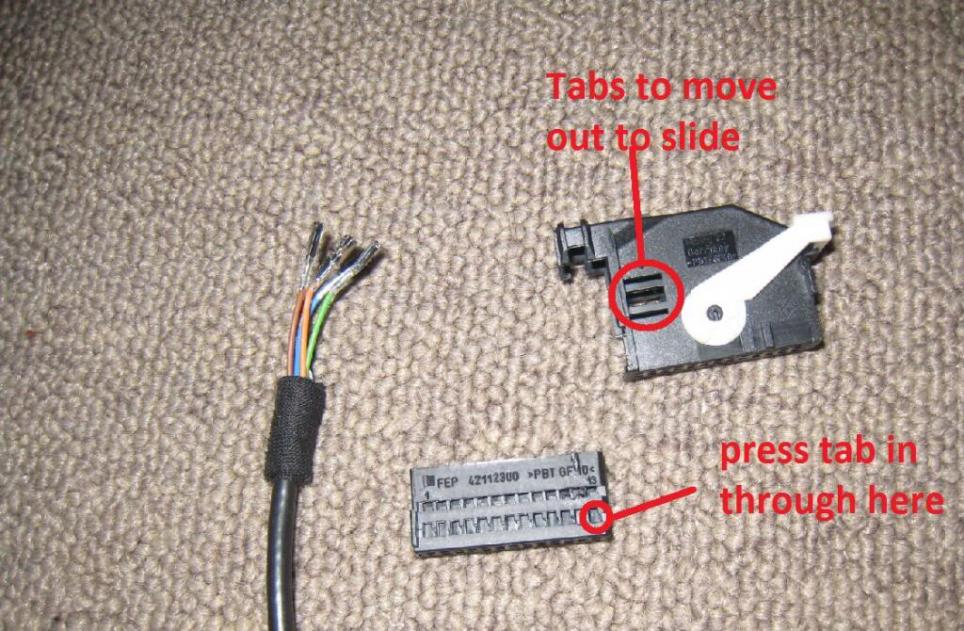
Now for the wiring. first thing i did was pull the yellow an black wire out of the loom so they dont run all the way to the front. the black i pulled out all the way, The yellow i left in about 2m to reach the rear of the tail lights(i actually took all the tape of and retaped the loom with fabric tape with the wiring where i wanted but you can do this how you please). I then depined the 26 pin connector. this will make it easier to thread the wiring through the hatch area without having to cut of any plugs. And once its all thread to the front you can just re-insert the pins. To do this cut the zip tie of from where the wires enter the plug. Then using a small flat tip lever out the two tabs on each side and slide the inner part out. Then to get the pins out press a pin, scripe or somthing else pointy into the side to depress the tab on the pin and pull the wire out. The tab holding the pin in may pop back out as it hits the second hole. Just push it in again and pull out.
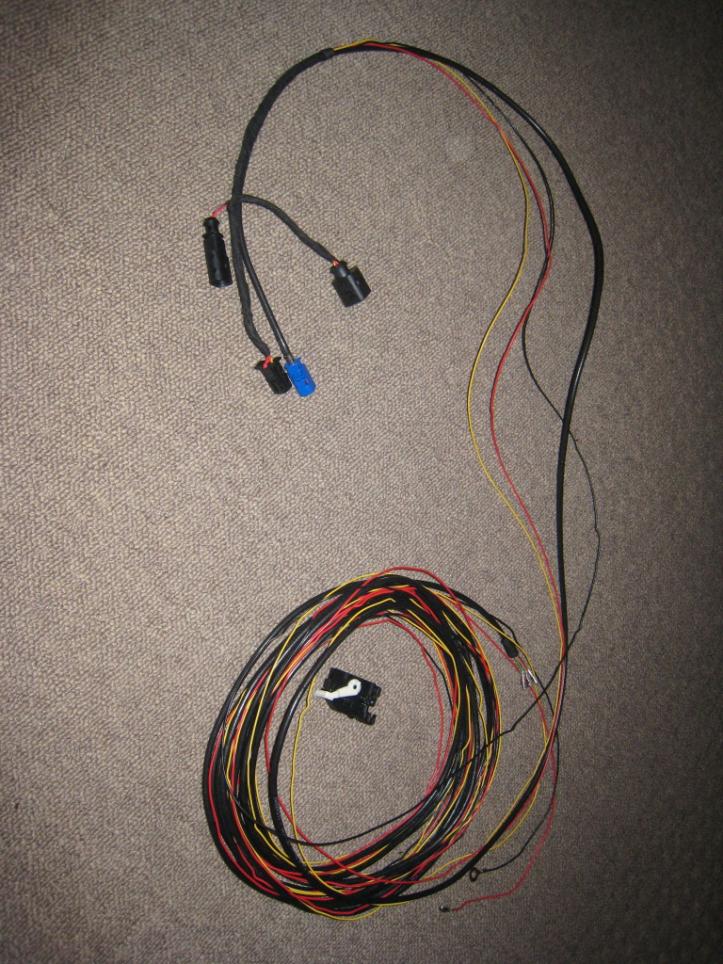
this is the wiring with tape of.
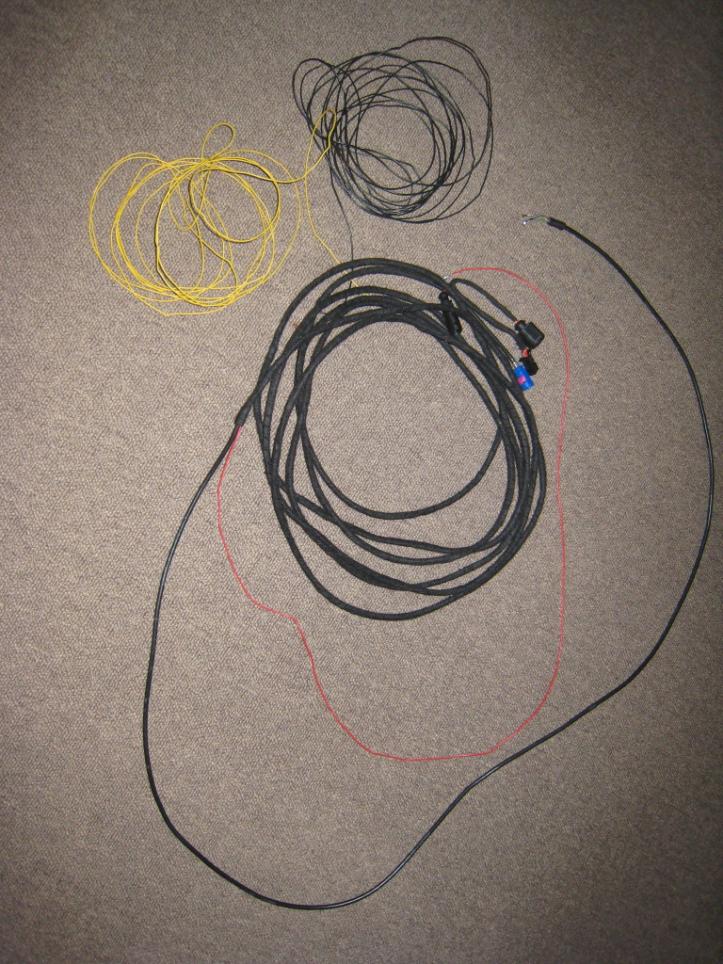
And taped back up.
 .
.
To be continued....................
the kit i purchased was from carsystems.
VW Rear Emblem Camera KIT - Retrofit - Golf 6 - 5K0827469AQ ULM
or you can order from Martin at Audi upgrades www.jku.com.au who has the brackets included in the kit
but there all pretty much the same. Just insure the wiring has all the plugs already attached as some dont. This is a pretty easy install if you have just the slightest mechanical abillity you should be fine but i will still add the following warning.
READ ALL THE THREAD BEFORE BEGINING SO YOU KNOW THE PROCESS BEFOR YOU START. I TAKE NO RESPONSABILLITY FOR ANY DAMAGE CAUSED FROM USING THIS GUIDE ATTEMPT AT YOUR OWN RISK.
first you will need to remove the rear hatch cover. To do this you will need to remove the two torx screws using a T25 bit. The screws are located in the handle areas inside the lid.
Then to remove the cover stick your finger in behind the plastic next to the latch and then move your hand down along the bottom and pull down. you will hear the clips pop out. It does take a little force along the edges to pop them out but keep moving right around till you get all the way up the side.
From hear you will need to unplug the boot release connector from the badge.
then unscrew the three screws holding the badge in using a T20 torx bit.
Then twist the badge clock wise and it will drop out.
Before you can put the camera in you will need to do some prep work to it.
first you will need to cut of the lock tabs as the will strike the original mounting holes. Just use a pair of side cutters or a dremel if you have it. Even a sharp stanly knife can work. Ther are 2 tabs to remove.
Then unclip the boot release connector.
and the video signal cable clip from the camera badge.
then the camera part will pull apart from the badge.
Unlike the polo the golf badge has a drain point which i have removed for two reasons A: my bracket covers the hole and B: to direct a hose into the lid and out the bottom would have too many turns, notable at the point at which it exits the badge and hits the boot latch housing as the polo lid is not as long as the golf. I was worried it would just kink and not drain properly. The Polo badge has no drain and works fine so i removed the hose connector.
I used some silicon to fill the hole. Any water tight silicon will do. I used black sicaflex -227 as thats what i had in my garage plus it is automotive grade and the same silicon used for doing windscreens.
Once this is done the badge can be mounted using the original screws. Place them in till they just touch the bracket then adjust the badge so it is central looking from the outside. then tighten once happy its aligned.
then re attach the camera, using the 4 screws and reconnect the video cable clip and boot release connector.
Now for the wiring. first thing i did was pull the yellow an black wire out of the loom so they dont run all the way to the front. the black i pulled out all the way, The yellow i left in about 2m to reach the rear of the tail lights(i actually took all the tape of and retaped the loom with fabric tape with the wiring where i wanted but you can do this how you please). I then depined the 26 pin connector. this will make it easier to thread the wiring through the hatch area without having to cut of any plugs. And once its all thread to the front you can just re-insert the pins. To do this cut the zip tie of from where the wires enter the plug. Then using a small flat tip lever out the two tabs on each side and slide the inner part out. Then to get the pins out press a pin, scripe or somthing else pointy into the side to depress the tab on the pin and pull the wire out. The tab holding the pin in may pop back out as it hits the second hole. Just push it in again and pull out.
this is the wiring with tape of.
And taped back up.
.To be continued....................

Comment