G-8VXWWTRHPN my 1975 B1 LS coupe - VWWatercooled Australia

Announcement

Collapse
1 of 2 < >

Email Notifications Failing (mostly Telstra)

Hello everyone. Seems there is an issue with Telstra (possible others) blocking email from our server. If you are trying to sign up I would suggest a different email if possible. If you're trying to reset your password and it fails please use the Contact Us page:
2 of 2 < >

Welcome to the new look VWWatercooled

After much work and little sleep there is a new version of the forums running on more powerful and recent hardware as well as an upgraded software platform.

Things are mostly the same, but some things are a little different. We will be learning together, so please post questions (and answers if you've worked things out) in the help thread.

The new forum software is an upgraded version of what came before, it's mostly the same but also a little different. Hopefully easier to use and more stable than before. We are learning together here, so please be patient. If you have questions, please post them here. If you have worked something out and can provide an answer,
See more
See less

my 1975 B1 LS coupe

Collapse
X
 
  • Filter
  • Time
  • Show
Clear All
new posts

  • my 1975 B1 LS coupe

    Hi guys.

    Im new to this forum...
    I stumbled across this site today and Registered.

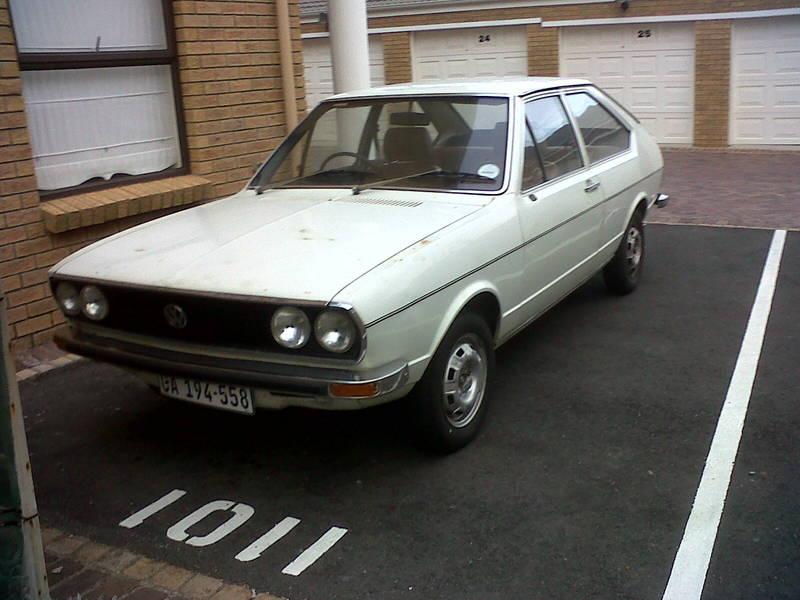
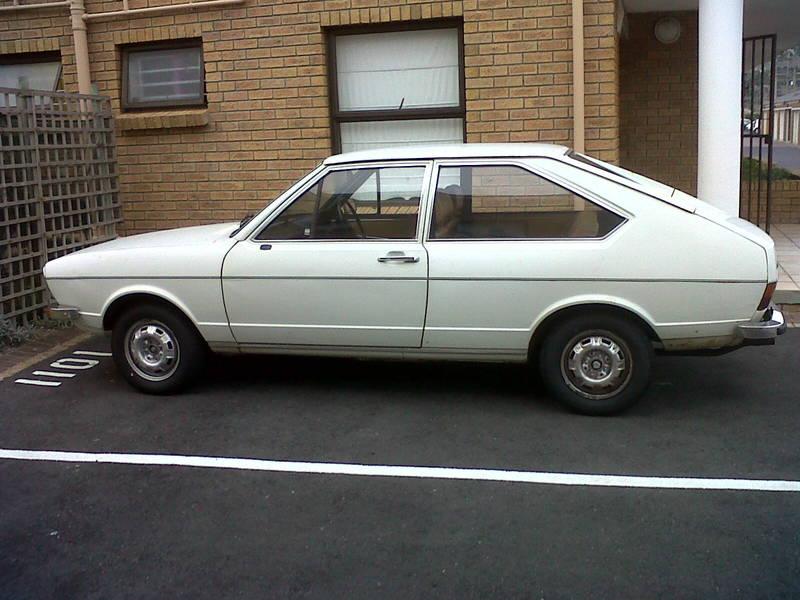
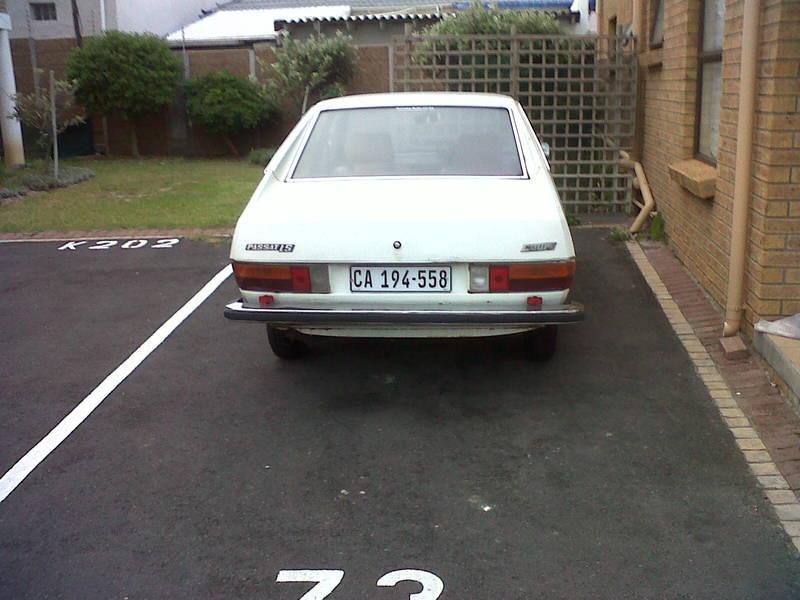
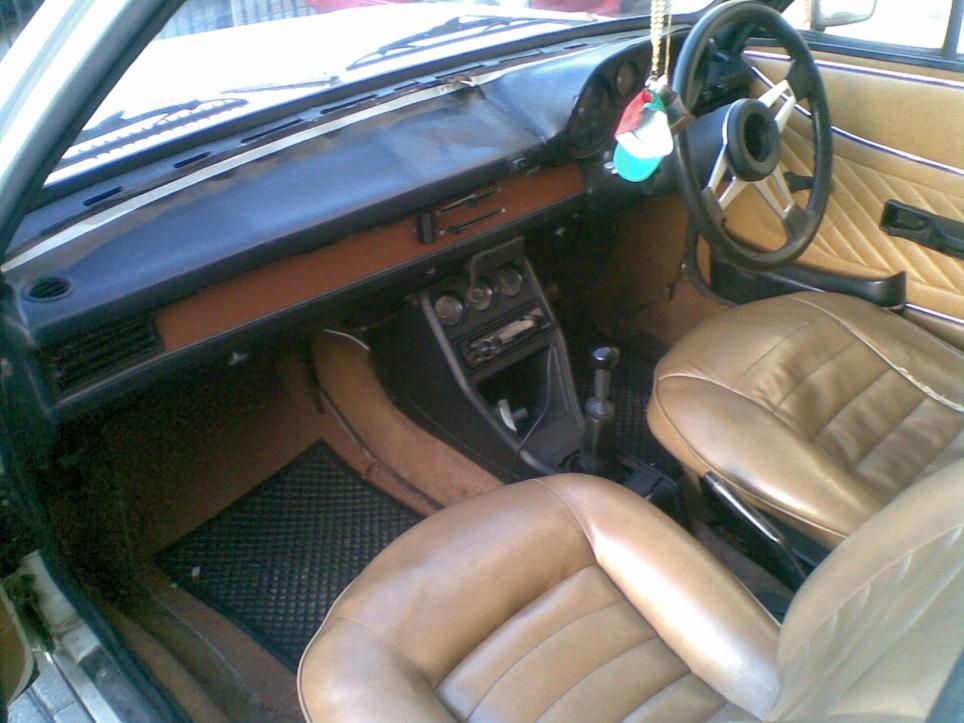
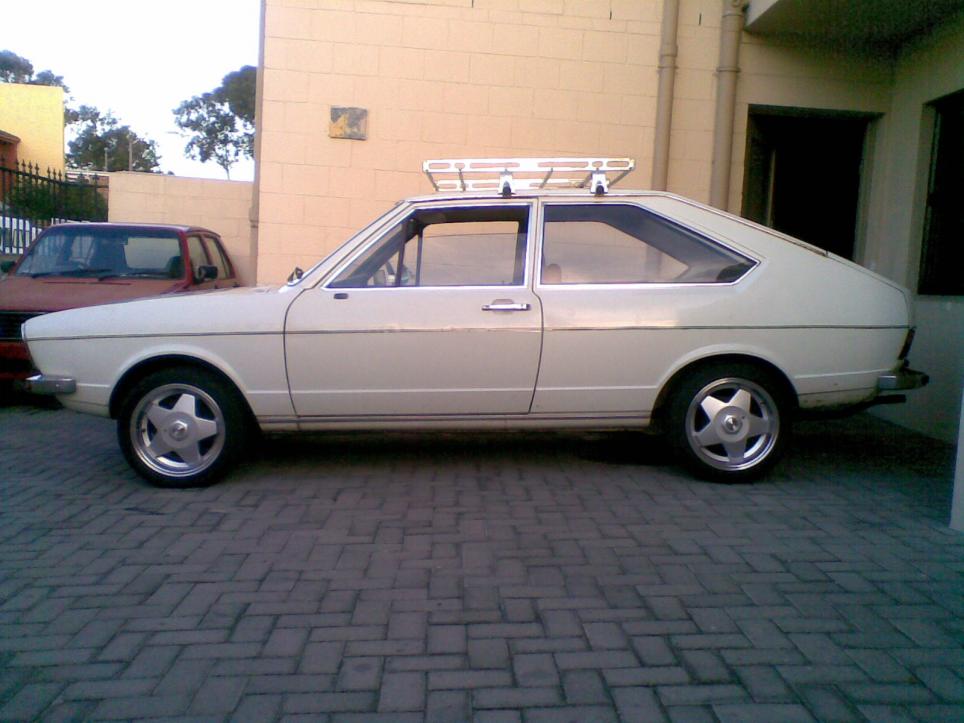
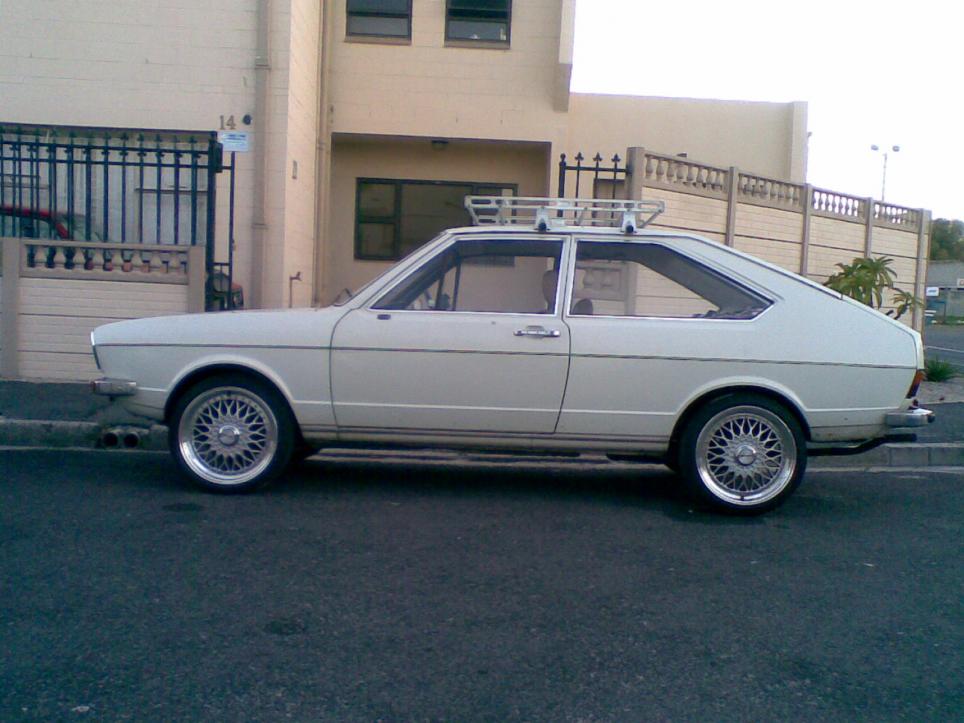
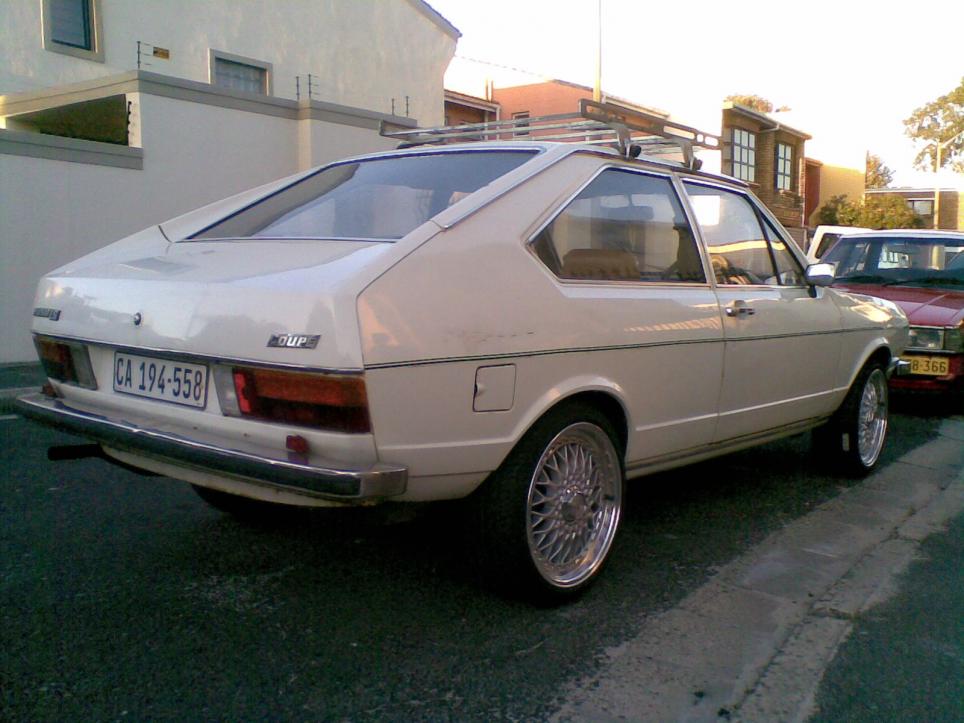
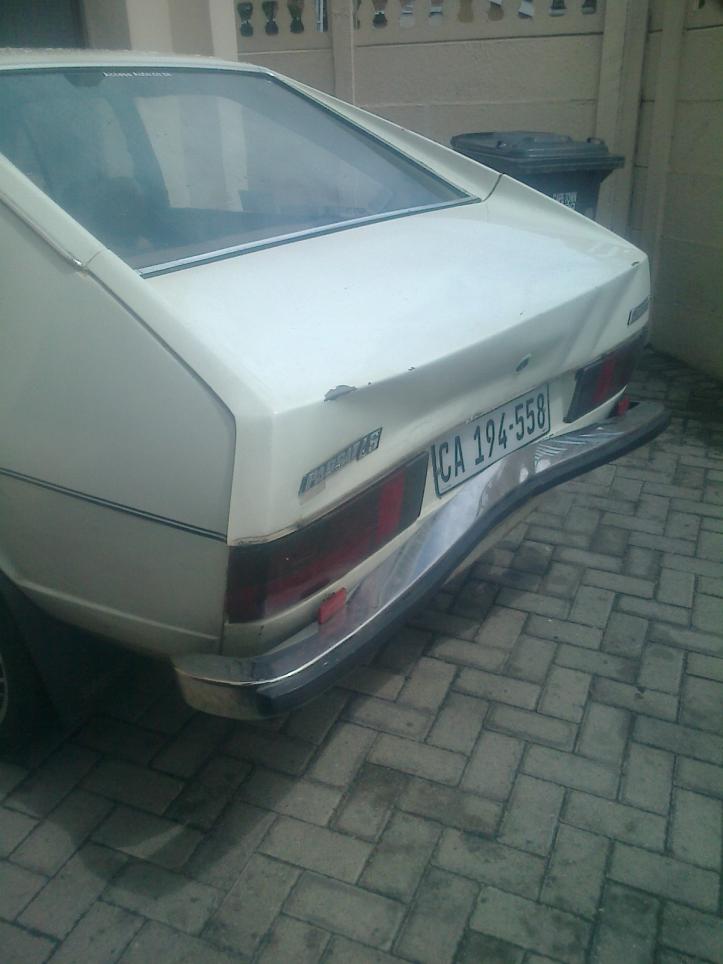
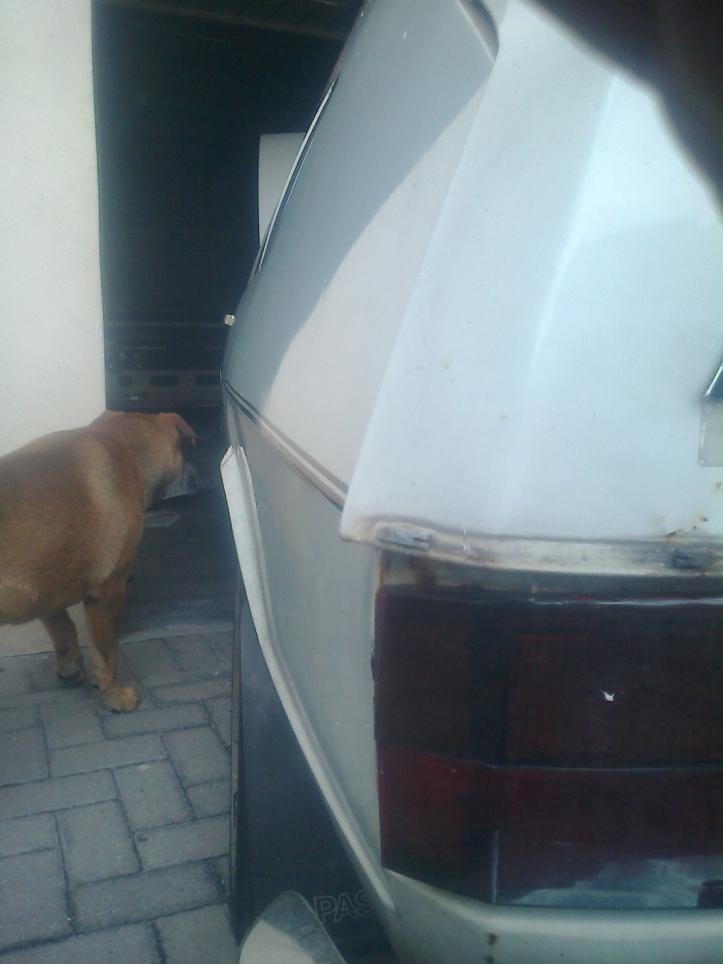
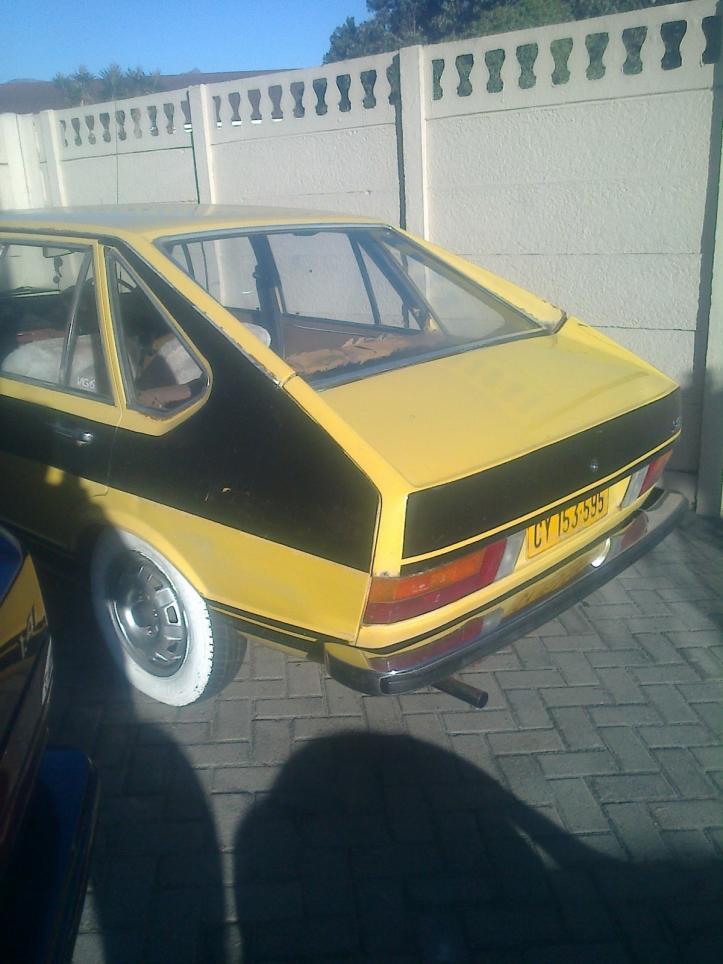
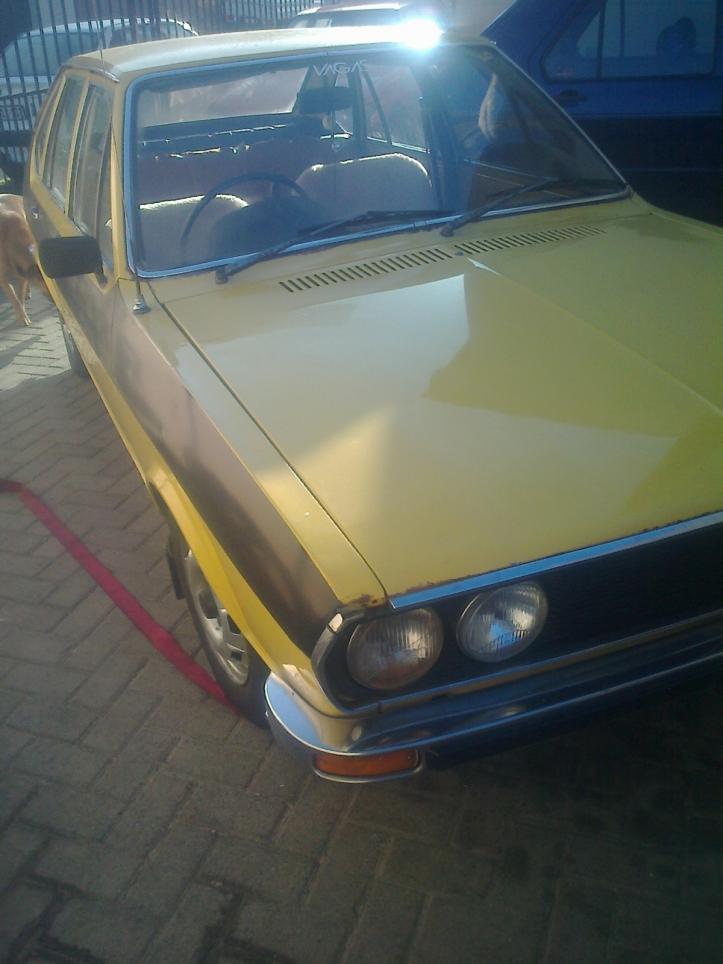
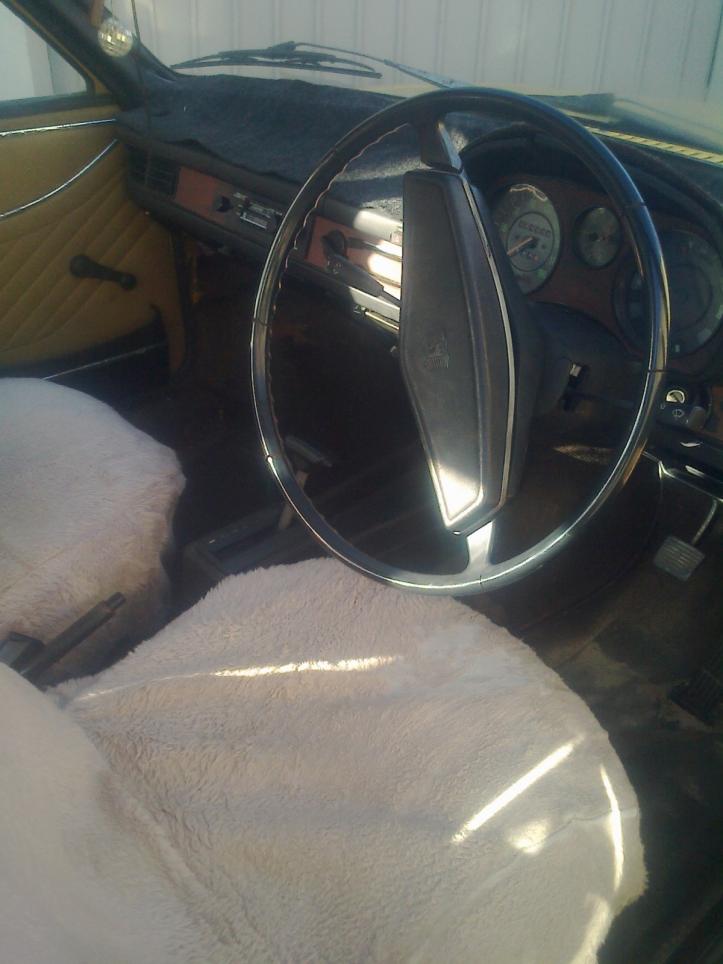
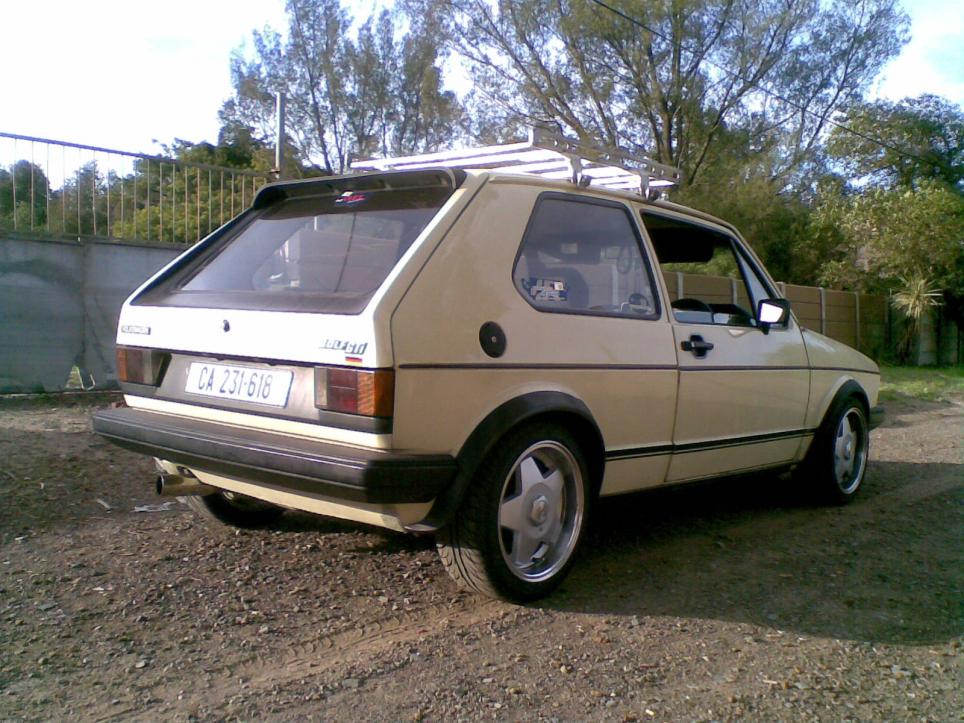
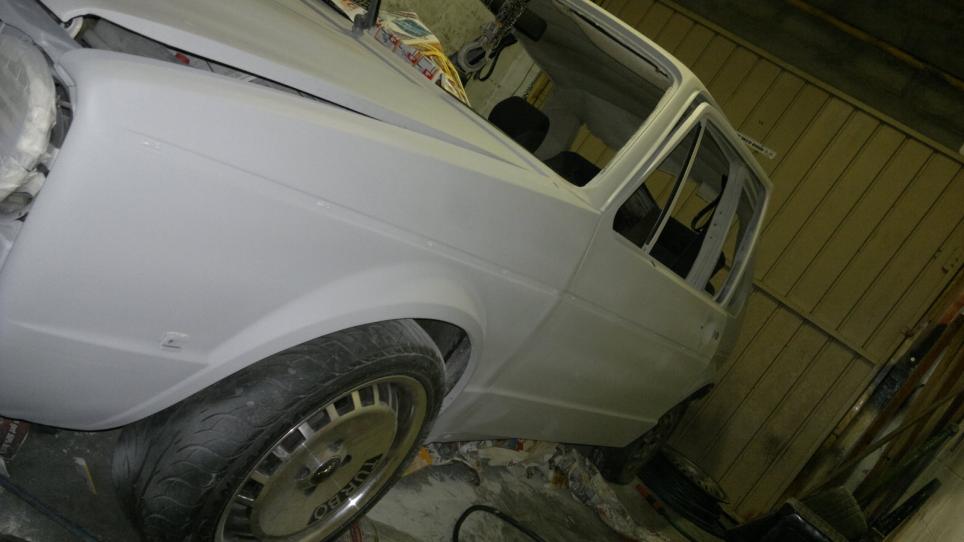
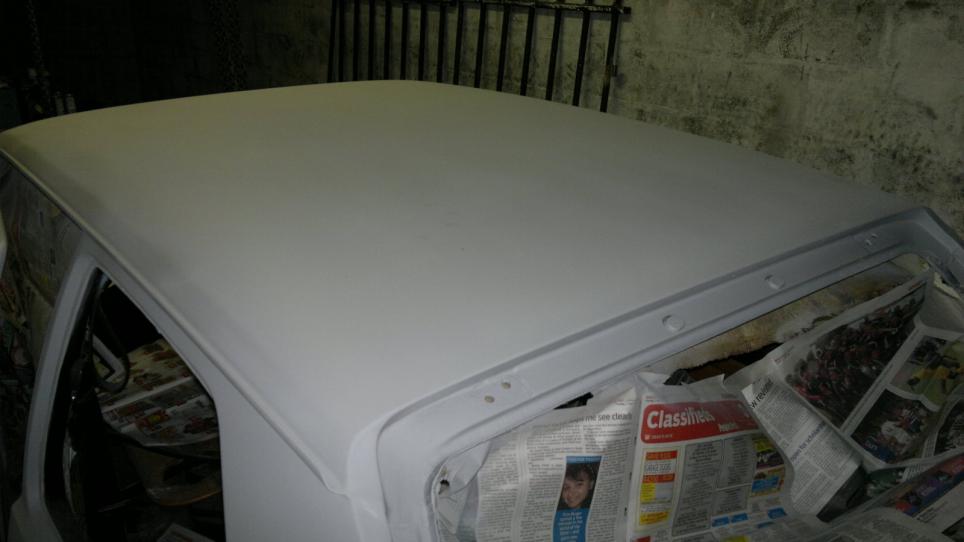
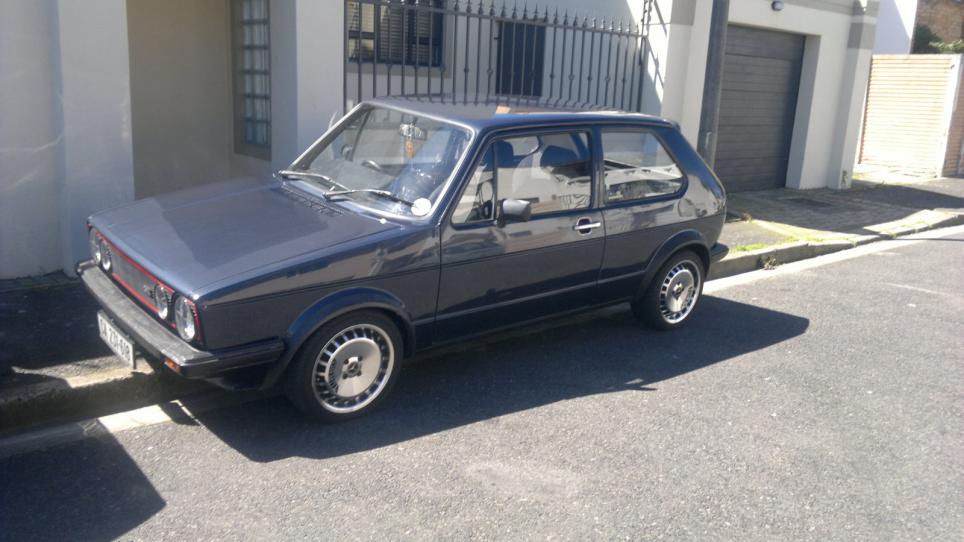
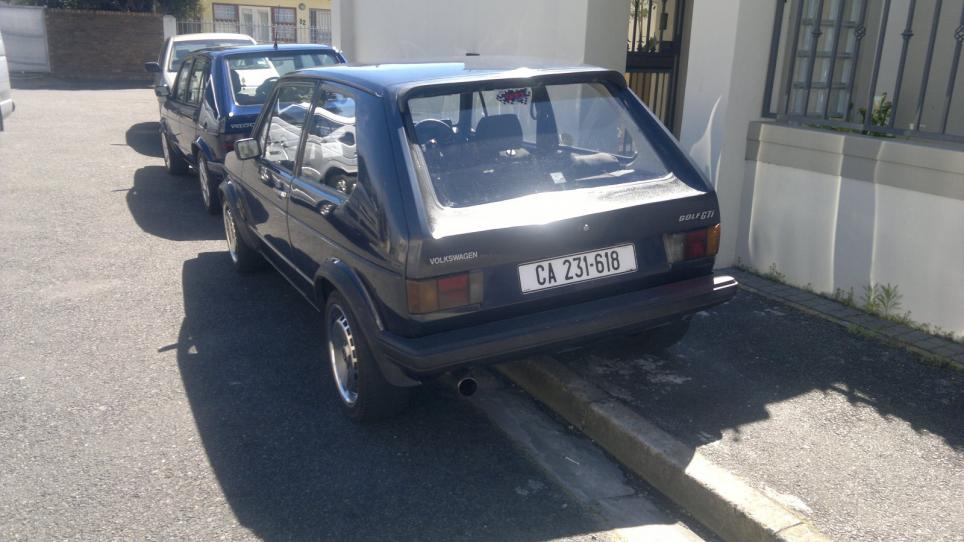
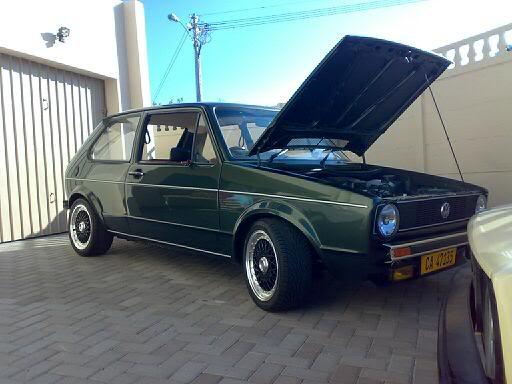
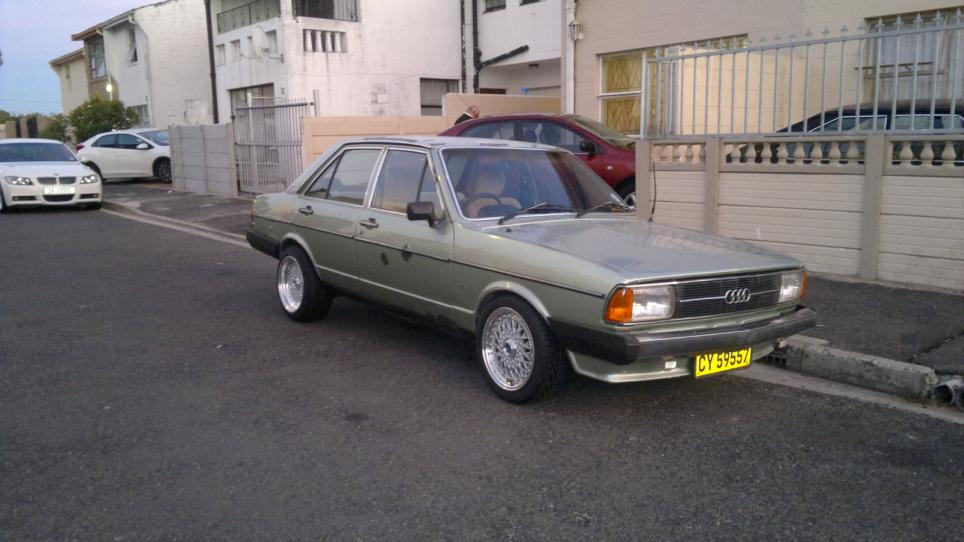
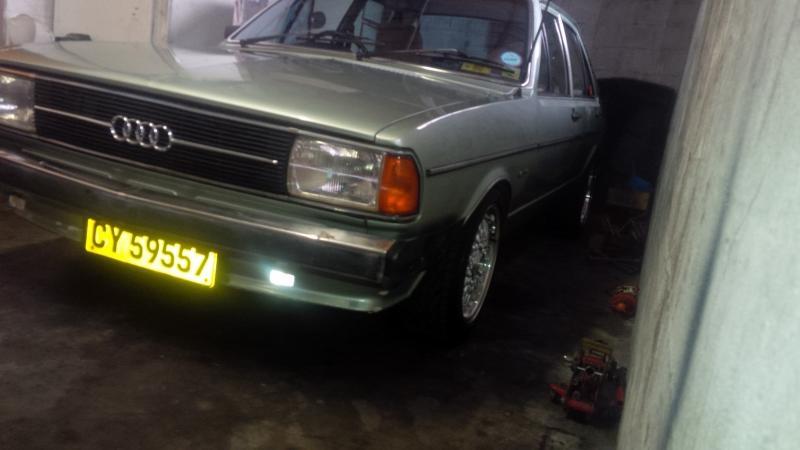
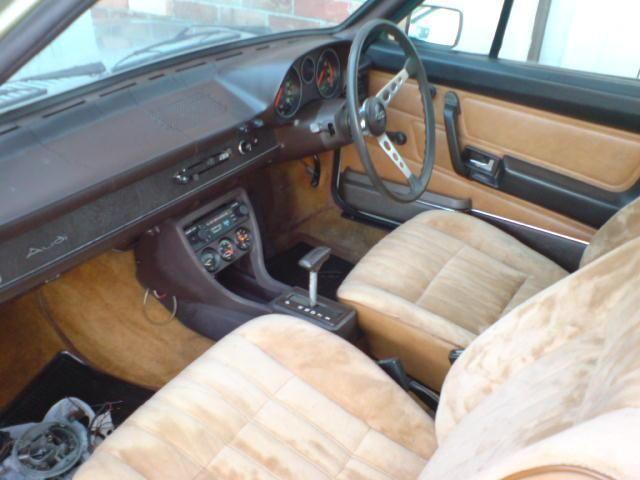
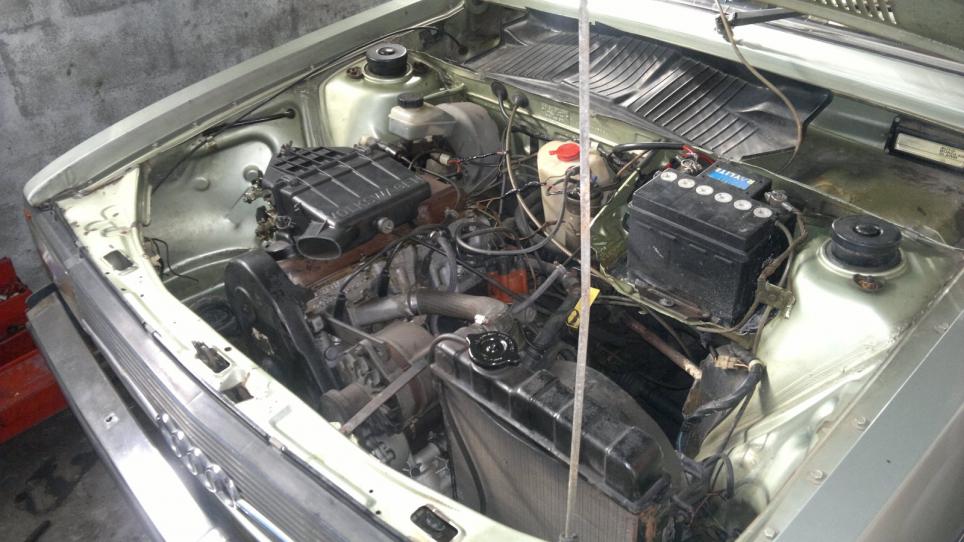
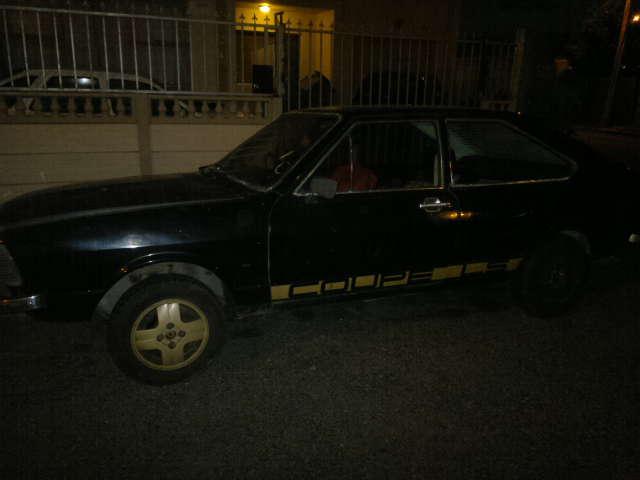
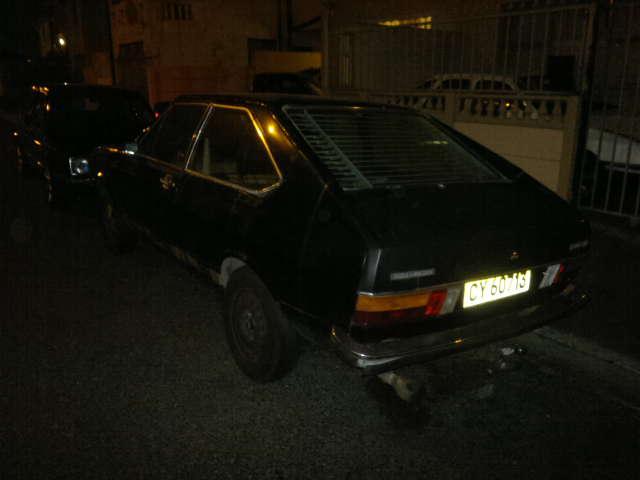
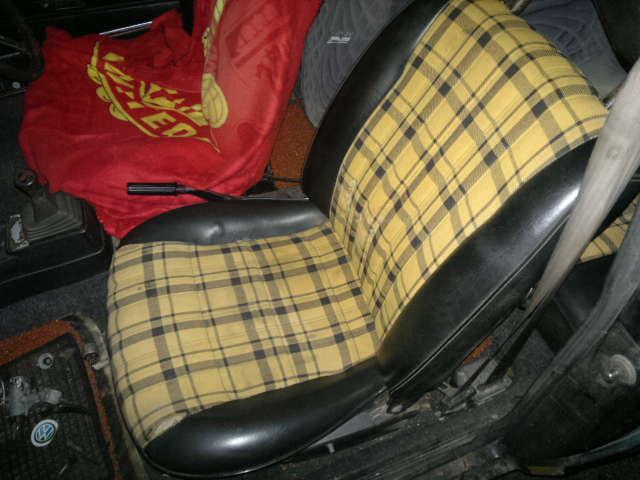
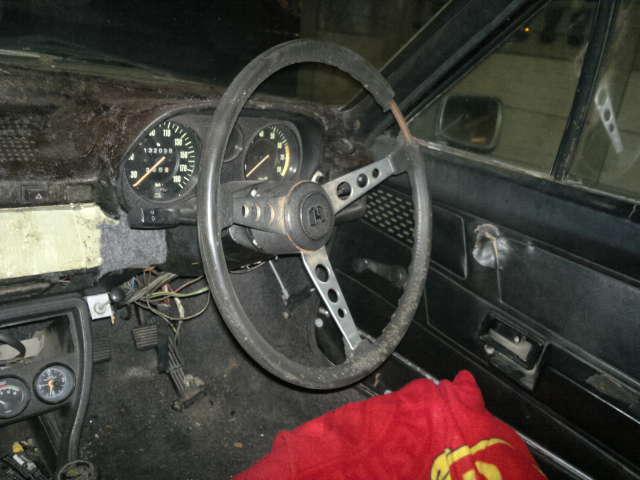
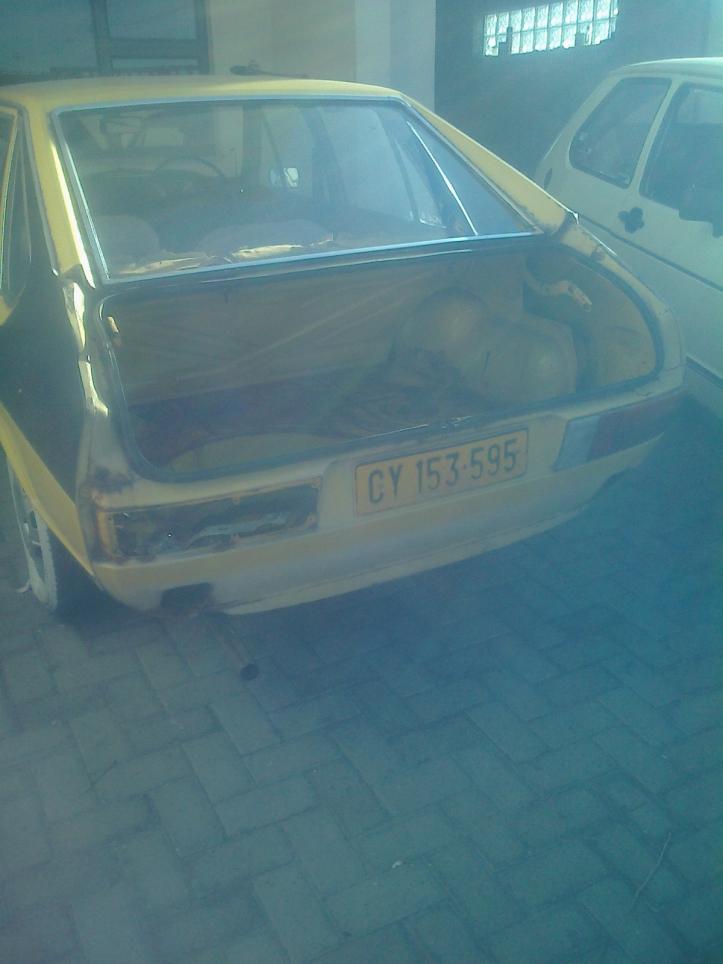
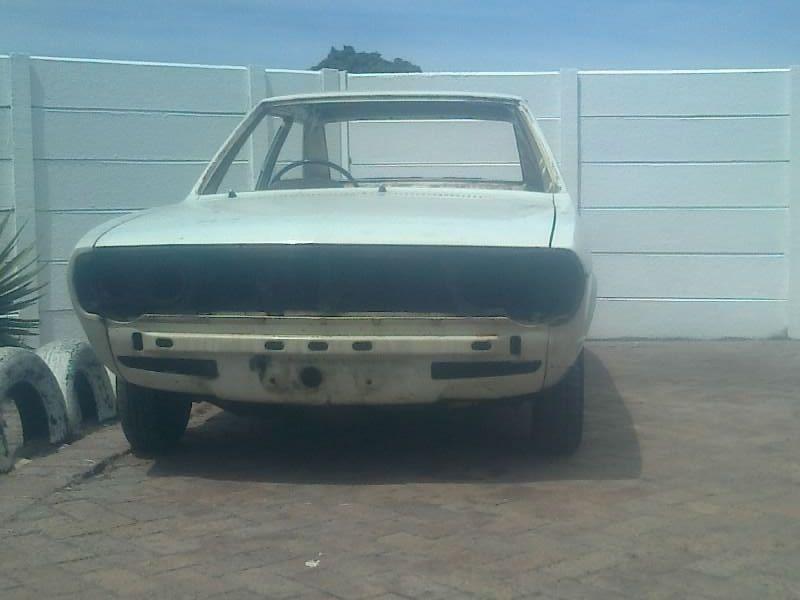
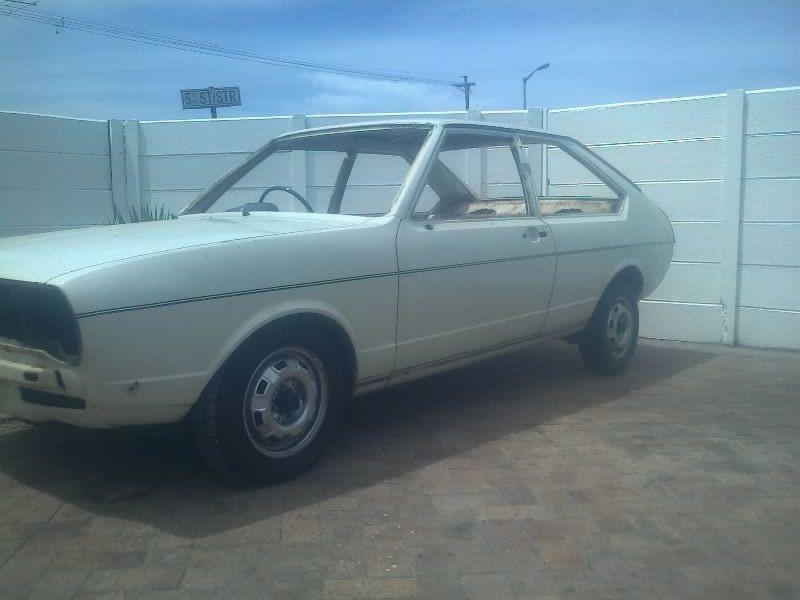
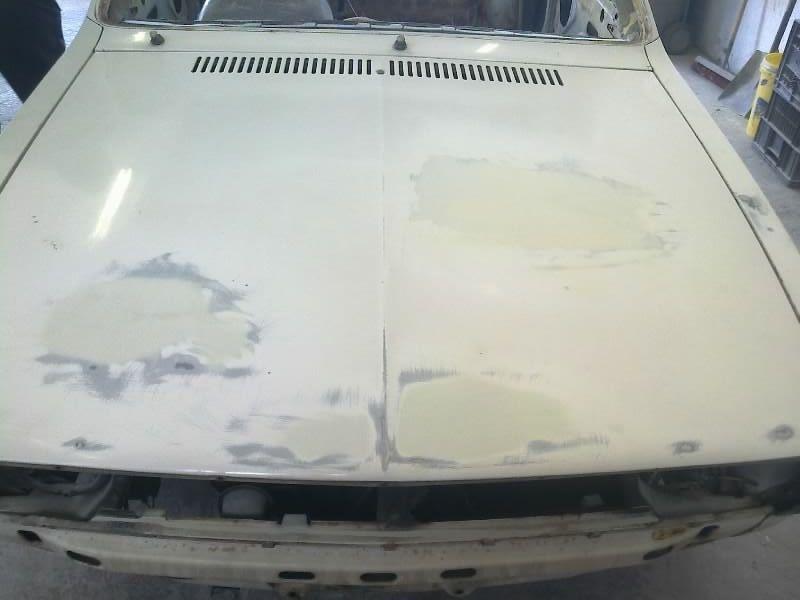
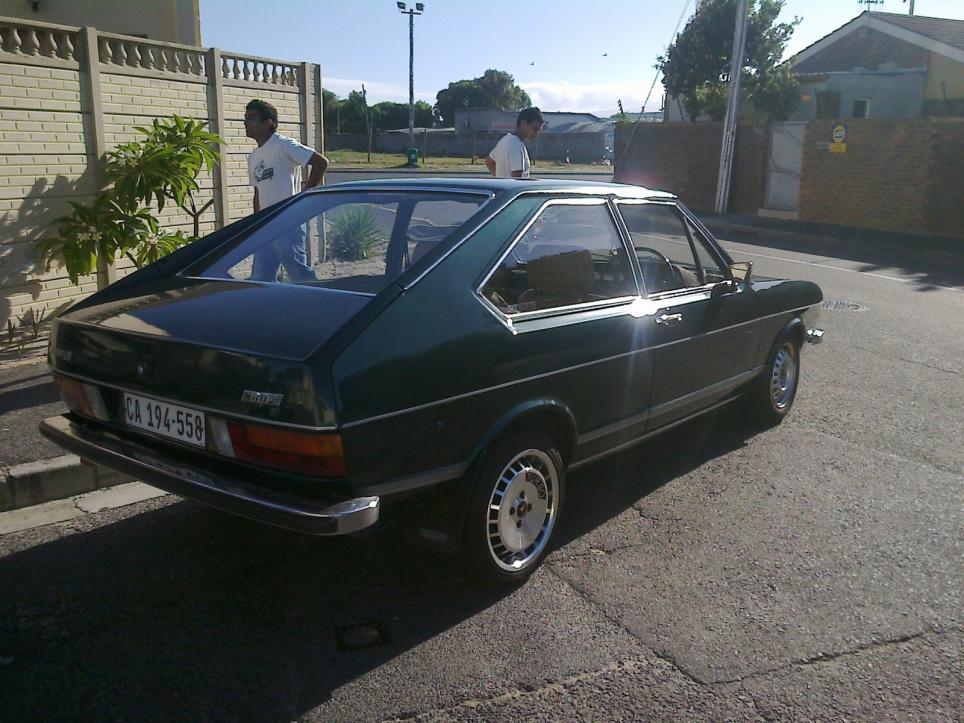
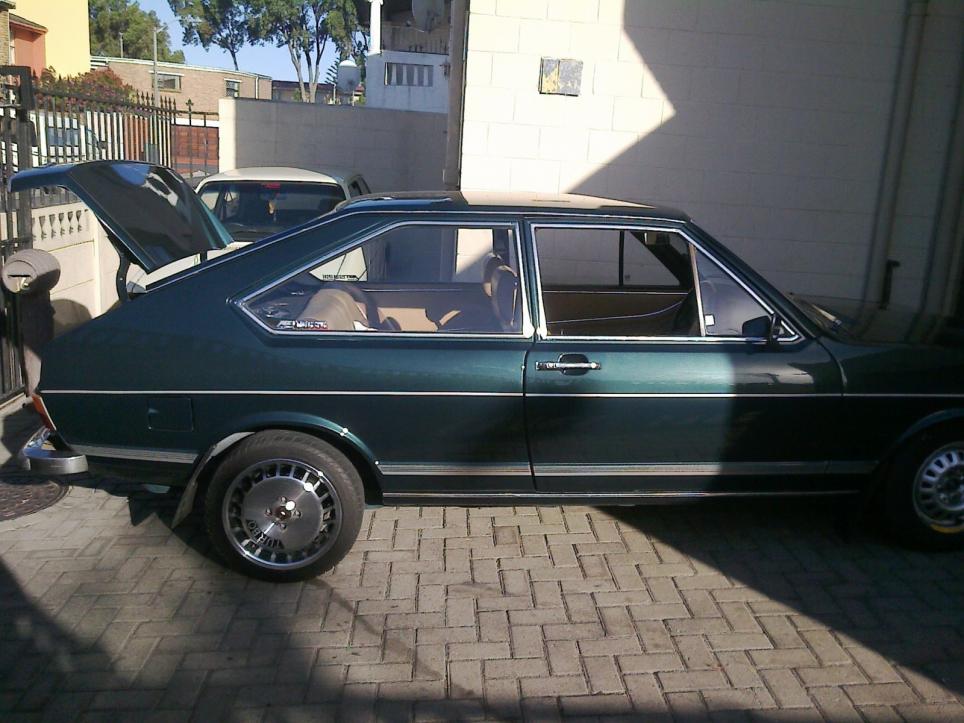
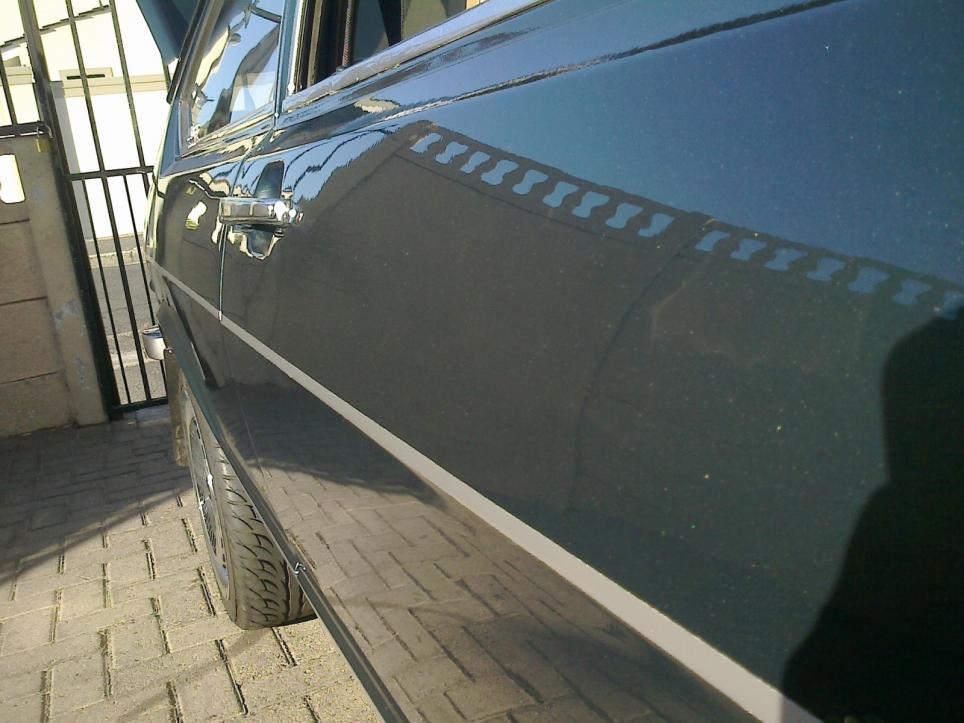
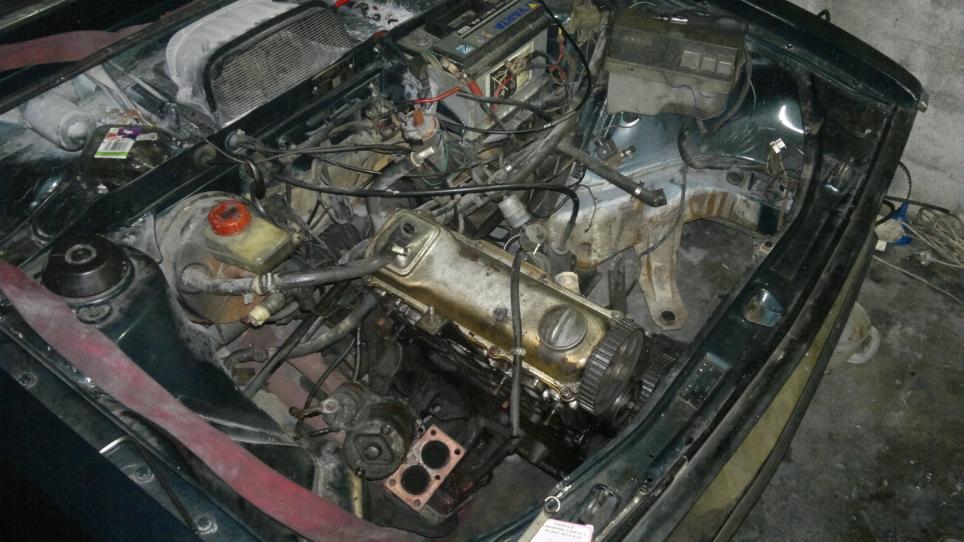
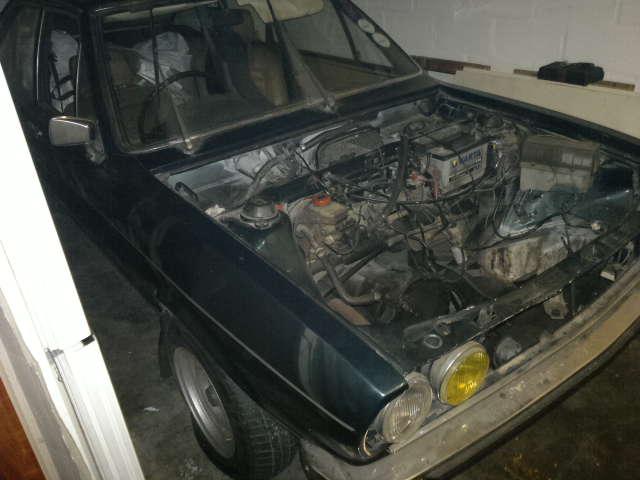
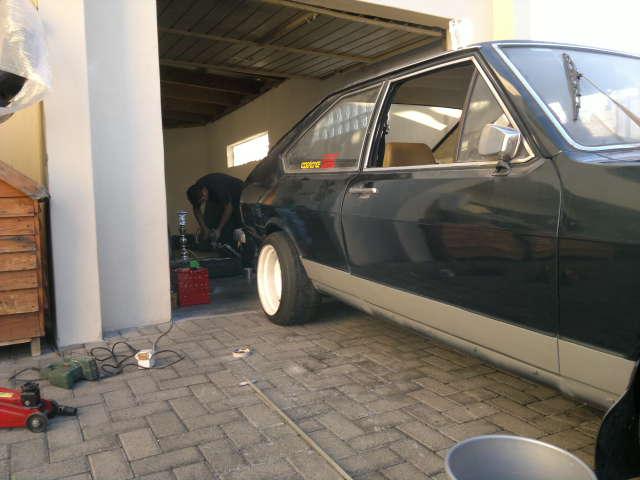
    I own a '75 LS coupe. Was 1 owner vehicle when i bought it and garaged all its life.
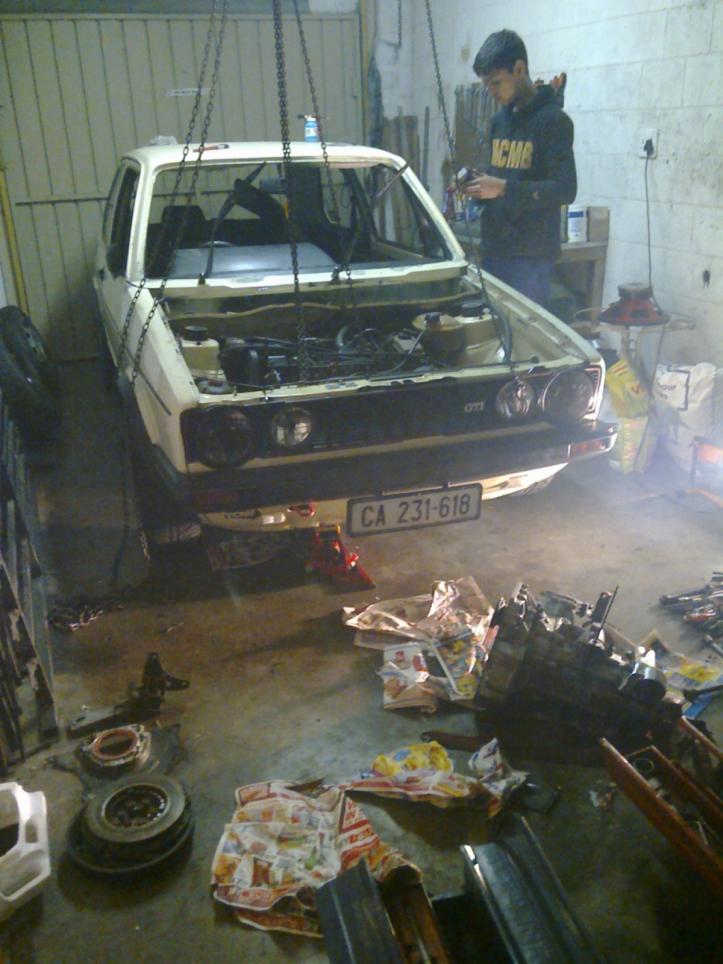
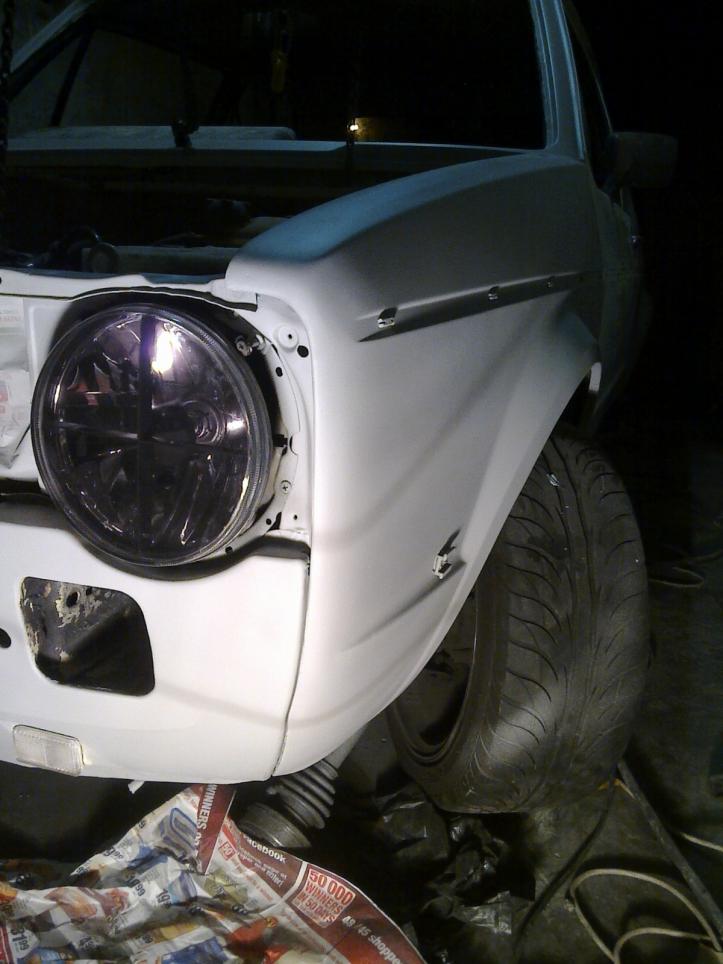
    has gone through a few changes over the years...
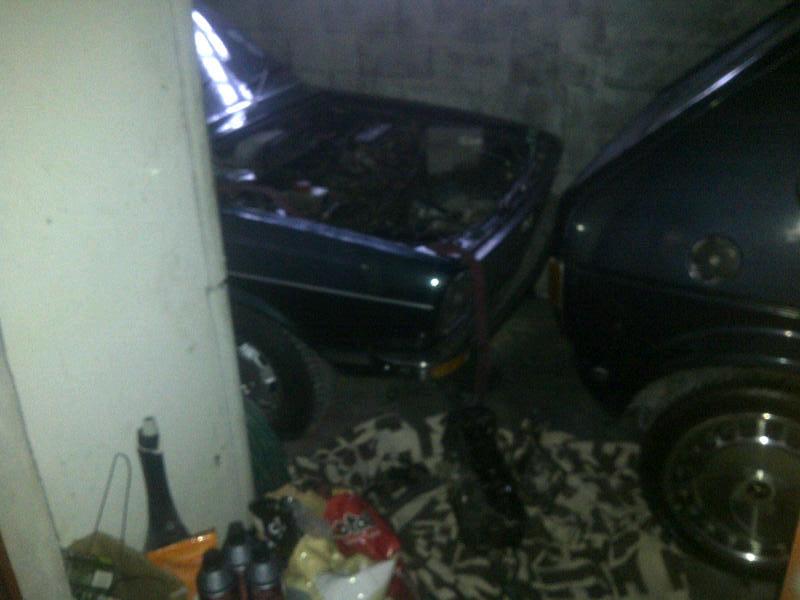
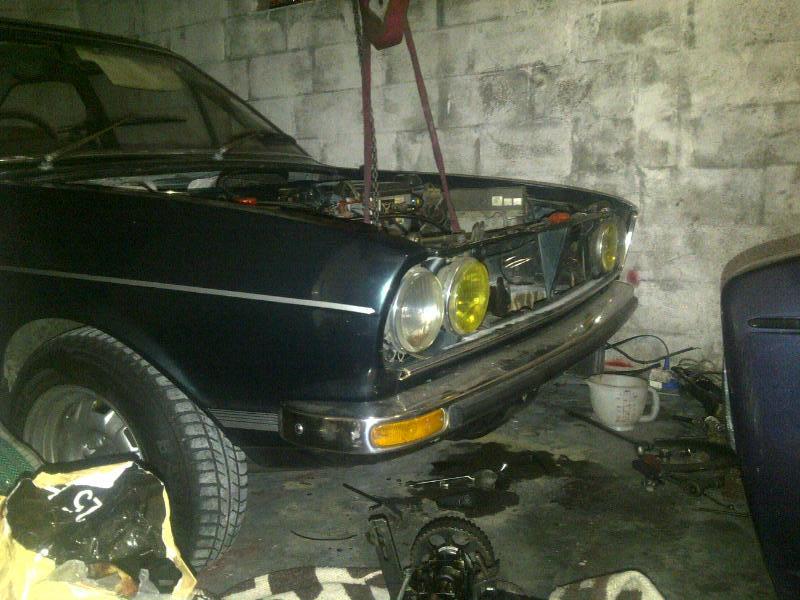
    but here she is when i got her


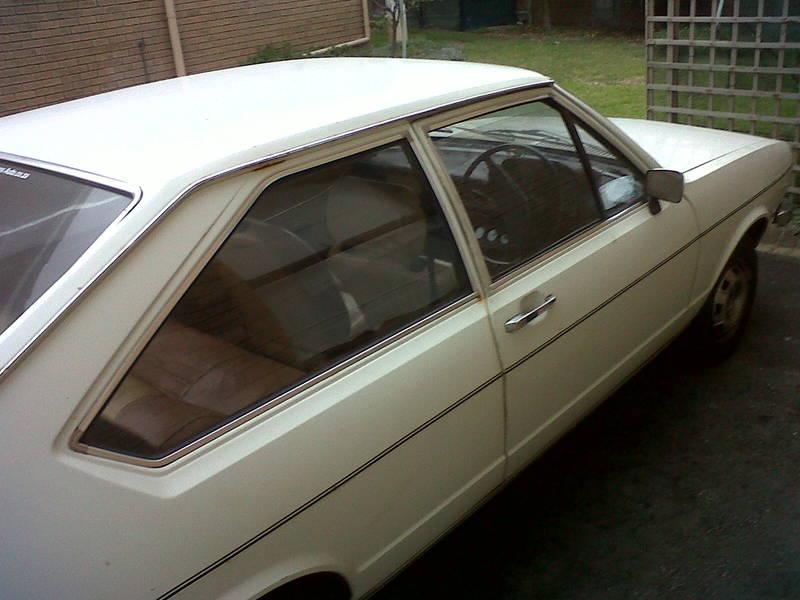
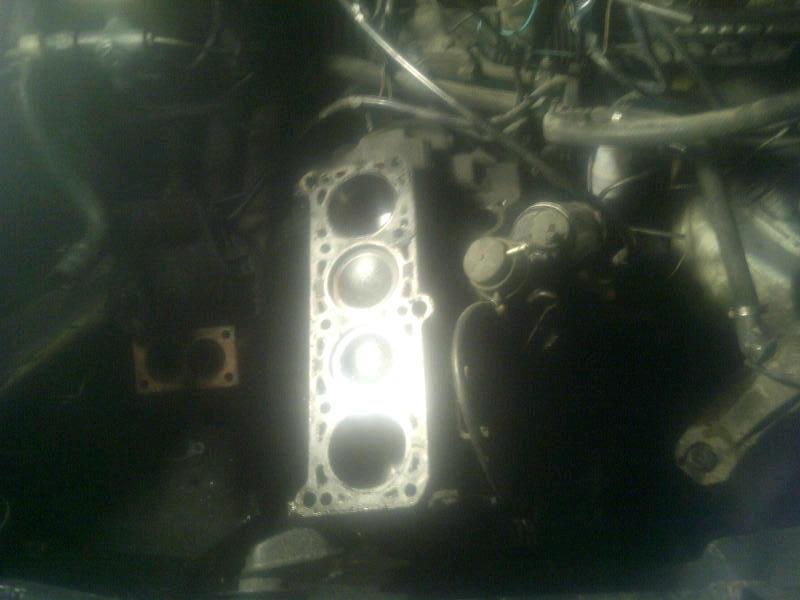
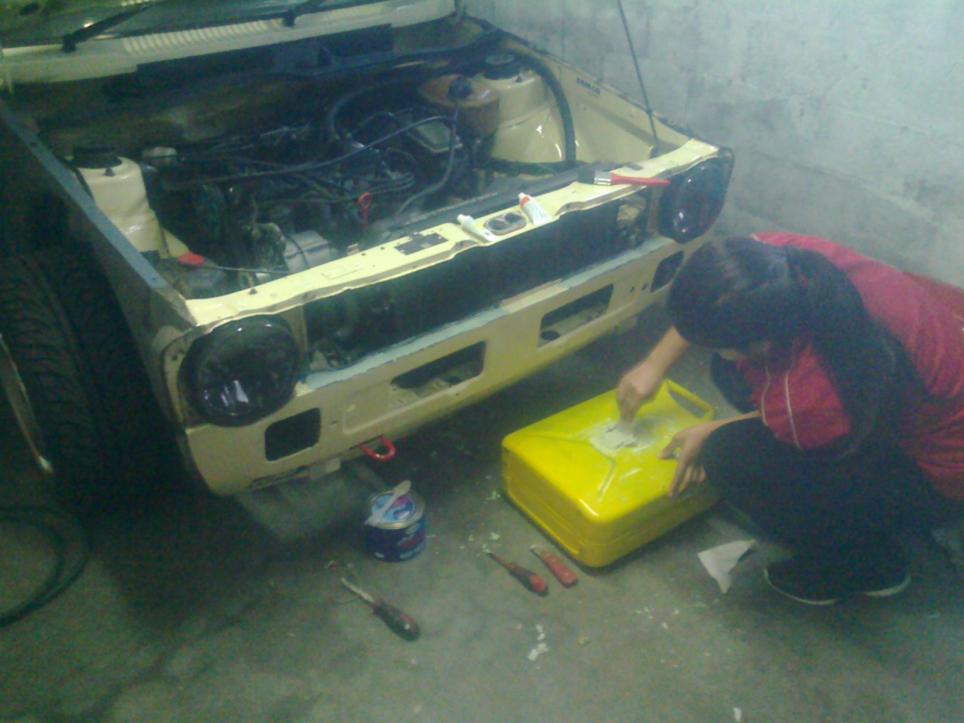
    million more pics... Will post as time goes on

    Khalid

  • #2
    Fitted my Gti Wheel to it.
    Some Borbet Reps


    Then some low


    Streetmods Auto show


    New wheels

    Comment


    • #3
      Then this happened..


      My MK1 can be seen hibernating in the garage


      Bought this as spares ( '75 1600 Auto ) AUS$260


      will post up pics of the Strip down and respray tomorrow.
      Went with British Racing Green

      Thanks for looking

      Comment


      • #4
        Love the car. Love the wheels (both sets). Love the steering wheel - you don't have a spare do you?

        Hate the black paint on the yellow one, what were they smoking when they did that?

        What are your plans for the Golf?

        Cheers

        Paul
        1978 MK1 2.0 16v http://www.vwwatercooled.com.au/foru...-46488-70.html
        1991 MK2 GTI 2.0 8v, white (RIP) and it's red replacement http://www.vwwatercooled.com.au/foru...gti-42078.html
        1997 MK3 CL http://www.vwwatercooled.com.au/foru...ml#post1292061
        2001 & 2002 Bora 4motion. http://www.vwwatercooled.com.au/foru...st-123823.html

        Comment


        • #5
          Originally posted by sports racer View Post
          Love the car. Love the wheels (both sets). Love the steering wheel - you don't have a spare do you?

          Hate the black paint on the yellow one, what were they smoking when they did that?

          What are your plans for the Golf?


          Cheers

          Paul
          Thanks Paul...
          Yellow one was bought from some Permanently drunk dude.
          I actually gave him a car stereo system for it.. HAHAHA... said it over heats after came from mechanic..

          by the time i got home, after towing it, turns out entire engine was Redone and the Idiot mechanic connected Rad fan directly to the Battery. so you need to Connect wire to battery in engine bay for fan to stay on permanently till you you remove it when parked..

          Yellow one i needed just for rear valence, boot, bumper and Left tail light. Sold it with Beige passat busted up panels...

          The 2door is a UK import Gti... After owning it for 10 years, sold it to my cousin. ARROW Straight body. minimal rust. so still in the family
          Shots of my 2door


          Then did this ( flat down and Derust )

          Primered


          Helios Blue.


          Engine was a 2.1Stroker. 1.9lTdi crank, balanced bottom, 2l polotech head ( FULL RACE ), skimmed 1.5ml, highrev retainers, 292deg cam, flowed and Ported head, Full drag box and Twin Delorto Side draughts.
          Last reading, 131.6kw 307nm Torque.. Was a beast
          Engine in Question


          plans are same engine as this in passat...(practically done but will post up more past to present pics of the passat)

          Comment


          • #6
            Some other cars i owned in the past:

            1981 Gls


            1980 Golf L


            1975 Audi 80


            1978 B1 ( Current Parts Car )


            Comment


            • #7
              Oh and I personally dont have an Extra wheel like that. but, i have a few buds who hoard spares...

              you fancy black? or brown... I will confirm in meantime who has a spare

              Comment


              • #8
                Apologies for the HIJACK ...
                back to the B1 ..
                So removed the boot, bumper and Left taillight from the car


                Got B1 to a buds shop and Stripped it down


                Prepped


                Primered


                Painted ( British racing green )


                Then the 1300 engine died on me..


                And at the same time, I went to work Away from home allot.
                My Youngest bro Removed the engine and installed a Mk3 2E long block


                After Dyno and test drive, Broke a mounting .... Thats when she went to park for just over a year ... :'(
                As she stood in sad state:


                After getting married, My new wife ( Who loves OLD CARS TOO, pushed me in the right direction on completing the car and getting it going again )..
                here she is mixing filler for my 2door gti ( why on the jerry can, i have no clue ) lol

                Comment


                • #9
                  So the rebuild Began....
                  While working away, My bro used the car... Neglected it abit yeah, motor bike slid into driver side too...
                  so i got back into it...
                  bike damage:


                  Now to get the Box out! Well Protected


                  So i got the lazy, tired 4Speed out and used the one from the Donar car ( black LS above )
                  4Speed out


                  Donar box...
                  Note the Difference in the Linkage setup between the '75 and '78 B1's.
                  Top is the '75s and bottom the '78s


                  The Channels on both cars are totally different. the '75 has a Low channel wit the Linkage Outside the car. where as the '78 has the high Channel with Linkage running Into the car.
                  In order to use the high channel setup, especially for 5speed gearbox install, requires the low channel to be Cut out and high channel welded in. Since im not good at welding, left that for now...
                  For anyone wanting to achieve this, Here is how a bud of mine staying few thousand km's from me did his...

                  The Channel Conversion
                  Cut out the Old Channel


                  Weld in the Raised Later model channel


                  Mountings are diff too..
                  Old mounting sits to rear of box


                  New ones are to side of box ( below taillight is mounting and brackets )


                  Donar box installed on my B1


                  Next up, Engine ...
                  Last edited by ExtremeGti; 30-12-2015, 05:08 PM.

                  Comment


                  • #10
                    Right. so having an amazing setup, (im a carb lover BTW), on the Gti, i decided to do the same for the B1 ..
                    sourced an 1800 Short block out of a Jetta cli and a head modded to spec.

                    parts:


                    82.5mm 2.6 Caravelle Pistons


                    Rear box mounting fooked

                    All Fixed up

                    Comment


                    • #11
                      Assembly


                      Ignore the bearing where thrust washers must be... ( forgot i got the 1 piece instead of thrust washers separate )


                      next is install ( FLIPPING HARDEST TO DO EVER!!!! )

                      Comment


                      • #12
                        What is it with you SA's? I've got a few friends who have emigrated to Australia and they all tell stories of the great MK1's they used to have back home. Then you come along and prove how good the local scene is. Love your GTI.

                        So you like carbies?

                        Here's my engine bay before the previous owner dropped a valve and destroyed the engine. I'm currently fitting the 2.0 out of my wrecked MK2 into the MK1 (2E block from a MK3 with the MK2 1.8 GTI head). Once it's registered I'll put in an ABF with the twin Dellortos.

                        Click image for larger version

Name:	engine0616_zps7f2f73da small.jpg
Views:	1
Size:	95.6 KB
ID:	1820665

                        Just needs a black Wolfberg steering wheel to finish the car off nicely.

                        Keep up the great work and post lots of photos. You also need to start a post in the MK1 section. Very interested in what you've done to the engine.
                        Last edited by sports racer; 31-12-2015, 01:27 AM.
                        1978 MK1 2.0 16v http://www.vwwatercooled.com.au/foru...-46488-70.html
                        1991 MK2 GTI 2.0 8v, white (RIP) and it's red replacement http://www.vwwatercooled.com.au/foru...gti-42078.html
                        1997 MK3 CL http://www.vwwatercooled.com.au/foru...ml#post1292061
                        2001 & 2002 Bora 4motion. http://www.vwwatercooled.com.au/foru...st-123823.html

                        Comment


                        • #13
                          Originally posted by sports racer View Post
                          What is it with you SA's? I've got a few friends who have emigrated to Australia and they all tell stories of the great MK1's they used to have back home. Then you come along and prove how good the local scene is. Love your GTI.

                          So you like carbies?

                          Here's my engine bay before the previous owner dropped a valve and destroyed the engine. I'm currently fitting the 2.0 out of my wrecked MK2 into the MK1 (2E block from a MK3 with the MK2 1.8 GTI head). Once it's registered I'll put in an ABF with the twin Dellortos.


                          Just needs a black Wolfberg steering wheel to finish the car off nicely.

                          Keep up the great work and post lots of photos. You also need to start a post in the MK1 section. Very interested in what you've done to the engine.
                          WOW!!! I would eat of that engine!!!! lol..
                          Sad day when i sold the GTi. but B1 should make up for it. And, i have first option to buy the car back if its ever forsale...

                          I will pop round to Few buddies this weekend. Tell you Monday if i got one for you. Shipping to Aus will be an issue.. hahaha. SO EXPENSIVE!!!!

                          My wife is Obsessed with the KRAFT Cheddar cheese from AUS... BUT DHL ETC WANT A CRAP LOAD OF ZARs to courier...
                          Maybe we can trade.. lol... Cheese for steering wheel
                          Last edited by ExtremeGti; 31-12-2015, 04:45 PM.

                          Comment


                          • #14
                            So its time to install the engine...
                            I must say, its the Hardest on this car than on my Mk1s. but Swearing and throwing things helps ALLOT with the install. lol

                            During install... ( YES YES YES, i know my angle is Off.. HAHAHA )


                            So this is how i got it in:
                            * Slid 4 building Blocks to hold the Gearbox up
                            * Slid the motor onto Gearbox shaft
                            * TOOOK 3 of us to tilt the motor so that we could get the gearbox bolts in
                            * once it got thread, Tightened to pull motor into place
                            * fitted other bolts
                            * THEN 3 of us again to tilt the Mounting below Branch into place..
                            SOOOOO TIRED!!!!


                            Fitted the Head and CAM


                            Bought a 16v Italvolanti Steering for it ( Plan was to do a 16v install but i changed my mind since its more work.. lol )
                            Pretty bad shape


                            Here is how to remove the Buttons WITHOUT damaging the clips. Small Flat screwdriver.
                            Pushed down dead center on the side of the button
                            Pulled screwdriver up and Out pops the button.


                            marked buttons cause the need to go in where they came out... (Screws and springs marked as well)


                            Stored so nothing gets lost while wheel is away


                            Trimmed the busted up softy bits


                            Want to keep those little bumps on rear of wheel


                            As it sits...

                            Also hunted these down like a MotherF------- ...

                            Seems to be a Sort after Part This side...

                            Comment


                            • #15
                              My first attempt at doing the dash too...
                              End of it all, The dash was too fragile to do any sanding of the fiber filler so i covered it till i find a Decent, solid dash

                              Items i used:
                              * Filler Foam ( To fill the cracks as they expand into space, and perfect replacement for the Missing Foam )
                              * Can of Bed Liner Spray
                              * Can of Matt Black Spray
                              * Fiber Filler
                              * Stanley knife
                              * Plastic Applicator
                              * Pratley WONDAFIX
                              * Dremmel tool

                              Steps i followed:
                              * Clean all the Cracks.
                              * Run wondafix at the base of the cracks to Seal/ replace the cleaned out foam ( IF the cracks are deep and you take it all the way to the bone )
                              * use fillerfoam over all the cracks
                              * Trim the filler foam slightly below level hight
                              * use the applicators to apply Fibre filler.
                              * Sand down to level it all off
                              * Spray the Rubber bed liner on ( 3coats )
                              * Spray the matt black paint on

                              Wished i got mine done, but the more i sanded, the more the dash bent and make creeking. cracking noises..
                              the Carpet will have to do for now... :'(

                              Pics:

                              Cracks in dash (Before removal)


                              Dash Removed + dremmeled out Cracks


                              Untidy Wiring

                              Comment

                              Working...
                              X