 Tweet
Tweet
After having not done anything to my car in what seemed like ages the urge to tinker and modify got too much. I never liked the ugly break calipers that comes standard even on the R-Line so thought I could change that. Whilst I would love to go with a whole new big break kit with new calipers I just can’t justify spending that much. I had thought I could just get a set of OEM Golf R covers but discovered they won’t fit as there is no mounting holes for them so that left painting them. Looking around most of the ones I found were all spray paint which I didn’t want as I know I would make a mess of it. Someone mentioned they were looking at Foliatec but I couldn’t anyone selling it here and the price to order and ship here was too much just for paint. I found someone in NZ selling POR-15 Caliper paint and after reading a bit it seemed to have pretty good reviews. They have a limited selection of colours, there was no way I was going to go yellow, silver was pointless and red and blue just didn’t really seem to match anything on the car so that left black. I had thought black would be best anyway since it is subtle and would match the other black bits and contrast against the silver wheels plus give it more the R look.
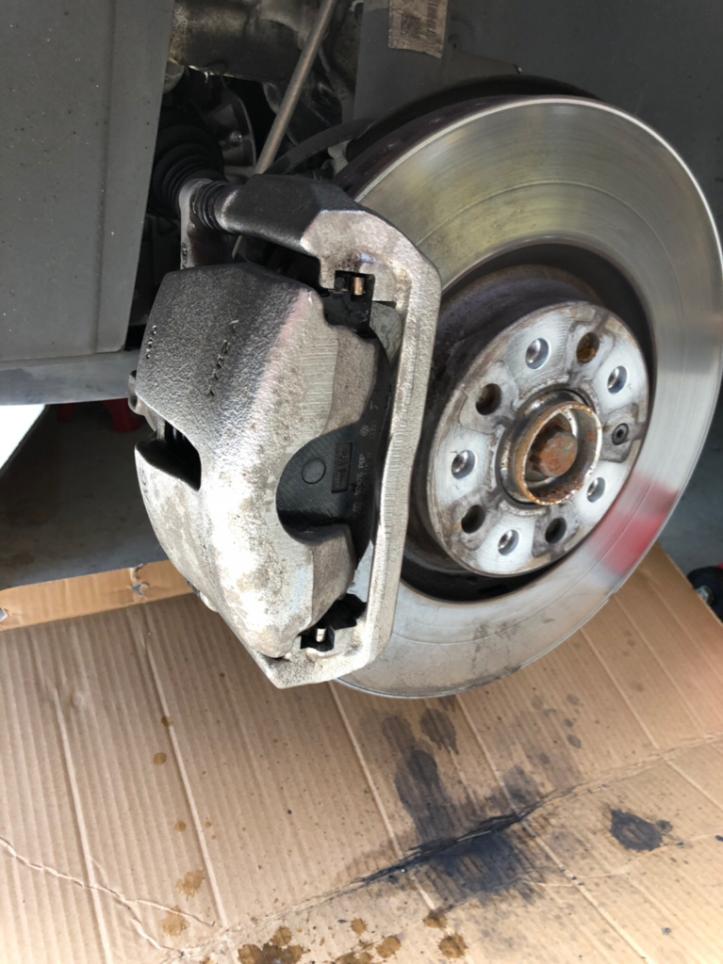
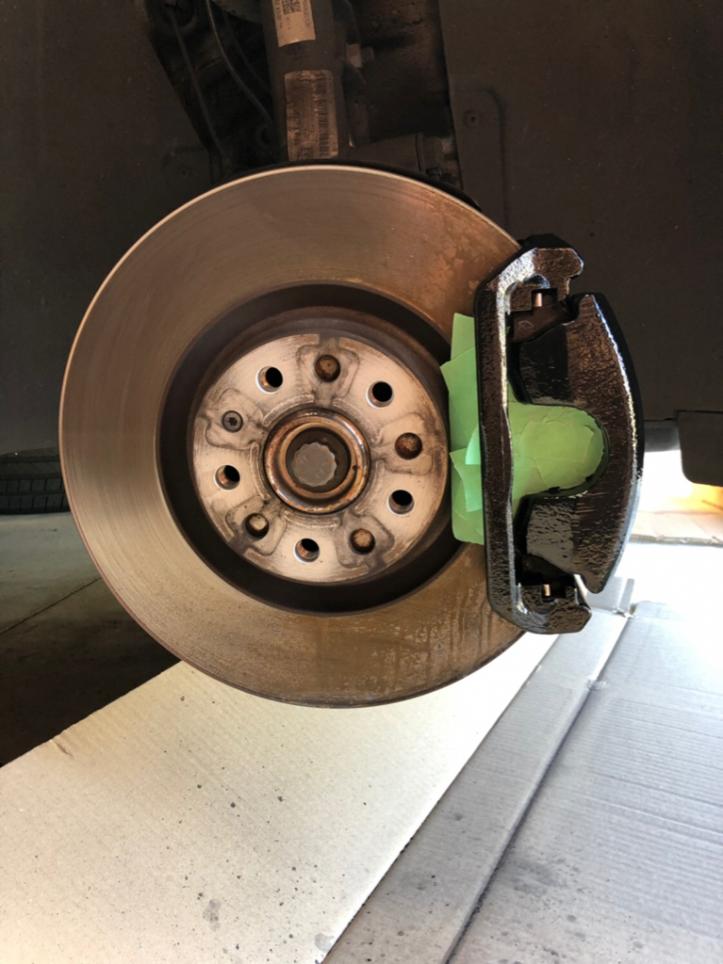
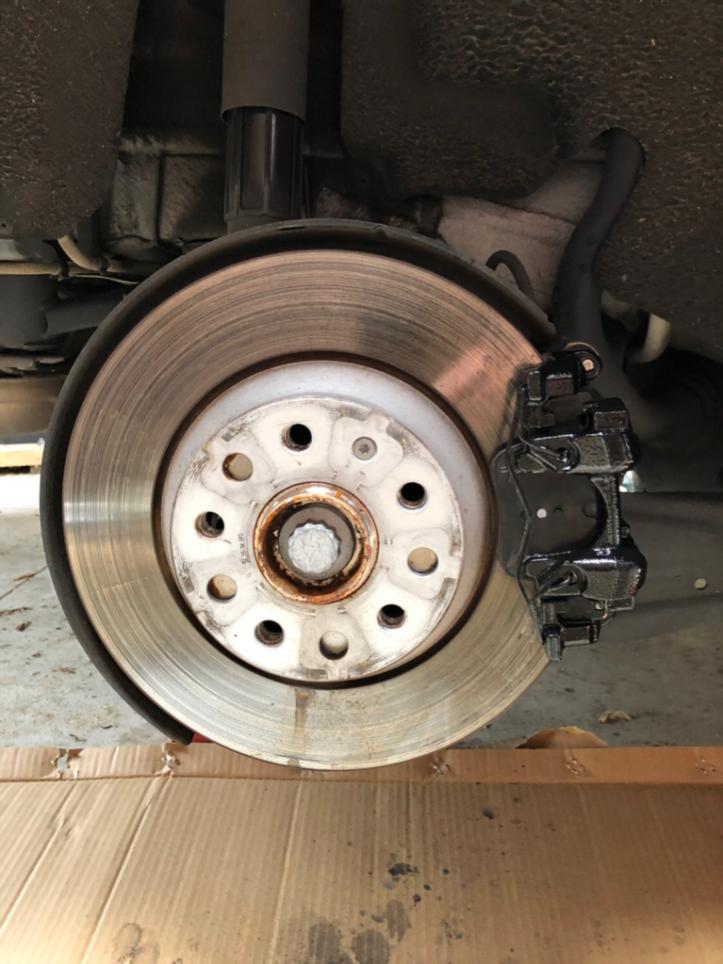
I forgot to take a photo of them before I started the job but this is what they looked like after giving them a good clean with brake cleaner:
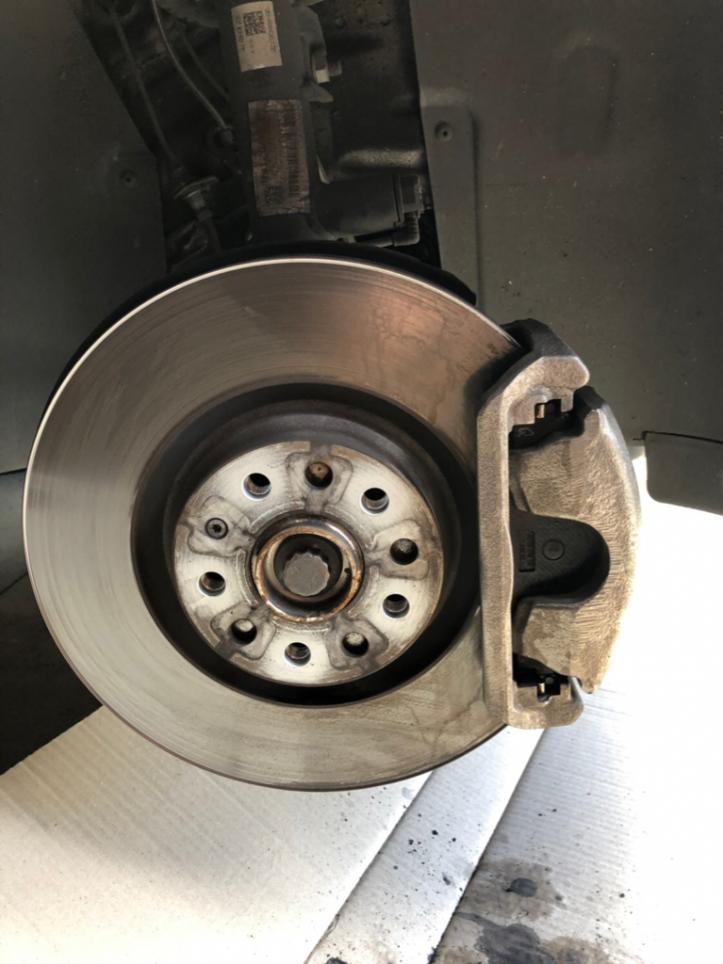
I also bought some POR-15 Metal Prep and this is what they looked like after giving them a good clean with this and then rinsing off:
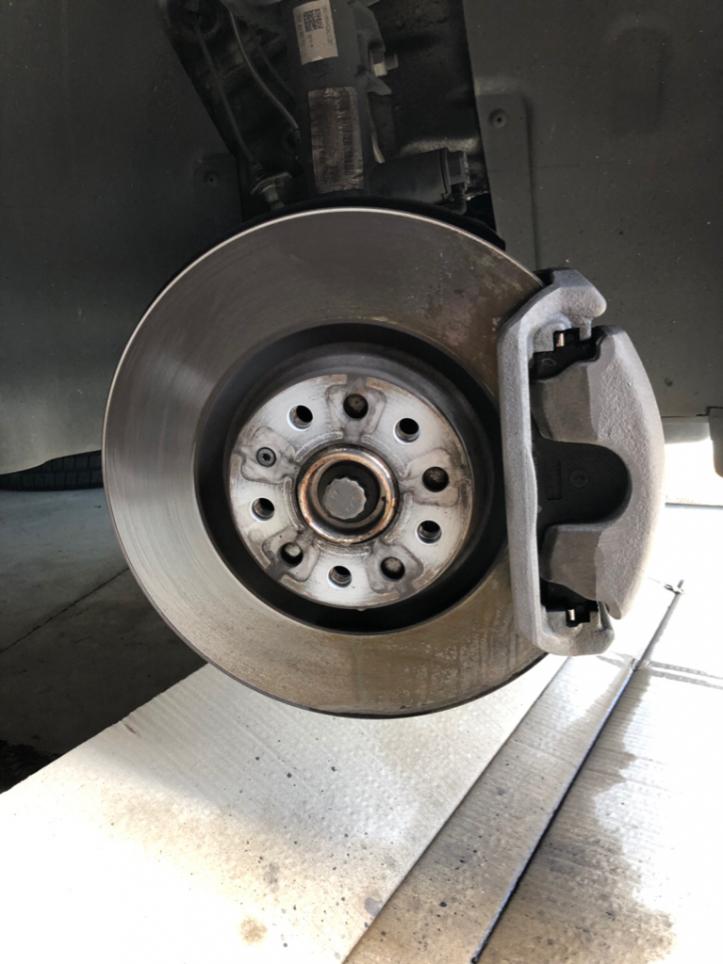
One thing I did notice after cleaning them is exactly how rough a finish they are.
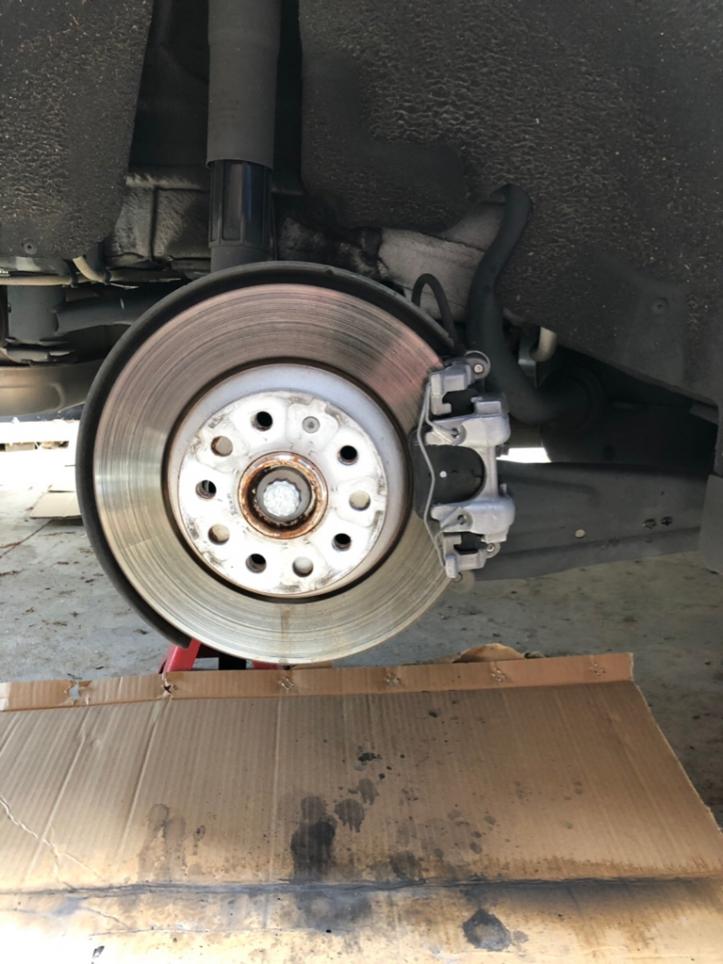
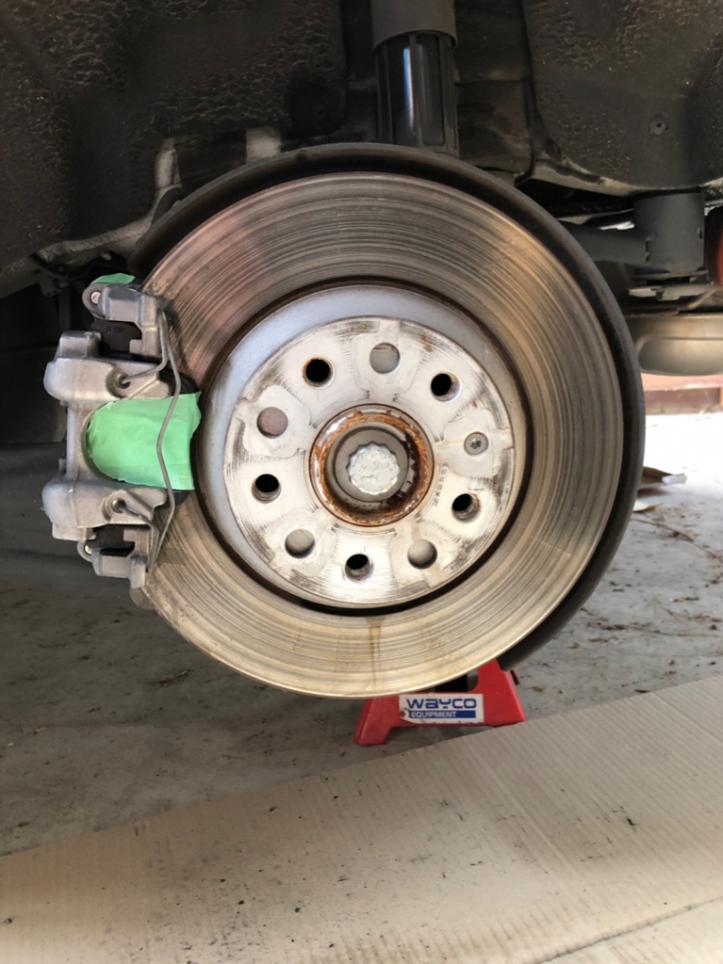
I masked up all the areas that were close to the calipers that I didn’t want to get paint on. Applying the paint is pretty easy and straightforward, I used 2 brushes, a wide one for all the big flat areas then a small one for all the delicate areas. The paint is quite thick and does a pretty good job of self leveling and like it claims the brush strokes disappear. The rear brake are a lot smaller and were a lot fiddler than the fronts. This is what they look like after the first coat:

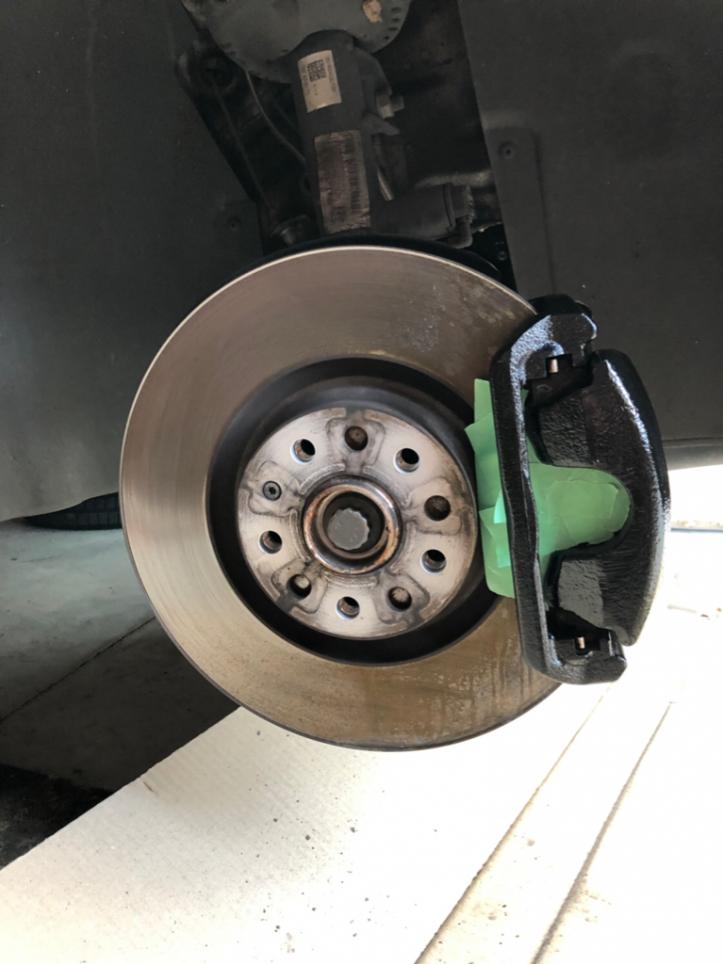
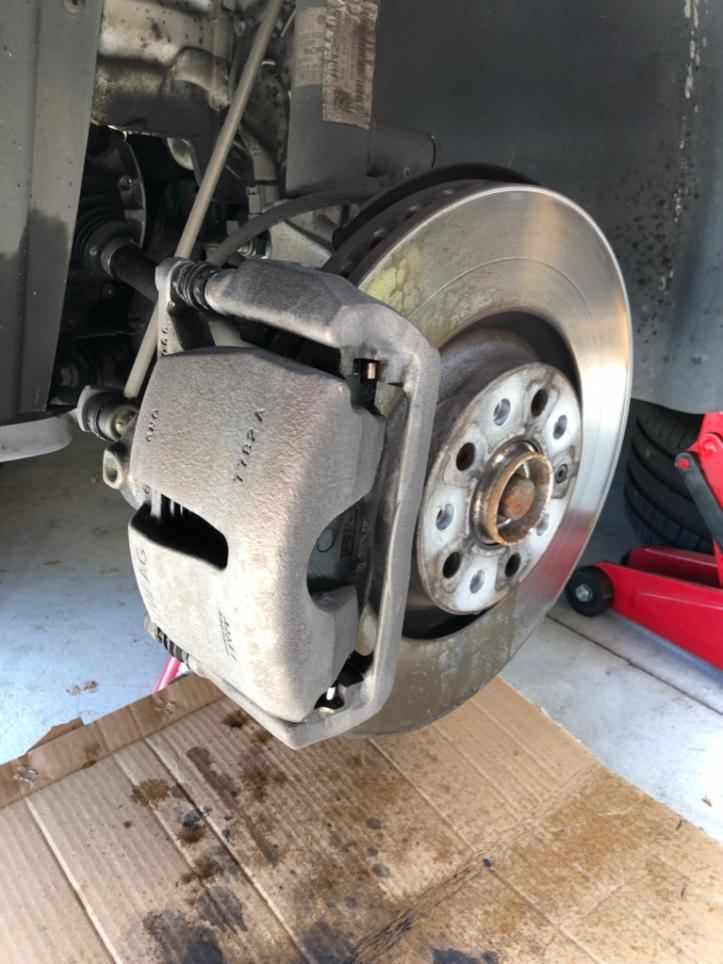
I left the first coat for over 4 hours to dry before applying a second thicker coat which I left overnight and this is how they came out:
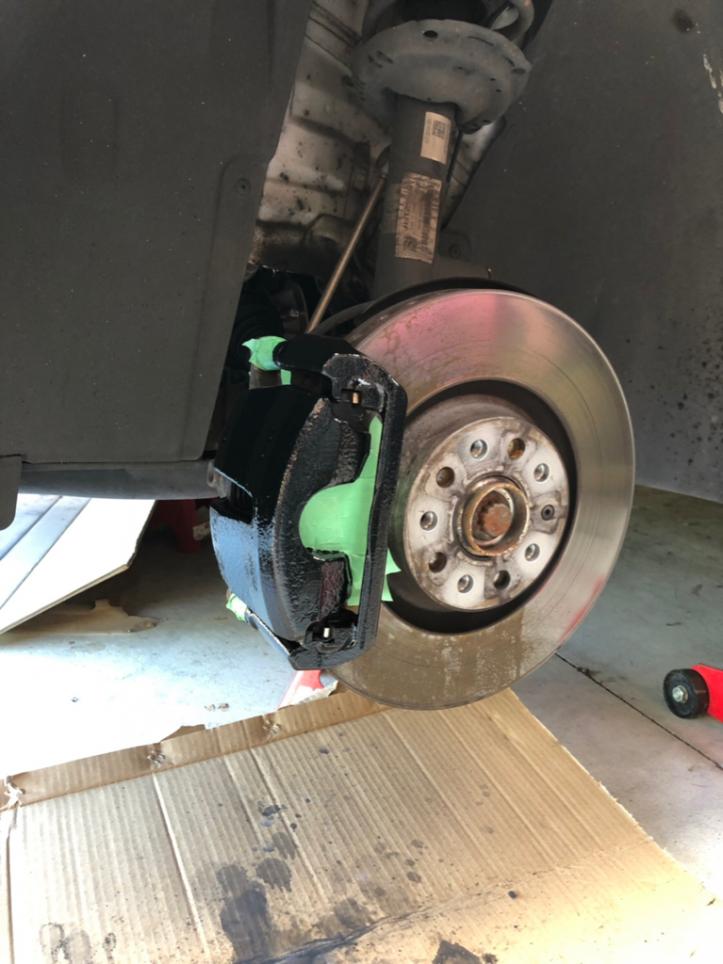
Personally I like the look, it seems to have a nice enamel like finish which should make them easier to clean. I did actually apply a quick 3rd coat to the fronts just for good measure and even after doing 3 coats on the front and 2 on the rear I have only used a fraction of the paint, the small pot would easily do more than 10 cars so pretty economical.
I now have to leave them for at least 24 hours to fully cure before driving. I’m away for a couple of days camping with the family, which is why I did them now, so they have plenty of time to cure properly. When I’m back I will give the car a good clean and take some photos with the wheels on and post them up here.
Sent from my iPhone using Tapatalk
I forgot to take a photo of them before I started the job but this is what they looked like after giving them a good clean with brake cleaner:
I also bought some POR-15 Metal Prep and this is what they looked like after giving them a good clean with this and then rinsing off:
One thing I did notice after cleaning them is exactly how rough a finish they are.
I masked up all the areas that were close to the calipers that I didn’t want to get paint on. Applying the paint is pretty easy and straightforward, I used 2 brushes, a wide one for all the big flat areas then a small one for all the delicate areas. The paint is quite thick and does a pretty good job of self leveling and like it claims the brush strokes disappear. The rear brake are a lot smaller and were a lot fiddler than the fronts. This is what they look like after the first coat:
I left the first coat for over 4 hours to dry before applying a second thicker coat which I left overnight and this is how they came out:
Personally I like the look, it seems to have a nice enamel like finish which should make them easier to clean. I did actually apply a quick 3rd coat to the fronts just for good measure and even after doing 3 coats on the front and 2 on the rear I have only used a fraction of the paint, the small pot would easily do more than 10 cars so pretty economical.
I now have to leave them for at least 24 hours to fully cure before driving. I’m away for a couple of days camping with the family, which is why I did them now, so they have plenty of time to cure properly. When I’m back I will give the car a good clean and take some photos with the wheels on and post them up here.
Sent from my iPhone using Tapatalk
Comment