 Tweet
Tweet
Mate love the your GTI, and those wheels are mint....
-
-
Nice elisix....got any side on fender shots? and are you running 225/35?


Comment
-
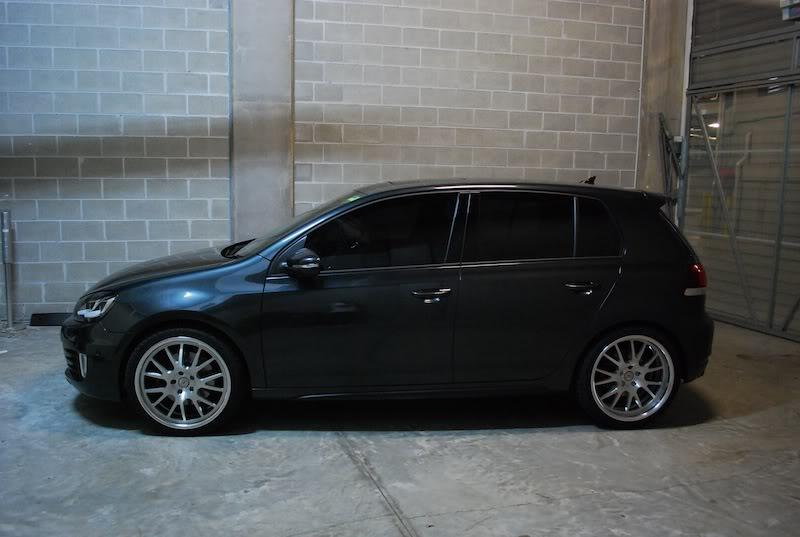
Continental Extreme DW 235/35 19.
19" DPE GT7's.
These are the only shots i've taken thus far.2019 BMW M3 CSComment
-
 Last edited by DAL344; 20-12-2010, 10:02 PM.2015 MY15 Polo GTI 6C - Blue - DSG. SOLD
2011 MY12 Golf R - Rising Blue - 5DR - DSG - 19" Silver Talladega's - MDI - BT - Leather. SOLD July 2017
2017 MY17 Golf R - White - 5DR - DSG - sunroof
2018 MY18 Golf GTI Original - White - 3DR - DSGComment
-
 2015 MY15 Polo GTI 6C - Blue - DSG. SOLD
2011 MY12 Golf R - Rising Blue - 5DR - DSG - 19" Silver Talladega's - MDI - BT - Leather. SOLD July 2017
2017 MY17 Golf R - White - 5DR - DSG - sunroof
2018 MY18 Golf GTI Original - White - 3DR - DSGComment
-
^^
Looks awesome mate, very shiny too.
Mine's filthy after today's rain plus got blasted in a sandstorm on the way to Yanchep this morning.. MY11 Golf R - Rising Blue - 5DR - DSG - 19" Black OZ Ultralegerra - Leather - Sunroof - MDI - Euro Plates - Milltek Exhaust - Bluefin - SOLD
MY11 Tiguan 147 TSI - DSG - Pepper Grey - Black Leather - RVC - MDI - BTComment
-
I over did the 'swirls' on the photobucket 'edit' a bit but it's not too bad for an amateur ....
I used Mr Sheen on the paintwork & Jif cream on the rims .... The secret though is in the use of tea bags as application pads! These were used bags but you get an even better results if they are new!!
Corey - Sorry if we've posted these comments in the wrong thread ... I lost track of the can / can't debate!!2015 MY15 Polo GTI 6C - Blue - DSG. SOLD
2011 MY12 Golf R - Rising Blue - 5DR - DSG - 19" Silver Talladega's - MDI - BT - Leather. SOLD July 2017
2017 MY17 Golf R - White - 5DR - DSG - sunroof
2018 MY18 Golf GTI Original - White - 3DR - DSGComment
-
This looks damn good! Love those wheels. Probably my favourite rims I have seen on a VW so far bar none.Originally posted by elisiX View Post2010 MY11 GOLF R - 5DR | DSG | RISING BLUE | DYNAUDIO + ACC + BLUETOOTH + 19s + RNS510 |
2017 MY17 TIGUAN HIGHLINE - 5DR | DSG | PEARL BLACK | SUNROOF + DAP |Comment
-
Yep very classy
Comment
-
Yeah elisiX, I'm liking the look!Comment
-
Hey Guys.
As per before the "crash", I've locked the Official Picture Thread and update the 1st post there, as well as the first post of this discussion thread with the new instructions.
The summary is:- All photos get posted within this discussion thread
- All discussion occurs within this disucssion thread as well (hope that was obvious )
- At regular intervals a mod will copy any relevant post with photos to the locked main photo thread, thus allowing those who just want uninterrupted photos the opportunity to experience that.
Comment
-
Thanks guys. Was just lucky to come across them locally brand new.2019 BMW M3 CSComment
-
+1, really nice rims,
and you can be confident that there won't be too many other sets floating around in Oz on a mkvi2010 Golf R - 3dr - Manual - Rising Blue - MDI - SatNav - Milltek TBEComment
-
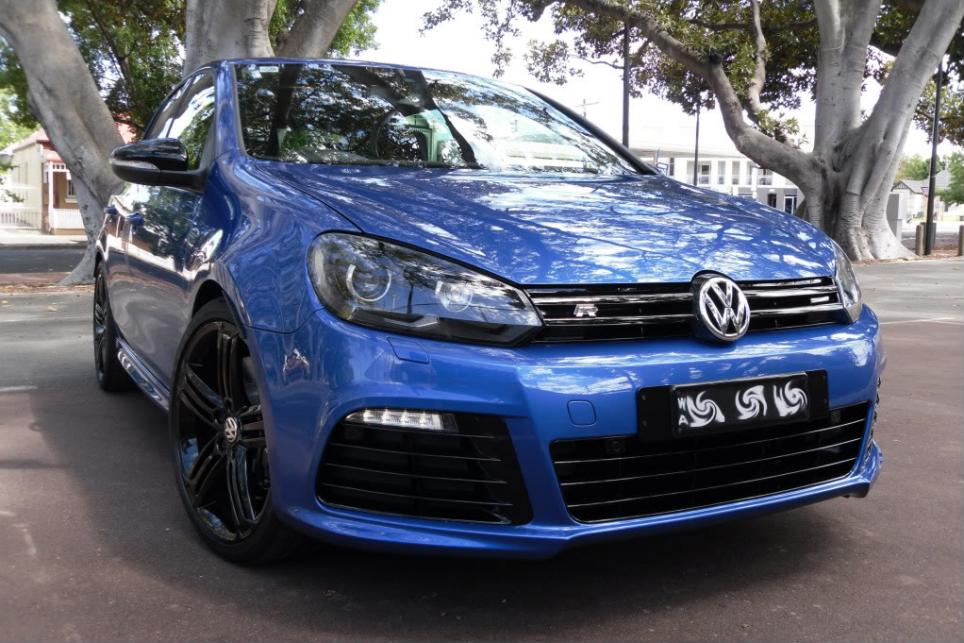
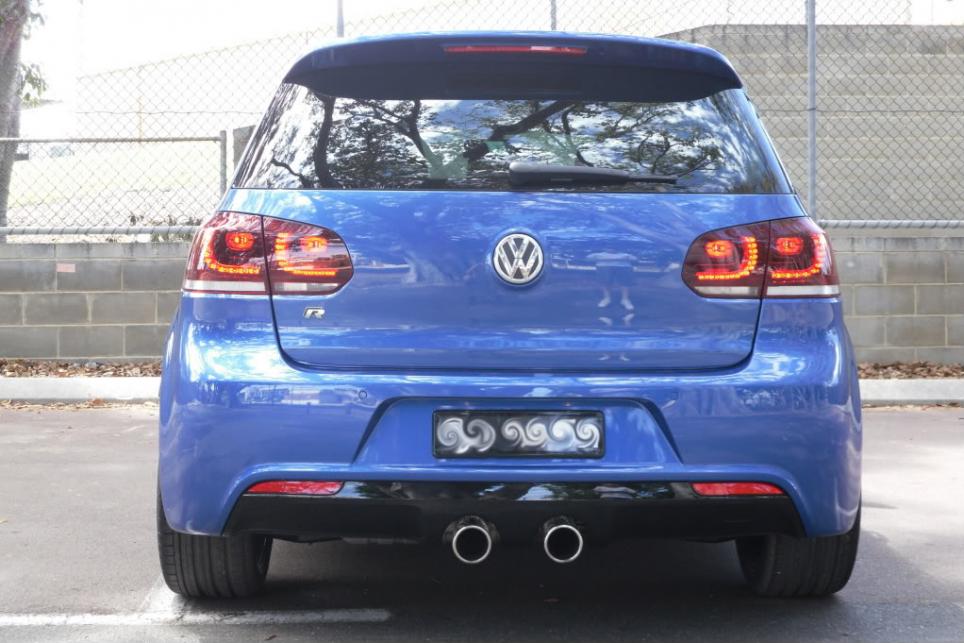
So on the weekend I went around to my mate's place and we did some work on my R.
This included:
Installation of Lakin Plates brackets and covers on front and rear
Left side VW original equipment aspherical mirror glass
OSIR O-Rest
S2TPP DSG Paddle Shifters
We took photos of most of this... except for the DSG paddle shifters! Mostly cause the installation of them was a bit of a PITA and we forgot! They are SO worth it though!
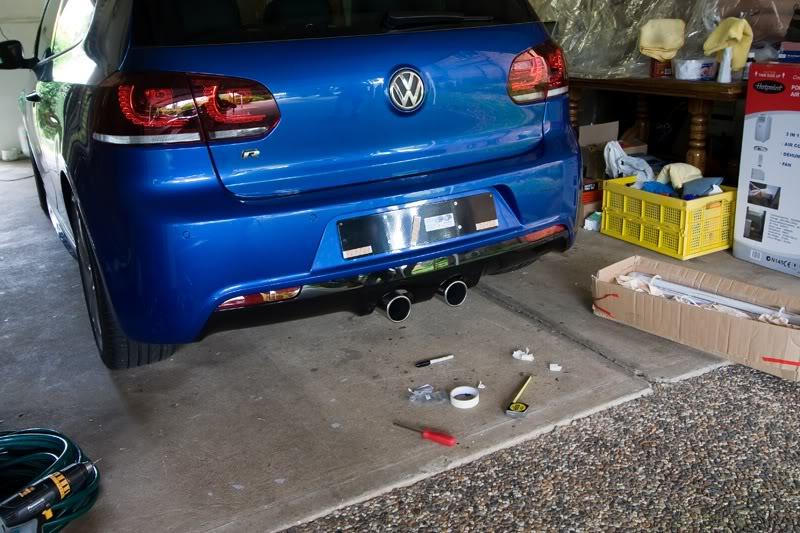
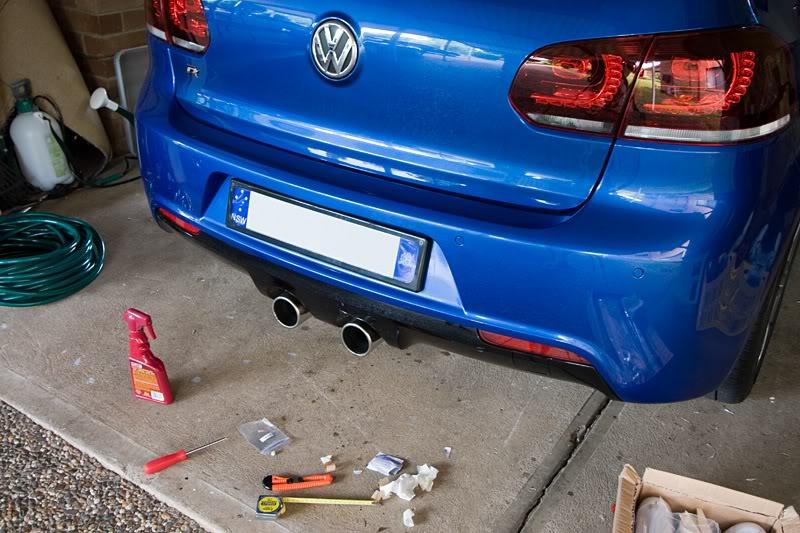
The first photo is when we were setting up. I'd just removed the number plates which were secured by 3M Double-sided Clear tape, and I'd used eucalyptus oil to clean up the residue, and then Permanon to clear up the oil and "recoat" the paintwork:
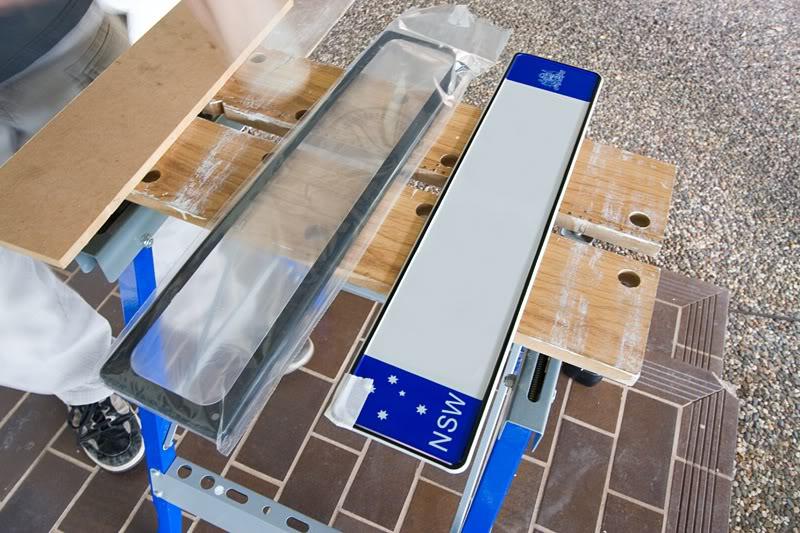
Lining up the Lakin rear plate bracket was quite an anxious task thanks to the fact that there are no pre-drilled holes from the factory! (Thanks VW!). It's made worse by the fact that the plate area is NOT flat, and due to this, neither is the Lakin Plates bracket, and even worse, you then have a trapezoid surrounding. Anyway - two people makes this job easier. Just put masking tape around where you think the holes will be, then whilst one person holes the bracket, the other continually measures until you've got it exactly where you want, and then make the holes through the bracket. The bracket is attached via self-tapping screws, so we're really just making small pilot holes to ensure things go where we want them to.
Some people make their lives easier by just having the plate lined up along the bottom ledge of the bumper - but I wanted it more centralised just to make things more difficult!
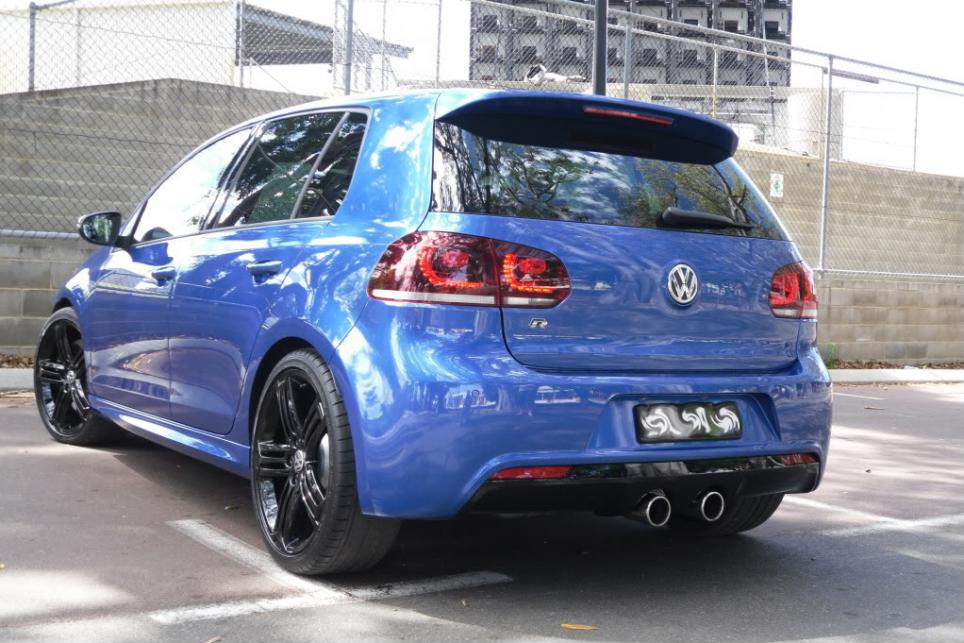
Once the bracket is in place, it's then time to drill the holes in the top corners of the plate to attach it to the bracket via the cover:
And the end result looks pretty good, imo:
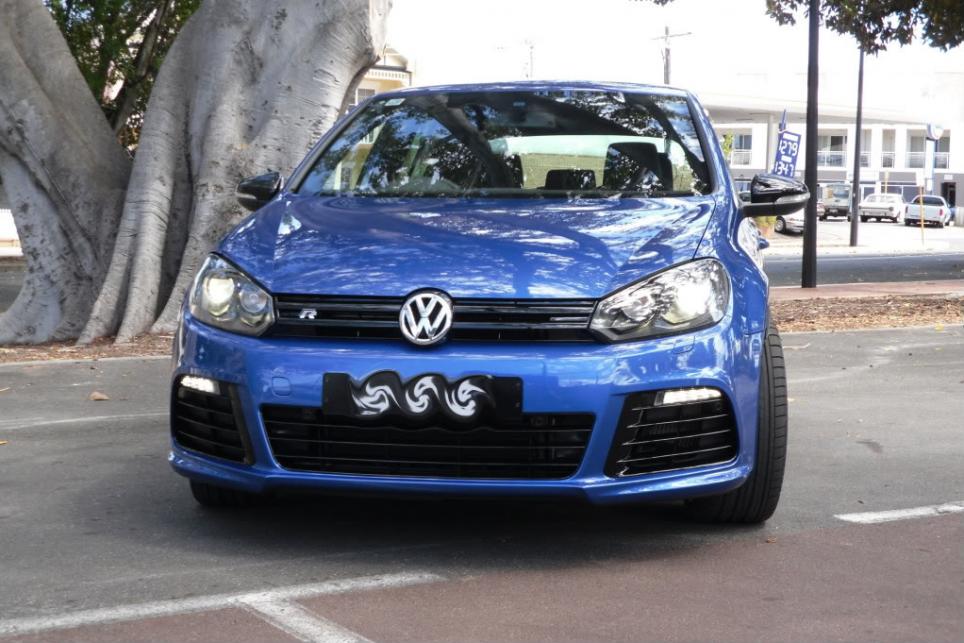
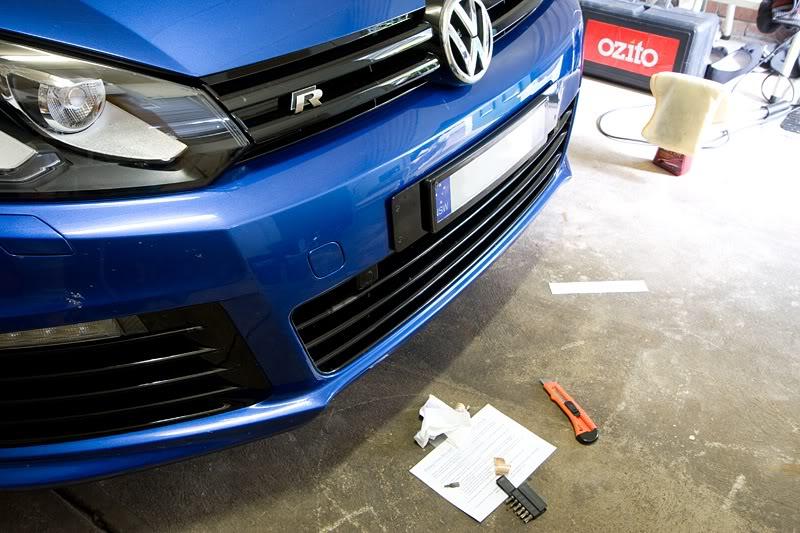
Next up was the fitment of the front plate bracket. As you can see, I had some squished bugs on the front due to my drive to Lithgow (via Bells Line Of Road) and back (via Great Western Hwy) the night before. I'd cleaned up the area where the plate bracket was to attach. If you look carefully you can see that the 4 factory made holes are currently covered by the Ventureshield installed by Surface Tech:
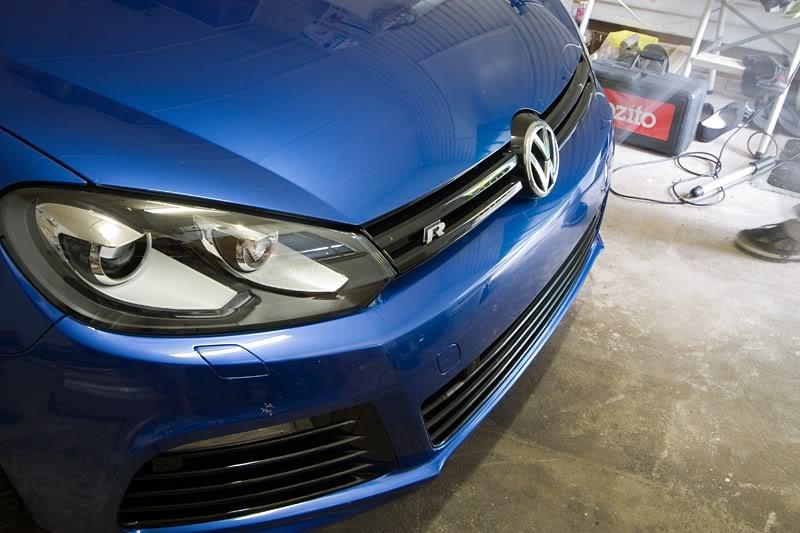
After slicing a + into the Ventureshield over each hole, and putting in the Lakin Plates supplied nylon screw plug spacer thingamybobs, the plate bracket and then plate and cover were on within 10 minutes:
We then did the left side VW OE aspherical mirror glass. Didn't think that was exciting enough to take photos at the time. Basically it's identical to the glass in the driver's mirror. I just adjusted the left mirror so that there was some space between it and the housing on all sides, then got my fingers (and nails) and pulled out the original mirror with a moderate amount of force. Then just unclip the two wires for the mirror heating, connect them up to the new mirror, and then push it into place with a mild amount of force. I'll take a photo myself at some point.
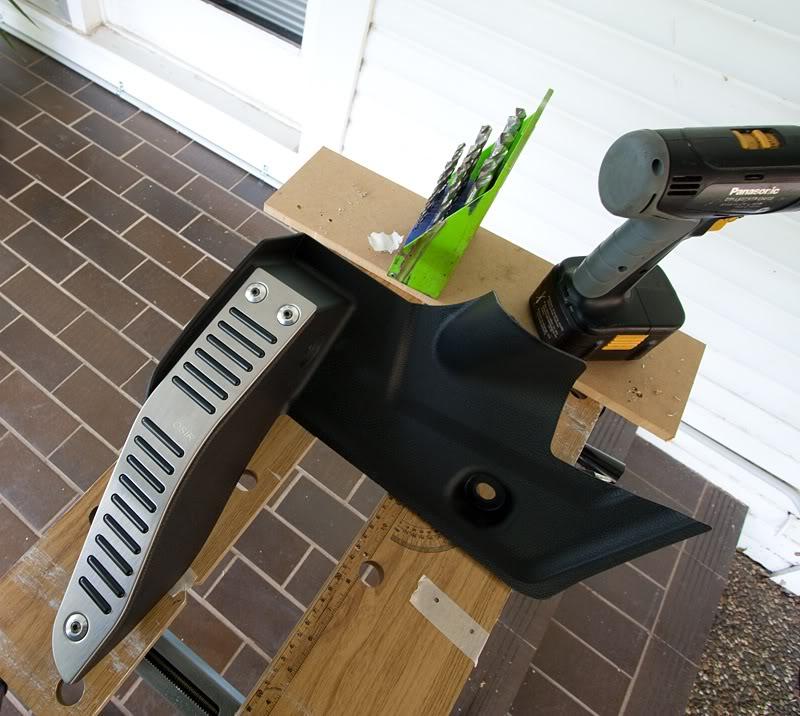
Next up, the OSIR O-Rest. This is secured with 3 self tapping screws. However, there is very little clearance for a drill to get in make the pilot holes so we decided to take the footrest and its attached trim out of the car. This is secured by a single allen key and a single flat blade screw:
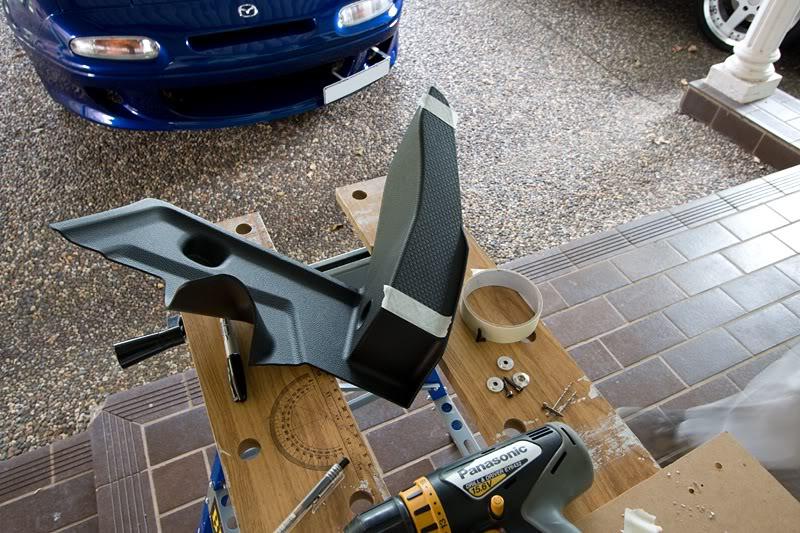
The OSIR O-Rest uses 3 self-tapping screws with allen key heads. So again, we just drilled 3 small pilot holes to ensure things line up how we want. I also put some strips of the 3M Double-sided clear tape under the two plastic pieces which make up the black inserts. I didn't remove the backing for the tape; it's literally just there to provide some pressure so the plastic doesn't rattle etc:
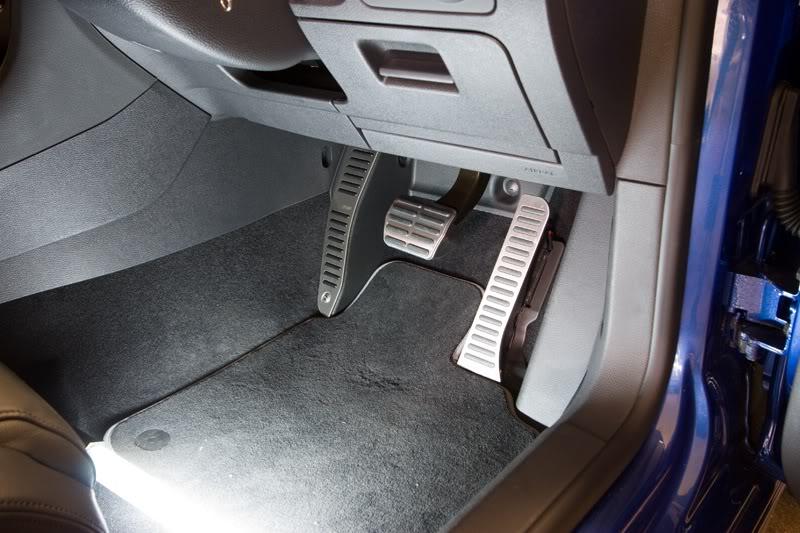
And here it is installed in the car:
Next up we did the S2TPP DSG Paddle Shifter installation. VW have really made the MK6 steering wheel difficult to dismantle! Some people report being able to do the installation on their MKV's on their own, but I would highly recommend anyone doing it on a MK6 to have a trusty and capable friend with them. We completely forgot to stop and take photos of each step, but I'll have some photos of the end result later.
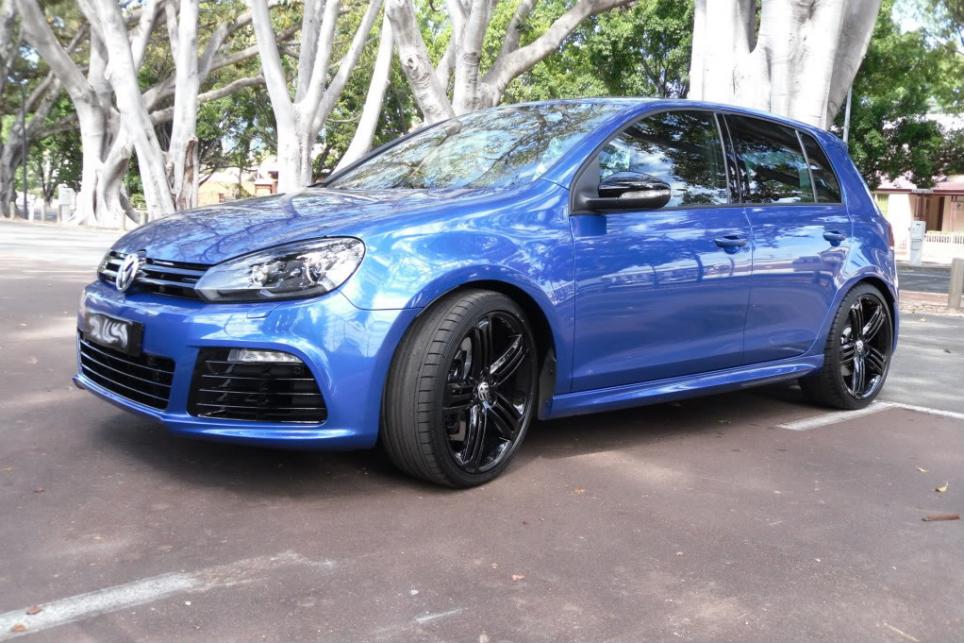
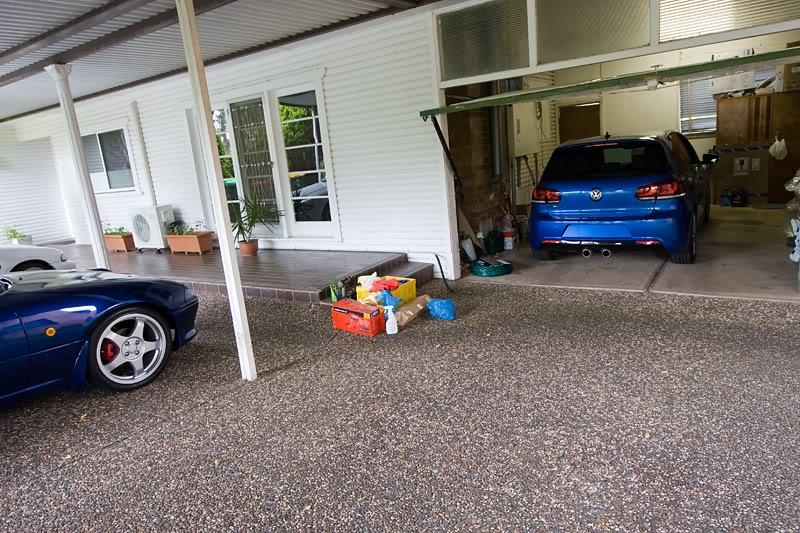
Anyway, it was now evening and I was late for meeting my girlfriend and friends at the Carol's In The Domain, so we took one extra shot before I left:
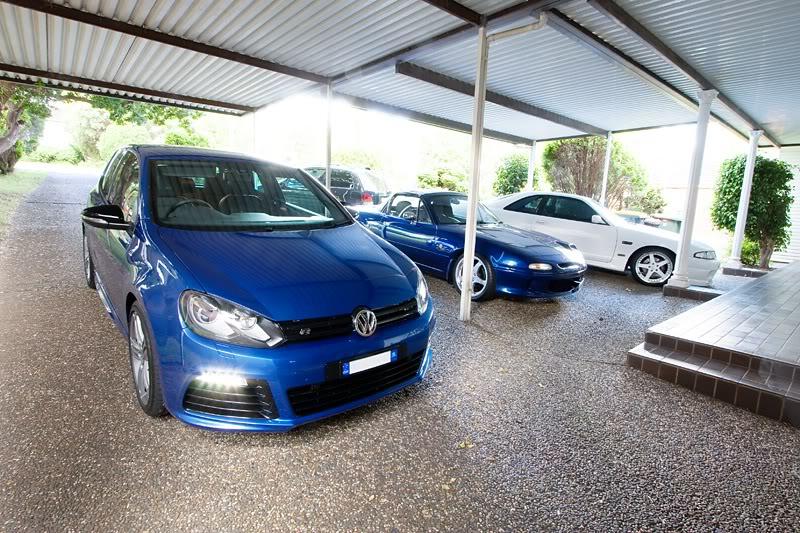
Hope you like the photos guys.
I'll have my mate take some more photos after Christmas and once I've got the window tint done.
Comment
Comment