 Tweet
Tweet
Your killing me now man lol.
-
-
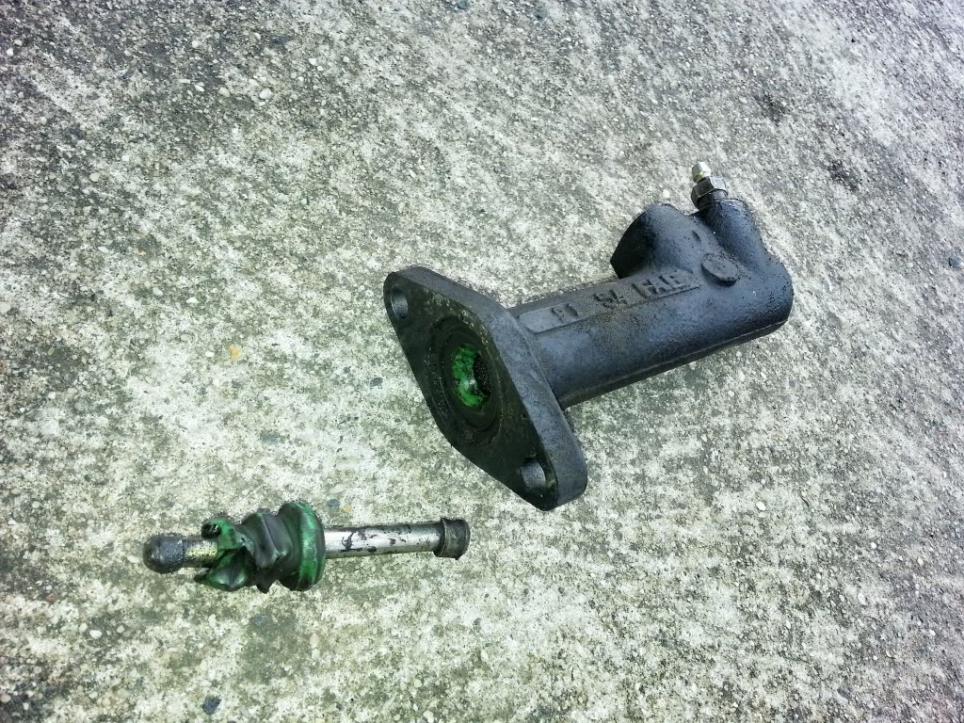
So I pulled my clutch slave so I can see if the cluch fork is bent, the cluch fork is basically sitting in font of the hole so from what I have read that should be ok. The next thing and this is a serious question as I have never looked at or taken off a clutch slave before, should the slave and the rod be separate or is that my problem?
This is what my clutch slave looked like, as I said I don't know but that looks like it should all be one thing?
Comment
-
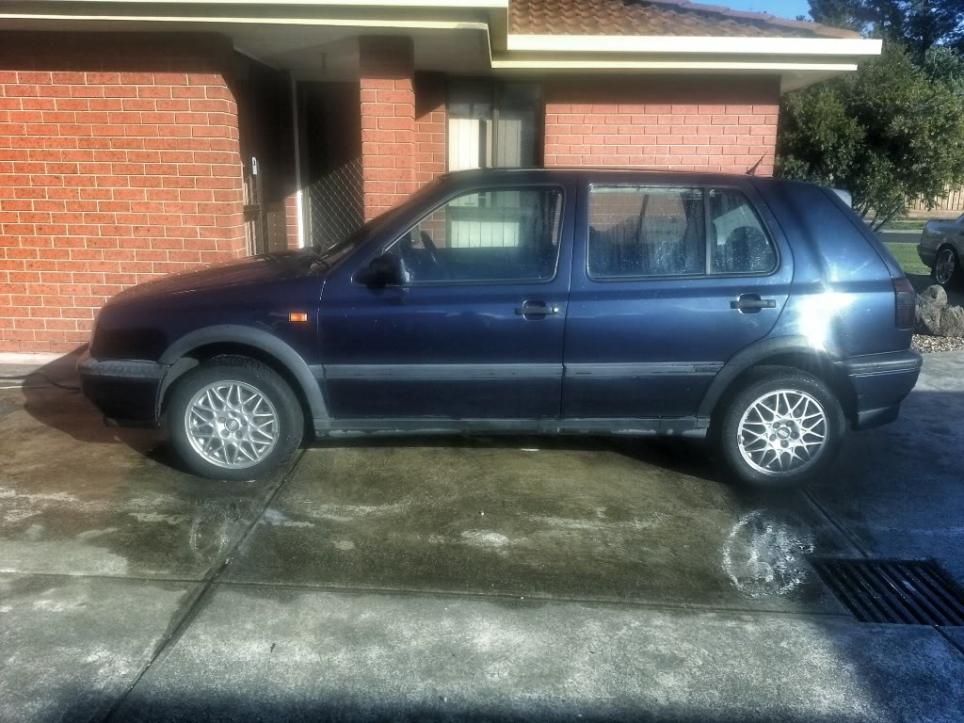
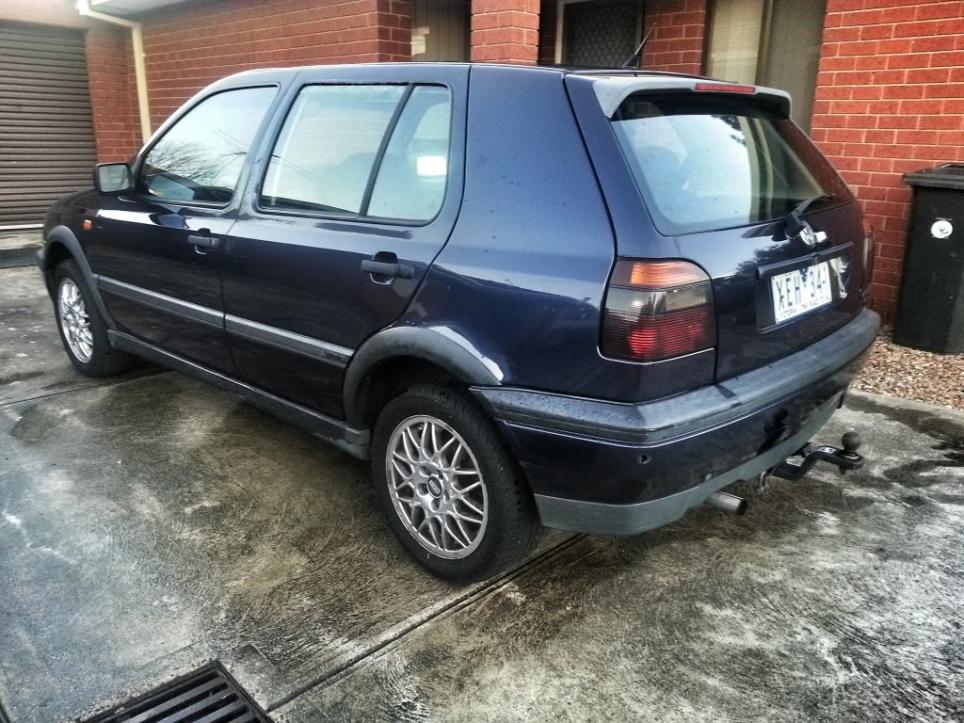
MK3 Vr6, Build and background story.
Should be one piece like the silver one in the photo I posted earlier.
My clutch fork was still in front of the hole too.Comment
-
Crap,I hope its not bent! Ill put the new slave in when its here and see what happens I suppose
Comment
-
MK3 Vr6, Build and background story.
Mine went with a huge bang. If your's simply went to the floor. You should be goodComment
-
Yes just went to the floor no noise or anything. Hopefully ill get the new slave this week and ill put it and hope for the best. I'm so shattered the VR6 is by far the most fun car I have owned and 3 days of ownership and I cant drive it.Comment
-
I really think you should contact someone who knows this stuff off by heart before you put everything back. its bed time for me now so i carnt remember jack all.Garage:
VR6
XR6
R36Comment
-
I figured ill put the slave back in if it works properly then I'm all good, if not then I pull the box. I would pull the box out and have a look at the clutch fork but that's a big ass job for something you're not certain is damaged.Comment
-
MK3 Vr6, Build and background story.
Well, it's only the slave or the master cylinder that will cause this. So you can be pretty sure if its neither of them it's something Internal.Comment
-
That's my thoughts, fingers crossed that's all it is.Comment
-
I was just looking through the forums and found my girlfriends build thread we haven't updated in ages but if anyone wants a bit of a read have a look here.
Comment
-
While I wait for my Slave cylinder to come I started to clean up the interior. Once the car has passed its RWC i will be removing the rear seats and carpet so I wasn`t to bothered about cleaning up the back more the front. The interior was filthy, so I gave it a vacuum and some stain removal on the front part of the carpet. This is what the carpet looked like before I got Started.
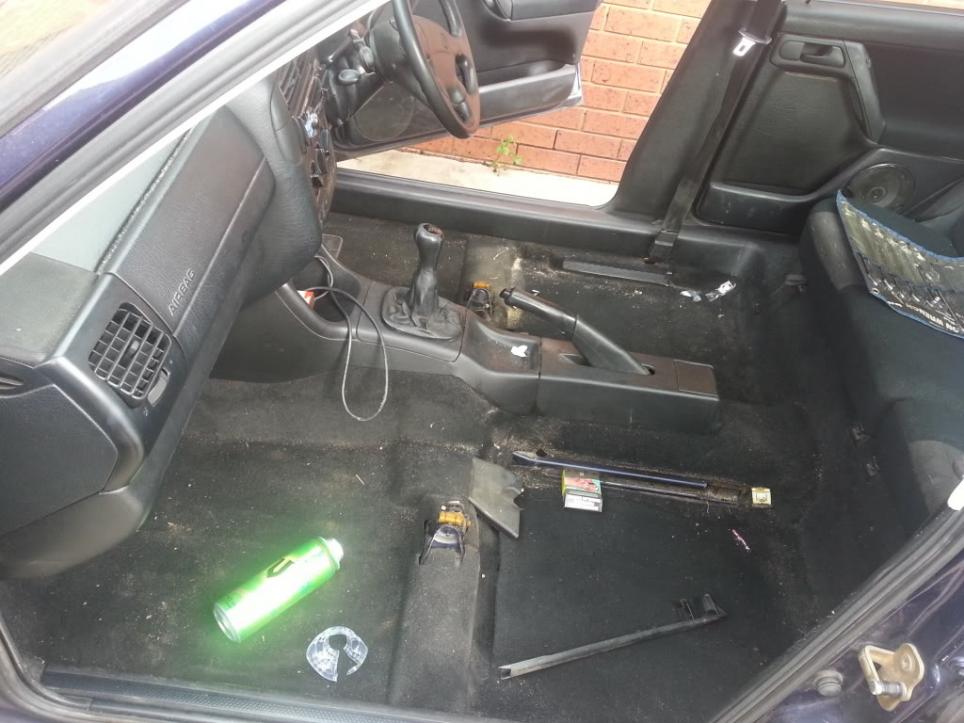
The carpet had stuff matted into it and some nasty stains. 20 or so minuets later it looks like this.
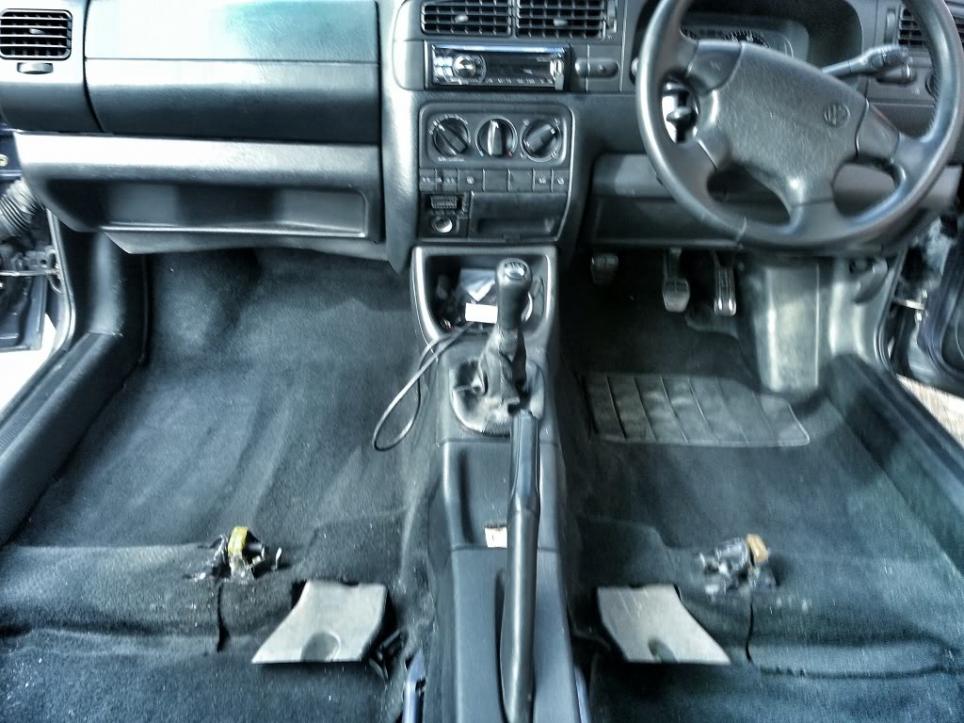
The front part of the carpet came up perfect, tomorrow Ill start on the interior plastics hopefully they all come back like new again.Comment
-
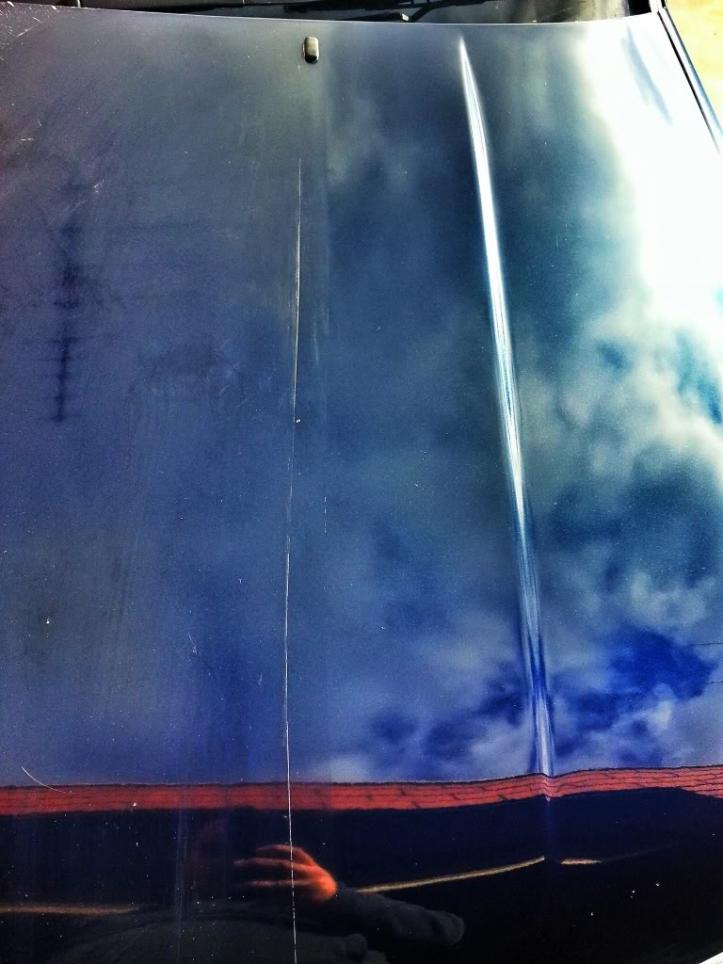
Today I didn`t have much time but wanted to see if the bonnet will come up. The paint is all oxidized and full of small scratches. The bonnet came up great, well at least the part that I cut did. Tomorrow I will give the whole car a wash and cut, polish and wax it.
To the right of the washer jet is where I have cut, to the left is what it was like. I just wish I had a good camera not just my phone.
Comment
-
MK3 Vr6, Build and background story.
Looks mint!
"I only post on Facebook if I know i am going to get likes" - MComment
-
Im still waiting for my slave cylinder, so I decided to start my paint correction on the VR6. Apart from some small areas the paint seemed good, I just didn`t know if it was good condition or a heap of wax covering up the scratches. Today I went about stripping all the polish and wax off. There are alot of different ways to do this but this is the way I think it works best.
Step one. Wash
The first thing I do is wash the car, as we are trying to strip the wax or "sealants" off in this process I don`t use your normal car wash. Normally I raid my G/F cleaning cupboard for the dish washing liquid. Dish washing liquid is very alkaline and will strip all the wax and sealants. It also did a good job on stripping what ever rubbish some one had put on to try and make the trims black again.
So a nice thorougher clean with that and my Lambswool mitt and we get the car looking like this.
Step two. Clay bar
Clay baring will lift any contaminates off of your paint. The best thing to do here is to put a plastic bag over your hand and lightly rub your fingertips over the paint. If there are contaminates on your paint you will feel it, it will feel rough.
Spray a small area with lubricant I just use soapy water, gently rub the clay bar back and forth across the wet area. It will grab at first. This means that it is pulling contaminants out of the paint. When it glides freely, the paint is clean. Wipe the area with a microfiber to remove any clay residue. Rub your fingers across the paint now; it should be as smooth as glass. If it’s not, repeat the process. Keep the clay well-lubricated.
After the clay bar we are left with nice smooth paint.
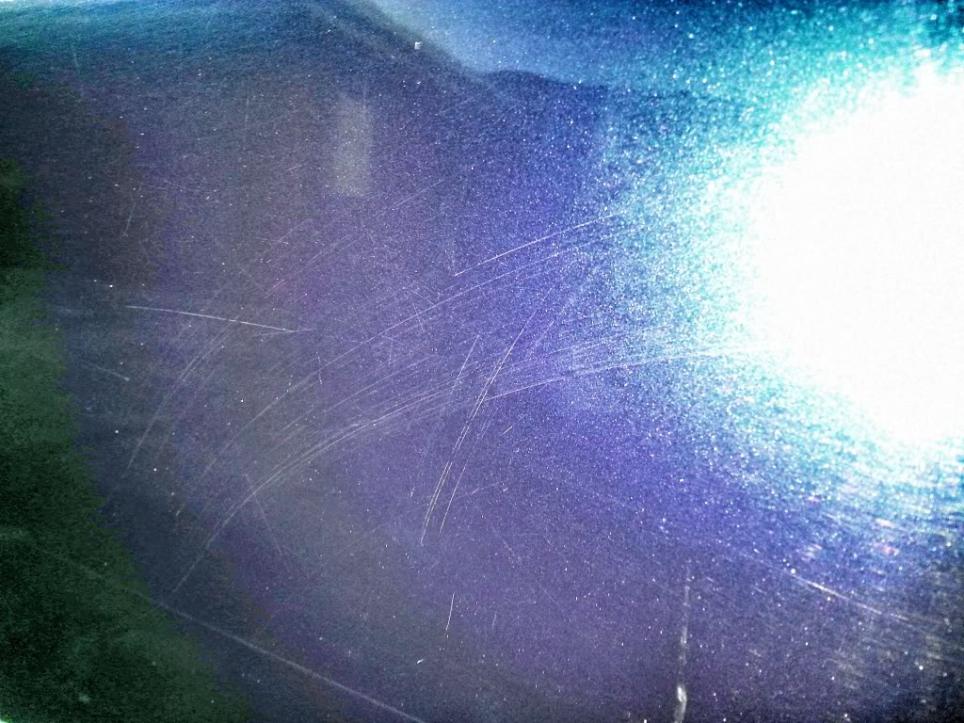
Step Three. Inspect
Now we have everything off of the paint we have a look around to see how bad the paint work is now there is nothing to hide it. I had a bit of a look around and it all seemed normal nothing really deep, and 99% off it will all be able to be fixed.
This is what it looked like now. This is a close up photo of the back door but the whole car looks like this.
And that's about where I stopped today. Tommorow I will start cutting, polishing and waxing the paint in the hope i can make the old girl look like she did 19 years ago Hopefully this wasn`t boring lol I just love detailing cars especially when you can see the difference your work has done.
Comment


Comment