 Tweet
Tweet
where did ya get the cup holders from
-
Last edited by 99gti; 18-03-2008, 05:44 PM.Wide Steelies For Sale
http://www.vwwatercooled.org.au/foru...ies-76972.html -
Update - Finally
Originally posted by mk3pete View Post
Not sure what you meant Pete but I bought I bought a centre console one like the US mk3s from TMTuning with my headlights which are on backorder and its already been 3 weeks but they are going to upgrade it to express shipping for free
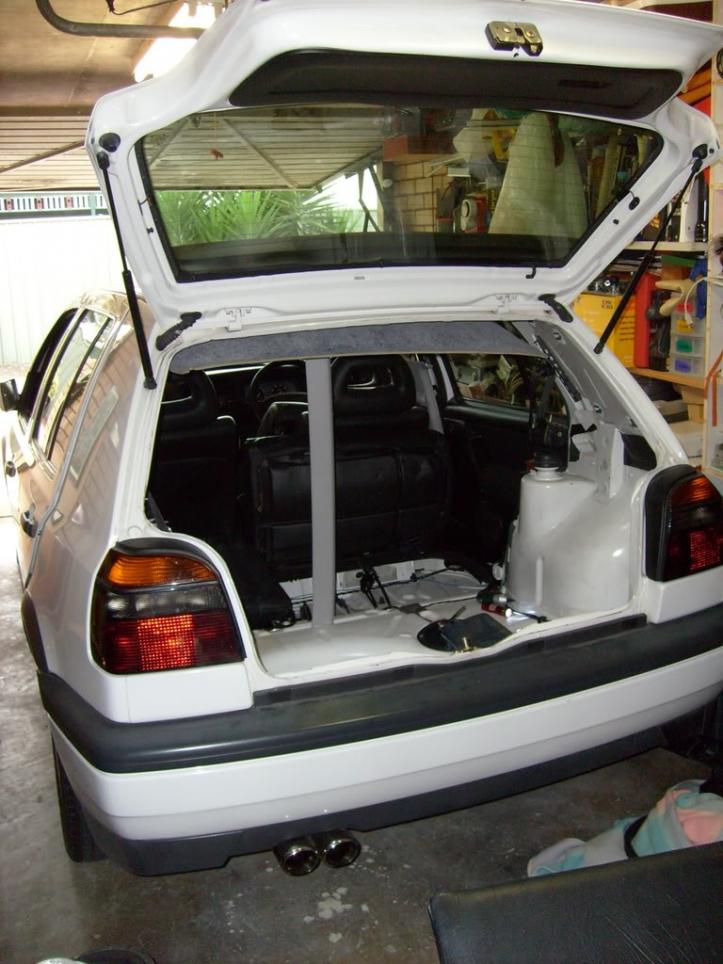
Well I have not updated this thread in a while so I will do it now. My boot install has dragged on way to long and has taken forever but good news I finally finished over the weekend after a good solid weekend which was great and I felt really happy for myself hehe.
So now the majority of the boot has been completed, all the niggly bits I can do during the week and will not take that long at all.
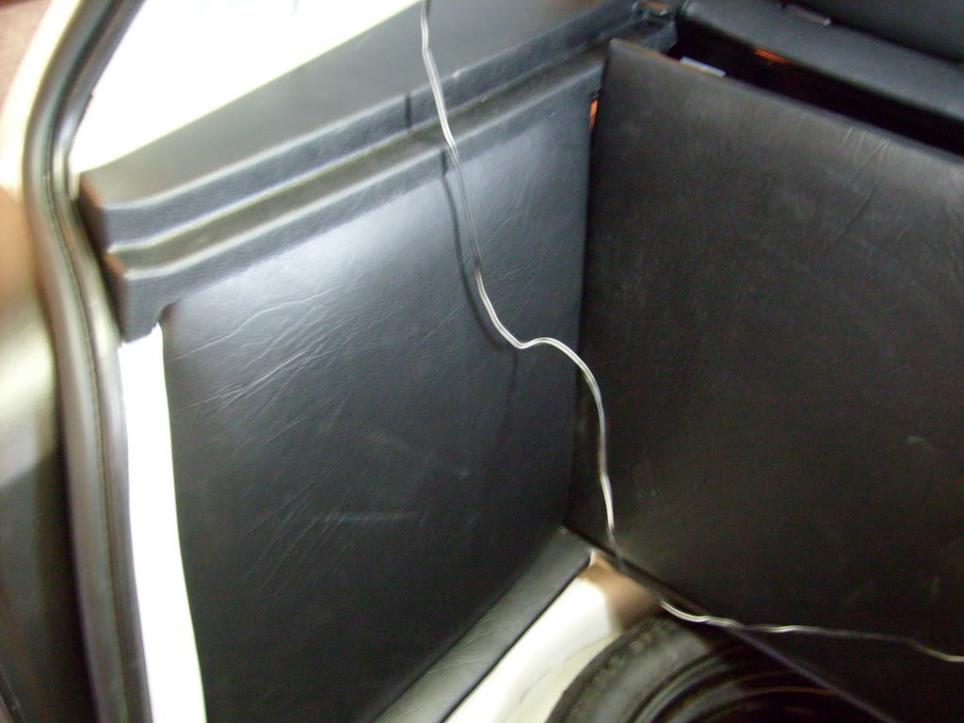
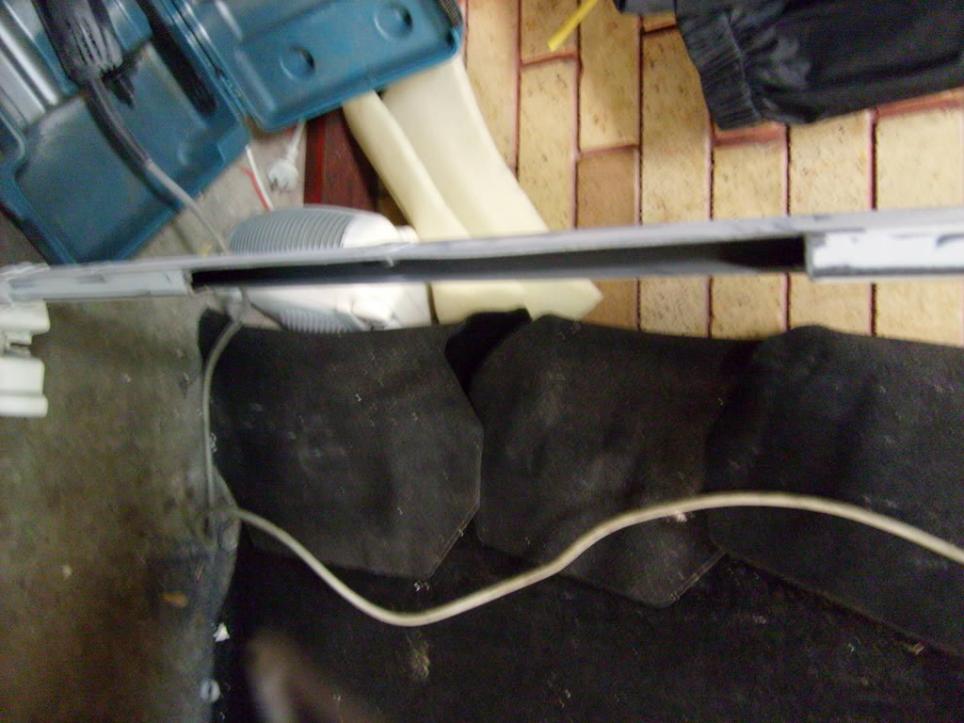
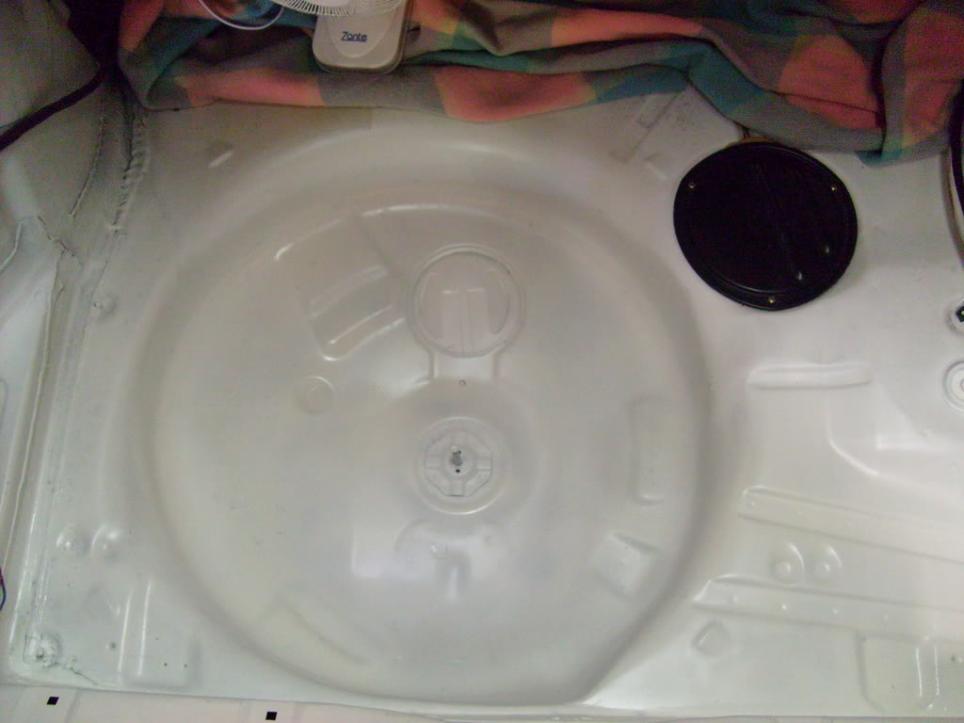
Where I left off the boot last time the day before the Feb 24th cruise looked like this:
I then had to make the sides that will fill up the boot and square it off, so I got to work. The sides where extra hard cause they had a funny mould to follow and needed to be curved up the top to cause of the plastic moulds that hold the parcel shelf you will find out why later
I then had some extra foam left over so I made the sides two layers thick instead of just one extra cushion for the pushin I thought haha!
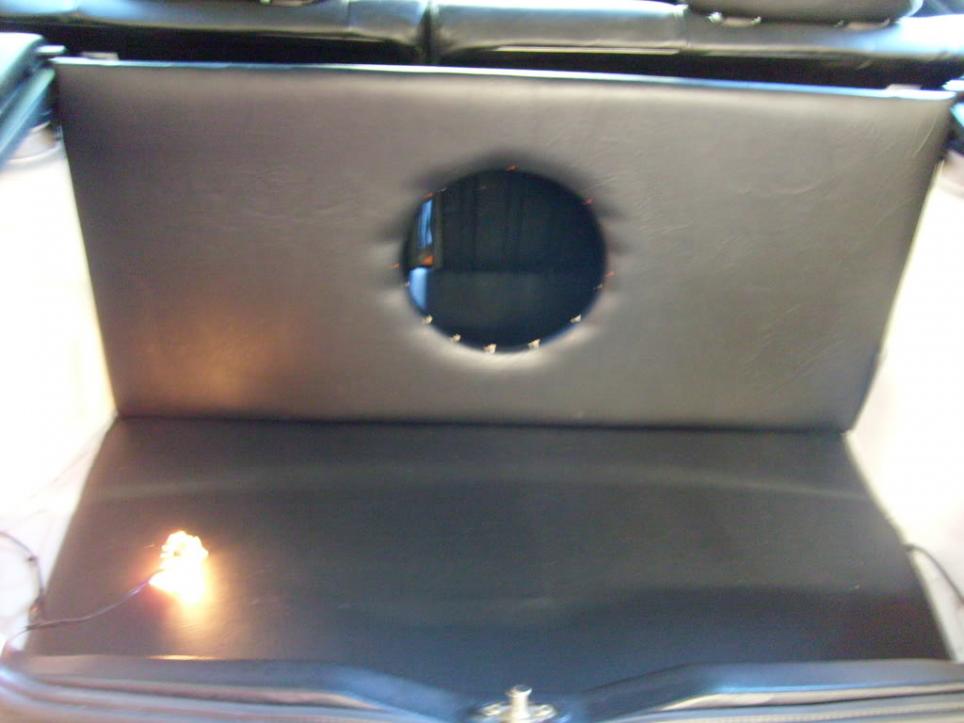
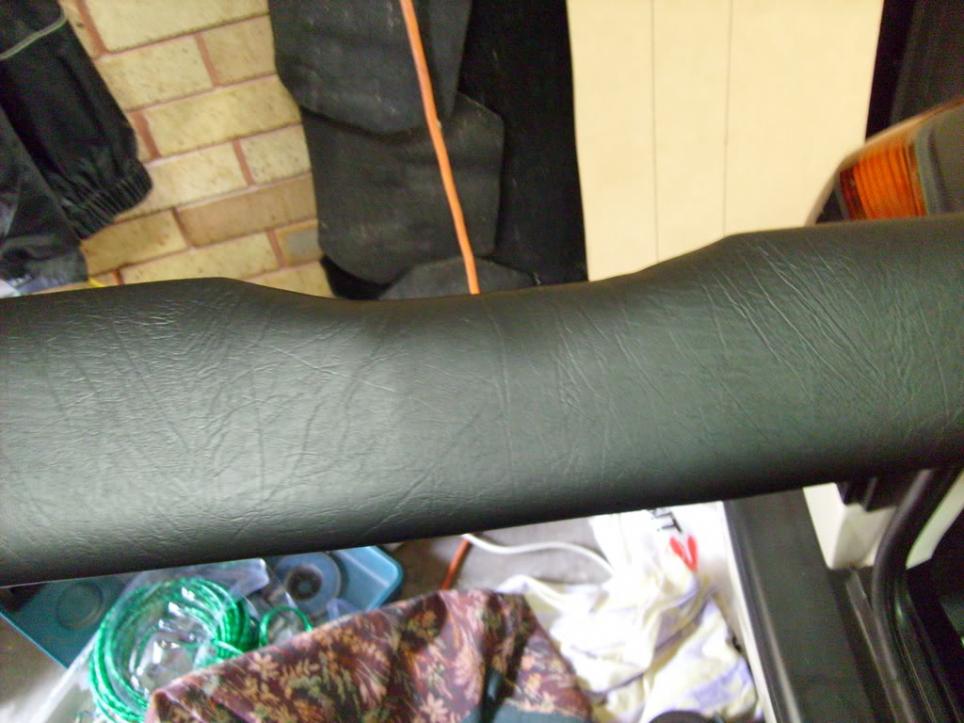
After that I then cut my material out and then stapled it all together and also being careful with the creases not to make them creased but try to make them smooth. One finished side the left hand one. The photos don’t do them justice they really sit good and fit in really well. TO make them sit in the plastic covers above the sides have a channel in them you need to cut the plastic that runs across it.
Both sides where done like thisJ Will have a complete photo of what it looks like further down the page JI'm soo euro even my missus is shaved...Comment
-
More Update - Goodness
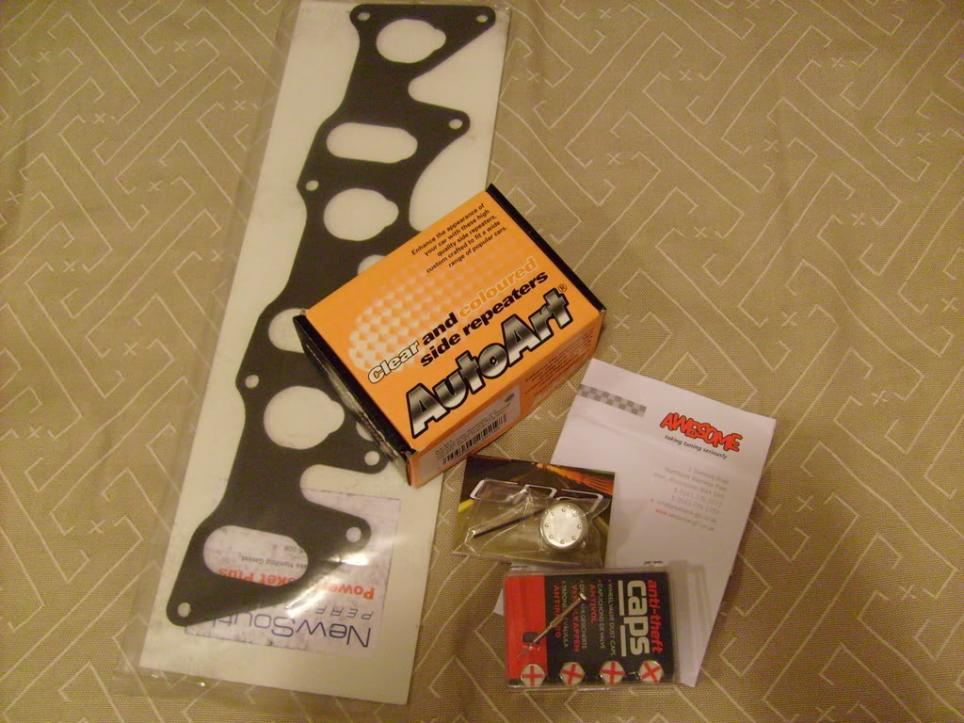
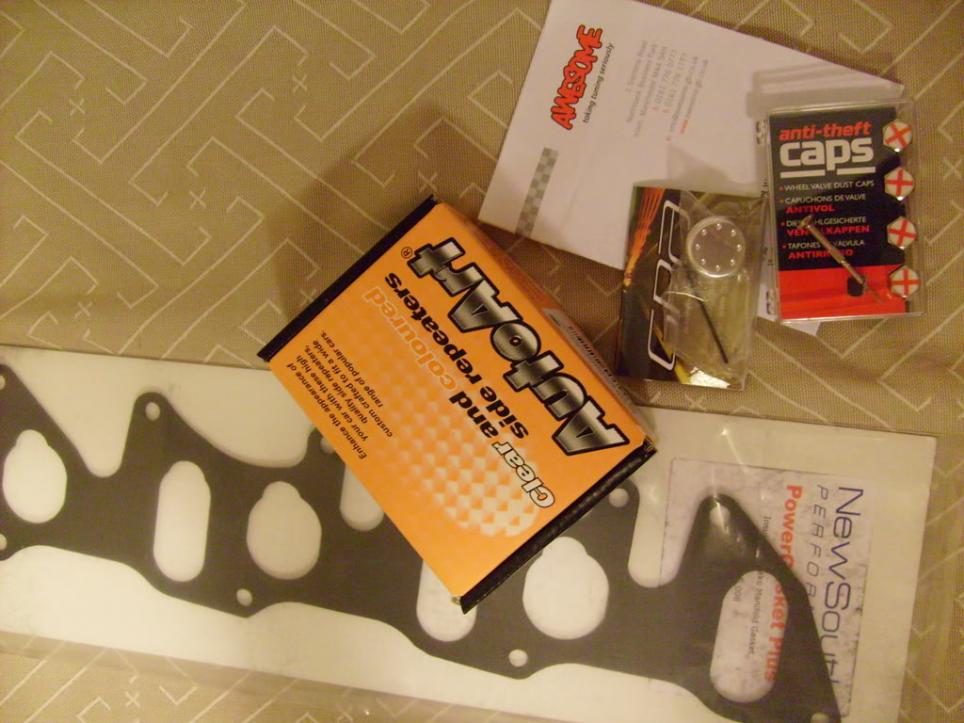
During that week some Items from Awesome GTI came in New Manifold gasket, smoked sides, St George valve caps in red and a Polished bit for Adrian which he asked me to get to keep shipping cost down it helped believe me J
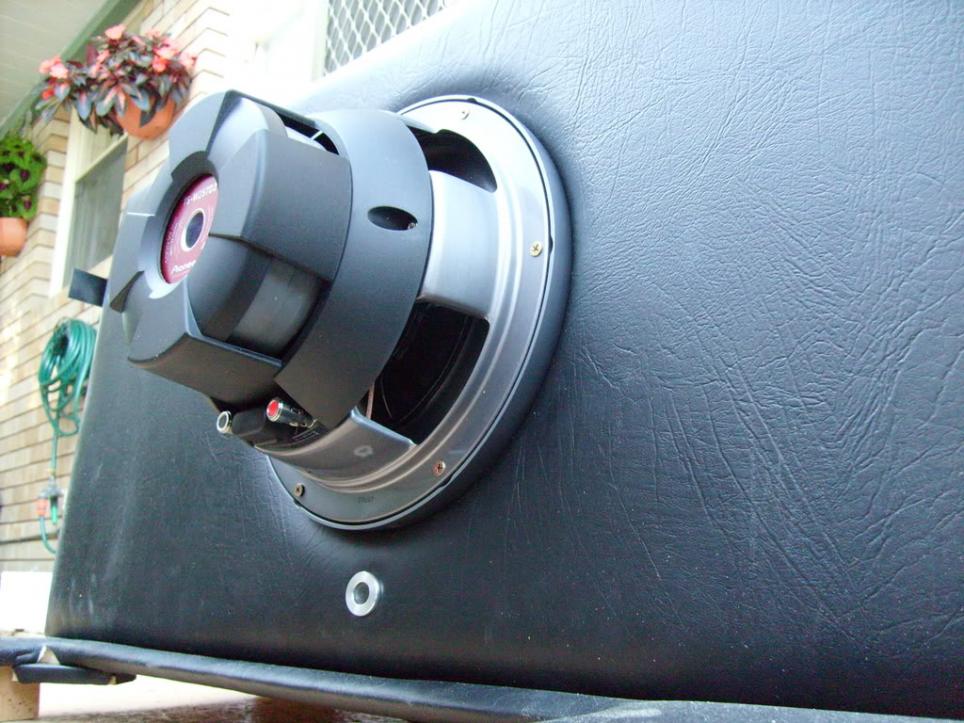
I went shopping a week later and went into the Soundmaster Audio Store at Hurstville, and could not pass up the deal that they gave me, after all I originally went in there with the mentality of “looking” hehe! Anyway I walked out with a new Pioneer 10” Sub for $100
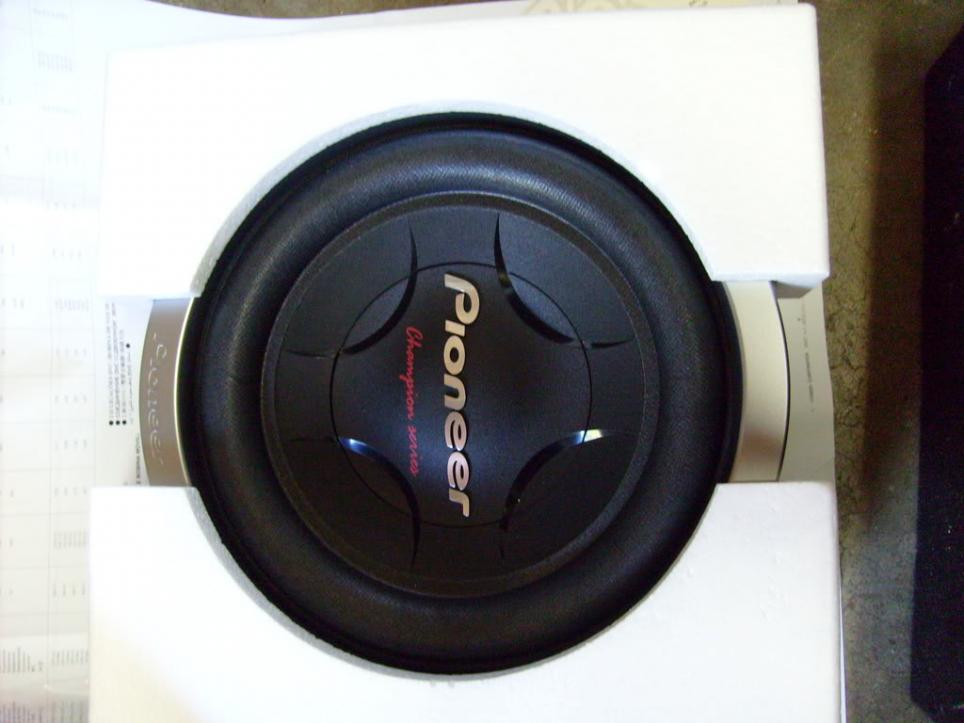
New compared to old:
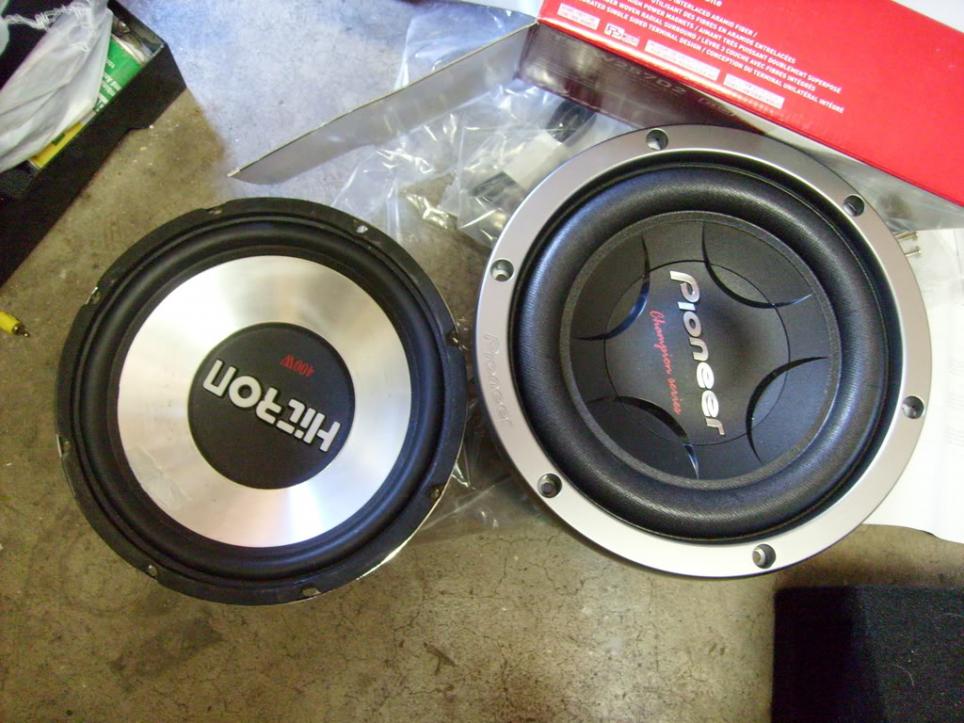
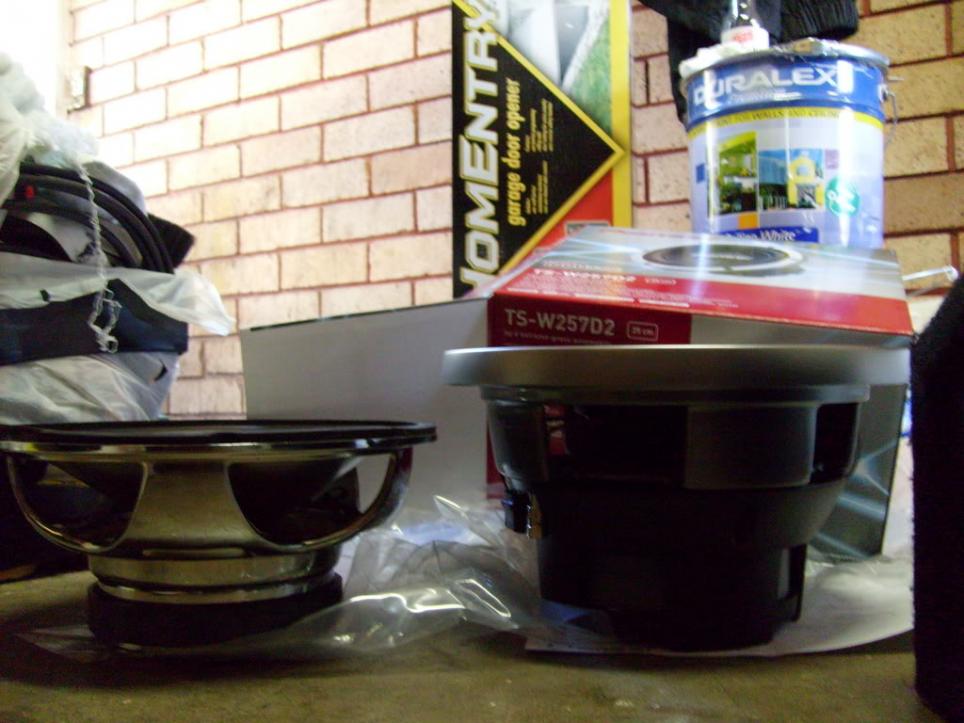
The magnet is twice the size of the old one and a little bit bigger in diameter up the top which is really good for me! So out with the old and in with the new hehe.I'm soo euro even my missus is shaved...Comment
-
Mooooore
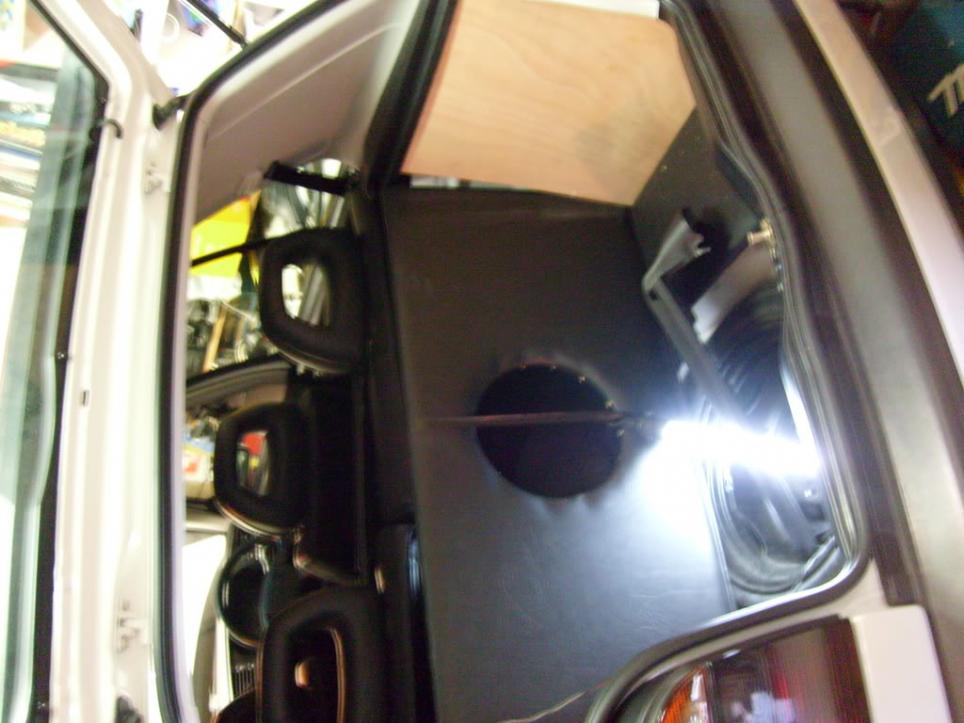
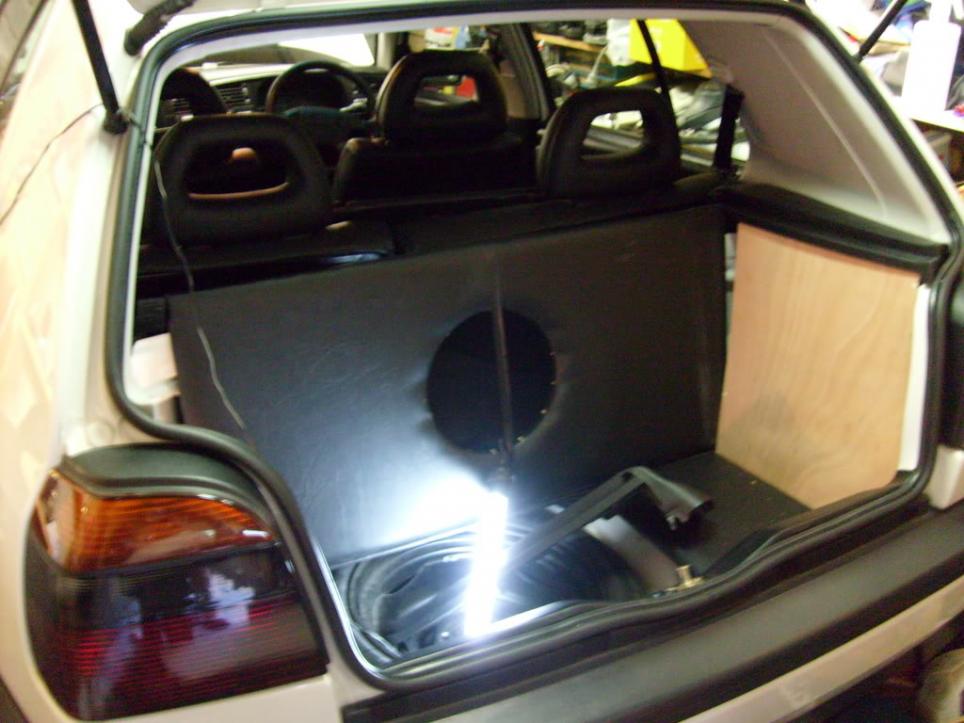
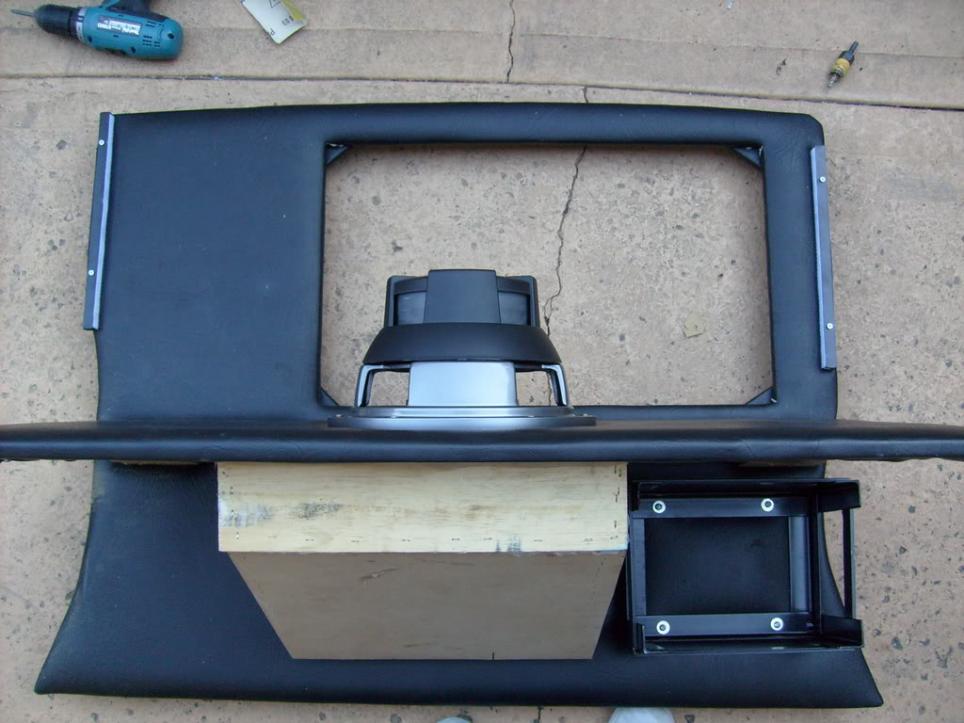
With the sub box that I had I dismantled it and went to work chopping it to make it fit for the setup that I wanted. I then stuck it to the back of the board with the sub hole and lined it up and made sure that it wasn’t going to move so I secured it even more
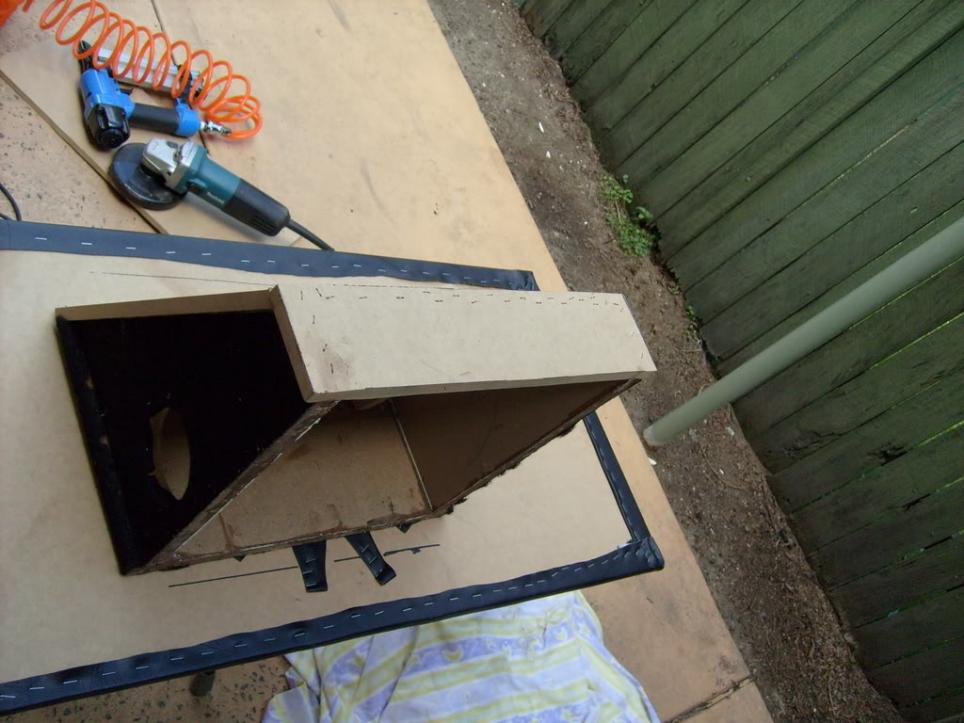
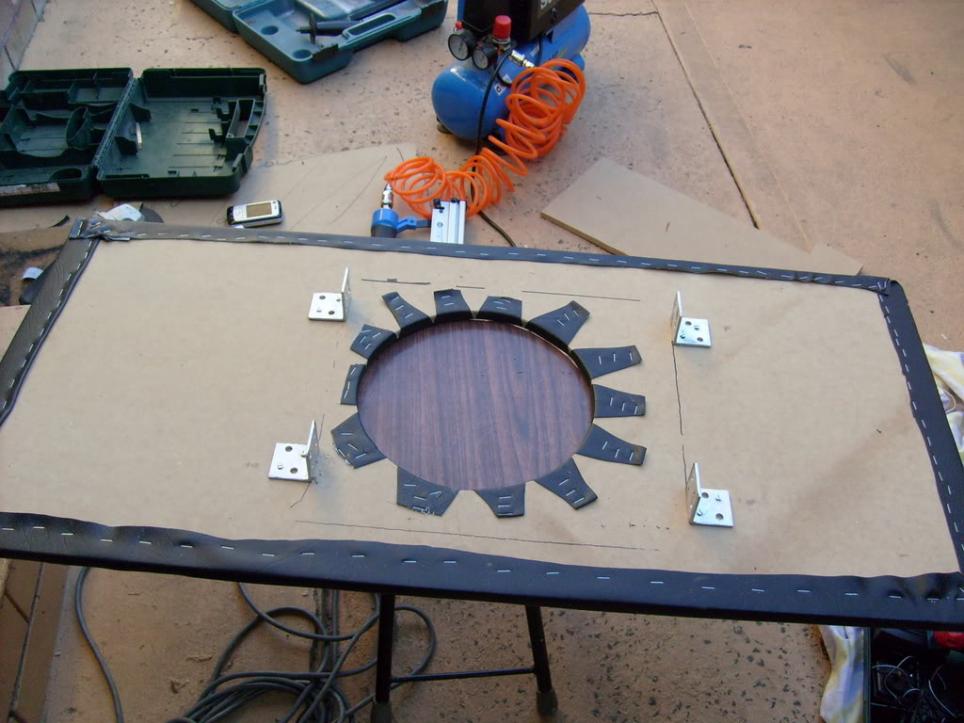
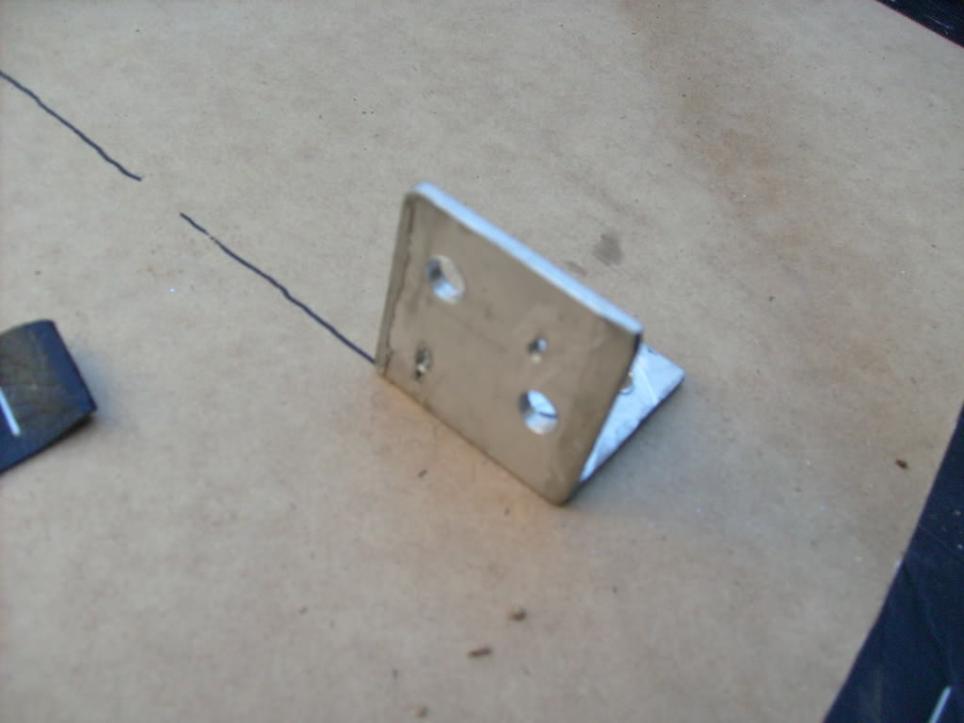
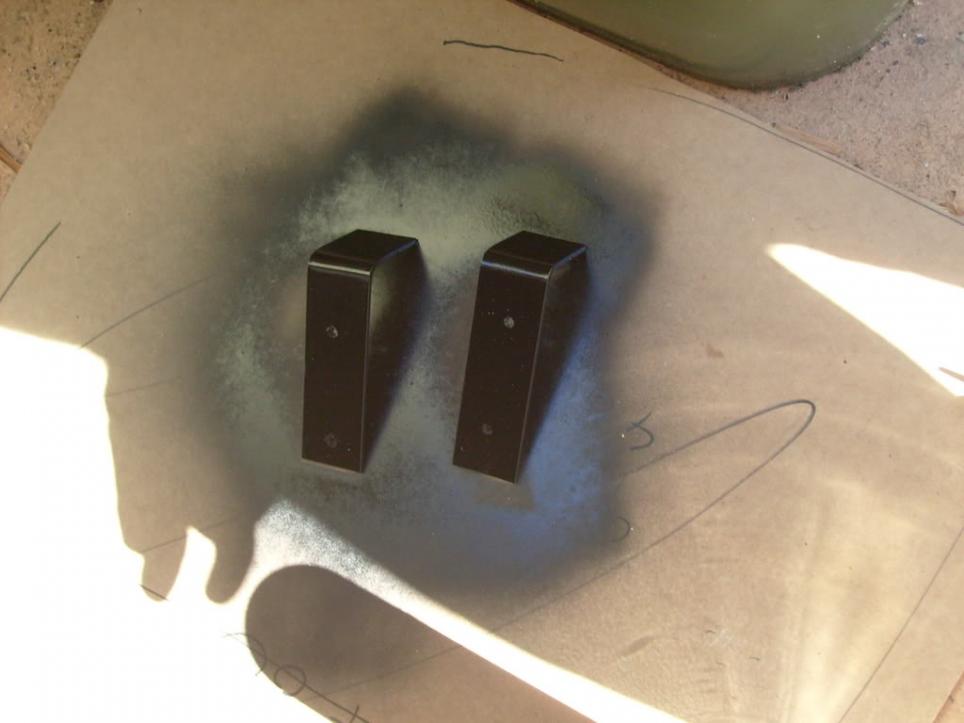
These little brackets will do the trick
TO make sure that no sound was going to escape and that it was bonded correctly I put in Sealant for the sound inside and out!
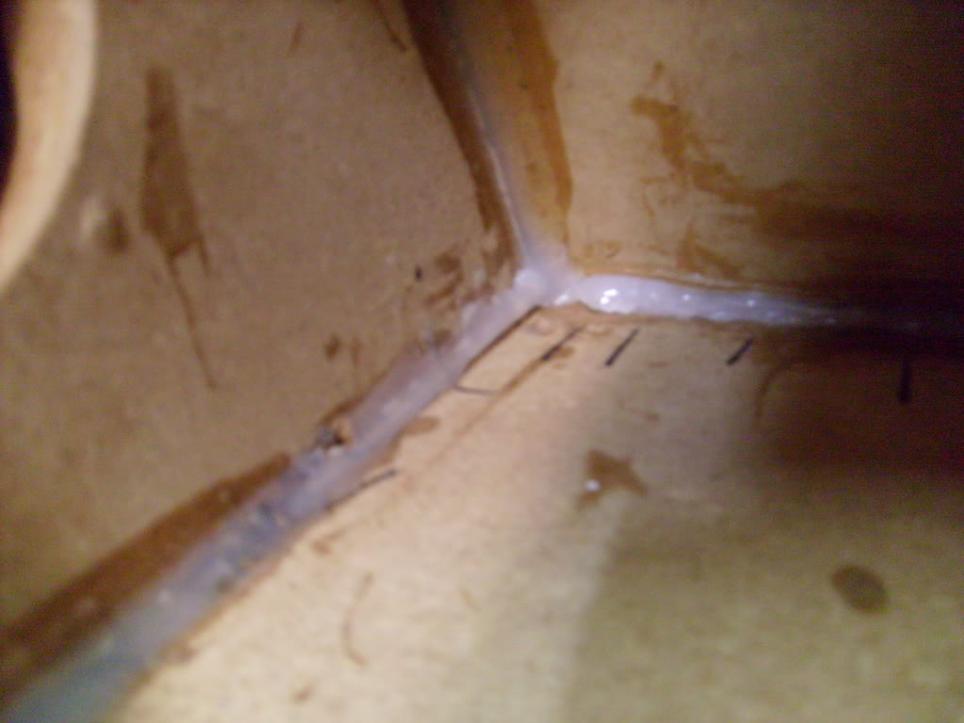
None of this will be seen so I am not fussed how it looks.I'm soo euro even my missus is shaved...Comment
-
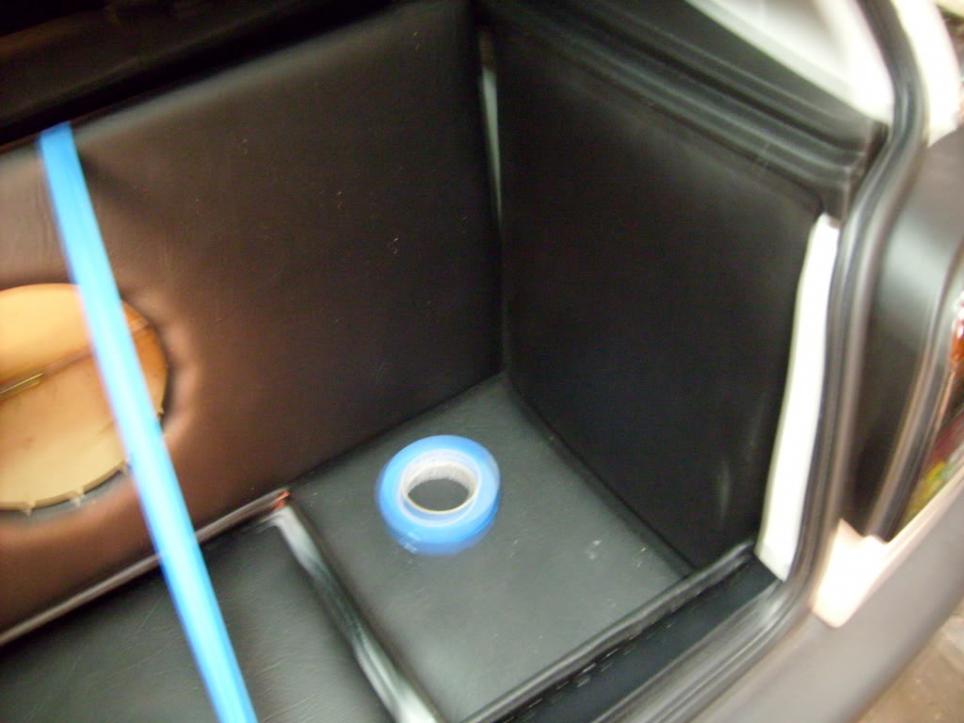
I then for the next week after it ran with the entire system minus the sub in the boot just to see weight wise how everything went I will not be able to fit hardly anything in here maybe one of those 6 can ice coolers that’s about it. I knew there wasn’t going to be much room in there from the beginning but you get the point
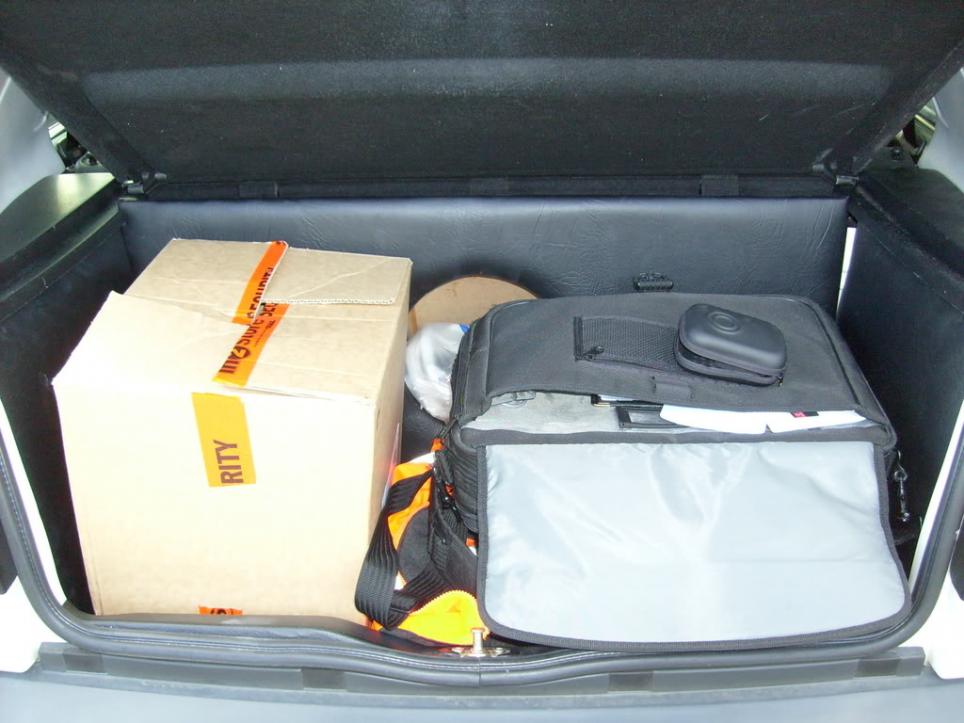
All there is in there is a box from work my sub under my work bag……Oh dear!!!
So last weekend I went down to my dads workshop and got in there and made my battery rack that I will need for my battery (Derrr!) when I relocate it to the back so I made this J
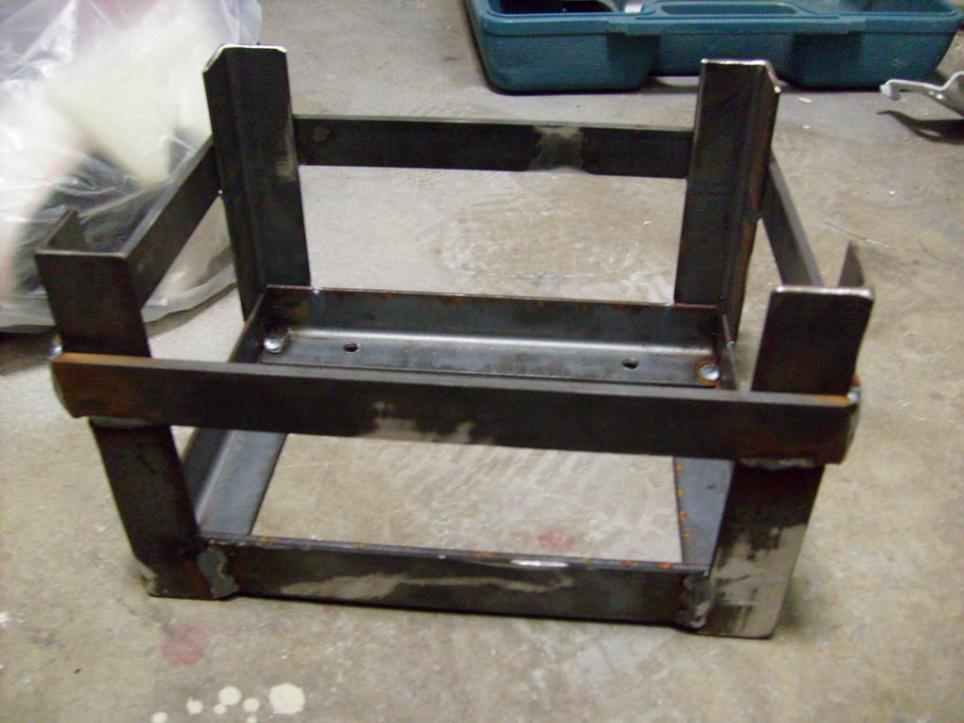

Thin bits of steel, cut down and then welded with a few holes down the bottom to be screwed in for anchorage. I am also going to run a rubber strap over the top to keep it settled.
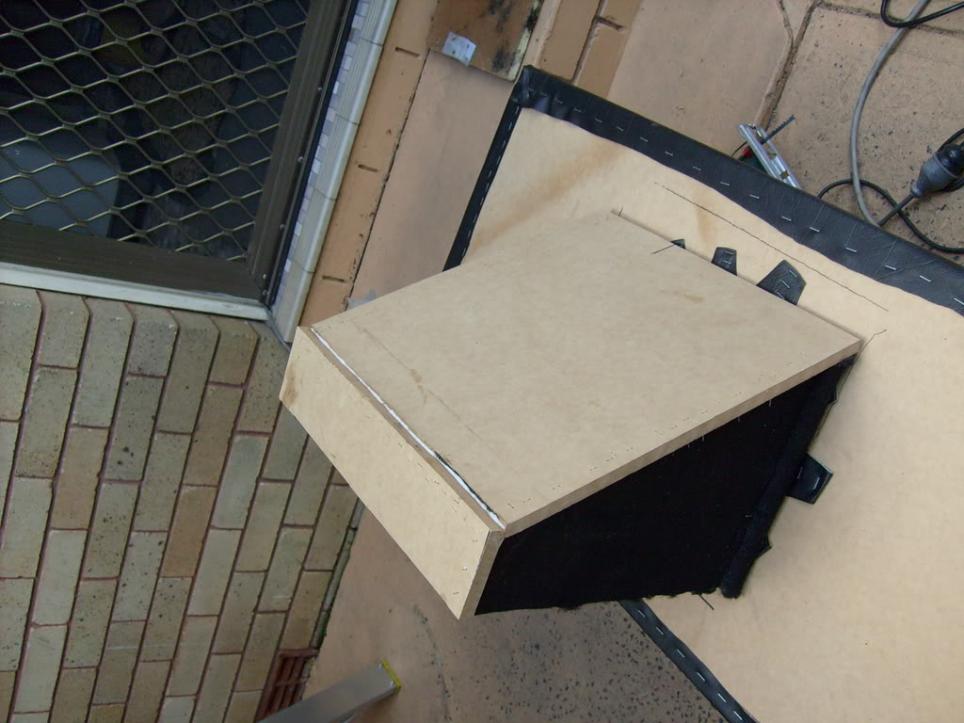
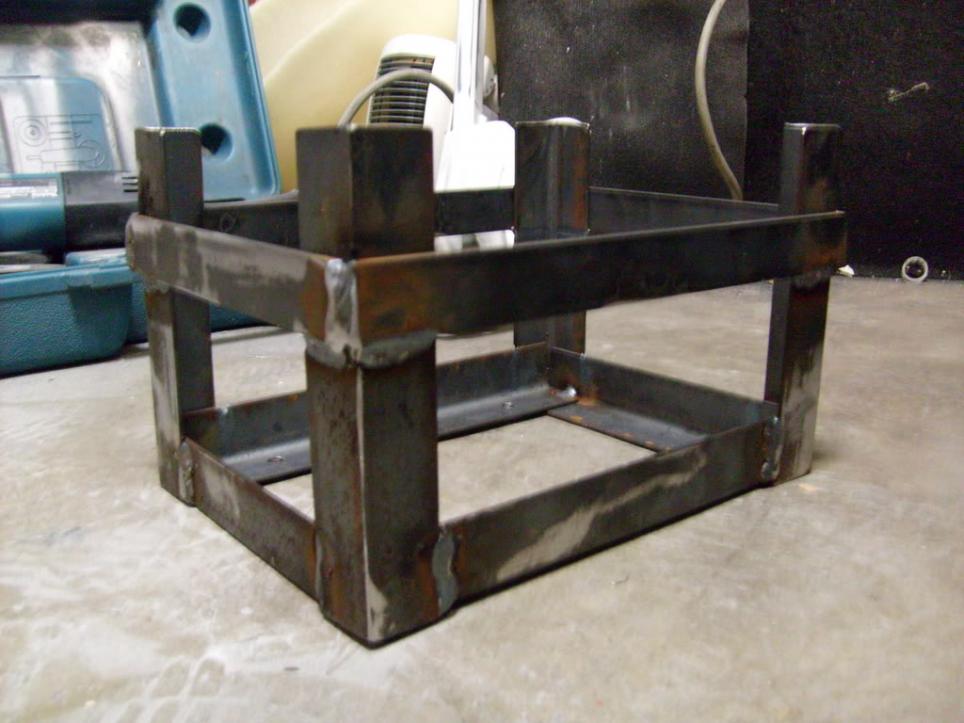
I had some difficulty trying to fit the backboard into the car with the baby bar in there. So I found where my problem was and got to work snipping
And then sanded in back slightly for some paint.
Its becoming black again cause you won’t see it so I thought why not stealth and the white colour that I had painted it before hand looked fugly.
Yum Yum black J
I'm soo euro even my missus is shaved...Comment
-
yeah thanks for getting the bilet knob for me steve, your car looks sweet, shame im the only one kopping it for spending money on cars.
Last edited by DUB 20V; 08-04-2008, 03:01 PM.mk4 the mods begin for round 2 hahahhaComment
-
The boot light would be covered up by the side panels that I made so I took htat into consideration and made the light cable longer for the light to be relocated J
The back of the car needed a panel so I made another panel out of plywood something thin and poked a hole through it for the light J
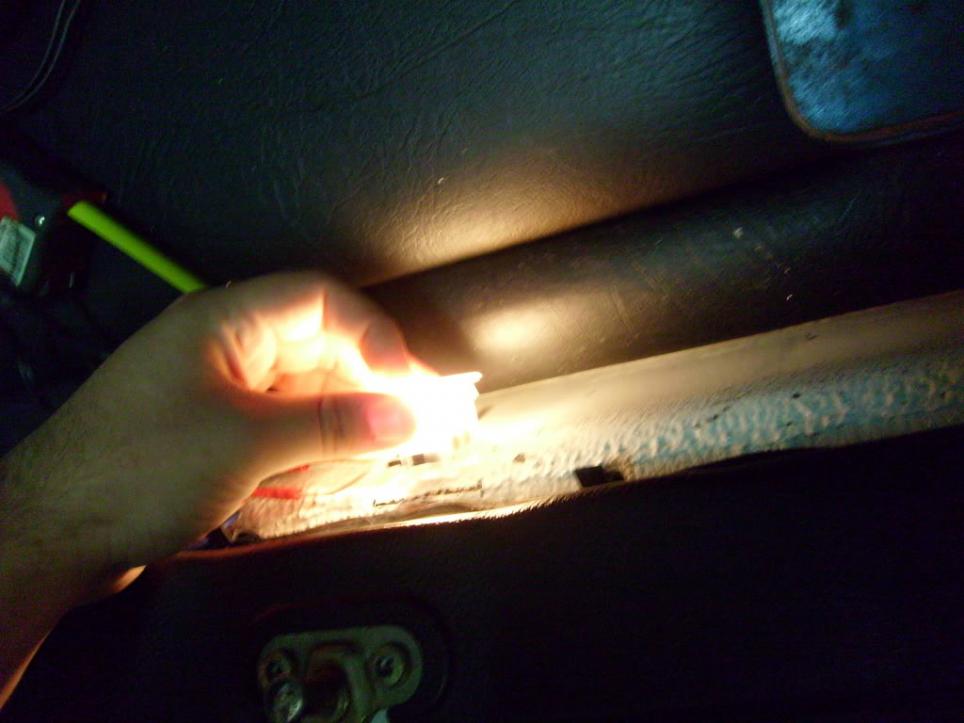
If you can see I didn’t really get a good shot but if you look down the bottm you can see a vinyl line that’s where it sits and it shines light towards the sub. I will fit a LED bulb in there to give it some more light J
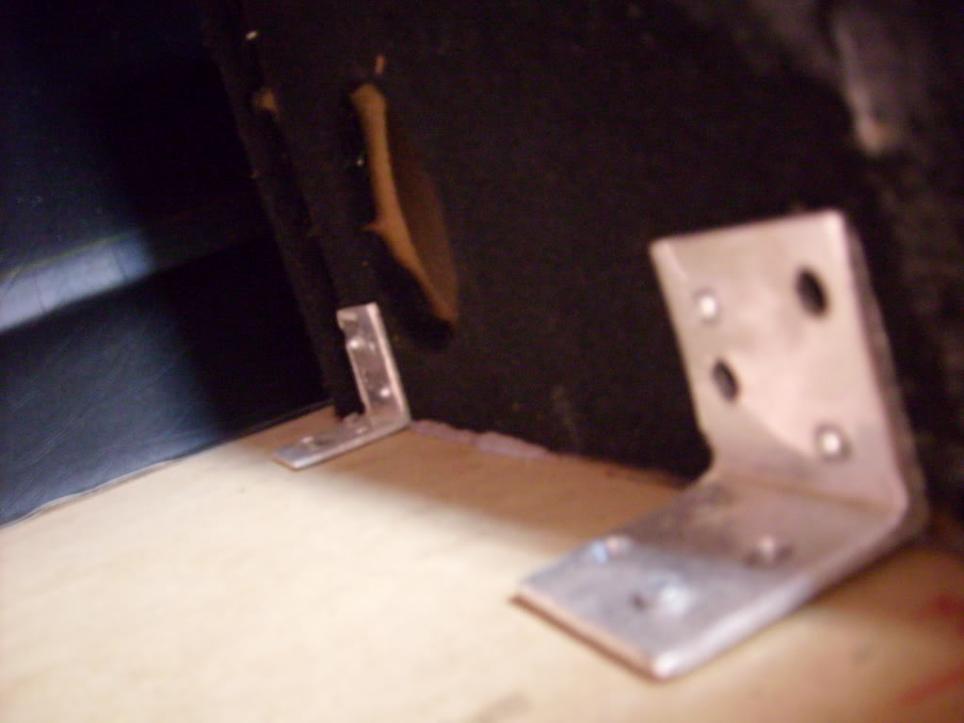
Did a quick test fit and noticed that the panels needed to be pushed out slightly so I bent some thin strips of aluminium and then painted them black cause no one would see them and painting them would look more professional. They push the side panels in nice and tight so that there is no gaps in the corners.
You will see where the brackets get put later on J
The weekend that just passed was a big one and I was really happy with the progress that I got through J
After a couple of months ago I cleaned up the wheel well and sprayed some zinc and rust kill I finally was able to spray it just quickly so that it looked a lot more better and professional hehe.
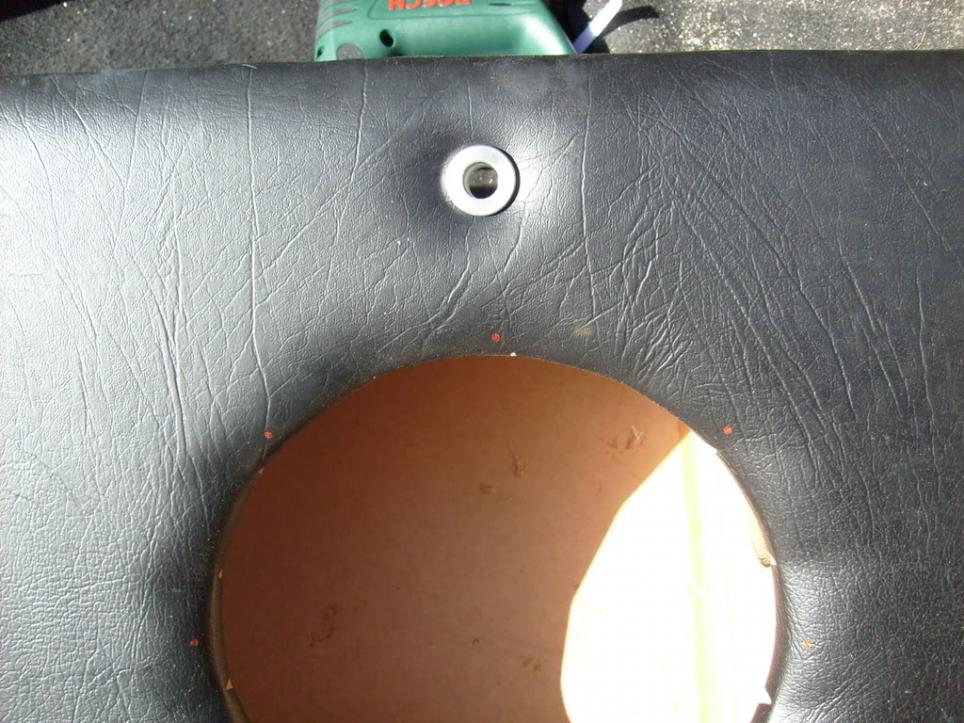
I then setup my Sub and wire holes and secured them into place. The wires that will run from the sub to the amp will come through this bit of lathed aluminium
I'm soo euro even my missus is shaved...Comment
-
Then setup the sub for secureness lol.
As you can see this is where I mounted those brackets that I talked about earlier on the sides towards the top!

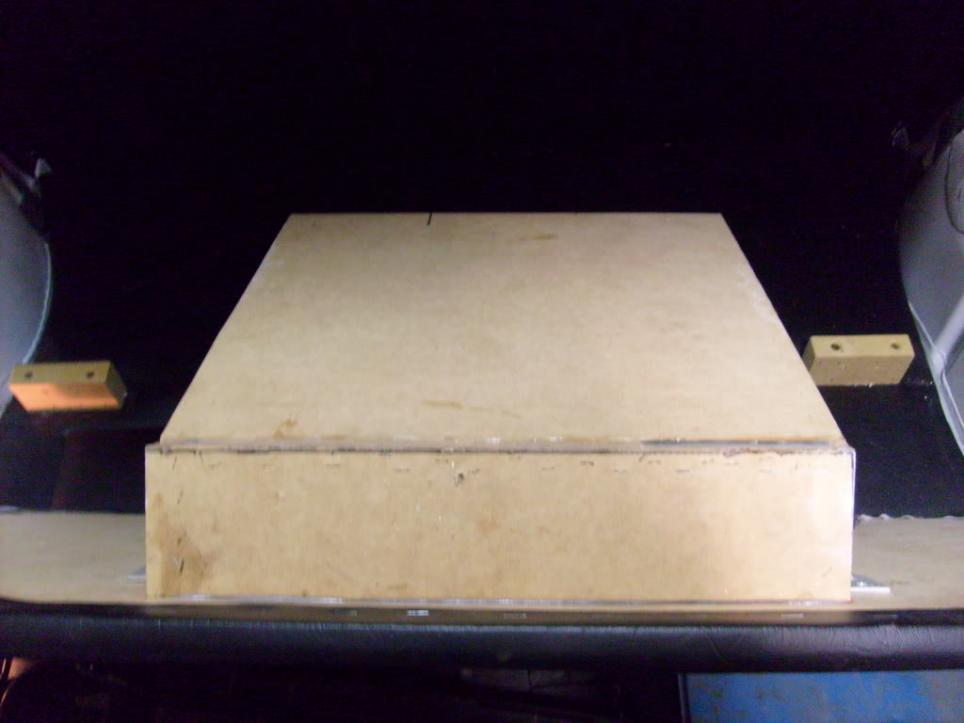
What the whole thing will look like from the top.
I'm soo euro even my missus is shaved...Comment
-
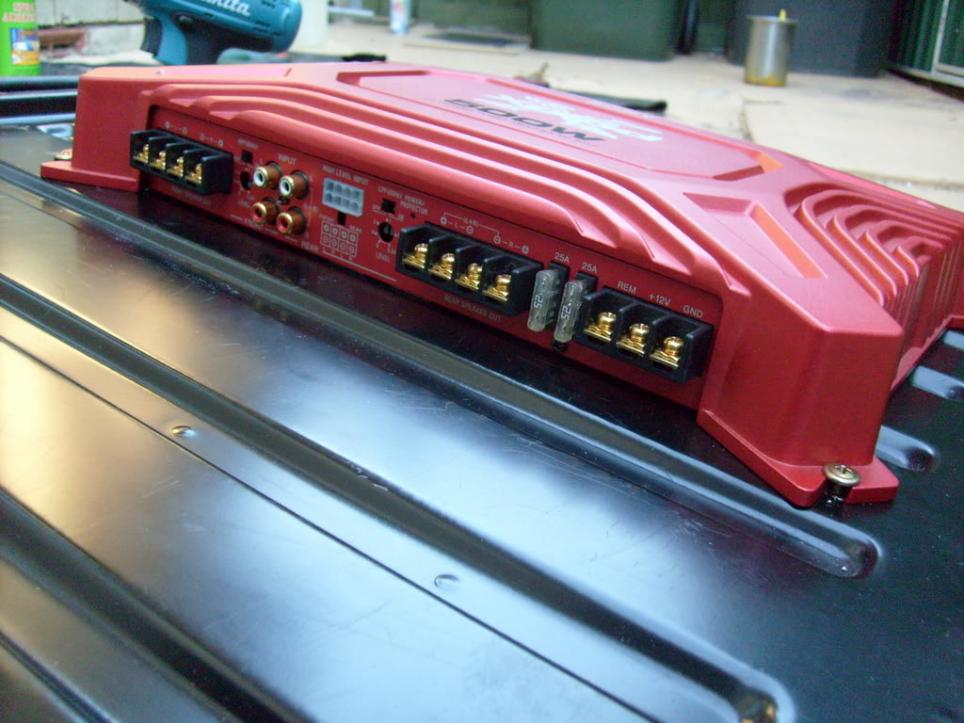
I then mounted the amp in place making sure that it cleared the side and also cleared the sub box it was a rally close squeeze haha.
The carnage of destruction that I left on Saturday after a full days work was too tired to clean up anything hehe only joking
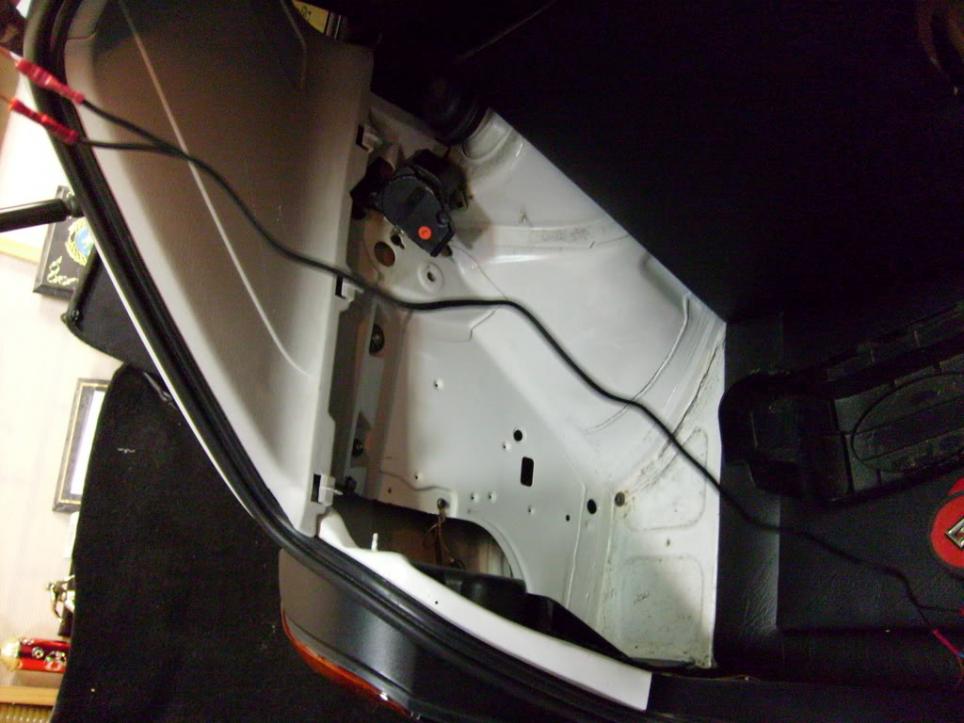
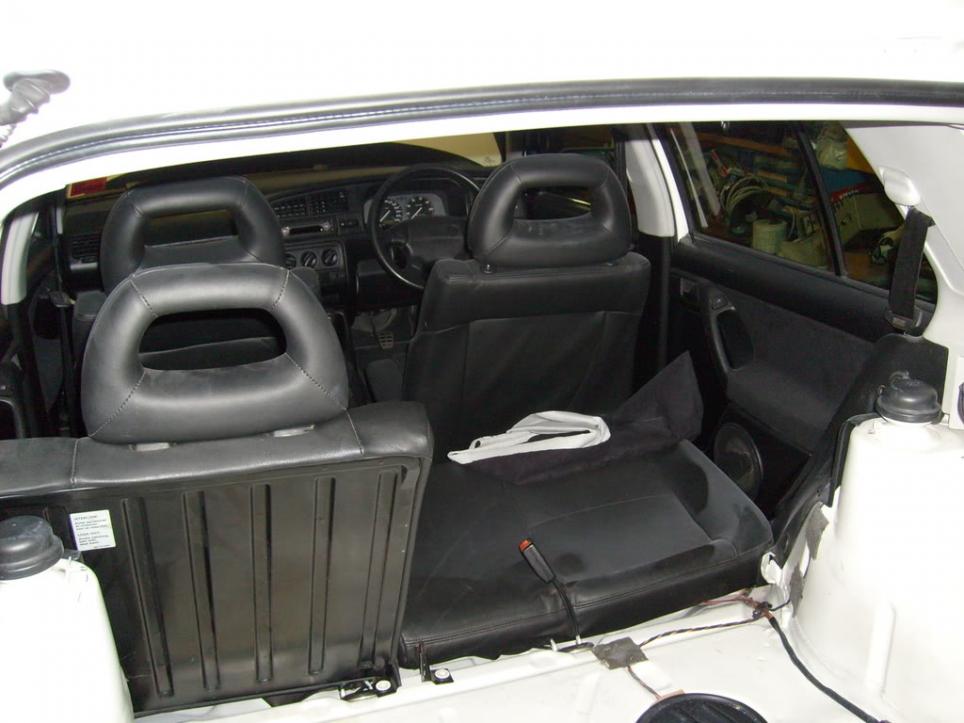
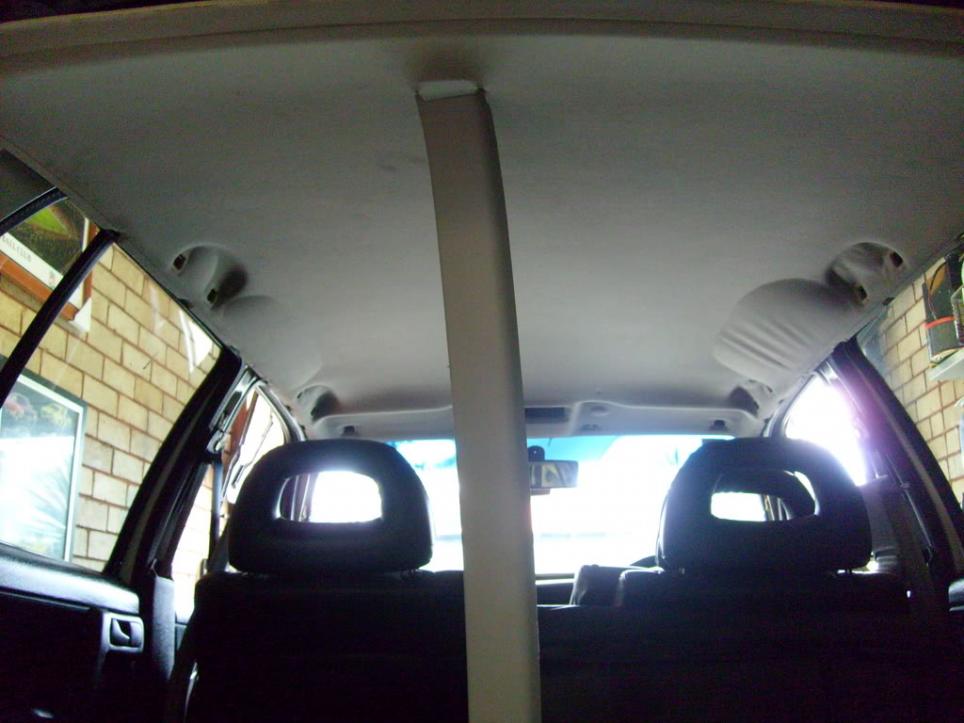
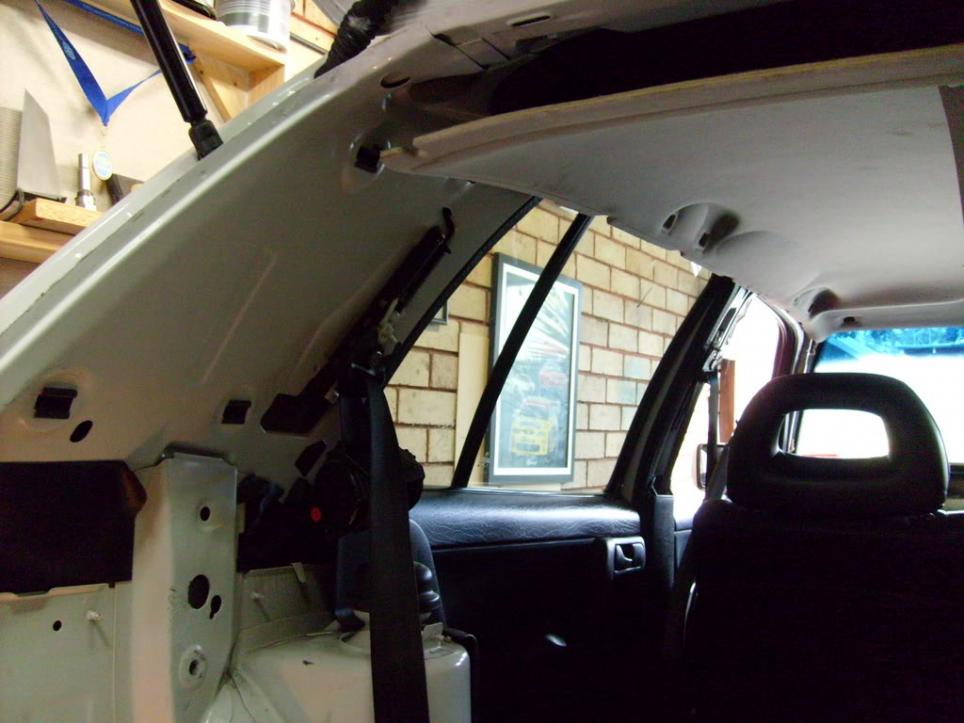
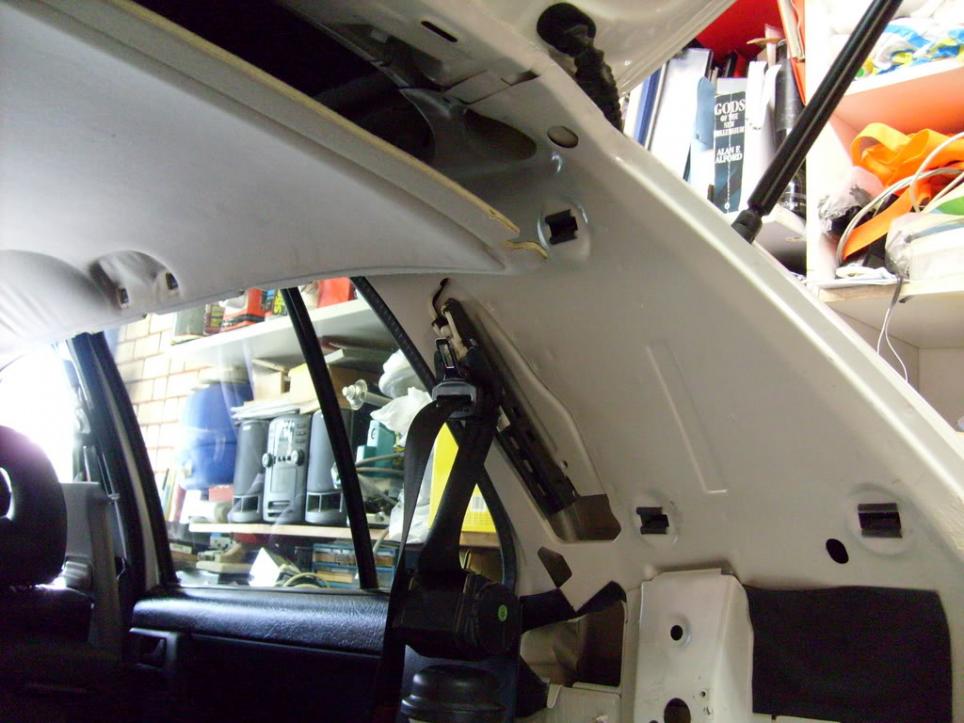
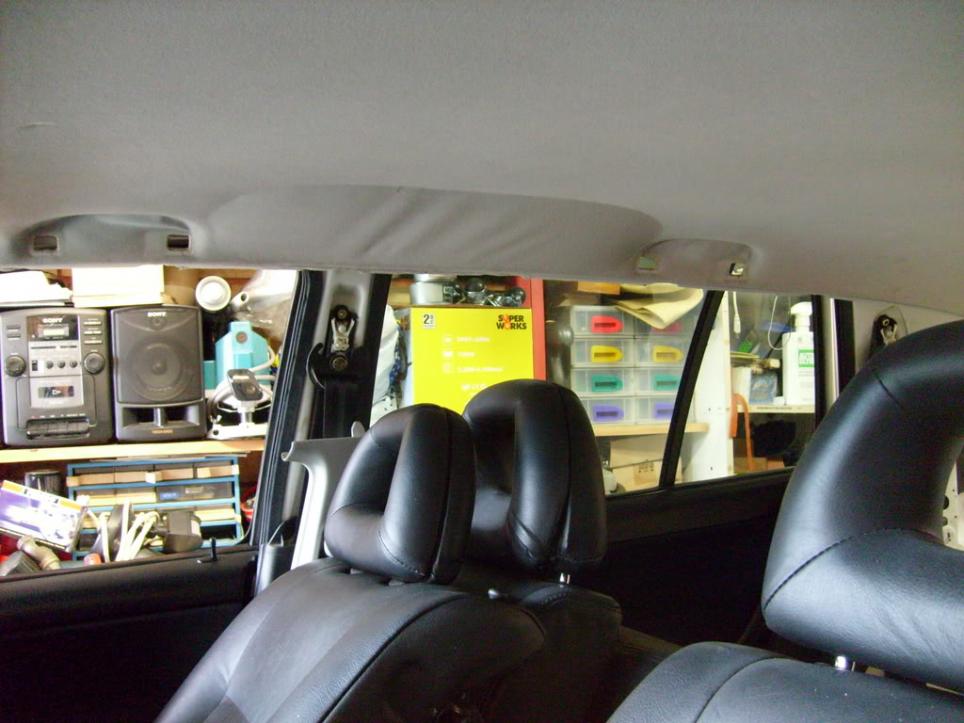
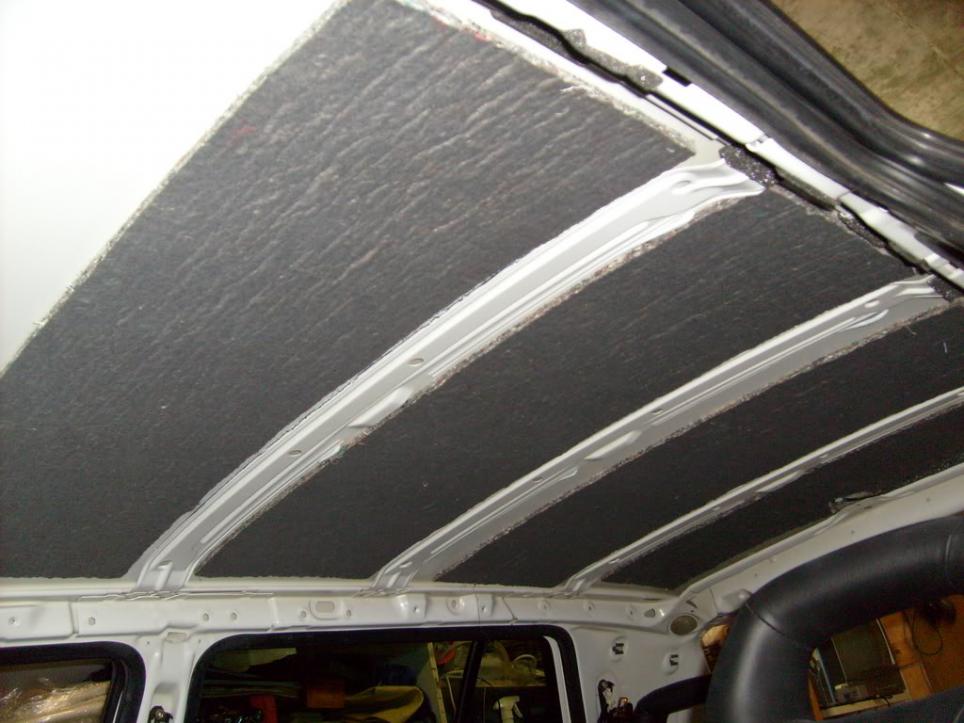
Sunday was a big day aswell as I took off the interior pillars, headliner, side moulds and VR archs Sad but cleanliness is next to godliness lol.
Pics to follow J
 I'm soo euro even my missus is shaved...
Comment
-
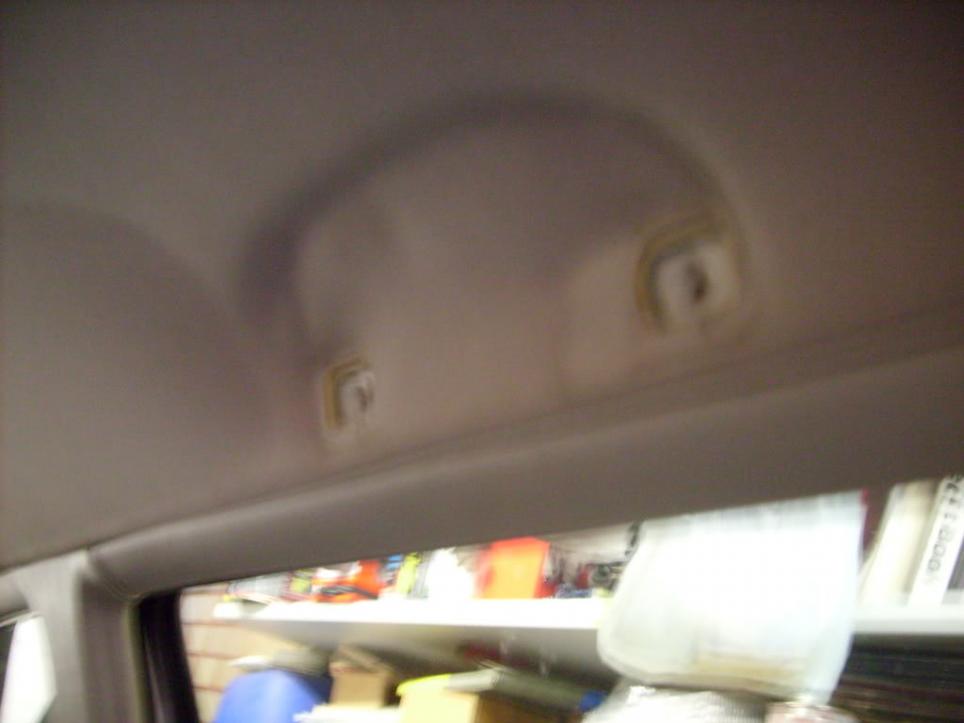
I had to use a piece of aluminium that had to hold up the headliner cause it was going to crash on top of me hehe.
These are where they are coming lose and was not my first reason for wanting to change the headliner I didn’t even notice this until a few weeks ago, there are two exactly the same size one on each size.
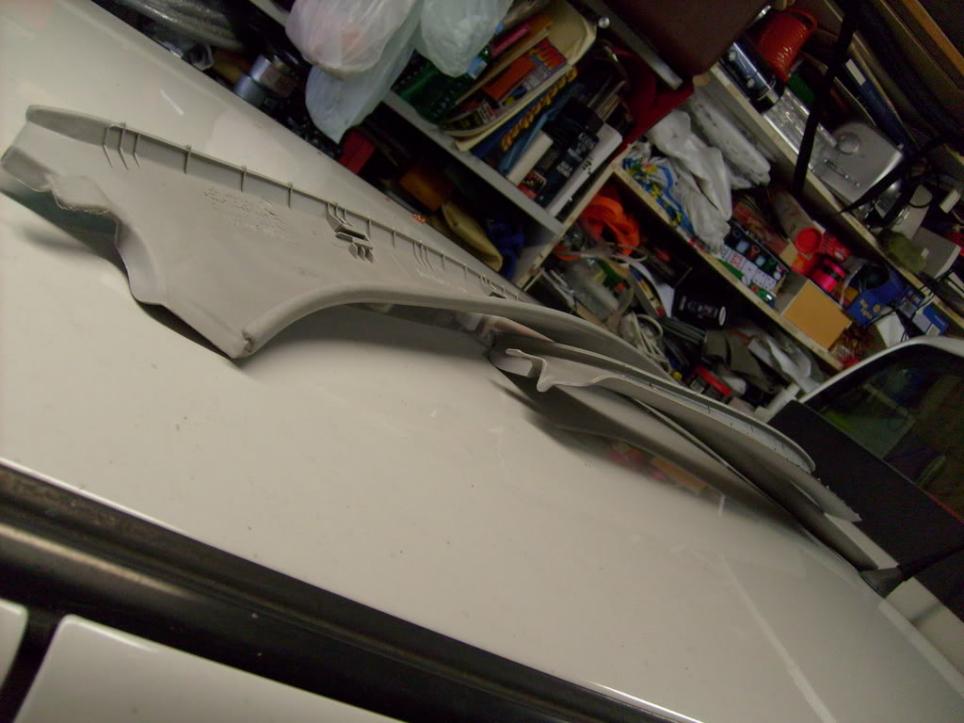
Pieces are everywhere didn’t realise you take a car apart and there are pieces everywhere I have run out of room all over the place hehe.
Inside shot, nice and bear looks like I am going to race this thing strip it completely
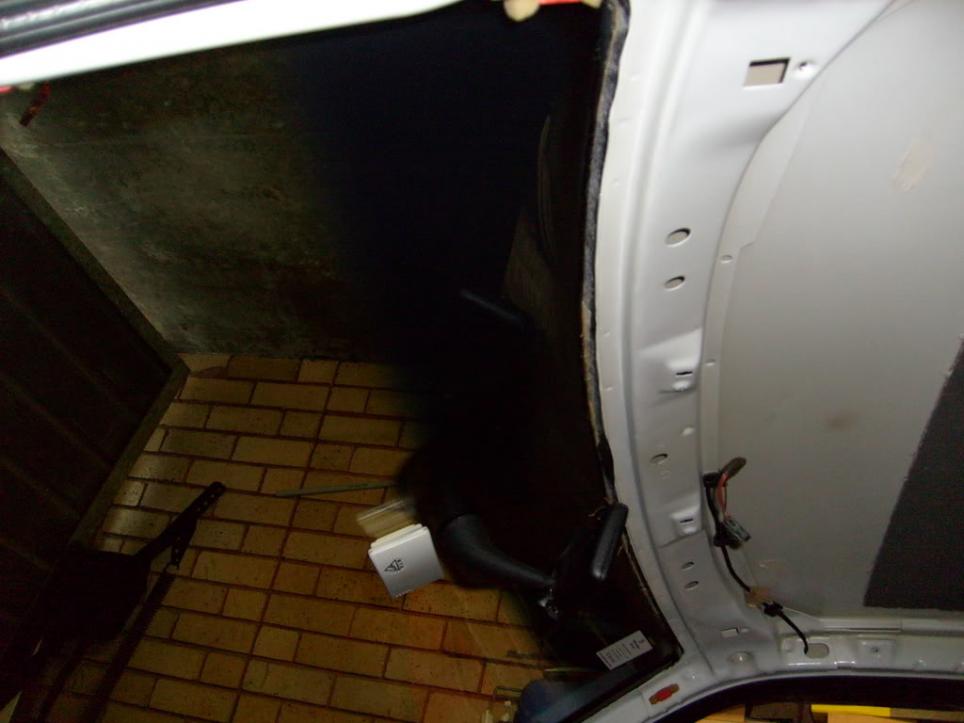
I didn’t get any shots of when I took the trims off so I took some pics today while I was at work, I didn’t realise how dirty underneath the trims where there was a fair bit of build up under there L Now that they have been removed I will roll the rear guards in preparation for some phatness

 I'm soo euro even my missus is shaved...
Comment
-
No worries Adrian, as long as you use the items that are for your car thats the keyOriginally posted by DUB 20V View Post
I'm soo euro even my missus is shaved...Comment
-
NICE! what an update. it's all starting to come together, and then you go an yank out the head liner! hahahaha lol.
You think it was dirty under you 15 odd year old side trims; take some off a mk 1 and get back to me! 30 years of dirt, is well alot! hahaha
Keep up the good work. I'm looking forward to the suave-ness.. (that is a word. I just may have spelt it wrong haha)
haha)
Comment
-
I like where this is going. Nice work Steve!Originally posted by WhubbsieComment
-
Thanks Jarred and Neil, the boot is almost finished however to me there is still a few things left on it to do. I need to change the screws on the sub from gold to silver with a round head instead of the flat head ones the screws that came with the sub were not long enough for it to be inverted
Taking out the interior was a pain to get the pillar trims off I actually had to take the seat belts off to get them completely out. At the moment its a 2 seater car the rear seats aren't screwed in
The interior is a complete wreck dirty and just filthy but that will change when I get the car back.
Still the list of things to do is huge but it was a good weekend that got a fair few things off that list
I'm soo euro even my missus is shaved...Comment
-
Good stuff Steve, great your progressing on!! Can't wait to see your new headliner
Comment

Comment