Above Forum Ad

Collapse

Announcement

Collapse
No announcement yet.

VDUBIN (VR6) aka Chop N Change

Collapse
X
 
  • Filter
  • Time
  • Show
Clear All
new posts

  • thestu
    replied
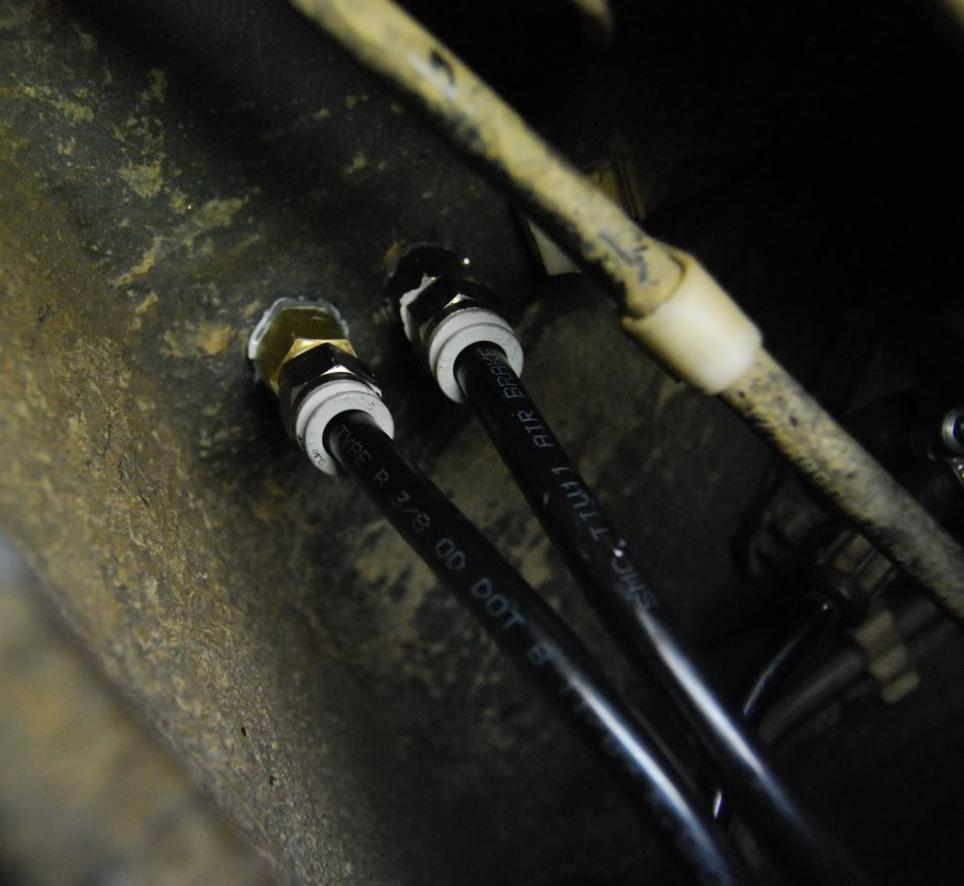
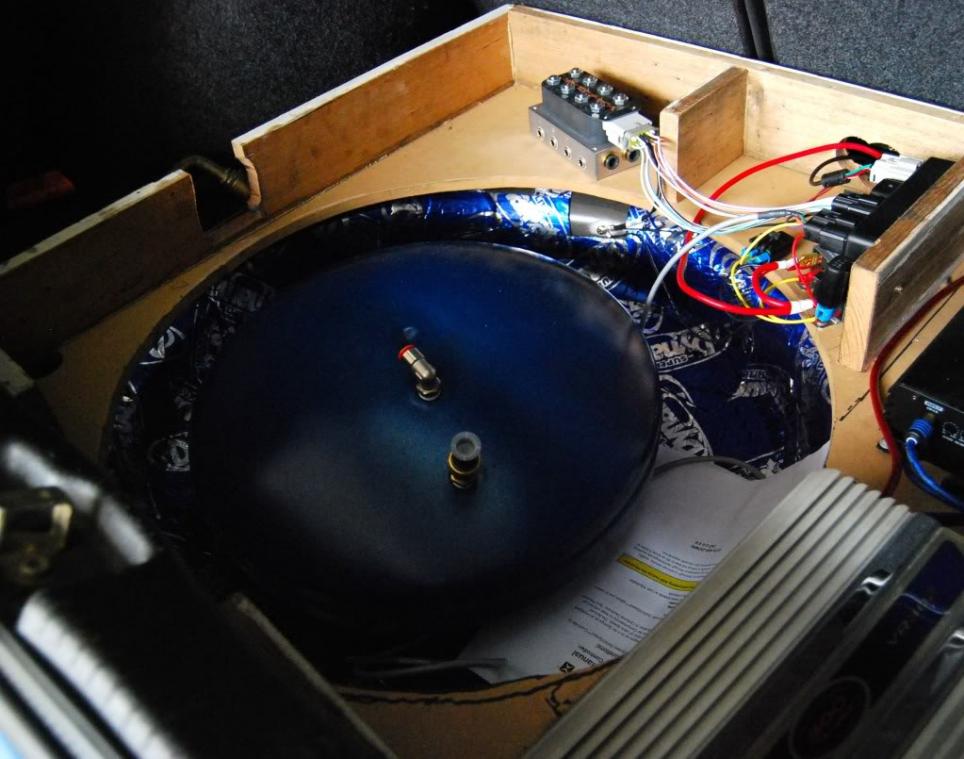
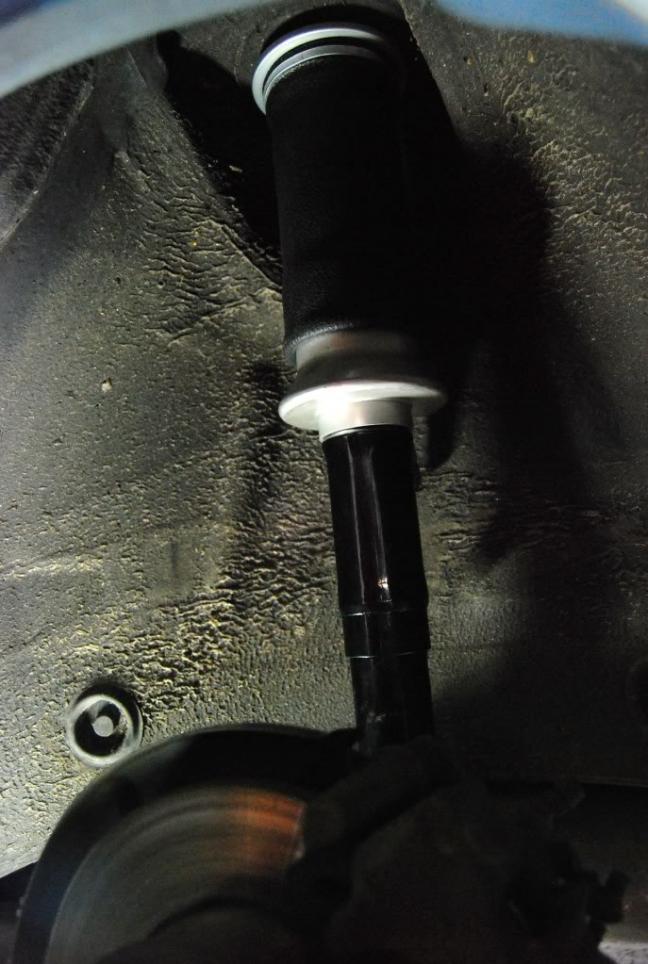
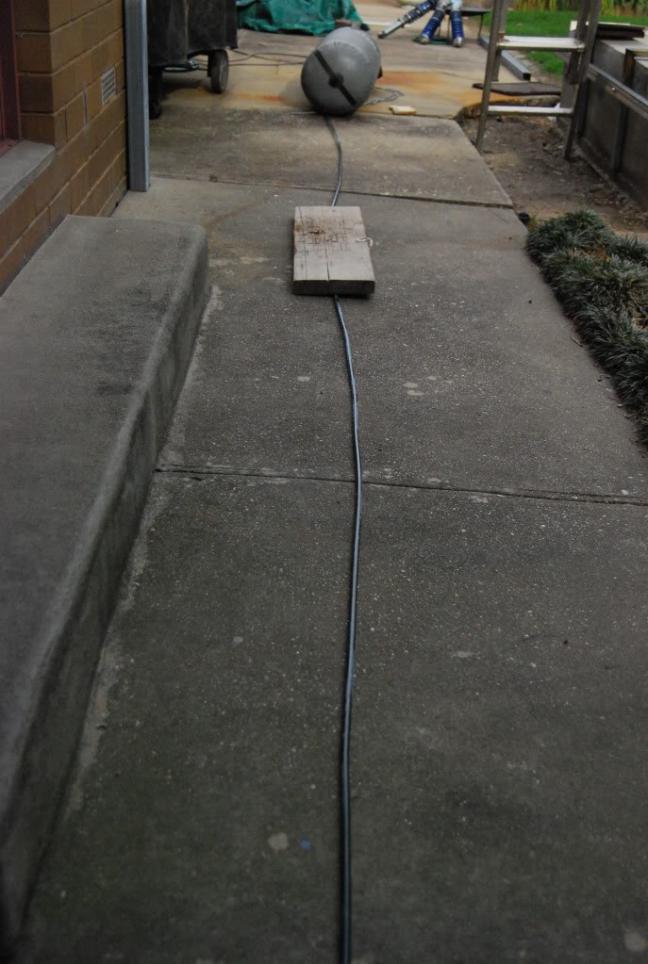
    Looking good. I don't quite understand the first picture...please explain

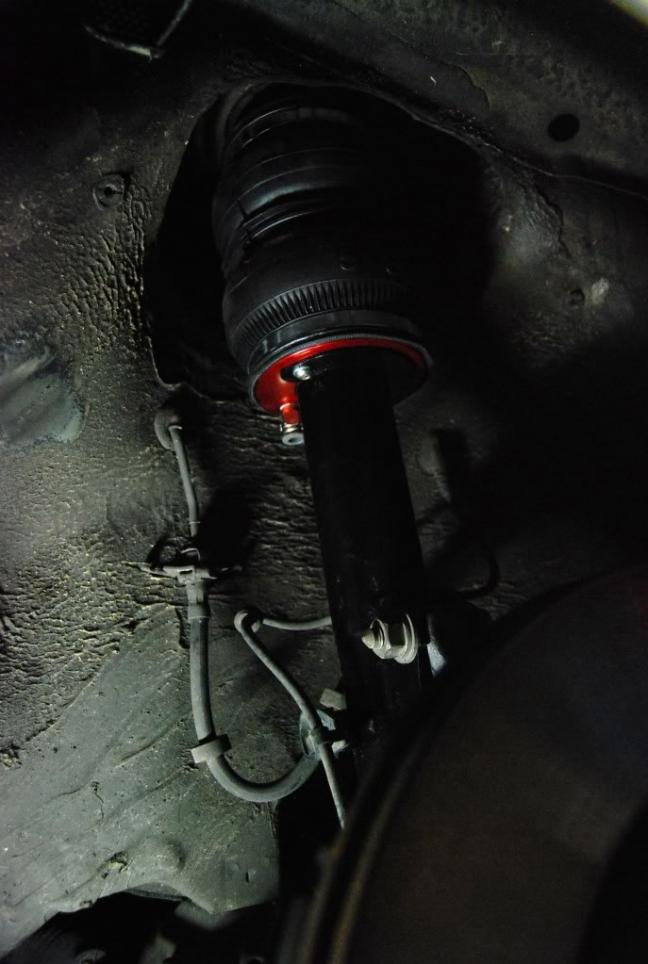
    Tighten until its firm with loctite 407 (I think) then do 1 and 1/4 turns...thats all it needs. Its a tapered thread! If it is leaking you can go a further 1/4 turn without taking it apart...if its leaking you will need to take it apart, re apply and then tighten again to 1 3/4 turns past finger tight

    Stu

    Leave a comment:


  • vdubin
    replied
    Originally posted by Mr V View Post
    thumbs up! Feels like you are on the home straight! Keep up the good work, looking forward to see this ride live once it's back on the road

    Btw did you work out your engine issue?
    Thanks Mr V ,Yes 99% sure it was the Coil pack 2-5 had no spark at all randomly too? I Got my New coil pack today.

    Originally posted by Pmk View Post
    Gonna be selling those coils ?
    Sure Am,I Forgot What I paid for them,I need to work out a price, what were the hot tunings worth new ???


    Originally posted by thestu View Post
    Keep up the good work dude!
    Cheers Stu Got a Question for you, how much thread could you see on your front bags on top,mines level with the nut was hoping to get atleast 2-3 threads more ? again the car isnt on the ground yet so maybe ill try then.

    ---------- Post added 25-11-2011 at 04:16 PM ---------- Previous post was 22-11-2011 at 06:00 PM ----------

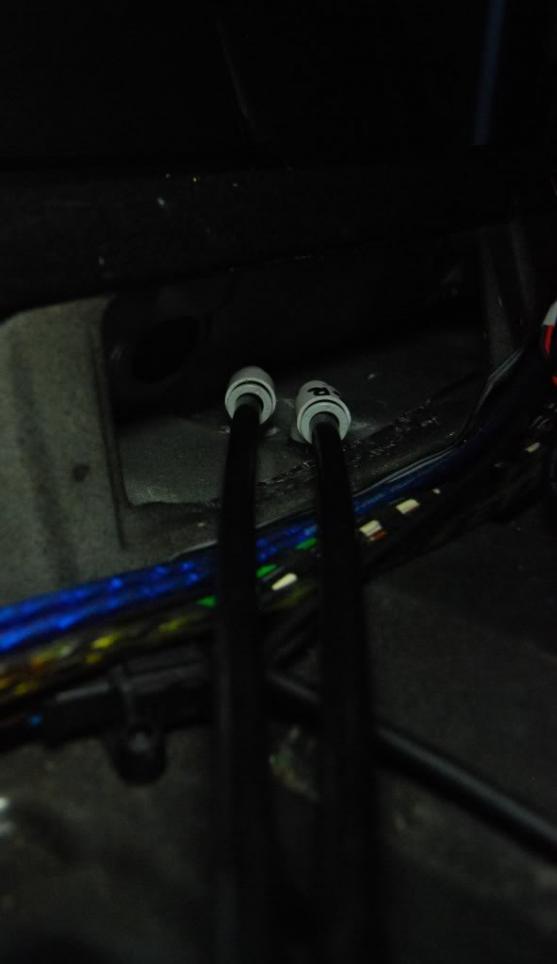
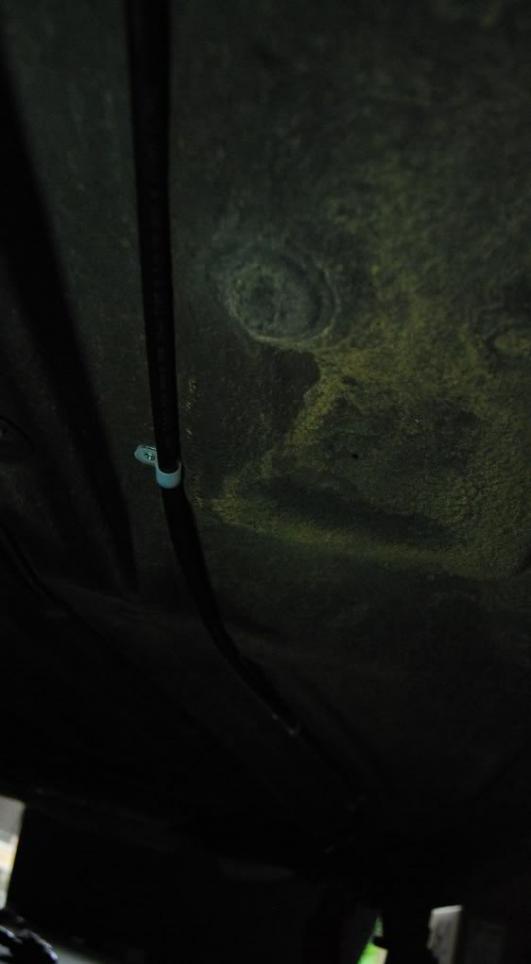
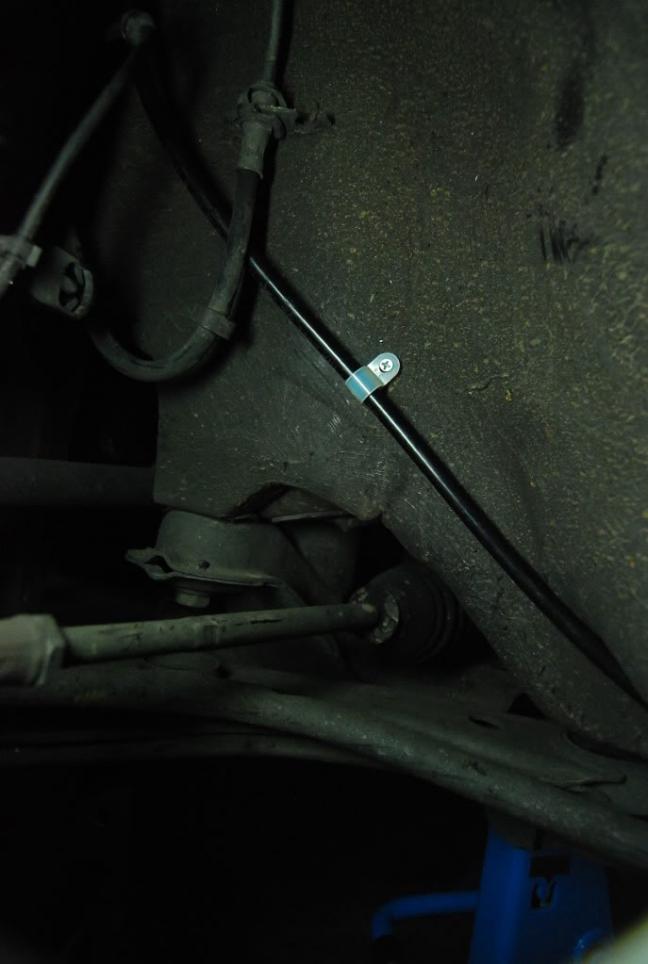
    Air lines are done, I ran all lines Under the car,not a very popular way to do it.
    Ill also have another hose going over the Air lines for extra protection.

    Couple pictures.
    UNDER CAR .


    UNDER BACK SEATS.


    Leave a comment:


  • thestu
    replied
    Keep up the good work dude!

    Leave a comment:


  • Pmk
    replied
    Gonna be selling those coils ?

    Leave a comment:


  • Mr V
    replied
    thumbs up! Feels like you are on the home straight! Keep up the good work, looking forward to see this ride live once it's back on the road

    Btw did you work out your engine issue?
    Last edited by Mr V; 21-11-2011, 08:41 PM.

    Leave a comment:


  • Ben J
    replied
    Its all happening! Keep it up!

    Leave a comment:


  • vdubin
    replied
    Cheers guys, commemts like that keep me motivated to get it done!

    As requested photos bits N bobs really.
    Final touches


    Mini Air gun


    Front bags in.

    Back bags in.


    Quality Fittings.


    So many different fittings.


    They done there job well.


    Straightening Air line.

    Leave a comment:


  • fatmir305
    replied
    coming along nicely, good stuff..
    im with Dylan, more pics!

    Leave a comment:


  • dylan8
    replied
    Originally posted by sortofbigbj View Post
    It may technically just be a 2 door golf but I can imagine. Haha.
    took me ages to work out what you were on about

    loving this thread, great to see something different and out there.
    giving me bad ideas
    Bring on more pics!

    Leave a comment:


  • Ben J
    replied
    It may technically just be a 2 door golf but I can imagine. Haha.

    Leave a comment:


  • vdubin
    replied
    I could but its not recommended,Its not that bad I guess,The Last thing I need to do is strip the thread.

    Haha yea every time I look at it I just smile and laugh at how ridiculous this is.

    Thanks .

    Wait whats this-- 95 Vento Coupe-With hatch conversion wtf lol when this happen

    Leave a comment:


  • Ben J
    replied
    Can you cut the thread down or something? Not that its that noticable.

    This set up is going to be all kinds of cool! One of a kind for sure. Absolutely loving it. Keep it up!

    Leave a comment:


  • vdubin
    replied
    Originally posted by sortofbigbj View Post
    Goodwork!

    When are you planning on putting it all in and officially having it on bags? Delay after delay keeps happening with mine
    Story of my life mate. With work, The Business,Gf,car Issues its been very hard to find time,Im not rushing Anything as I dont want to have to fix it up later.

    Its a bit of a joke how long its taking me I know, I get really pissed some days but Im getting there.
    To do:
    -Install Bags ( Done )
    -Run Air lines
    -Carpet floor
    -Set False floor secure to bottom frame
    -Plum it all up & test
    -Then The usual touch ups.

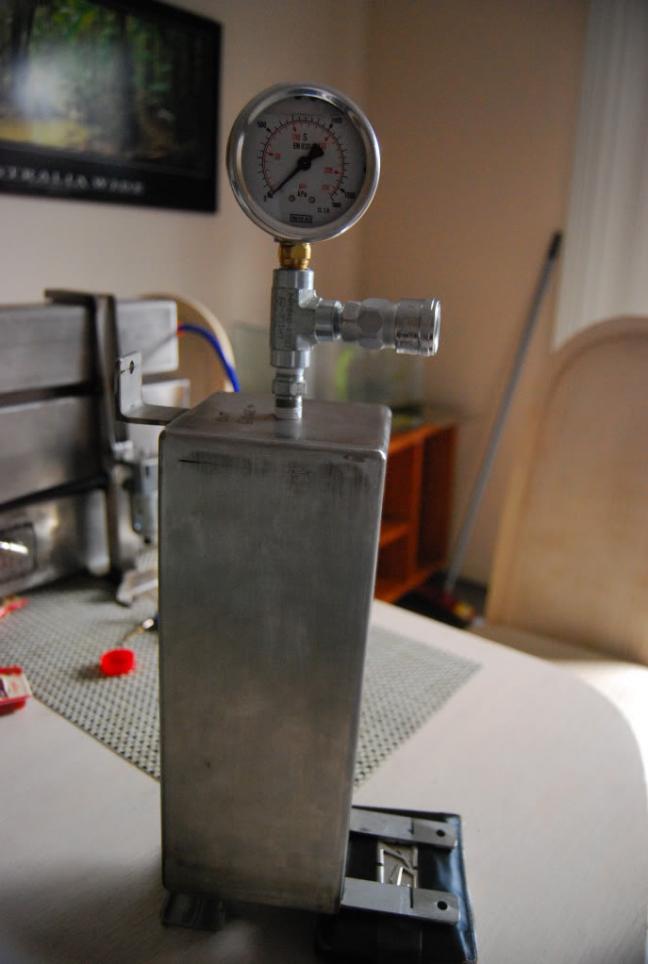
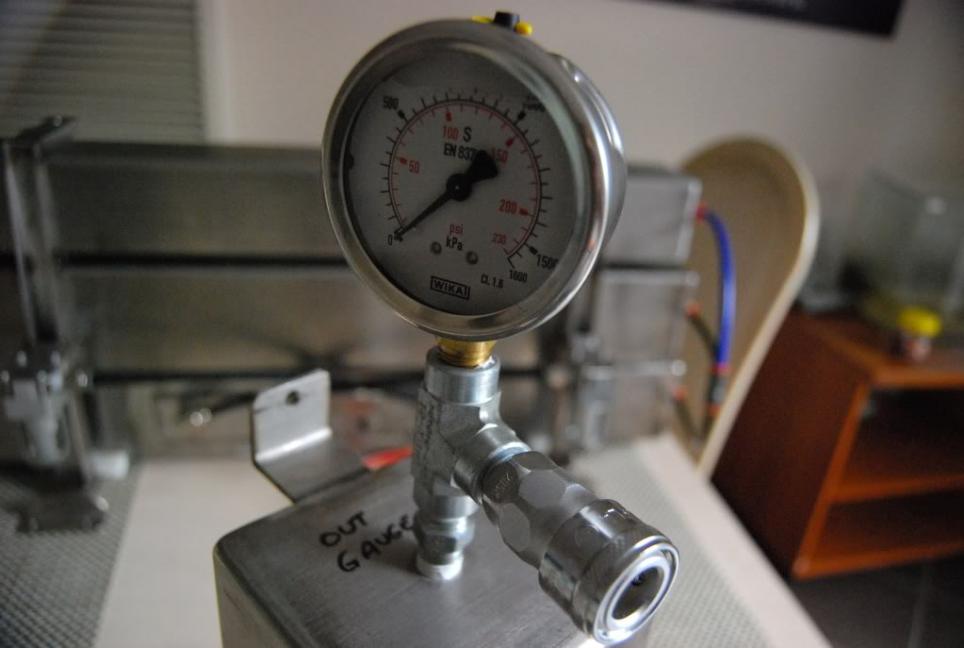
    Heres my little Tank with pressure Gauge and Air fitting to use for Air powerd tools.


    I HATE HOW YOU CAN SEE THAT MUCH THREAD STILL BUT IT CANT BE HELPED.
    Last edited by vdubin; 20-11-2011, 05:50 PM.

    Leave a comment:


  • Ben J
    replied
    Goodwork!

    When are you planning on putting it all in and officially having it on bags? Delay after delay keeps happening with mine

    Leave a comment:


  • vdubin
    replied
    Originally posted by GoLfMan View Post
    that looks really neat mate, well done!
    Cheers mate, Its amazing what you can achieve when you take your time & be patient lol

    Originally posted by sortofbigbj View Post
    Loving it. Is a shame you couldn't get hardlines to play nice... I think they'd look awesome.
    I know ! Its to hard to explain why It wouldnt work On here.Maybe the next car I bag ill go all out with hard lines

    Originally posted by thestu View Post
    Very well done!
    Getting there

    Originally posted by nightphotographer View Post
    Looks amazing man!
    Photoshoot sooon !!

    Not Notching it..we Had a good look at whats involved, Its not hard at all.
    But Not happy with the fact you cant Weld the inside aka motor side with out taking the motor out !!
    Most ppl if not all will just weld the outer side and be done with it.

    so to get a couple more mm lower its not worth it or safe.

    ---------- Post added 19-11-2011 at 05:01 PM ---------- Previous post was 14-11-2011 at 01:02 PM ----------

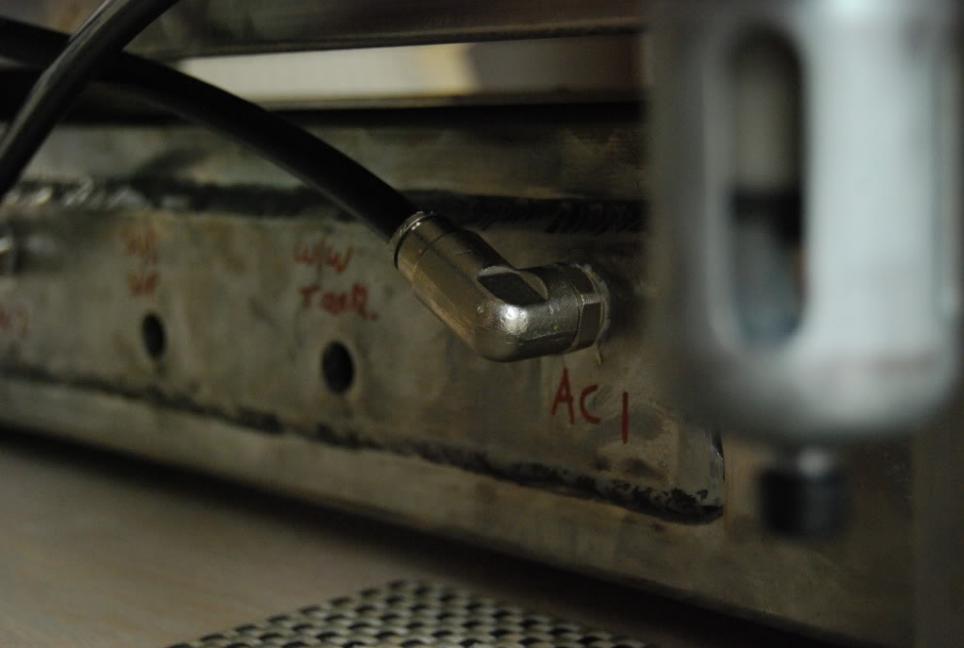
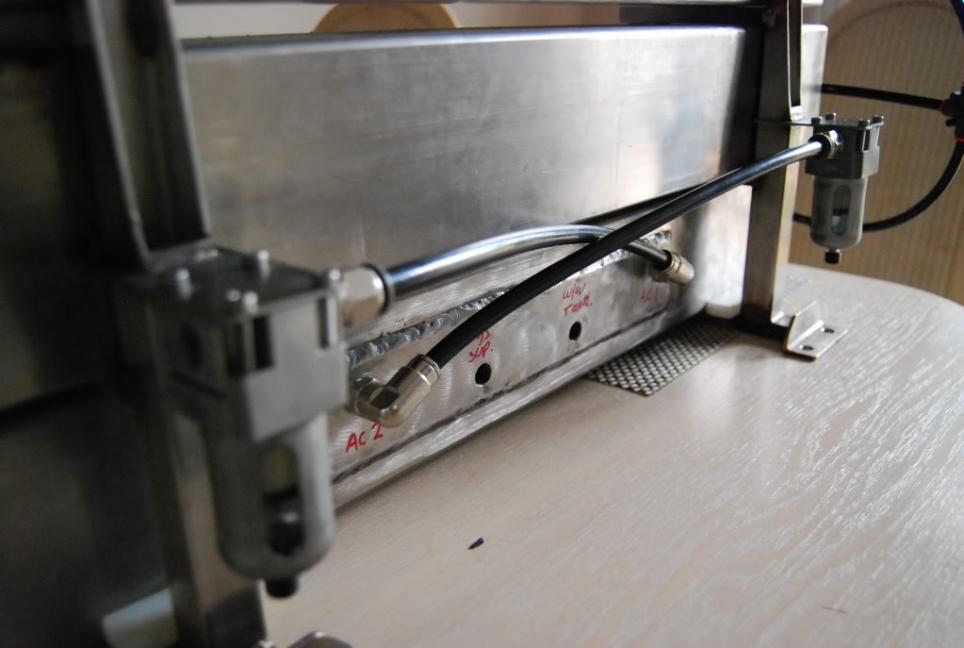
    Changes again, hardline can happen now very basic ones but hard lines.
    From the compressors to the water traps which are now hidden behind.
    Photo.
    Last edited by vdubin; 17-11-2011, 06:00 PM.

    Leave a comment:

Working...
X