If this is your first visit, be sure to
check out the FAQ by clicking the
link above. You may have to register
before you can post: click the register link above to proceed, registering will remove the in post advertisements. To start viewing messages,
select the forum that you want to visit from the selection below.
This means you should apply for your renewal now to avoid any disruptions to your membership whilst the renewal process is taking place! NOTE: If you have an auto renewing subscription this will happen automatically.
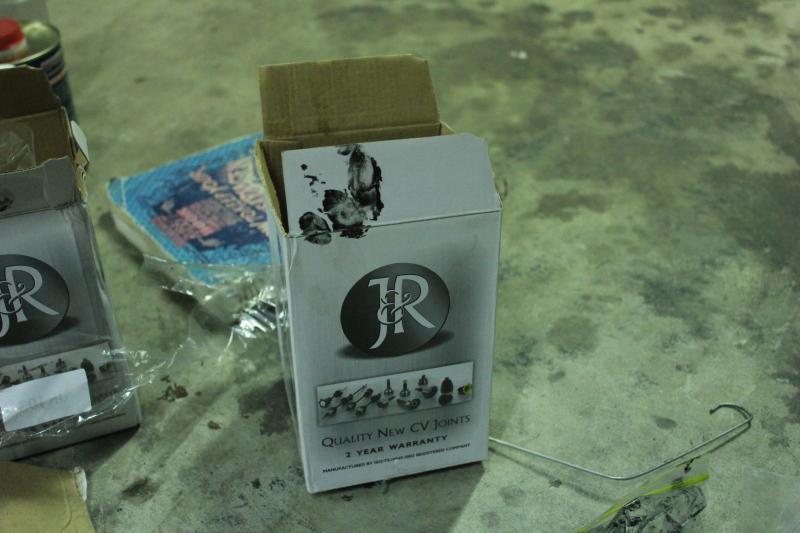
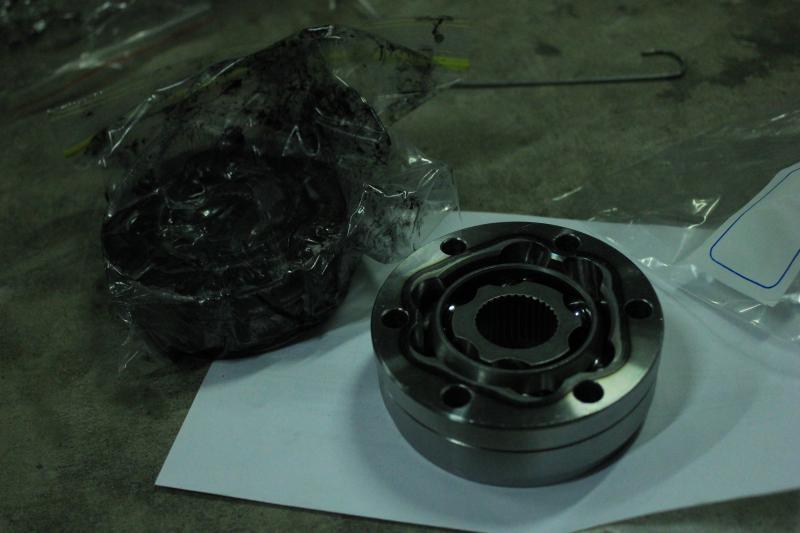
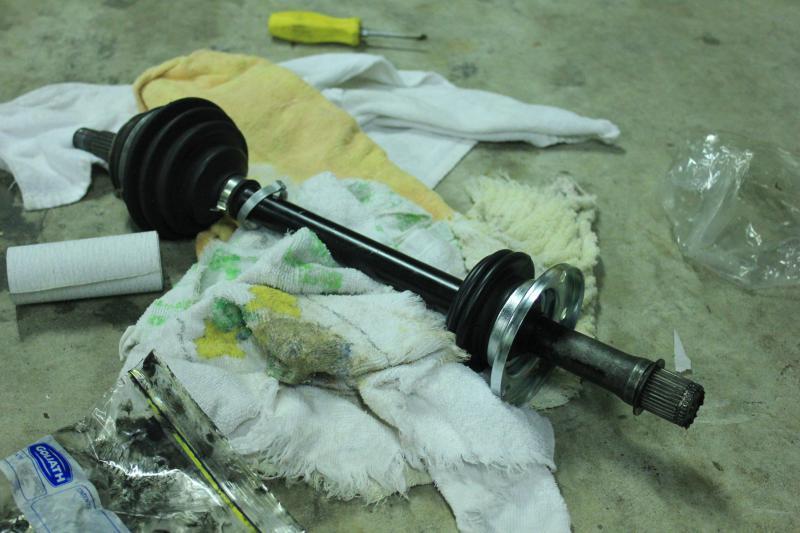
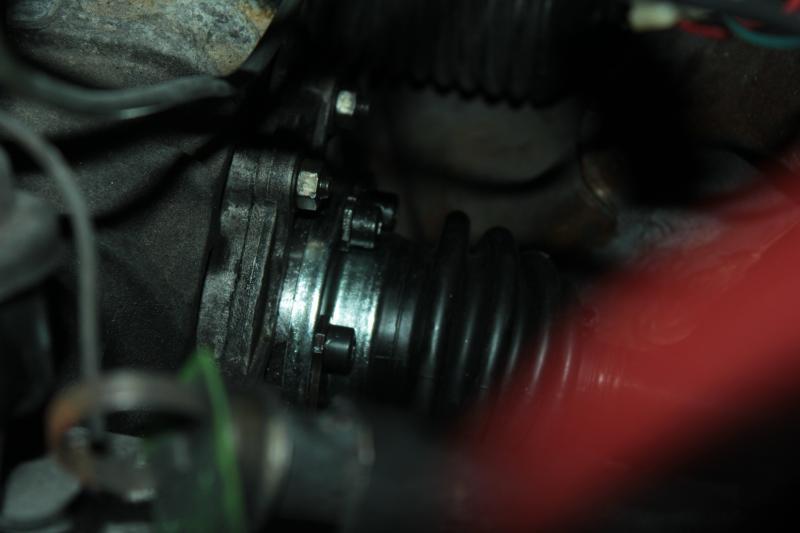
So after further inspection when I went to regrease my CVs I decided to replace them, just to be safe as the passenger side inboard had a slight growl and I might as well do them all while they're out. So I have those on order from the UK and should be here on Tuesday. Once I get them it's just a matter of assembly and I can get it back on the ground.
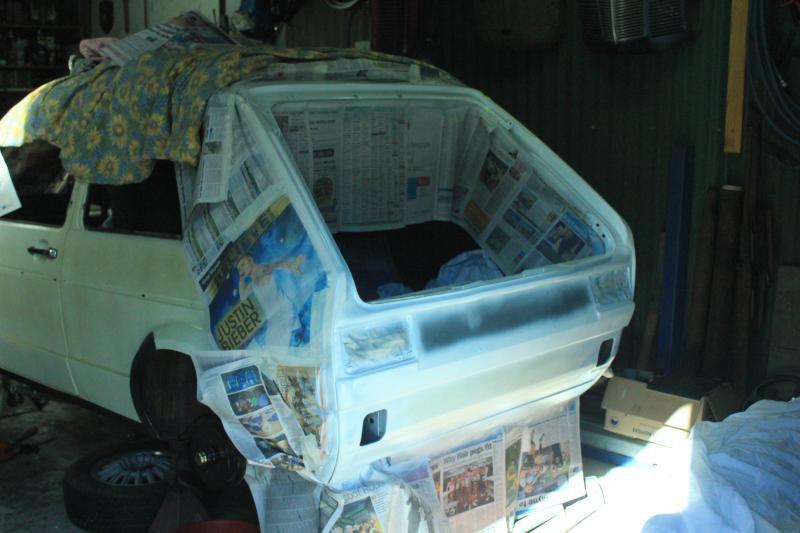
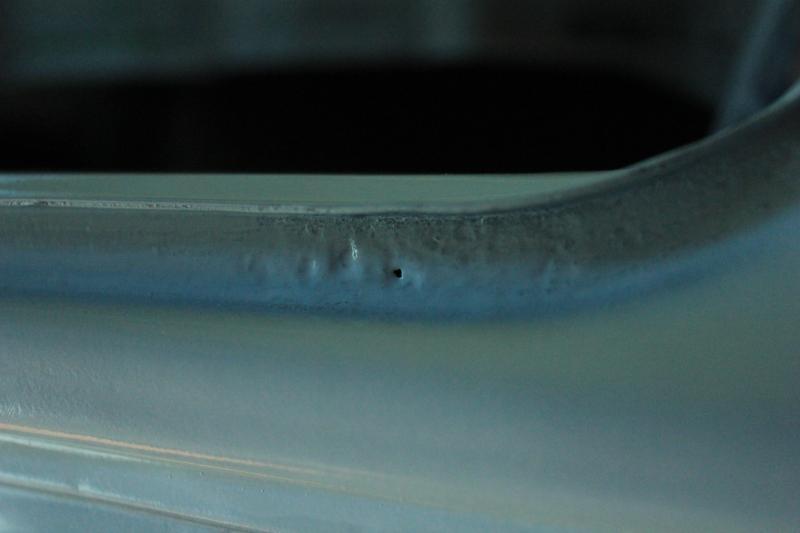
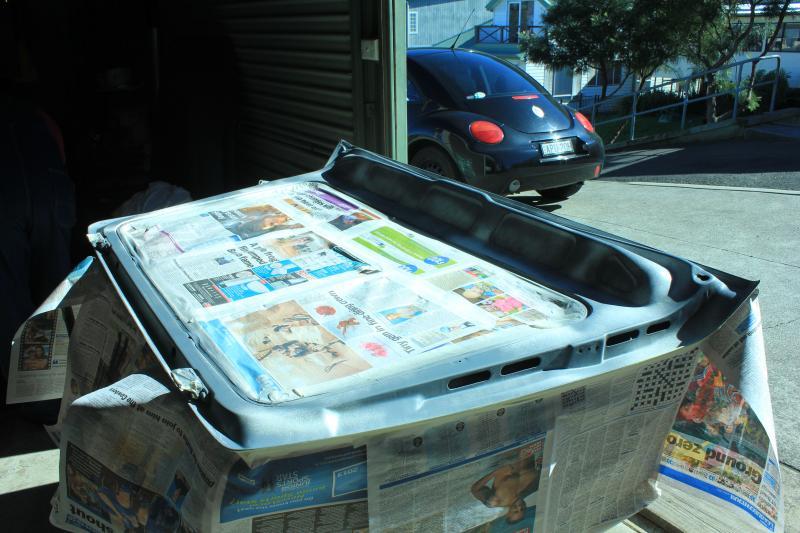
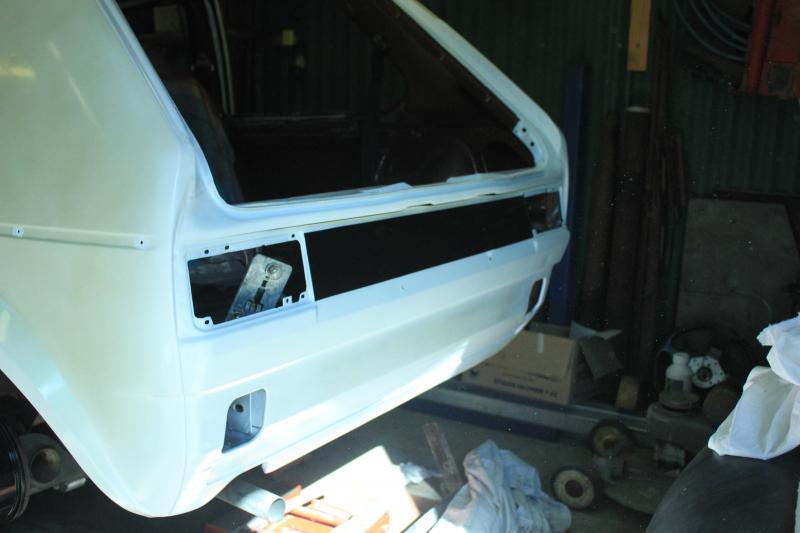
This weekend I took care of all my rust conversion and 90% of the touch up paint that needed to be done. I still have to paint the rear driver side wheel well skirt and re-do the black strip across my lower rear panel. I got the inner hatch done, The windshield aperture, the rear window apertures and I primed the inside of the hatch itself. After I finished all that I noticed one pinhole below the hatch seal area which I'll have to fix when the car comes back apart for the full respray in 6 months time.
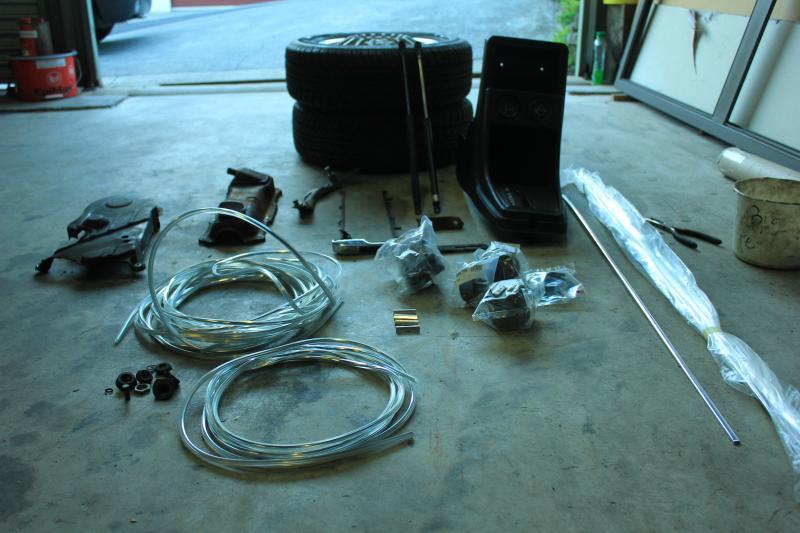
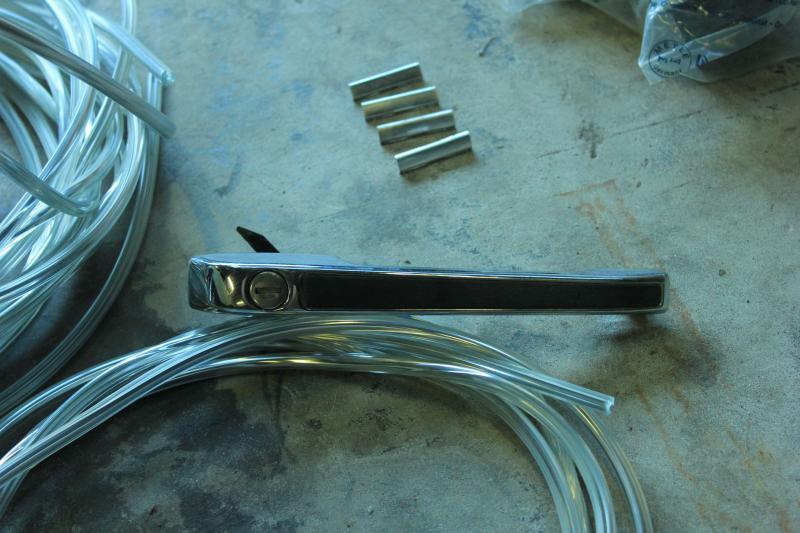
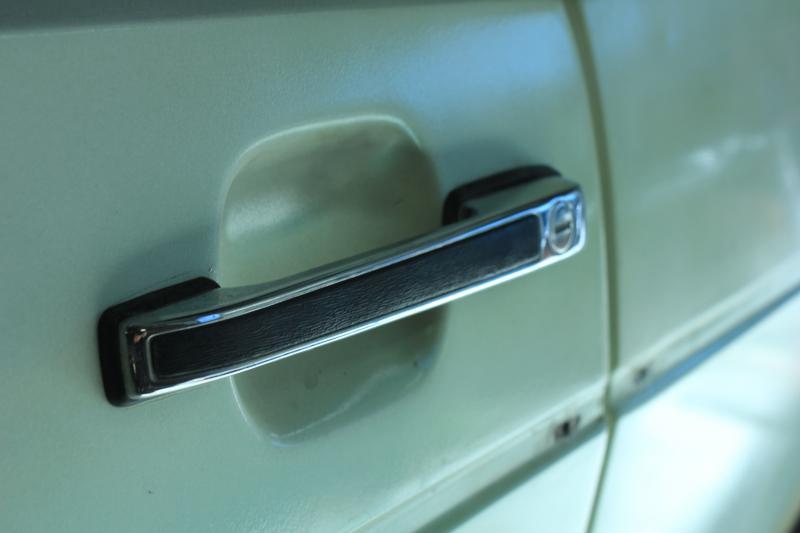
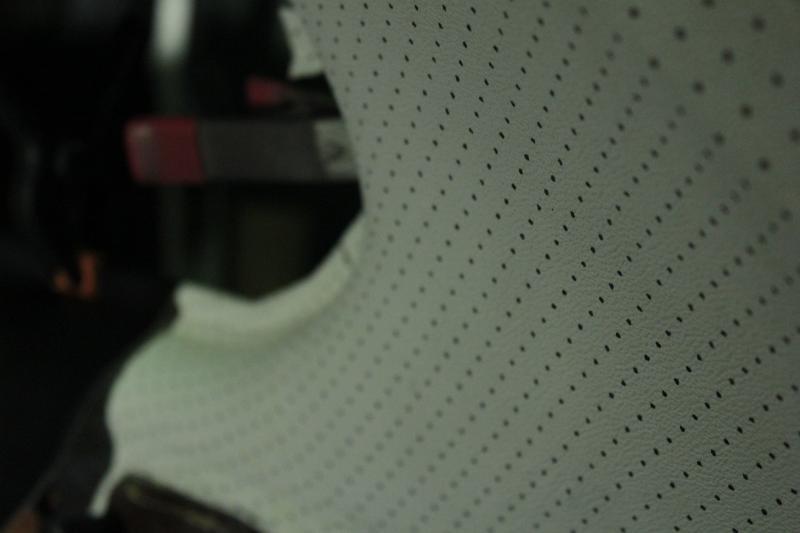
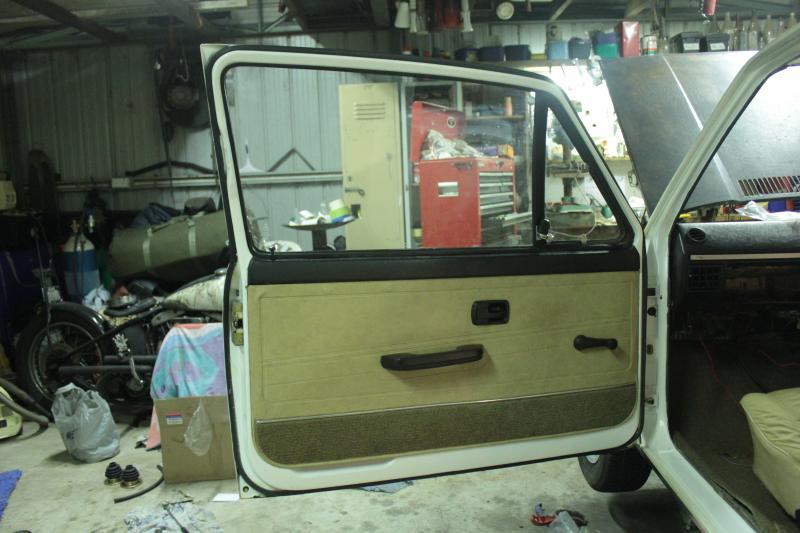
Got a haul of parts from mk1 Autohaus, the wreckers, vw heritage and some other places. Mainly trim, including a perf passenger door handle which I re-tumbled to suit my lock and installed and a new gas strut to put on the hatch since the previous owner had added a really ****ty bracket and installed two struts. I've gone back to just one now.
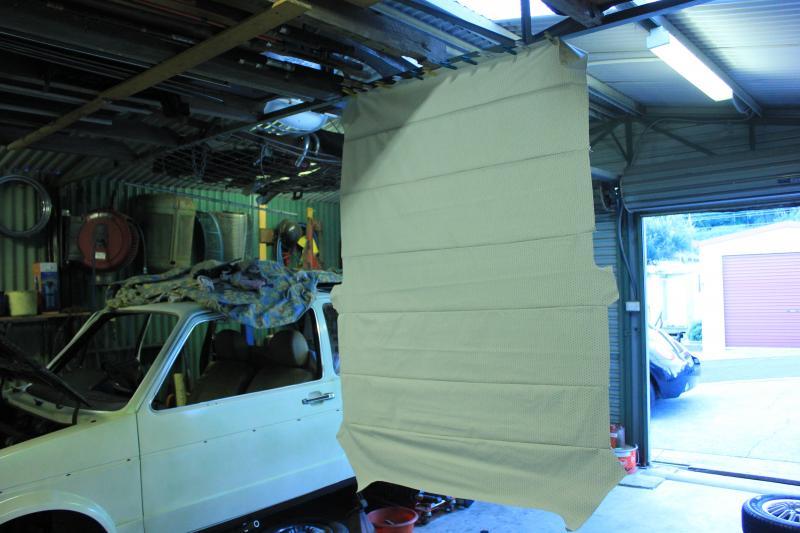
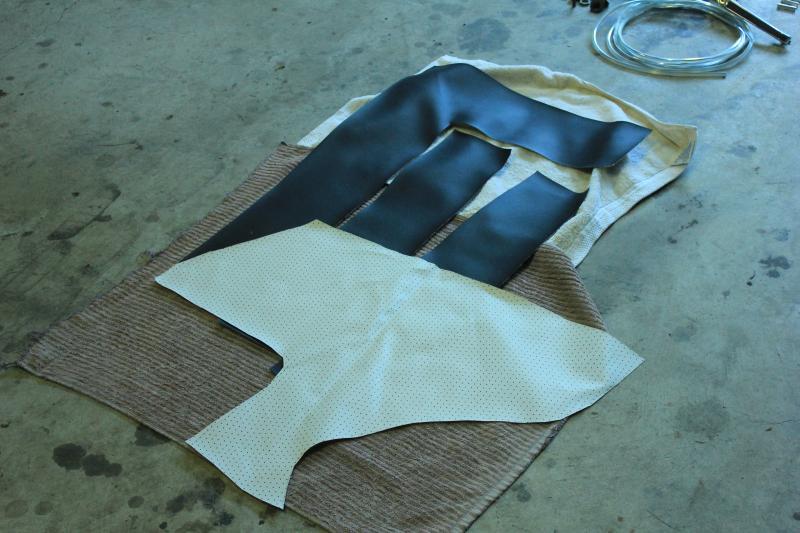
As I said before, my Uncle Hans hooked me up with a new head liner, C-pillars and vinyl inserts out of some NOS VW material. I'm lead to believe it's air cooled interior material and not Golf but I don't really mind because it looks sick and he made it.
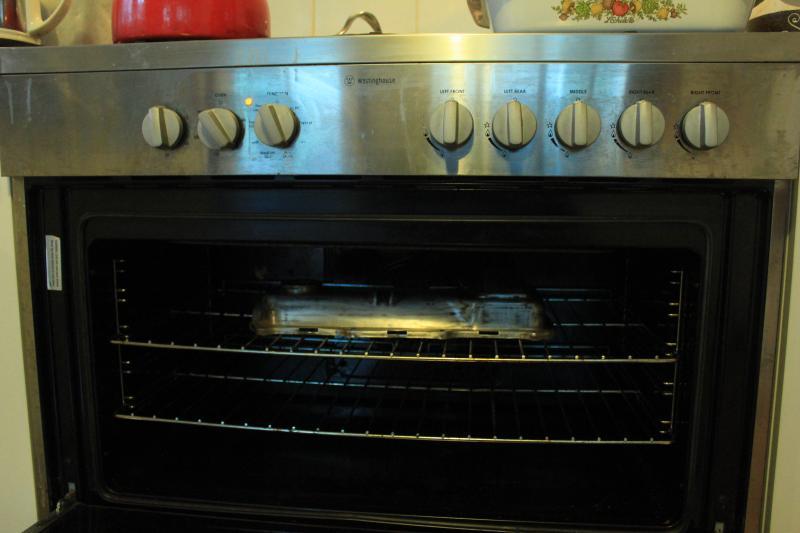
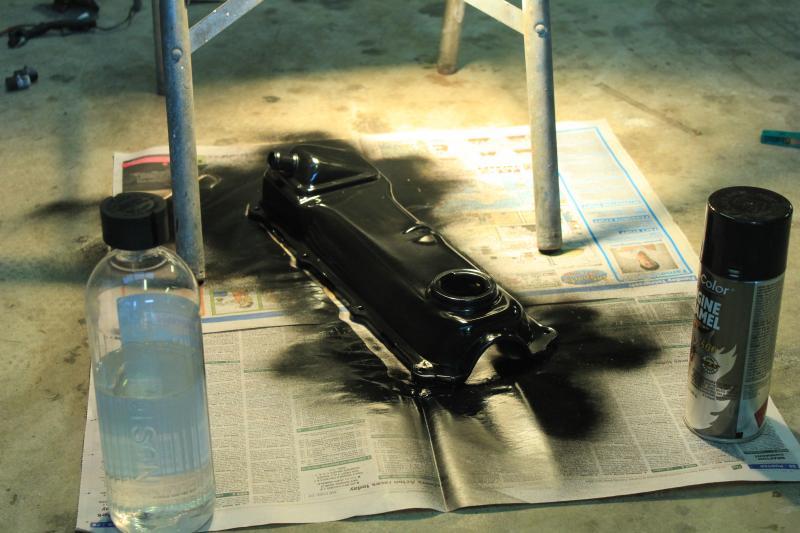
Nan hooked me up with a go of the oven so I could engine enamel the new cam cover I picked up...
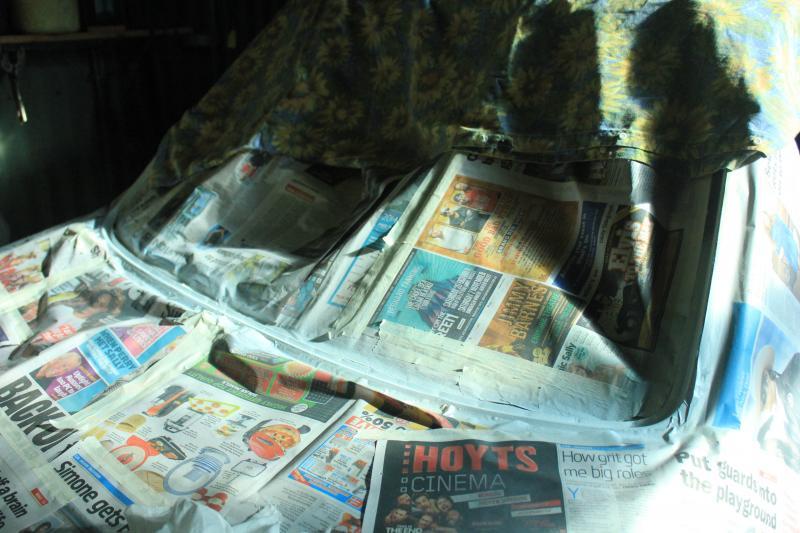
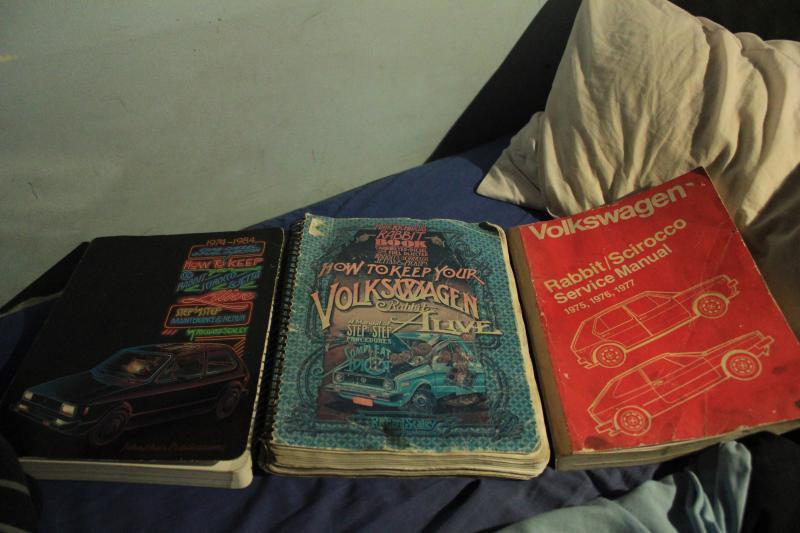
And this is the collection I'm getting of quality info, besides this forum...
Hopefully next week I have some real decent improvements to showcase instead of this boring stuff. But until then.. Ta.
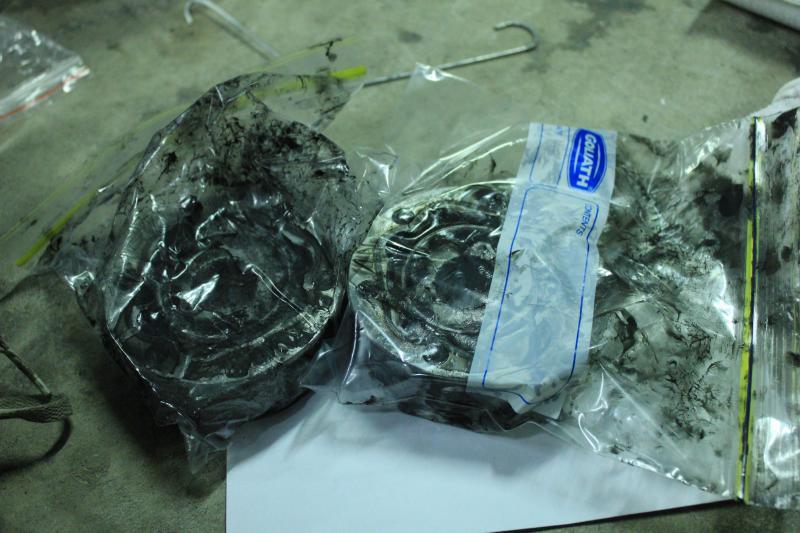
So I greased up my CVs with the Poly grease and bagged them up ready for install.
The kit came with new clamps, boots, circlips and was supposed to come with hub nuts too. The hub nuts weren't in the box, luckily I ordered a set separate to the kit. Hopefully they come tomorrow so I can install everything. Otherwise I'm looking for a couple of good hub nuts :/
So I got a bit of time to work on my car. Went to install the suspension on the drivers side and found that the camber washer had been replaced with a home job that wouldn't pass muster. I knew were some were on a mk1 at a local wreckers so I went and relieved it of them.
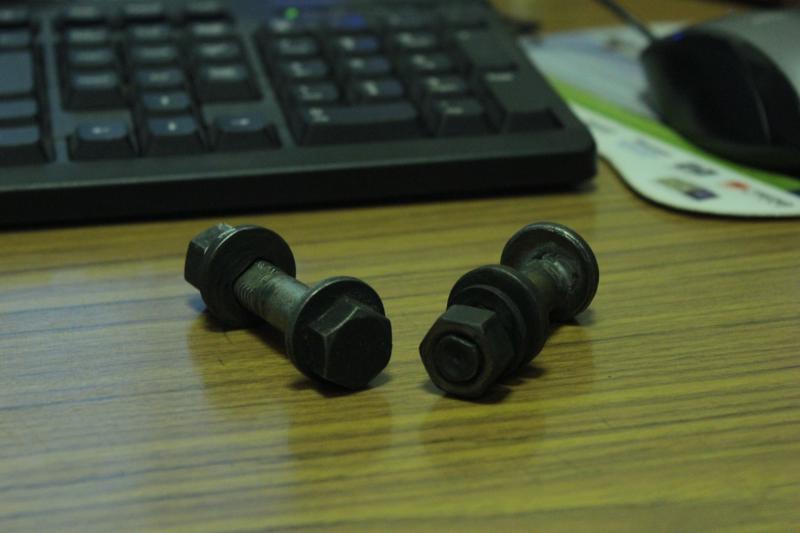
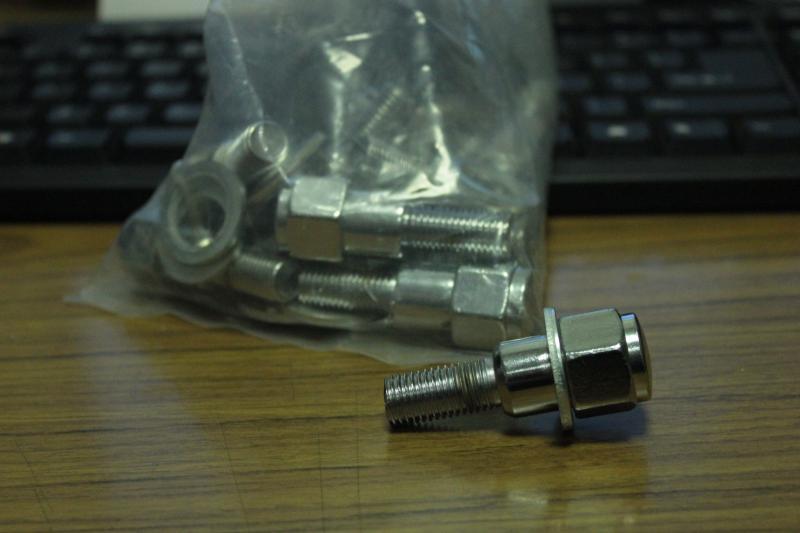
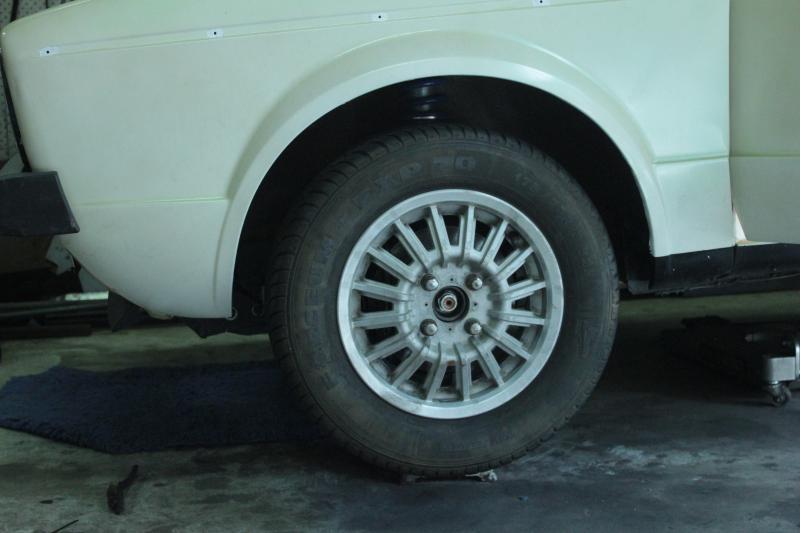
I also managed to source some new wheel bolts after trying in vain for a few weeks. Unfortunately when I received them I found they were shorter than the original ones and they aren't long enough to do up the front wheels. I'm not sure what to do at the moment, I might just run the old ones for the time being.
I finished up my painting, got the inner hatch painted in white and repainted the black stripe on the rear of the car between the tail lights. Since the old paint has the dodgy pearl over the top I tried to minimise any areas where you would see the white and the pearl together and in the locations that happened I feathered it together.
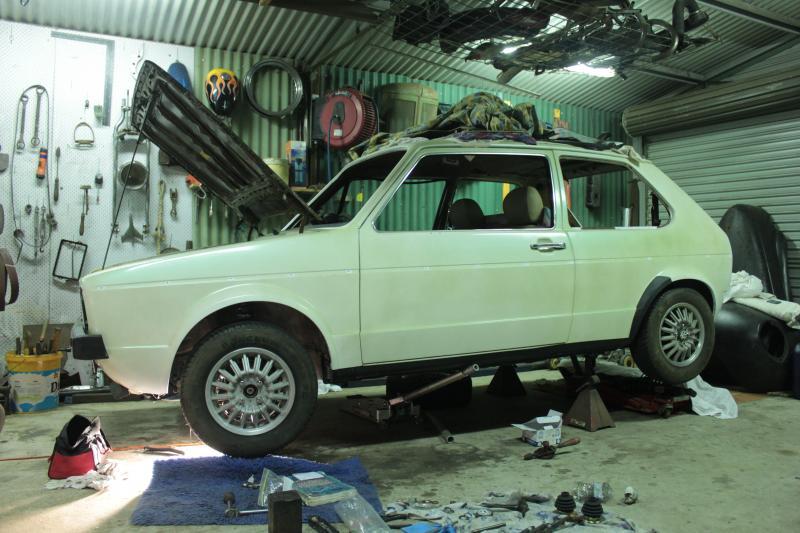
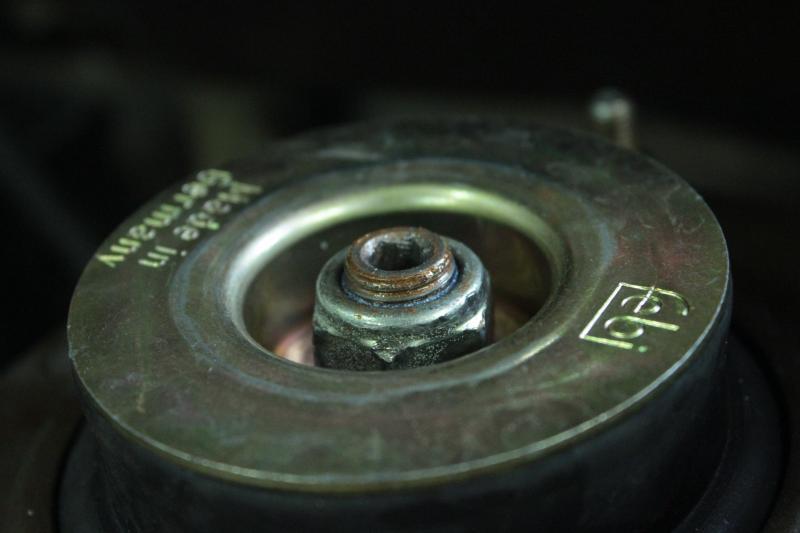
I got my new Febi Flower pots installed and got the Drive axles, suspension, hubs and all done up in the front end.
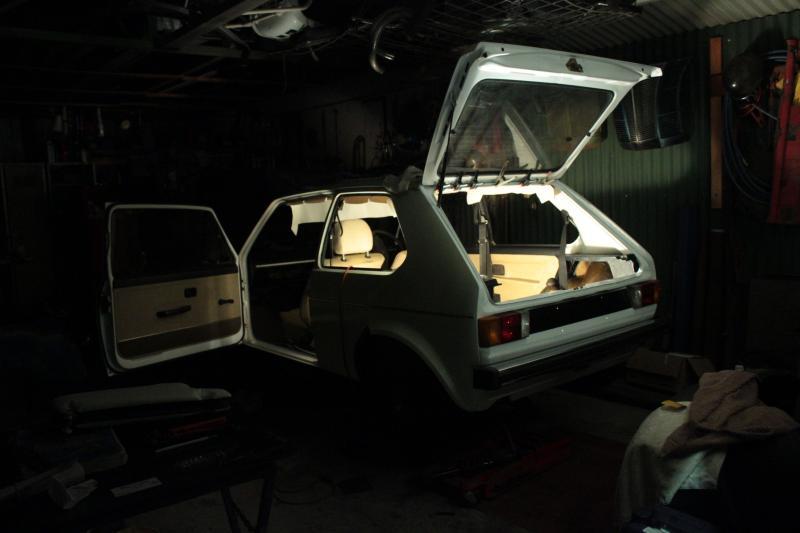
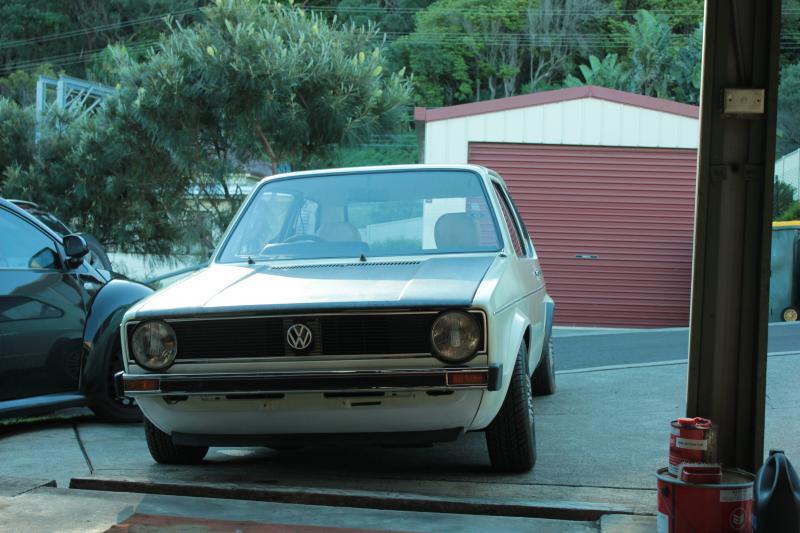
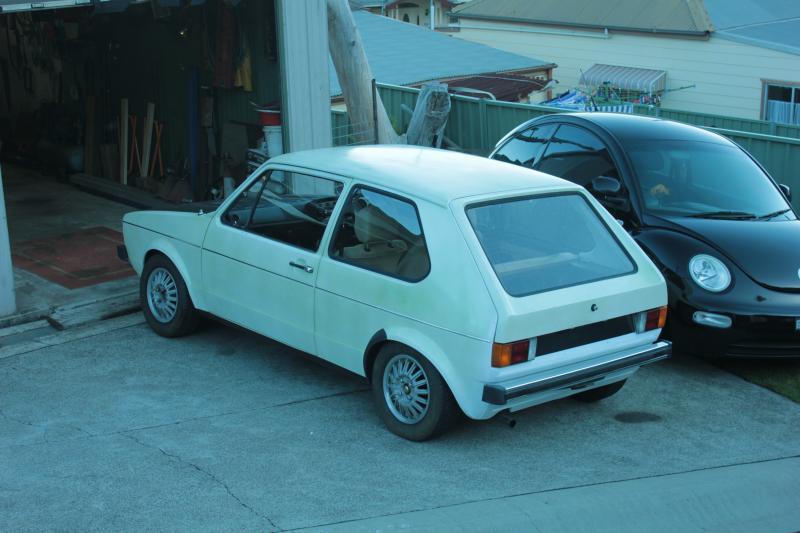
Here's how it's sitting just this moment. Hopefully it will be back on the ground over the weekend and I can start on re-doing the headliner and all.
I've been doing some work this week , Dad's been helping me out too massively and doing an absolutely sick job of everything he touches. I got the front end all buttoned up. Axle nuts, CVs, new flower bots, new bearings, general reconditioning. All went together very nicely, the orange stuff you see everywhere is coppercoat. Excellent never-seize grease.
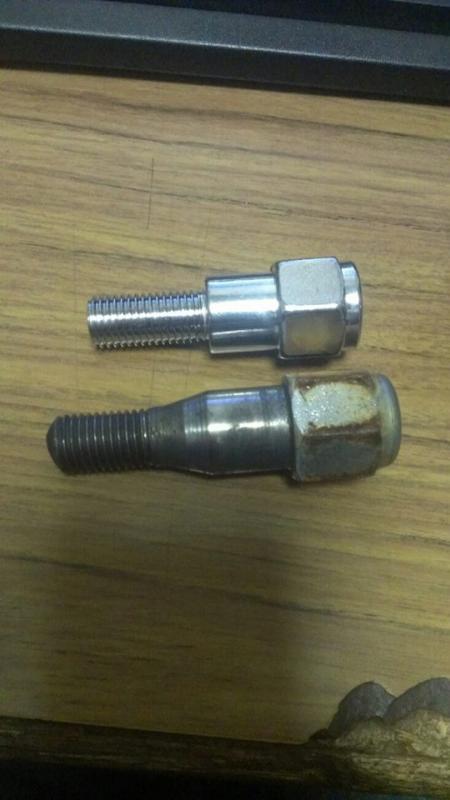
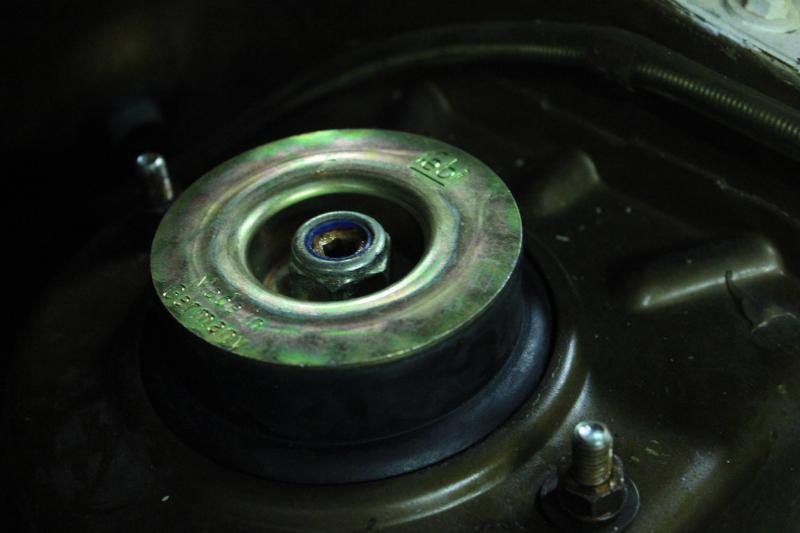
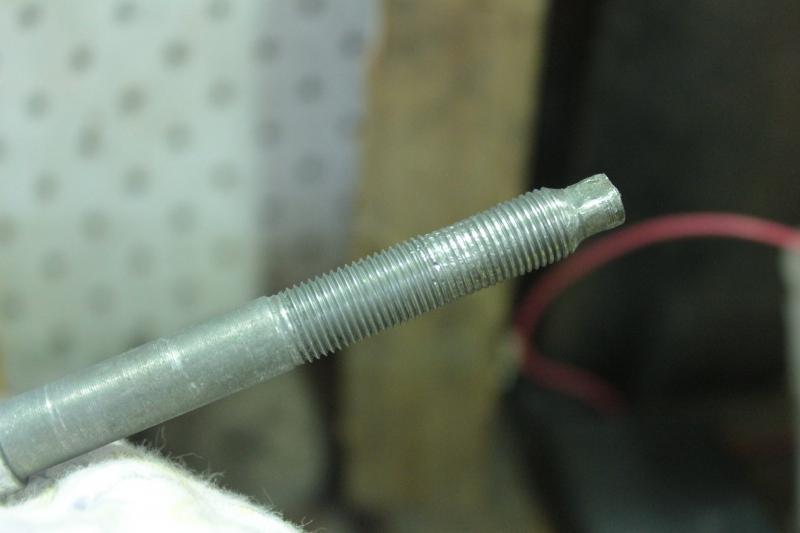
So as I said the other day I was pretty keen to get my car on the ground, but when I was installing the second rear coil-over I found that the previous owner had stripped the nut and munjered the thread up. I chased the thread on the shock back to a suitable standard but the nut was screwed and out of the 5 local fastener stores none of them stocked M10x1.0mm Nylocs or anything nuts for that matter so I've had to order one from England on eBay. It should be here next Monday or Tuesday. The photo is from before I chased the thread.
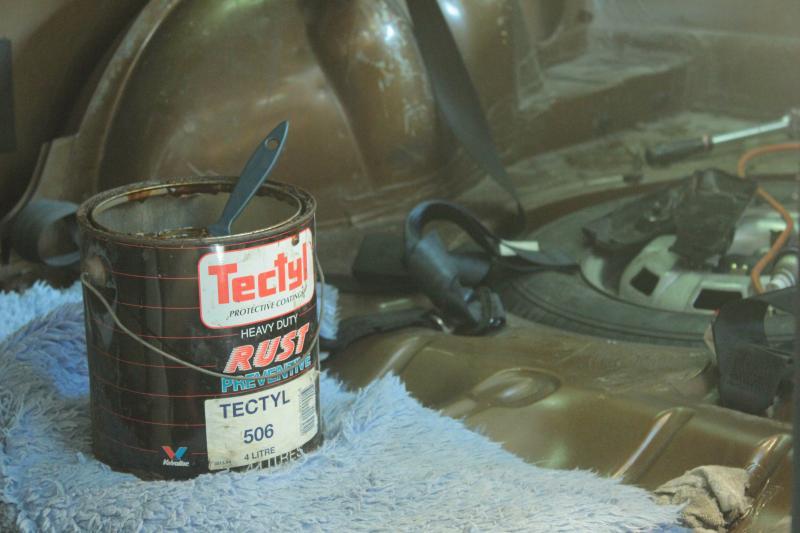
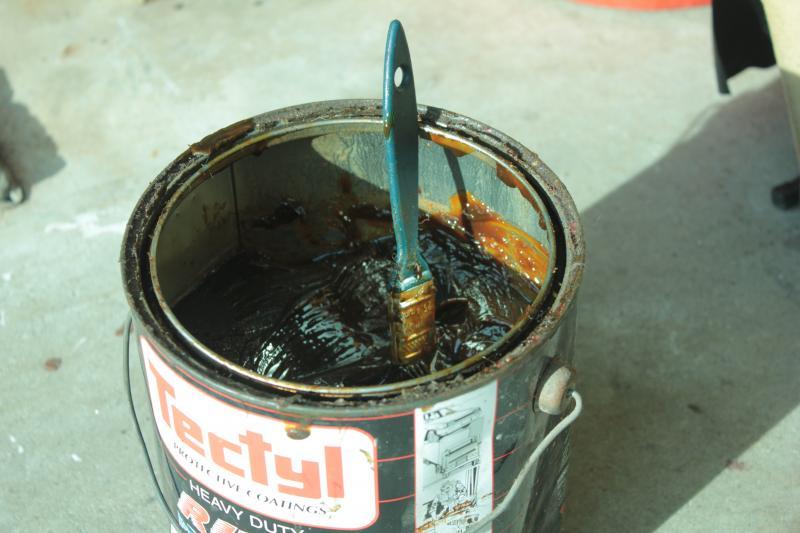
So that was a bit of a bummer but I carried on sorting out the interior. The panels on this car were all pretty much pristine in the sills and dog legs as far as rust goes and I want to preserve that. I know a lot of guys on here love POR-15 and I do too, but it's fairly pricey and we still have a big juicy can of Tectyl from the 80s! Great stuff, I applied a liberal coat to all the nooks and crannies where nasty stuff likes to build up to prevent anything happening to these beautiful panels.
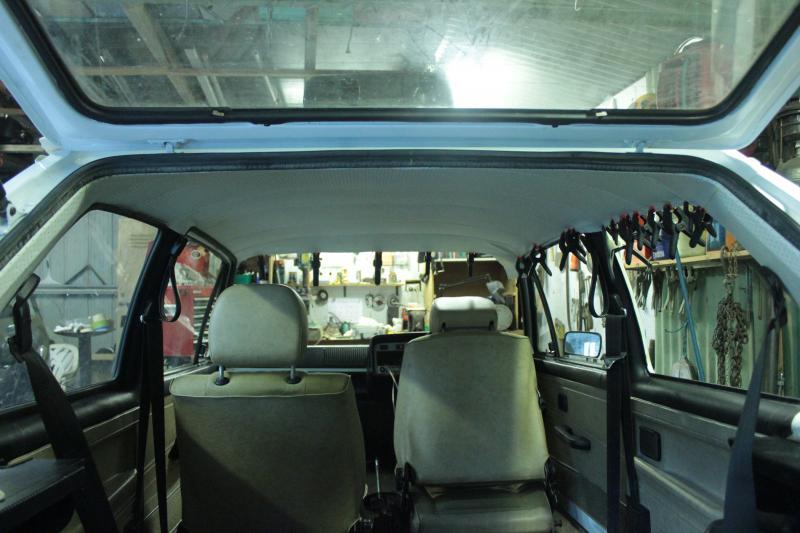
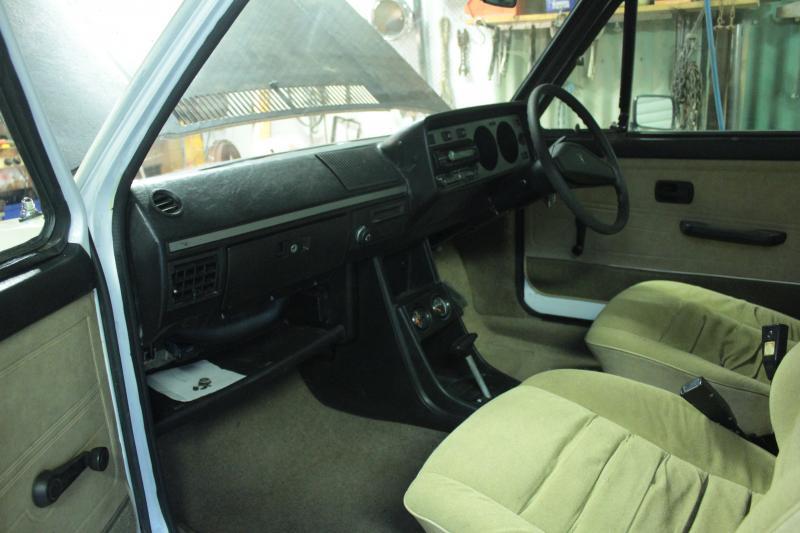
So after I was happy with that I decided it was time to get my interior on for real. I had my headliner, cloth panels and vinyl inserts for the A, B and C-pillars ready to go. I gave the surfaces a clean and then got to stretching the hood liner into shape over night with a nice gentle heat. Glue vinyl into place, trim, stretch, fiddle, swear, glue, stretch and clamp the headlining material. It's not a professional job as my dad keeps reminding me but I think we've done a pretty good job of it. As things fell into place I started putting more of the interior trim back in. The door cards, passenger cards, Ashtray, carpet hold down tabs, all that good stuff.
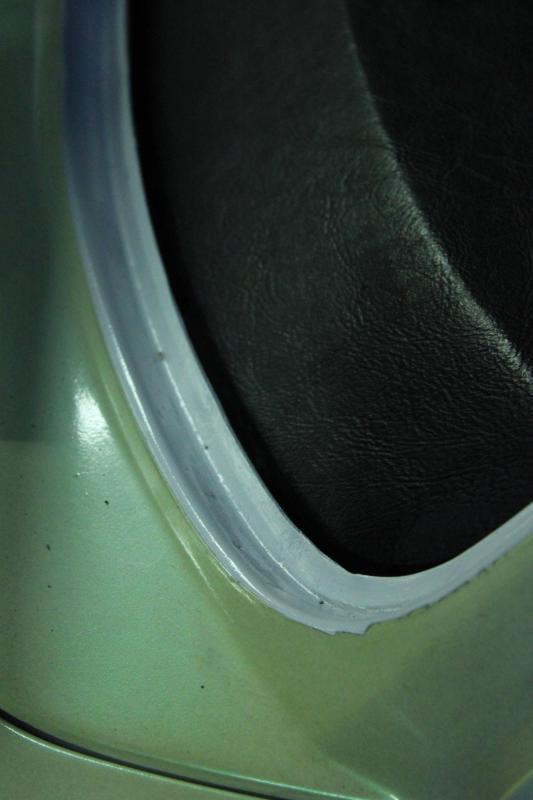
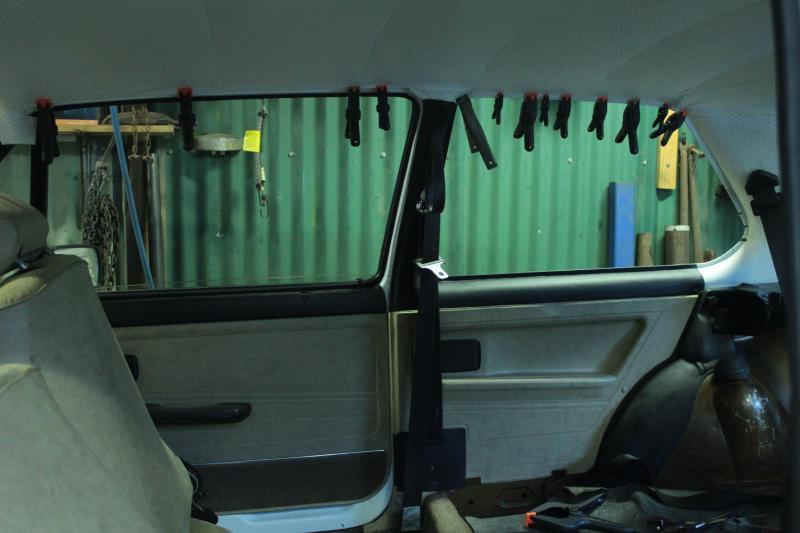
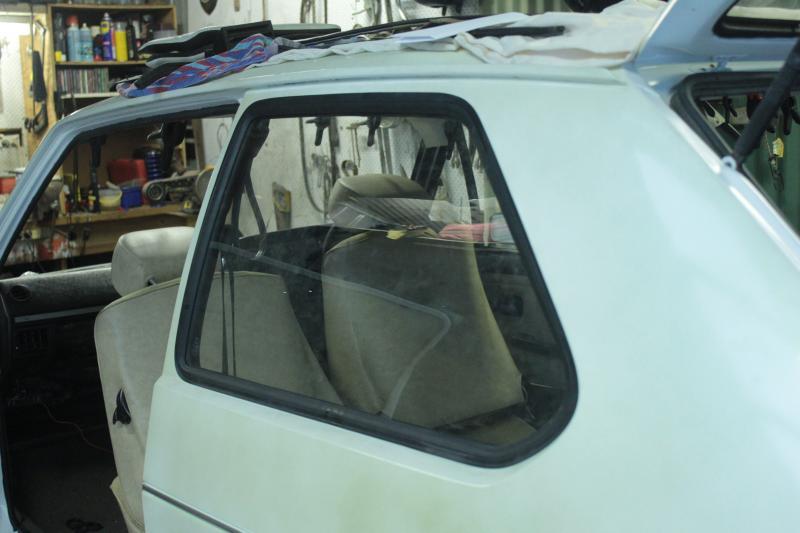
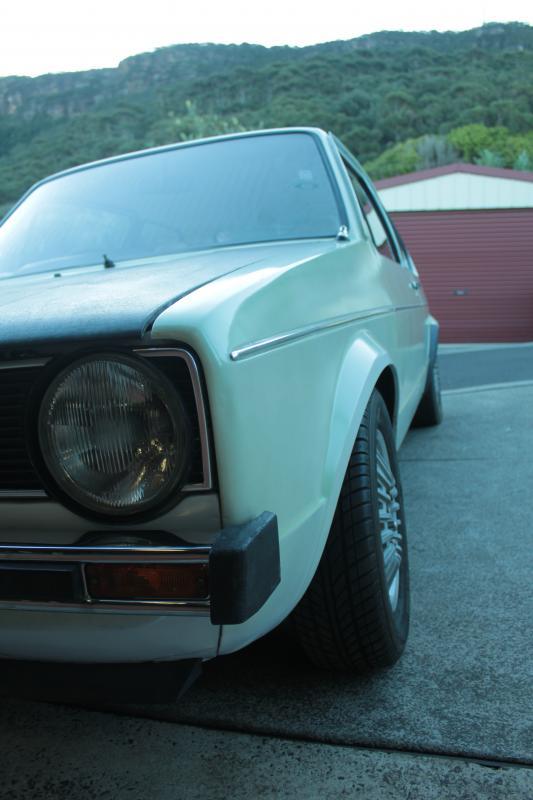
In between gluing the interior and such I also got some trim on the outside, that early thin style chrome body trim to replace my black and chrome plastic stuff. And I got the passenger side rear window in with it's seal. If you remember that was one of the reasons that I got stuck into the car in the first place.
Getting pretty close now. I've got the headlining all done, the windows are all in. The stereo, clock and volt meter are all wired up and working, my hazards work but my blinkers don't so I'll need to chase that gremlin. I'm waiting to get a trim tool to put the trim in the window rubbers because it's such a crappy job and work smarter not harder etc.
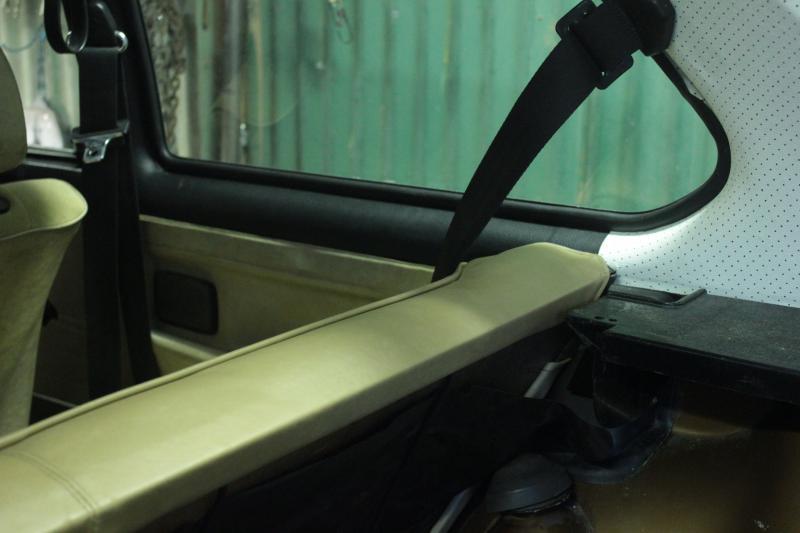
My uncle came over to inspect the job I did of installing the vinyl and the hood liner and he wouldn't leave without taking a pattern of my rear seat which had a few rips along the top of it. He came back shortly after and stitched in the vinyl patch that he made, it looks unreal. Also one less thing to worry about for blueslip.
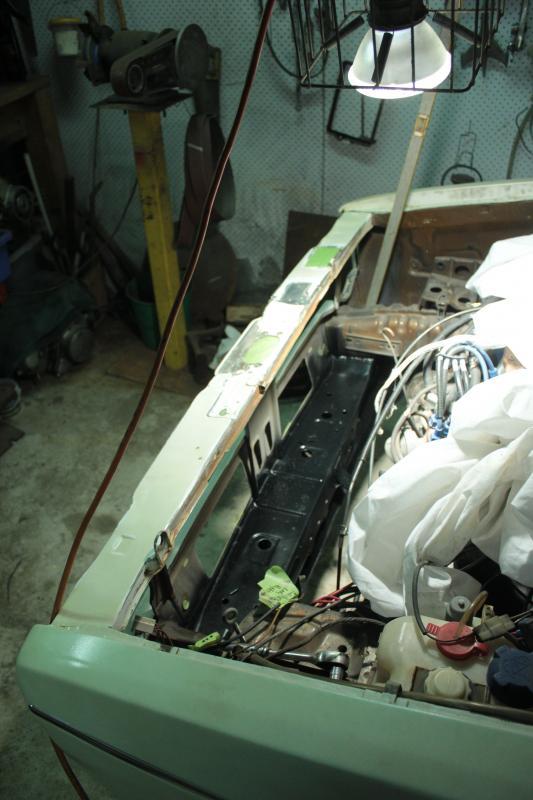
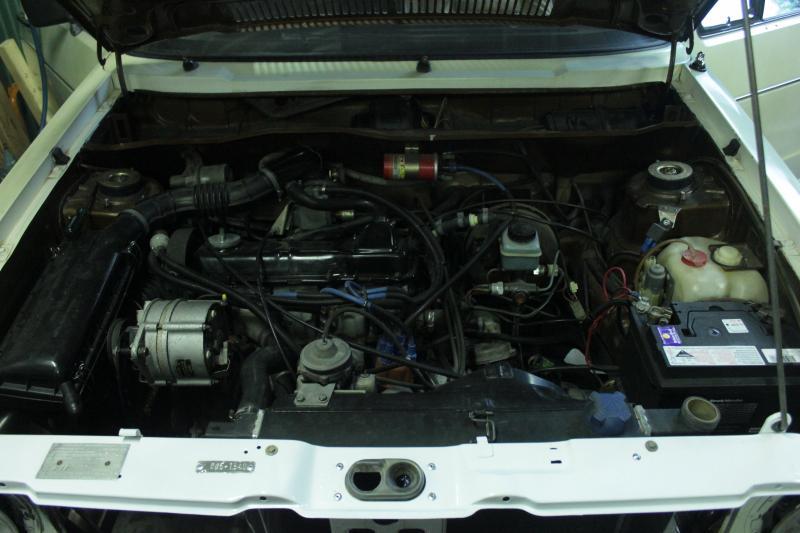
I took the grill, lights, radiator, alternator and a few other things out so I could tend to the core support. Just a tidy up and a coat of paint to make things a bit nicer.
I'll probably put it back on the ground tomorrow after work and start putting things back together in the engine bay. Also tend to that blinker issue.
Little bit more progress. I finished painting and sorting out the stuff around the core support. Installed a new valve cover, belt cover, various bracketry I have tidied up and painted. Changed the oil, no fines or metal shavings and redid the fluids in the radiator. I also remade the air scoops since mine were made out of cardboard (not sure if that's factory), thanks to the local council for their help with that.
I had some issues with missing rubber bushes in the rear that I hadn't noticed and I had to get some of those as well as a new sun visor and wiper motor. I also chased an electric issue for a whole afternoon only to realise that I had a faulty fuse. It hadn't broken but the end was burnt out in the plastic itself. Weird.
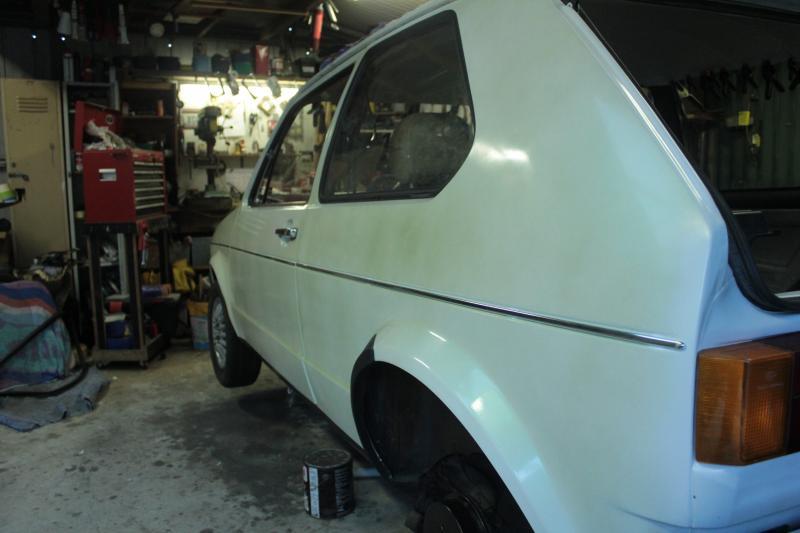
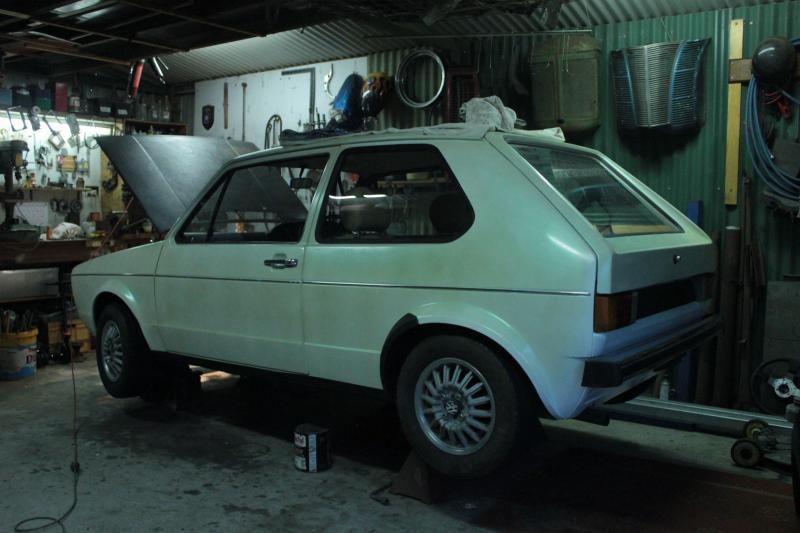
I got it down on the ground today and gave it a wash. It still needs a proper detail, a heavy cut and polish. My trim fitting tool should hopefully turn up tomorrow or Tuesday.
I only need to do a few more things before blueslip, paint the bonnet is top of the list. I need a new V-Belt (Bosch 11A1155 I believe) and I want to get a set of the grille mounting clips since mine are a mismatched set of various clips. Not long to go now and then I can start collecting bits for what I have planned!
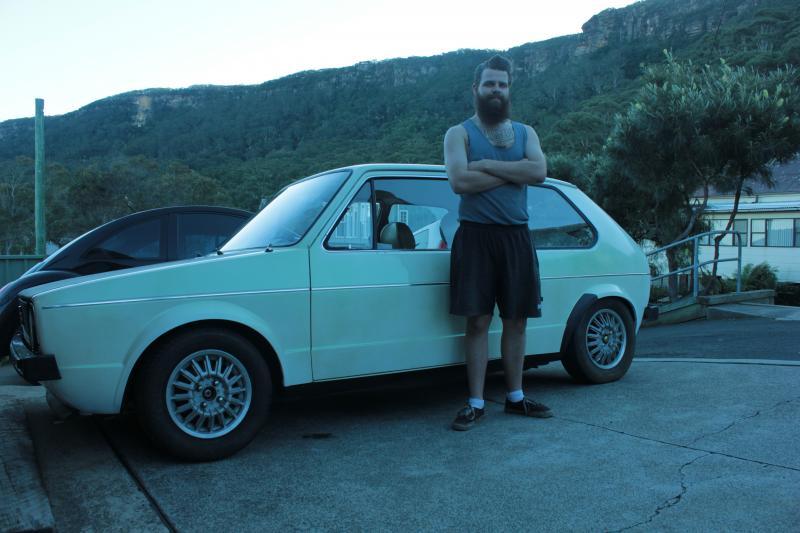
Small coastal town called Scarborough, sort of in between Wollongong and Sydney. The escarpment is about 500 meters elevation where I live. I run a track up it once a week, good for your quads haha.
 Tweet
Tweet
")


Comment