 Tweet
Tweet
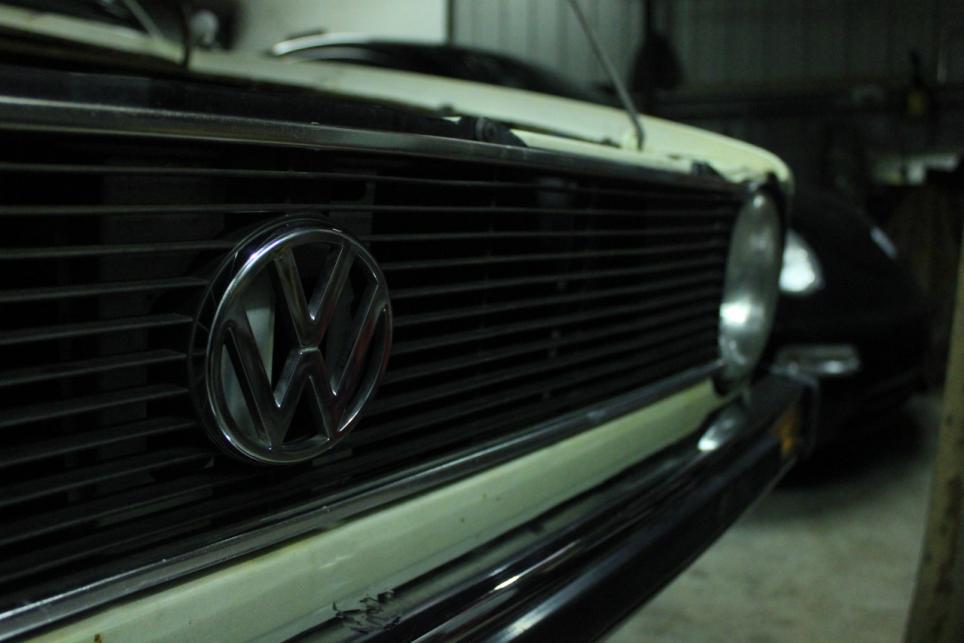
So as some of you saw, I picked up this old Mk1:

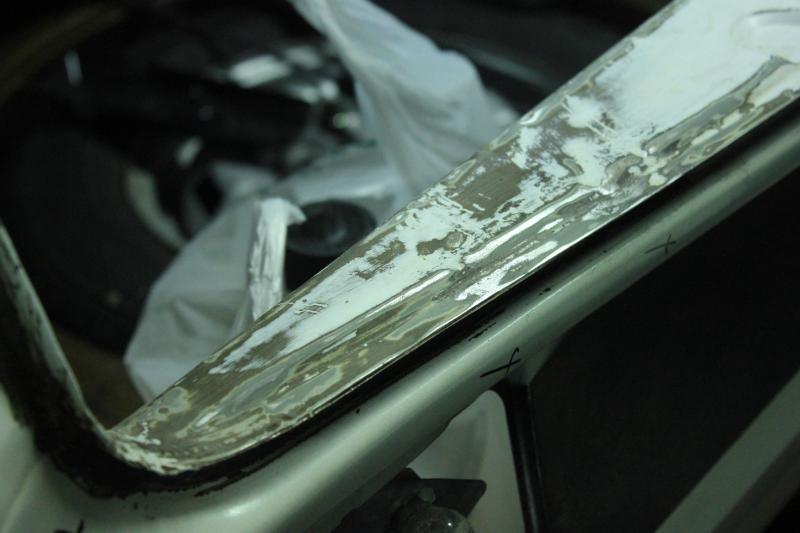
When it was for sale in Sydney. It hasn't been rego'd since then and it hasn't aged great, either that or those photos make it look nicer than it was. The paint is pretty dodgy (A really poorly mixed pearl shot over a stark white, almost fully assembled judging by the over-spray on the CV boots and original paint still inside the car).
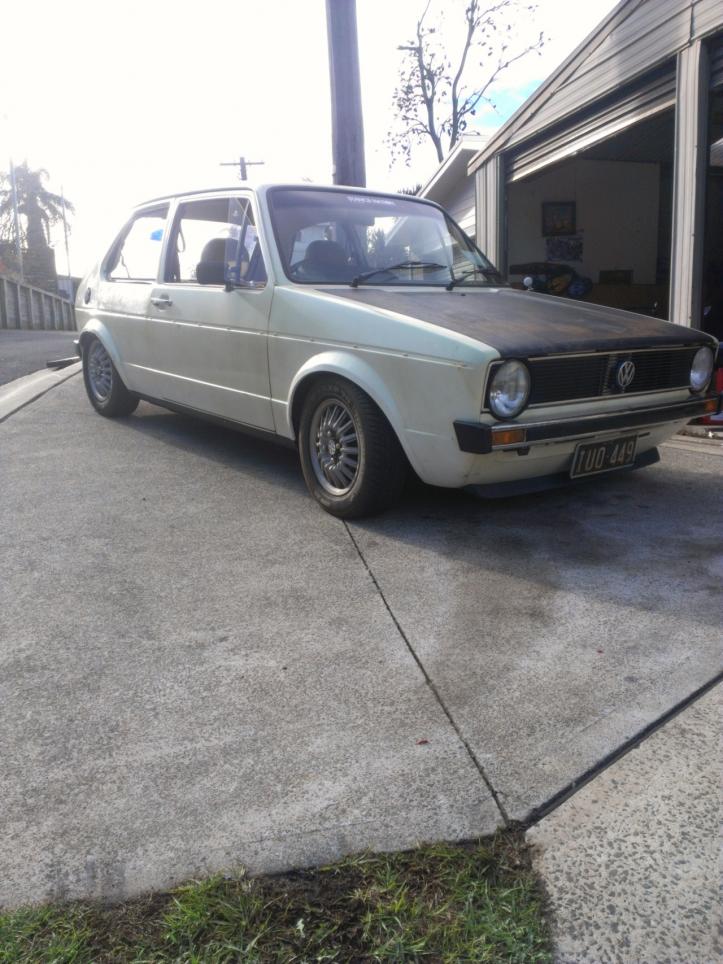
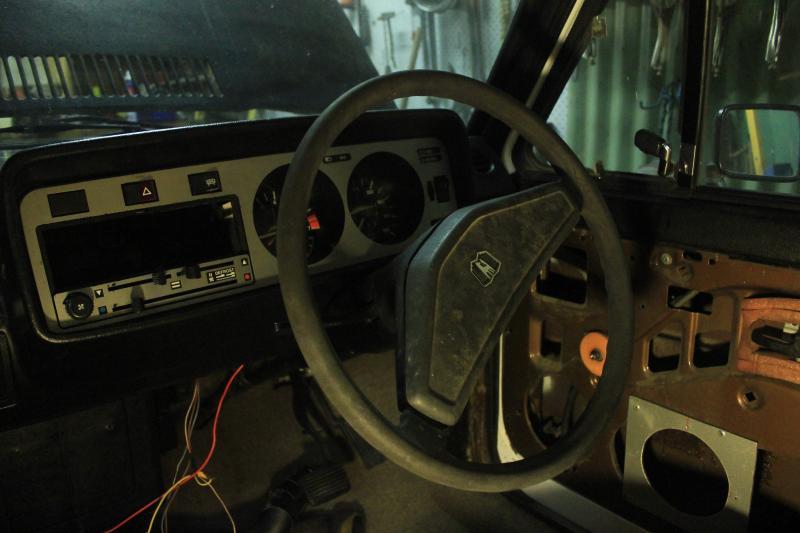
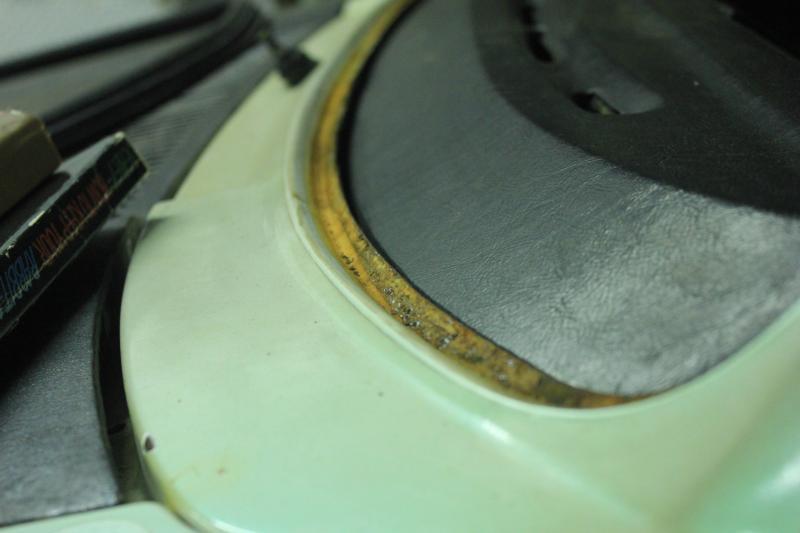
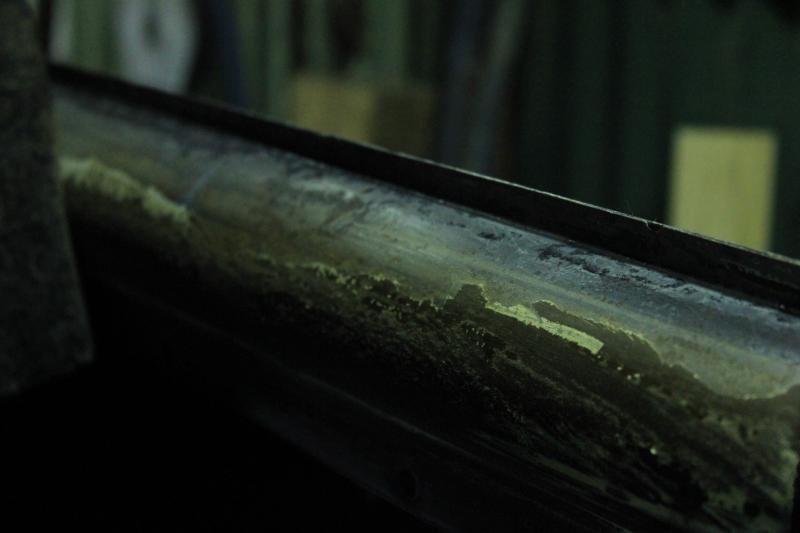
But after taking out all the interior trim, which is in excellent condition, I found only a few very minimal spots of rust. Under the rear hatch seal, under the drivers side rear window and a bit below the drivers door. All is in very early stages and I'll get it way before it starts to grab hold.
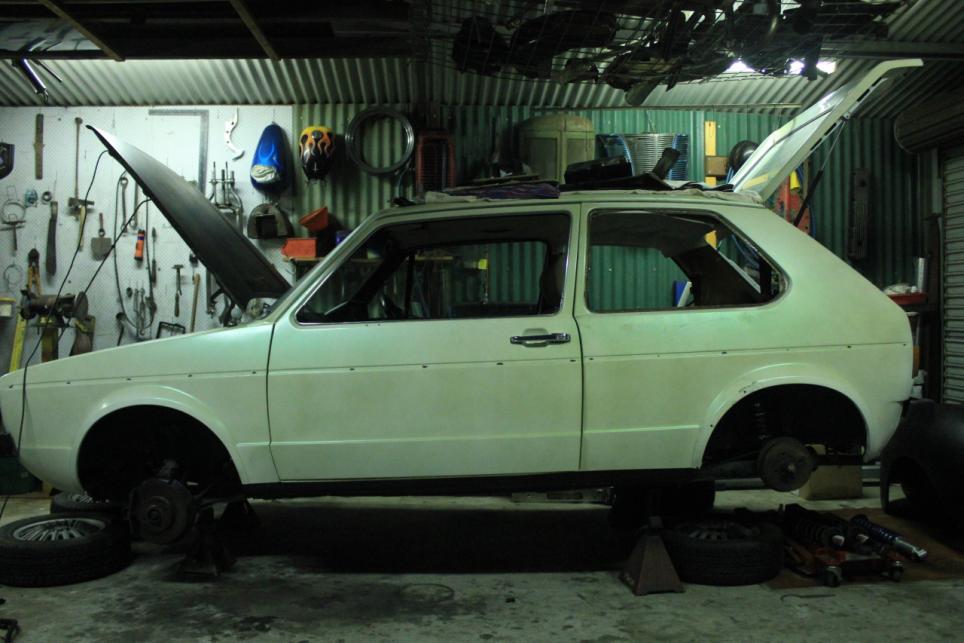
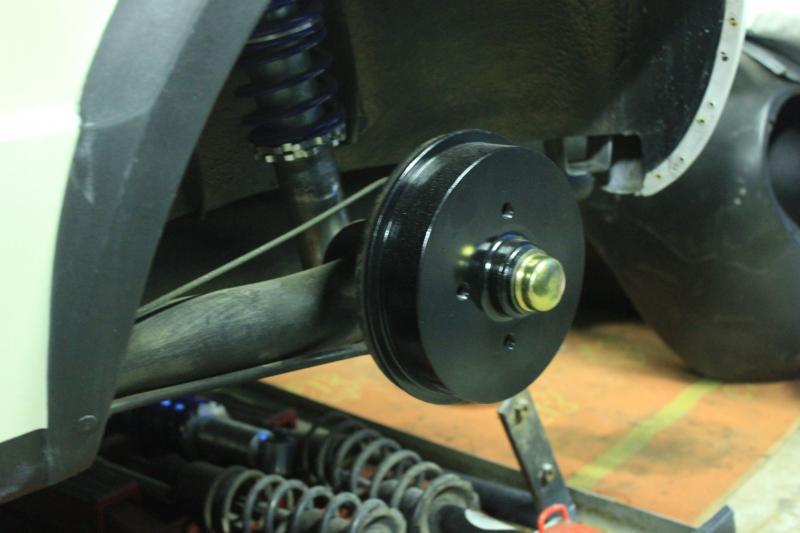
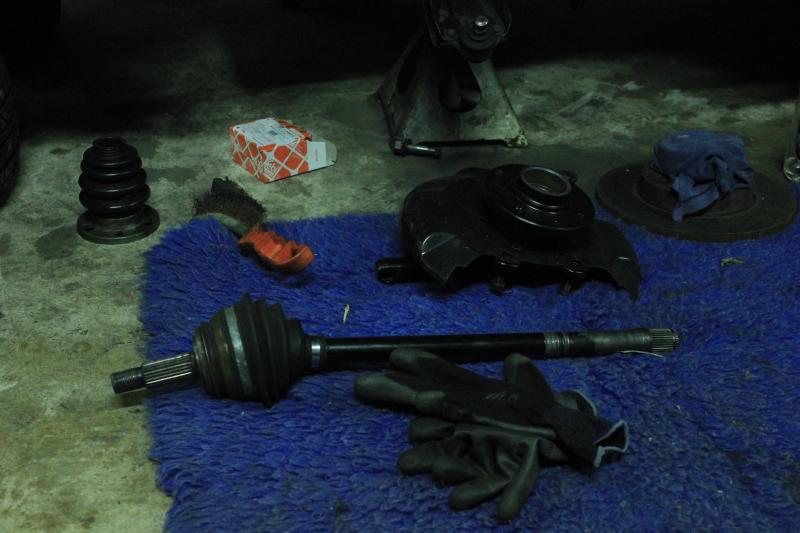
So after getting it into my shed, which was a hassle since it was so low (some 3 wheel motion was involved), I got it up on stands and decided to have a look at the job the previous owner had done on the suspension. It came with a set of Hot Tuning (yeah I hear they're pretty dodgy) coil overs which the guy who owned the car before me said didn't work after he tried to fit them with 16x8s... So upon closer inspection, I think anything would be better than what was in there.
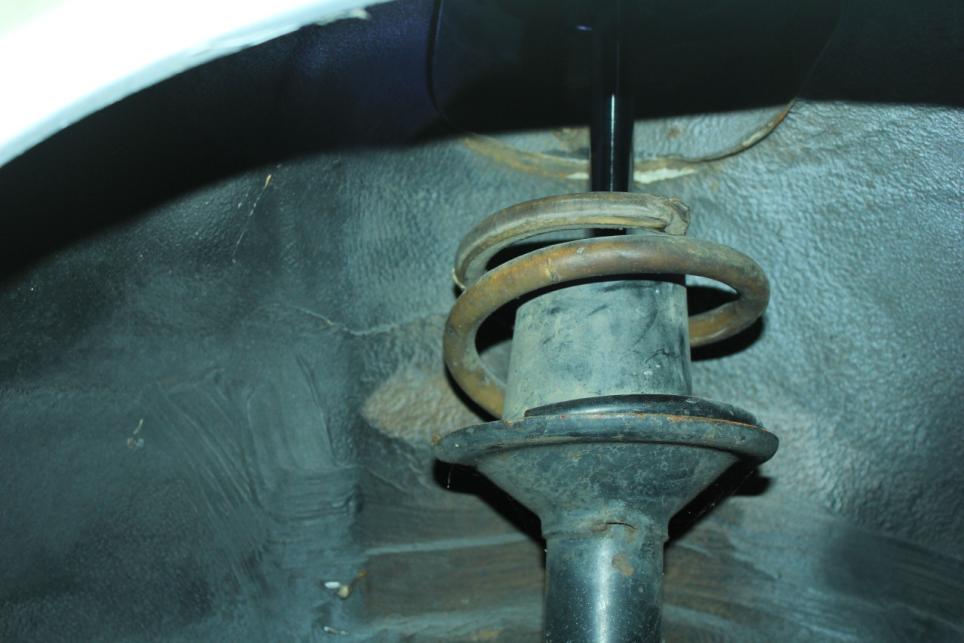
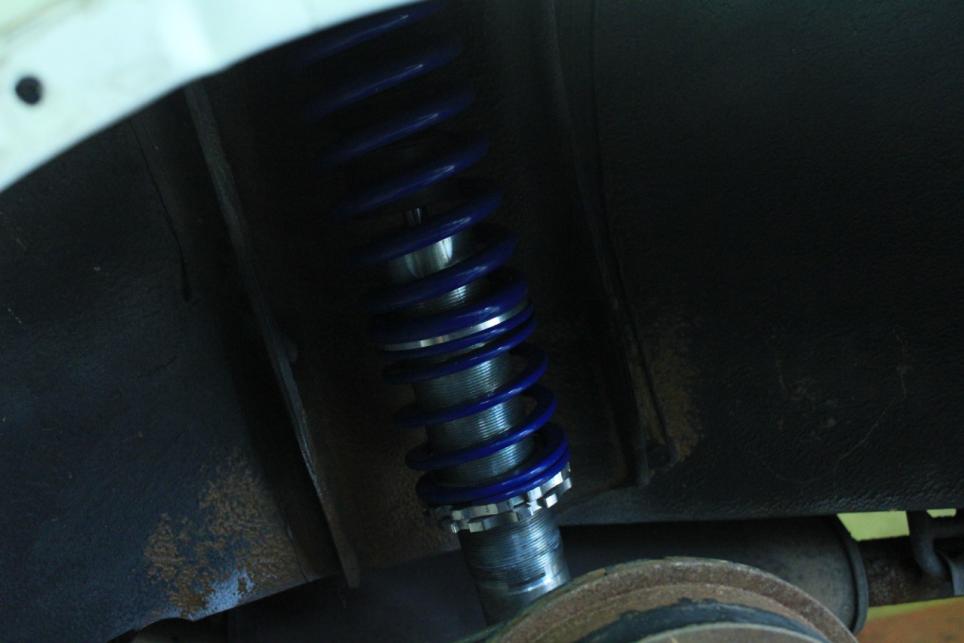
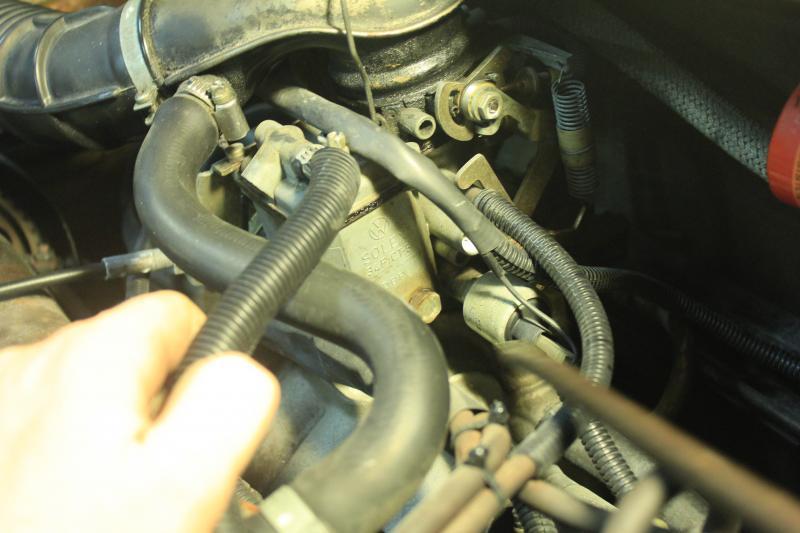
I need some new top strut mounts (going to Camden GTi on Friday) so I just trial fitted them and they seem to fit the bill and will do for now. I had a charging problem when I first got it and discovered that alternator was wired up by a 4 year old? So I fixed that up and it's in working order now.
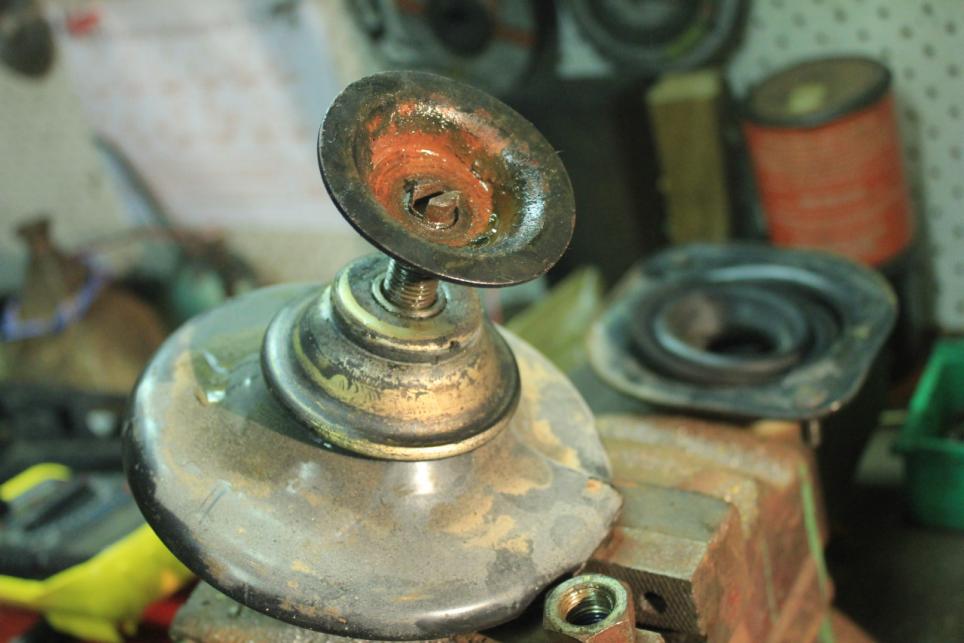
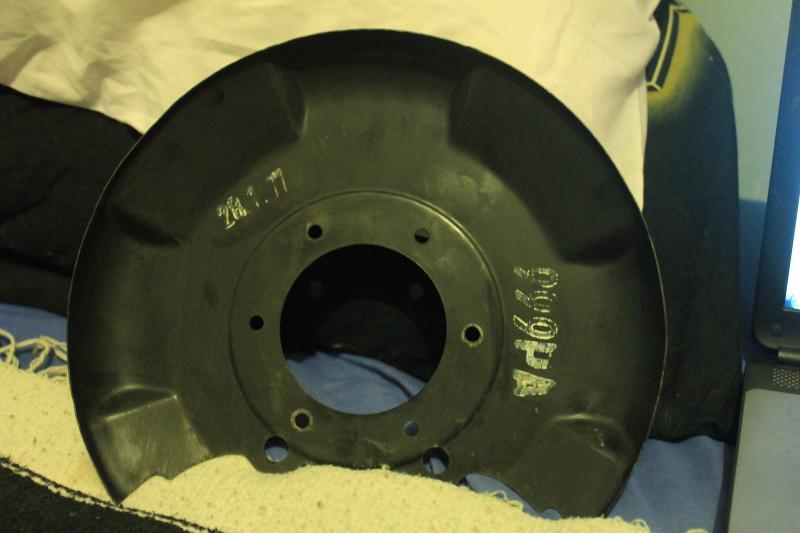
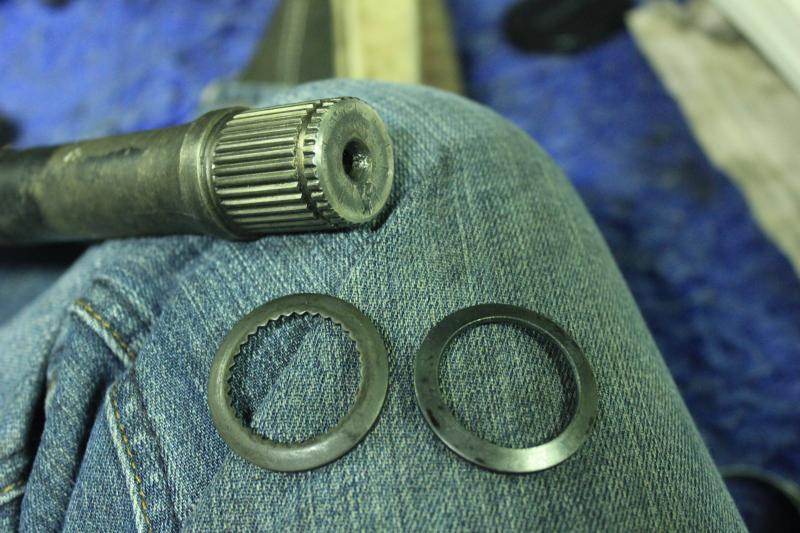
Tonight I battled with undoing the old top shock mounts so I could see which kind I need and I believe these are later ones with the concealed bearing? Can anyone verify that?
So next on the list
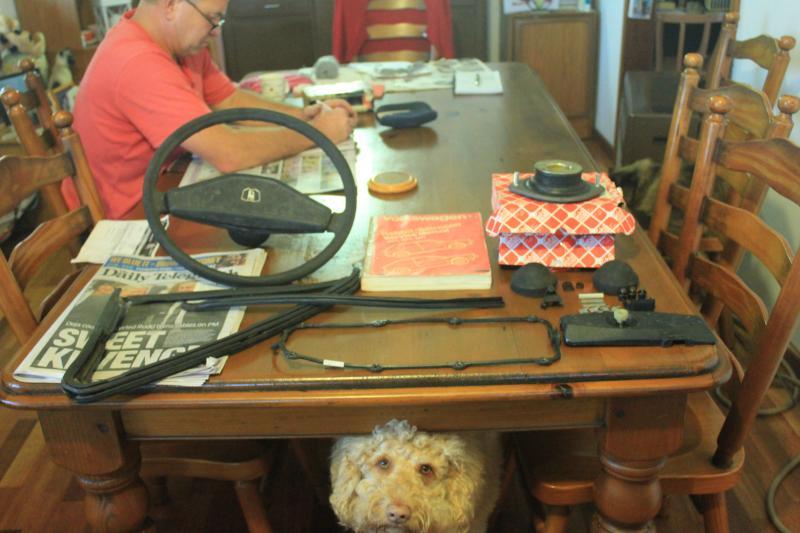
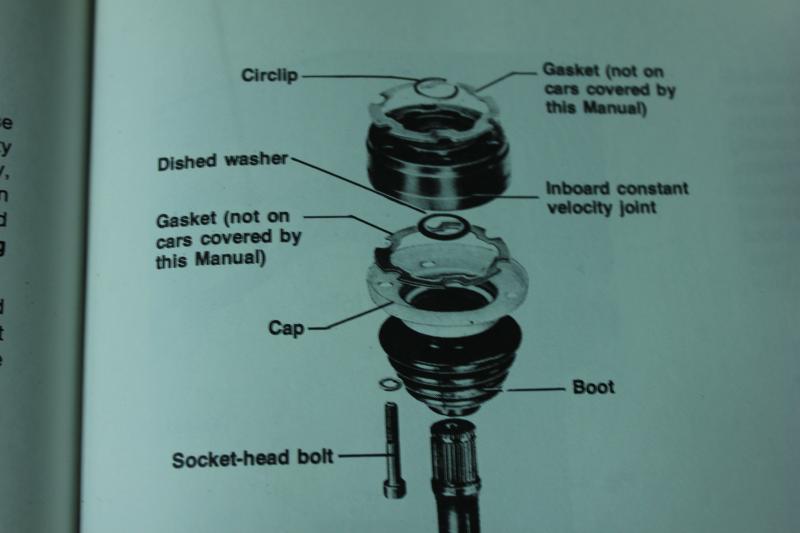
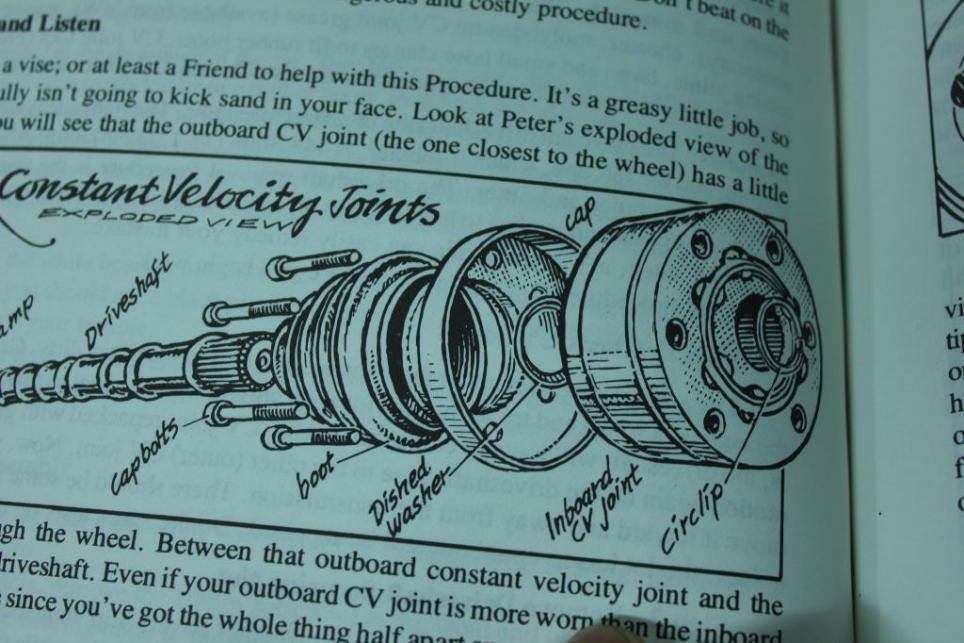
I have a Bentley manual which should arrive tomorrow and a couple editions of Poor Richard's rabbit on the way. If anyone has some of the chrome window trim that comes in coils could they let me know? I'd be up for purchasing that since mk1 autohaus were out when I did my order. I'm looking forward to getting this thing on the road and driving. Thanks for looking!
When it was for sale in Sydney. It hasn't been rego'd since then and it hasn't aged great, either that or those photos make it look nicer than it was. The paint is pretty dodgy (A really poorly mixed pearl shot over a stark white, almost fully assembled judging by the over-spray on the CV boots and original paint still inside the car).
But after taking out all the interior trim, which is in excellent condition, I found only a few very minimal spots of rust. Under the rear hatch seal, under the drivers side rear window and a bit below the drivers door. All is in very early stages and I'll get it way before it starts to grab hold.
So after getting it into my shed, which was a hassle since it was so low (some 3 wheel motion was involved), I got it up on stands and decided to have a look at the job the previous owner had done on the suspension. It came with a set of Hot Tuning (yeah I hear they're pretty dodgy) coil overs which the guy who owned the car before me said didn't work after he tried to fit them with 16x8s... So upon closer inspection, I think anything would be better than what was in there.
I need some new top strut mounts (going to Camden GTi on Friday) so I just trial fitted them and they seem to fit the bill and will do for now. I had a charging problem when I first got it and discovered that alternator was wired up by a 4 year old? So I fixed that up and it's in working order now.
Tonight I battled with undoing the old top shock mounts so I could see which kind I need and I believe these are later ones with the concealed bearing? Can anyone verify that?
So next on the list
- Repair Surface Rust
- Repaint Bonnet
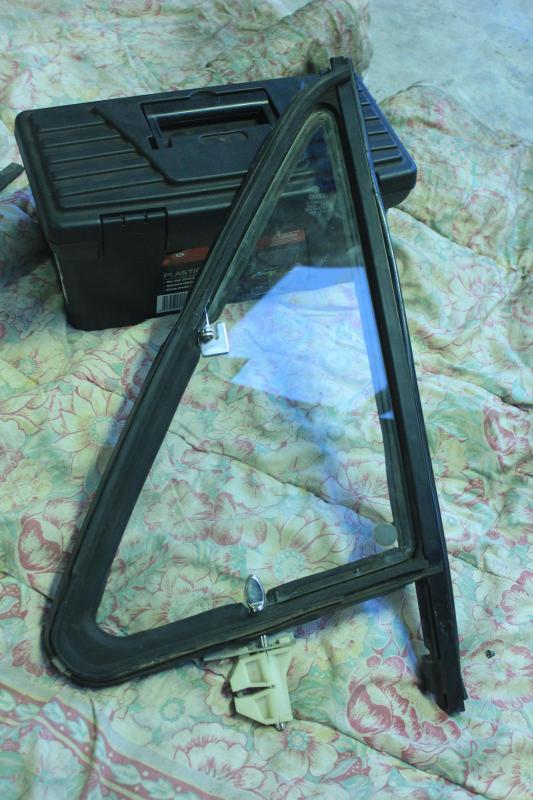
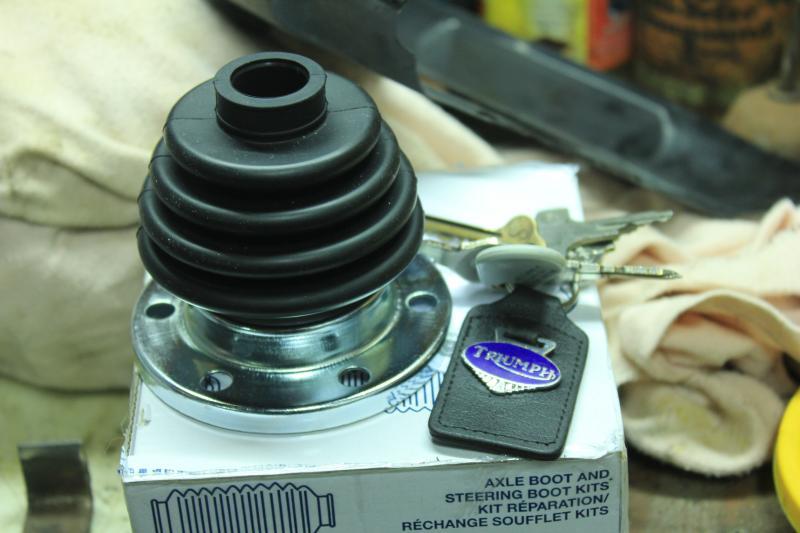
- New Side Window and Quarter Glass Seals
- Chrome Trim
- Rego
I have a Bentley manual which should arrive tomorrow and a couple editions of Poor Richard's rabbit on the way. If anyone has some of the chrome window trim that comes in coils could they let me know? I'd be up for purchasing that since mk1 autohaus were out when I did my order. I'm looking forward to getting this thing on the road and driving. Thanks for looking!


Comment