 Tweet
Tweet
Hi all, I've been a little quiet since I joined up but I've finally started working on the GLD! Going to try and itemise all the things I fix and replace and make note of my progress in this thread - I've noticed there are a few other '79 GLD threads so I hope I can both contribute and learn from everyone else's experiences!
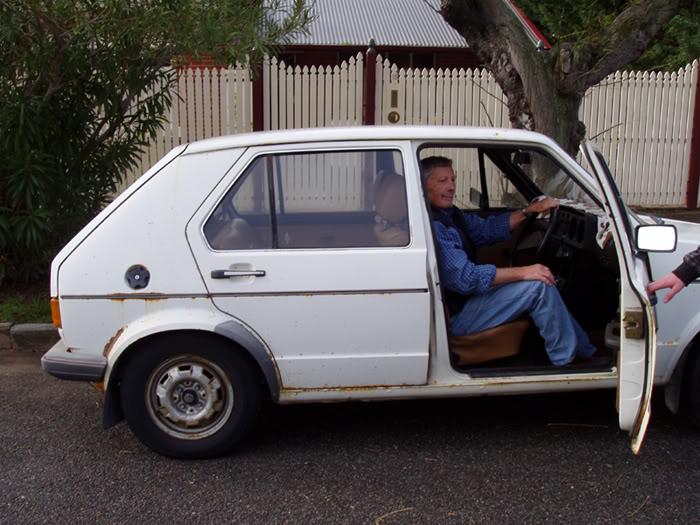
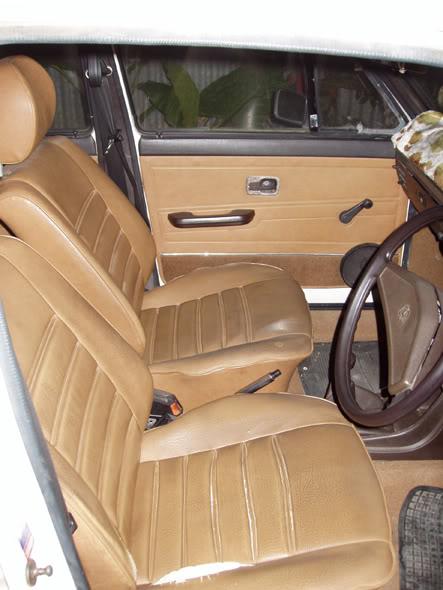
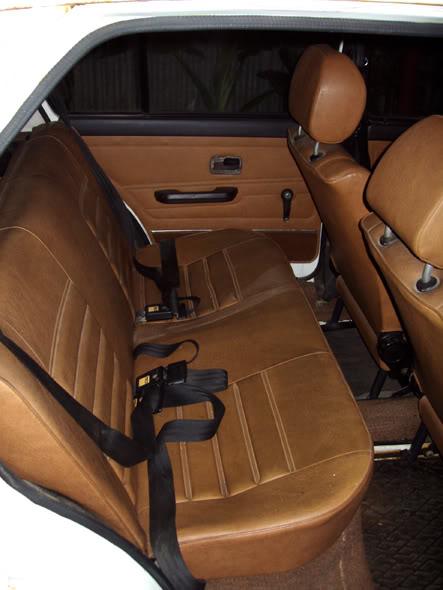
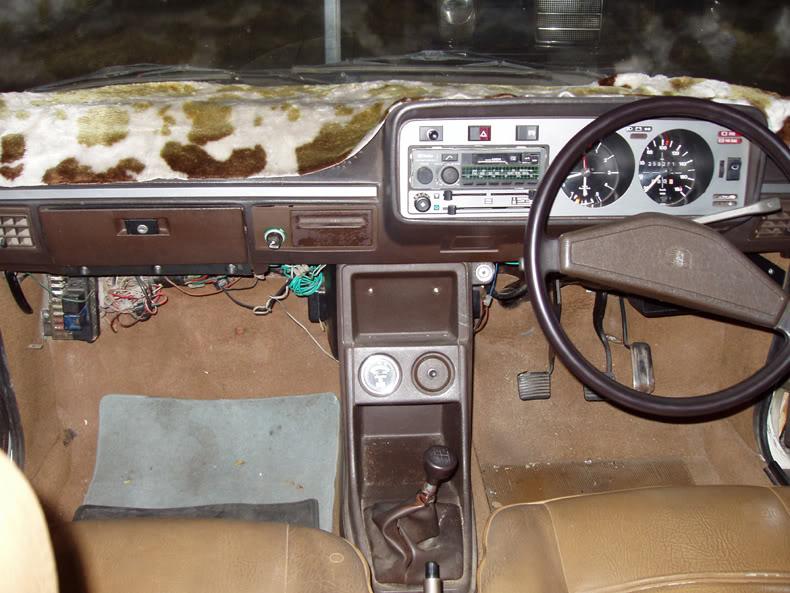
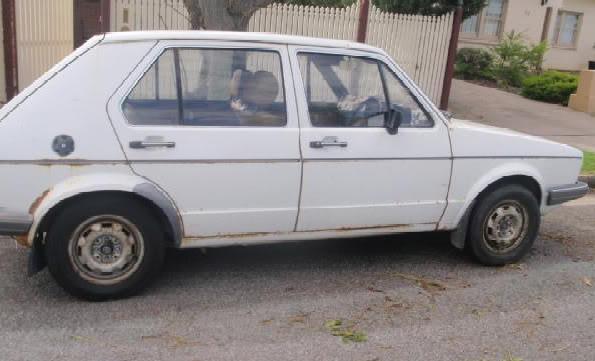
Bit of background, the car is a 1979 GLD 4sp Manual, brown vinyl interior. I am the second owner, purchased from a German gentleman named Klaus who purchased it new from Lanock motors in 1980. Sold it as he has a crook hip and doesn’t like the manual anymore. Here he is enjoying one final sit in his faithful GLD:
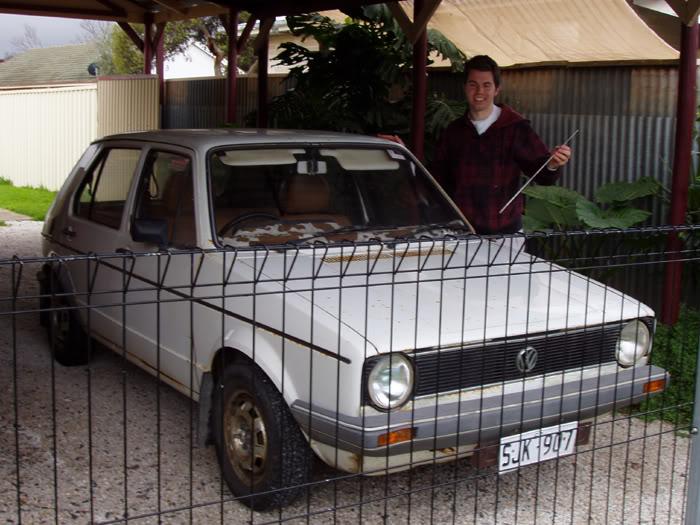
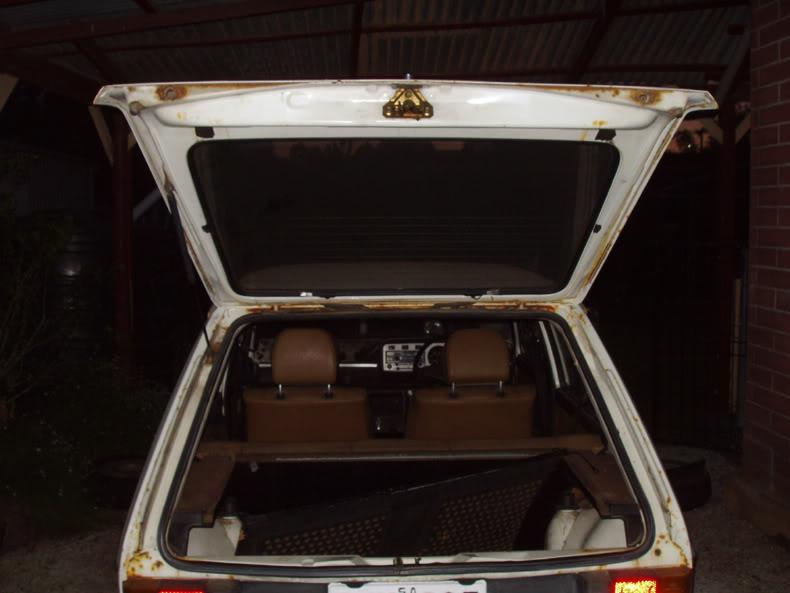
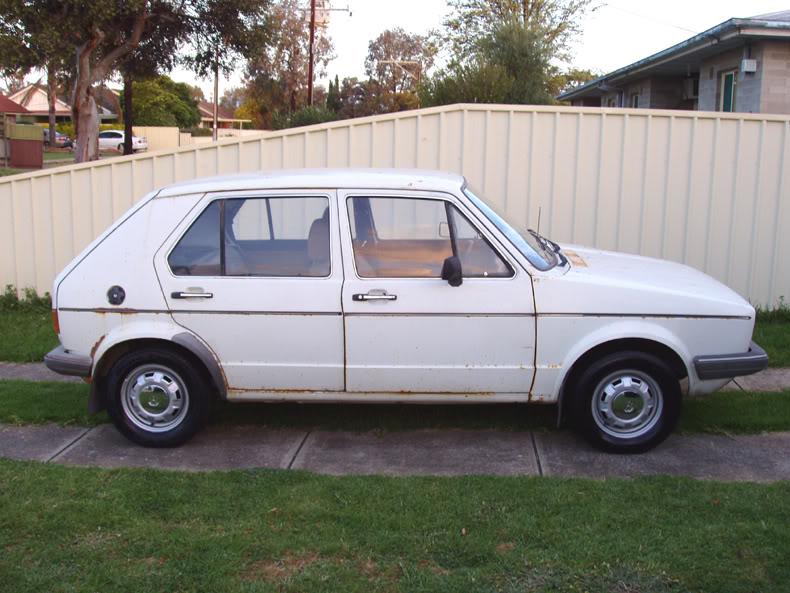
Here it is after bringing it home, still looks pretty much the same now.
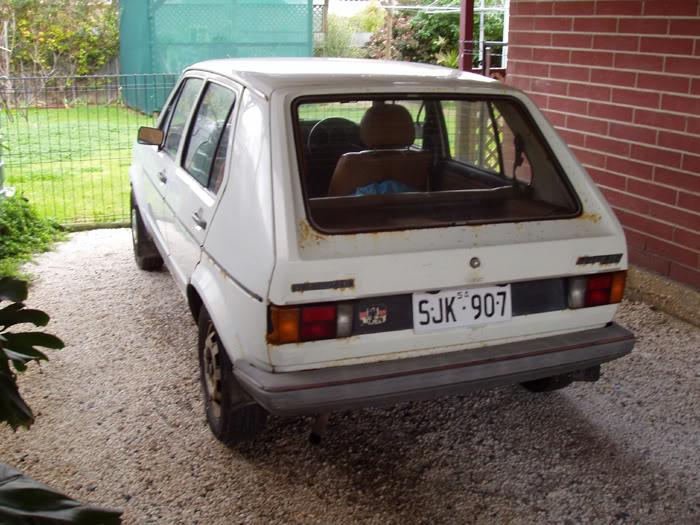
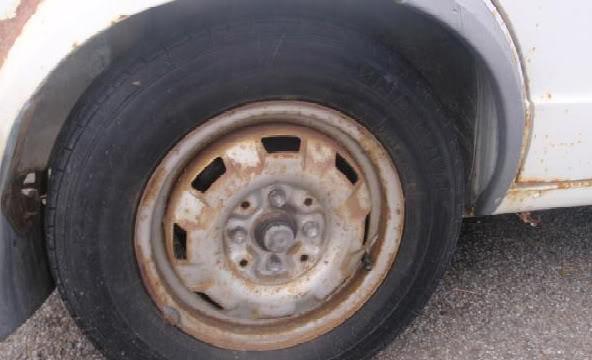
The car has lots of surface rust, I've tried a few areas of the car with cut and polish (T-cut) and this has removed the surface rust, but the paint is still very thin and there are many spots where the paint has just 'gone'. For now I am planning to just keep on it with the cut and polish to keep the car presentable and sort out all the mechanical and interior work first, leaving the bodywork until last – I hope that by doing it this way I can enjoy the fruits of my labour and enjoy the car so that when the time comes, I’m more motivated to fork out for the respray (or have a go at doing it myself!)
Since buying the car a few months back, I have been gradually sourcing the various 'missing' bits and pieces. Between two wrecks at Upullit Lonsdale and Elizabeth (self serve wreckers), ebay and a few online orders I now have almost all the parts I need to fix the things that are broken, missing, non-original and/or untidy. I want to keep the car original with the view to eventually having it on historic rego.
So without further delay, here we go!
1 - BATTERY & CHARGING SYSTEM REPAIRS
Two weeks after purchasing, I tried to start the car and it wouldn’t. No problem cranking the engine, but just would not fire. The car would start instantly when jump started, so I figured it was a battery issue. Also, I noticed that once the car was running, the charge light would glow faintly when the lights were on and the car was at idle – after poking around other threads I figured it could also possibly be a dodgy regulator – compounding the starting problem by not fully charging the battery.
Over the last two weeks I have had the battery charger hooked up for hours at a time, but still could not manage to start the car under its own power. There was plenty of juice for the glow plugs and the battery would crank the starter motor for at least a minute before going flat, but the starter sounded like it was spinning much slower than when it was being jump started. The battery in there was rated at 420CCA – Not sure on the exact factory specification, but the century battery catalog recommended a 600CCA battery (DIN63LMF) or 500CCA as a minimum (DIN53LMF Size).
Purchased a 600CCA battery this weekend, installed it and the car fired straight away! I reckon the combination of a lower capacity and maybe the battery being a little old meant that there was just not enough oomph to crank the starter fast enough, especially after the current drain of the glow plugs.
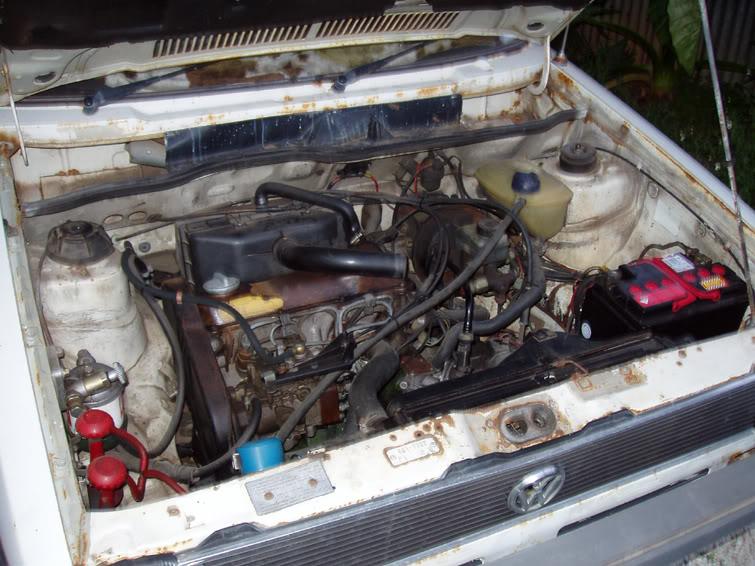
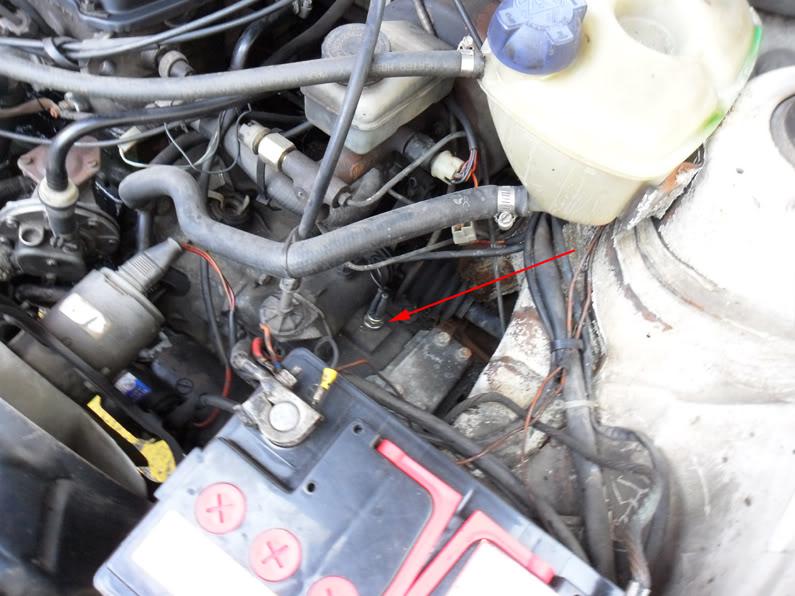
Also fitted a new voltage regulator, the carbon brushes on the regulator in there were worn way down. No more charge light at idle with the lights on now, so I think my starting/charging woes are gone!
2 – VACUUM PUMP DIAPHRAGM REPLACEMENT
Brakes were stopping the car in a straight line but pedal pressure was very hard when I first drove the car. From what the PO told me and other threads on here I removed the vacuum hose from the brake booster and there was very little vacuum at the hose. New diaphragm kit from ebay went in on Thursday and all is now sweet! I did this with the pump in the car, some of those lower screws are very tight to get to! Very handy having the recess on top of the coolant reservoir to put nuts and bolts in though!
Took it for a blast around the block today and am very happy with how it drives! As far as I am aware, the car is now mechanically sound – however I did notice a slight noise coming from the front end that sounds like it may be a wheel bearing or a brake disc rubbing, will have to check this out when the car goes in for its first service.
Stay tuned for more updates!
Bit of background, the car is a 1979 GLD 4sp Manual, brown vinyl interior. I am the second owner, purchased from a German gentleman named Klaus who purchased it new from Lanock motors in 1980. Sold it as he has a crook hip and doesn’t like the manual anymore. Here he is enjoying one final sit in his faithful GLD:
Here it is after bringing it home, still looks pretty much the same now.
The car has lots of surface rust, I've tried a few areas of the car with cut and polish (T-cut) and this has removed the surface rust, but the paint is still very thin and there are many spots where the paint has just 'gone'. For now I am planning to just keep on it with the cut and polish to keep the car presentable and sort out all the mechanical and interior work first, leaving the bodywork until last – I hope that by doing it this way I can enjoy the fruits of my labour and enjoy the car so that when the time comes, I’m more motivated to fork out for the respray (or have a go at doing it myself!)
Since buying the car a few months back, I have been gradually sourcing the various 'missing' bits and pieces. Between two wrecks at Upullit Lonsdale and Elizabeth (self serve wreckers), ebay and a few online orders I now have almost all the parts I need to fix the things that are broken, missing, non-original and/or untidy. I want to keep the car original with the view to eventually having it on historic rego.
So without further delay, here we go!
1 - BATTERY & CHARGING SYSTEM REPAIRS
Two weeks after purchasing, I tried to start the car and it wouldn’t. No problem cranking the engine, but just would not fire. The car would start instantly when jump started, so I figured it was a battery issue. Also, I noticed that once the car was running, the charge light would glow faintly when the lights were on and the car was at idle – after poking around other threads I figured it could also possibly be a dodgy regulator – compounding the starting problem by not fully charging the battery.
Over the last two weeks I have had the battery charger hooked up for hours at a time, but still could not manage to start the car under its own power. There was plenty of juice for the glow plugs and the battery would crank the starter motor for at least a minute before going flat, but the starter sounded like it was spinning much slower than when it was being jump started. The battery in there was rated at 420CCA – Not sure on the exact factory specification, but the century battery catalog recommended a 600CCA battery (DIN63LMF) or 500CCA as a minimum (DIN53LMF Size).
Purchased a 600CCA battery this weekend, installed it and the car fired straight away! I reckon the combination of a lower capacity and maybe the battery being a little old meant that there was just not enough oomph to crank the starter fast enough, especially after the current drain of the glow plugs.
Also fitted a new voltage regulator, the carbon brushes on the regulator in there were worn way down. No more charge light at idle with the lights on now, so I think my starting/charging woes are gone!
2 – VACUUM PUMP DIAPHRAGM REPLACEMENT
Brakes were stopping the car in a straight line but pedal pressure was very hard when I first drove the car. From what the PO told me and other threads on here I removed the vacuum hose from the brake booster and there was very little vacuum at the hose. New diaphragm kit from ebay went in on Thursday and all is now sweet! I did this with the pump in the car, some of those lower screws are very tight to get to! Very handy having the recess on top of the coolant reservoir to put nuts and bolts in though!
Took it for a blast around the block today and am very happy with how it drives! As far as I am aware, the car is now mechanically sound – however I did notice a slight noise coming from the front end that sounds like it may be a wheel bearing or a brake disc rubbing, will have to check this out when the car goes in for its first service.
Stay tuned for more updates!


Comment