Above Forum Ad

Collapse

Announcement

Collapse
No announcement yet.

My MK1 - updates

Collapse
X
 
  • Filter
  • Time
  • Show
Clear All
new posts

  • My MK1 - updates

    Here's a few pictures of my project to date

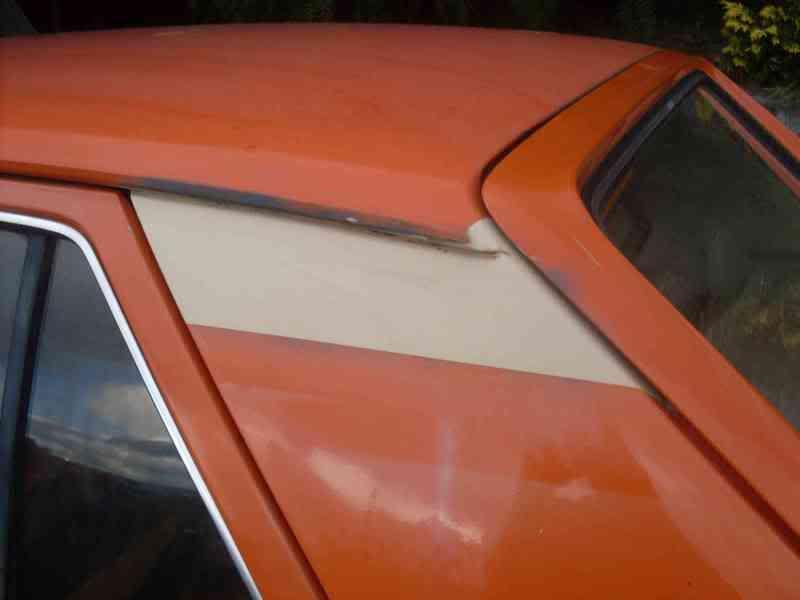
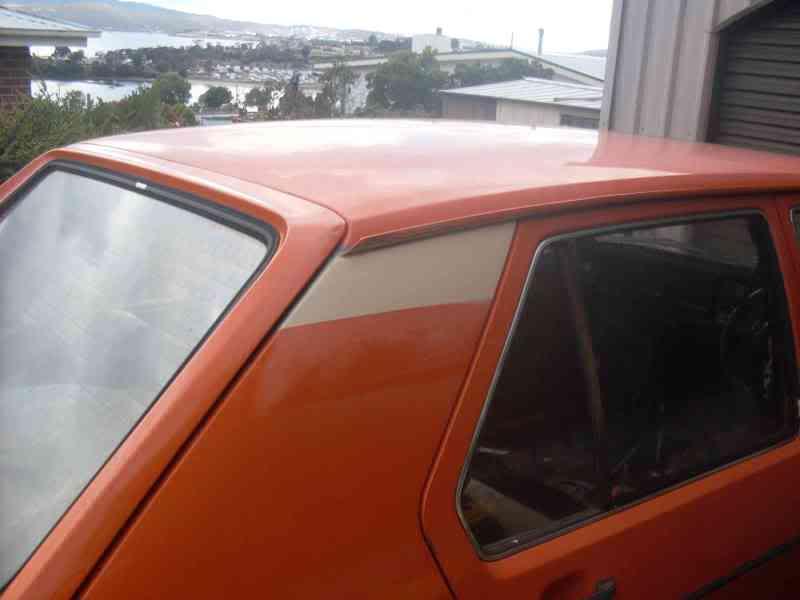
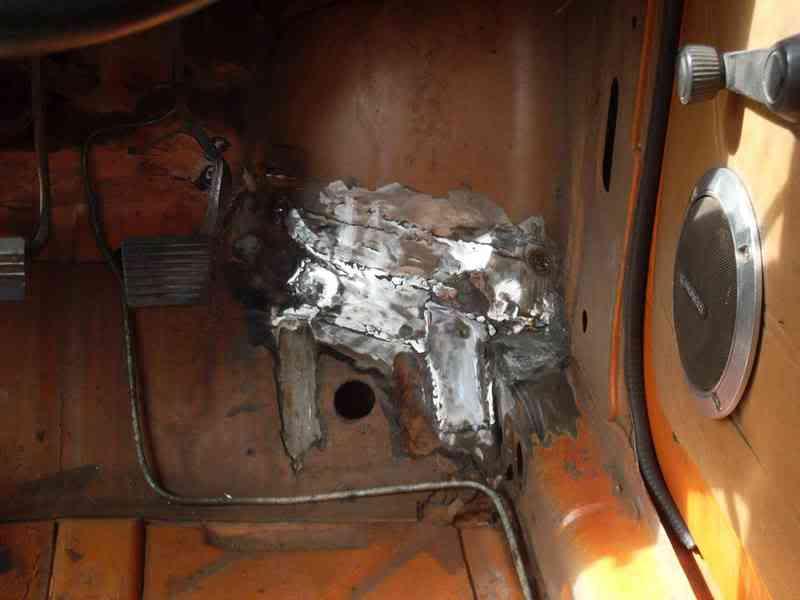
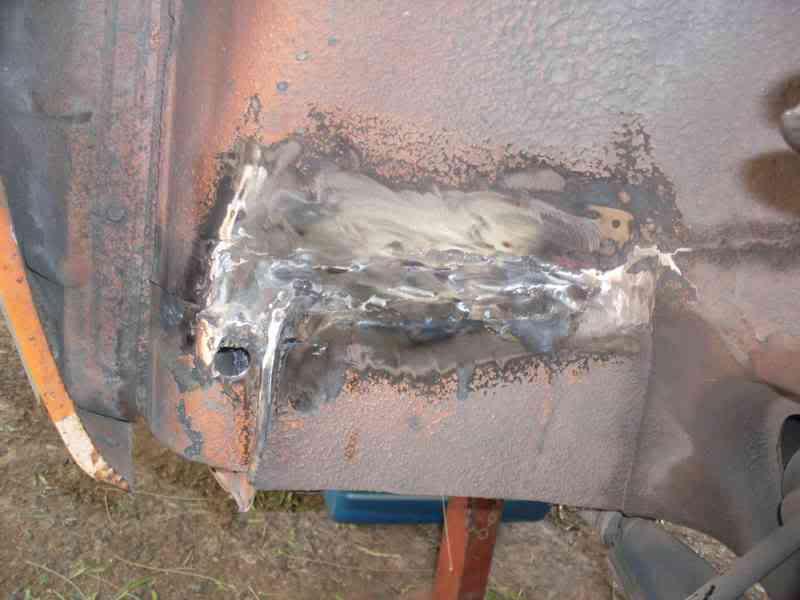
    Right & left hand rear C piler rust repair - still have a little more work to do


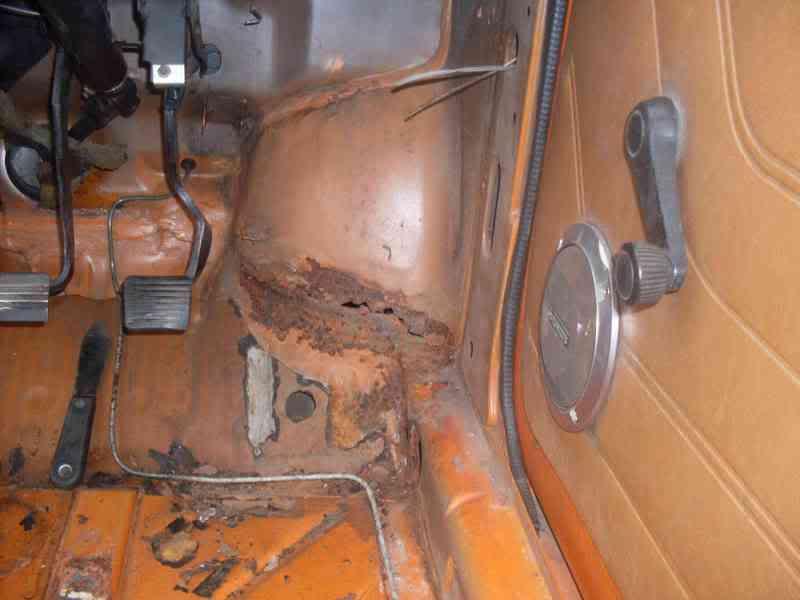
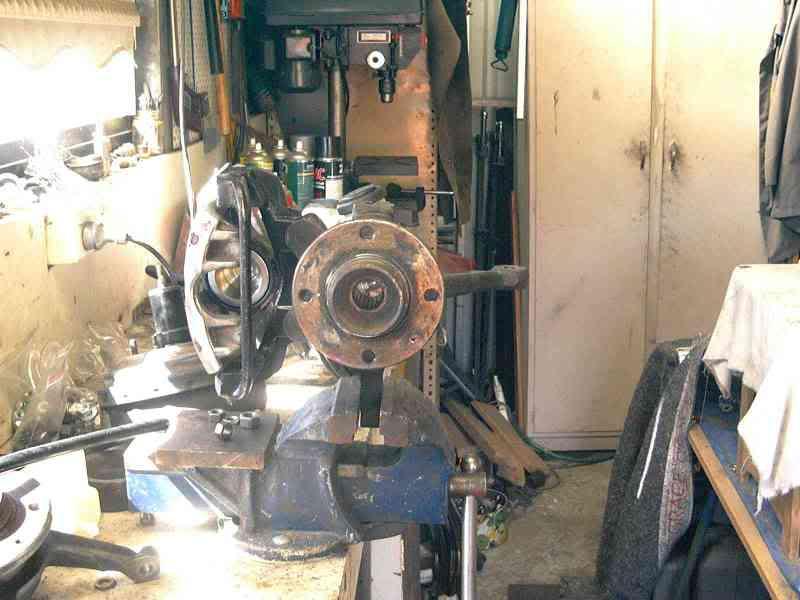
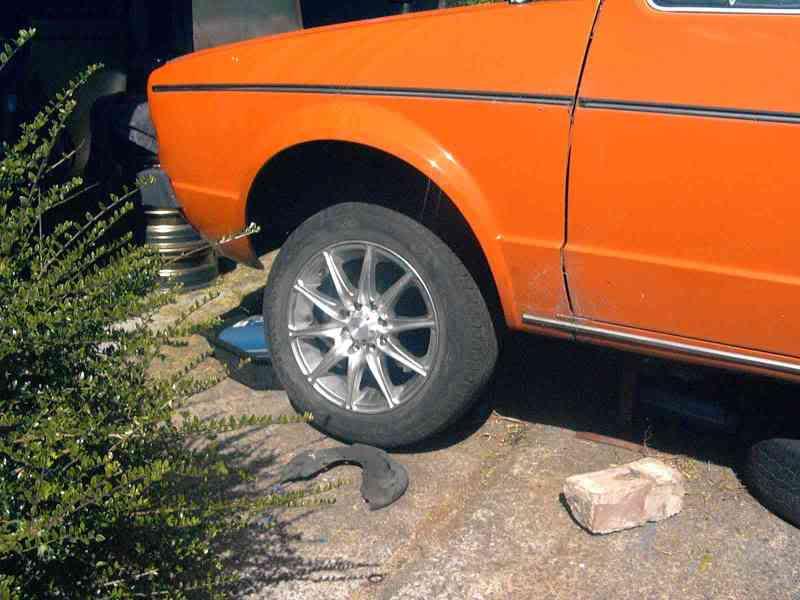
    Where most of my attention will be focused in the coming weekends


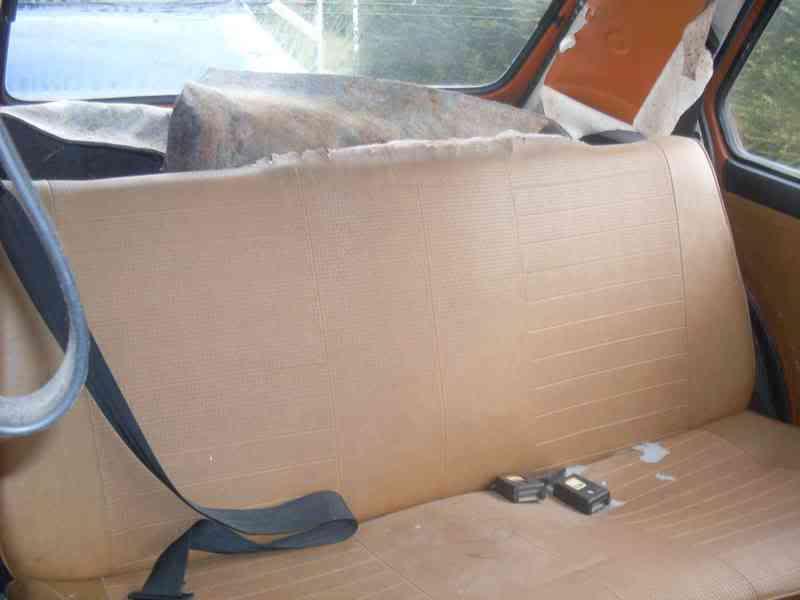
    Also looking for a good set of front and rear seats to replace these (front seats are about the same condition)


    Cheers for now, Chris in Tassie
    Last edited by foc64; 01-01-2009, 06:39 PM.

  • #2
    Good work mate! Is it in that garage yet?

    Comment


    • #3
      nice view youve got from that driveway while you work on that cancer in the wheelarches

      Comment


      • #4
        Originally posted by Water Boy View Post
        Good work mate! Is it in that garage yet?
        Due to my habit of having more than one job on at a time, the garage is still a tad crowded at the moment (currently redesigning my sand blasting cabinet - in pieces now & finalising my big brake swap, also working on a taco dash for my brothers Twin Cab bay window Kombi).

        Chris

        Comment


        • #5
          Ahhh that sounds good to me!

          Comment


          • #6
            More updates

            Been busy grinding/cutting/welding

            how the inner footwell looks at the moment


            Wheel side of the repair


            Welding may not look the best but it's all solid and more importantly RUST FREE, Woo Hoo!!!!!

            Painting/ under sealing next.

            Also found out that it's a good idea to unplug your coil prior to undertaking a compression check, rather than just leaving the plug leads floating around to ground out on the block - that stray fuel sitting underneath the fuel pump that you can't see WILL go poof in a ball of flame - closely followed by an interesting few seconds for my brother and I as we run for the fire extinguisher!! No damage to report but it is a good reminder to have an effective fire extinguisher close to hand when working with or close to fuel/petrol.

            Chris

            Comment


            • #7
              Nice one.

              Good to see the progress, and lucky the damage wasn't any worse! haha


              i like volkswagens
              My blog: http://garagefiftythree.blogspot.com.au/

              Comment


              • #8
                Update time as it's been a while since the last post, I've been collecting parts etc and finishing off a few things such as my Commodore/Magna brake up grade


                New wheels - 14x6 ET38, I was intending to run 14x5.5 steel rims (ex jap car) but they wouldn't clear the brake calipers (bummer) so I now have these


                New Cordoba booster and master cylinder to go with the new brake setup


                JOM coil overs in place of 30 year old original Golf set up


                Electronic ignition kit ex-Fleabay


                a few more new parts yet to be installed


                Motor and G/box next on the list

                Comment


                • #9
                  good work.

                  You're really setting a cracking pace, and not holding back when it comes to the upgrades!


                  i like volkswagens
                  My blog: http://garagefiftythree.blogspot.com.au/

                  Comment


                  • #10
                    Most of the work/upgrades are being done out of necessity, the front left hand ball joint had 1/2" or more of play in it so needed replacing so I thourght I might as well replace all the bushes and tie rod ends as well. As it happened the place I bought the parts from had cheap wheel bearing kits so I got these at the same time (SKF kits complete with all new bolts & circlips). I was fortunate in that I had the brake calipers and new Magna discs in the garage that were intended for a different project (now sold) and as luck would have it they fit on the Golf with out too much work.

                    Chris

                    Comment


                    • #11
                      Small update, front end now installed with new brakes


                      Next job is an engine transplant........more pics soon.

                      Chris

                      Comment


                      • #12
                        This is going to be a good ride! Keep it up buddy.
                        Audi S3 8L - Stroker GTX3582 700bhp+
                        Golf GTI 1980
                        Golf GLS 1979
                        www.facebook.com/etunersmotorsportau

                        Comment


                        • #13
                          Looking good!

                          have you driven it yet with the new brakes?


                          i like volkswagens
                          My blog: http://garagefiftythree.blogspot.com.au/

                          Comment


                          • #14
                            Originally posted by Jarred View Post
                            Looking good!

                            have you driven it yet with the new brakes?
                            Given that the car has been sitting in parts for a few months and it's only just about to be sat back on the ground in preparation for an engine transplant (current motor is FUBAR), the answer is no, I haven't driven it with the new brakes just yet. Once I have the beat going I'll report my results - good or bad.

                            Chris

                            Comment


                            • #15
                              Update time - just finished my lower stress bar so here’s a few photos on how I made mine,
                              First I used a spare section of MDF as a work surface and marked out the dimensions (needs to be 683mm between mounting centre holes) I also decided to build mine with a bend in the bar to give a little clearance.

                              Materials used were 50x50x5 mm mild steel angle and 20NB medium black pipe (NB stands for nominal bore in pipe talk – measures around 27mm outside dimensions),


                              I ended up cutting the angle iron in to 2 pieces at around 38mm wide by 38mm deep as this was a better size for the brace. I then measured and cut 2 x sections of pipe at 155mm and welded them to the end of the angle iron brackets after I’d drilled a 12.5mm hole in the brackets for mounting the completed strut brace.


                              Next step is to mount the end pieces to the MDF work surface and check that your short pipe pieces are parallel and equally spaced (both need to be in the same relative position so the main section of pipe has the correct orientation once welded to the two end sections – the key is to tack weld every thing and check then re-check BEFORE final welding, it’s easier to cut a tack weld and reposition rather than cut a completed weld because the bracket is in the wrong position (trust me I’ve done this in the past!).


                              Once you have checked all your dimensions and checked that all the strut brace components are lined up correctly you can fully weld up the brace. With that done you can clean up the welds (if you need to) and paint it what ever colour suits your car.


                              Cheers

                              Chris

                              Comment

                              Working...
                              X