Above Forum Ad

Collapse

Announcement

Collapse
No announcement yet.

Wheel respray DIY

Collapse
X
 
  • Filter
  • Time
  • Show
Clear All
new posts

  • Wheel respray DIY

    Hey lads
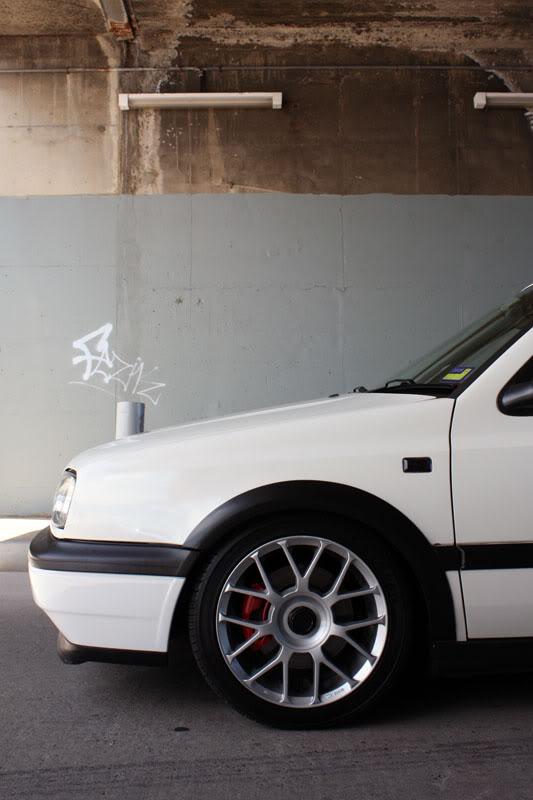
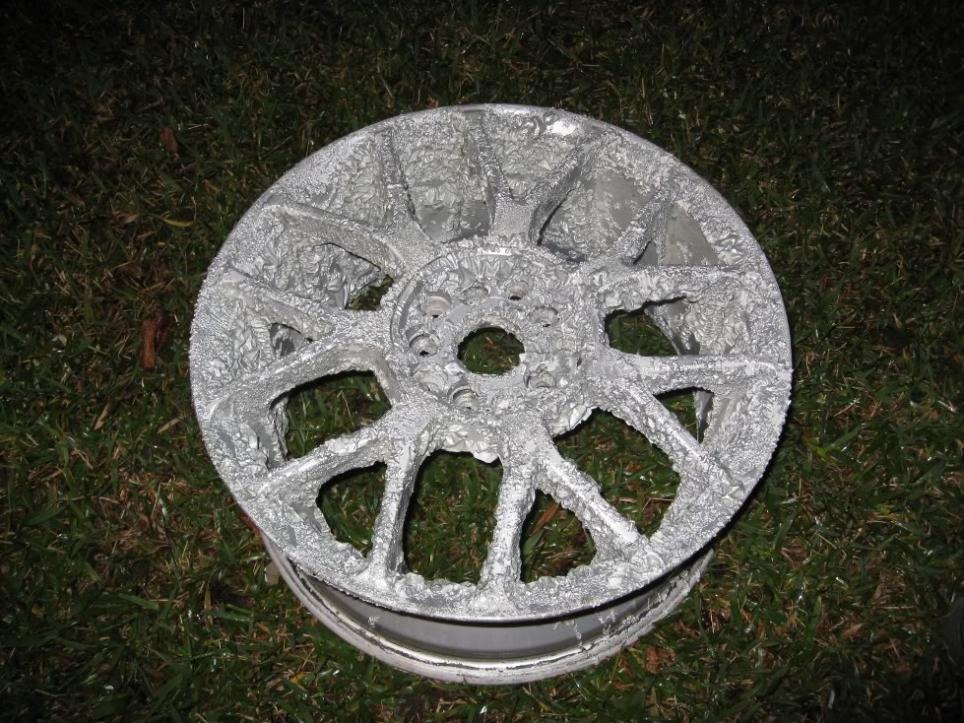
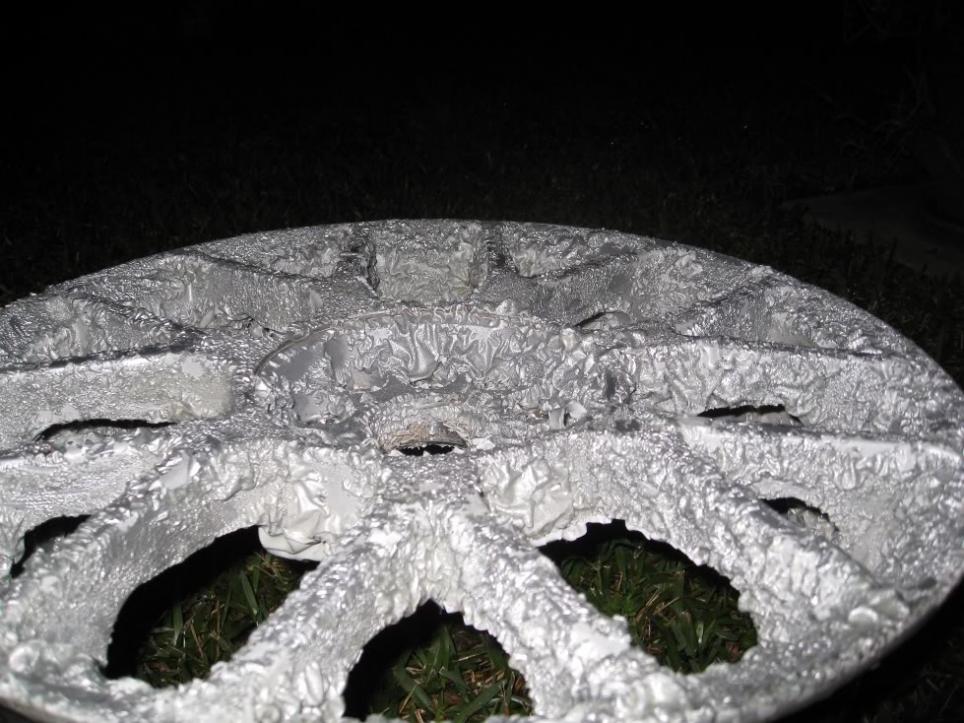
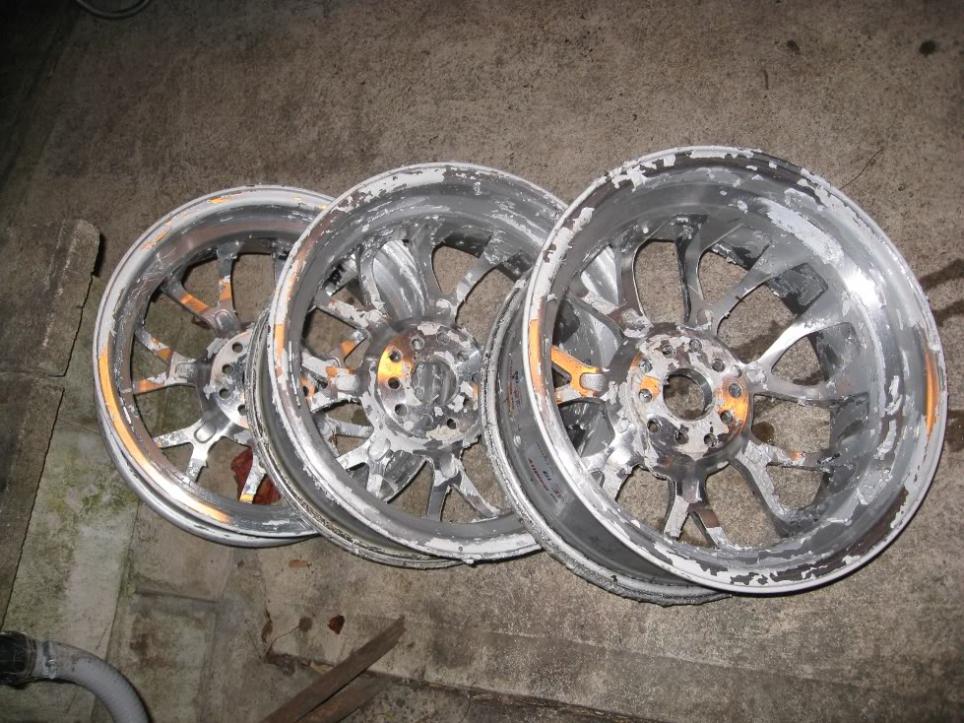
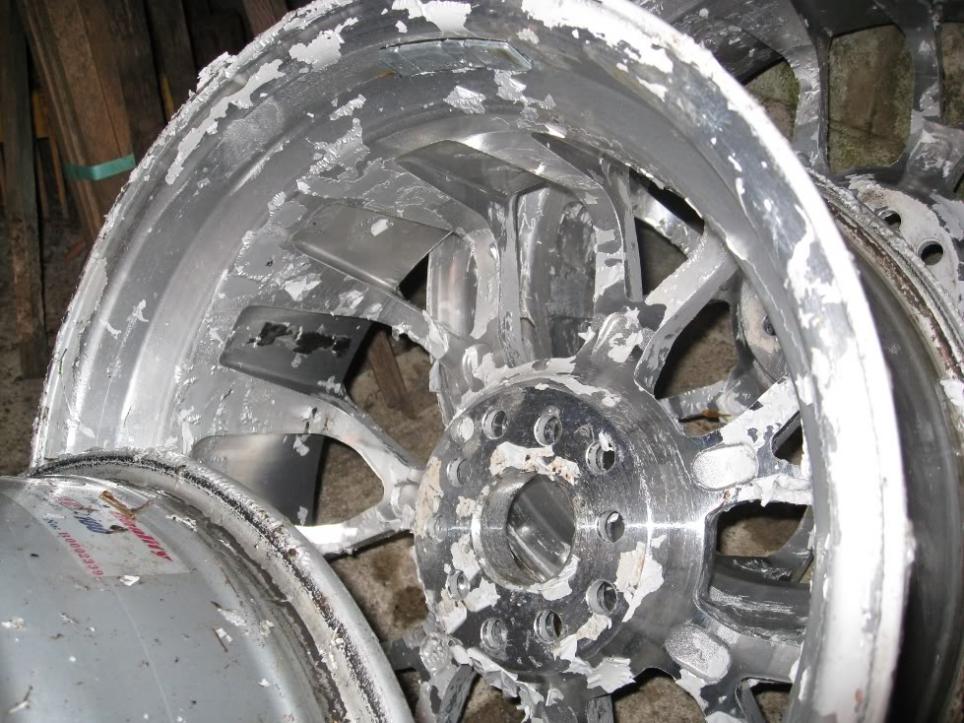
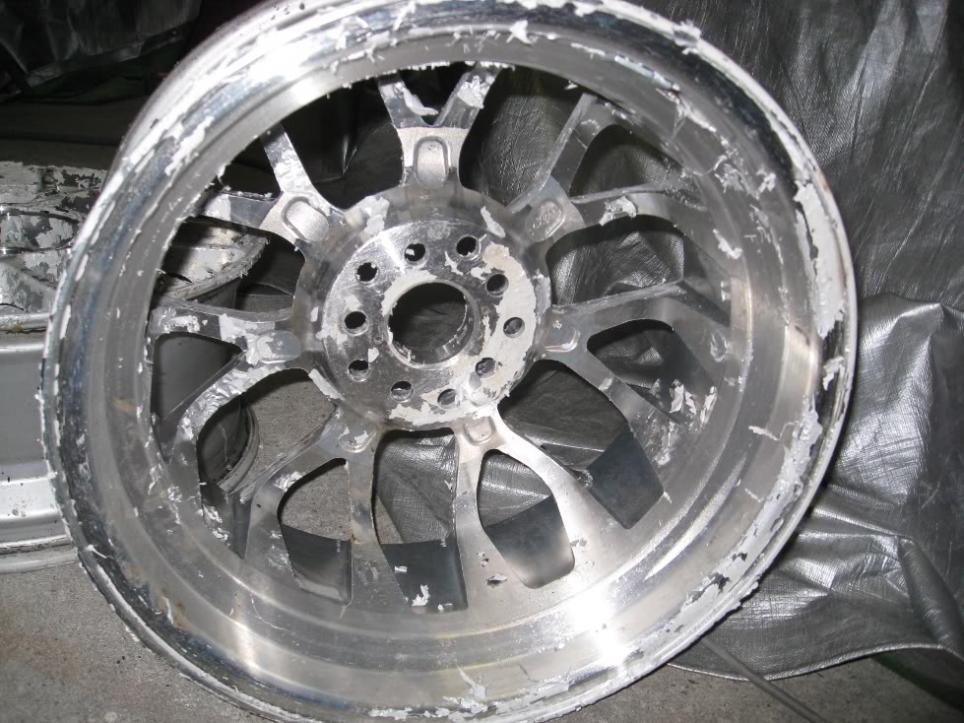
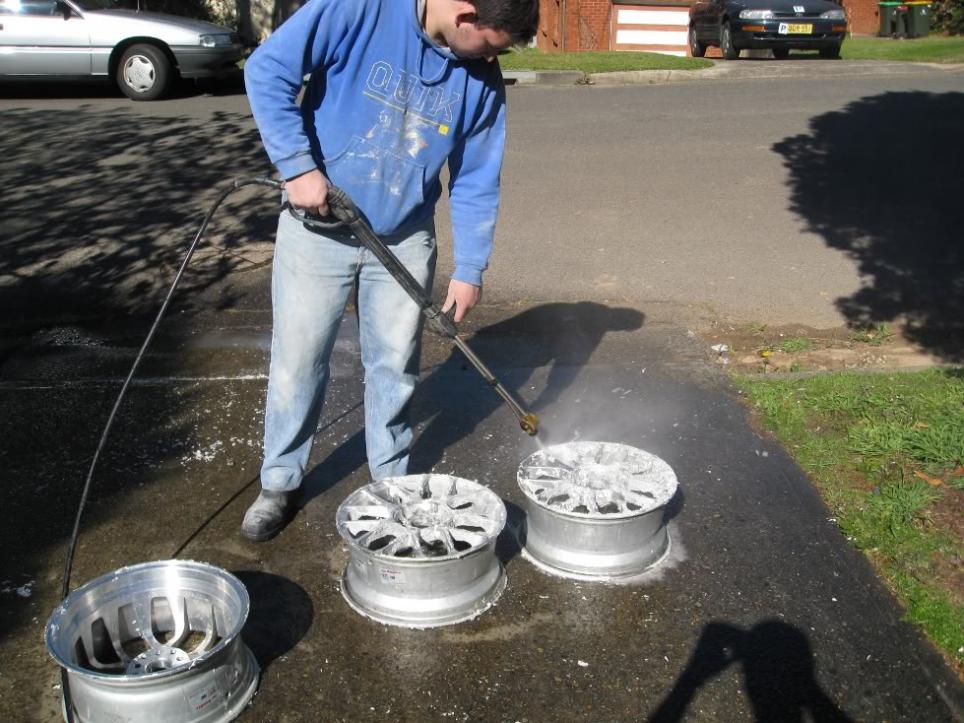
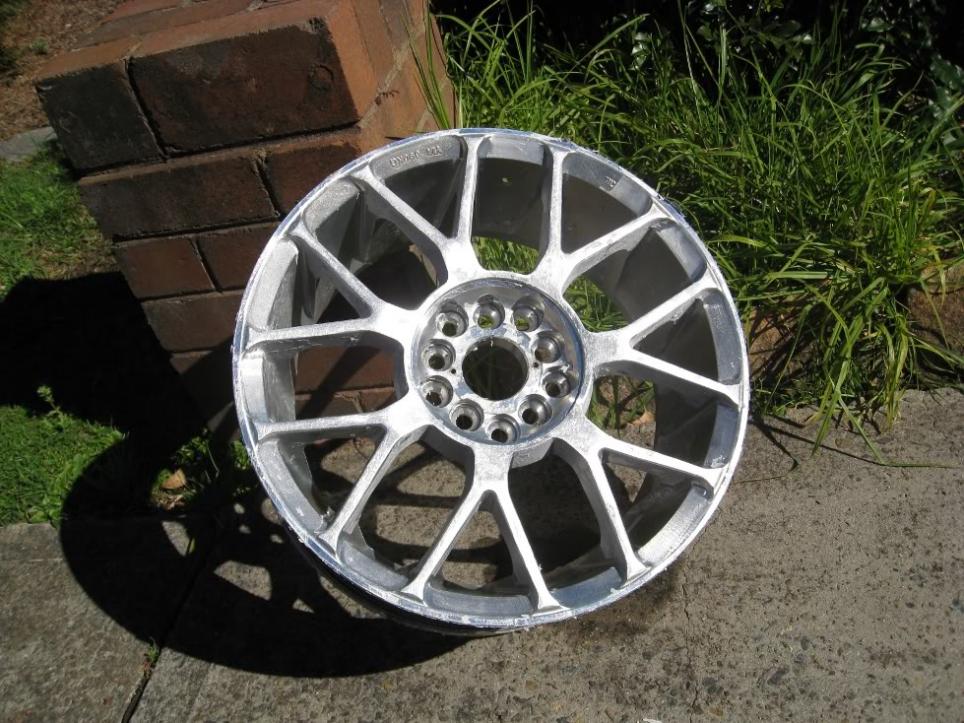
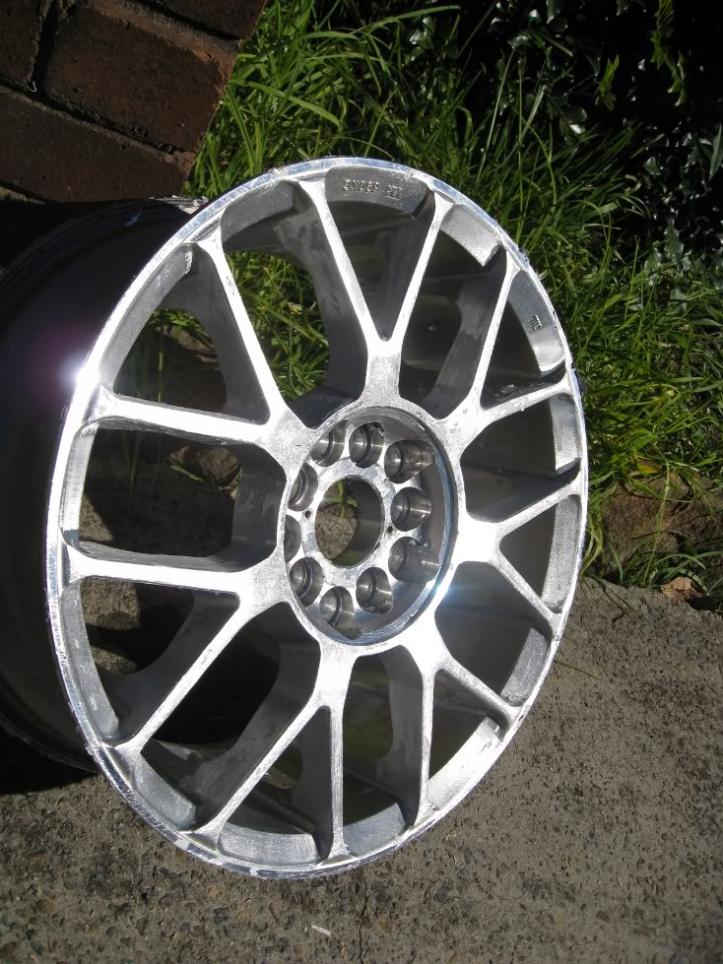
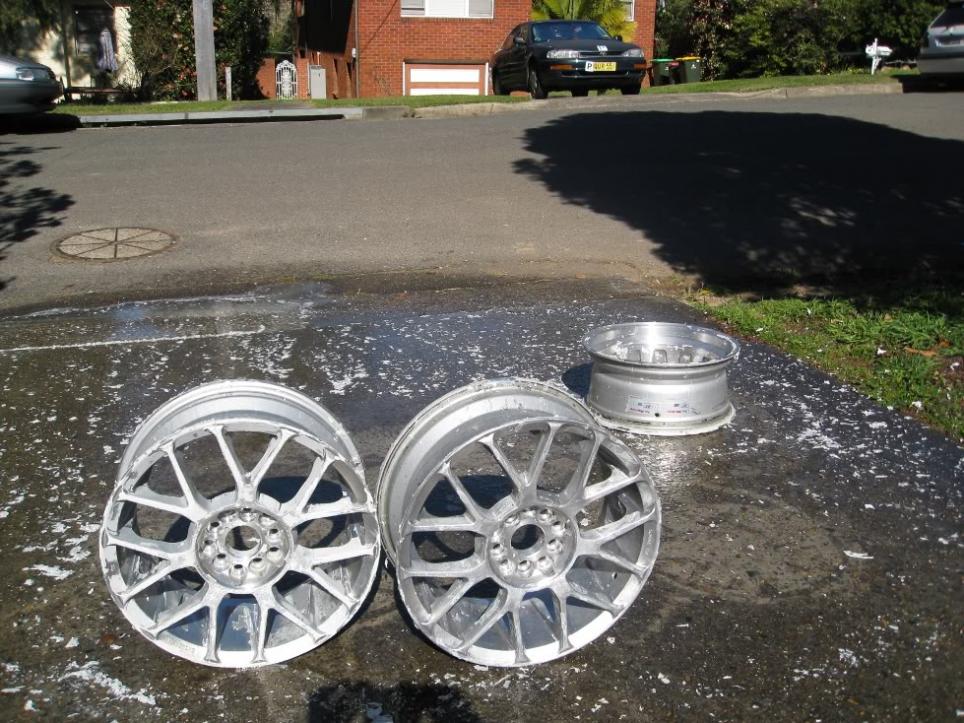
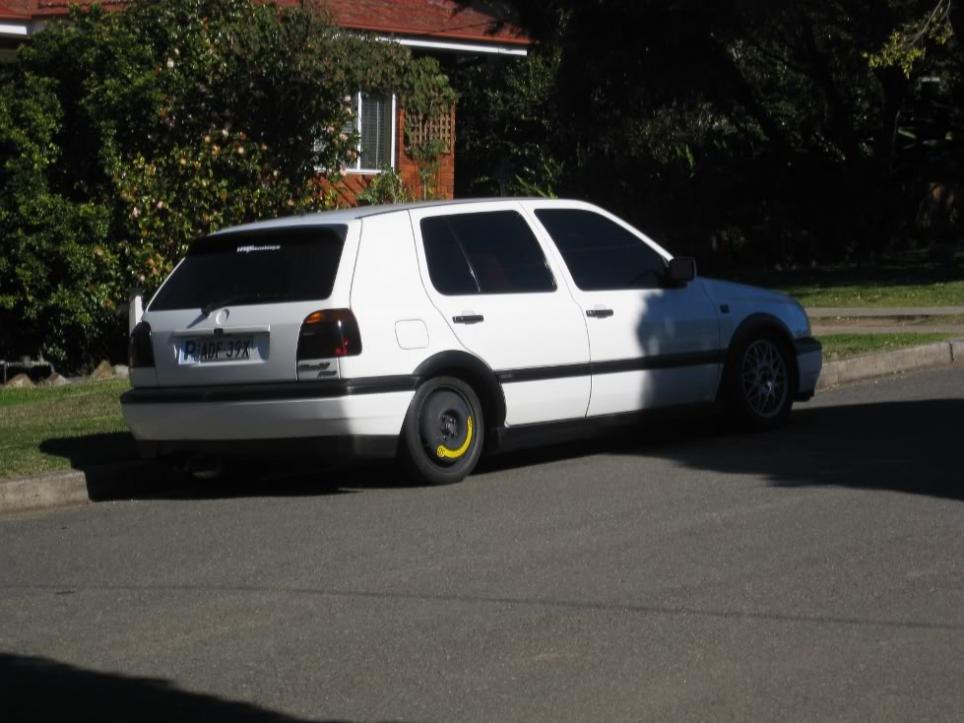
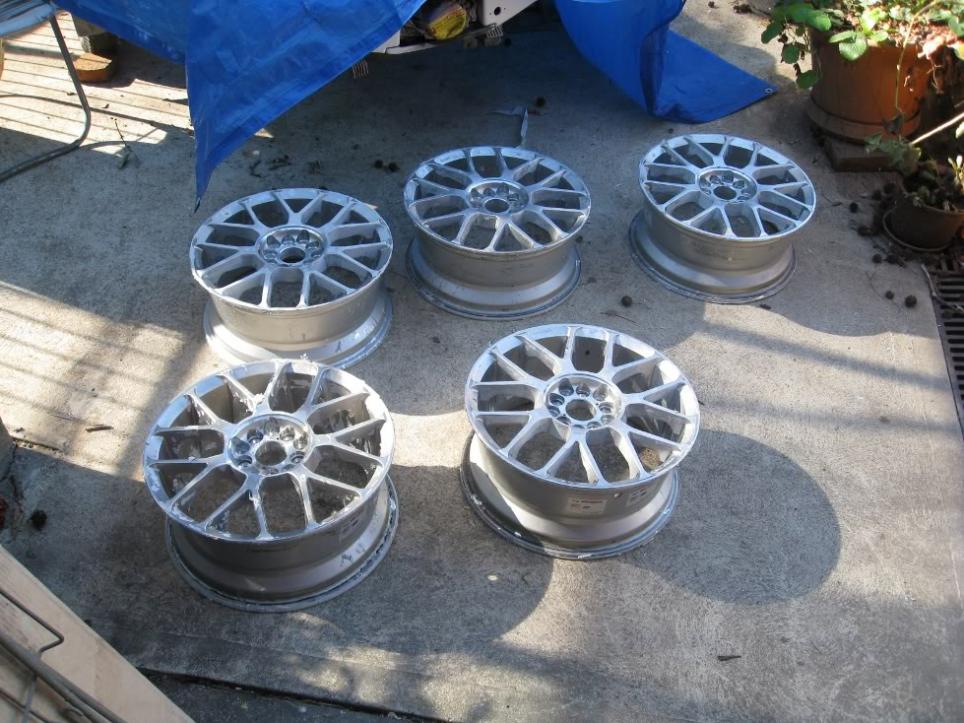
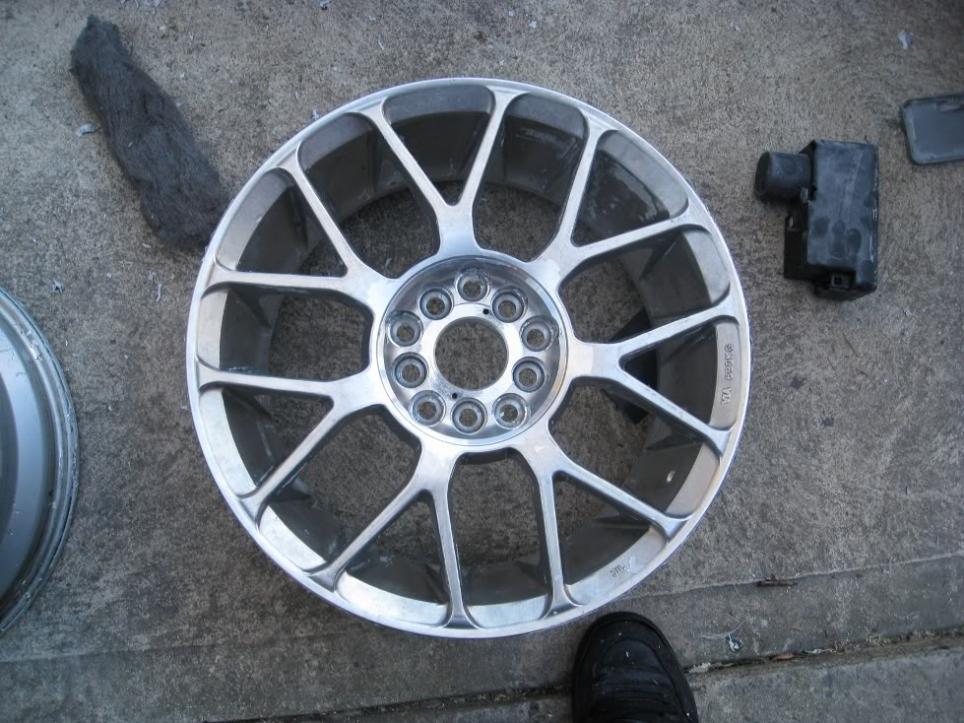
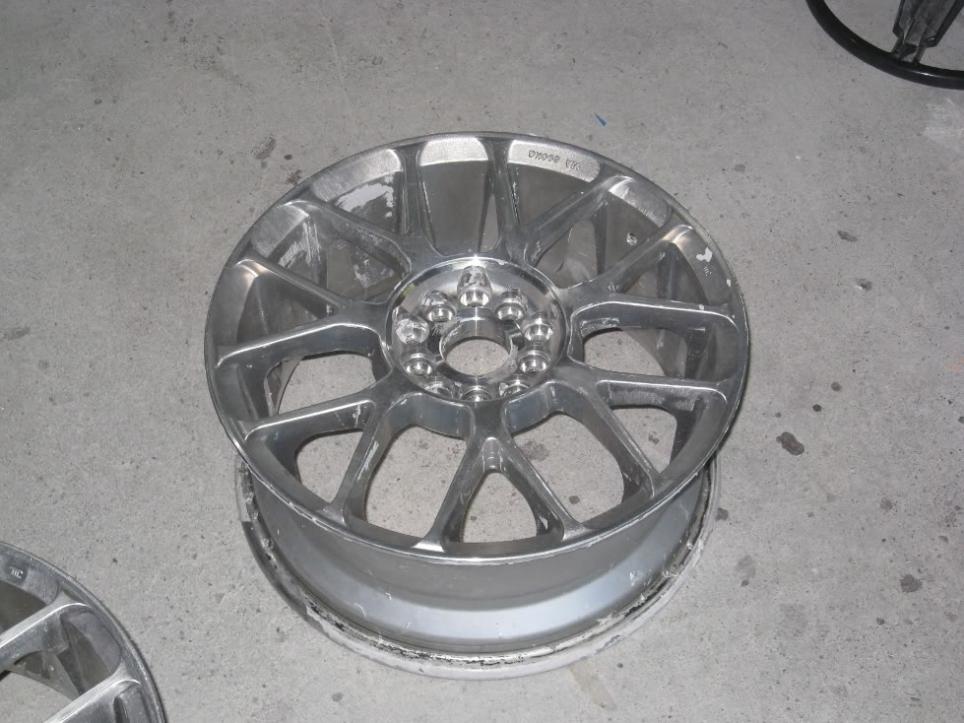
    I've been contemplating respraying my wheels for quite some time now. Seeing as I finally kicked the mini project off and bought some paint during the week, I thought I would make this thread documenting all the steps I will take to do it so it could be of use to others .

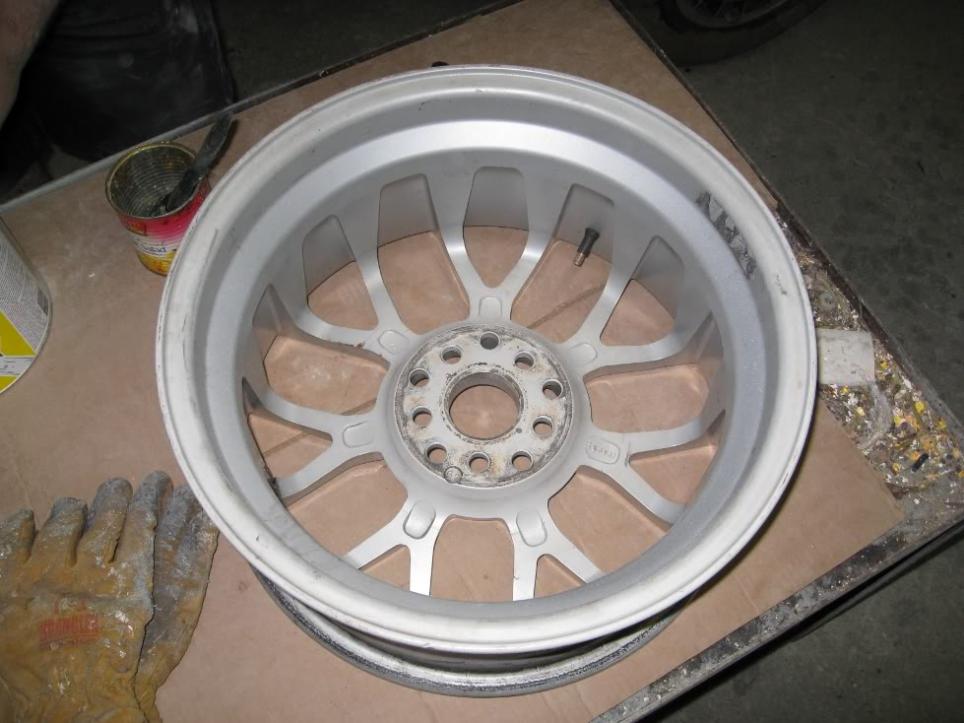
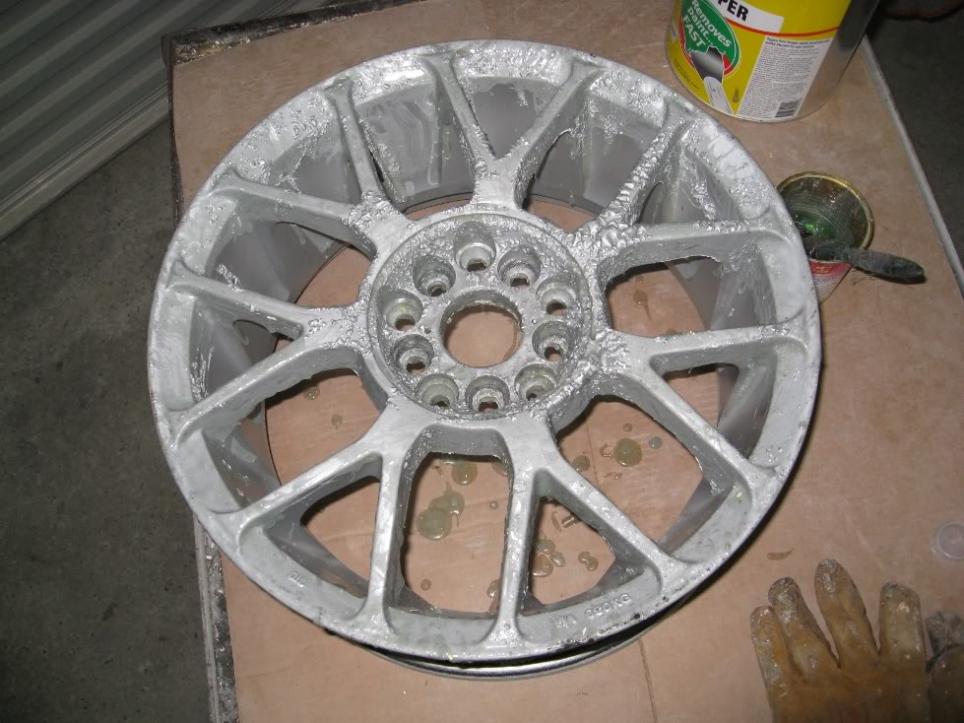
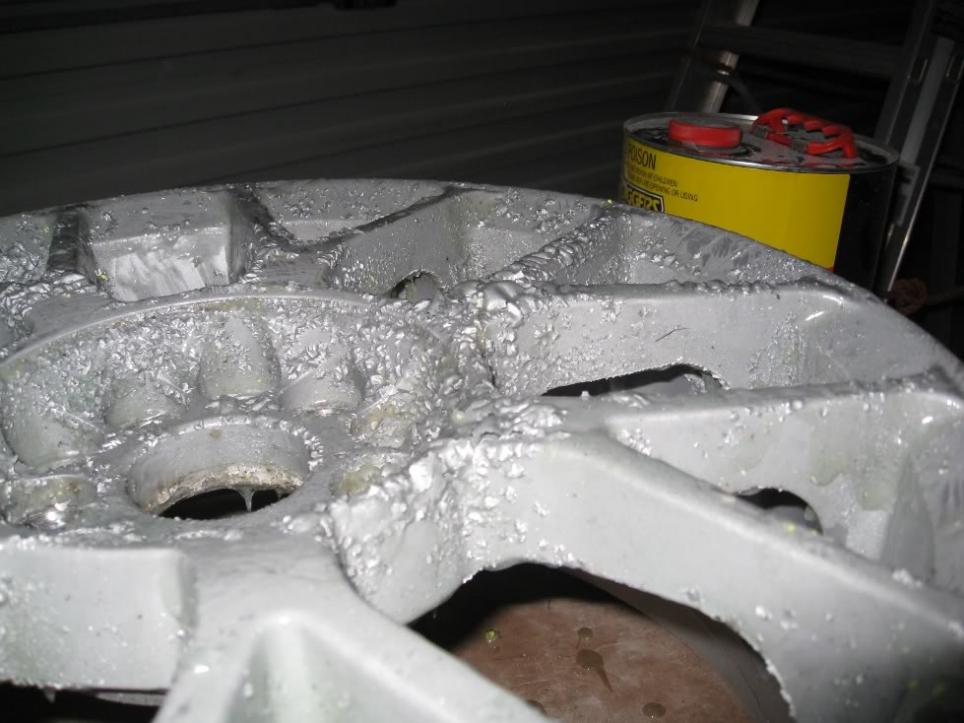
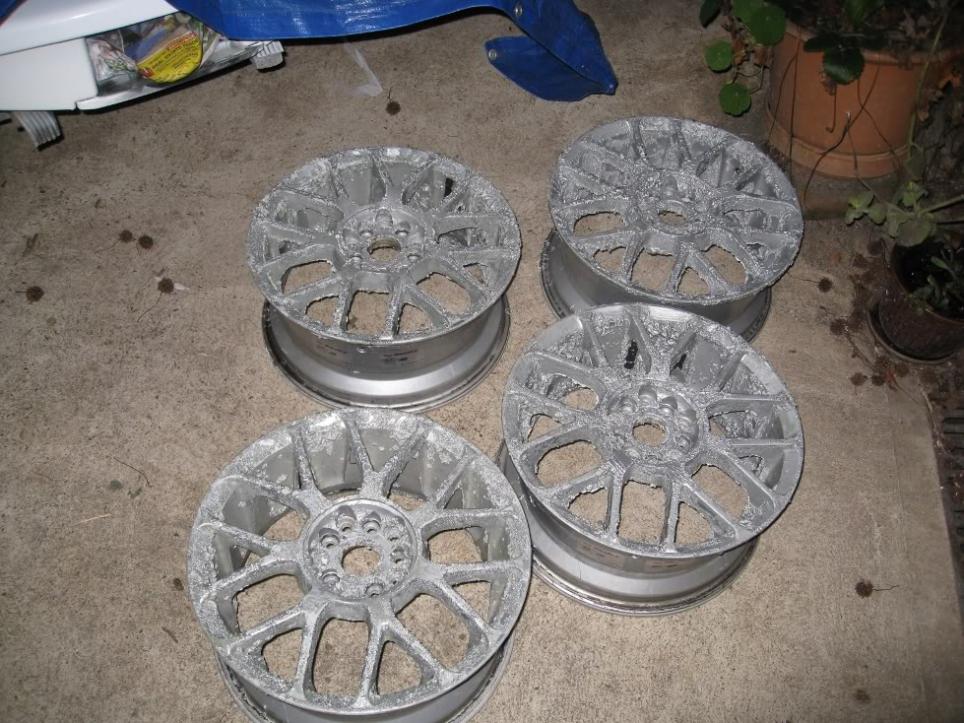
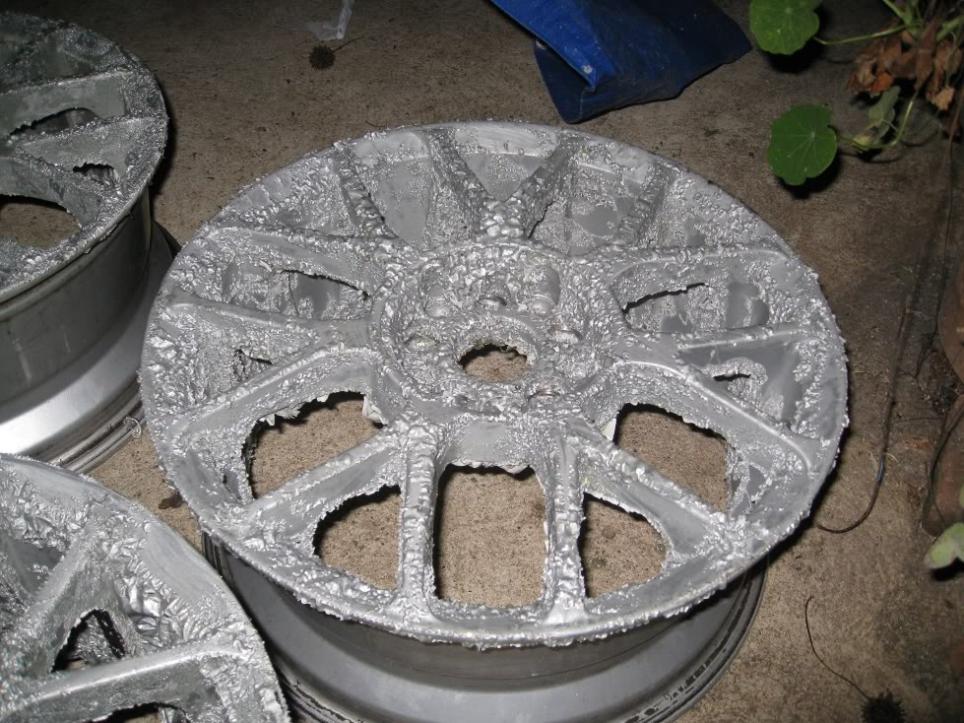
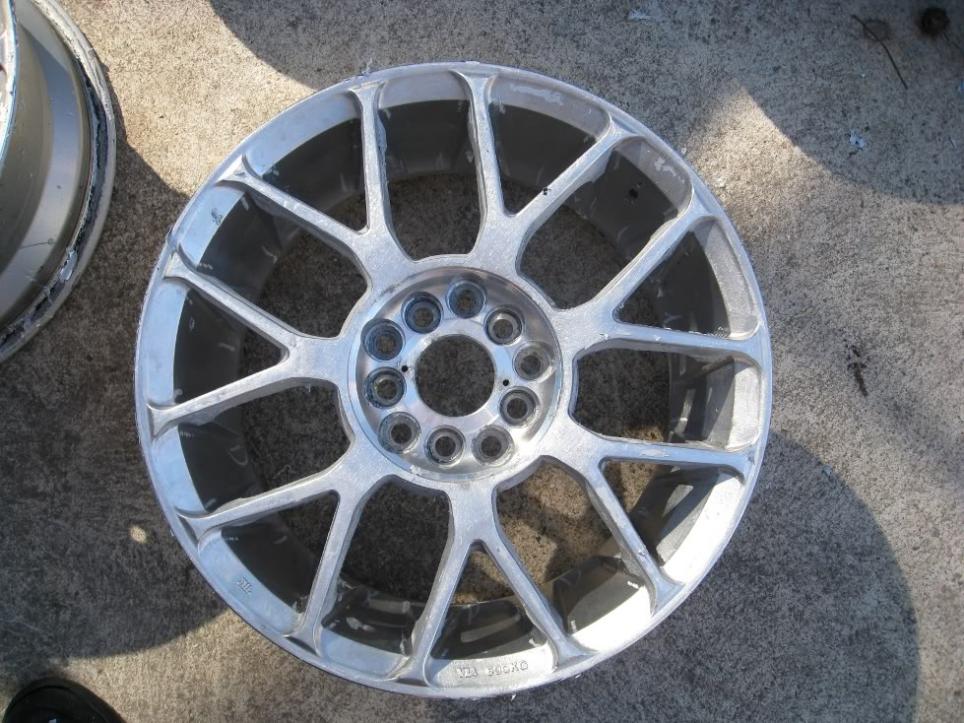
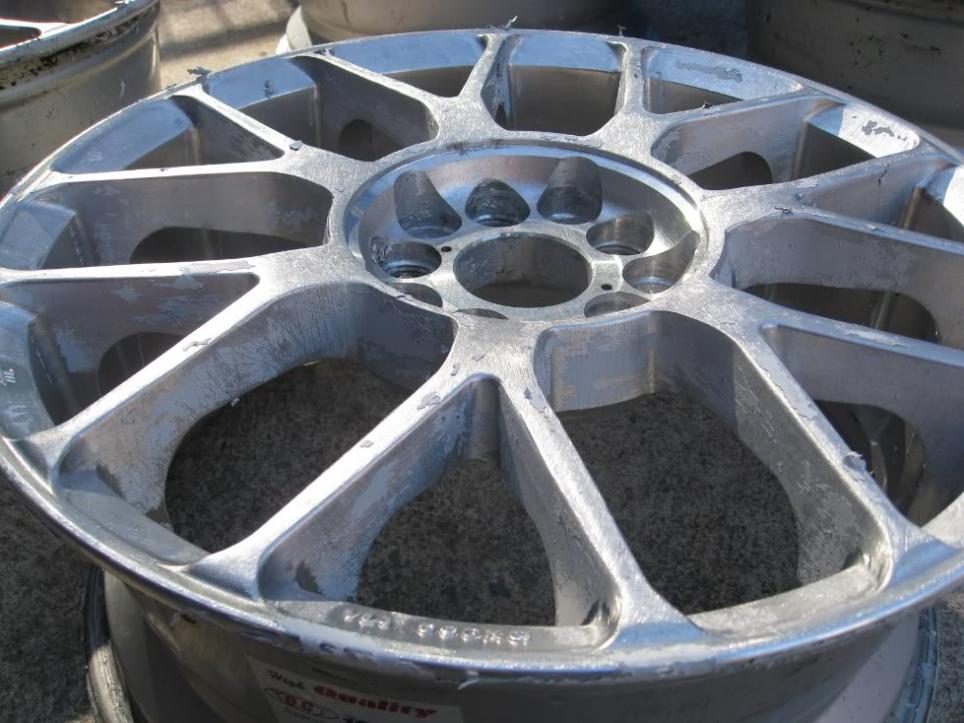
    This thread is basically going to show you how to respray wheels by first paint stripping them down to bare metal, and then using 2pac paints (primer, colour and clear) and body filler to get a (close to) perfect finish.

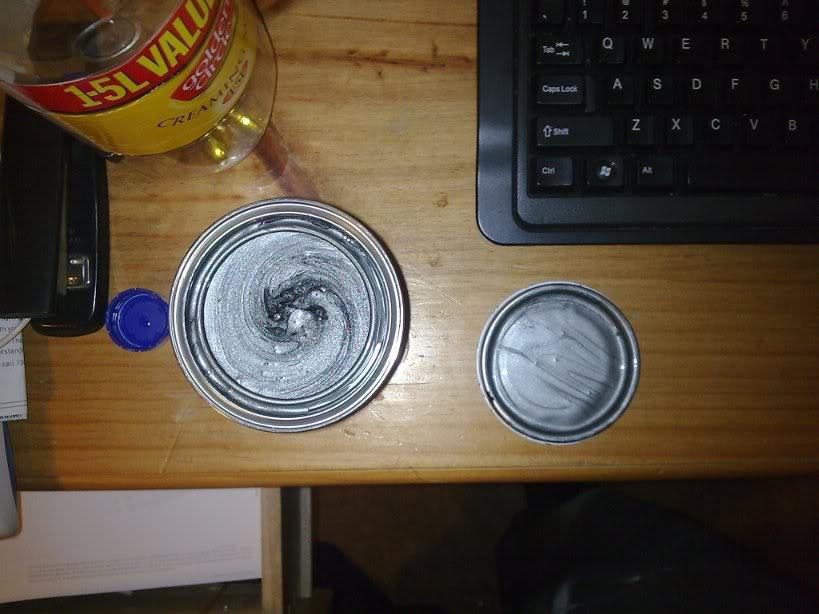
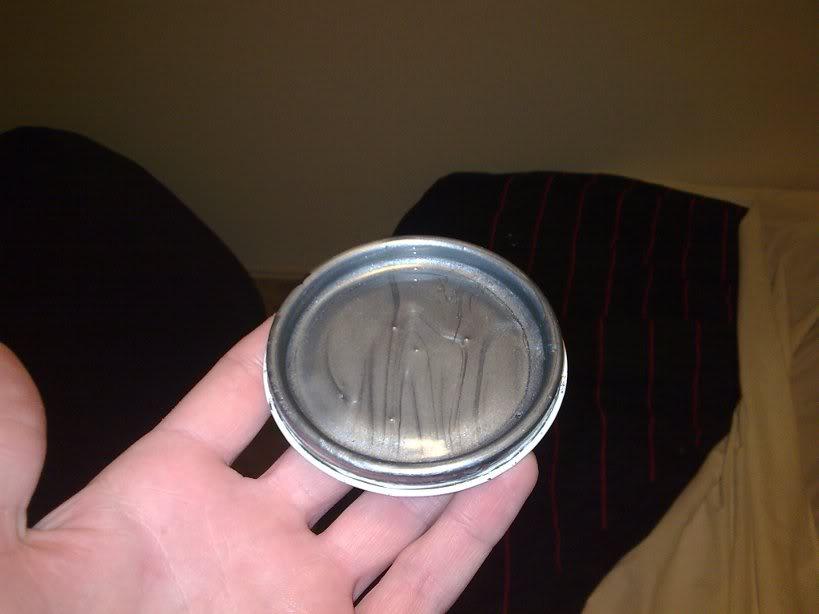
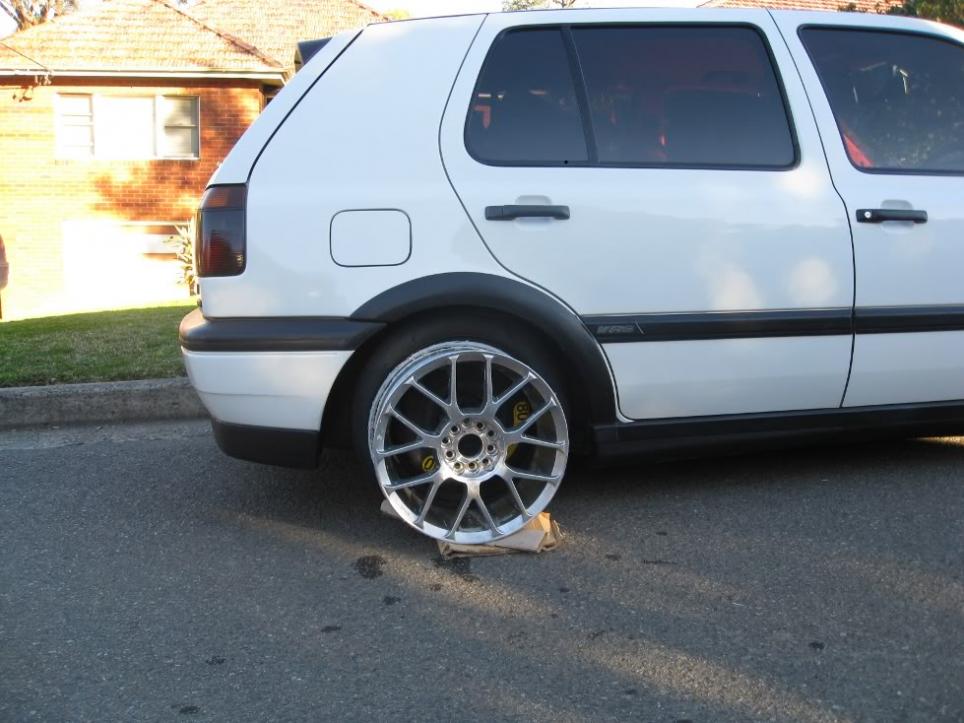
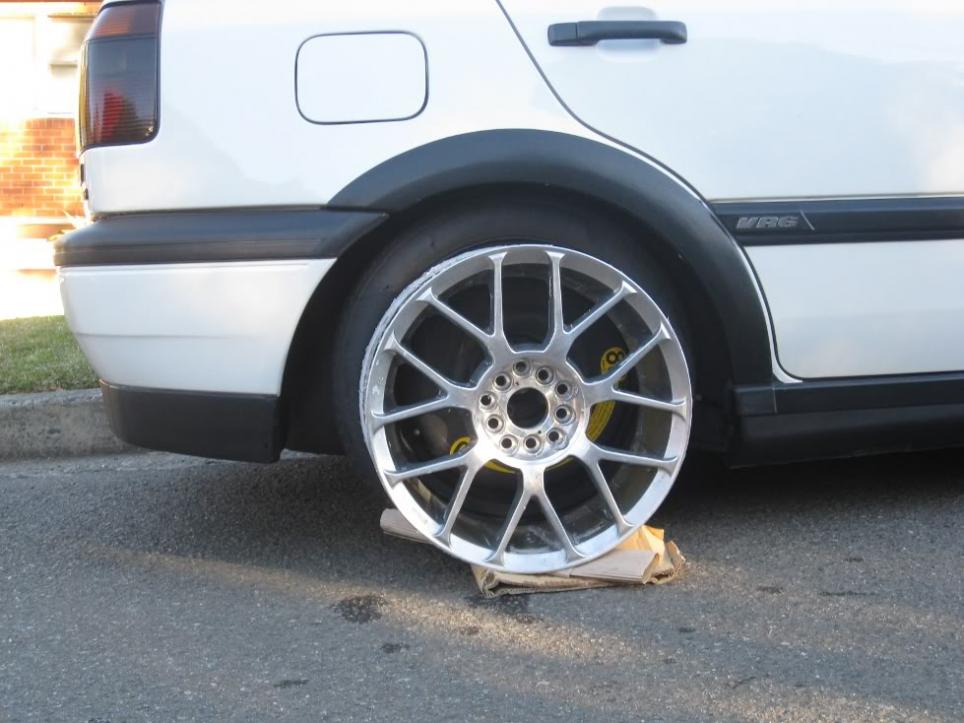
    I hated the colour of my wheels because they weren't metallic and lacked a lot of shine..so after trying to get a shadow-chrome like paint and being unsuccessful, I decided on the Audi colour ''Atlas Grey''. Bought it at VG auto's for $38:

    Mrk Detailing, premium automotive detailing. Paint correction/protection specialist. PM me

  • #2
    This is what my wheels looked like:


    Here's last night's work:
    Firstly, have the wheel mildly clean (thanks Dan ) so the paint stripper can get right to work on the surface


    Paint stripper is available at hardware stores and auto stores, usually around $40-50 per 4ltr tin. You tend to go through a fair bit (average about 600-800ml per wheel depending on design) so tell your wallet to be generous!

    Grab an old can to pour the stripper into (fruit tins ftw) and a paint brush, and apply the paint stripper VERY generously (you're not even painting it on, more patting it on so it creates a ~3mm thick coat over everything). Give the whole wheel a nice coat and make sure to get into every little nook and cranny because it only works if there's lots there. Remember all your safety stuff: crappy clothing (long sleeves/covered clothes are best, cos this stuff stings your skin), gloves, mask (definitely if you're in a poorly ventilated area)


    Do all of the wheels and let them sit for about 10 minutes or so


    After this, the paint will literally have bubbled off the alloy surface. It looks pretty gross, but pretty cool Here's what it should look like after soaking in a bit:


    The best way to clean it off is to agitate the paint with a wire brush/wool pad (remember your gloves!) and hose it off with a karcher or similar. Unfortunately it was too late to use the karcher last night so we only had normal hose pressure. They were also left a little TOO long, as the paint started to stick back onto the alloy again. Here's the result of the first strip:


    Last edited by Mrk_Mickey; 01-08-2009, 07:24 PM.
    Mrk Detailing, premium automotive detailing. Paint correction/protection specialist. PM me

    Comment


    • #3
      Continued..


      We stripped them again and got about 85-90% of it off, but that was all for last night. Tomorrow morning we're going to finish stripping the wheels, and prep them for primer. Wheels should be primed and ready for colour by tomorrow arvo
      Last edited by Mrk_Mickey; 01-08-2009, 07:26 PM.
      Mrk Detailing, premium automotive detailing. Paint correction/protection specialist. PM me

      Comment


      • #4
        looking good mate can't wait to see more pics, keep us posted
        White Scirocco R
        White MK3 Golf 2dr
        White Caddy (Work Van)

        Comment


        • #5
          Good to see you're still getting in there mickey with the hands on stuff.
          What about the paint that's still under the wheel balance weight there?
          Cheers,
          Trent
          sigpic
          2010 Renault Clio RenaultSPORT 200 Cup 20th Anniversary Edition - #19 of 30 - The French Connection...
          2004 Volkswagen Golf R32 MkIV - #044 of 200 - Gone But Not Forgotten...
          "Racing is life; Anything that happens before or after is just waiting." - Steve McQueen -=-=- "Si Vis Pacem, Para Bellum" - Unknown

          Comment


          • #6
            Stuff the paint. Polish the alloy and clear coat.

            As much as I would like to see them go black, the colour you've got, it's gunna look ACE!
            1995GolfGlRocketShip!

            Comment


            • #7
              Great idea and good job so far mate!

              Those wheels look great on your car BTW, I can tell they will look even better once you've completed this project.

              What gear are you using to actually paint the wheels?

              Just remember to take your time and spend plenty of time taking care of the details (like Trent pointed out with the wheel weight), the end result will largely be determined by the steps you are performing now (preparation).

              Looking forward to the rest of the thread, this is the kind of stuff that really makes a forum valuable and interesting


              Snowy

              Comment


              • #8
                Originally posted by Treza360 View Post
                Good to see you're still getting in there mickey with the hands on stuff.
                What about the paint that's still under the wheel balance weight there?
                Cheers,
                Trent
                Cheers dude, having good fun doing this. Looks like this is just a start to lots more involved DIY in the future, too. Wheel balances were taken off today, I forgot them before haha.

                Originally posted by No457 Snowy View Post
                Great idea and good job so far mate!

                Those wheels look great on your car BTW, I can tell they will look even better once you've completed this project.

                What gear are you using to actually paint the wheels?

                Just remember to take your time and spend plenty of time taking care of the details (like Trent pointed out with the wheel weight), the end result will largely be determined by the steps you are performing now (preparation).

                Looking forward to the rest of the thread, this is the kind of stuff that really makes a forum valuable and interesting


                Snowy
                Cheers bud, appreciate your words Time is definitely the key with these wheels. They're a tough design to do without lots of time so i've bought some other wheels (pictured below...) that my tyres will fit onto so i can take all the time i need.

                The gear I'm using to paint, is basically a big 10yr old compressor from my mate's dad's old workshop (he was a panelbeater), and my mate's gravity feed spraygun. His one is worth about $400 odd so it's quite good. He knows his stuff too, because he's been buying crap vehicles (bikes, boats, cars, even a jetski!) and doing everything himself to restore them to perfect condition and sell it for a hefty profit. I helped him sand down the bottom of his newest boat today, and we finished priming it.

                Here's what I bought tonight


                More DIYing to come, in 20 minutes!
                Mrk Detailing, premium automotive detailing. Paint correction/protection specialist. PM me

                Comment


                • #9
                  So unfortunately we didn't get any primer on the wheels today. It looks like we might not for a while because the surface was worse than we expected it to be in the end, because of all the wire brushing we had to do to get this stubborn paint off!

                  All I did today was the rest of the stripping and I started cleaning two wheels. Pics:
                  This isn't me btw...I wear cooler clothes


                  It makes quite a mess so use a drain where possible!


                  Oh, and it usually helps to have a FULL set of spare wheels on your car in the meantime....this is my shameless whore pic for this thread. The car got detailed on friday so it's perfect atm
                  Last edited by Mrk_Mickey; 02-08-2009, 11:48 PM.
                  Mrk Detailing, premium automotive detailing. Paint correction/protection specialist. PM me

                  Comment


                  • #10
                    More pics:


                    Now I've reached a crossroad;
                    I don't know whether to keep going ahead with paint, or to actually polish them up over a few weeks then hit them with 2pac clear paint.. What do people think? This is what they look like polished against the car..quite nice I think:


                    If I can be bothered, I'll keep sanding the surfaces of at least one of the wheels tomorrow, so stay tuned
                    Last edited by Mrk_Mickey; 02-08-2009, 11:50 PM.
                    Mrk Detailing, premium automotive detailing. Paint correction/protection specialist. PM me

                    Comment


                    • #11
                      Geez, they are tough little buggers to clean up aren't they? Can you get hold of a Dremel and wire brush attachment? It might help you get into the nooks and crannies and getting the tough bits off, and also help with polishing up the surface with the right attachment. They are great, handy tools to have for that kind of detailed work, just make sure you wear some safety goggle if using a wire brush or the like.

                      Also I think the wheels will look great either way, polished or painted. The one you have sitting against the car looks good already.

                      I need to get myself one of those jacks, I have to drive my car up onto pieces of wood to get my jack under it.!!


                      Snowy.

                      Comment


                      • #12
                        I reckon paint them Mickey - the colour you've grabbed looks awesome, and I'm not a huge fan of "blingy" wheels. But in the end, its your decision!

                        I second Snowy's suggestion of a dremel and wire brush attachment. I have a dremel here somewhere in fact if that'd be of any use to you...
                        Nothing to see here...

                        Comment


                        • #13
                          I've gotten most of the paint off so a dremel would almost not be worth the trouble tbh..i've got stuff to pick the paint off at work so i'm gonna grab those next time i'm in.

                          I think I've decided that seeing as I have 6 of these buggers, I'm gonna polish one up real nice and if I like the look i'll do it to the rest; if not, or if i simply can't be bothered, i'll keep it as an ornament in my room and paint the others
                          Mrk Detailing, premium automotive detailing. Paint correction/protection specialist. PM me

                          Comment


                          • #14
                            Originally posted by No457 Snowy View Post
                            I need to get myself one of those jacks, I have to drive my car up onto pieces of wood to get my jack under it.!!
                            Oh yeah man, I hear you...I was doing that but after a while I just couldn't stand it! I picked this up from supercheap on the weekend for half price, because they can't sell it at full price with the outdated aus standards number on it

                            They're worth getting, let me tell you. even though this isn't the lowest of jacks, it does *JUST* fit under my sideskirt so it makes lifting a breeze. I was going to spend 400 odd on one of these.
                            Mrk Detailing, premium automotive detailing. Paint correction/protection specialist. PM me

                            Comment


                            • #15
                              Great thread....congratulations (so far )

                              I'm subscribing to this, as our son purchased some 'cheap as' mags for his Lancer yesterday (needed bigger wheels due to his caliper upgrade etc etc) but couldn't afford the bling bling off the shelf 17" he wants. SO.....these 2nd hand wheels will (16") will have to do while his bank account takes a recovery.

                              Keep the updates coming.
                              MY16 Touareg 4.2Lt V8 TDI/Pure White LED lightbox/REDARC Brake Controller/ Racechip/iDrive Throttle controller
                              2008 GOLF .:R32/5DR DBPE DSG/SUNROOF/RNS510/PRIVACY TINT/CONTI SC3s/MILLTEK CATBACK NON-RES/9W2 BT/"MYR-032"

                              Comment

                              Working...
                              X