 Tweet
Tweet
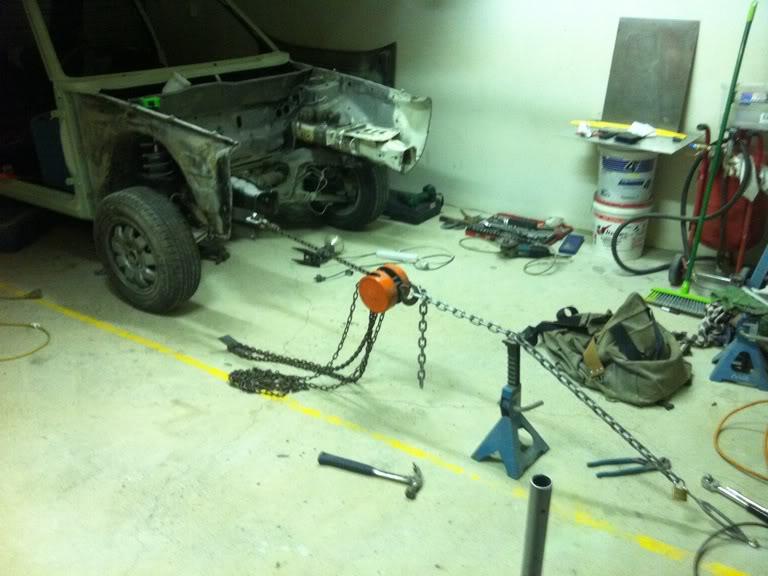
THis is a mk1 GTI i picked up in TAS of the venerable Edd 
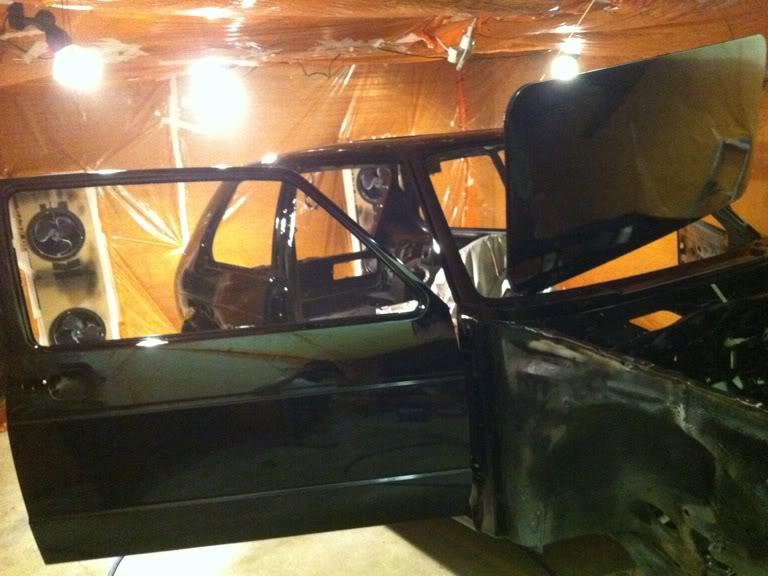
Its a 1983 1.8L Shwartz Black L041
SO if any of you have been wondering why i havent done much on the caddy lately...this is why
Overall it was in great condition, seeing it their in Edds garage 3 years ago got the juices flowing. I had seen it at Edds for quite a few years before that whilst i was still living in Tas, It was last year plucked up the courage to see if he would let me take it on!
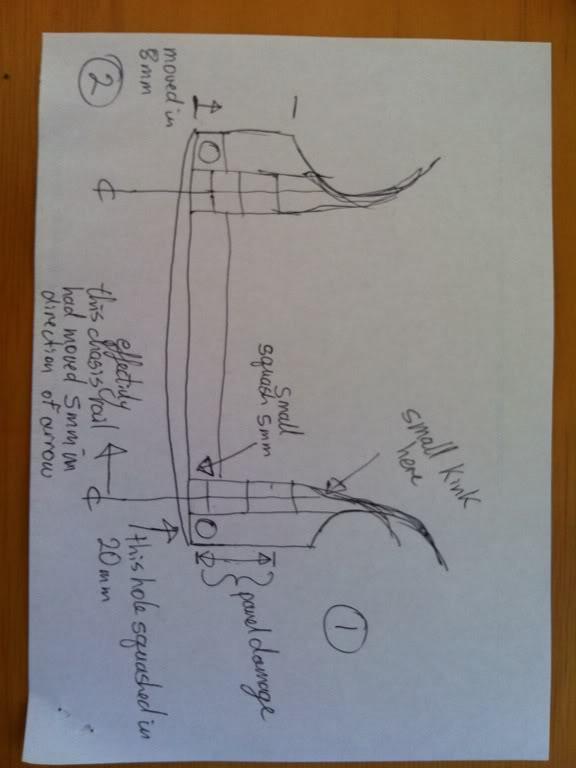
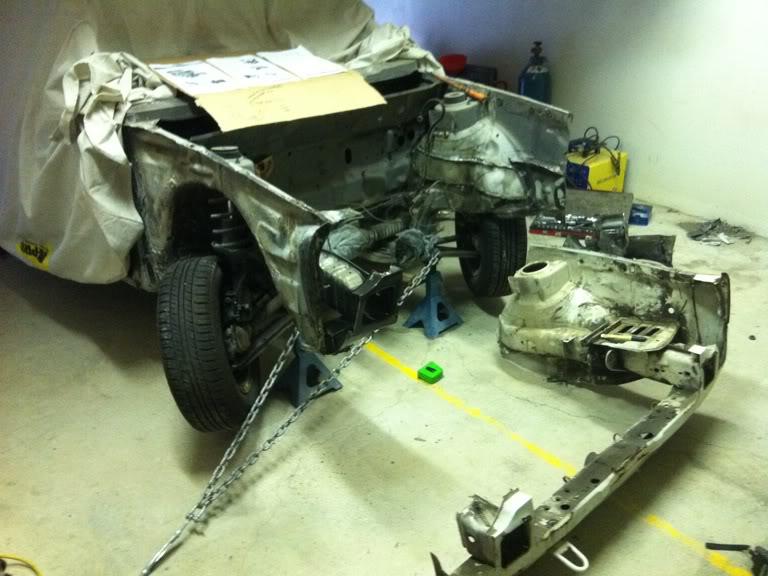
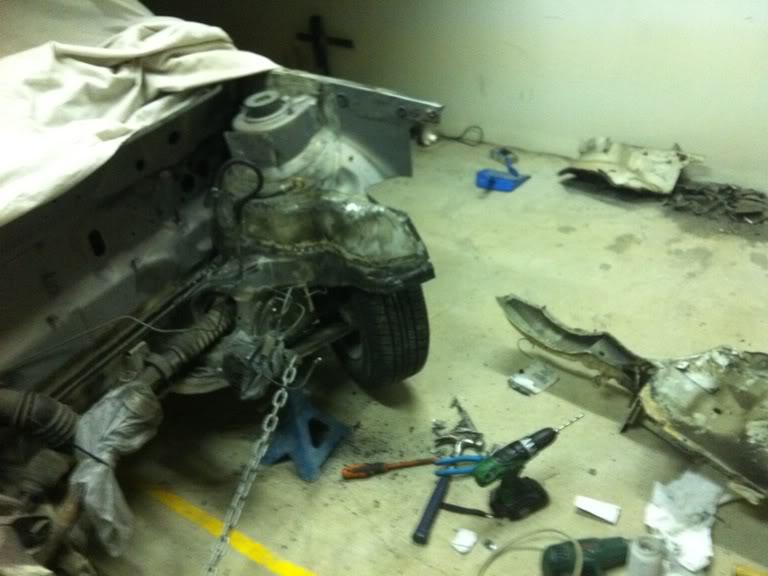
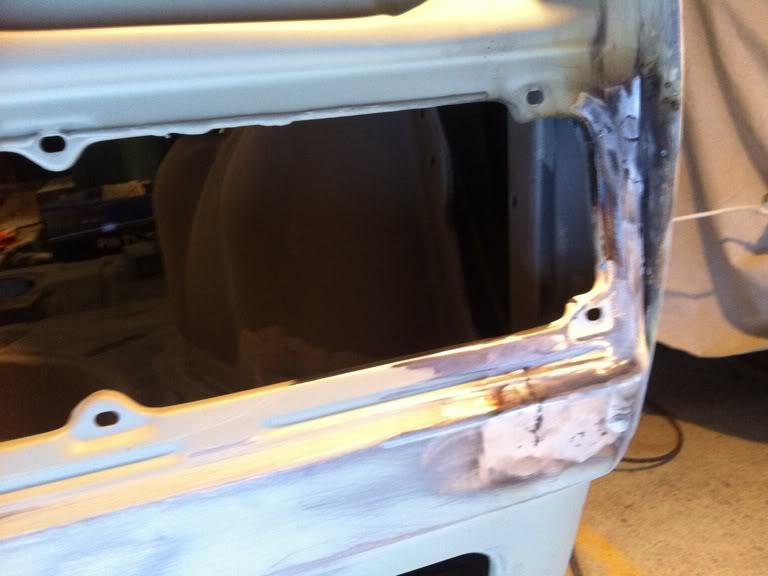
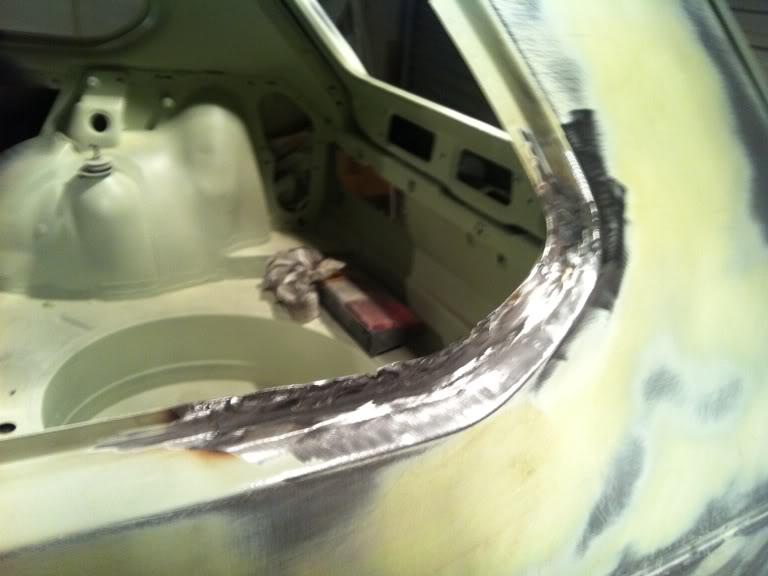
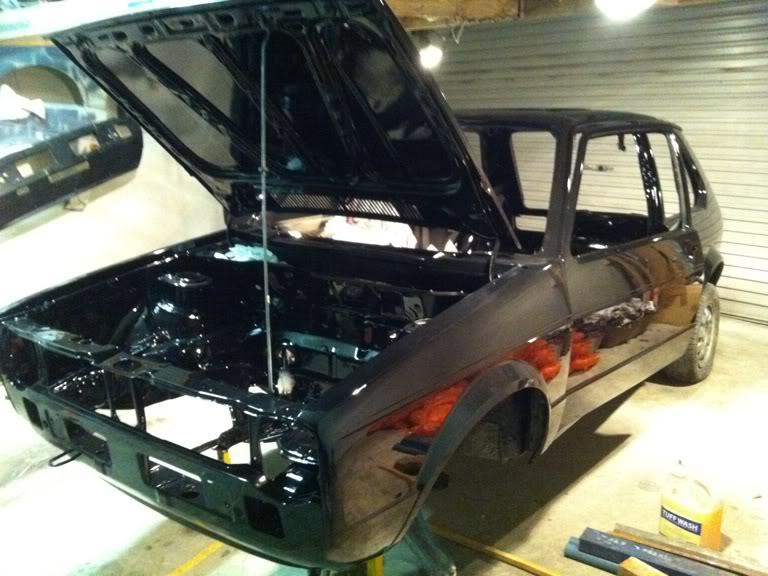
It was looking great for a restoration, except for a few knocks on the front nose at some stage and a light tap to the rear quarter but, being a GTI whos comlaining?!!
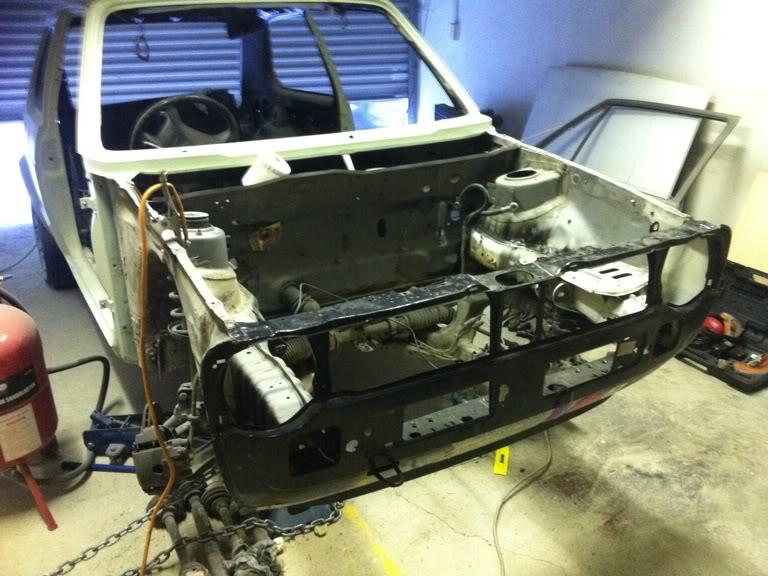
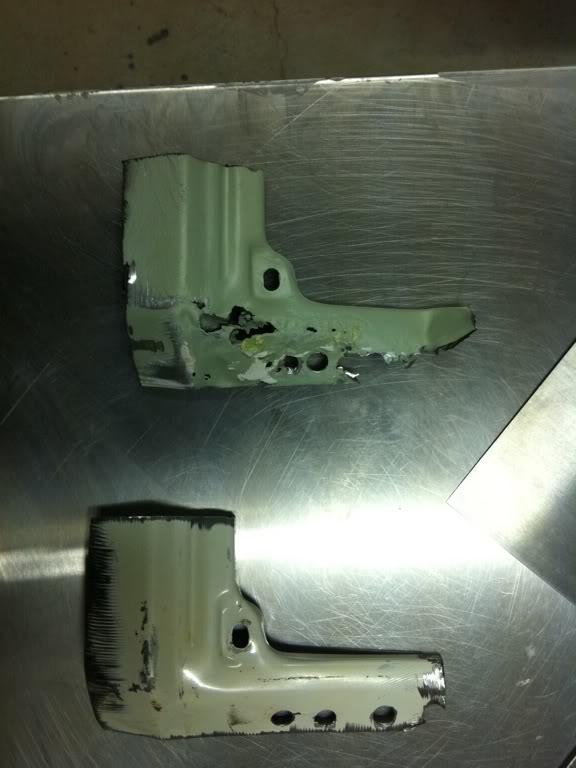
It did have a bit more damage to the nose than i expected to have to deal with. This was realy a pain in the bum in as it takes time do do things properly and i wasnt in the mood for comprimising, not that im ever in that mood unless im dehydrated and i should be drinking water but instead i reach for a stubbie
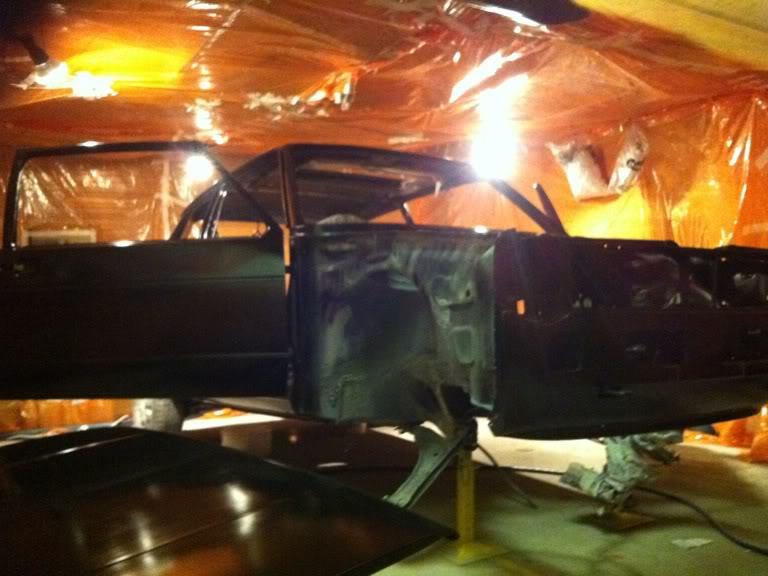
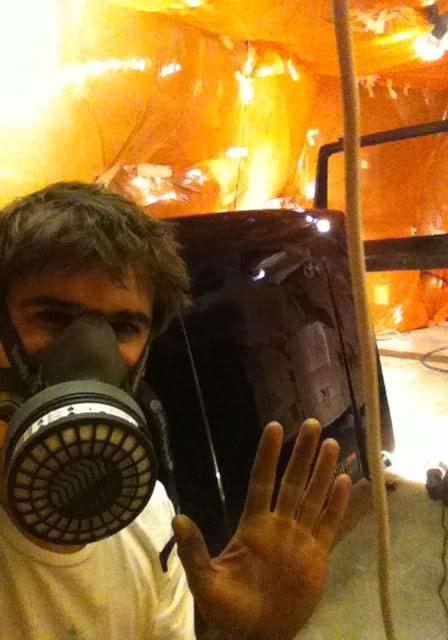
Anyway no Stubbies were drank whilst working on this GTI, i just ate alot of pizza whilst in the garage and i think i did drink a stubbie inbetween sandblasting, but judge for yourself i was drinking when i did the paint job.
Enjoy
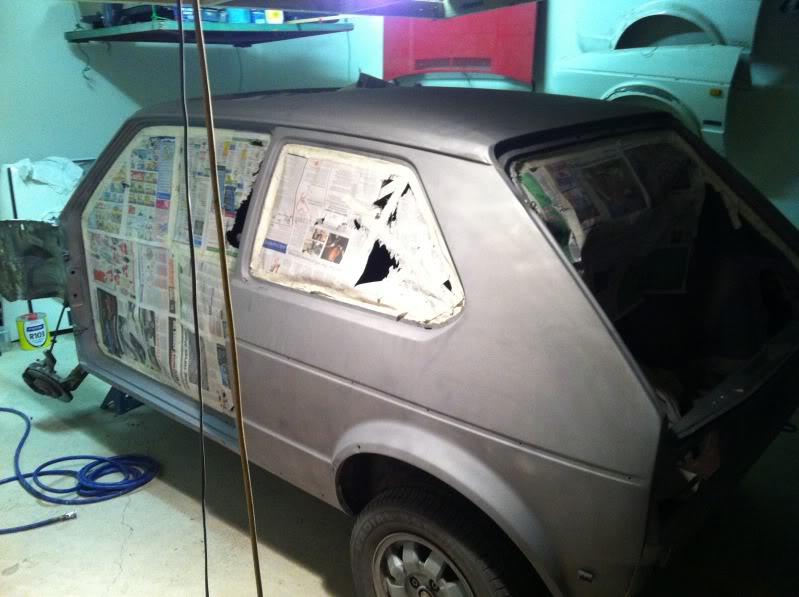
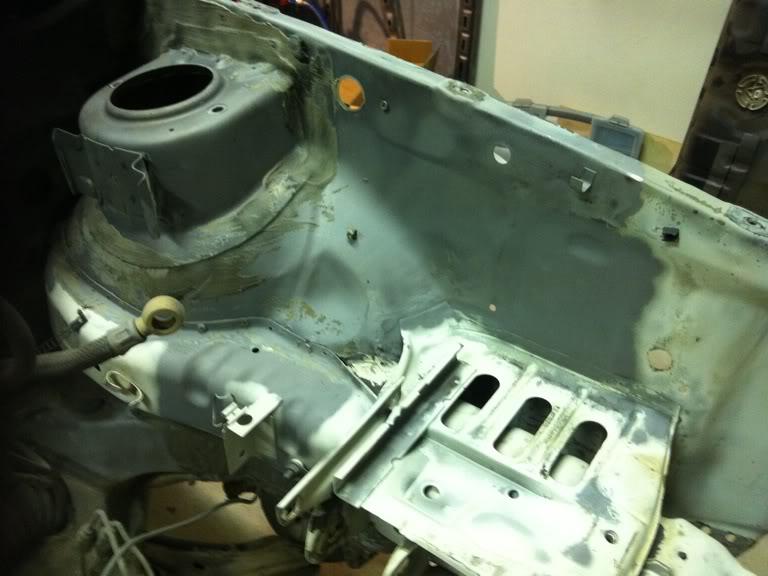
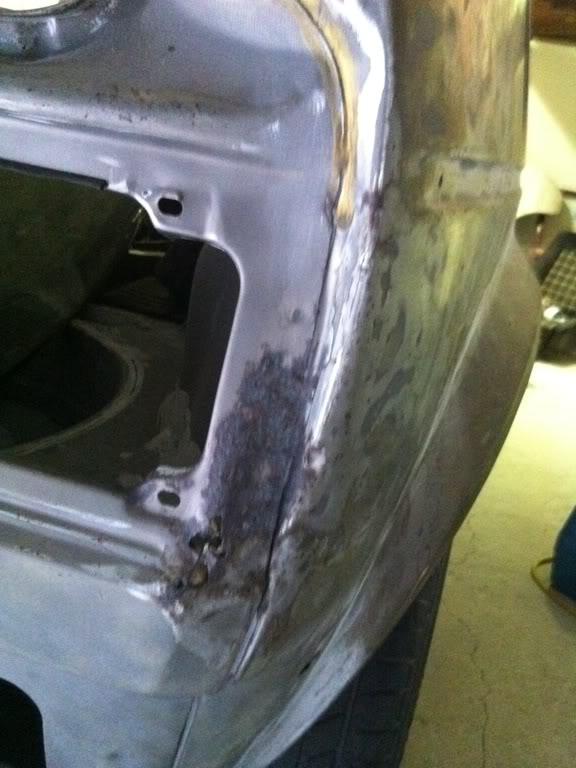
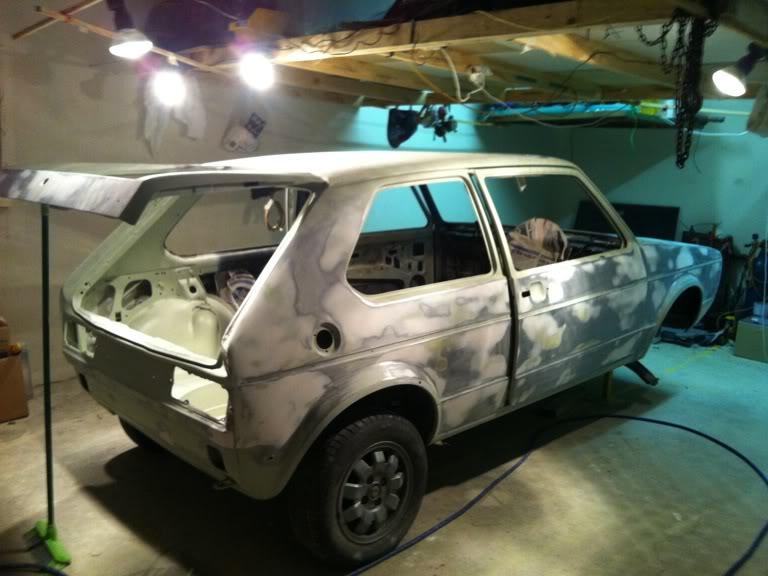
I had this car soda blasted originaly $1500 at the start of this year, after 4 months of waiting for my painter to sort his S*%# out i realized nothing was going to happen. As it seems Spraypainter workshops are a bit of a minefield. So who can i trust to take this GTI seriously but not force me to sell bodyparts to pay for it???!!.. I KNow...ME! haha After 5 months of sitting under a cloth she developed a bit of slight ever so slight surface rust hear and their. THis was because previously many years before me it had been rubbed back to bare metal on a few panels before so the gal wasnt their anymore, actualy even some parts where the gal coating was signs of surface rust was showing. So lets get this straight its not the kind of rust that leaves dimples or needs cutting out its the kind a light sand with 400 grit can get of. Even Still,
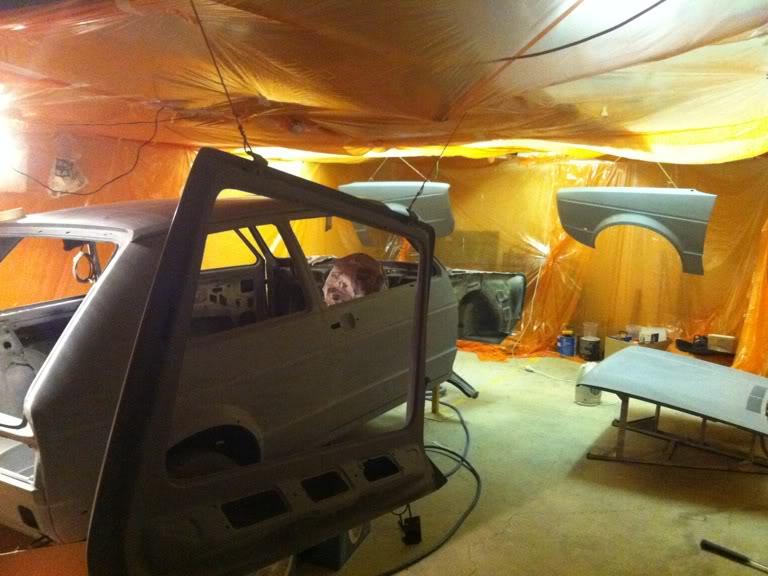
I decided the best surface that i can have for painting and restoration needs to be Consistent and uniform over the whole car so...
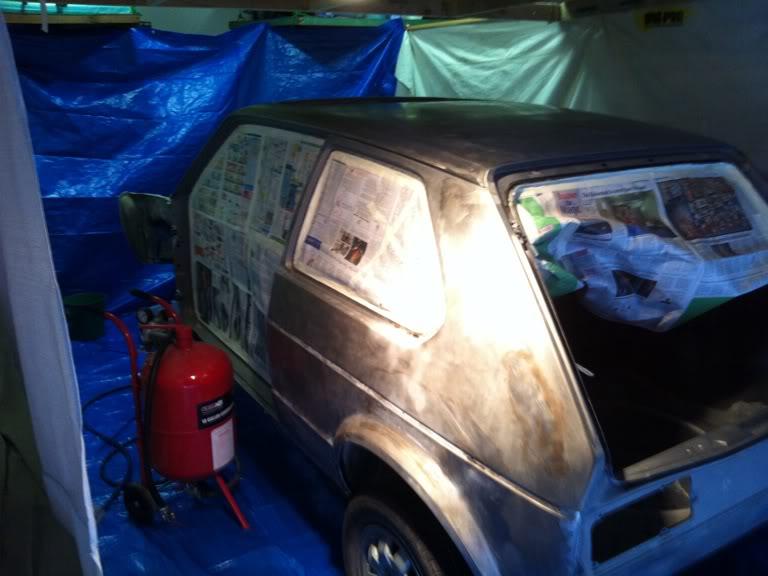
After a thorough dissmantling (Jan), Soda Blasting (JAN) Waiting (FEB) Waiting some( MARCH APRIL) more, i set up for sand blasting, I started out with a normal compressor you might find on a building site.
After the first 5 min of blasting i realized i was going to get nowhere... Aghh!
I stoped.
The next sat i hired a ute with a towbar and went to Coates Hire to pick a NIIIIICE ATLAS COPCO Compressor 130cfm
it let me put out a nice 60 psi non stop for the whole day!! I got realy excited when i found out i was getting an Atlas Copco ive installed these on industrial sites before and they are a nice bit of kit made me feel like i was doing a special job with the right gear.
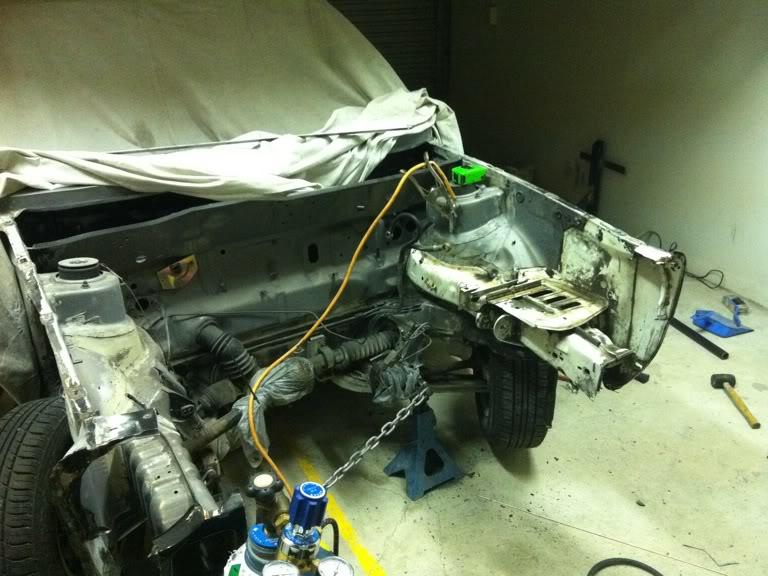
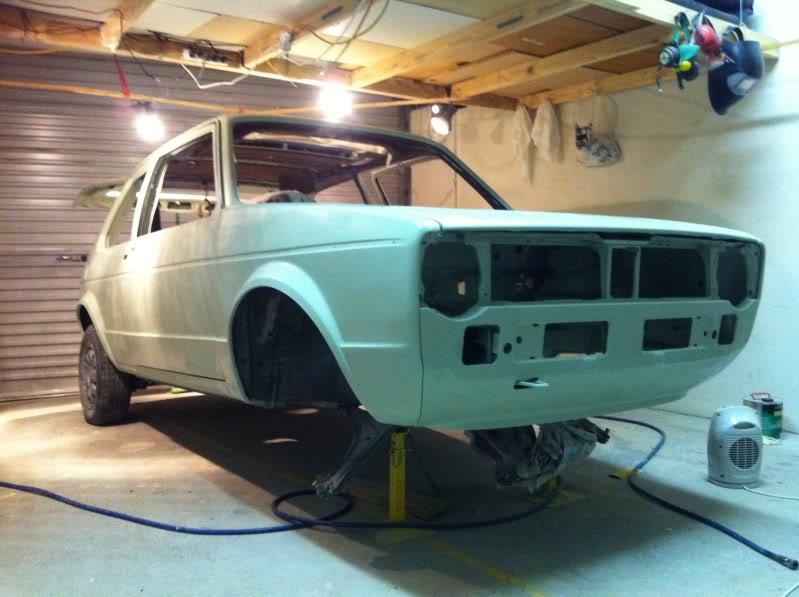
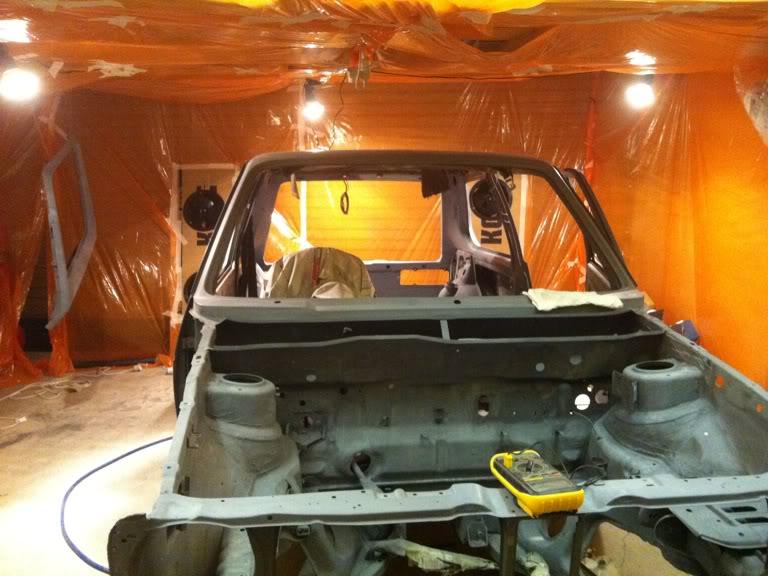
After Soda Blasting and Before Sandblasting
Pic of the Vin Plate
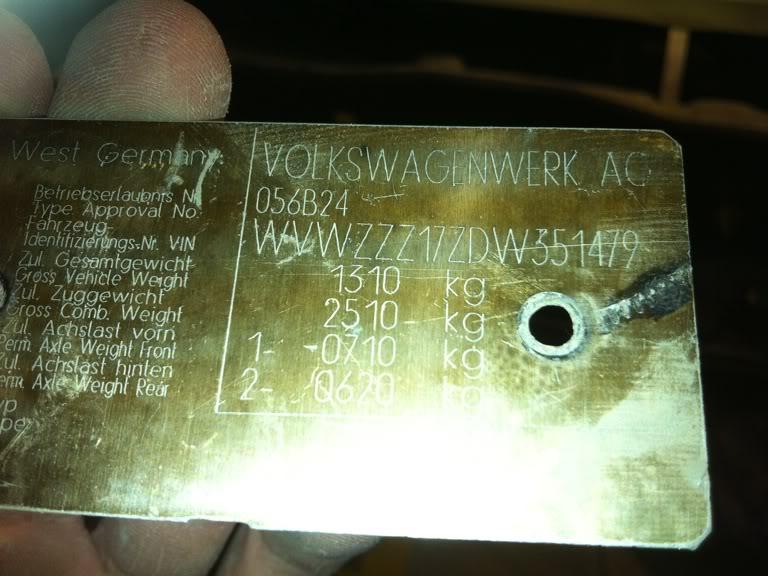
Its a 1983 1.8L Shwartz Black L041
SO if any of you have been wondering why i havent done much on the caddy lately...this is why
Overall it was in great condition, seeing it their in Edds garage 3 years ago got the juices flowing. I had seen it at Edds for quite a few years before that whilst i was still living in Tas, It was last year plucked up the courage to see if he would let me take it on!
It was looking great for a restoration, except for a few knocks on the front nose at some stage and a light tap to the rear quarter but, being a GTI whos comlaining?!!
It did have a bit more damage to the nose than i expected to have to deal with. This was realy a pain in the bum in as it takes time do do things properly and i wasnt in the mood for comprimising, not that im ever in that mood unless im dehydrated and i should be drinking water but instead i reach for a stubbie
Anyway no Stubbies were drank whilst working on this GTI, i just ate alot of pizza whilst in the garage and i think i did drink a stubbie inbetween sandblasting, but judge for yourself i was drinking when i did the paint job.
Enjoy
I had this car soda blasted originaly $1500 at the start of this year, after 4 months of waiting for my painter to sort his S*%# out i realized nothing was going to happen. As it seems Spraypainter workshops are a bit of a minefield. So who can i trust to take this GTI seriously but not force me to sell bodyparts to pay for it???!!.. I KNow...ME! haha After 5 months of sitting under a cloth she developed a bit of slight ever so slight surface rust hear and their. THis was because previously many years before me it had been rubbed back to bare metal on a few panels before so the gal wasnt their anymore, actualy even some parts where the gal coating was signs of surface rust was showing. So lets get this straight its not the kind of rust that leaves dimples or needs cutting out its the kind a light sand with 400 grit can get of. Even Still,
I decided the best surface that i can have for painting and restoration needs to be Consistent and uniform over the whole car so...
After a thorough dissmantling (Jan), Soda Blasting (JAN) Waiting (FEB) Waiting some( MARCH APRIL) more, i set up for sand blasting, I started out with a normal compressor you might find on a building site.
After the first 5 min of blasting i realized i was going to get nowhere... Aghh!
I stoped.
The next sat i hired a ute with a towbar and went to Coates Hire to pick a NIIIIICE ATLAS COPCO Compressor 130cfm
it let me put out a nice 60 psi non stop for the whole day!! I got realy excited when i found out i was getting an Atlas Copco ive installed these on industrial sites before and they are a nice bit of kit
After Soda Blasting and Before Sandblasting
Pic of the Vin Plate
Comment