If this is your first visit, be sure to
check out the FAQ by clicking the
link above. You may have to register
before you can post: click the register link above to proceed, registering will remove the in post advertisements. To start viewing messages,
select the forum that you want to visit from the selection below.
This means you should apply for your renewal now to avoid any disruptions to your membership whilst the renewal process is taking place! NOTE: If you have an auto renewing subscription this will happen automatically.
My roof trimming is falling off, opened up the foam/spongy stuff juz couldn't stick back on, has anyone got experience of fixing that? if i go for a trimmer what they will do n are they expensive?
If its knackered, you can buy fabric from a trimmers and do it yourself. If you take the headboard out and peel the old stuff of. You just need spray on contact glue and new headlining. Looks like new and you can change the colour!
sigpic Camden GTI Performance. VW / AUDI Specialists
All Mechanical Work, Log book Servicing, New and used Parts and Imports
19-20/6 Badgally Road, Campbelltown, 2560 02 4627 3072 or 0423 051737www.camdengti.com
in my experience fabric glue won't solvve the prob - only temporary - will start falling again. especially if there are remnants of the lining glue there. plus it tends to soak right thru the material
had to get a car rertrimmed not b4 trying it though (not my golf though)
It's cheap and only about 2 or 3 hours work to get done by a trimmer.
It's not just the glue that failed, but the foam backing. I think it cost me less than $200 for my '86 (with sunroof) including material.
there is a guy in Springwood, Brisbane that does headinlings for $80 I think, I was gonna get mine redone in black(it's grey at the moment). Not really worth the effort do do it yourself at that cost. Mine is covered in stains from the previous owner.
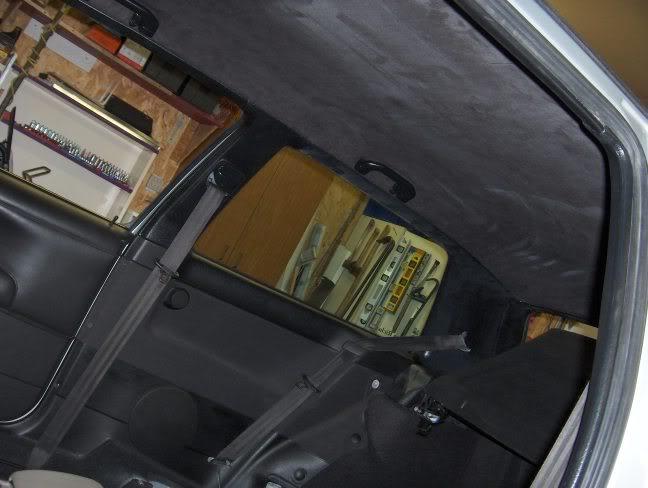
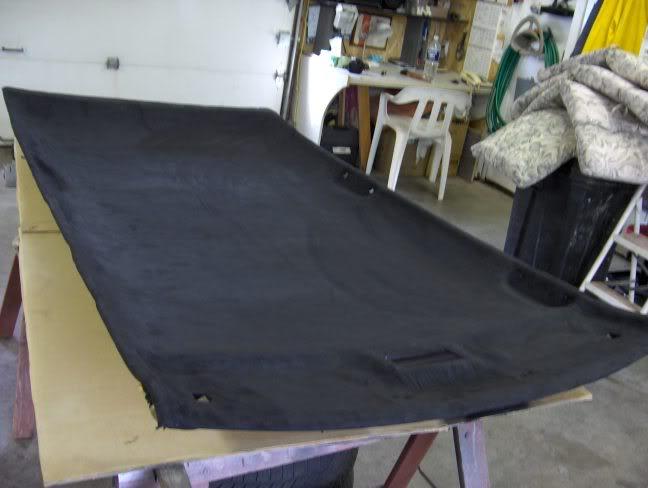
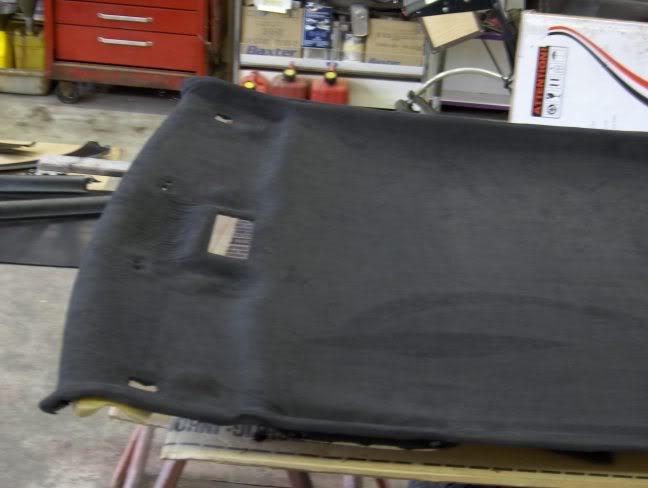
Note that the MK2 Headlinner has a ''fiberglass shell'' but the MK3 does NOT. It is constructed in a manner of layers: Fabric, foam, construction paper, more foam, last sheet of construction paper.
When I did mine, I did not do what the MK2 fellows do, such as tear off old fabric and scrub off foam residue to leave but the shell.
I was kind of worried that if I tried to take off the old fabric, it would pull some foam off as well and end up tearing out spots of the construction paper. That would have turned out a disaster...beeing that there is no shell. I would have ended up with holes in the headlinner.
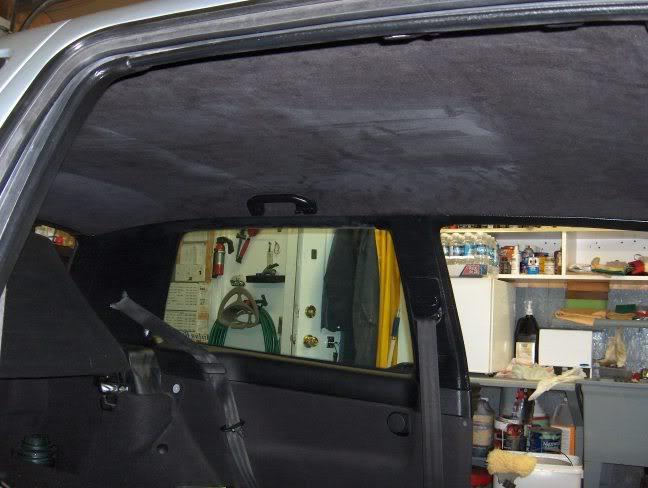
Therefor, I stuck my fabric right over the original one, since it was freshly vaccumed, and had no saggin spots.
It is a good idea to have an other set of helping hands! It took me 3 hours to do a great job.
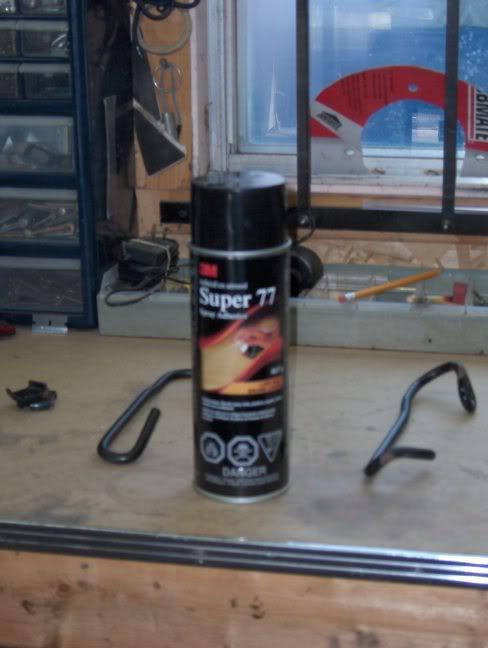
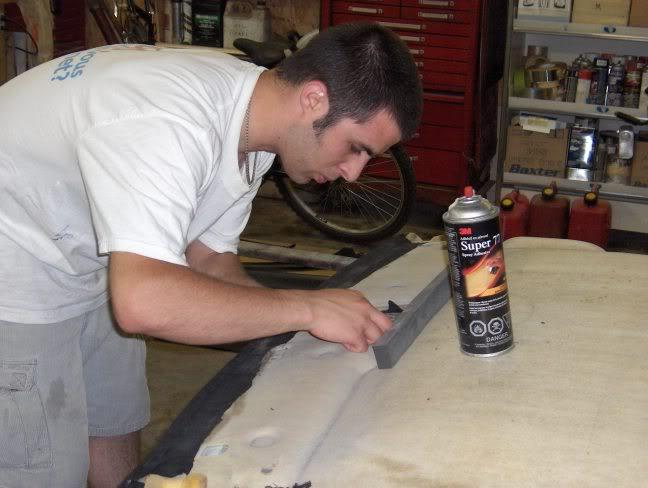
1- What I did is that I got 2 BIG cans of 3M Super 77 spray adhesive:
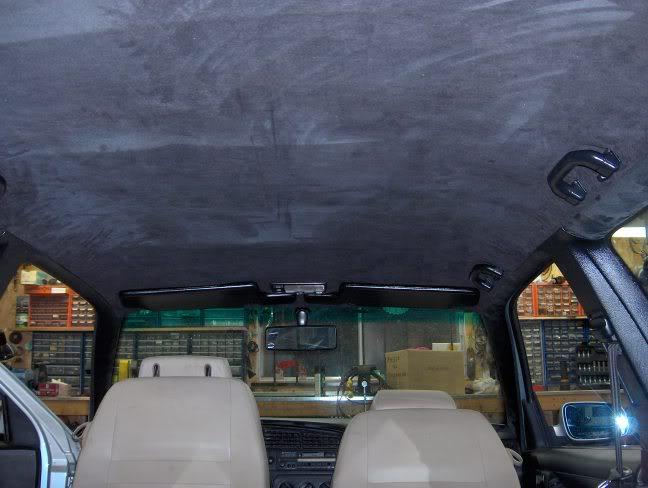
2- Then I took my fabric of choice, in my case black Suede.
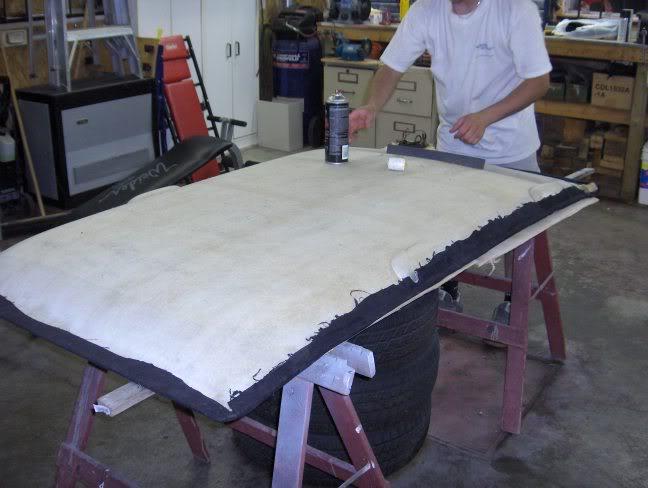
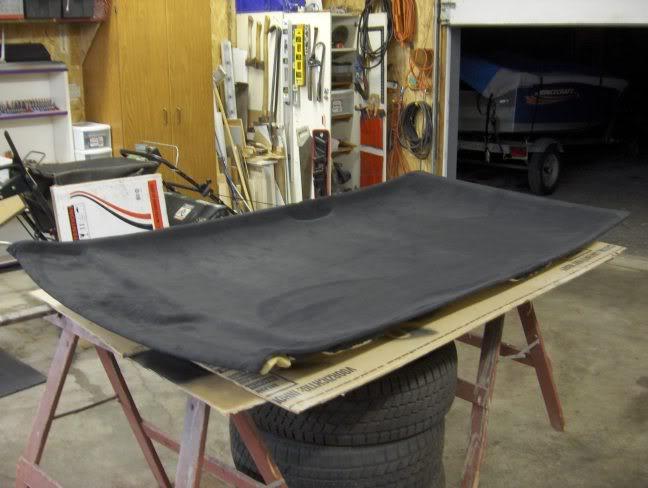
3- I started by laying-out the fabric on the headlinner and cut off excess. Made sure I was setting the head linner on a solid surface.
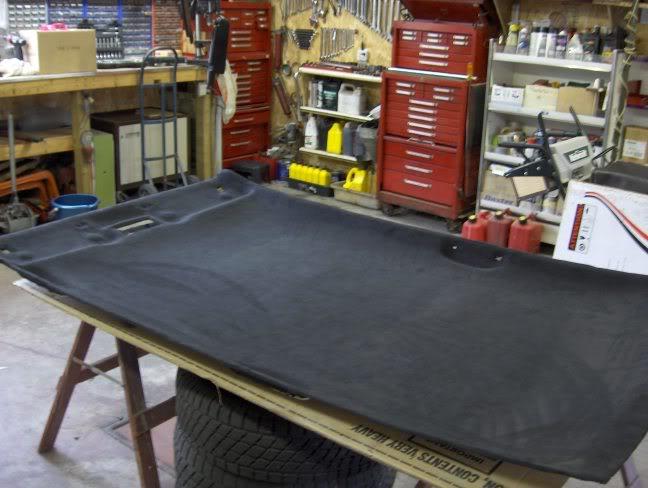
4- I left about 6 inches all around to make the final edges and give slack for all the recesses to get filled. Note that the picture was taken after everything was stuck on. The 6 inches I left turned out to give me enough to do the edges.
5- Once layed out flat and trimmed, I over lapped the fabric on it self, using the rear handle recesses as an imaginary guide line. There fore, I had both suede sides facing each other, folded one on each other, revealling the rear of the head liner from the handles to the back.
6- I applied some of the spray adhesive, going from the left of the head linner to the right, moving towards the back only about 15-18 inches. I then added a coat on the back side of the suede in the same motion. While doing this, it allowed the coat on the head linner to cure a little. I then added a second coat going from back to front ( opposite direction ) and did the same on the fabric.
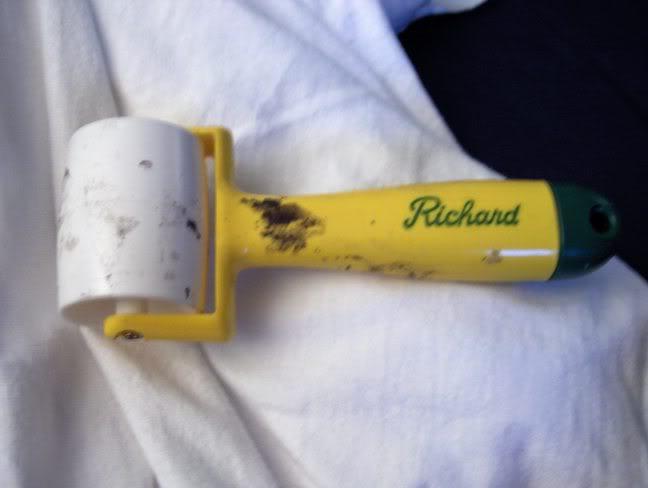
7- I used a Richard's yellow handle fabric roller (seen in this pic...) to roll the freshly glued fabric in all the corners.
8- Once the fabric rolled in, I proceded to move towards the back an other 1 ft or so repeating steps 6 and 7.
9- Once the back half was done to satisfaction, I flipped the other half of the non glued fabric over the newly finished glued back half.
10- Repeated steps 6 and 7 for everything done towards the front.
11- I started doing the edges and folding them back. By now you should be runnig low on glue. It is important to apply lots of it and wait between coats for it to cure to have optimal results, as I have seen some that have been cheap on it and their ''new'' head linner is already sagging!
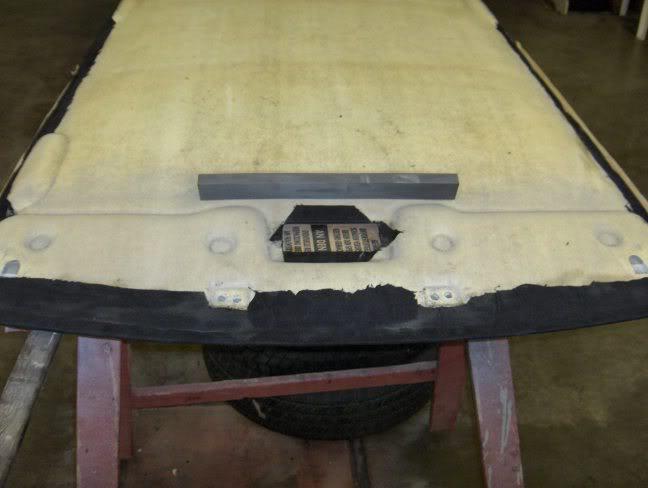
If I can give a hint, it would be wise to cut an X ( corner to corner ) where the Dome Light Switch goes prior to rolling it once glued. It will allow you to roll the fabric correctly into that curb ( right where the miror is, between the switch and windshield ) and reduce the chance of having creasses.
Make it a bit smaller that the actual cut-out, cause you will want to make a nice border after. Besides, you don't know exactly how the fabric stretches and you could end-up having a cut in the fabric where you don't want to.
Thanks Sean, yep... and I did try to pull the rest off, so there are wholes on the foam. However, mine only appeared to have a layer of fabric and then the foam?! and now it looks crap, I reckon I better leave it for the pro's to do then. If I need the foam to be redo, will it cost more?
Is your car a 2 door? Sweet. And now a 16v GTI Mk3
sigpic Camden GTI Performance. VW / AUDI Specialists
All Mechanical Work, Log book Servicing, New and used Parts and Imports
19-20/6 Badgally Road, Campbelltown, 2560 02 4627 3072 or 0423 051737www.camdengti.com
 Tweet
Tweet
Comment