G-8VXWWTRHPN S3 DIY paint and panel - VWWatercooled Australia

Announcement

Collapse
1 of 2 < >

Email Notifications Failing (mostly Telstra)

Hello everyone. Seems there is an issue with Telstra (possible others) blocking email from our server. If you are trying to sign up I would suggest a different email if possible. If you're trying to reset your password and it fails please use the Contact Us page:
2 of 2 < >

Welcome to the new look VWWatercooled

After much work and little sleep there is a new version of the forums running on more powerful and recent hardware as well as an upgraded software platform.

Things are mostly the same, but some things are a little different. We will be learning together, so please post questions (and answers if you've worked things out) in the help thread.

The new forum software is an upgraded version of what came before, it's mostly the same but also a little different. Hopefully easier to use and more stable than before. We are learning together here, so please be patient. If you have questions, please post them here. If you have worked something out and can provide an answer,
See more
See less

S3 DIY paint and panel

Collapse
X
 
  • Filter
  • Time
  • Show
Clear All
new posts

  • S3 DIY paint and panel

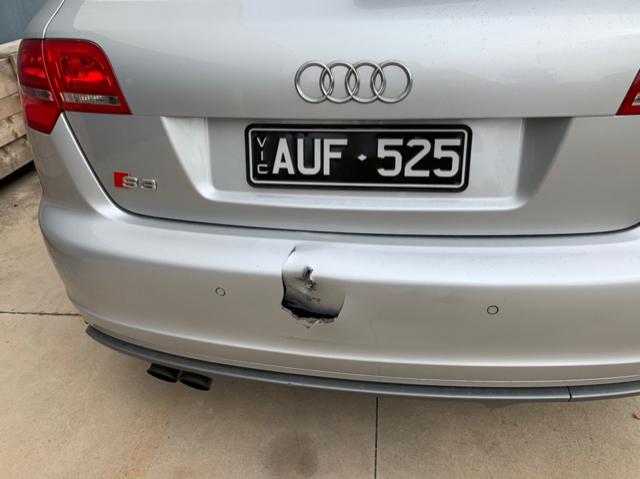
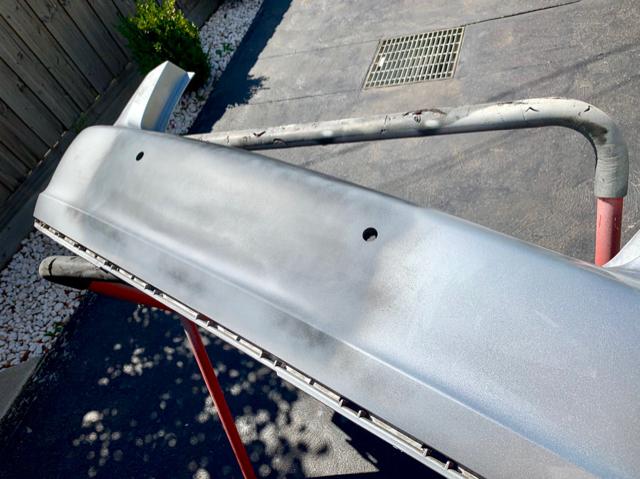
    Hey, I know a lot of people are good on the tools but never venture into pain and panel, well that has been my story for a long time. Anyway, I managed to reverse my S3 into my gate punching a 5cm hole in the rear bumper. I thought about taking it to the shop but decided to invest that money is the various bits required to do it myself. I got a lot of gear from Autowest paint in Brisbane, they were really helpful.

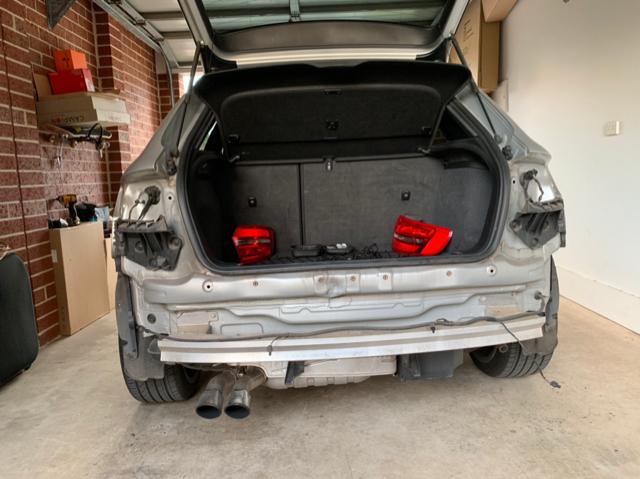
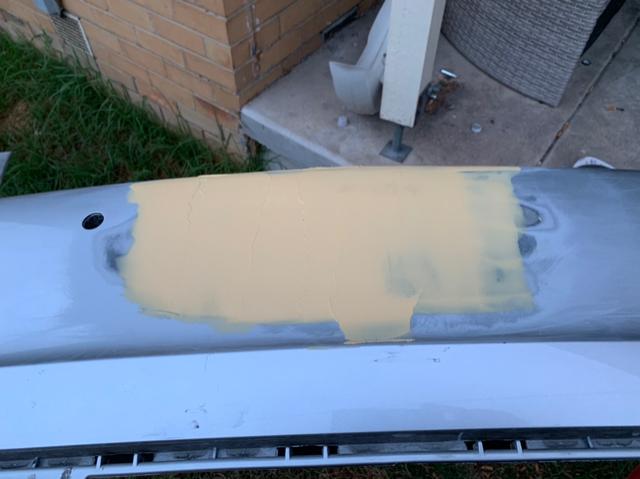
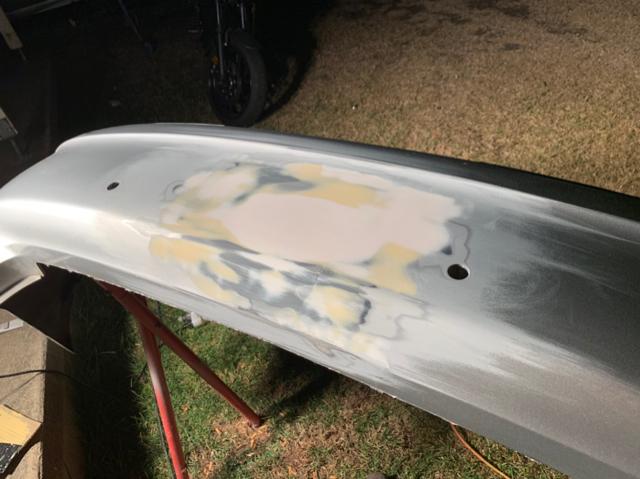
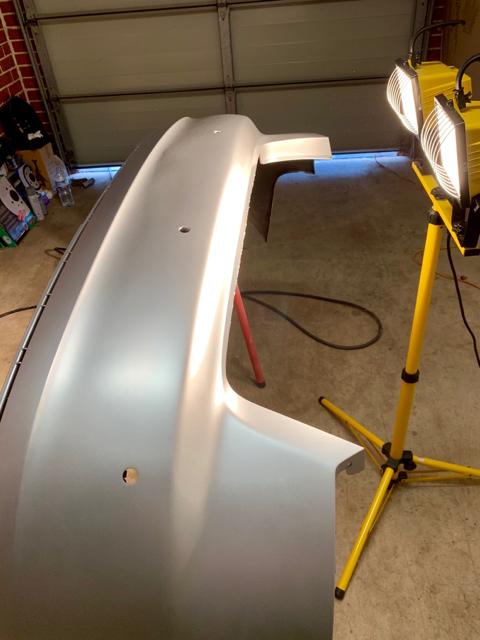
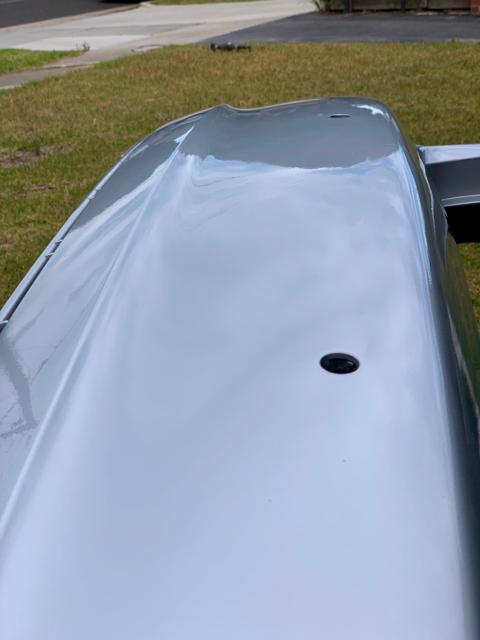
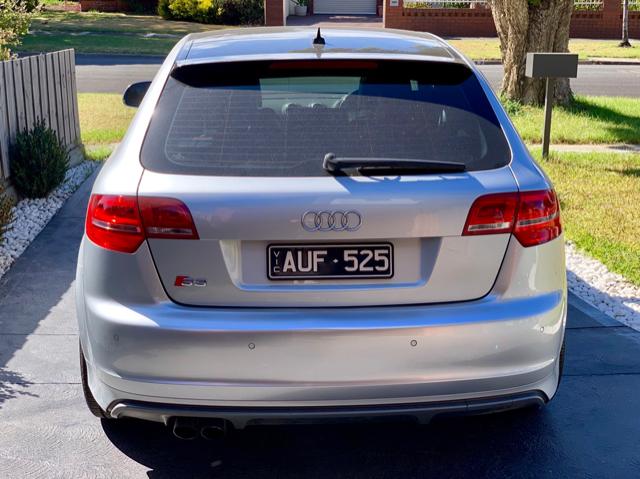
    Anyway a couple of pictures on my attempt.
    Click image for larger version

Name:	20190602_162107.jpg
Views:	1
Size:	127.4 KB
ID:	1868469Click image for larger version

Name:	20190602_162229(0).jpg
Views:	1
Size:	114.7 KB
ID:	1868470Click image for larger version

Name:	20190602_162229(0).jpg
Views:	1
Size:	114.7 KB
ID:	1868470Click image for larger version

Name:	20190602_162229(0).jpg
Views:	1
Size:	114.7 KB
ID:	1868470Click image for larger version

Name:	20190602_162229.jpg
Views:	1
Size:	120.9 KB
ID:	1868471Click image for larger version

Name:	20190603_181309.jpg
Views:	1
Size:	78.3 KB
ID:	1868472Click image for larger version

Name:	20190608_171343.jpg
Views:	1
Size:	57.6 KB
ID:	1868473Click image for larger version

Name:	20190603_133549.jpg
Views:	1
Size:	133.8 KB
ID:	1868474

  • #2
    While I was at it, I replaced the front bumper as well. Then I have my first crack a wet sanding/buffing a car. This was way more intimidating than painting
    Attached Files

    Comment


    • #3
      Looks like an excellent job 555bug!
      BMW Z4 (2019)
      Audi TT quattro (2015), s-line in Nano Grey - sold

      Comment


      • #4
        Quote

        "but never venture into pain and panel"

        Was it really that bad LOL
        2021 Kamiq LE 110 , Moon White, BV cameras F & B
        Mamba Ebike to replace Tiguan

        Comment


        • #5
          Lol, that was a freudian slip.

          Sent from my SM-G950F using Tapatalk

          Comment


          • #6
            Good on you mate - excellent result for a DIY job (excellent job full stop actually).
            2017 Ford Fiesta ST the go kart

            2015 Audi SQ5 bi-turbo V6 TDI family hauler

            Comment


            • #7
              This was me some time ago.


              Sent from my iPhone using Tapatalk

              Comment


              • #8
                Nice one

                Sent from my SM-G950F using Tapatalk

                Comment


                • #9
                  Not paint related but my next project is to de-carbon the intake. So i have made this from a sand blasting gun and a vacuum attachment. Just modifying a couple of bits and it should be good to go.

                  Sent from my SM-G950F using Tapatalk

                  Comment


                  • #10
                    Originally posted by 555bug View Post
                    Not paint related but my next project is to de-carbon the intake. So i have made this from a sand blasting gun and a vacuum attachment. Just modifying a couple of bits and it should be good to go.

                    Sent from my SM-G950F using Tapatalk
                    Btw, mine before and after the decarb [emoji15]


                    Sent from my iPhone using Tapatalk

                    Comment


                    • #11
                      This is awesome.

                      Comment


                      • #12
                        Yes well worth the effort.

                        Sent from my SM-G950F using Tapatalk

                        Comment

                        Working...
                        X