If this is your first visit, be sure to
check out the FAQ by clicking the
link above. You may have to register
before you can post: click the register link above to proceed, registering will remove the in post advertisements. To start viewing messages,
select the forum that you want to visit from the selection below.
This means you should apply for your renewal now to avoid any disruptions to your membership whilst the renewal process is taking place! NOTE: If you have an auto renewing subscription this will happen automatically.
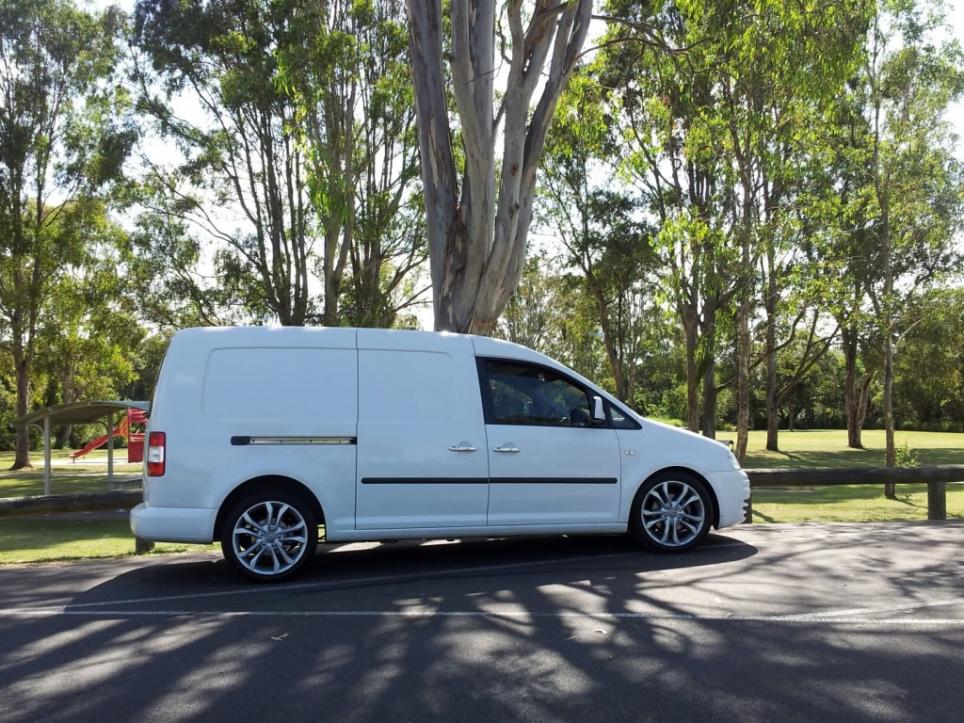
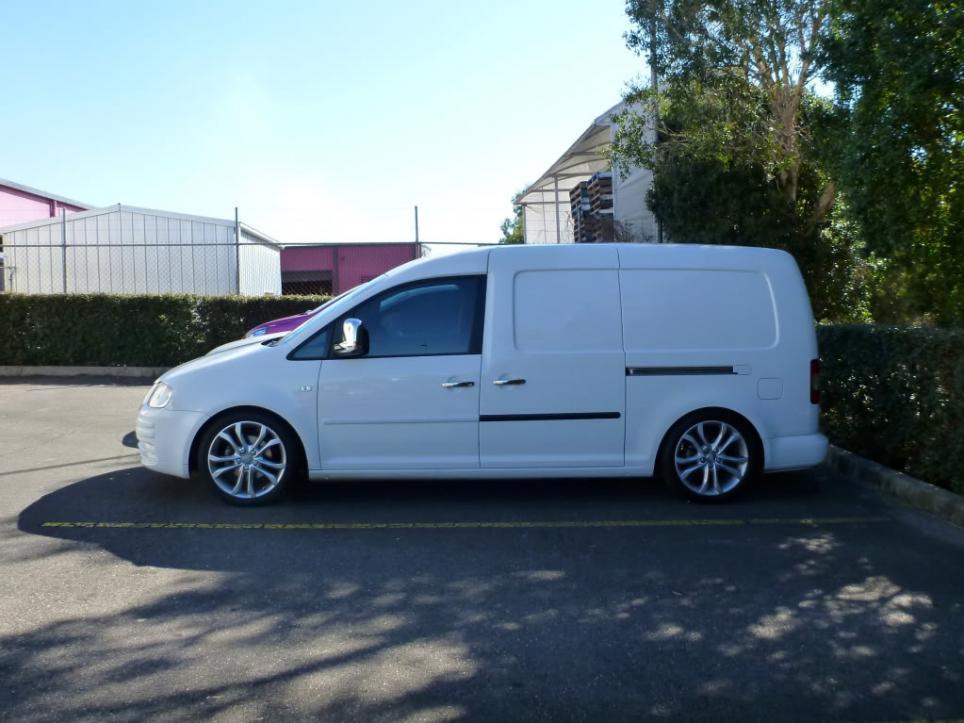
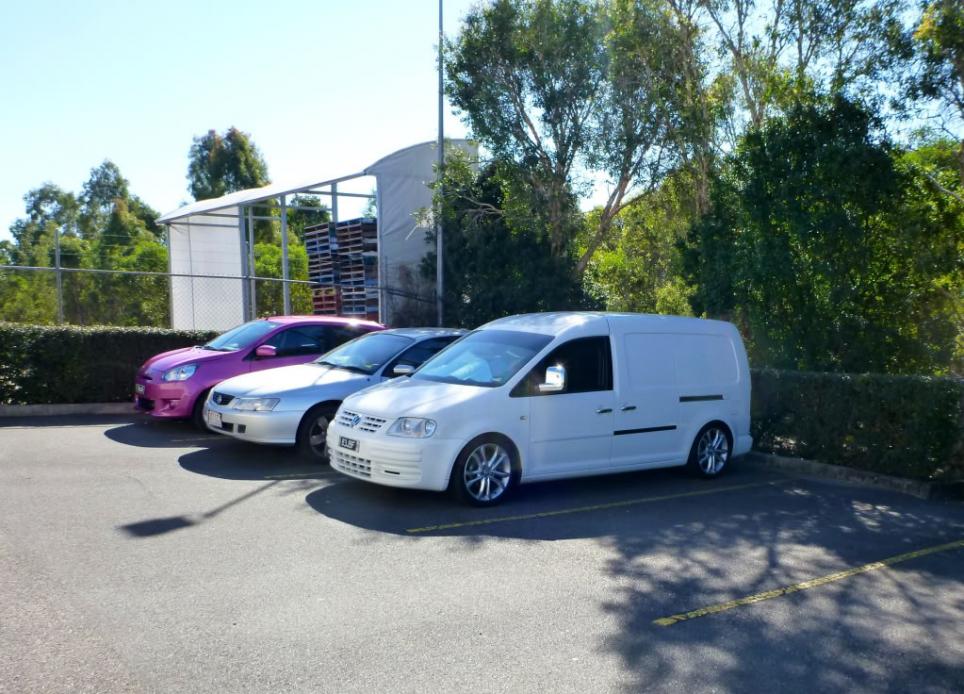
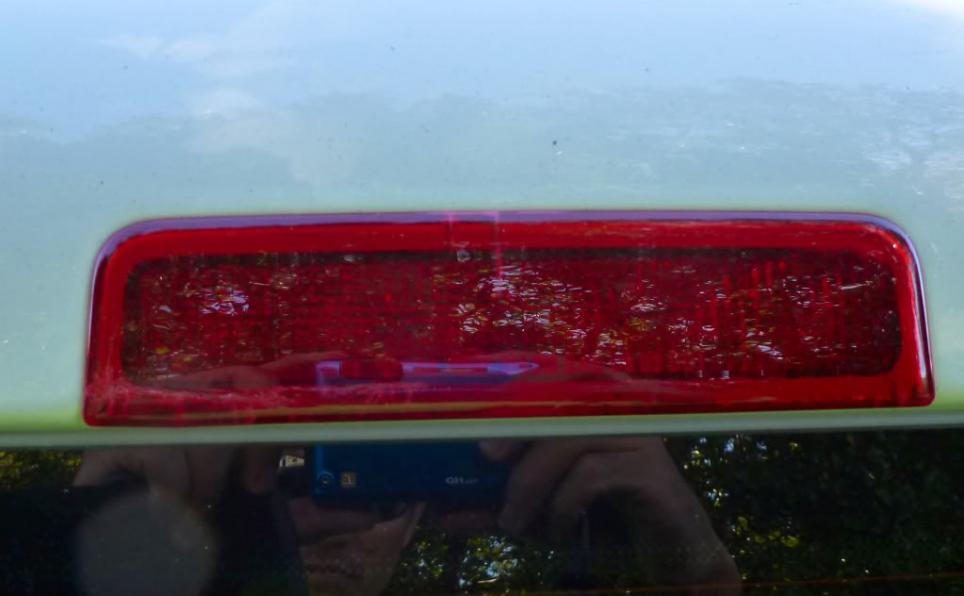
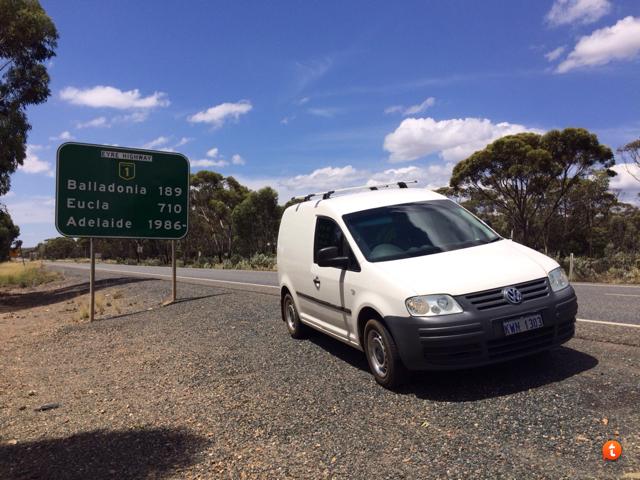
My Caddy Maxi 09 with the Audi 18inch rims, now to fix the rear centre taillight which got hit somehow by a flying stone from a truck and cracked it! Having trouble finding this part online, VW want $120 to replace it!
My Caddy Maxi 09 with the Audi 18inch rims, now to fix the rear centre taillight which got hit somehow by a flying stone from a truck and cracked it! Having trouble finding this part online, VW want $120 to replace it!
I share your pain. In my case, someone with a scaffolding plank hit the light while manoeuvring in a car park. From the look of the damage to yours, I would suggest this is what has happened.
I have ordered one from an e-bay reseller in Germany. Unfortunately he does not ship to Australia, so I had to get my cousin in the UK (where he does ship to) order it and he will then send it to me via Royal Mail parcel post. It is still cheaper to do this than what VGA want to charge for just the replacement light unit only. Fitting is extra.
If you don't have a relative or friend in the UK, you might see if a kind soul on the Caddy2k forum will help get it to you. Someone kindly offered to do this for me, but I have a cousin there as well.
One thing is getting the money over. I am fortunate where I will send him $110 via Penny Transfer (no fee), and then he will pay me the balance back into my Paypal account.
On getting the old light out, there are two screws on the inside of the door/tailgate. You do need a right angle or stubby Philips Head screw driver to undo them if you have a tailgate. No problem if you have barn doors. Once undone, you carefully ease the light unit out. You will need a flat blade screwdriver to ease the retaining clip on the plug/socket. Have some sort of loop through the wiring as it threatens to disappear back into the door/tailgate frame.
You can try and make a temporary repair by getting the broken unit out and using super glue and some silicone sealant to keep the water out.
When you do get a replacement unit, don't throw this one away as the LED board is still OK and you have a spare.
Thanks mate I will do as you advise and make a temp repair over the weekend, I don't understand why they can't make the light fit inside of the glass instead of on the outside it would look a lot cleaner, maybe I might try filling the hole and fitting an led strip inside the glass. I wonder if anyone else has tried this?
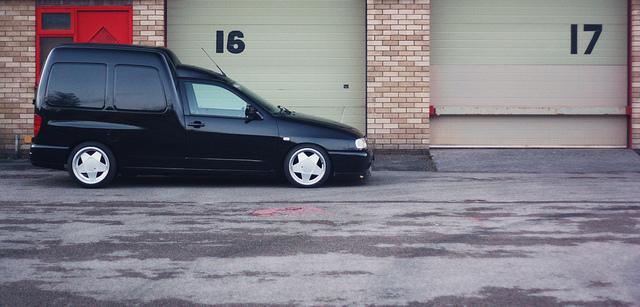
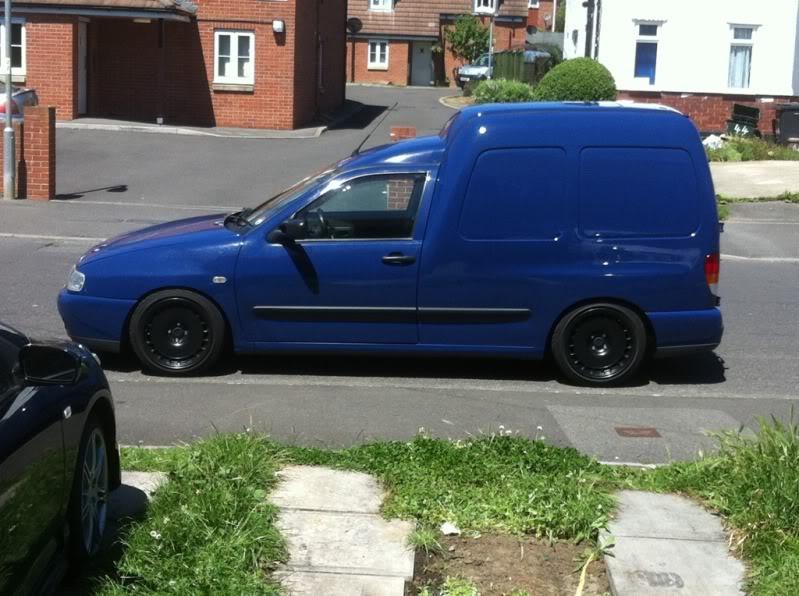
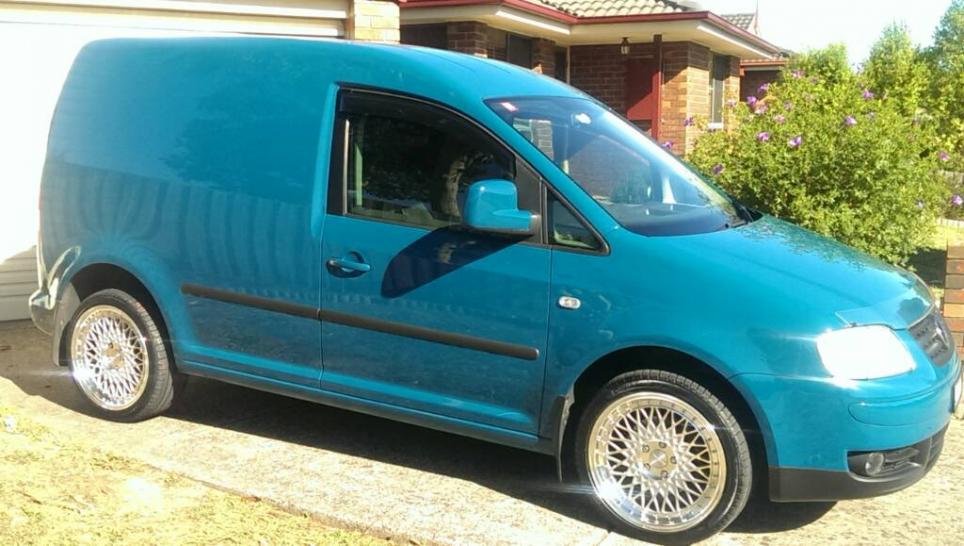
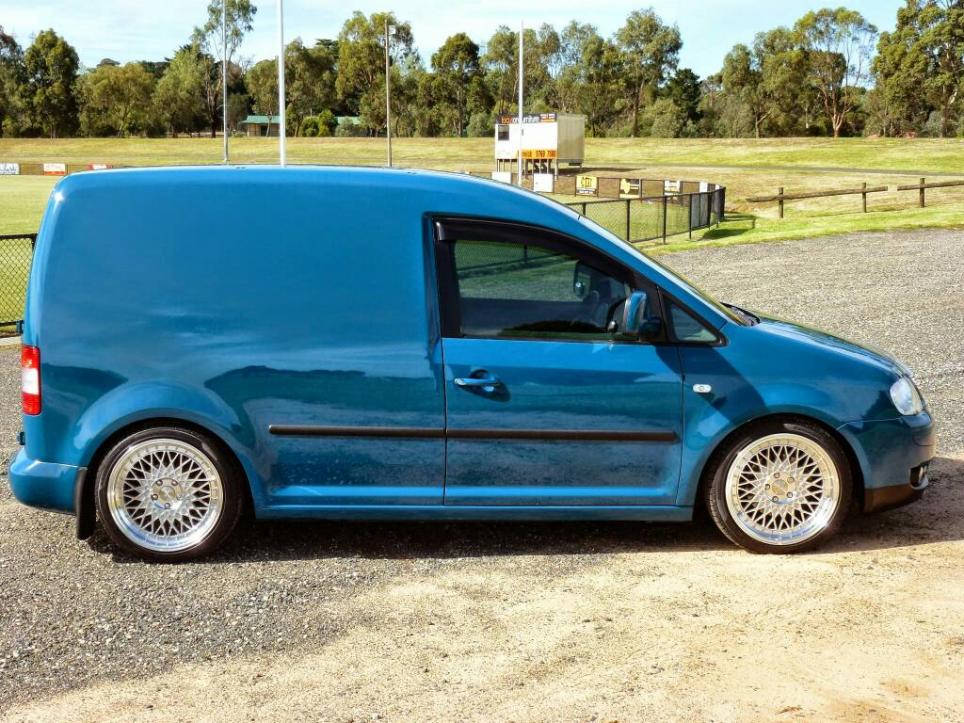
Looks good lowered[emoji106]
Please advise on driving characteristics and if your scraping to much and how tire wear is affected.
If your all good f it I'm doing mine they look awesome lowered.
Drives great. I've still got 5cm left on the front and another hole on the rear hangers. My front mud flaps were scrapping on speedhumps and occasionally bottoming out so I have removed them for now. The handling is great. Gone is the body roll and the diving when breaking. Too early to tell in regard to tire wear.
 Tweet
Tweet


Comment