 Tweet
Tweet
Hi all...
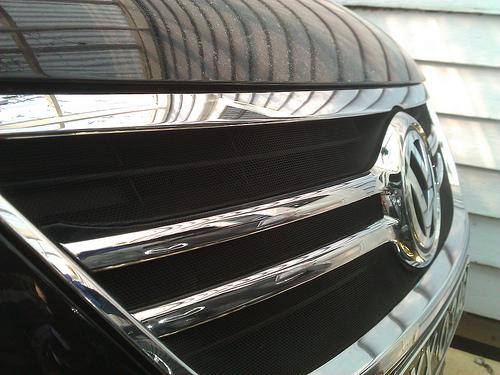
During a trip away over Christmas, i encountered a couple of plagues of locusts! The outcome was a lot of dead smashed locusts covering my radiator... I managed to hose a lot off, but today, decided to give it a good clean! I recalled Captain Bungers had taken off his front end to install a nudge bar, & he convinced me it wouldn't be too hard to do.
There were a few T25 torx screws at the front of the 2 wheel arches, 4 beneath the bumper, along with 1 at the top centre of the grille, & a T30 either side of the top of the grille. The whole set-up popped off quite easily with a little bit of jiggling back & forth, & all went back together quite easily. A couple of clips broke, they are SO flimsy, it's like they are designed to fail...
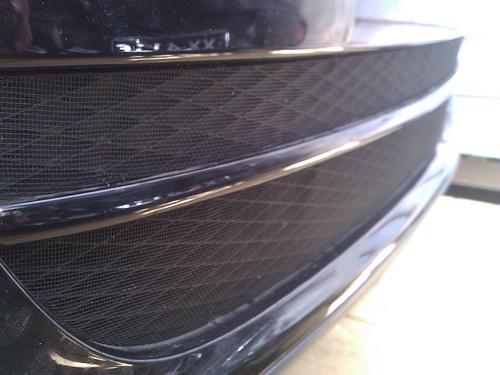
Here's a couple of shots with the front end off:


This is the tool for the job! A mini ratchet driver attached to the only screw i had trouble locating (beneath the arch-guard).

Many thanks to Captain Bungers for the detailed proceedure!
During a trip away over Christmas, i encountered a couple of plagues of locusts! The outcome was a lot of dead smashed locusts covering my radiator... I managed to hose a lot off, but today, decided to give it a good clean! I recalled Captain Bungers had taken off his front end to install a nudge bar, & he convinced me it wouldn't be too hard to do.
There were a few T25 torx screws at the front of the 2 wheel arches, 4 beneath the bumper, along with 1 at the top centre of the grille, & a T30 either side of the top of the grille. The whole set-up popped off quite easily with a little bit of jiggling back & forth, & all went back together quite easily. A couple of clips broke, they are SO flimsy, it's like they are designed to fail...
Here's a couple of shots with the front end off:
This is the tool for the job! A mini ratchet driver attached to the only screw i had trouble locating (beneath the arch-guard).
Many thanks to Captain Bungers for the detailed proceedure!


")
Comment