 Tweet
Tweet
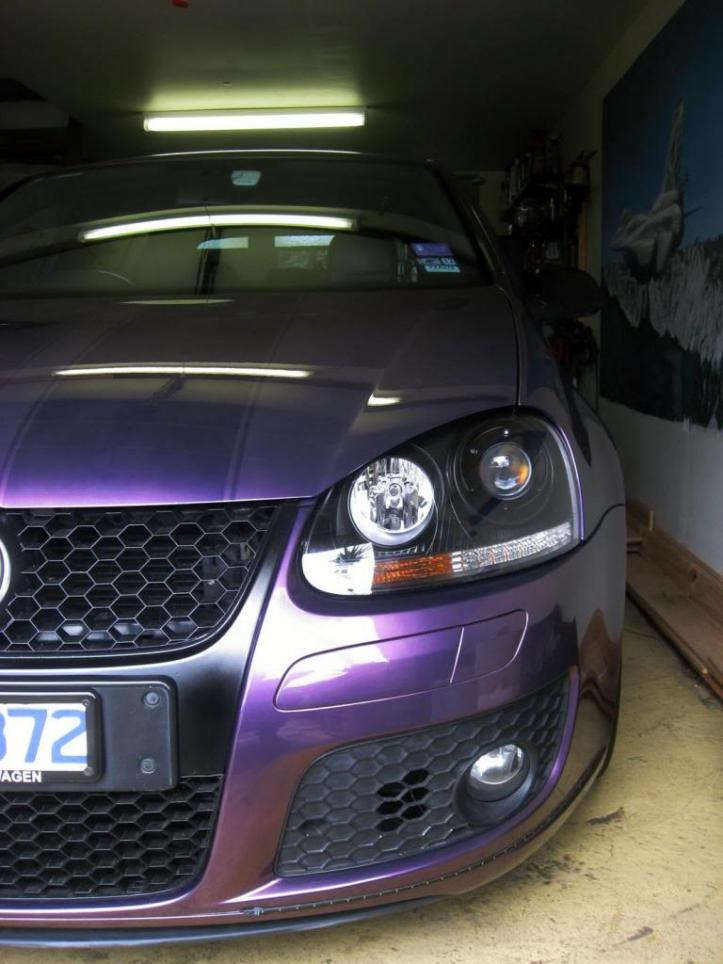
Hey guys, i just completed the joey mod on my mk5 gti with bi-xenons, so i thought i would share the process with all of you. WARNING!!!! i take no responsibility for this DIY, do it at your own risk. It will take time to do this mod, so please allow around 3-4 days for the entire process, there's no rushing this project trust me, especially since the bi-xenons cost around 2k to replace. The following tools and supplies will be necessary for the project.
1. windscreen black sealant ( the best one you can find)
2. Dremel (with appropriate head)
3. Stanley knife or cutting blade)
4. heatgun
5. flathead screwdriver
6. Mineral turpentine
7. Plastic adhesive promoter primer
8. Paint (of you choice)
9. torx wrenches
10. protective goggles and mask
11. patience
The first step will be to remove the front bumper in order to gain access to the lights, you will need to first take the grille off and then work your way around the bumper removing the required torx screws, this includes the ones in both front wheel wells and underneath the car. There is a diy about how to remove the front bumper, so if your not sure search the net for it as it will help you.
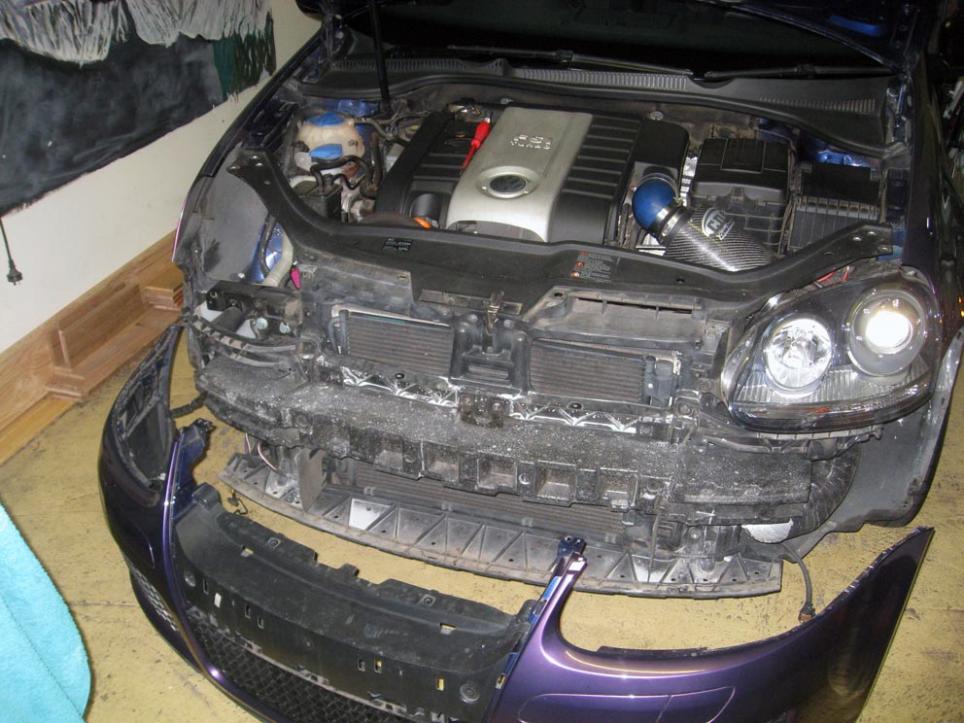
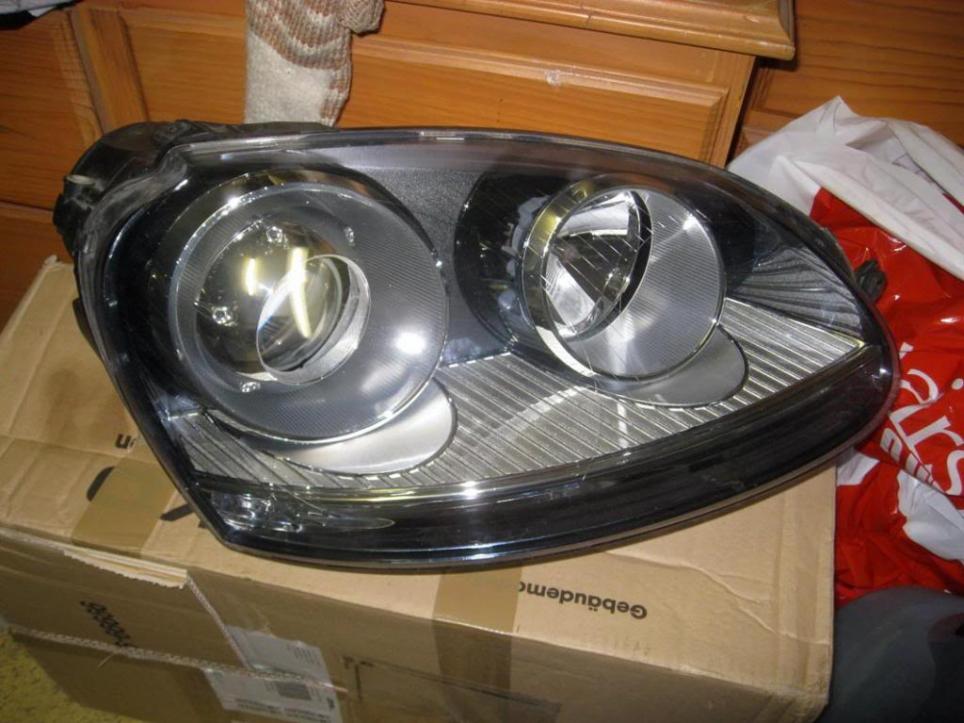
Once the bumper is removed the next step will be to remove the actual headlights, each light has 3 torx screws holding it to the body, so remove these and then the light will be loose. You will also need to unplug the connecter at the rear of the light.
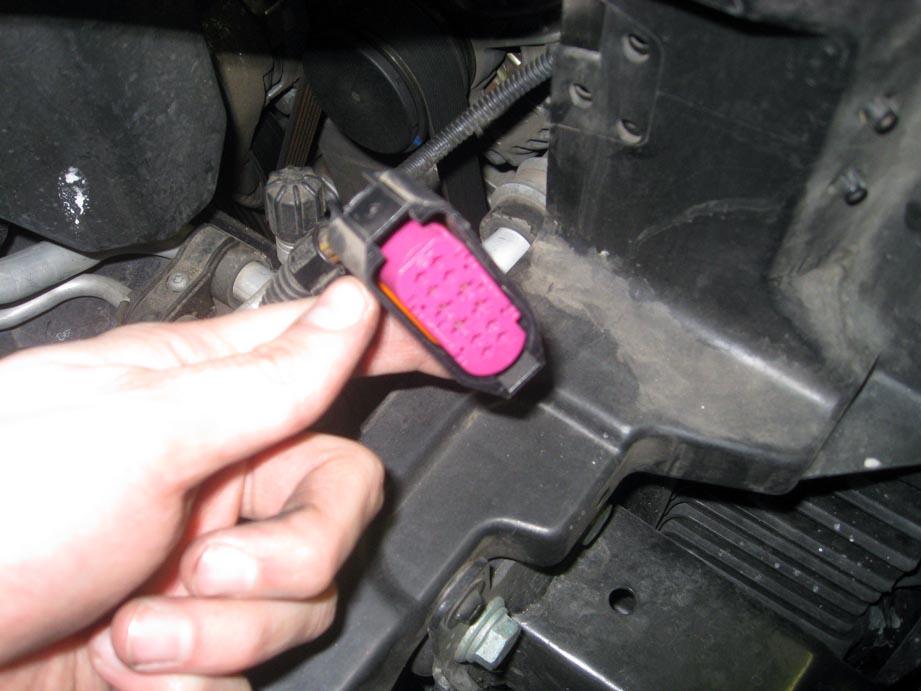
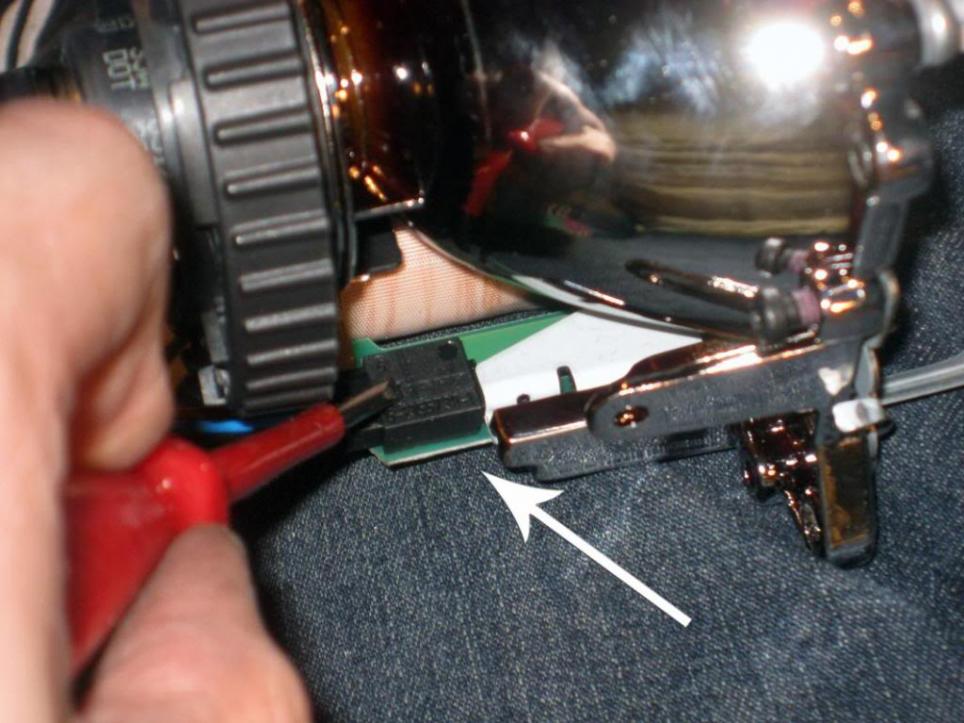
Once removed your ready for the next step, which will be to remove the xenon bulb, DO NOT miss this step, as you dont want to be cutting into the housing with the xenon bulb in place. To remove the bulb, you will first need to unplug the starter connecter which is the red device you see when you open the back up. Then you will need to remove it, which is done by twisting it to the right,
(instructions are on the actual device). Next step is to remove the four torx screws holding the xenon compartment down. Be gentle with this step, once removed you will again need to remove the plug holding the xenon in place.
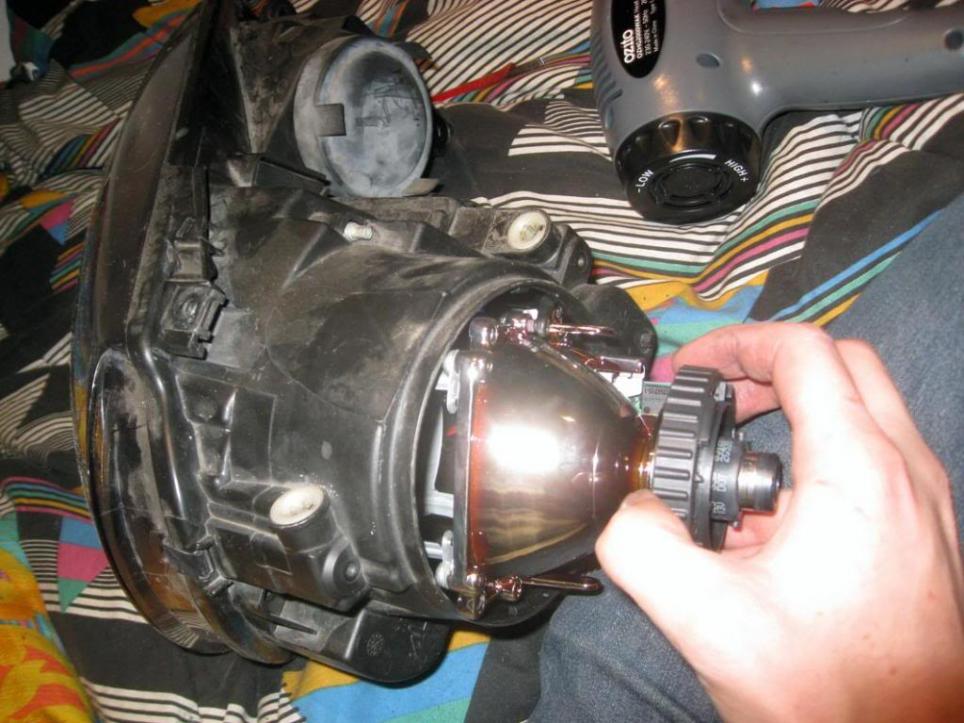
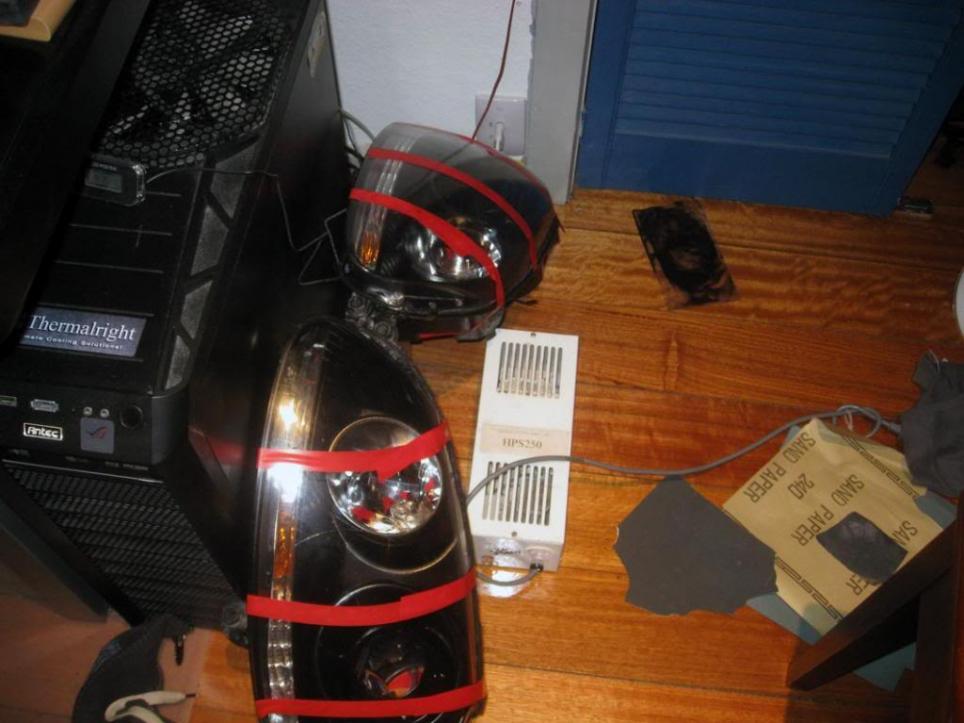
Next place the xenon compartment somewhere safe ( i put them inside the house). You want to be sure since there very expensive
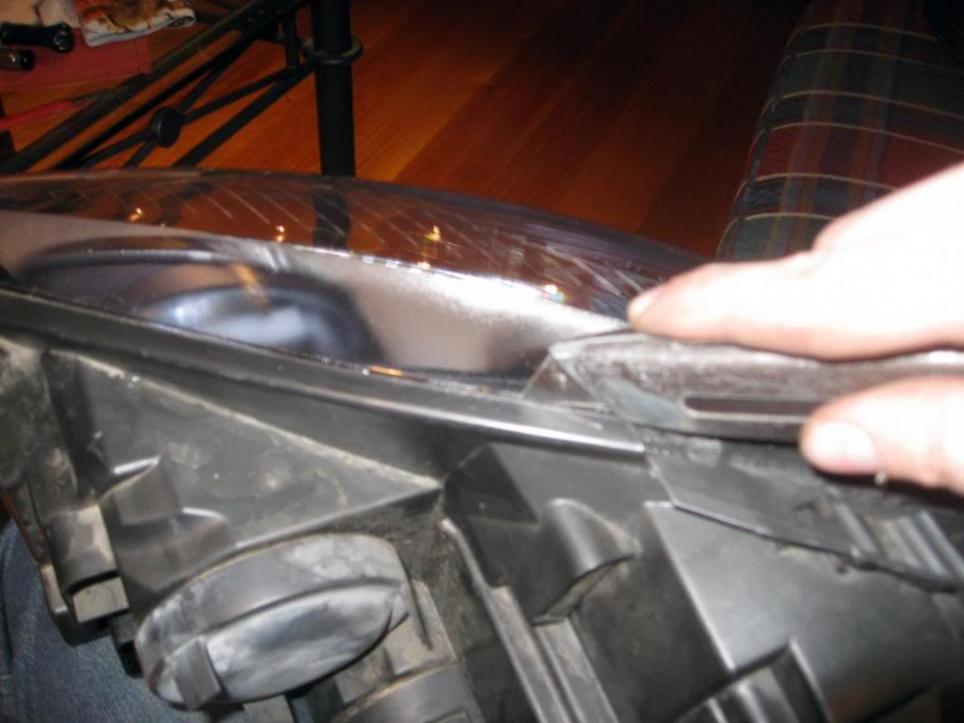
Next step is to remove the 3 clips on each headlight, they look like this
Once removed you can then begin the process of removing the lens. In and ordinary joey mod the lights would be placed in the oven and the sealant would just soften so the two parts could be separated, however in the bi-xenon lamps for some reason vw has used a sealant which is very hard and will not budge under heat ( trust me i tried it) so the only way to remove the lens from the housing is to cut away the sealant, which is very time consuming. You first need a stanley knife or cutting blade to cut around the edge.
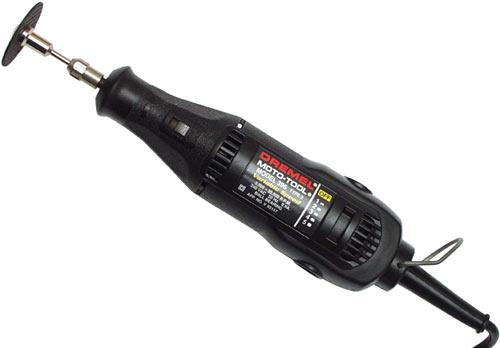
Once you've done this you will then need to dremel around the entire edge of the housing, this is the part that made me cringe. Take time with this process ( took me 3 hours on each headlight) and use goggles and and mask to protect yourself. Use a bit on the dremel similar to the one in this picture.
And cut your way around the edge, following this line

You will 2 places where there are tabs ( the points where you connect the light to your car) you will need to cut through these tabs without cutting them off, its the only way. It is hard but again take your time and you will get through it.
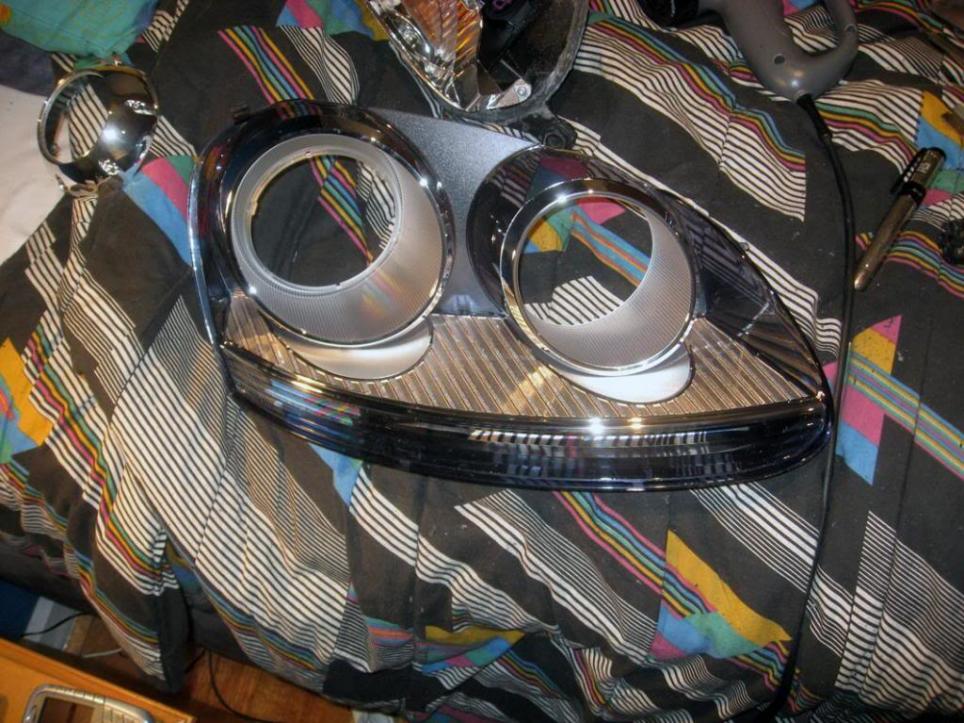
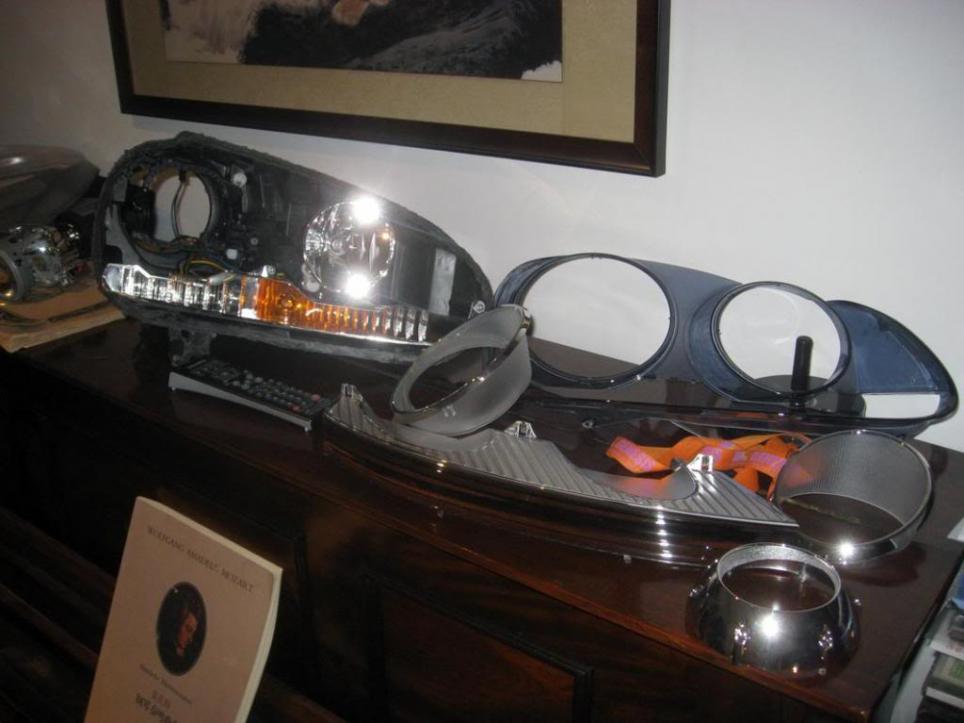
Once you have cut through the sealant it is time to separate the housing from the lens, its pretty straight forward since you have just cut a way around the edge. You will then need to seperate the inner trimmings from the lens, this is done by removing four small torx screws which are easy to find. You then end up with this.
1. windscreen black sealant ( the best one you can find)
2. Dremel (with appropriate head)
3. Stanley knife or cutting blade)
4. heatgun
5. flathead screwdriver
6. Mineral turpentine
7. Plastic adhesive promoter primer
8. Paint (of you choice)
9. torx wrenches
10. protective goggles and mask
11. patience
The first step will be to remove the front bumper in order to gain access to the lights, you will need to first take the grille off and then work your way around the bumper removing the required torx screws, this includes the ones in both front wheel wells and underneath the car. There is a diy about how to remove the front bumper, so if your not sure search the net for it as it will help you.
Once the bumper is removed the next step will be to remove the actual headlights, each light has 3 torx screws holding it to the body, so remove these and then the light will be loose. You will also need to unplug the connecter at the rear of the light.
Once removed your ready for the next step, which will be to remove the xenon bulb, DO NOT miss this step, as you dont want to be cutting into the housing with the xenon bulb in place. To remove the bulb, you will first need to unplug the starter connecter which is the red device you see when you open the back up. Then you will need to remove it, which is done by twisting it to the right,
(instructions are on the actual device). Next step is to remove the four torx screws holding the xenon compartment down. Be gentle with this step, once removed you will again need to remove the plug holding the xenon in place.
Next place the xenon compartment somewhere safe ( i put them inside the house). You want to be sure since there very expensive
Next step is to remove the 3 clips on each headlight, they look like this
Once removed you can then begin the process of removing the lens. In and ordinary joey mod the lights would be placed in the oven and the sealant would just soften so the two parts could be separated, however in the bi-xenon lamps for some reason vw has used a sealant which is very hard and will not budge under heat ( trust me i tried it) so the only way to remove the lens from the housing is to cut away the sealant, which is very time consuming. You first need a stanley knife or cutting blade to cut around the edge.
Once you've done this you will then need to dremel around the entire edge of the housing, this is the part that made me cringe. Take time with this process ( took me 3 hours on each headlight) and use goggles and and mask to protect yourself. Use a bit on the dremel similar to the one in this picture.
And cut your way around the edge, following this line
You will 2 places where there are tabs ( the points where you connect the light to your car) you will need to cut through these tabs without cutting them off, its the only way. It is hard but again take your time and you will get through it.
Once you have cut through the sealant it is time to separate the housing from the lens, its pretty straight forward since you have just cut a way around the edge. You will then need to seperate the inner trimmings from the lens, this is done by removing four small torx screws which are easy to find. You then end up with this.
Attached Files
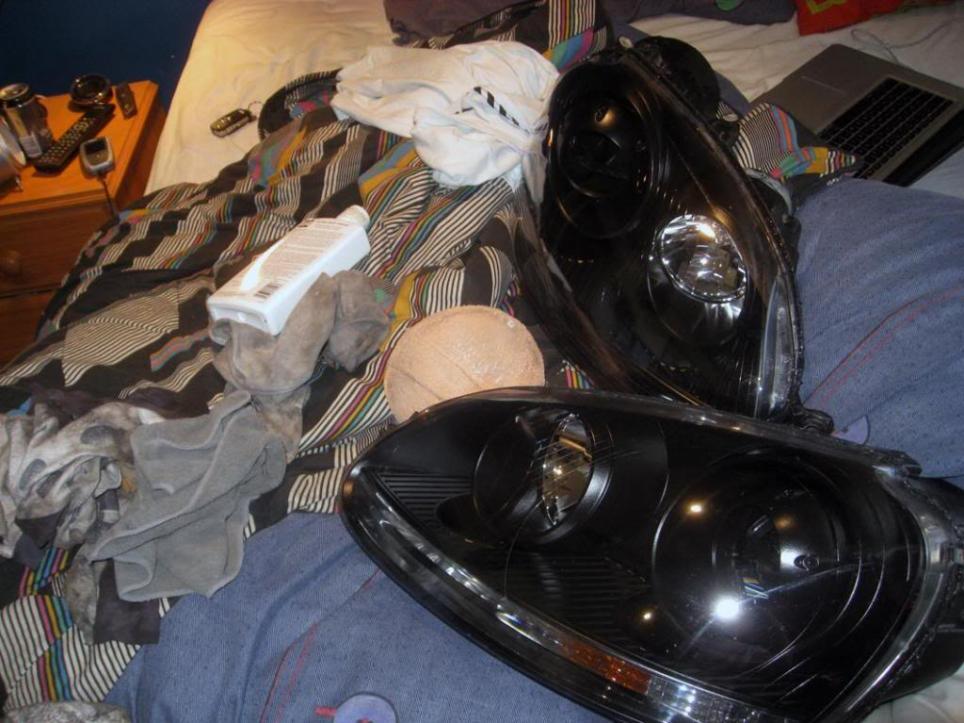
 ). Regarding sanding i didnt do any since my color was a matte, however you might need if you want to achieve a nice gloss, again this will take more time. Let the paint rest for a day, this will make sure that you don't make any finger prints once putting the pieces back together.
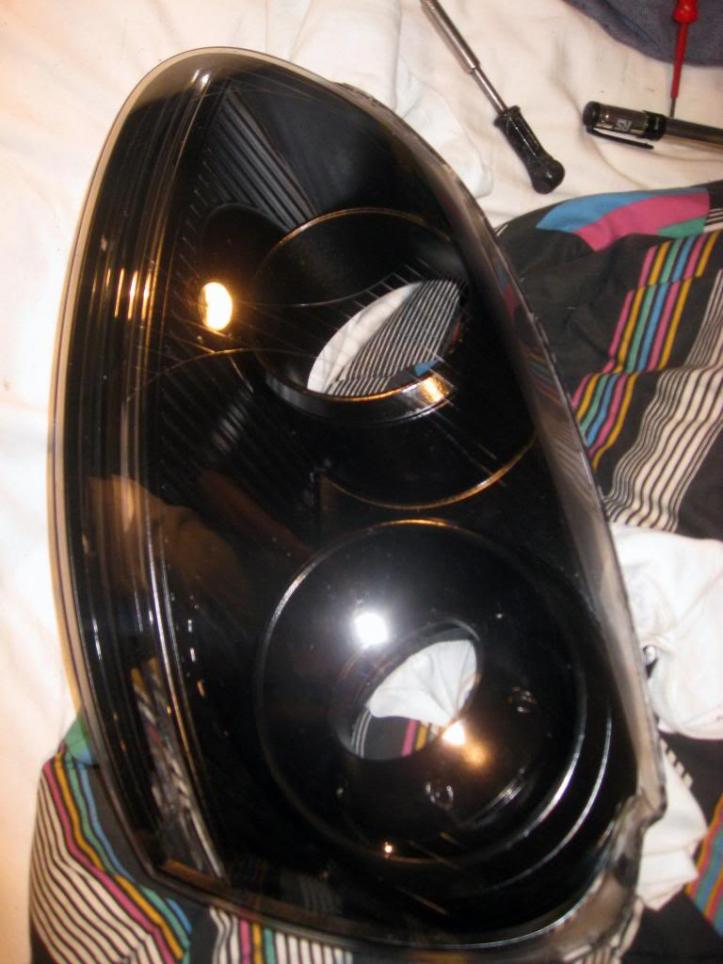

Comment