 Tweet
Tweet
As promissed - here is my idiots guide to installing the upgraded pipe to replace the dreaded OEM pancake shape pipe that is very restrictive.
Before starting, go to the hardware store and get yourself another 70-90 screw hose clamp just in case. It'll cost you all of $2.50 but could save you hours of frustration.
On with the show...
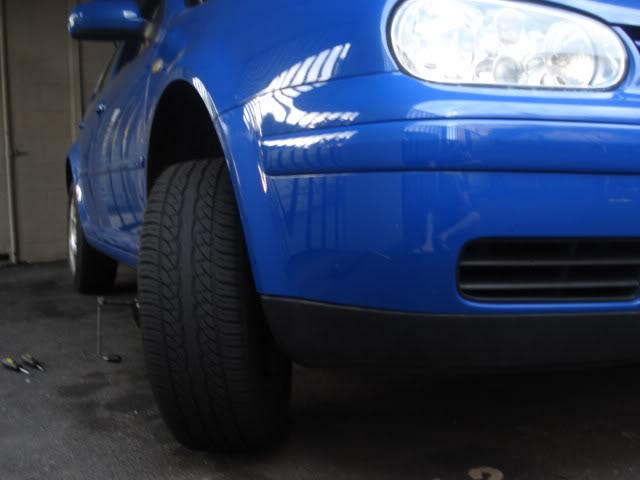
Firstly jack up the front end of your car and get it onto axel stands NOT like mine is in this picture:
BIG NO NO!!!
Don't be lazy - make sure you remove the front drivers side wheel even though you don't have to. It will make your life so much easier if you do.
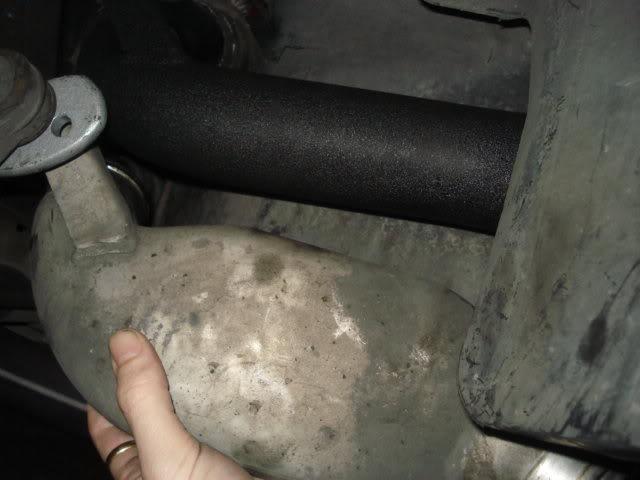
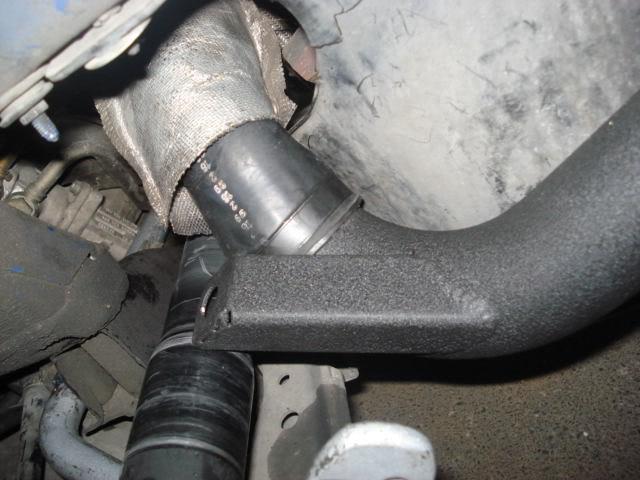
In the lower quadrant of the right hand side of the guard you will see the OEM pipe. It's atached to rubber pipe at either end with screw clamps. Git a 10mm spanner and undo the nut that holds the pipe up. I found that mine wasn't attached so i suspect mine has been off before and never put back on right.
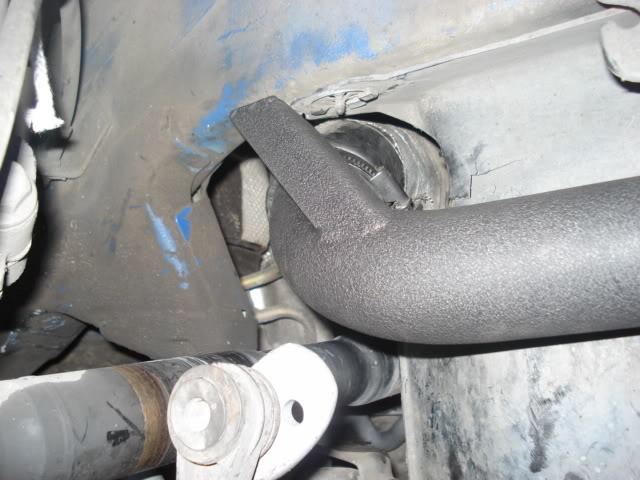
Here's the old and the new:

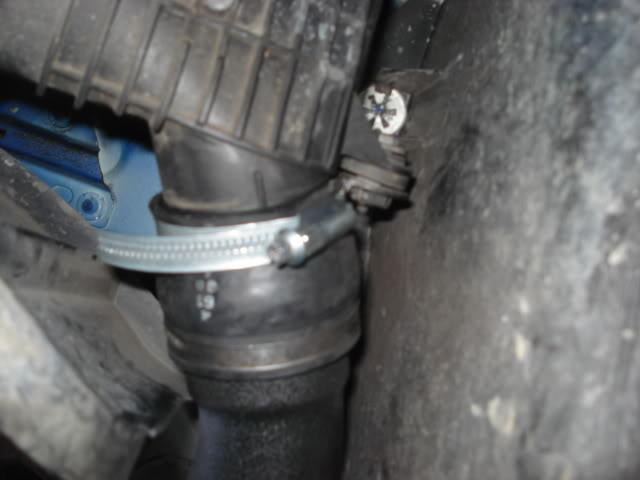
You should then be able to pull the pipe down a bit and you can undo the screw clamp that sits on the top closest to the engine bay. When I tried to re-atach this one I found it was too small and couldn't get it back on. Well touch back on this shortly.
Next undo the screw clamp attaching the rubber tube to the intercooler. You should now be able to remove the pipe with the small rubber pipe attached.
Remove the rubber tubing and place it onto your new one. Put the clamp on but down tighten it yet. Just do it up so you can still spin it around the pipe.
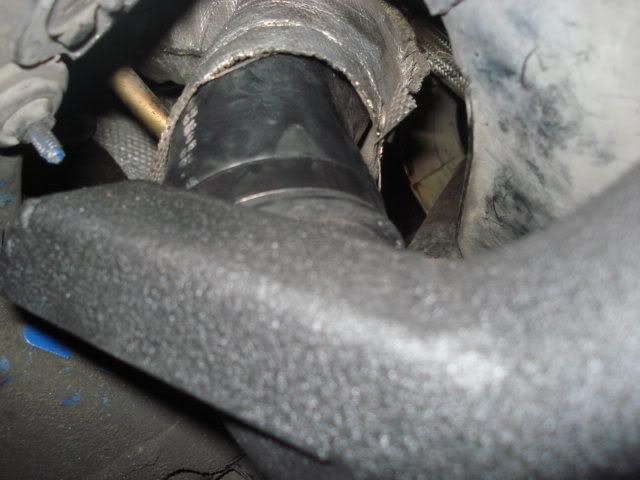
Insert the pipe back into the tube running from the turbo. This one is a pain to fit and I suggest using the new clamp on this or the larger one that attaches the rubber tube to the intercooler incase you didn't take my advice earlier. MAKE SURE YOU HAVE THE CLAMP ON BEFORE GETTING THIS IN. Once you get the pipe in tighten the clamp so it has some grip and stays put whilst you wiggle it around geting it into the right position (i.s. so it can still move a bit with some force). Also make sure the strap tightens to the right as it makes it easier to do up.
You should still have a fair bit of play and should now be able to fit the tube back over the intercooler inlet.
Make sure you get it all positioned correctly, then double check it again. Lift the pipe back up to where it should be positioned and make sure you aren't forcing any of the tubing to bend or fold. Once you are happy, tighten first the screw clamp on the intercooler inlet. This will still allow you plenty of play to further position the pipe.
Before starting, go to the hardware store and get yourself another 70-90 screw hose clamp just in case. It'll cost you all of $2.50 but could save you hours of frustration.
On with the show...
Firstly jack up the front end of your car and get it onto axel stands NOT like mine is in this picture:
BIG NO NO!!!
Don't be lazy - make sure you remove the front drivers side wheel even though you don't have to. It will make your life so much easier if you do.
In the lower quadrant of the right hand side of the guard you will see the OEM pipe. It's atached to rubber pipe at either end with screw clamps. Git a 10mm spanner and undo the nut that holds the pipe up. I found that mine wasn't attached so i suspect mine has been off before and never put back on right.
Here's the old and the new:
You should then be able to pull the pipe down a bit and you can undo the screw clamp that sits on the top closest to the engine bay. When I tried to re-atach this one I found it was too small and couldn't get it back on. Well touch back on this shortly.
Next undo the screw clamp attaching the rubber tube to the intercooler. You should now be able to remove the pipe with the small rubber pipe attached.
Remove the rubber tubing and place it onto your new one. Put the clamp on but down tighten it yet. Just do it up so you can still spin it around the pipe.
Insert the pipe back into the tube running from the turbo. This one is a pain to fit and I suggest using the new clamp on this or the larger one that attaches the rubber tube to the intercooler incase you didn't take my advice earlier. MAKE SURE YOU HAVE THE CLAMP ON BEFORE GETTING THIS IN. Once you get the pipe in tighten the clamp so it has some grip and stays put whilst you wiggle it around geting it into the right position (i.s. so it can still move a bit with some force). Also make sure the strap tightens to the right as it makes it easier to do up.
You should still have a fair bit of play and should now be able to fit the tube back over the intercooler inlet.
Make sure you get it all positioned correctly, then double check it again. Lift the pipe back up to where it should be positioned and make sure you aren't forcing any of the tubing to bend or fold. Once you are happy, tighten first the screw clamp on the intercooler inlet. This will still allow you plenty of play to further position the pipe.
Comment