If this is your first visit, be sure to
check out the FAQ by clicking the
link above. You may have to register
before you can post: click the register link above to proceed, registering will remove the in post advertisements. To start viewing messages,
select the forum that you want to visit from the selection below.
This means you should apply for your renewal now to avoid any disruptions to your membership whilst the renewal process is taking place! NOTE: If you have an auto renewing subscription this will happen automatically.
nice one jay,there is a mob in qld ???who are the diff and gearbox masters, peter shelley from cvwc put me on to them i will look it up as my 02a is heading up there for the peloquin at some stage
Originally posted by Preen59
I would have gotten wood from the picture message you sent me.. But I was sniffing Nitro, so i already had it. Hahaha.
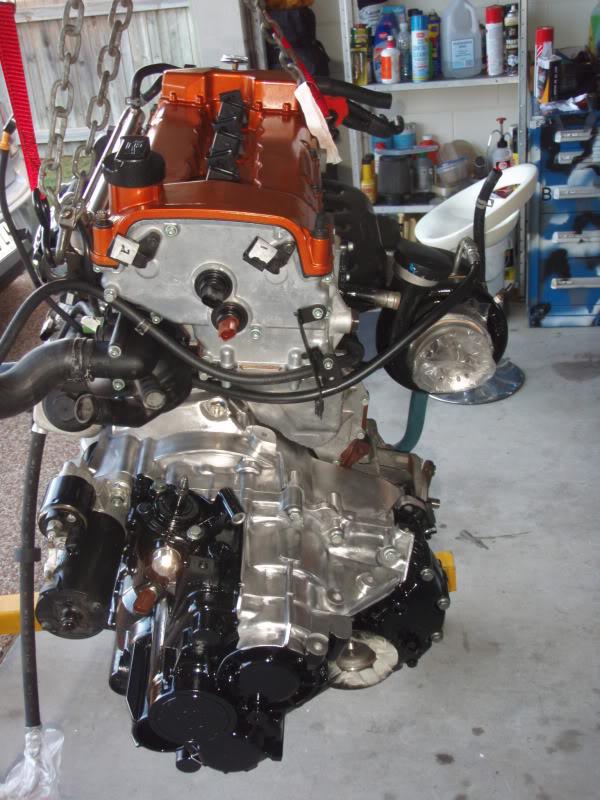
Do you feel guilty when you put oil in the motor as the internals are no longer so shiny and clean? I swear I've never seen a more spotless and immaculate engine. If I had the money I would've been doing something like this instead of getting the Renault.
Cheers,
Trent
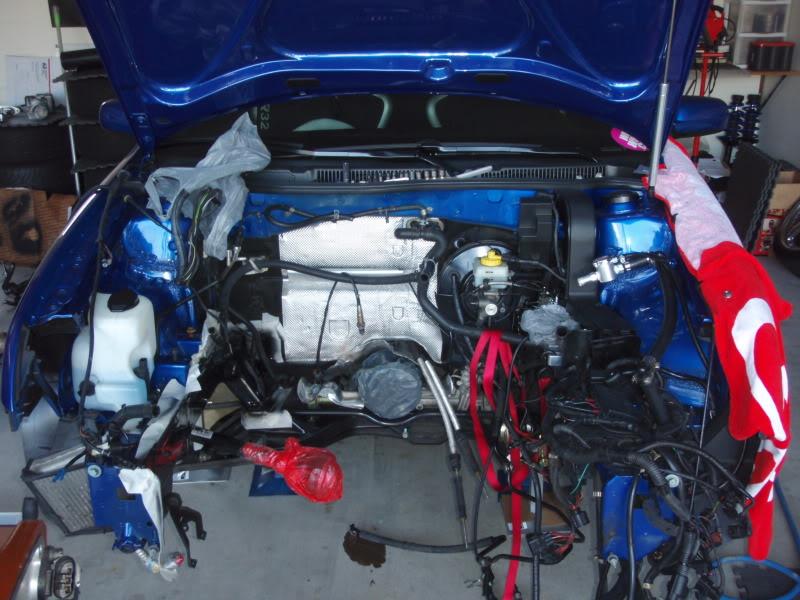
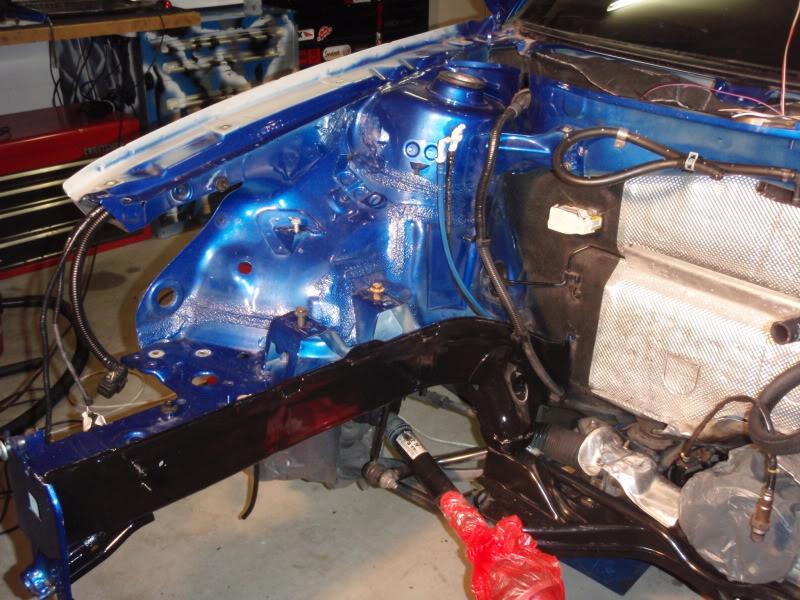
I finished up the wire tuck on the passenger side engine bay . I ran the hood switch connector, head light connector and the washer fluid low level switch through the frame rail. I kept the washer fluid low level switch because Im going to use that for the water/meth so when it gets low I will get the icon in the cluster and it will work as factory.
As for the fuel lines that go to the fuel rail I may do them in stainless steel lines or hardlines since I have plenty of fittings and supplies-well see.
I still have to relocate the P/S reservoir to the frame rail since it still will be the highest point when I need to bleed it and I'll get rid of the hardlines and do some custom ones along with gettng rid of the line that runs over the tranny.
So now I need to grind off all the mounts and stand offs Im not gona use and give that side of the engine bay a good sanding and prep it for some paint. In the mean while Im working the wiring harness arcoss the back of the bay and over to the drivers side.
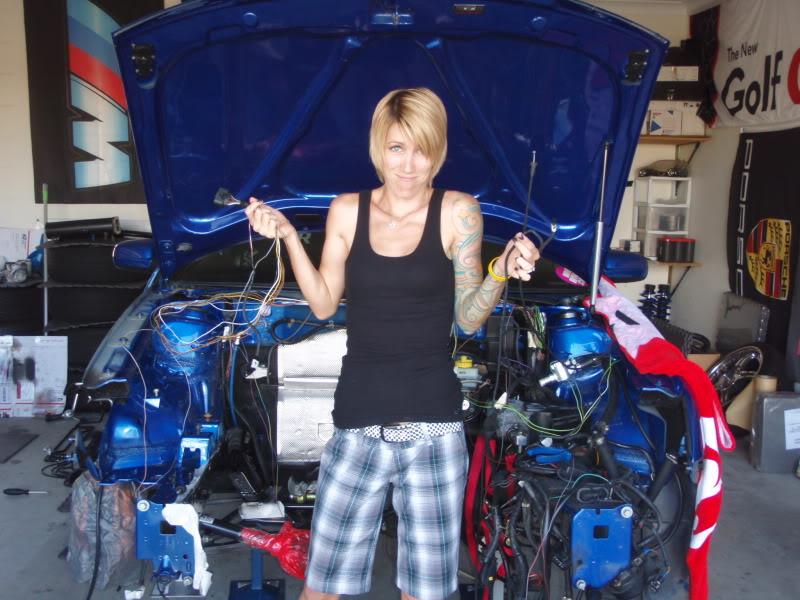
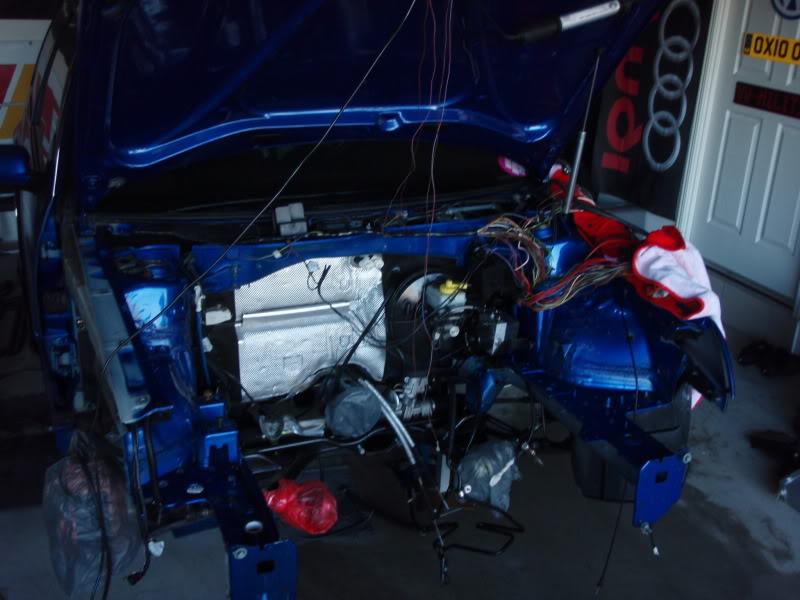
Made some progress today- did the harness across the back of the bay and the drivers side. Now I just need to get more loom and and tape everything up. I degreased the drivers side bay and tried to clean it up a bit. Then I try to get some grinding done and keep preping for paint. Off for some dinner with the Mrs..
Look at all those wires! Thats doing my head in just looking at it. Awesome work as always. Love the commitment you go to with your build
Project Hairdresser car DIY build has begun...
'96 Mirage Track car: BC RM Coilovers, 294mm Galant VR4 Brakes, 5 stud conversion, 16x8 Forged Rays MS01S, UR 23mm sway bar, UR Strut Braces, Evo 5 Recaros, MR Lancer electrics interior conversion, Engine + Exhaust in the works
 Tweet
Tweet

Comment