 Tweet
Tweet
G'Day guys.
I thought I would write up a tutorial on a very simple sound system. I know that I would not be able to do many things without the help of people here and their great tutorials.
So here is a VERY simple tutorial for people looking for a sound system that is better than standard, wont fuzz on you and replaces the blown old factory speakers which for the most of you are now 12-16+ years old.
I understand some people will not like how I did this but it just made life very easy and you dont have to change anything with the cars hard wiring but rather just a few clips and use your head for the DIY part.
The products I used was a Sony headunit which I bought brand new off a friend who never used it, in stores for $200? Anyway its a bog standard Sony Xplod unit...Which puts out 52W (RMS) to 4 channels (four speakers) so your looking at a pretty standard speaker that is going to be put in.
What You Will Need
-Small flat head screw driver
-Philip head screw driver
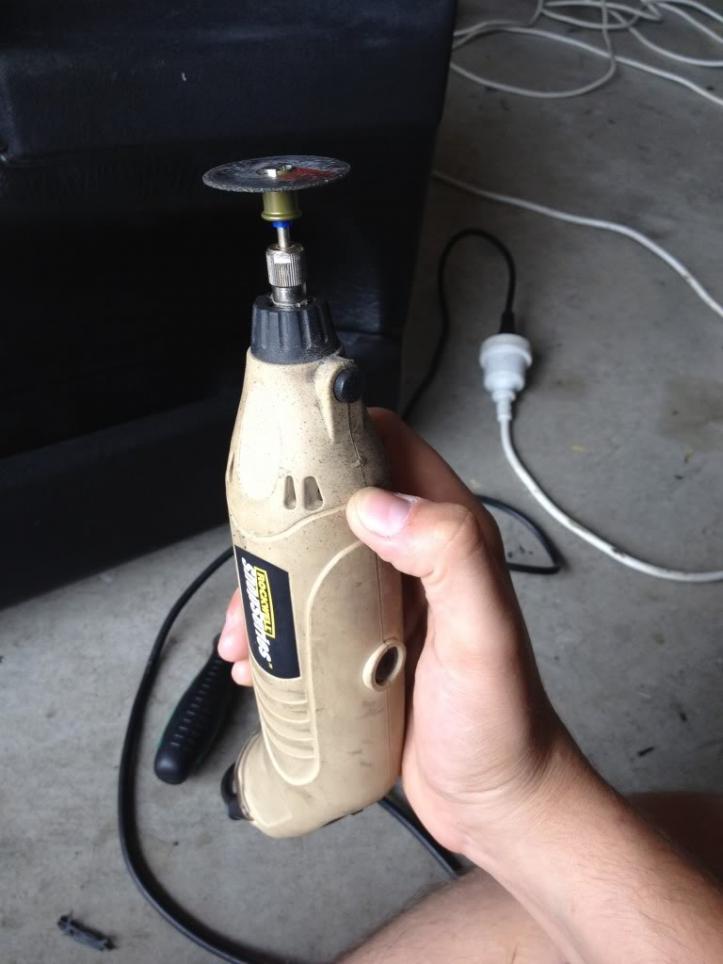
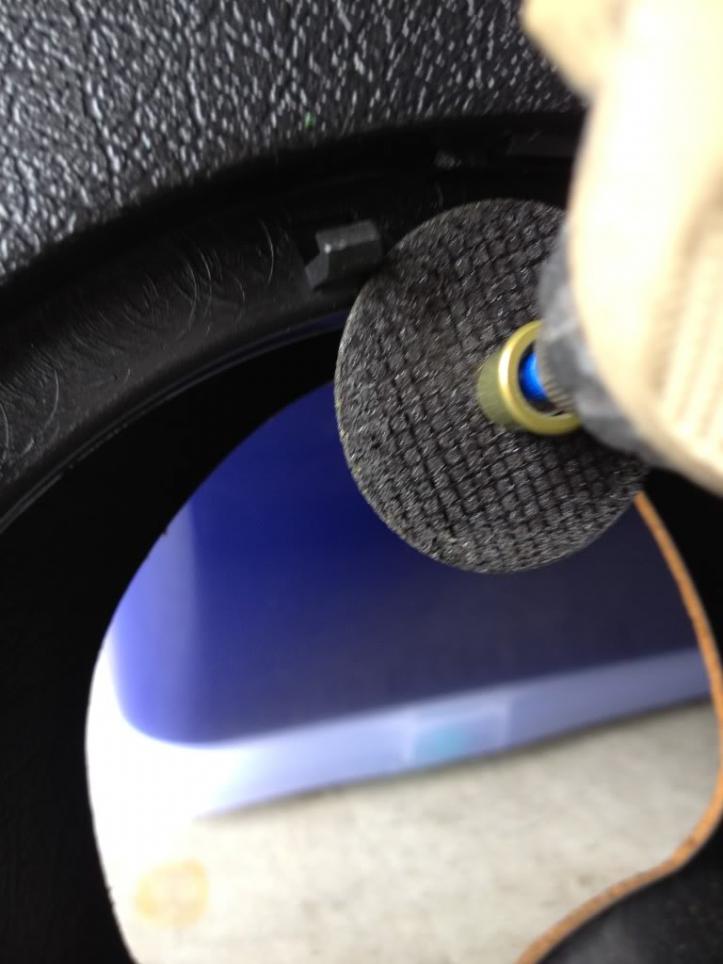
-Dremel
-Soldering Iron/Solder
-Everything in your kit (wires, bracket, grills, etc)
-Wire Cutters/Wire stripper
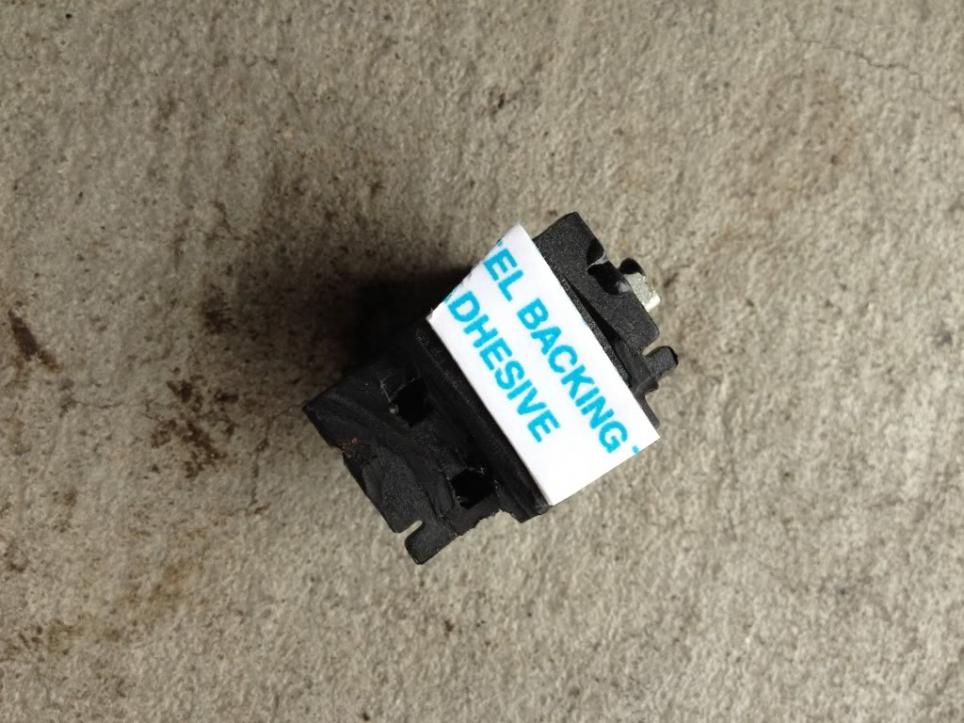
-Double side sticky tape and Super glue (both optional)
Here is what I used for the speakers:
Front Speakers:
6
Rear Speakers:
6
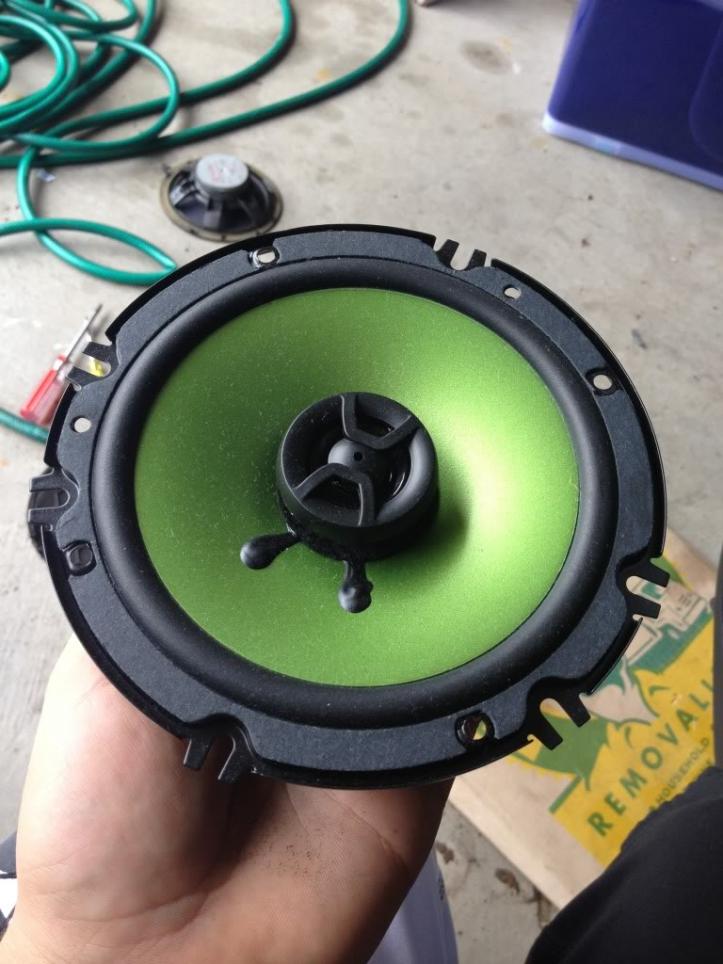
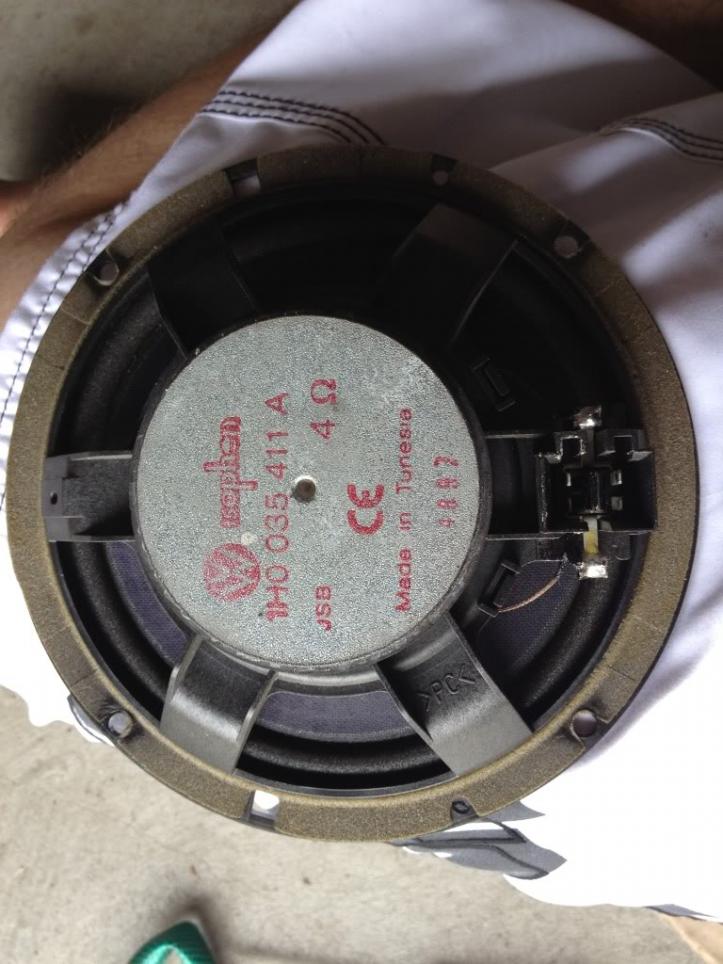
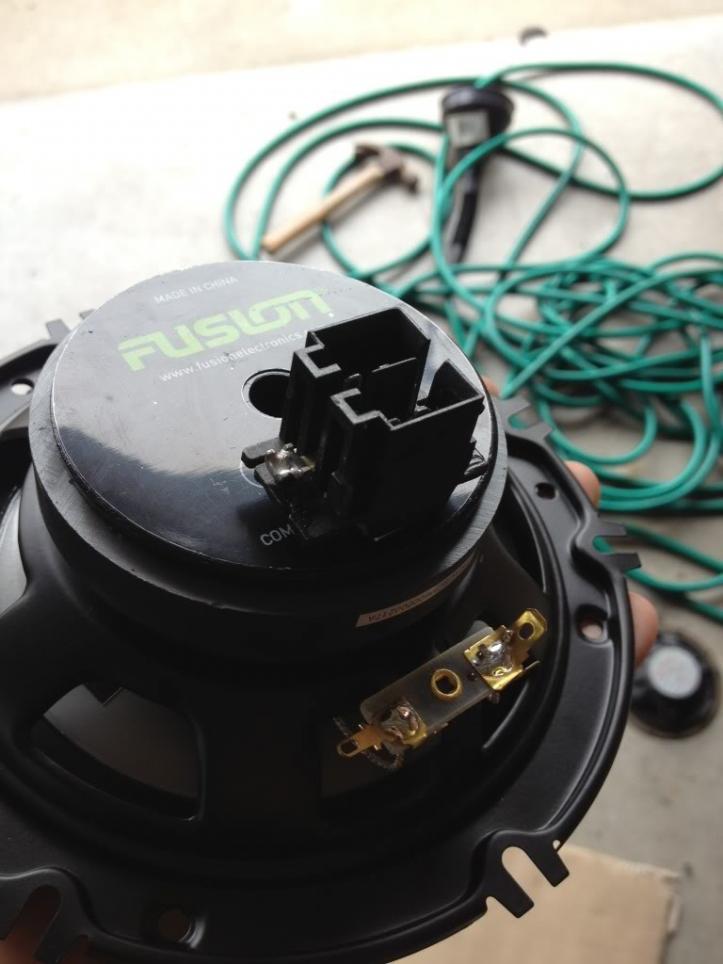
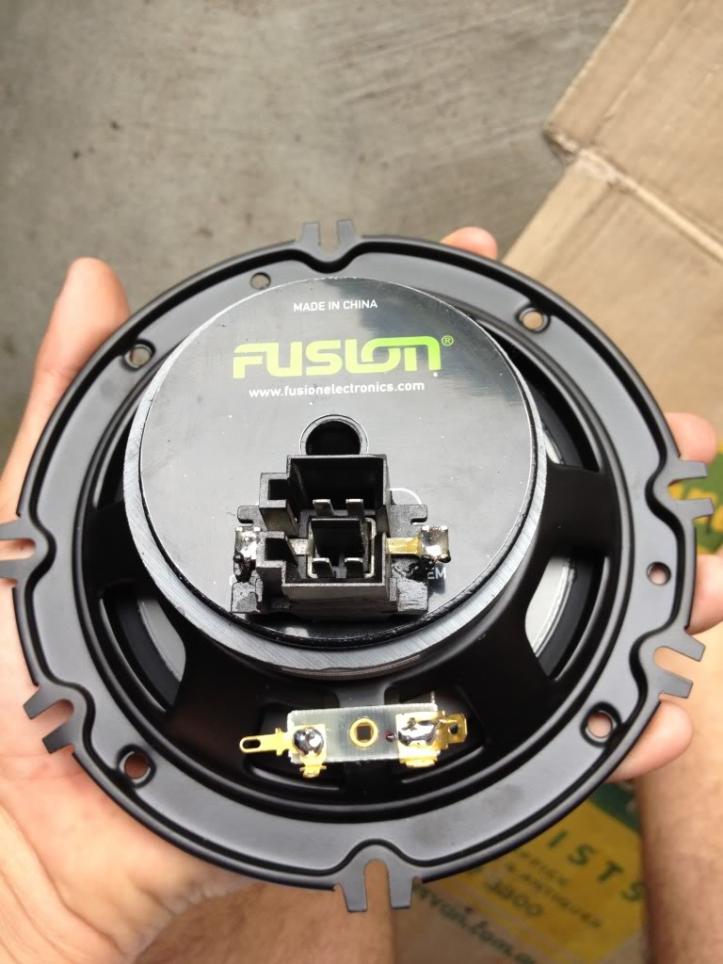
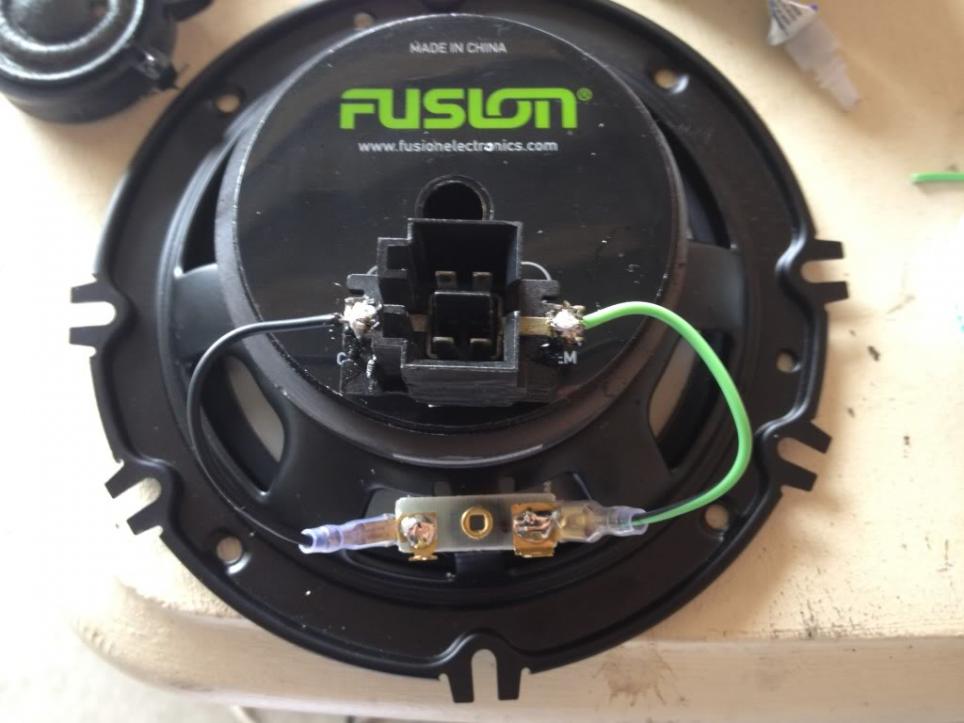
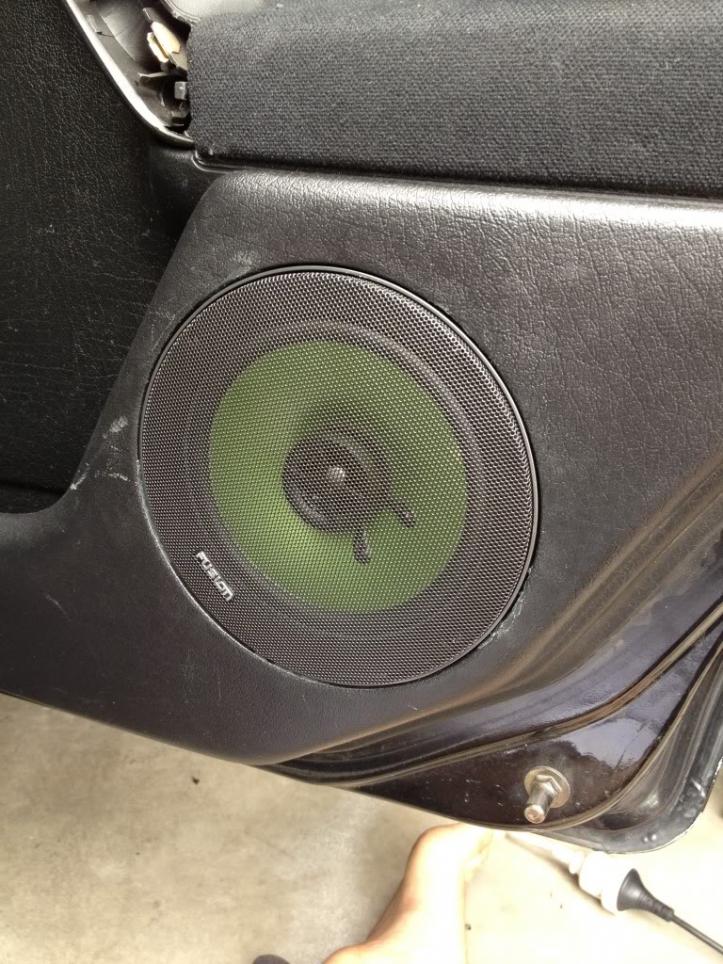
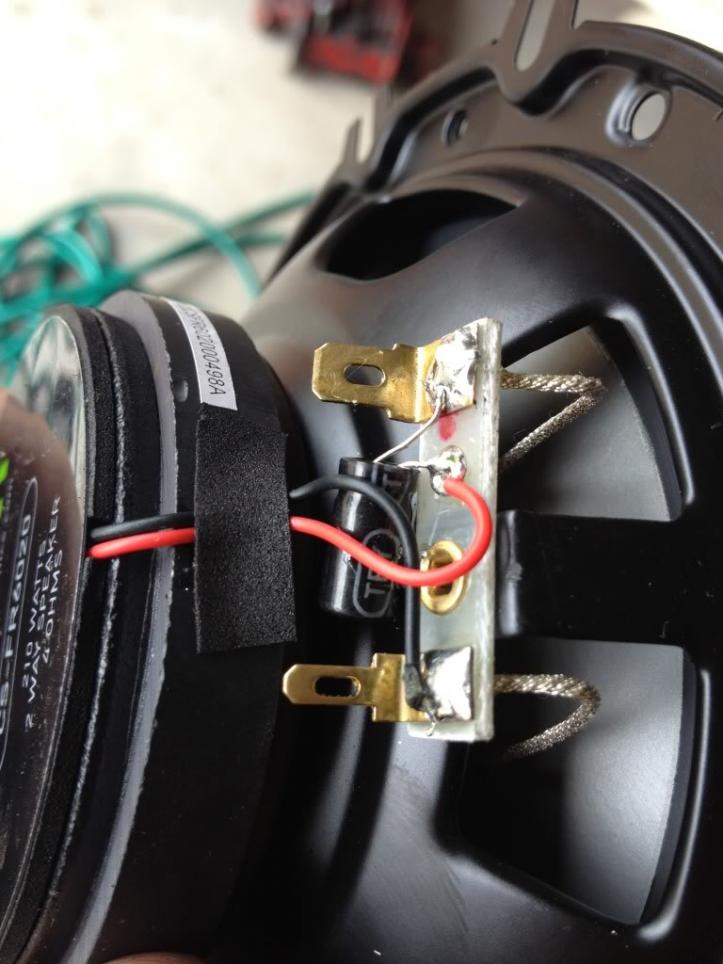
These are basically fusions bottom of the line 6" components for the front and I used 6" 2-ways for the back.
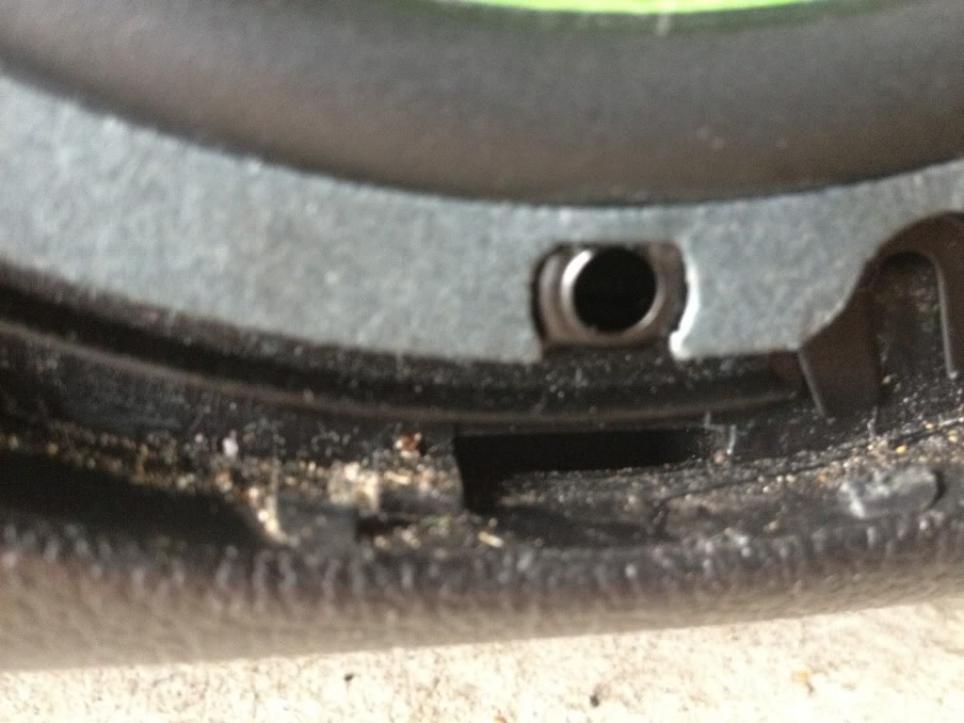
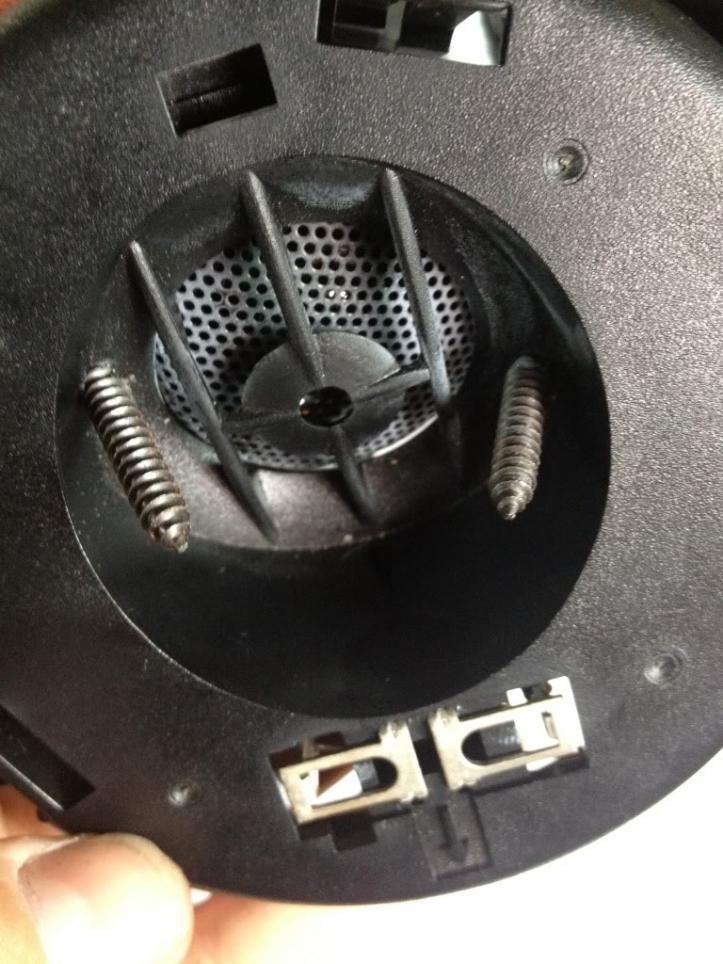
In the Mk3 Golf, it runs component speakers front and rear, BUT the rear tweeters (tiny speakers) are much smaller than the tweeters in the front, I knew the aftermarket component tweeters would not fit, so I went with 2 ways, which basically eliminated the need for the tweeter as it is built in to the 2 way speaker.
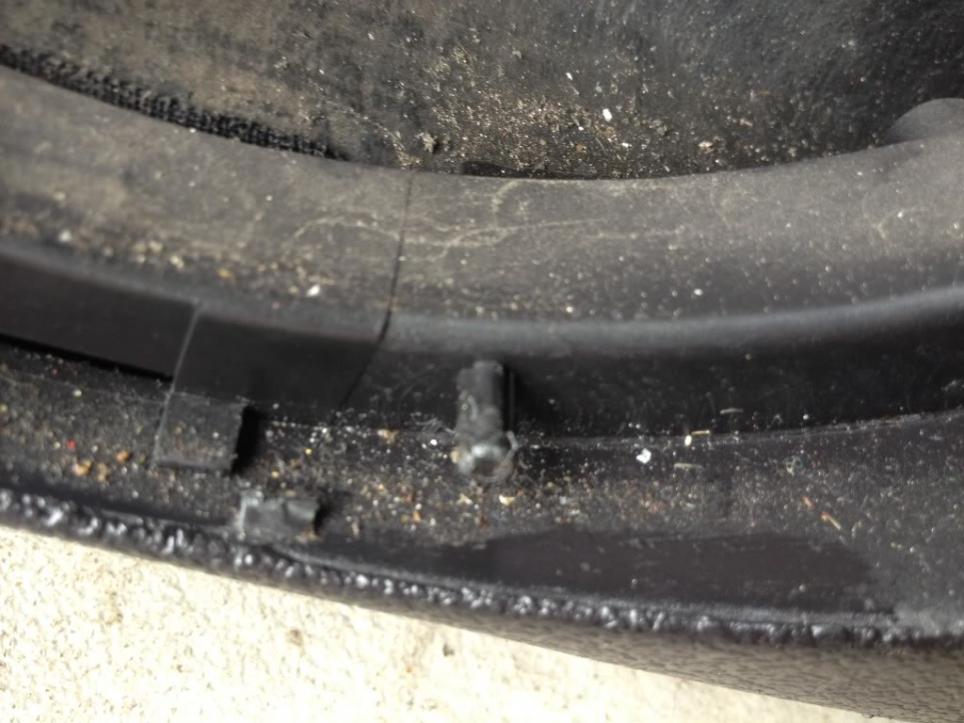
Sorry for that confusion, so basically, you can run components in the rear, but the hole for the tweeter is so small, size of a 20cent piece, nothing aftermarket will fit that I thought hence my choice for 2-ways.
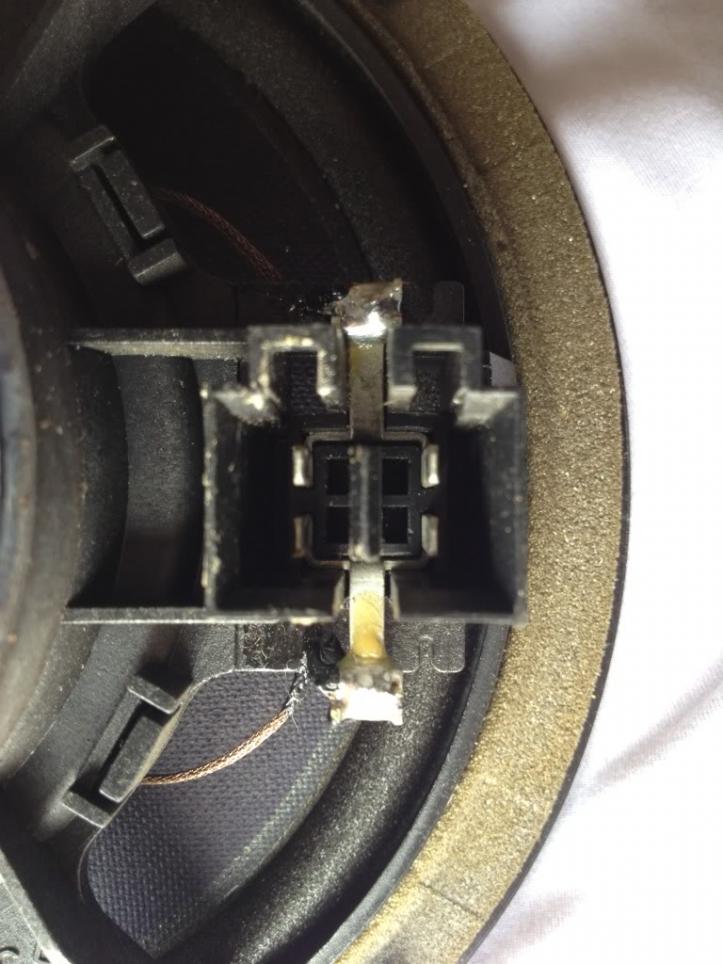
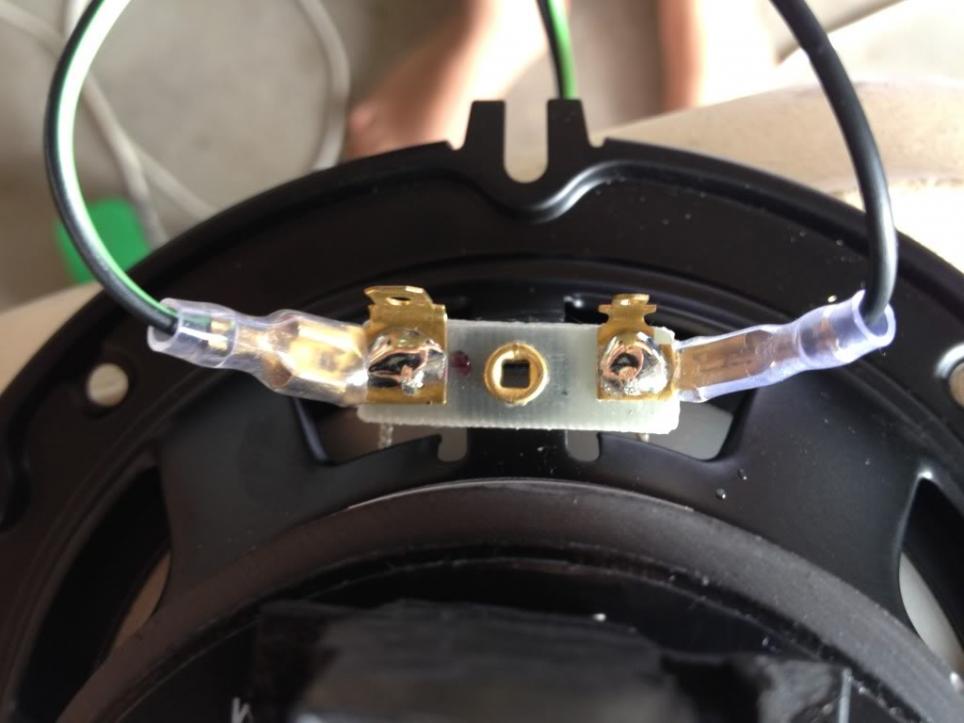
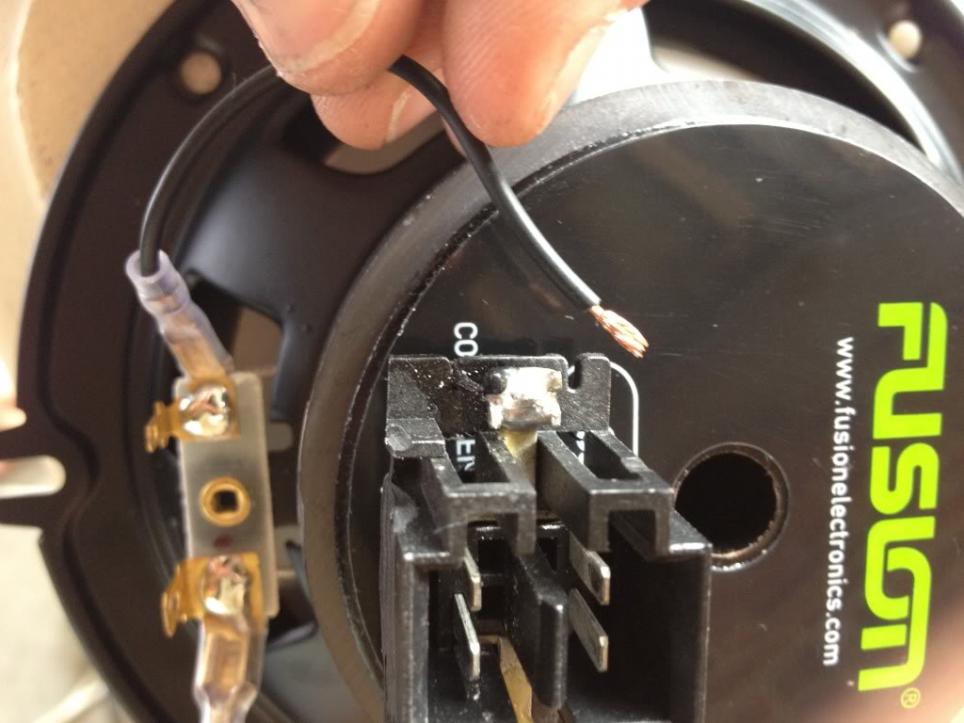
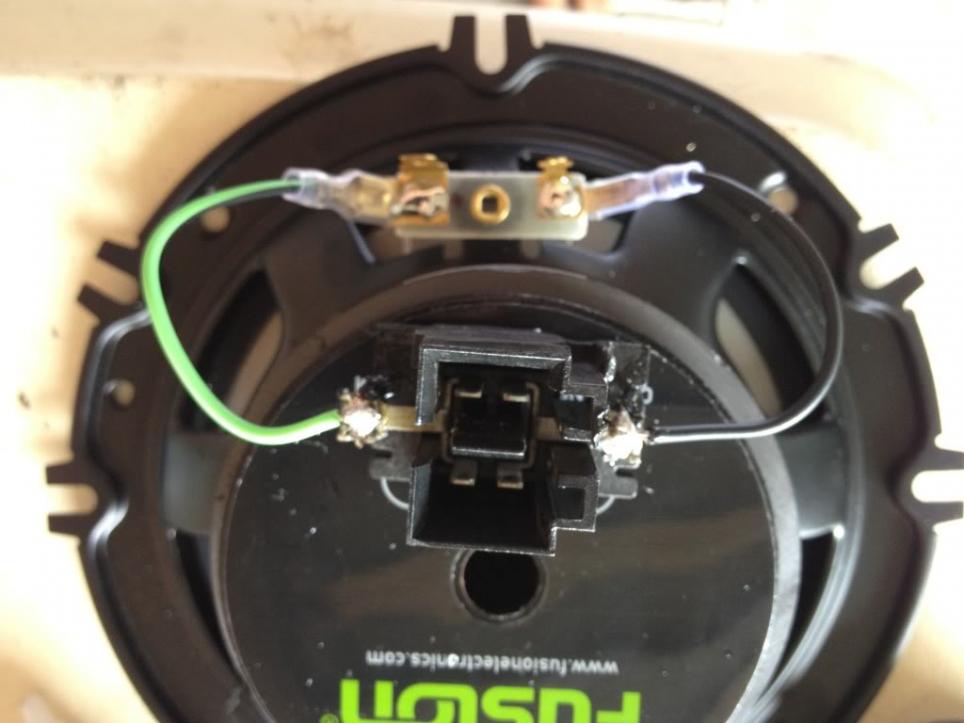
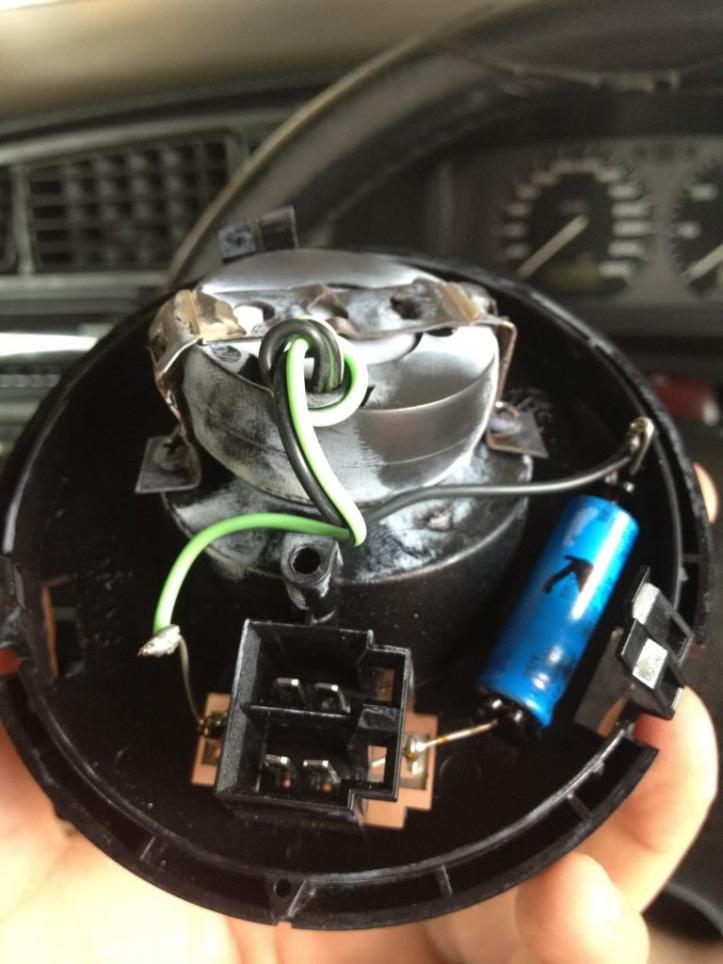
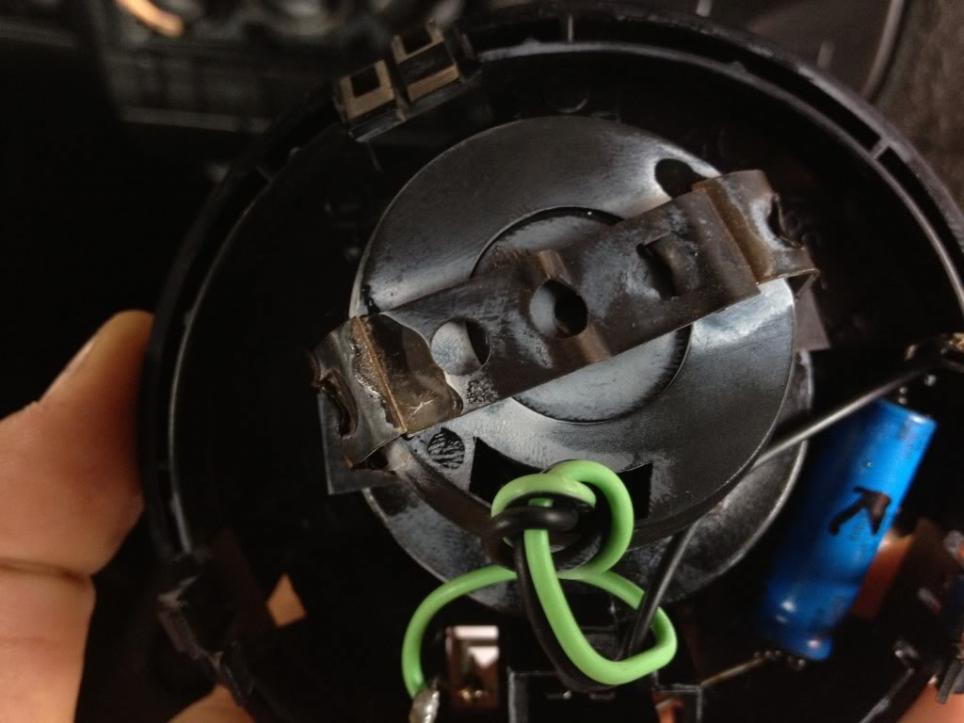
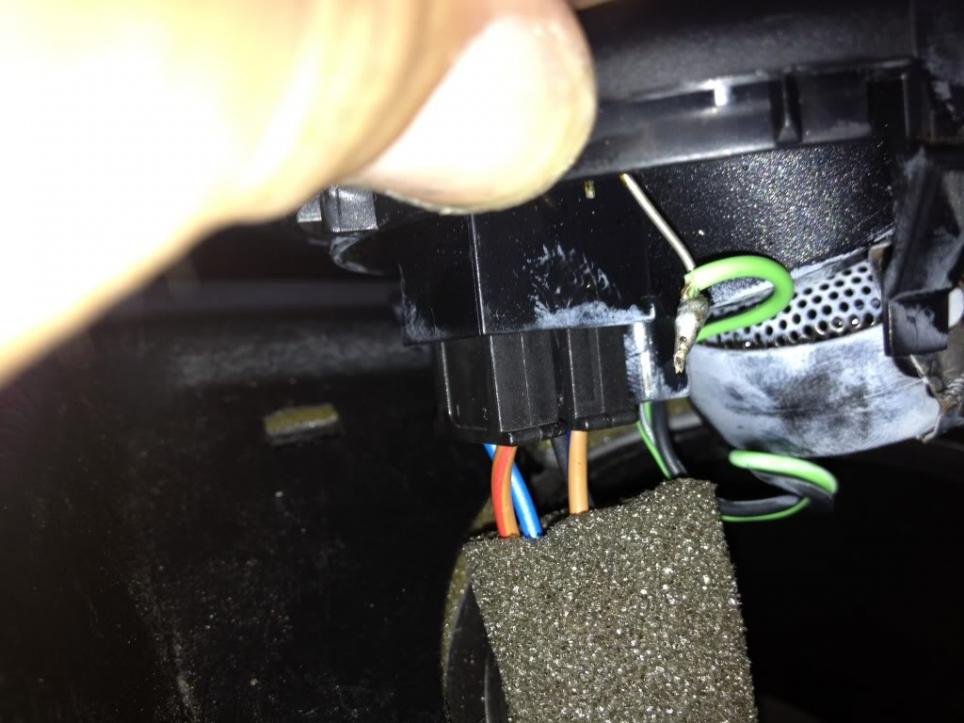
First off. Install the headunit, this is very simple, use the wiring diagram that you can find in this forum from the DIY files and connect the wires of the new headunit and solder them together, and your done! If you want to know how to actually get the headunit out then consult the DIY Heatercore tutorials as this shows the disassembly of the dash.
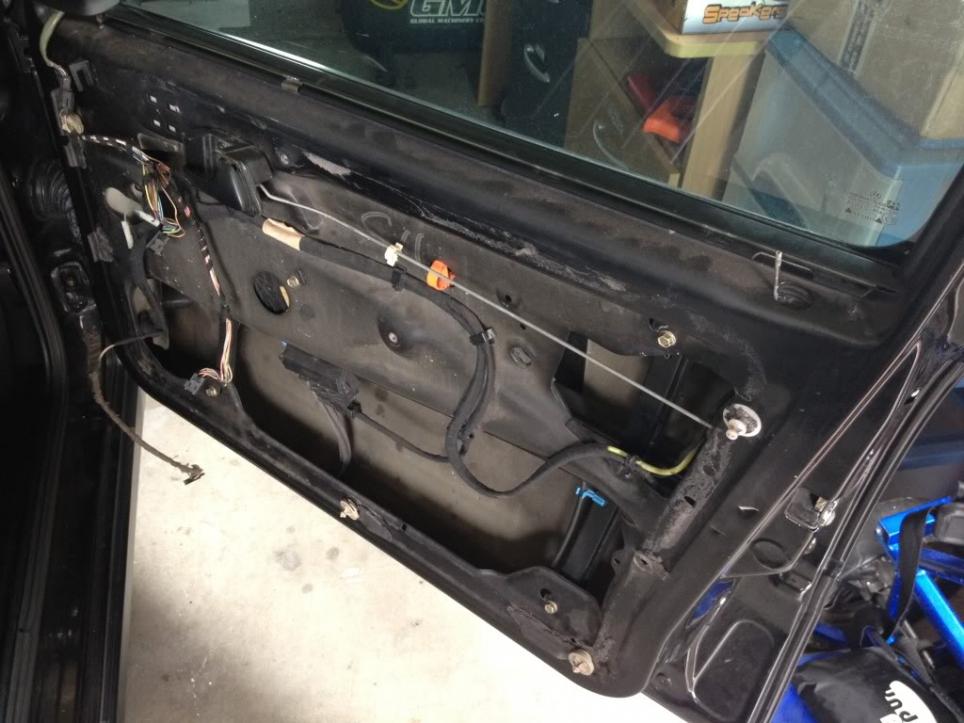
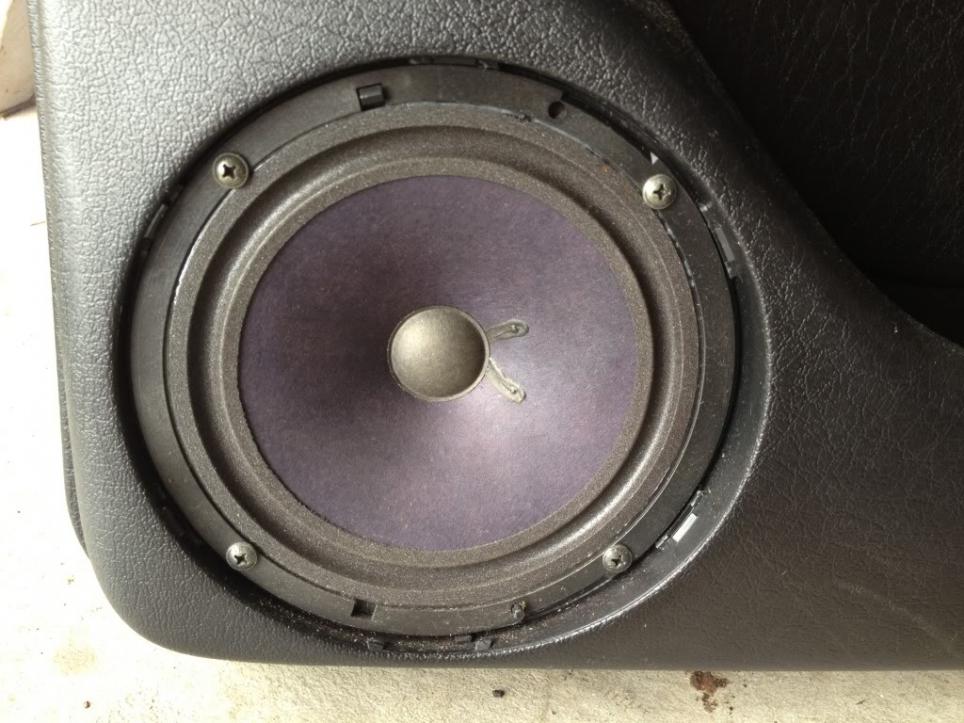
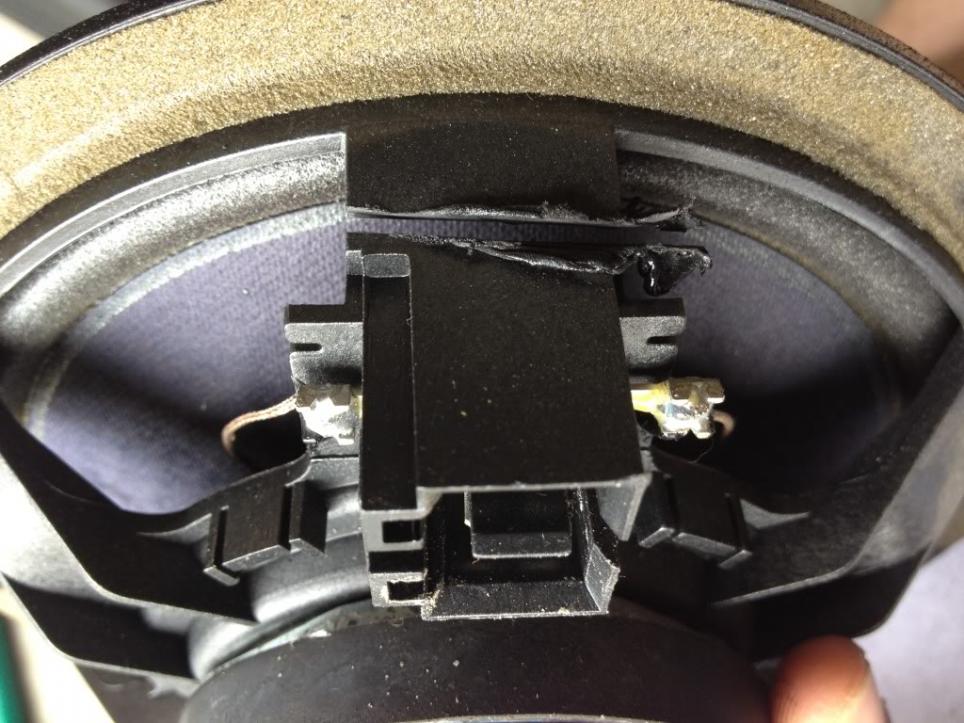
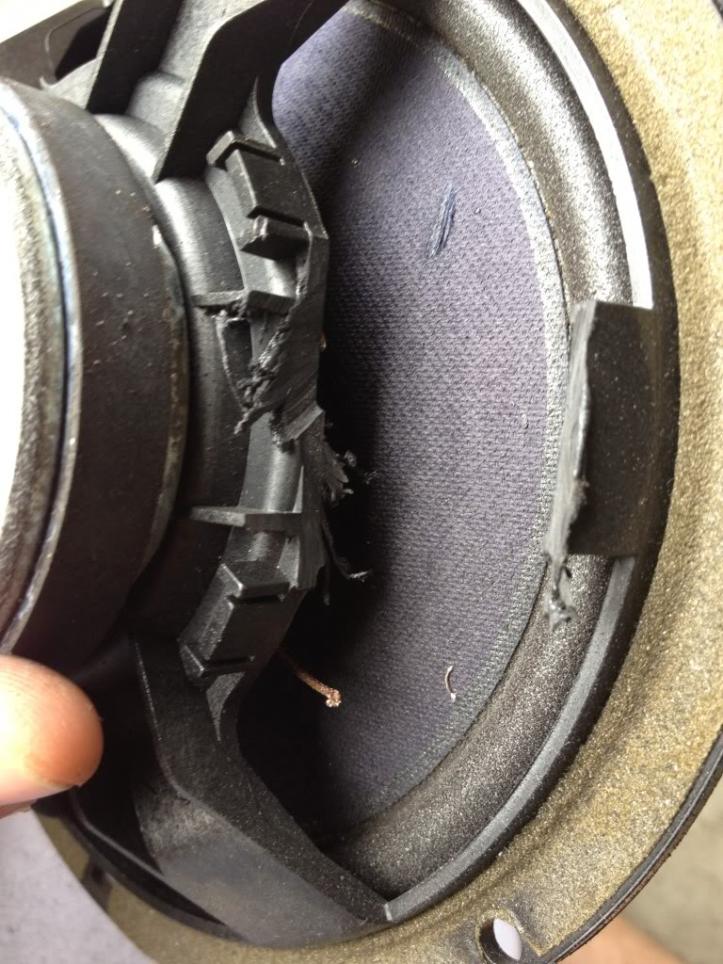
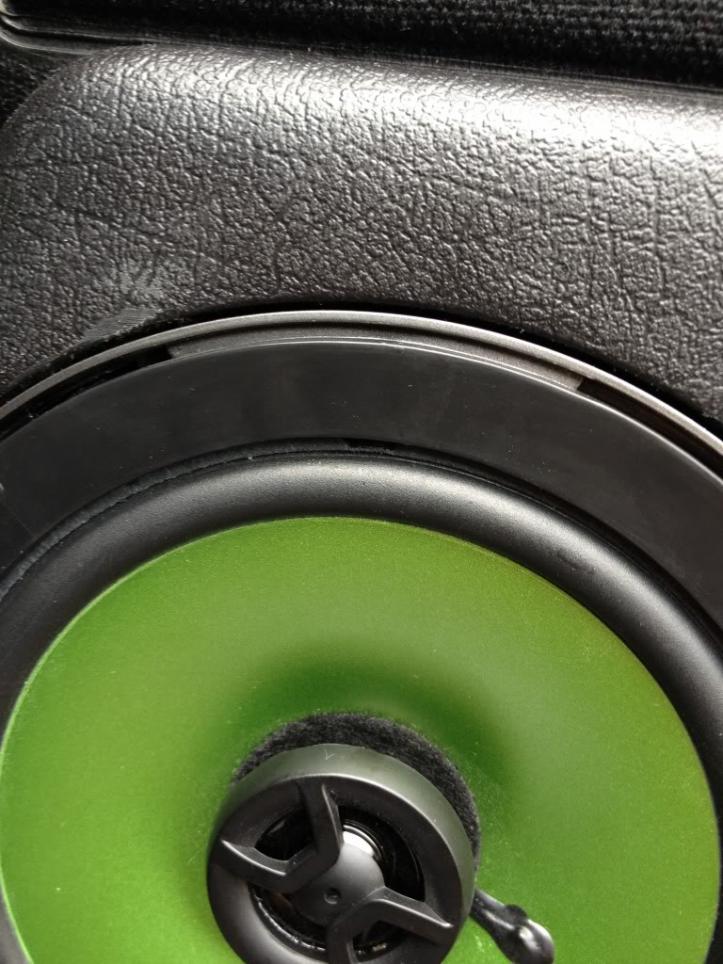
You can install these speakers without taking the door trims off but I took them off as it allows you to get back there and clean the whole thing up, as mine was VERY dusty and dirty.
Speakers I Used:
Fronts:

Backs:
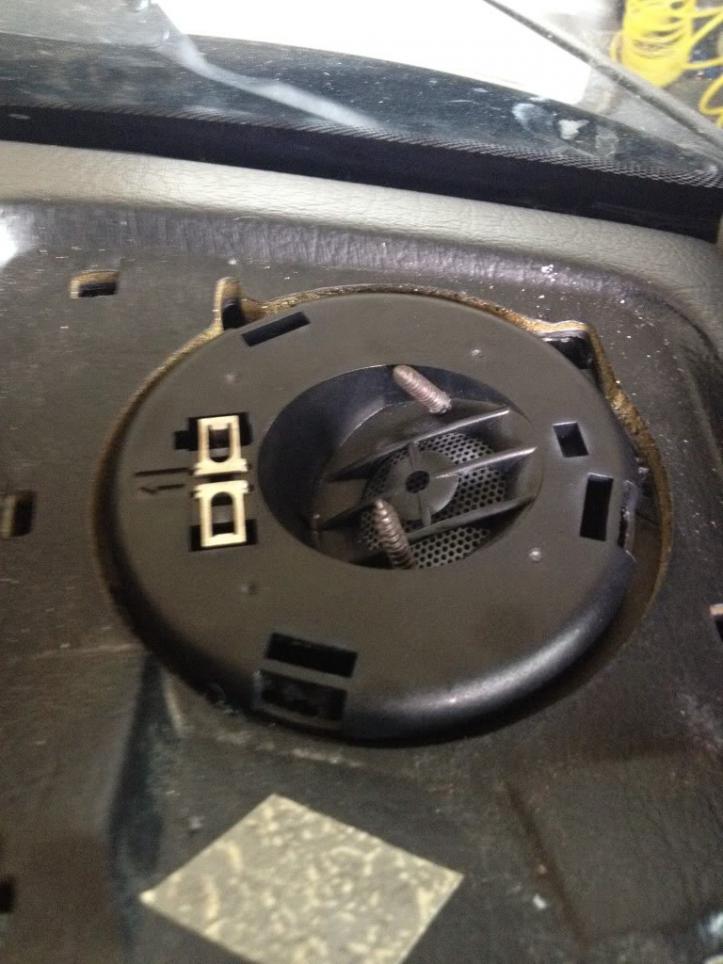
Front Speaker Install
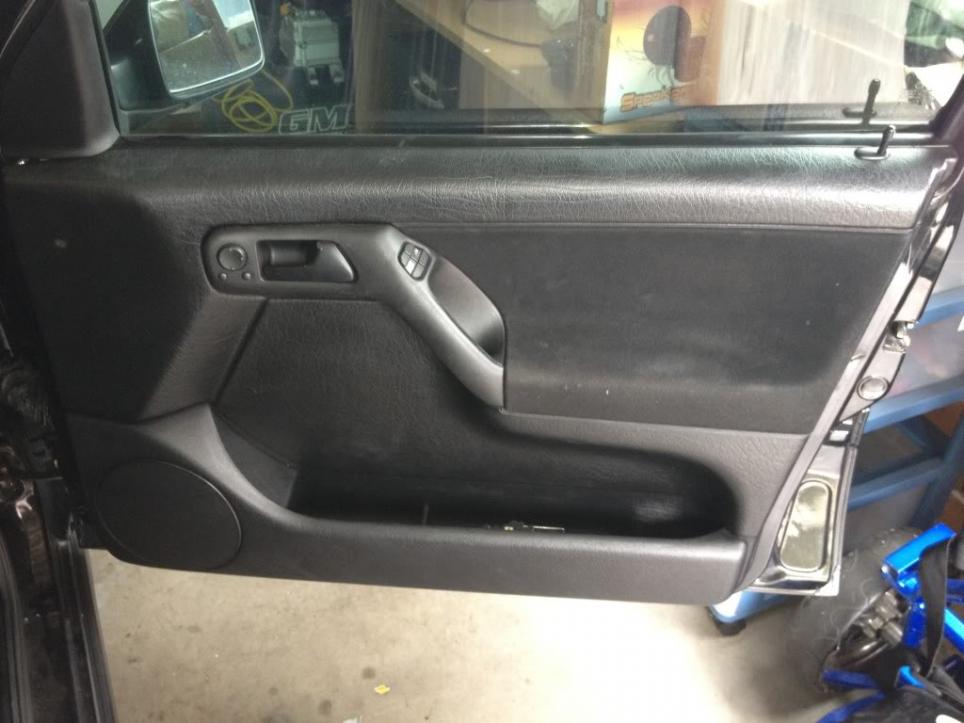
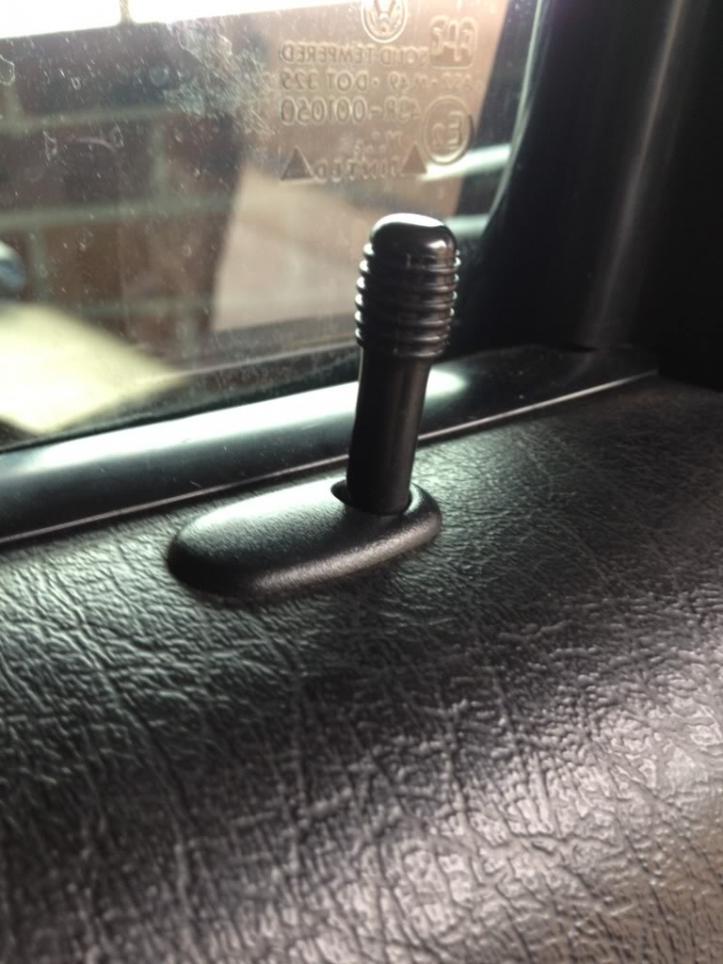
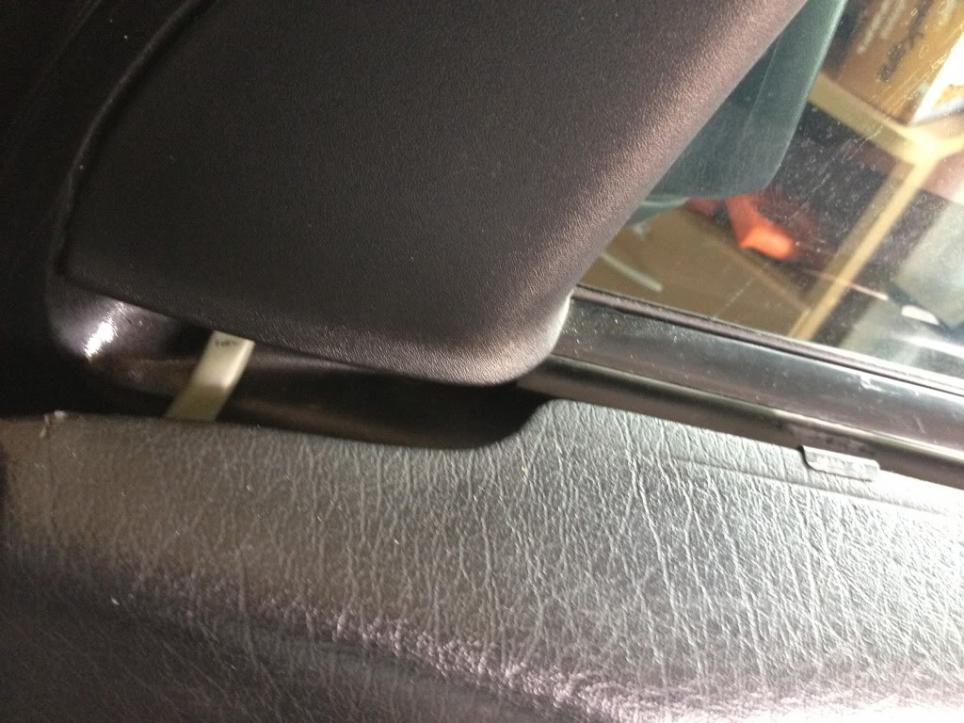
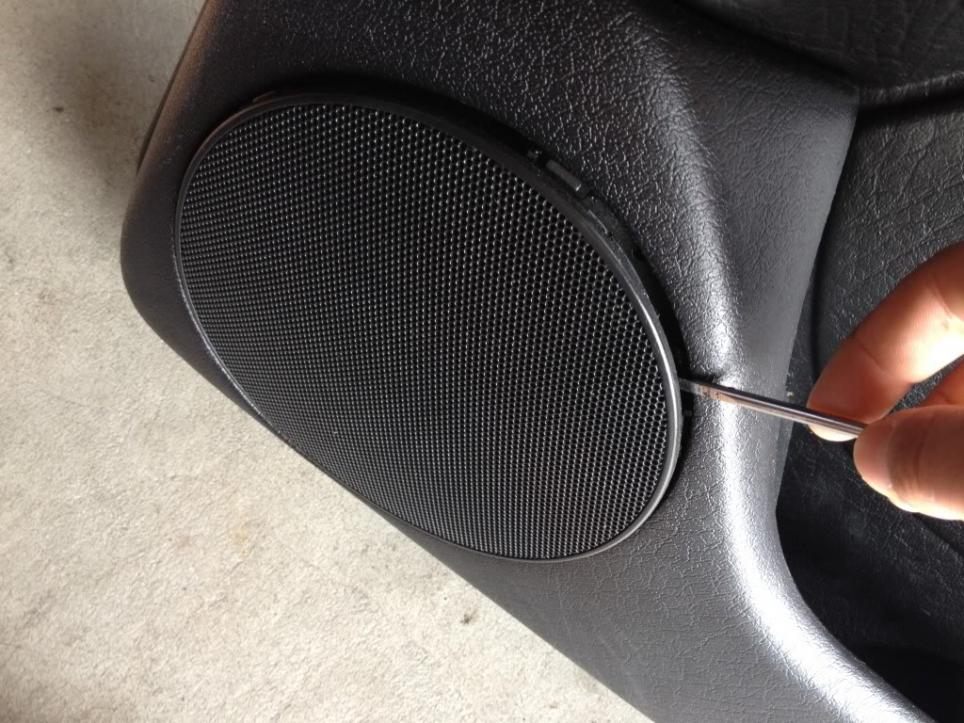
Pull off your plastic trim piece near surrounding your door handle, use a small flat head screwdriver to pry it out, be gentle not to scratch the plastic. Its just clipped in.
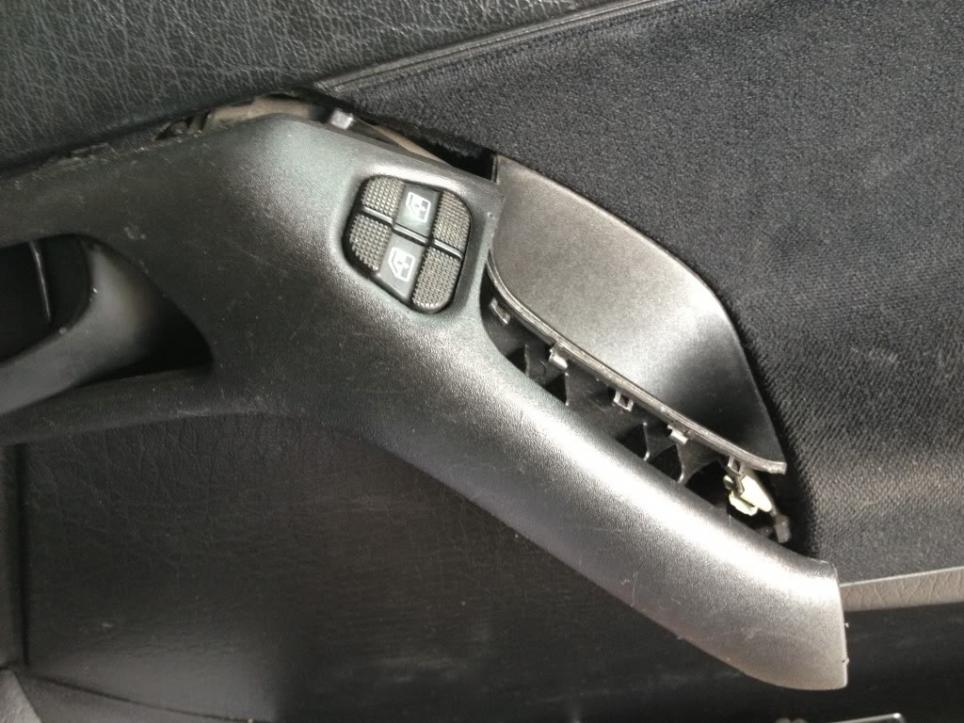

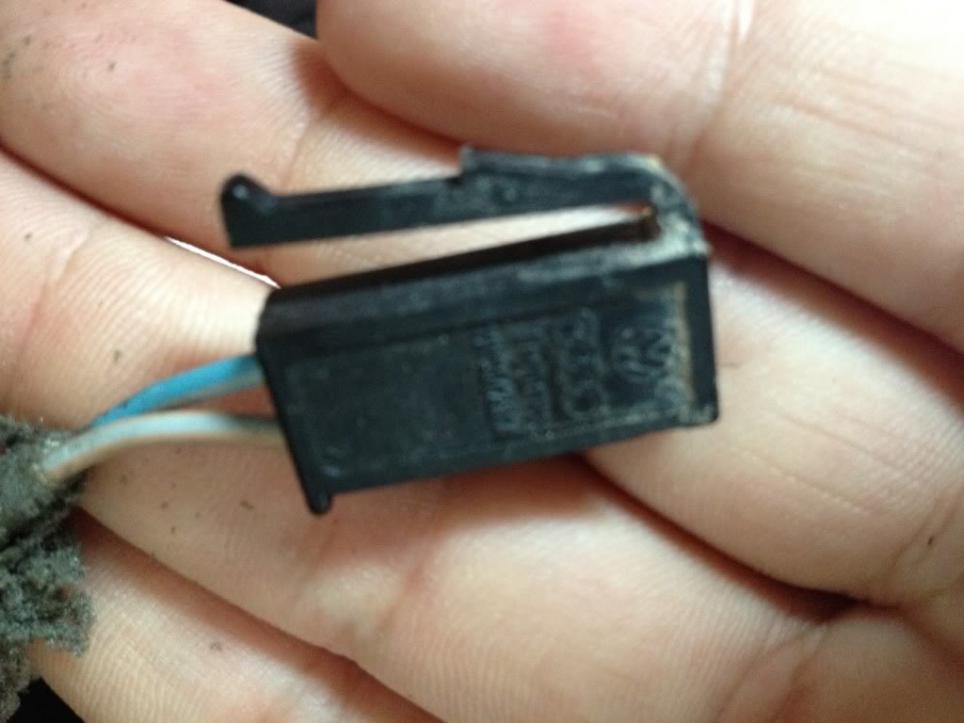
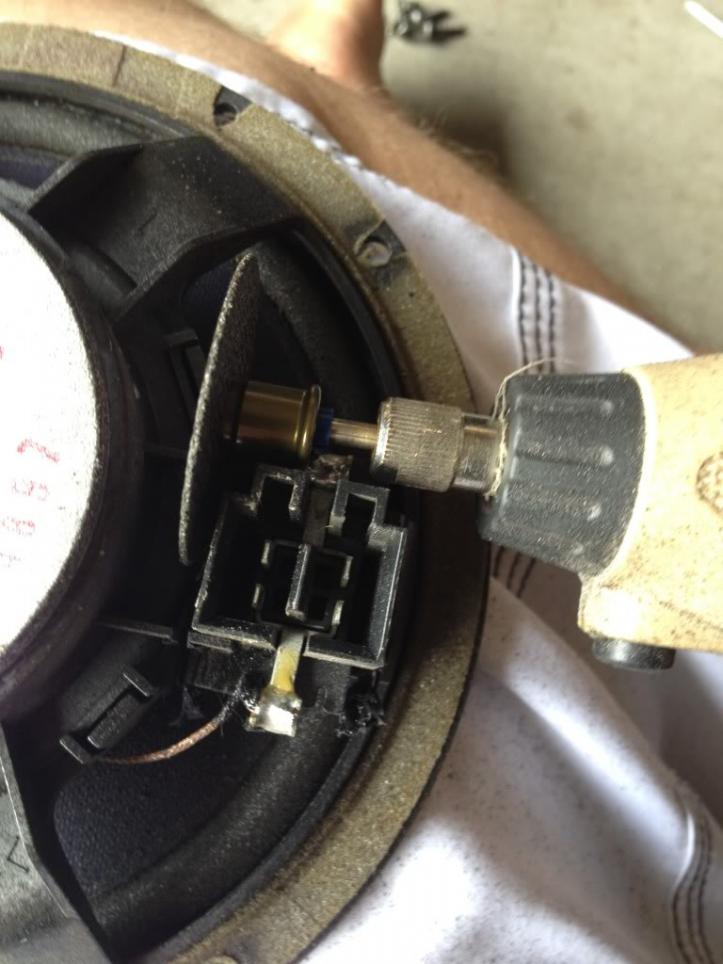
There are two connectors clipped in, just wiggle them out and feed them out of the plastic trim.
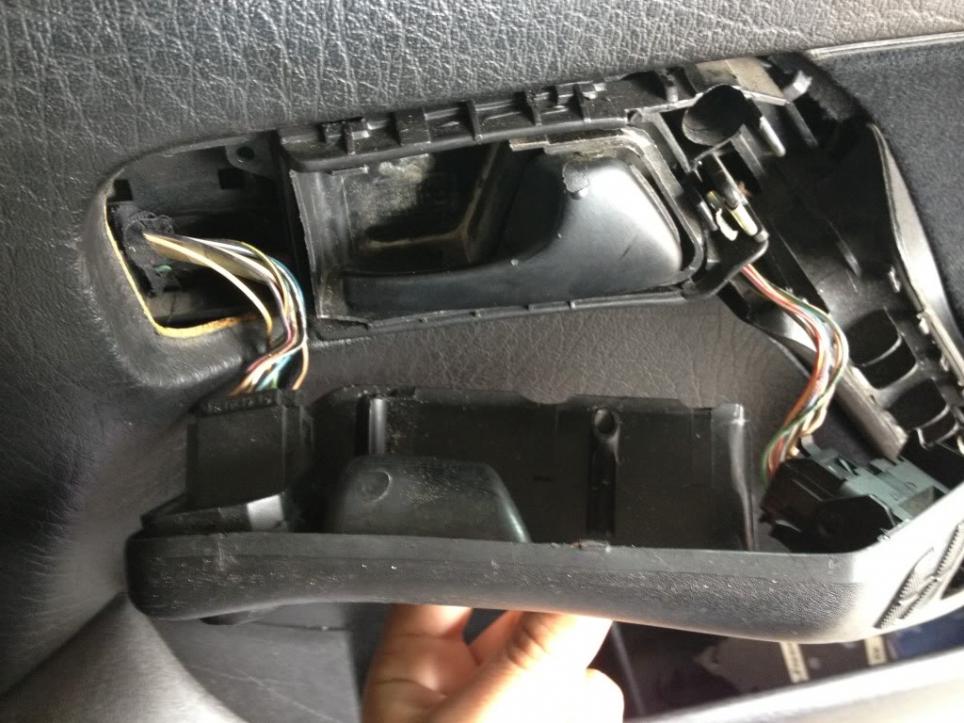
Take two philips heads out, they are located near the door handle and plastic trim piece.
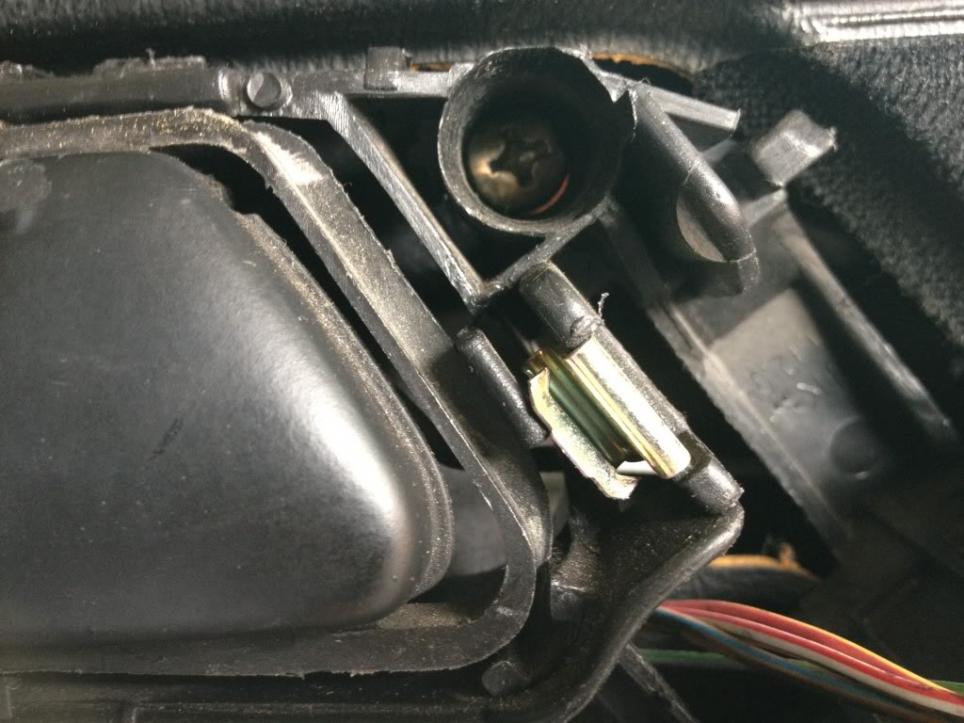
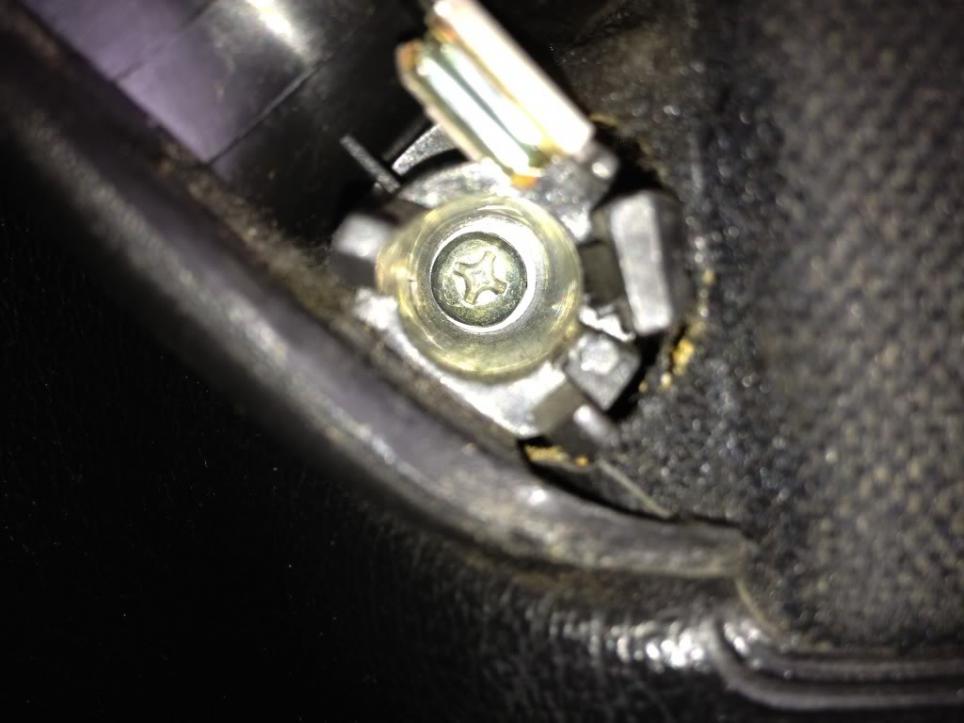
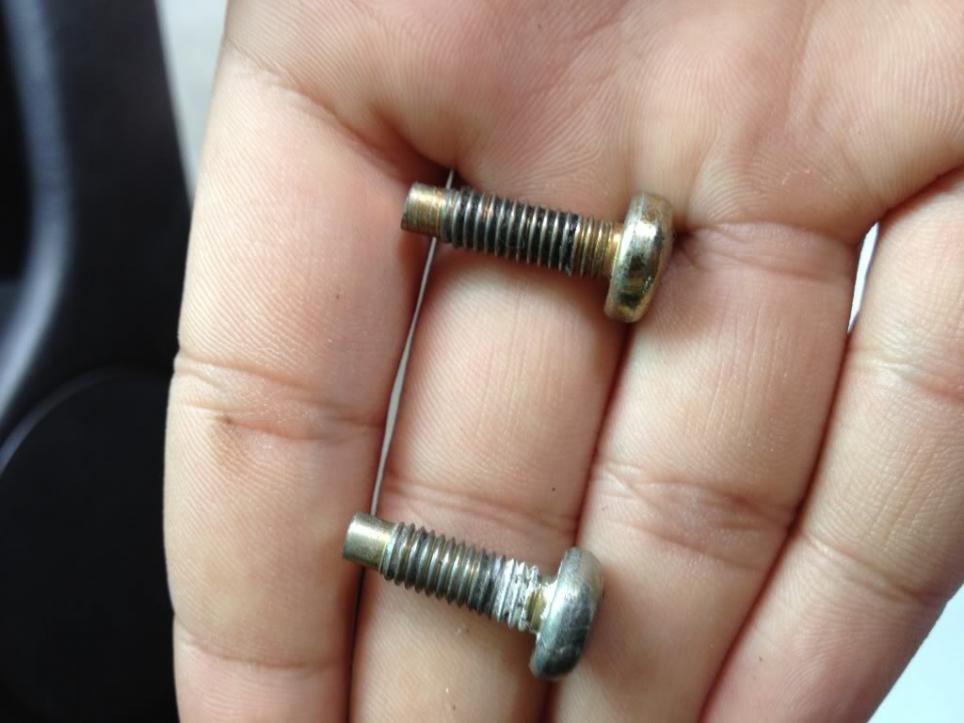
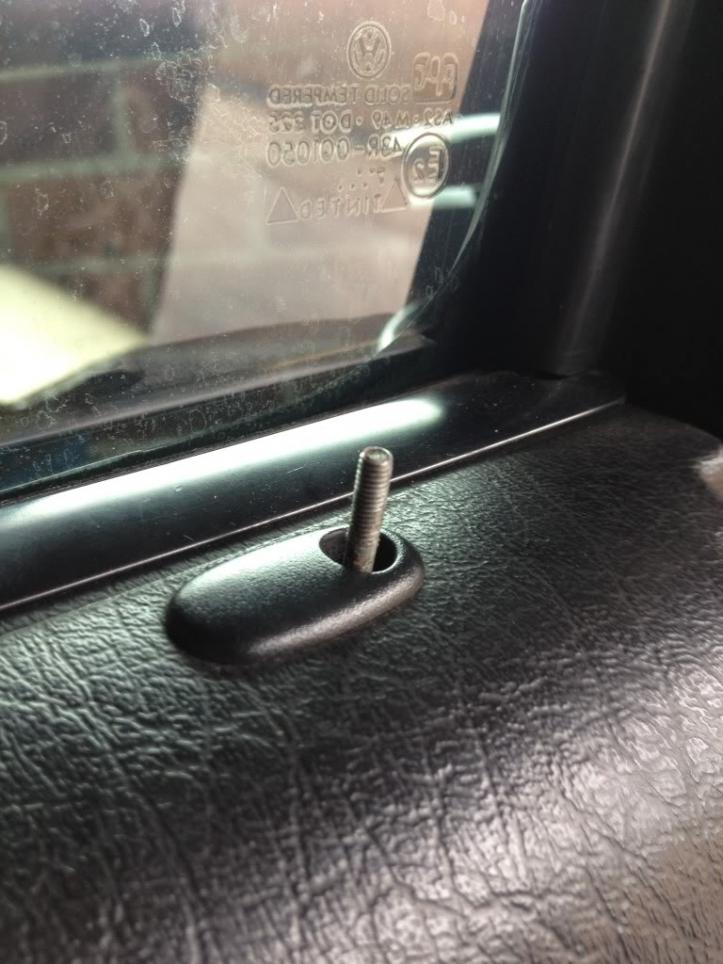
Unscrew door pins...
I thought I would write up a tutorial on a very simple sound system. I know that I would not be able to do many things without the help of people here and their great tutorials.
So here is a VERY simple tutorial for people looking for a sound system that is better than standard, wont fuzz on you and replaces the blown old factory speakers which for the most of you are now 12-16+ years old.
I understand some people will not like how I did this but it just made life very easy and you dont have to change anything with the cars hard wiring but rather just a few clips and use your head for the DIY part.
The products I used was a Sony headunit which I bought brand new off a friend who never used it, in stores for $200? Anyway its a bog standard Sony Xplod unit...Which puts out 52W (RMS) to 4 channels (four speakers) so your looking at a pretty standard speaker that is going to be put in.
What You Will Need
-Small flat head screw driver
-Philip head screw driver
-Dremel
-Soldering Iron/Solder
-Everything in your kit (wires, bracket, grills, etc)
-Wire Cutters/Wire stripper
-Double side sticky tape and Super glue (both optional)
Here is what I used for the speakers:
Front Speakers:
6
Rear Speakers:
6
These are basically fusions bottom of the line 6" components for the front and I used 6" 2-ways for the back.
In the Mk3 Golf, it runs component speakers front and rear, BUT the rear tweeters (tiny speakers) are much smaller than the tweeters in the front, I knew the aftermarket component tweeters would not fit, so I went with 2 ways, which basically eliminated the need for the tweeter as it is built in to the 2 way speaker.
Sorry for that confusion, so basically, you can run components in the rear, but the hole for the tweeter is so small, size of a 20cent piece, nothing aftermarket will fit that I thought hence my choice for 2-ways.
First off. Install the headunit, this is very simple, use the wiring diagram that you can find in this forum from the DIY files and connect the wires of the new headunit and solder them together, and your done! If you want to know how to actually get the headunit out then consult the DIY Heatercore tutorials as this shows the disassembly of the dash.
You can install these speakers without taking the door trims off but I took them off as it allows you to get back there and clean the whole thing up, as mine was VERY dusty and dirty.
Speakers I Used:
Fronts:
Backs:
Front Speaker Install
Pull off your plastic trim piece near surrounding your door handle, use a small flat head screwdriver to pry it out, be gentle not to scratch the plastic. Its just clipped in.
There are two connectors clipped in, just wiggle them out and feed them out of the plastic trim.
Take two philips heads out, they are located near the door handle and plastic trim piece.
Unscrew door pins...


Comment