 Tweet
Tweet
This writeup was originally posted to an old blog many years ago and now I've discovered VWWatercooled, and the DIY thread for MkIII's, I've moved it all over here. I did this repair in May 2006 and the repaired coilpack is still going strong to this day.
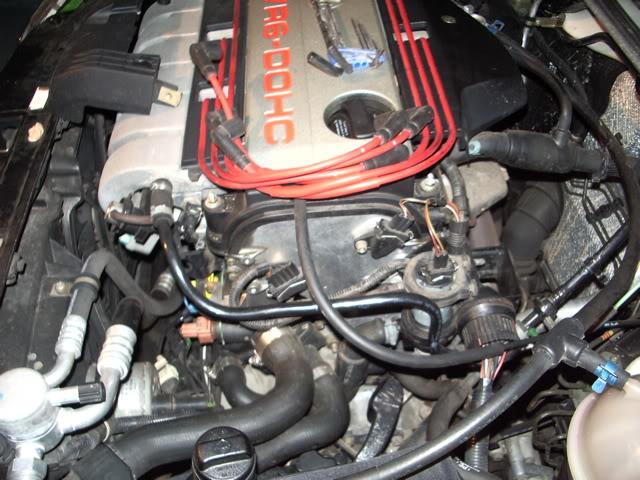
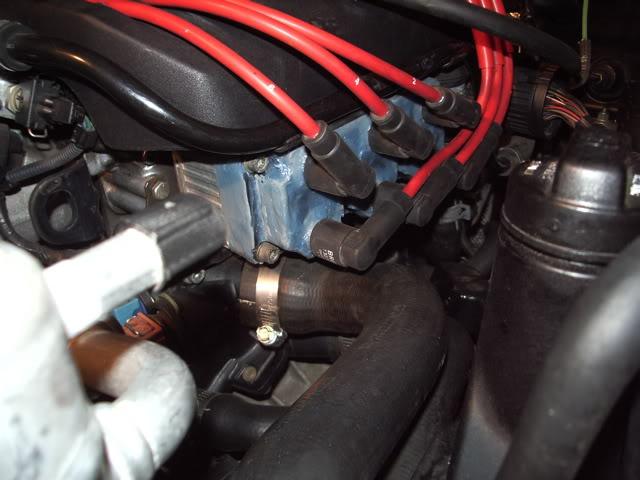
The coilpack failed a while back on my 1996 Golf VR6, and I just couldn't bring myself to pay well over $500 for a brand-new one, not after just having forked out over $300 for a new auxiliary coolant pump, so I did what any self-respecting tinkerer would do and hacked one together from broken parts =)
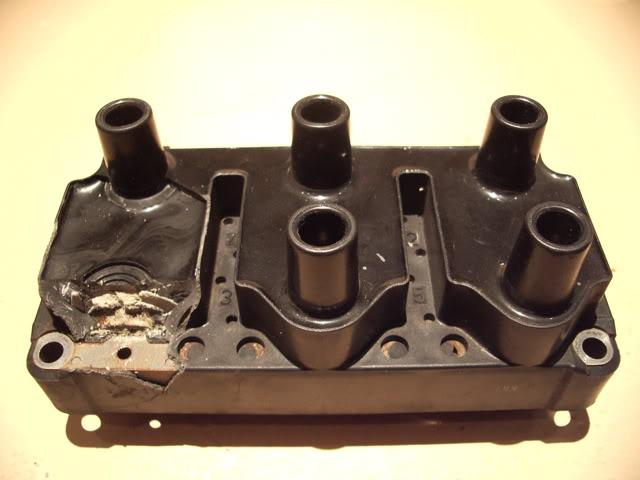
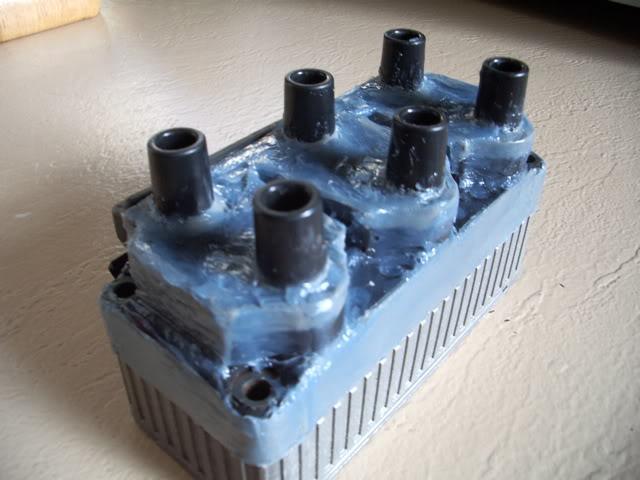
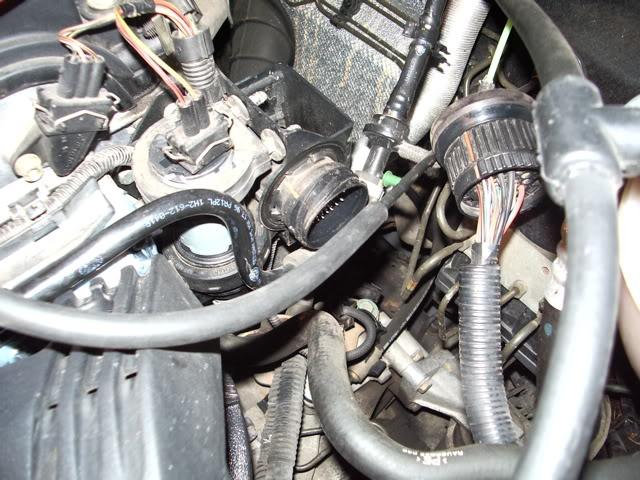
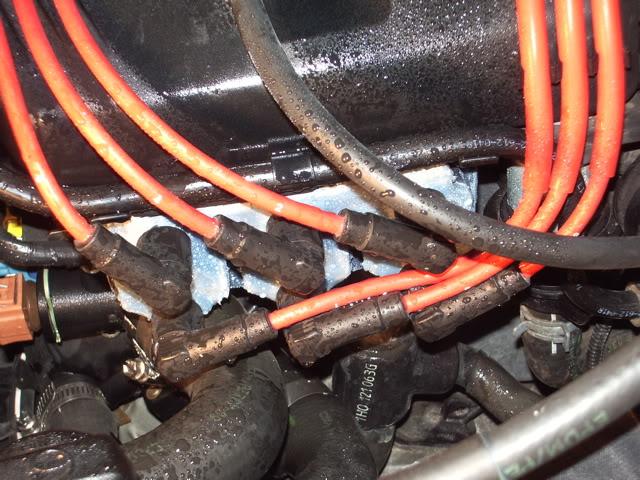
Here's a photo of the original one - you can see that the terminal has broken right off it, such that I can't even see any metal contacts inside that would have connected with the terminal. It seems that the inside of the coilpack is filled with expanding foam, and when the terminal broke off, the expanding foam came out and covered everything. The terminal was so loose that simply unplugging the ignition lead for cylinder #1 was enough for the whole terminal to break off!
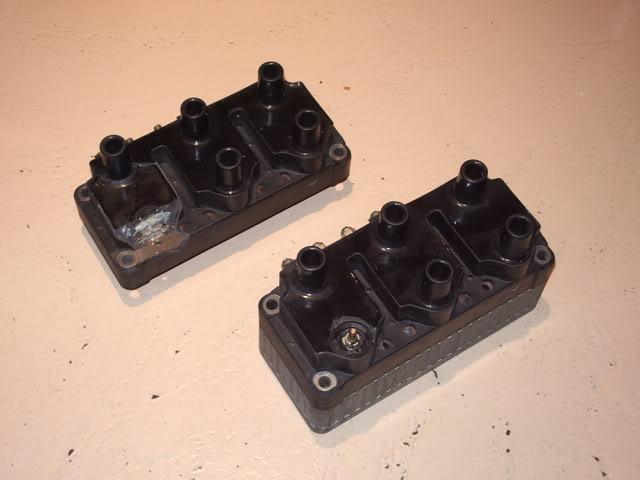
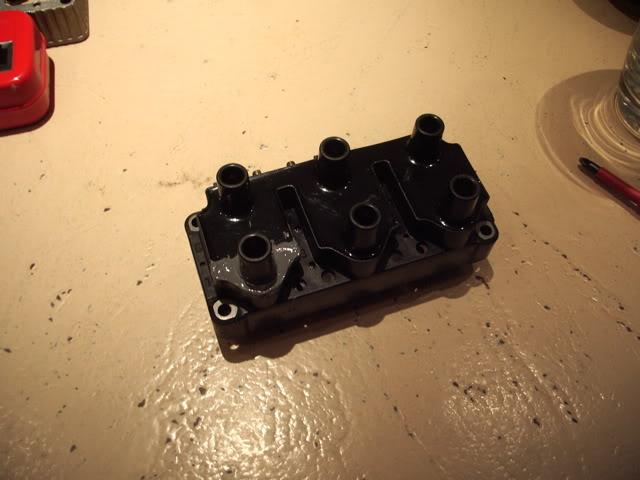
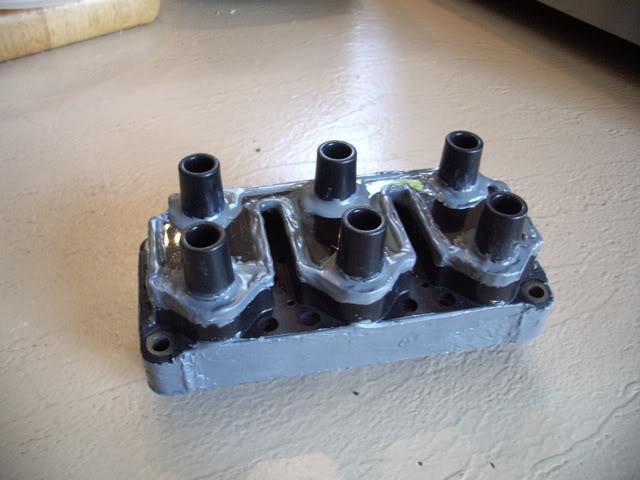
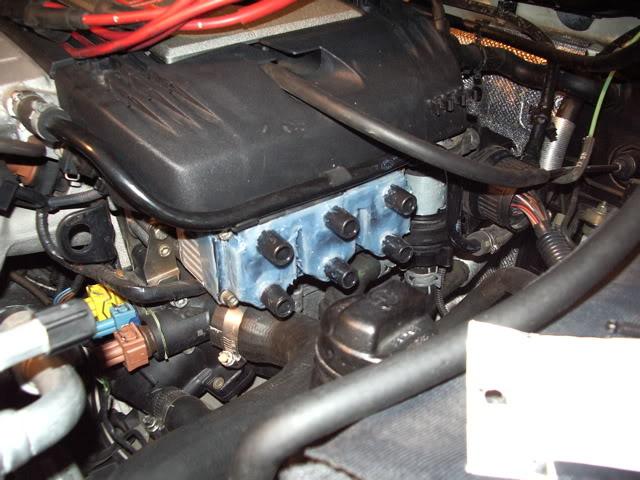
Here are the old and new (second-hand) coilpacks side-by-side. I got the new one for $100 as it had one boot broken off. Strangely, it was also the terminal for cylinder #1 that had failed on this one - anyone else out there with a broken coilpack, let me know if it was also cylinder #1 that failed for you.
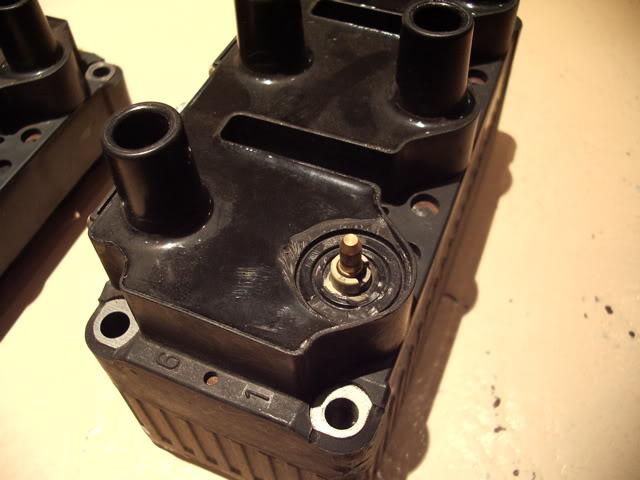
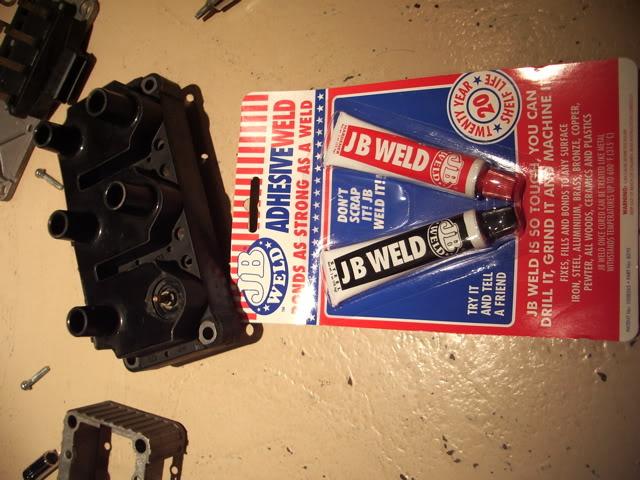
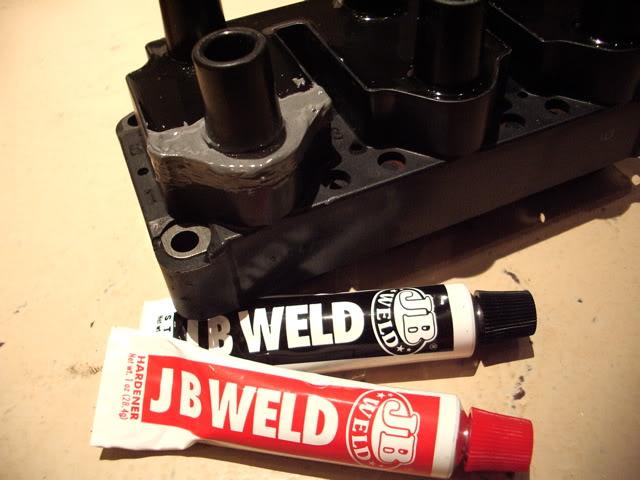
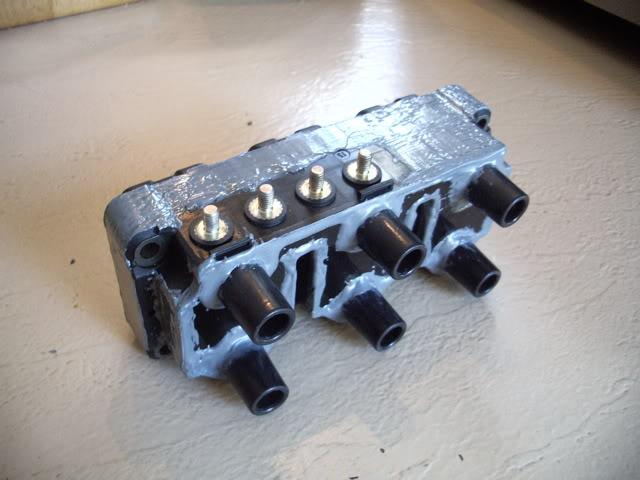
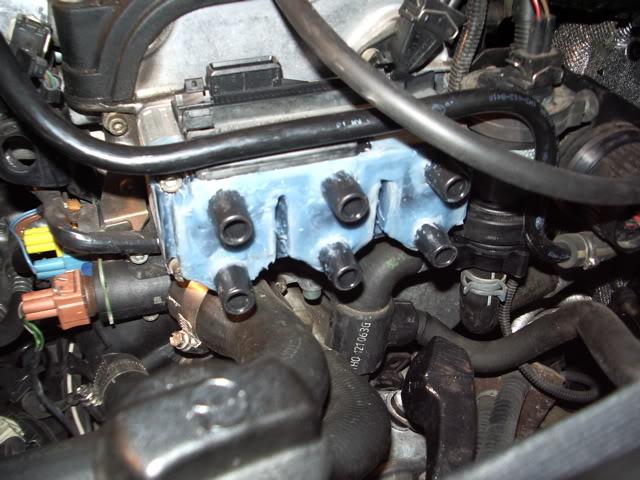
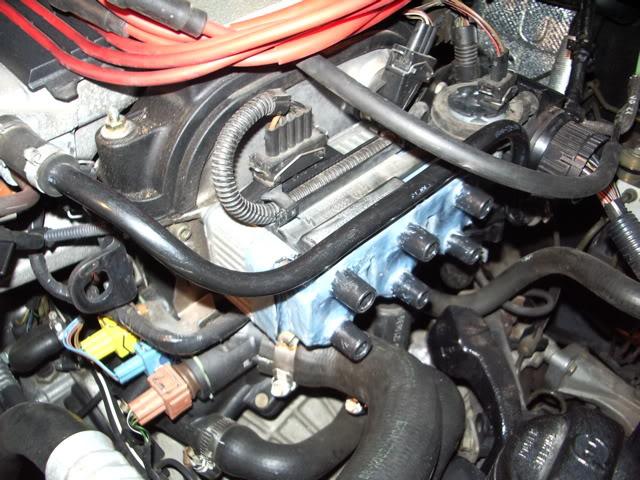
Having the broken terminal from my original coilpack, I was easily able to chip off the black epoxy leaving just the plastic boot, that I then epoxied onto the new coilpack.
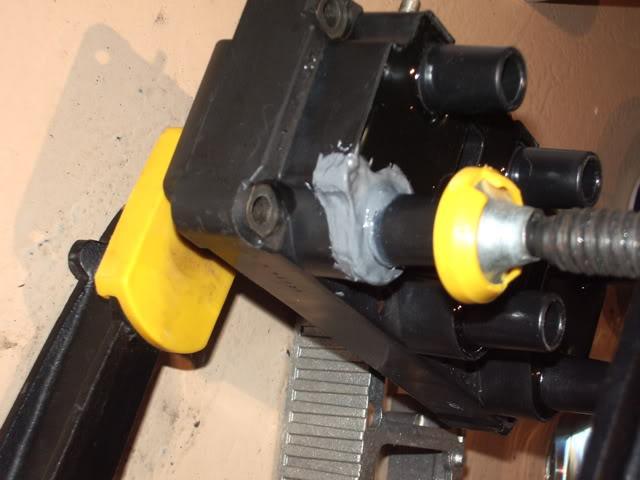
You can see in picture #4 the broken boot...
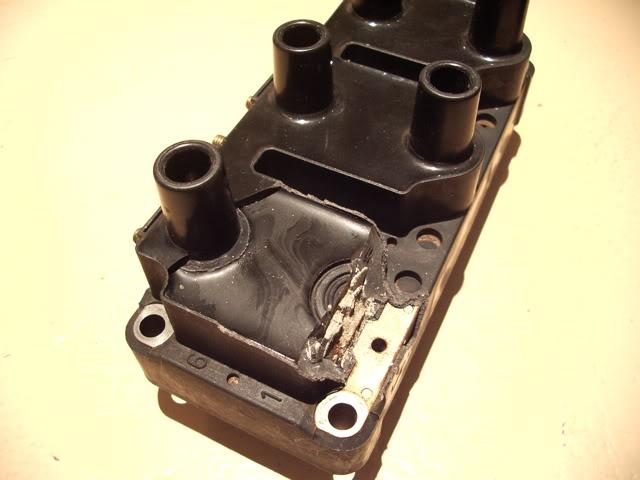
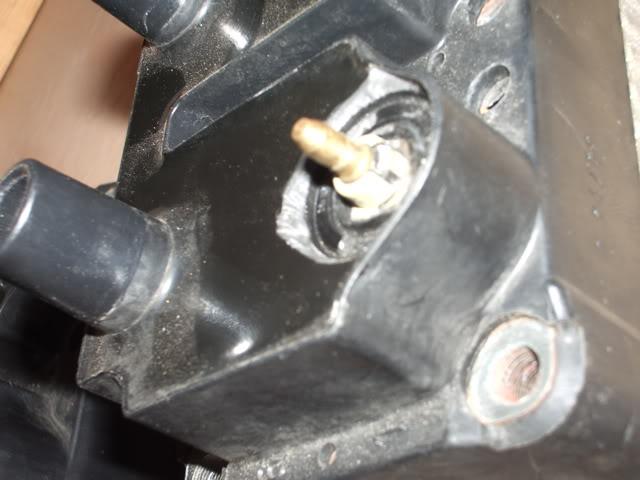
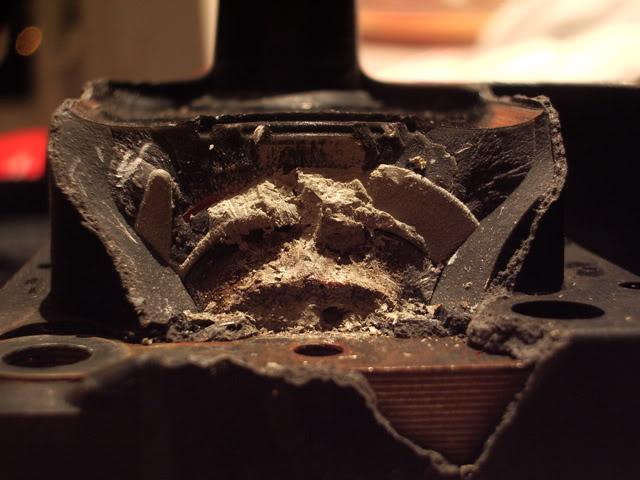
Here is a picture of the broken coil area on my original coilpack. There is no visible metal, I can't see any electrical connector. I suppose the expanding foam it's filled with is so that if (when) it fails, it fails safe and covers the high-voltage areas with an insulating foam.
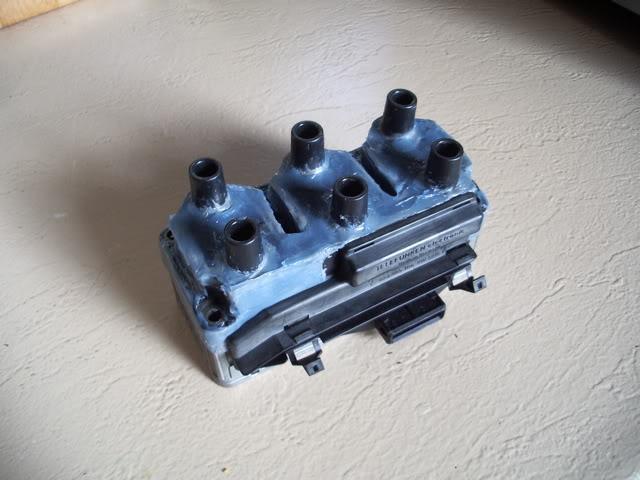
Here's how to take the pack apart, and put it all back together, hopefully working, and hopefully in better condition than when it was removed.
First, remove the plastic cover/cable guide on the top - it should just unclip:

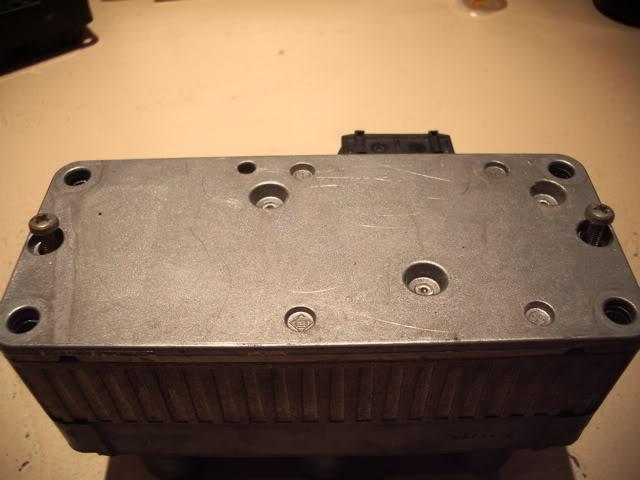
Next, undo two screws on the back of the coilpack
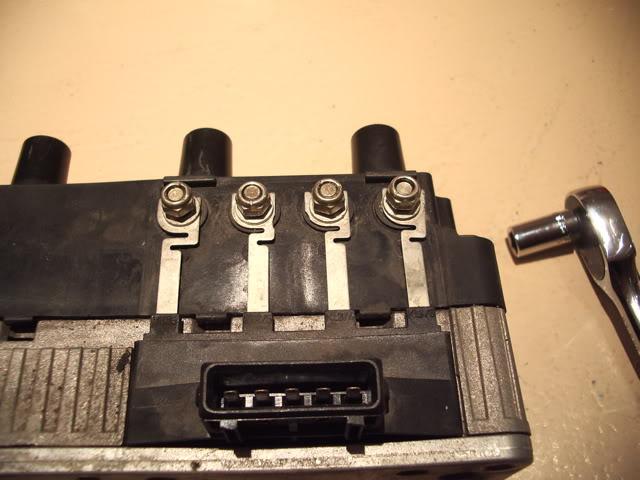
Then, there are four locknuts that need to be undone. I can't remember the size, however they are metric, not imperial sizes. Maybe 6mm?
After undoing these nuts, it all comes apart quite easily
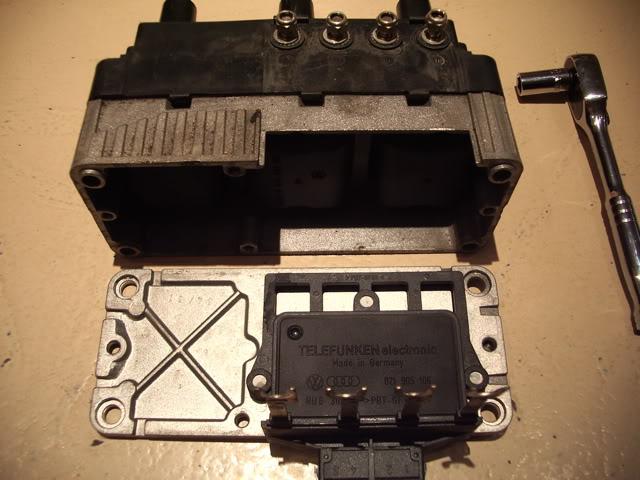
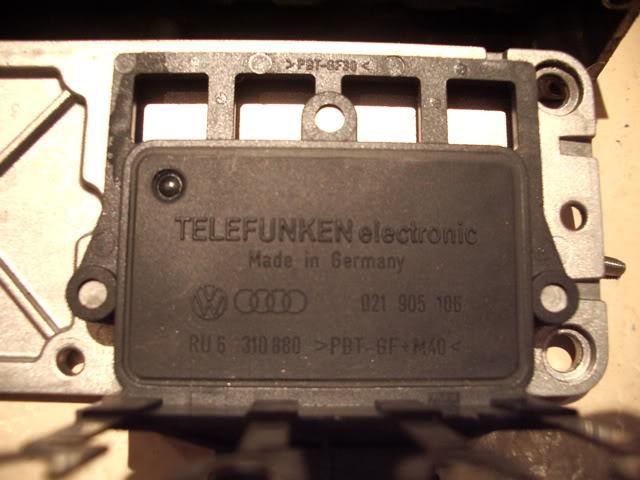
Here's the control module, removed from the rest of the unit:
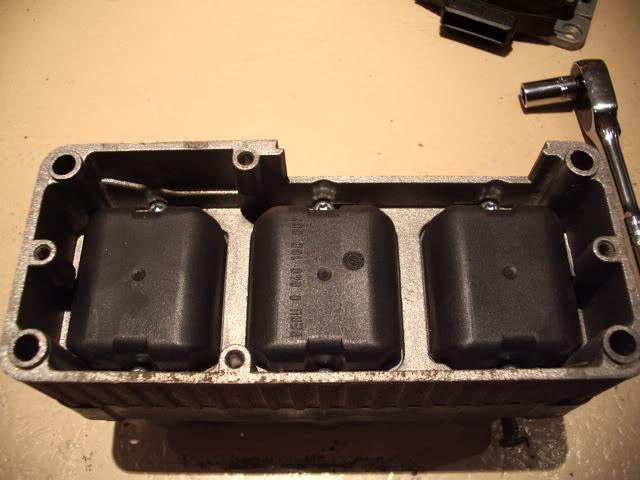
Here's the rear of the coils:
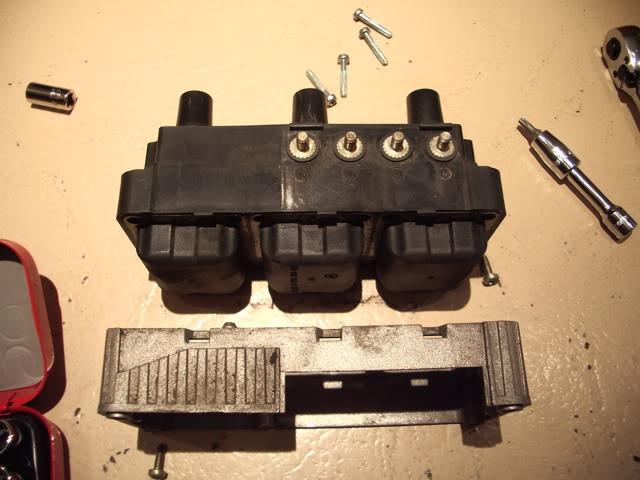
Here it is, all in pieces, ready to be washed and reconditioned:
continued...
The coilpack failed a while back on my 1996 Golf VR6, and I just couldn't bring myself to pay well over $500 for a brand-new one, not after just having forked out over $300 for a new auxiliary coolant pump, so I did what any self-respecting tinkerer would do and hacked one together from broken parts =)
Here's a photo of the original one - you can see that the terminal has broken right off it, such that I can't even see any metal contacts inside that would have connected with the terminal. It seems that the inside of the coilpack is filled with expanding foam, and when the terminal broke off, the expanding foam came out and covered everything. The terminal was so loose that simply unplugging the ignition lead for cylinder #1 was enough for the whole terminal to break off!
Here are the old and new (second-hand) coilpacks side-by-side. I got the new one for $100 as it had one boot broken off. Strangely, it was also the terminal for cylinder #1 that had failed on this one - anyone else out there with a broken coilpack, let me know if it was also cylinder #1 that failed for you.
Having the broken terminal from my original coilpack, I was easily able to chip off the black epoxy leaving just the plastic boot, that I then epoxied onto the new coilpack.
You can see in picture #4 the broken boot...
Here is a picture of the broken coil area on my original coilpack. There is no visible metal, I can't see any electrical connector. I suppose the expanding foam it's filled with is so that if (when) it fails, it fails safe and covers the high-voltage areas with an insulating foam.
Here's how to take the pack apart, and put it all back together, hopefully working, and hopefully in better condition than when it was removed.
First, remove the plastic cover/cable guide on the top - it should just unclip:
Next, undo two screws on the back of the coilpack
Then, there are four locknuts that need to be undone. I can't remember the size, however they are metric, not imperial sizes. Maybe 6mm?
After undoing these nuts, it all comes apart quite easily
Here's the control module, removed from the rest of the unit:
Here's the rear of the coils:
Here it is, all in pieces, ready to be washed and reconditioned:
continued...


Comment