 Tweet
Tweet
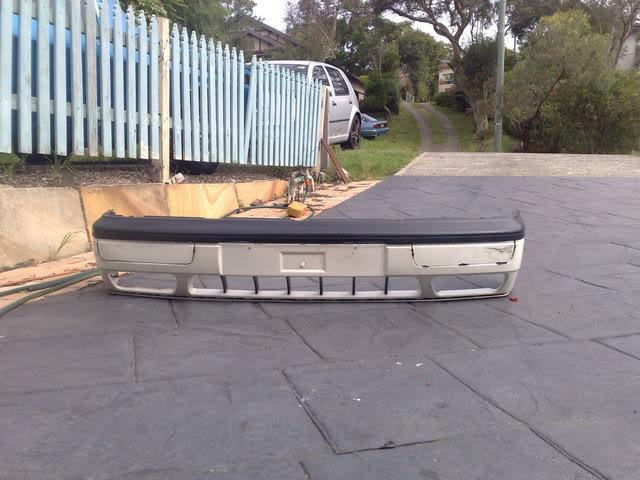
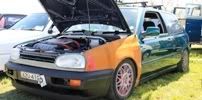
Alrighty here it is.
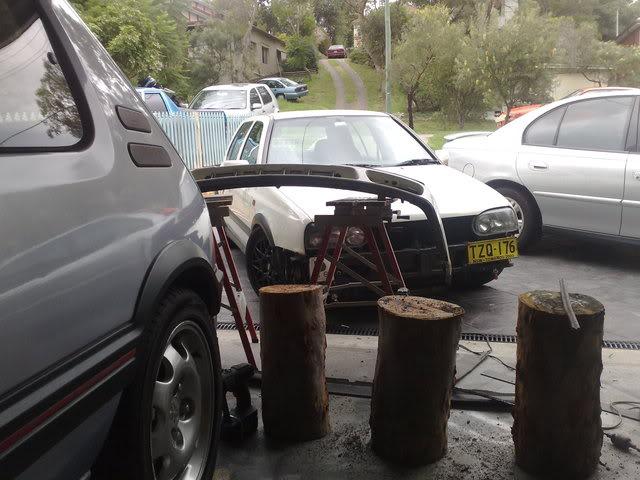
Heres a list of things i think you'll need.
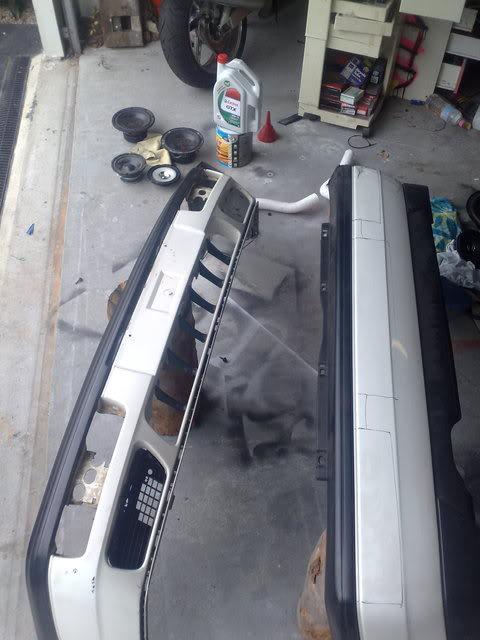
Ok the first step i did was i measured up the inidcators and the numberplate recess, leaving 5mm extra on the outside edges (so that i had room to play with. Then i drew out the outlines on the front bumper like so.
Then just cut out the outline from the rear bumper. I just cut it out with a jig saw, with general cuts on the outside of the lines, going wide around the corners. Then i trimmed it up with some plastic cutters.
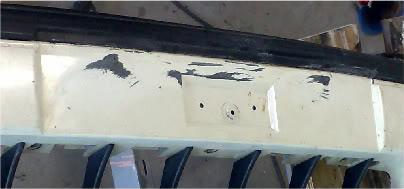
Now cut out the seperate parts (so you ended up with 3 pieces, 2 indicator/foglight pieces and a numberplate recess)
Then, carefully and slowly cut down the indicator pieces until they fit 99% into the holes. This took a little while, but it should sit into the hole like this.
Do this for the Numberplate recess too, however line up the top edge of the cut out with the line on the bumper. You may have noticed by now that the angle at the bottom of the cut out is heigher than the one on the bumper. But thats ok, its easier to form the angle out of bondo.
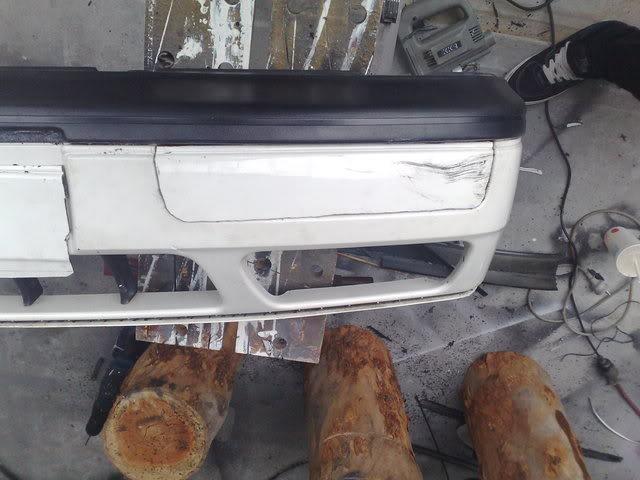
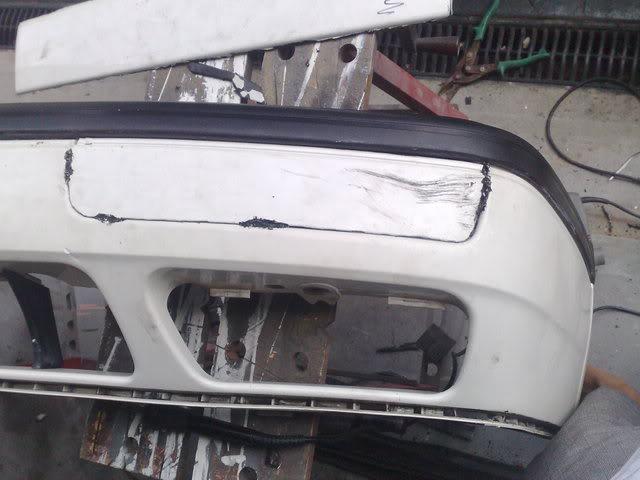
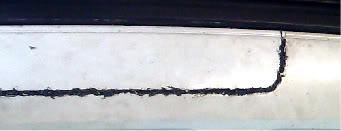
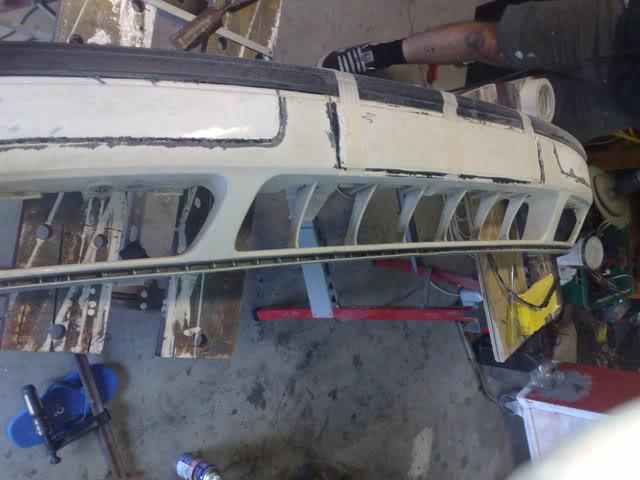
Now heat up the soldering iron, and use it to do some tack welding. I would strongly recommend wearing a mask or something over your face...if not for the toxic chemicals that are going to kill you...for the horrid smell that comes off the plastic. a flat headed solder is probably best for this, but as long as the head has a small tip its do-able. I heated up the area of the bumper/cut out i wanted to tack weld, then i fed thin pieces of trimmings that i had taken off the bumper (no more than 10mm wide...preferably 5mm), melting the plastic to sort of created a weld. its not pretty but it does the job really well.
It looked like this after:
with both indicators:
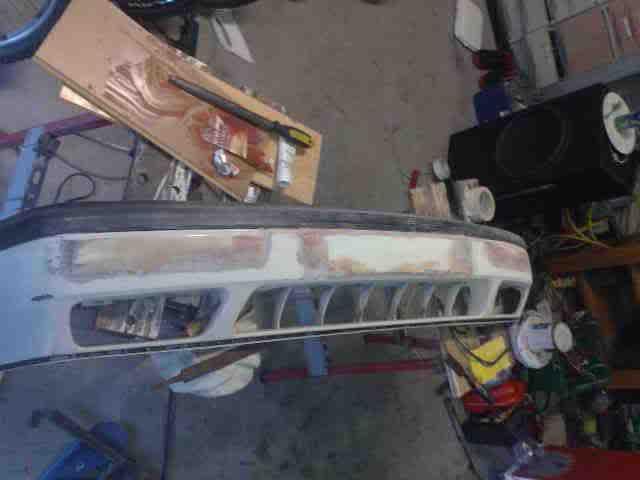
Now with the numberplate recess, sand the part on the bumper, and the back of your cut out. I drilled holes into the deepest part of the recess. This will prevent air from building up pressure etc behind the cut out.
**Some small bits of sanding may be required along the edges of the cut out to make sure it sits flat on the bumper.
Use some kind of glue on the back of the cut out, pretty much anything would do the trick. Then wrap tape around the cut out to hold it in place, and after a while (giving it time to dry), tack weld the number plate cut out on.
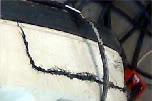
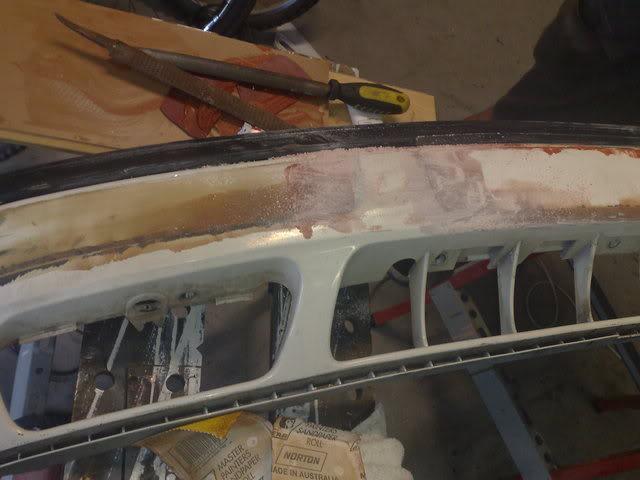
Next we start plastic welding. For plastic welding with a soldering iron, its pretty much the same principle with the tacking. Melt the area then melt strips of plastic into the melted area. If you havn't done any kind of welding before, you can judge if you are moving too fast or no putting enough melted plastic in by looking at sections you've already done. its pretty simple logic to work out what to do.
You want to cover the whole perimiter like this
Do this to the number plate recess too.
Heres a list of things i think you'll need.
- Soldering Iron
- Donor bumper
- Cutting tools
- Lots Different grades of sand paper
- Marking Pen
- Plastic Bondo
- Jig Saw
- Tape
Ok the first step i did was i measured up the inidcators and the numberplate recess, leaving 5mm extra on the outside edges (so that i had room to play with. Then i drew out the outlines on the front bumper like so.
Then just cut out the outline from the rear bumper. I just cut it out with a jig saw, with general cuts on the outside of the lines, going wide around the corners. Then i trimmed it up with some plastic cutters.
Now cut out the seperate parts (so you ended up with 3 pieces, 2 indicator/foglight pieces and a numberplate recess)
Then, carefully and slowly cut down the indicator pieces until they fit 99% into the holes. This took a little while, but it should sit into the hole like this.
Do this for the Numberplate recess too, however line up the top edge of the cut out with the line on the bumper. You may have noticed by now that the angle at the bottom of the cut out is heigher than the one on the bumper. But thats ok, its easier to form the angle out of bondo.
Now heat up the soldering iron, and use it to do some tack welding. I would strongly recommend wearing a mask or something over your face...if not for the toxic chemicals that are going to kill you...for the horrid smell that comes off the plastic. a flat headed solder is probably best for this, but as long as the head has a small tip its do-able. I heated up the area of the bumper/cut out i wanted to tack weld, then i fed thin pieces of trimmings that i had taken off the bumper (no more than 10mm wide...preferably 5mm), melting the plastic to sort of created a weld. its not pretty but it does the job really well.
It looked like this after:
with both indicators:
Now with the numberplate recess, sand the part on the bumper, and the back of your cut out. I drilled holes into the deepest part of the recess. This will prevent air from building up pressure etc behind the cut out.
**Some small bits of sanding may be required along the edges of the cut out to make sure it sits flat on the bumper.
Use some kind of glue on the back of the cut out, pretty much anything would do the trick. Then wrap tape around the cut out to hold it in place, and after a while (giving it time to dry), tack weld the number plate cut out on.
Next we start plastic welding. For plastic welding with a soldering iron, its pretty much the same principle with the tacking. Melt the area then melt strips of plastic into the melted area. If you havn't done any kind of welding before, you can judge if you are moving too fast or no putting enough melted plastic in by looking at sections you've already done. its pretty simple logic to work out what to do.
You want to cover the whole perimiter like this
Do this to the number plate recess too.


Comment