Above Forum Ad

Collapse

Announcement

Collapse
No announcement yet.

Step by step bumper removal (56K Warning!)

Collapse
X
 
  • Filter
  • Time
  • Show
Clear All
new posts

  • Step by step bumper removal (56K Warning!)

    As promised guys, a step by step guide to removing the front bumper cover, complete with pics. My apologies to admin for starting a new thread, but there are heaps of photos and i didn't want to clog up the existing thread...

    Step 1: Remove the grill by gently pressing down on clips with a flatblade screwdriver...


    Step 2: Remove clips connecting plastic splash guard around front wheels to bumper cover...


    Step 3: Remove indicators and disconnect wires...


    Step 4: Undo 5 bolts as indicated along bottom of bumper...

    Canadian dubs coming to VWwA soon

  • #2
    Step 5: Remove 3 bolts along top of bumper (again indicated by my crappy arrows)...


    Step 6: Remove the bumper cover by pulling carefully but firmly away from the car...


    If you forgot to remove the indicator, now would be a good time to disconnect it... My bad!!!


    If you have any more bolts or bits and pieces than this, you have removed too much!!!

    Last edited by Golfer; 23-12-2006, 09:25 AM.
    Canadian dubs coming to VWwA soon

    Comment


    • #3
      Now finally, if you want to remove the metal bumper itself, all you have to do is unbolt 8 bolts as indicated by red dots, and it will fall off... Careful!!!


      INSTALLATION IS THE OPPOSITE OF REMOVAL, taking care to remember -

      When replacing the bumper cover, ensure that you slot the bar back onto the plastic retaining thingy (circled in red). If you miss the slot, you can still fit the bar, but it will flap around and could break!!!


      I hope this is helpful guys. Please don't quote these pictures in your replies, as it will clog up the thread...

      Now you've got something to do over the chrissie break Steve!

      Cheers!
      John
      Canadian dubs coming to VWwA soon

      Comment


      • #4
        One more thing guys...

        Whoever removed the bumper before me stripped all but 2 of the bolts, and it was a major mission getting the bar off the first time i did.

        If you ever have the same problem, it isn't too hard to cut the heads off the bolts, undo them backwards or drill them out (but it will take time).

        I retapped the threads with an M6x1.0 tap, and replaced the bolts with Metric S6x20 bolts. It took me 3 trips into town to muck around and get all that sorted, so I thought it might be useful to provide the tap and bolt sizes in case you have the same dramas!

        Good Luck!
        John
        Canadian dubs coming to VWwA soon

        Comment


        • #5
          Brilliant Golfer Great for me and other noobie DIY's!
          Past: Mk3 Golf 2L 8V, Audi 8L A3T.
          Present: Mk3 Golf variant.

          Comment


          • #6
            Great work John, this is going to be awesome good way to keep me occupied and do a few things to the car.
            I'm soo euro even my missus is shaved...

            Comment


            • #7
              good work Golfer

              one qtn : how did u get that air intake pipe in there (3rd pic from top), there is no bloody room, also, did u remove the "fog lights" so the pipe has the access to fresh air, or do u keep it on

              its surprisingly clean in all those hard-to-access areas around ur blinkers and underneath, good on ya!

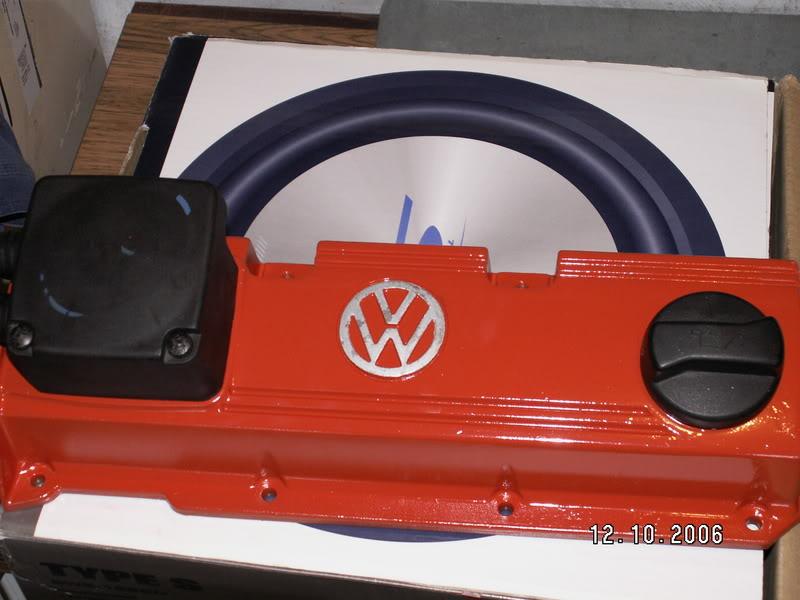
              i see ur engine has had some blue enamel treatment, nice
              i did mine few weeks ago, shev orange
              Last edited by deemoE36; 23-12-2006, 10:58 AM.

              Comment


              • #8
                I had the pipe running out into the bottom hole in the bumper cover, but i couldn't secure it properly so i have removed the 'foglights' and jammed it in there. There was plenty of room. Check out my pics in the 'Air Ducting' thread and you'll get an idea as to how i fit it in...
                Canadian dubs coming to VWwA soon

                Comment


                • #9
                  Sorry for dragging up an old thread, but does anyone happen to have the photos for this anymore?

                  Comment

                  Working...
                  X