 Tweet
Tweet
Just a little thread I might throw up of my slow replacement of dash lights to give others an idea of what working dash lights look like on a MK2!
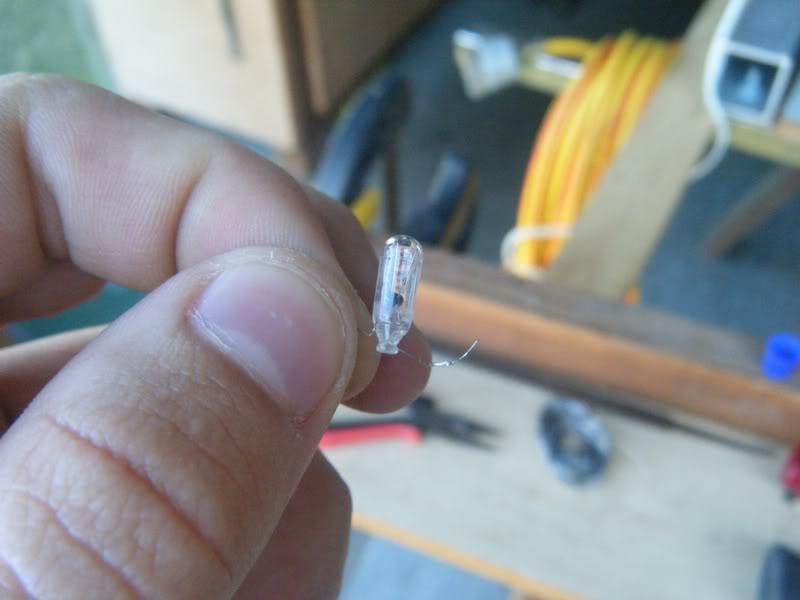
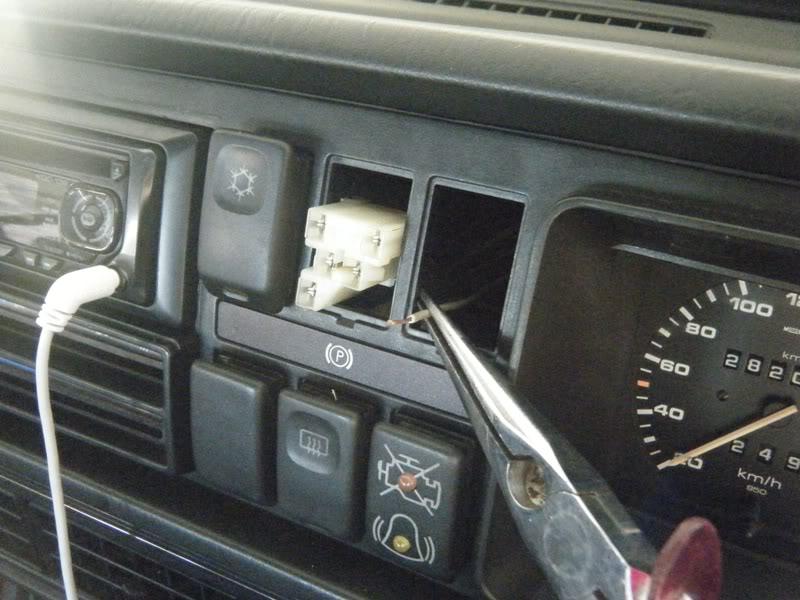
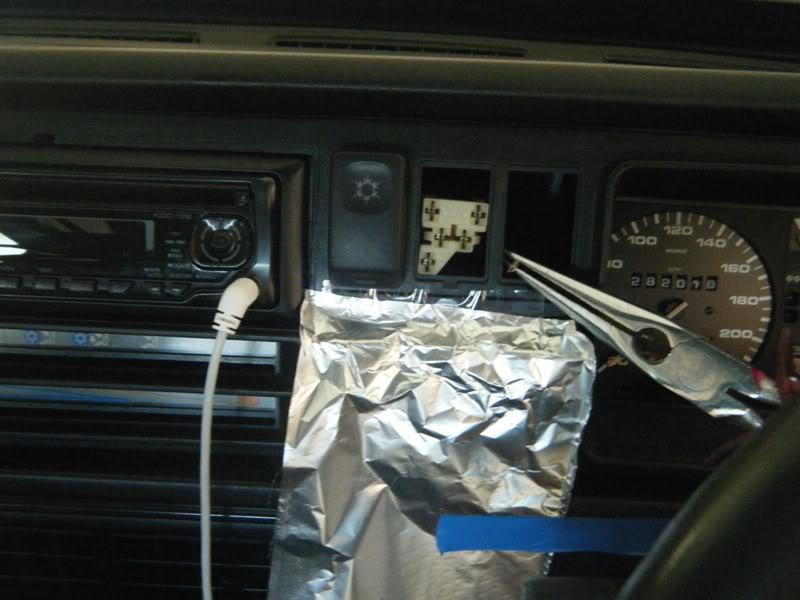
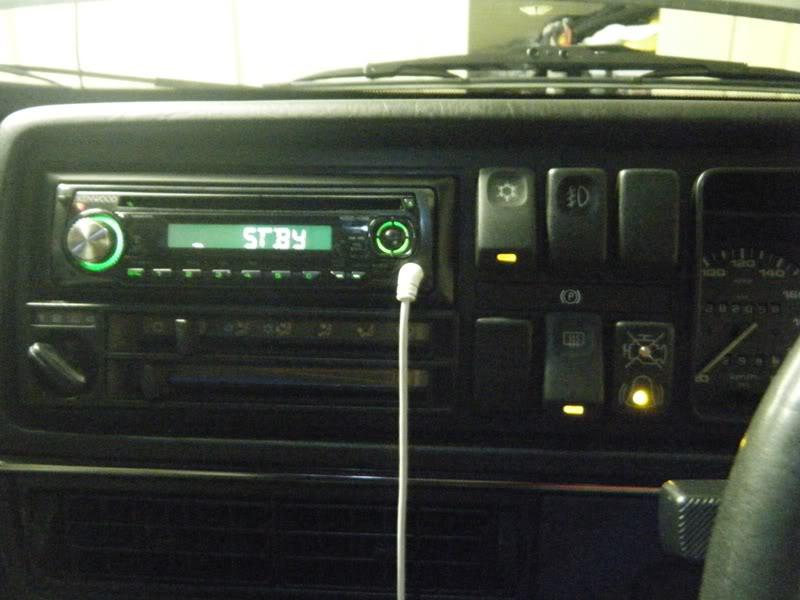
I (we) started off today by fixing the heater/climate control light. Its suprising how easy it is to get to the little light, that lights (if its not blown) up your heater/climate control panel. Within less than 30 minutes the culprit dead bulb was found (tiny little green bulb).
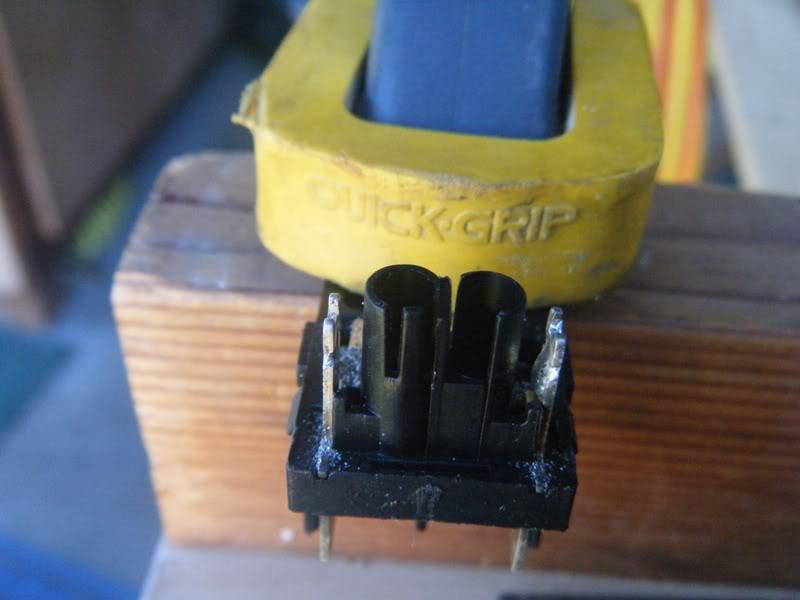
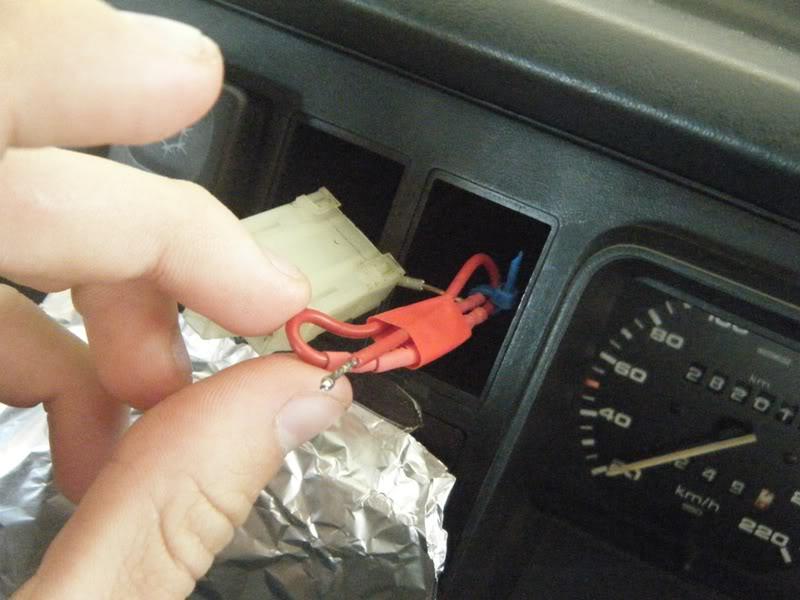
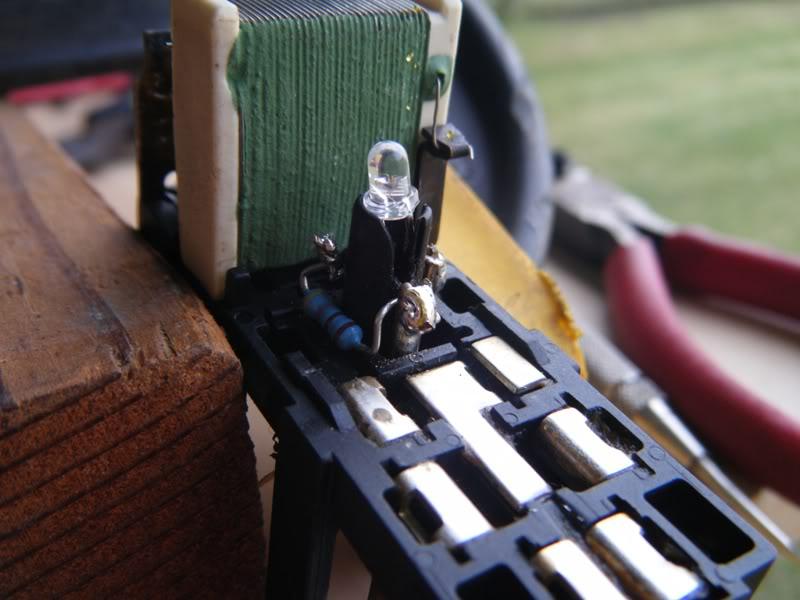
Now the fun part, was replacing the bulb (impossible), so we simply hooked up a LED/resistor as per the instructions by this link
VWoT Community.
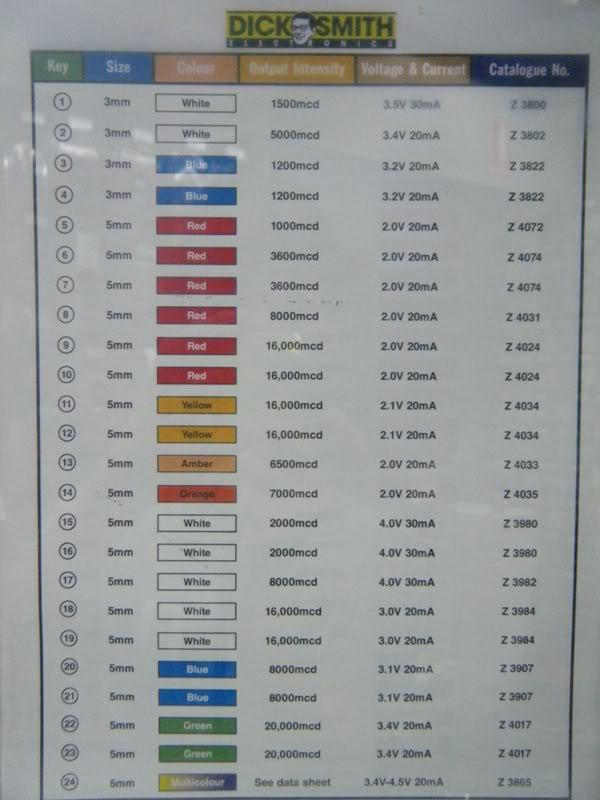
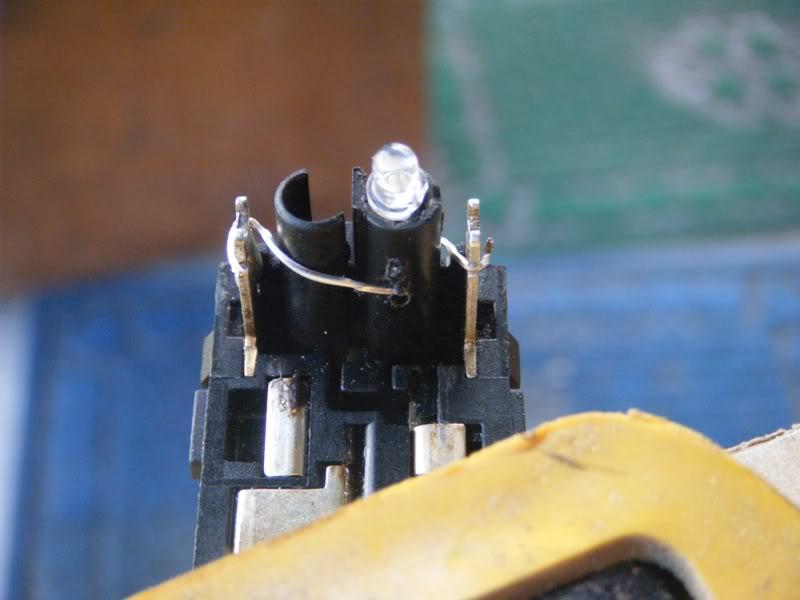
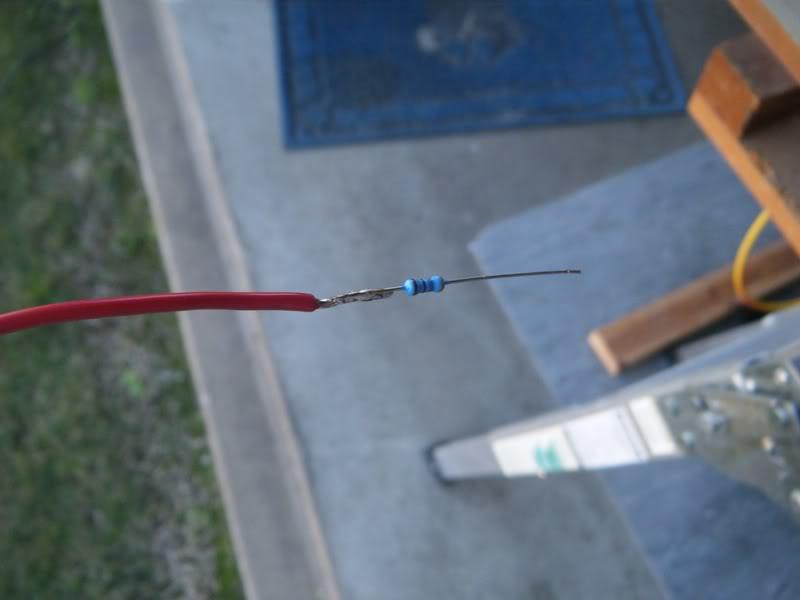
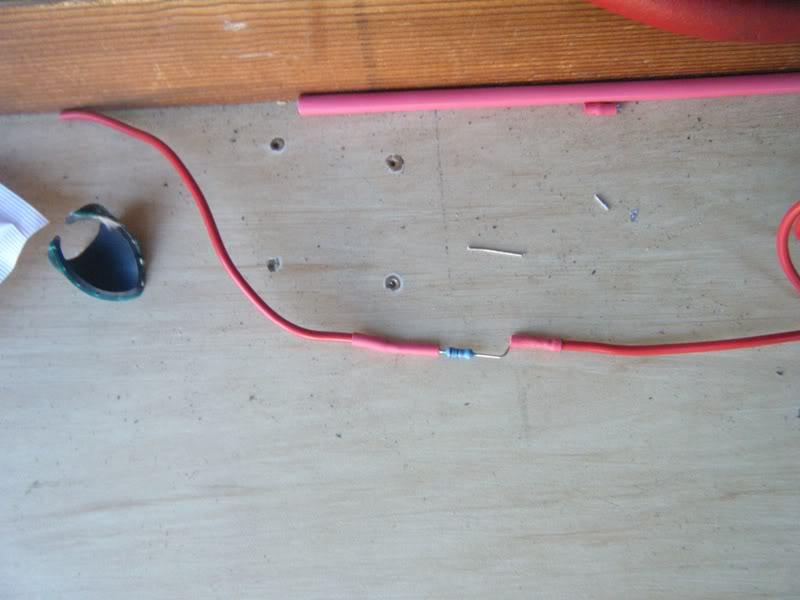
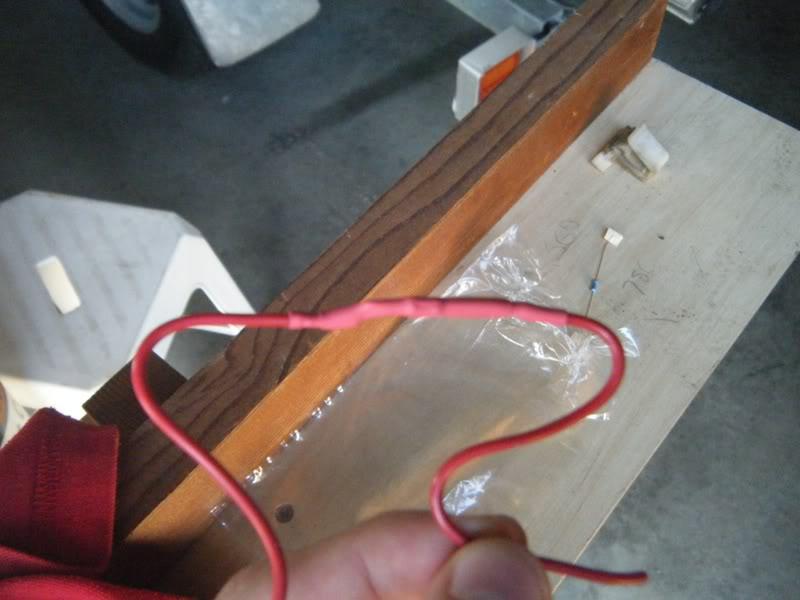
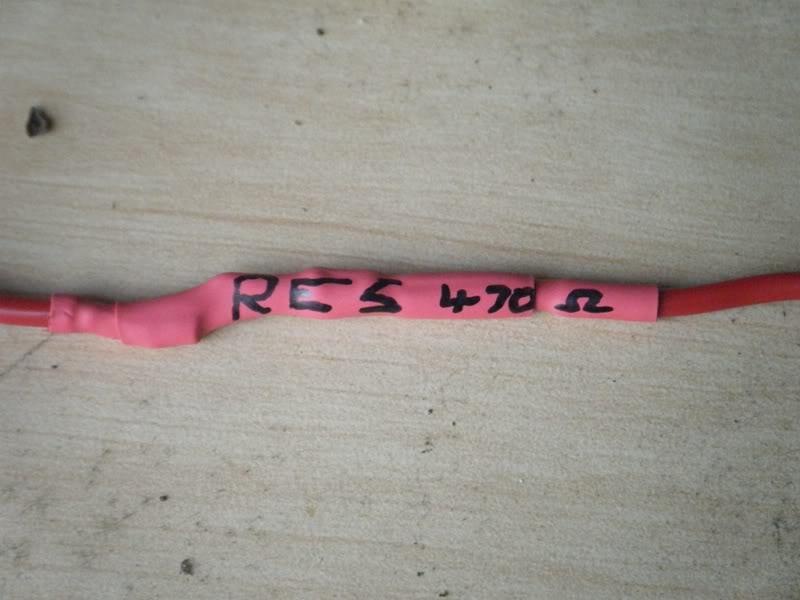
Only went up to step 8 and put the resistor in the positive wire that goes to the male plug, that clips into the back of the heater/climate control panel (for the light). We also didn't destroy the bulb holder and soldered the LED in a much neater manner. The LED that we used was a 5mm Green LED (and 470 Ohm resistor) from Dic.k.smiths.
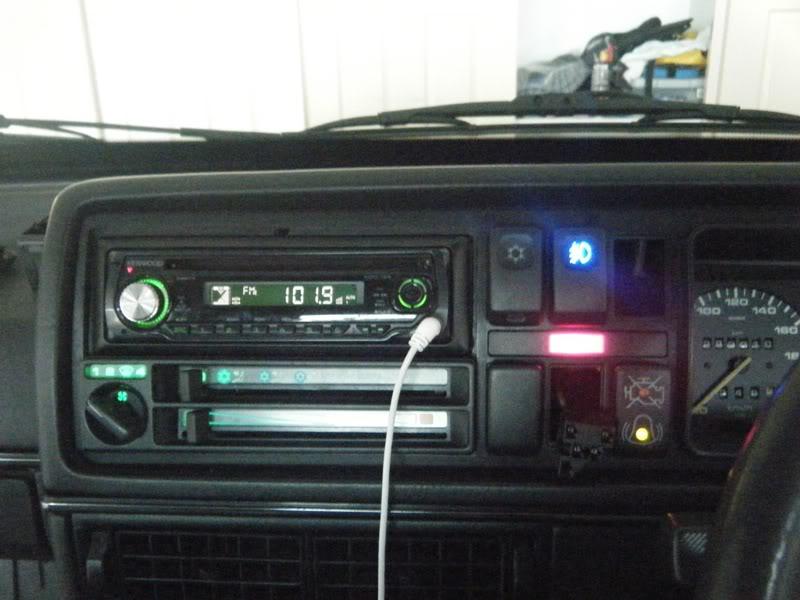
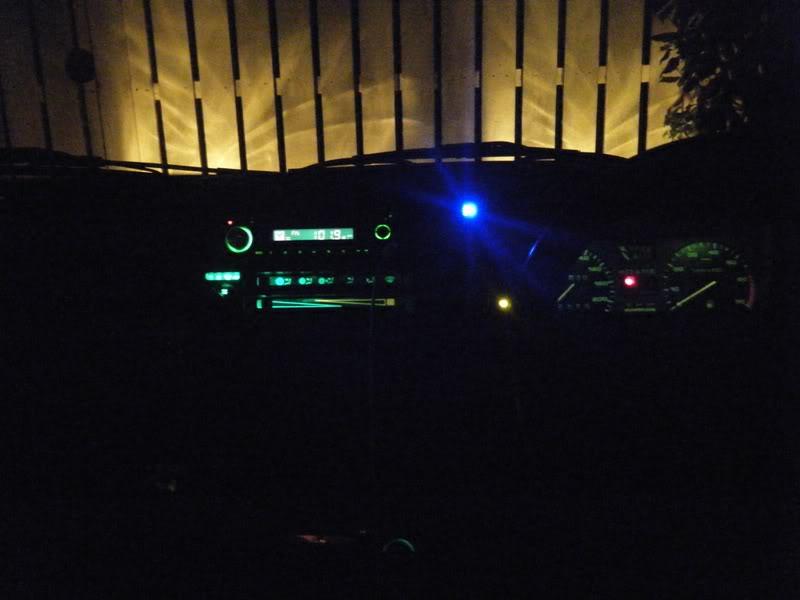
and this is the result.
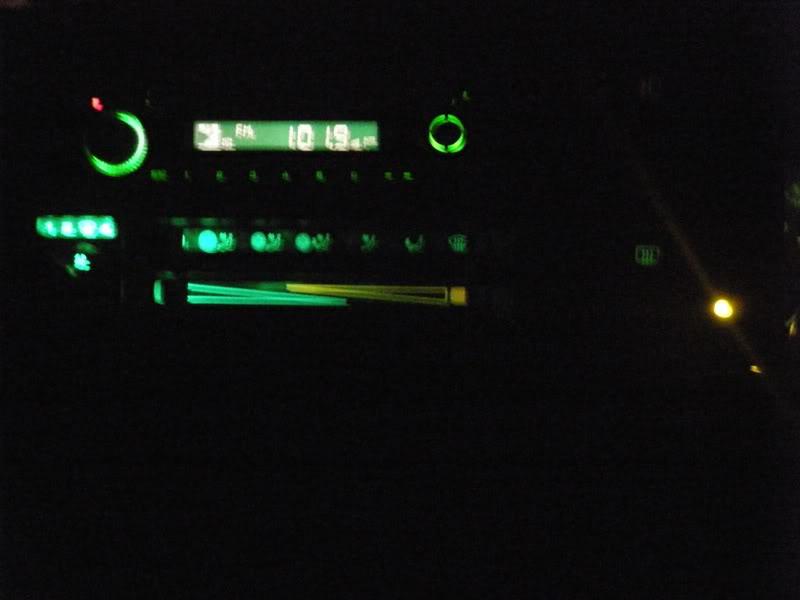
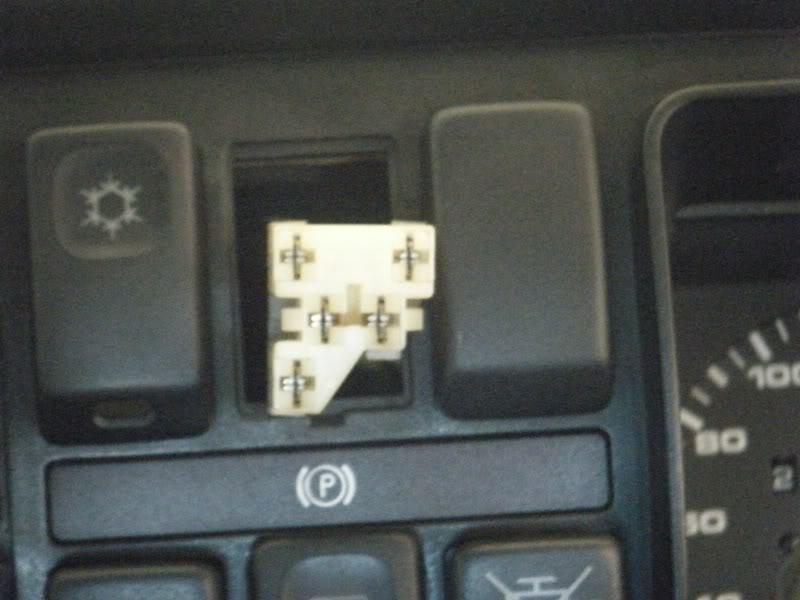
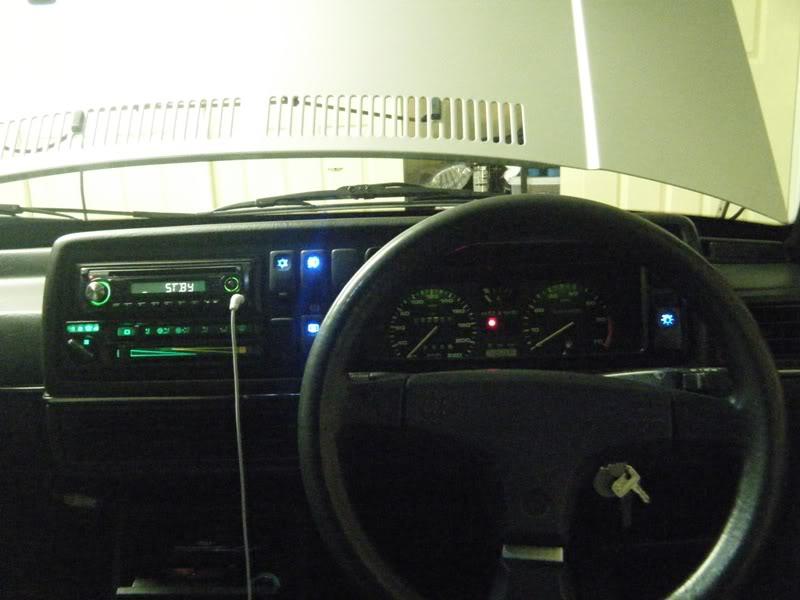
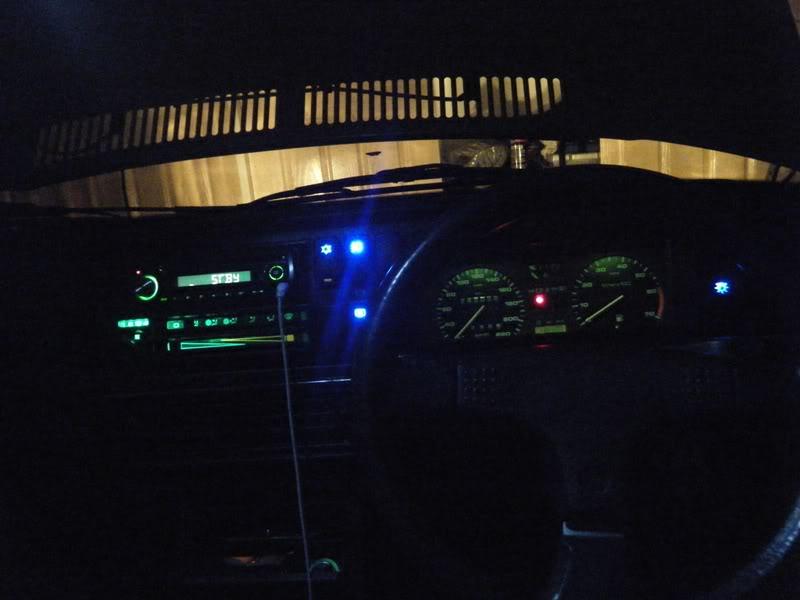
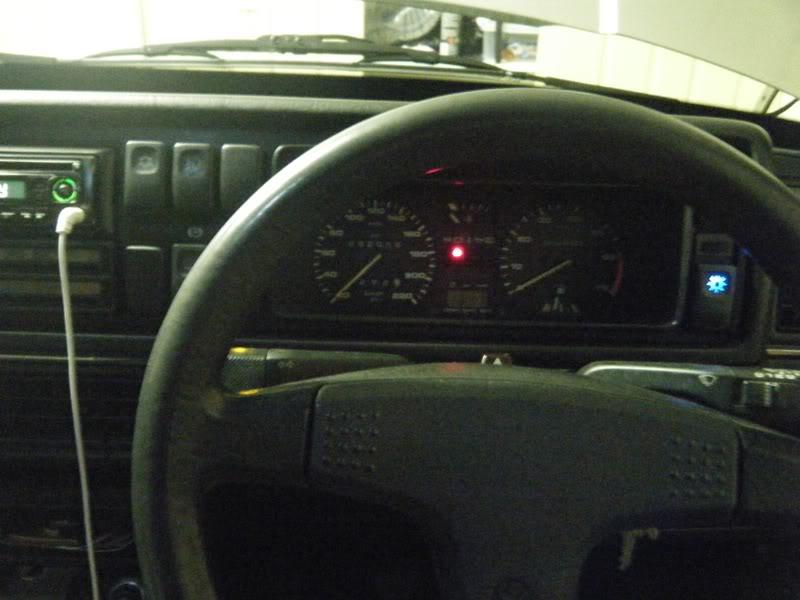
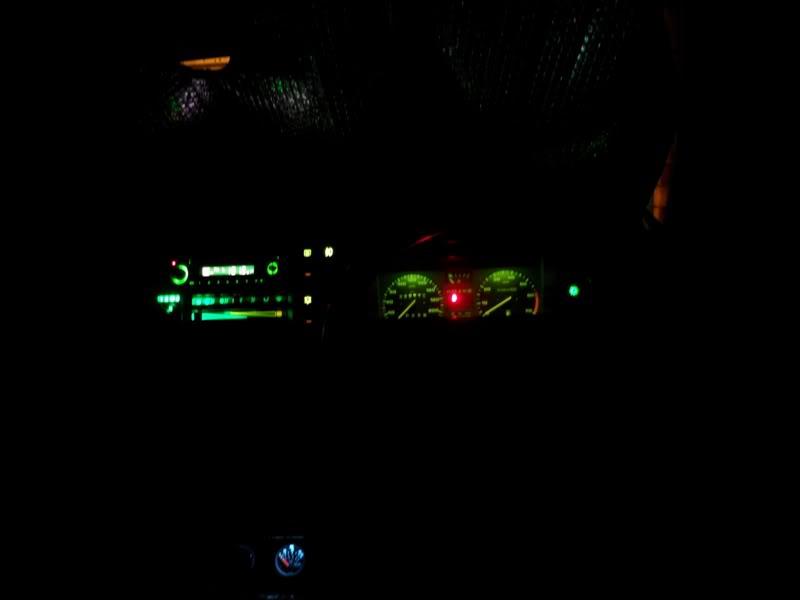
And a picture across the entire dash
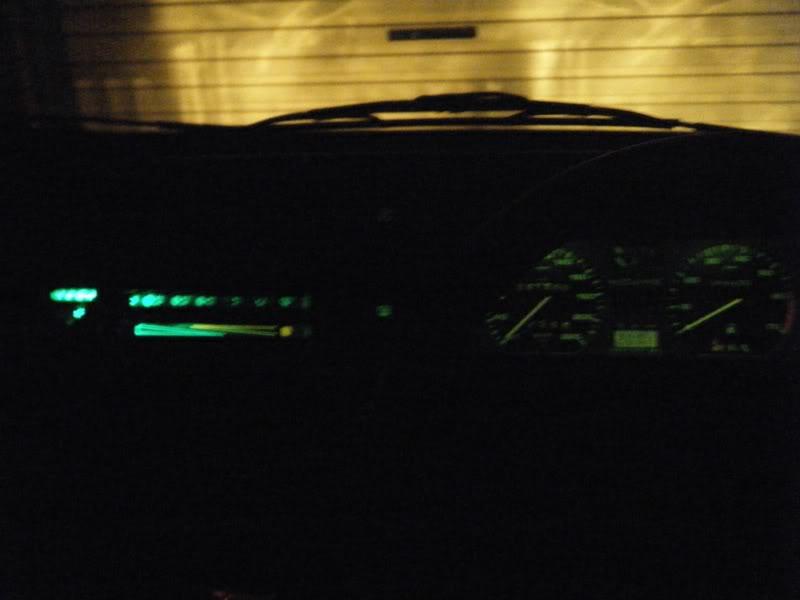
As you can see the switches (black area betwen climate cont. and cluster) either don't have functioning lights or they're very very dull.
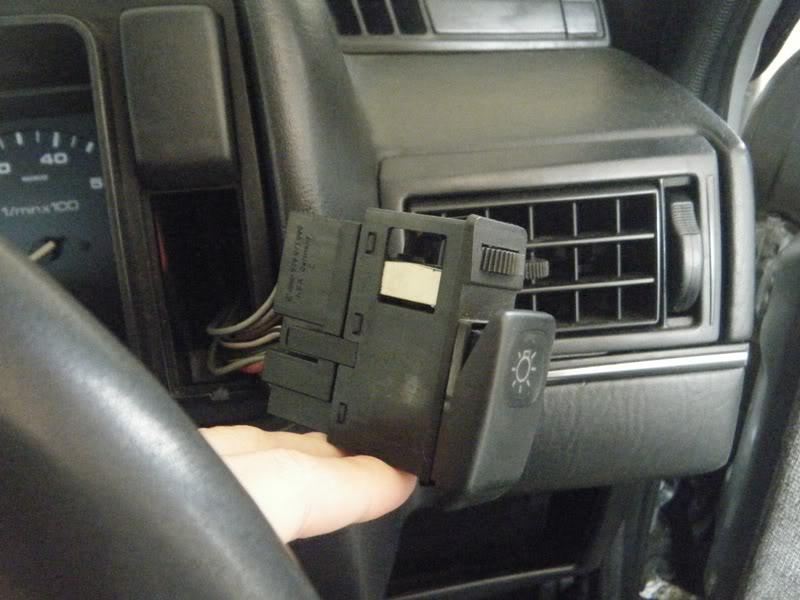
SO the next area to get the lights redone will deffinantly be the switches (then the tacho/spedo cluster)
For those that don't know, putting LED's into a 12V circuit is relativly easy when you have a Resistor Calculator site like this Resistor calculator for leds from MetkuMods - Because you love your hardware!
Oh and we also got the parking light working again (simple but satisfying fix)
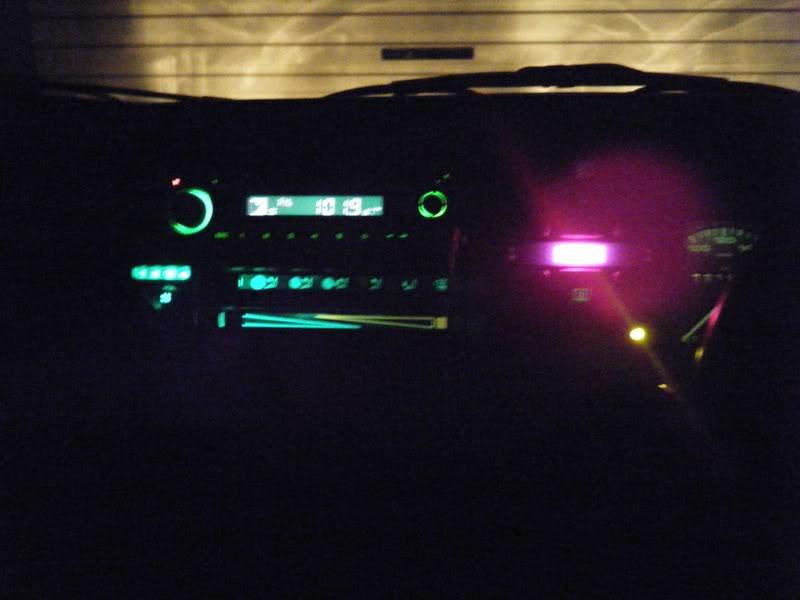
I HIGHLY reccomend that if you have any dead lights, not to ignore them but to fix them, the effort is worth it and its looks great!
I (we) started off today by fixing the heater/climate control light. Its suprising how easy it is to get to the little light, that lights (if its not blown) up your heater/climate control panel. Within less than 30 minutes the culprit dead bulb was found (tiny little green bulb).
Now the fun part, was replacing the bulb (impossible), so we simply hooked up a LED/resistor as per the instructions by this link
VWoT Community.
Only went up to step 8 and put the resistor in the positive wire that goes to the male plug, that clips into the back of the heater/climate control panel (for the light). We also didn't destroy the bulb holder and soldered the LED in a much neater manner. The LED that we used was a 5mm Green LED (and 470 Ohm resistor) from Dic.k.smiths.
and this is the result.
And a picture across the entire dash
As you can see the switches (black area betwen climate cont. and cluster) either don't have functioning lights or they're very very dull.
SO the next area to get the lights redone will deffinantly be the switches (then the tacho/spedo cluster)
For those that don't know, putting LED's into a 12V circuit is relativly easy when you have a Resistor Calculator site like this Resistor calculator for leds from MetkuMods - Because you love your hardware!
Oh and we also got the parking light working again (simple but satisfying fix)
I HIGHLY reccomend that if you have any dead lights, not to ignore them but to fix them, the effort is worth it and its looks great!
 HAHAHA
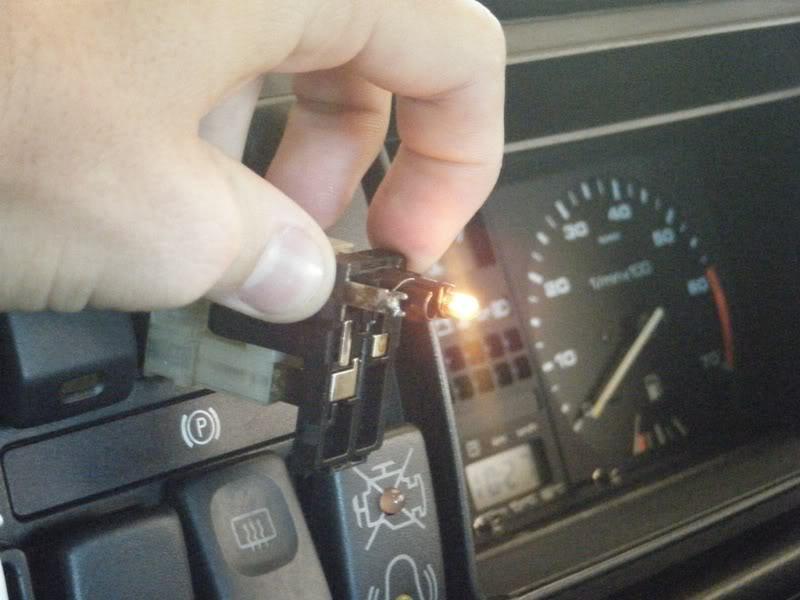


")


Comment