 Tweet
Tweet
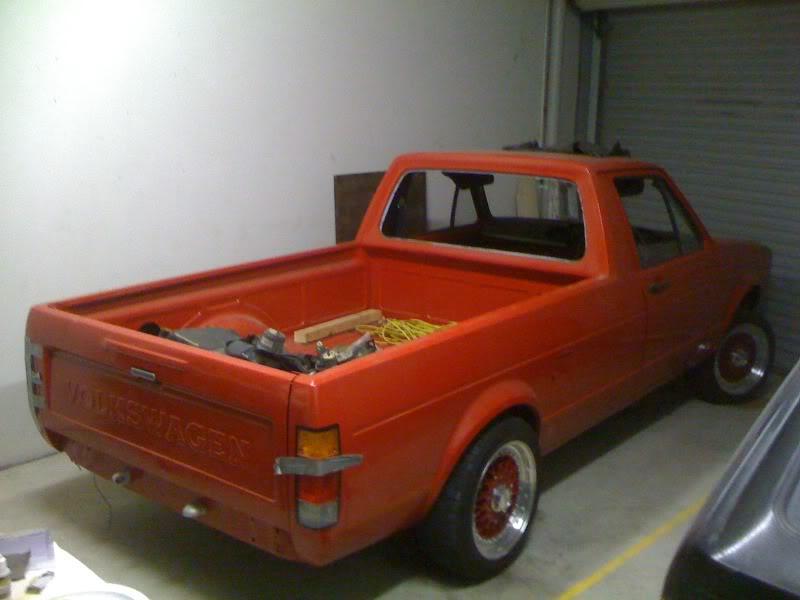
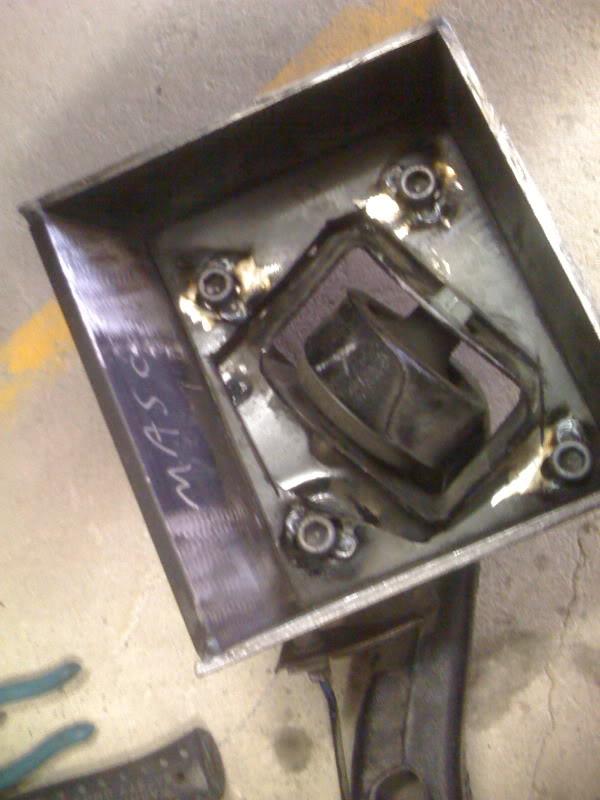
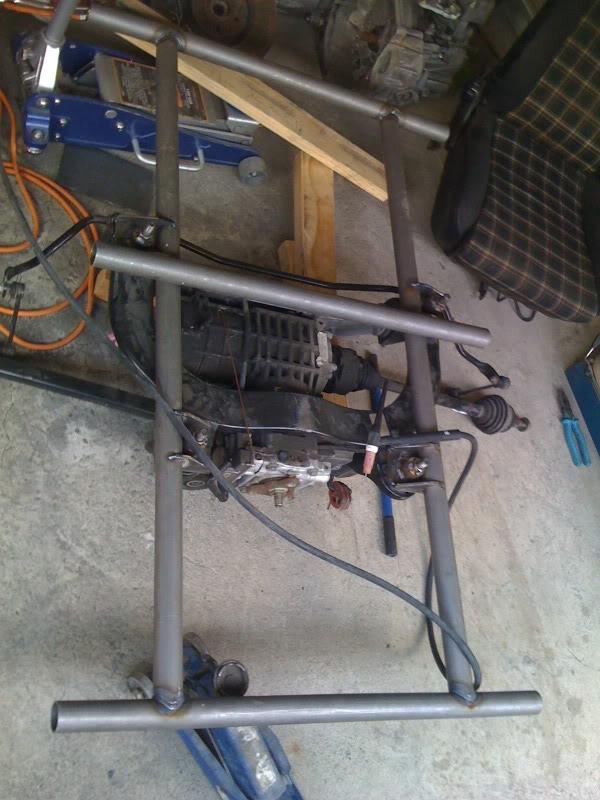
Hi Guys The Caddy build has recently taken a more definite change in Direction so using this opportunity to
move the thread into the mk1 Section and have a thread for it that is freshly inline with the build.
Anyone familiar with the build the fresh pics are straight on page 2
Cheers Benny
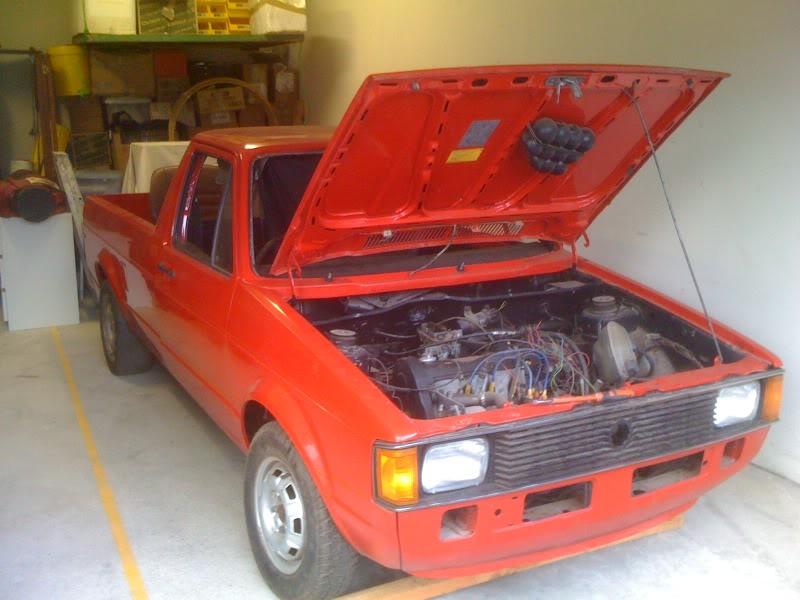
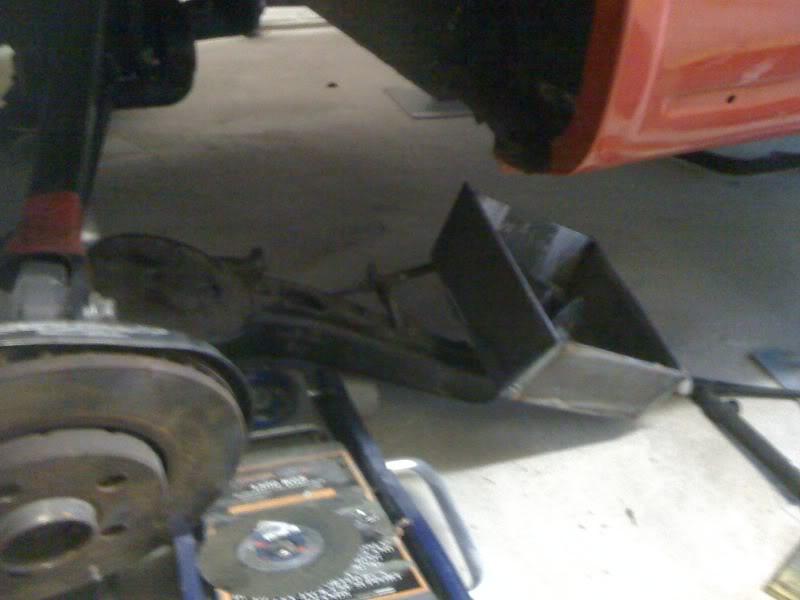
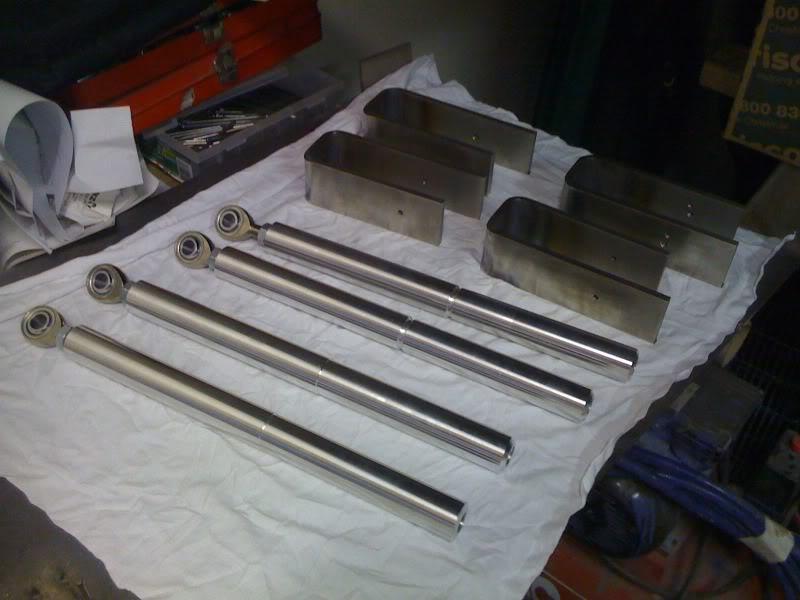
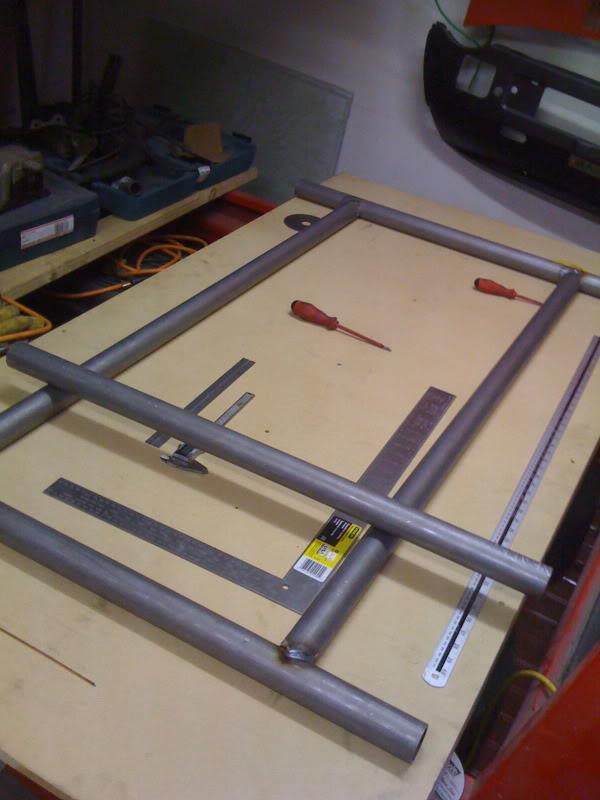
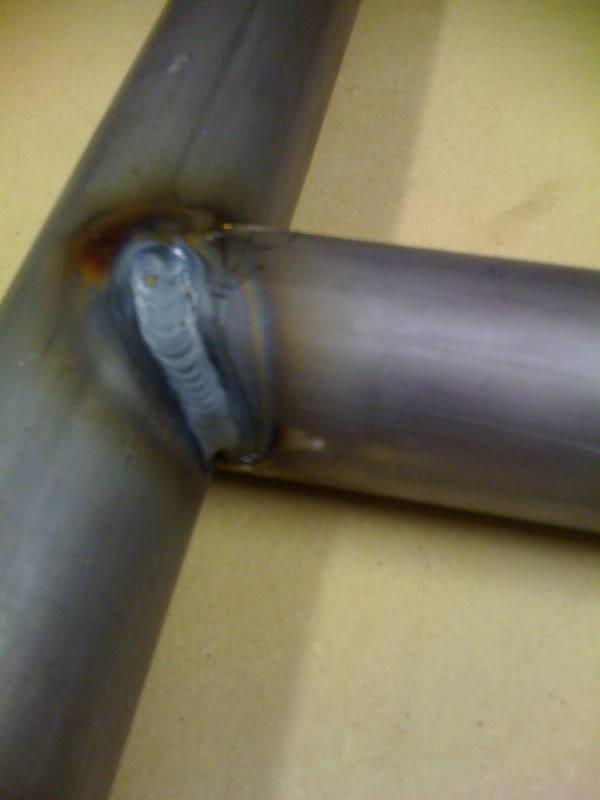
Updated Intro,
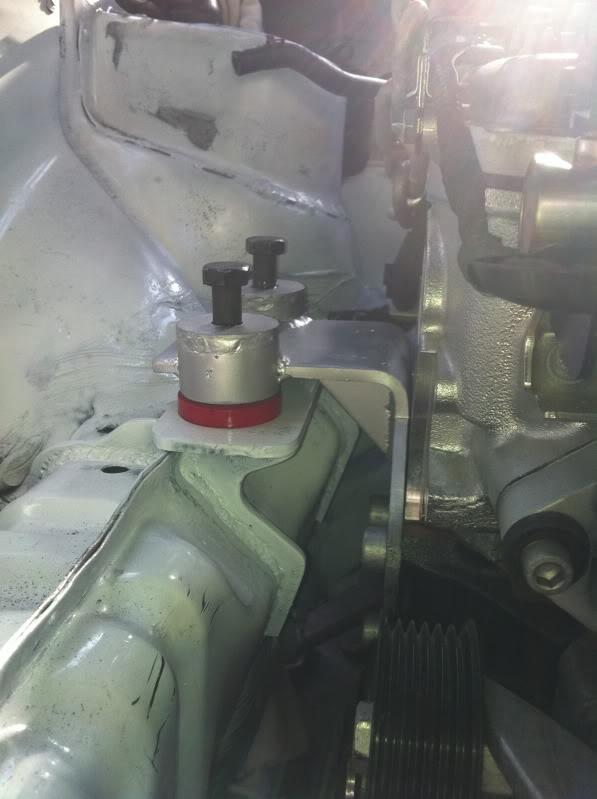
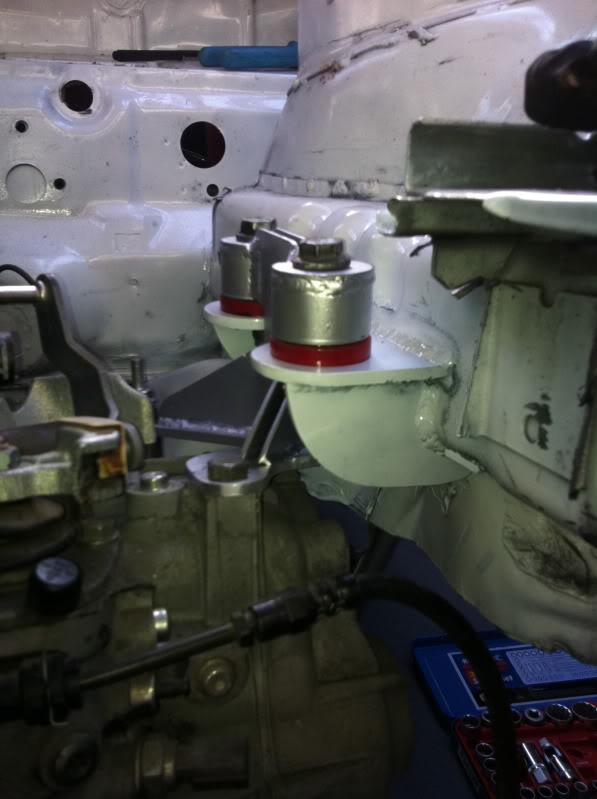
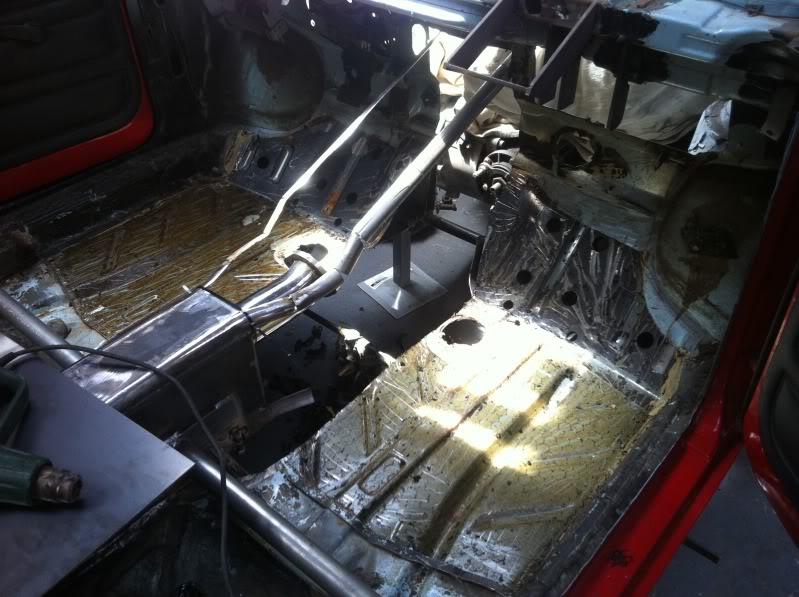
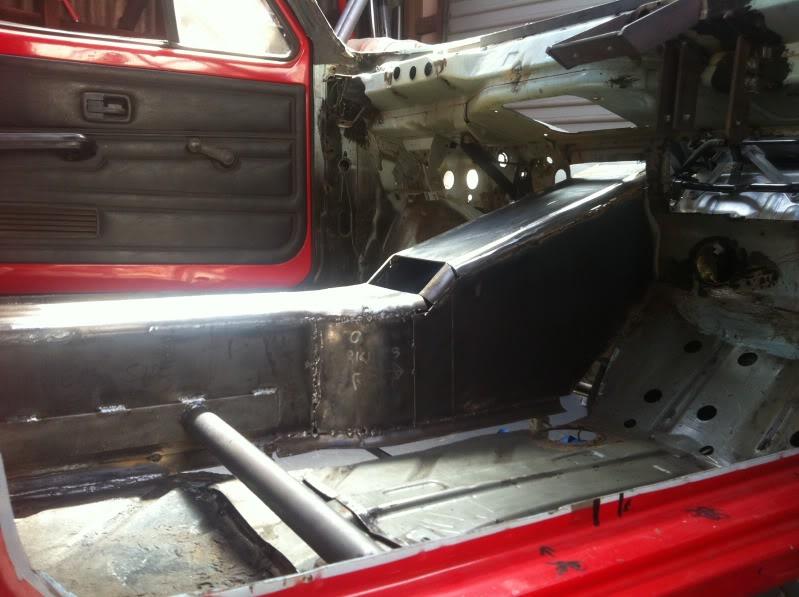
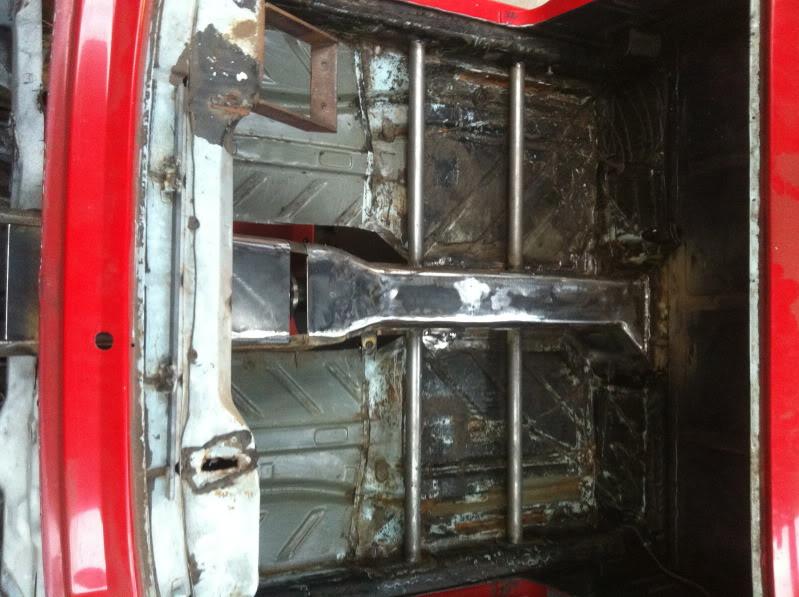
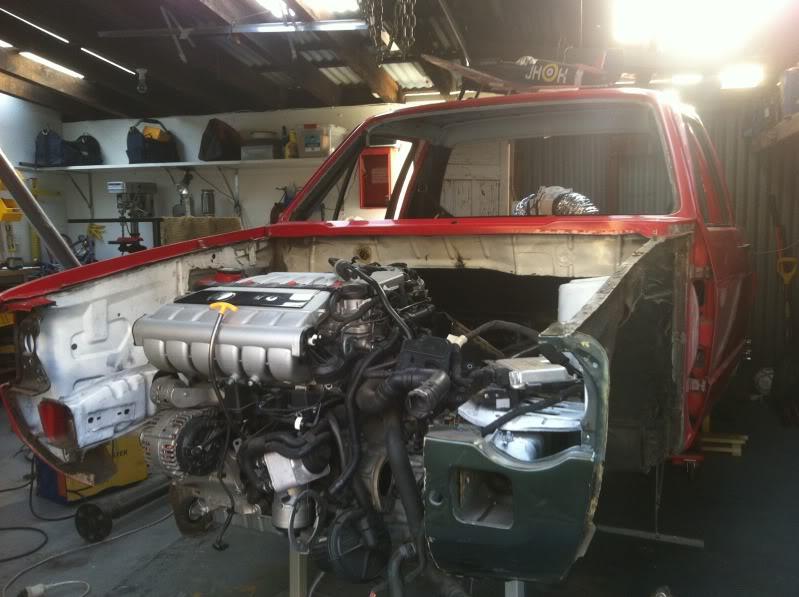
ok so whats been going on!
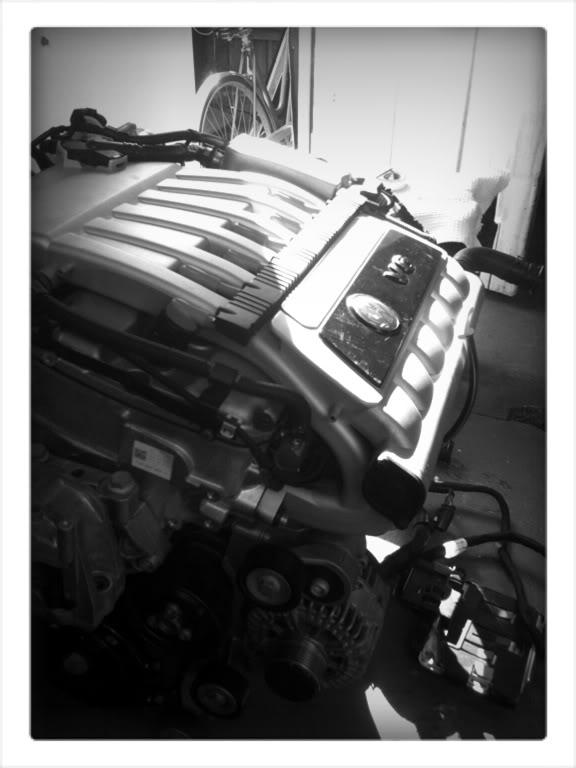
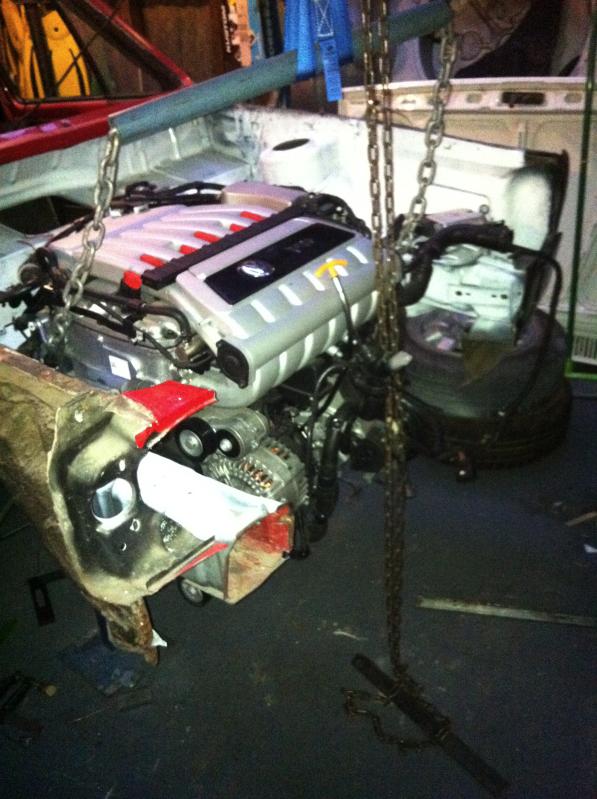
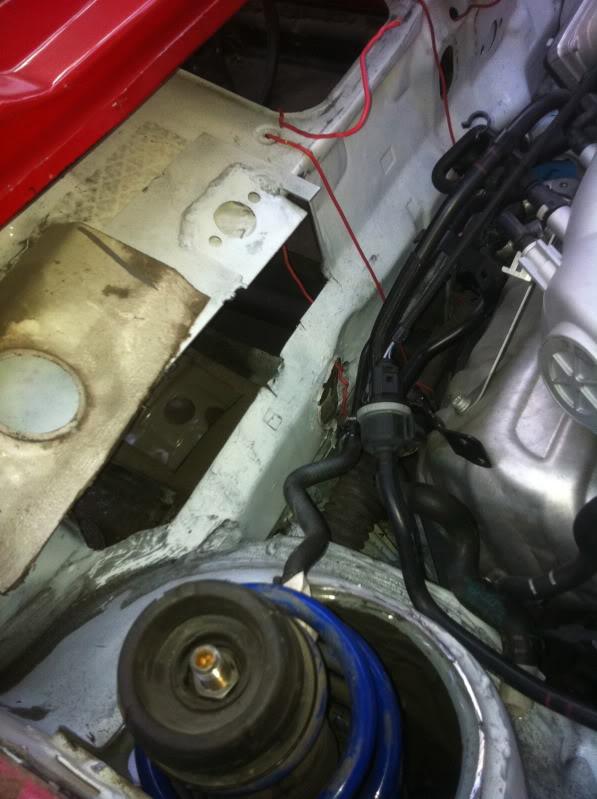
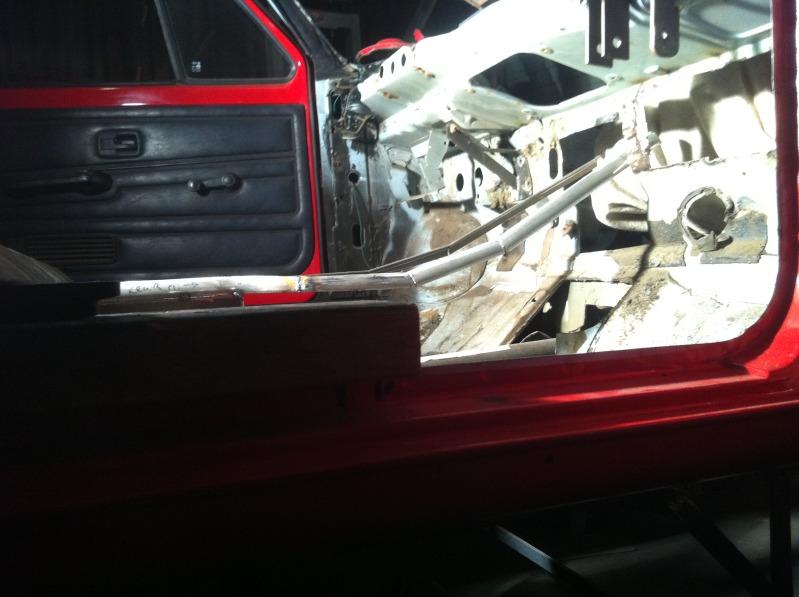
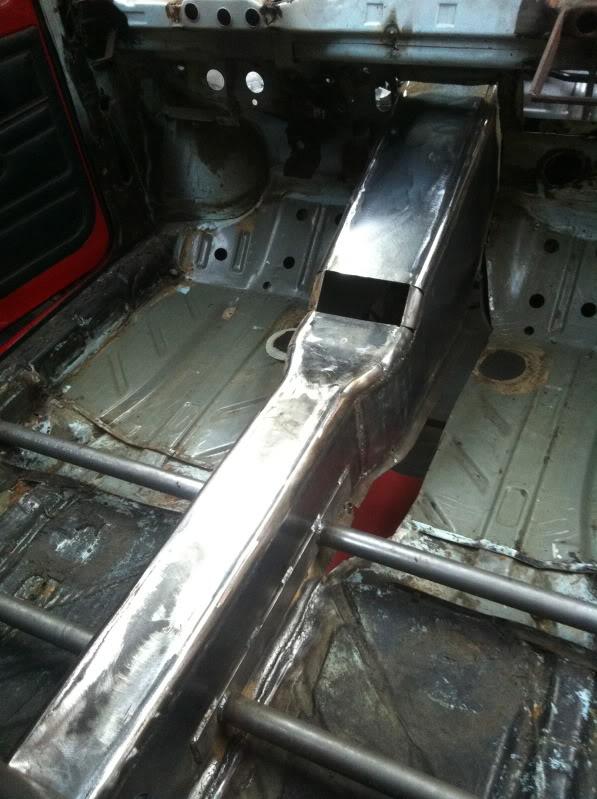
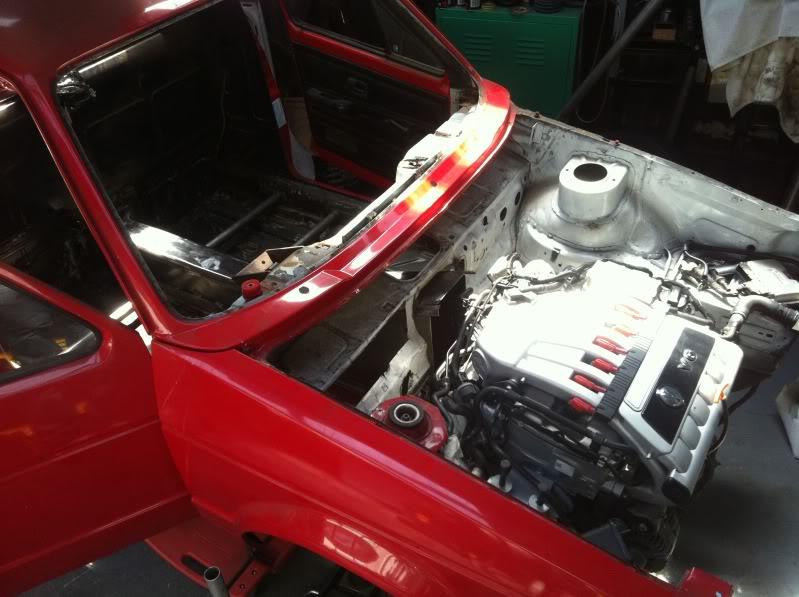
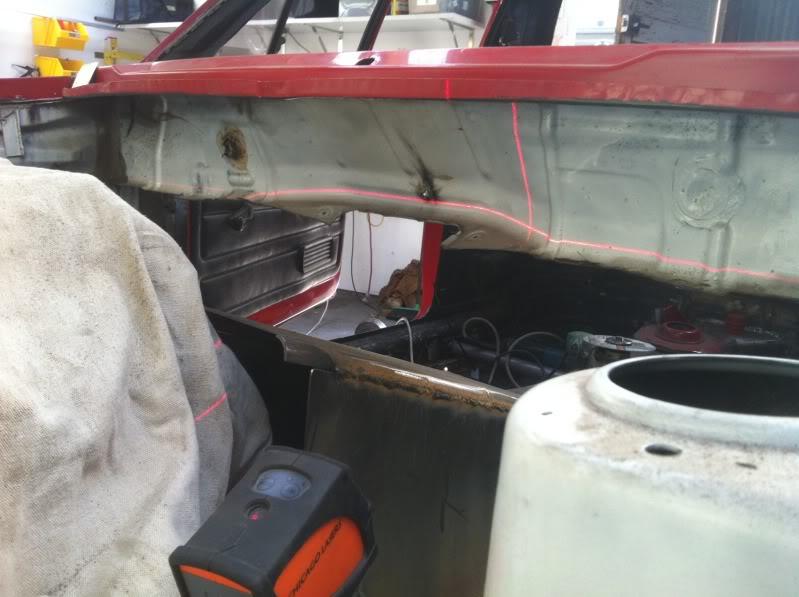
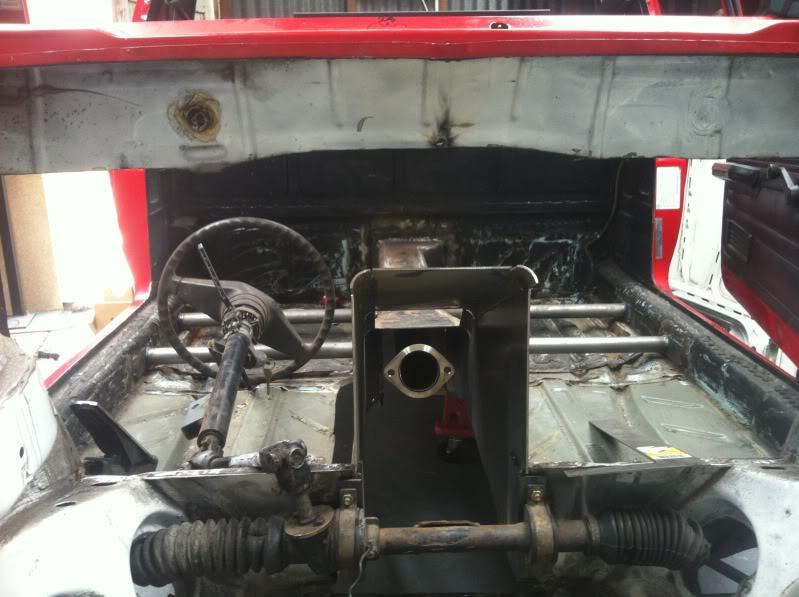
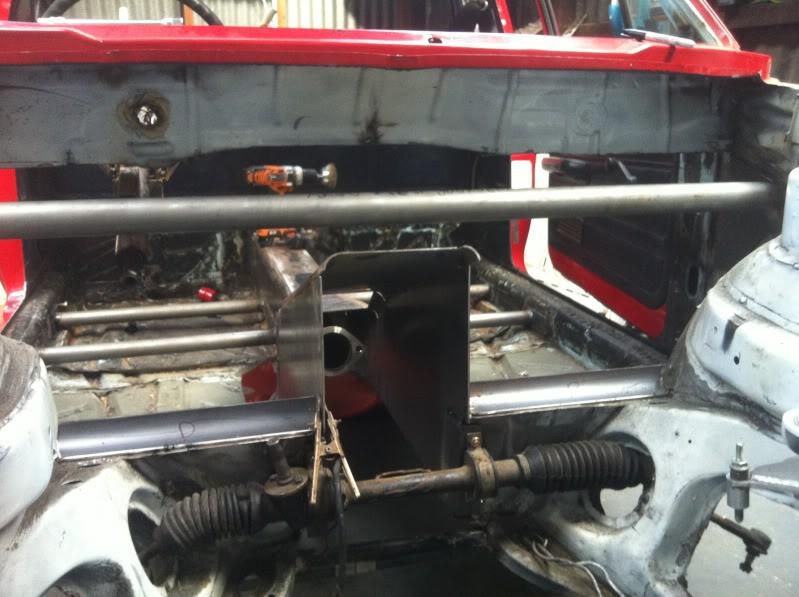
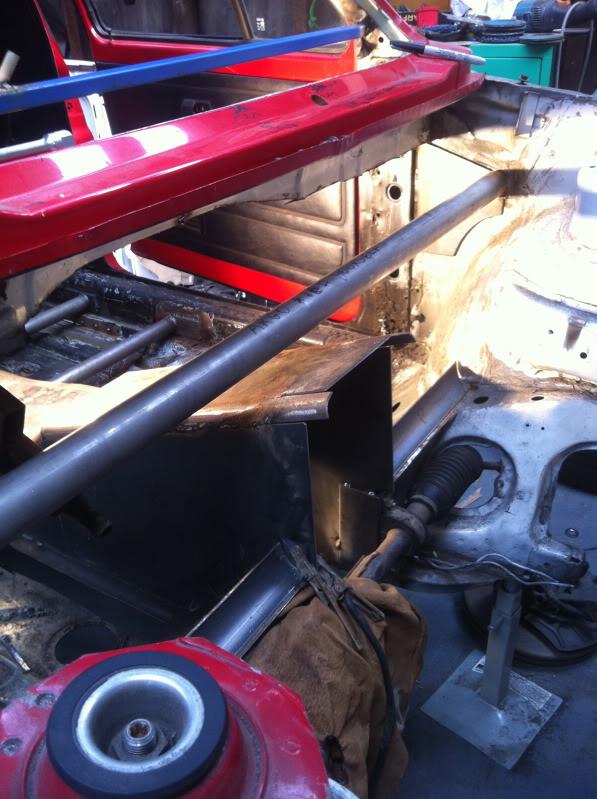
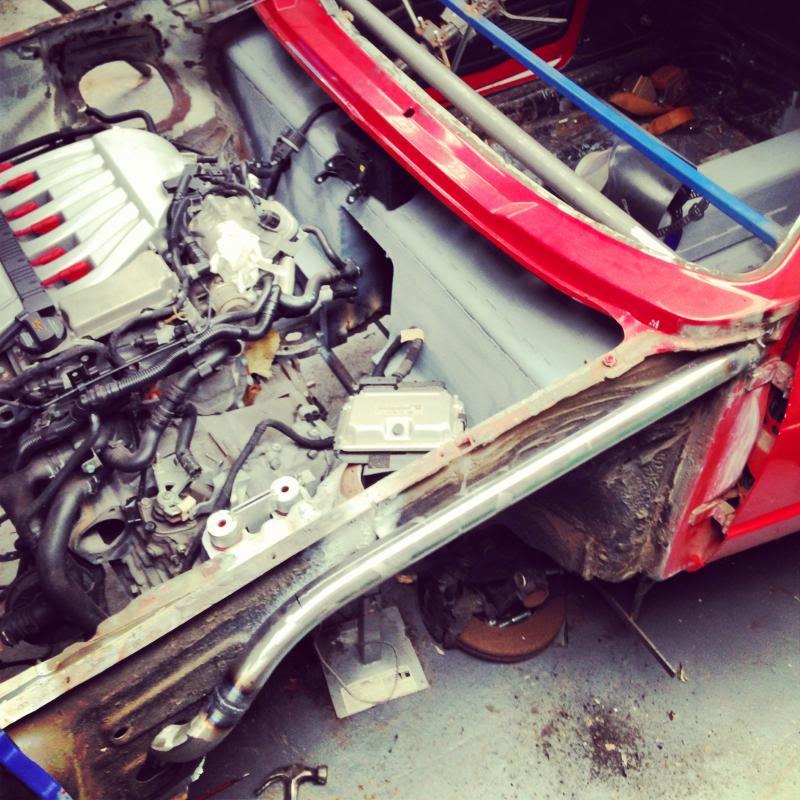
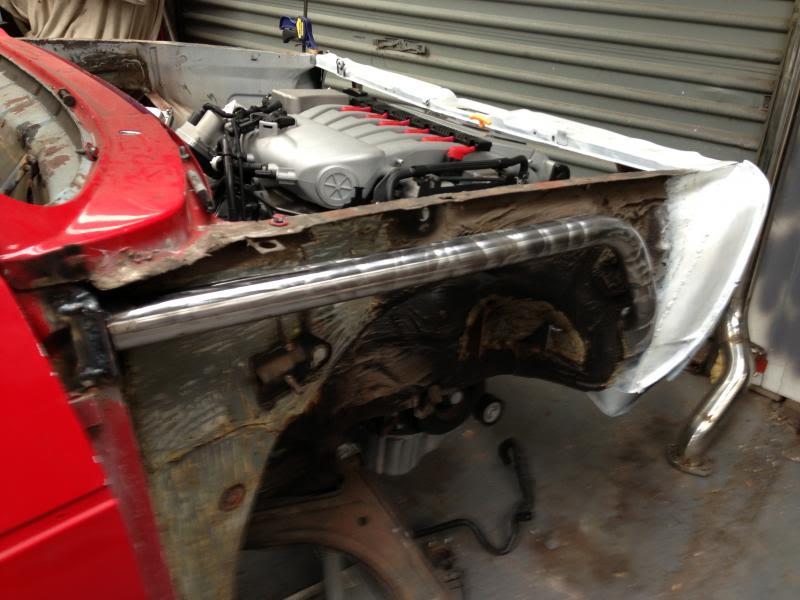
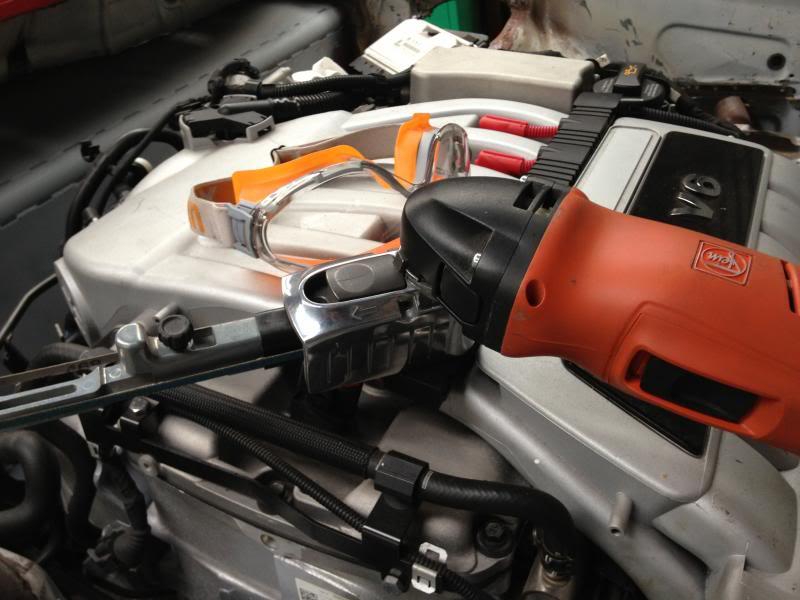
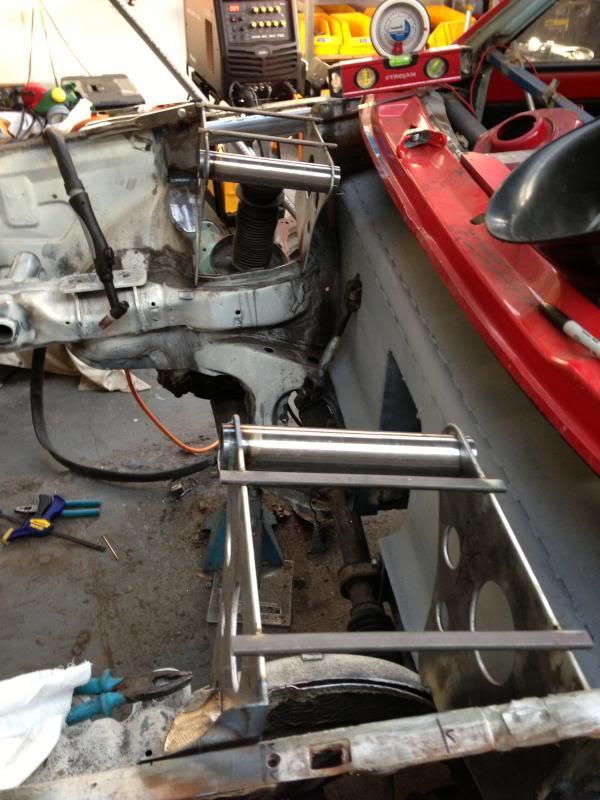
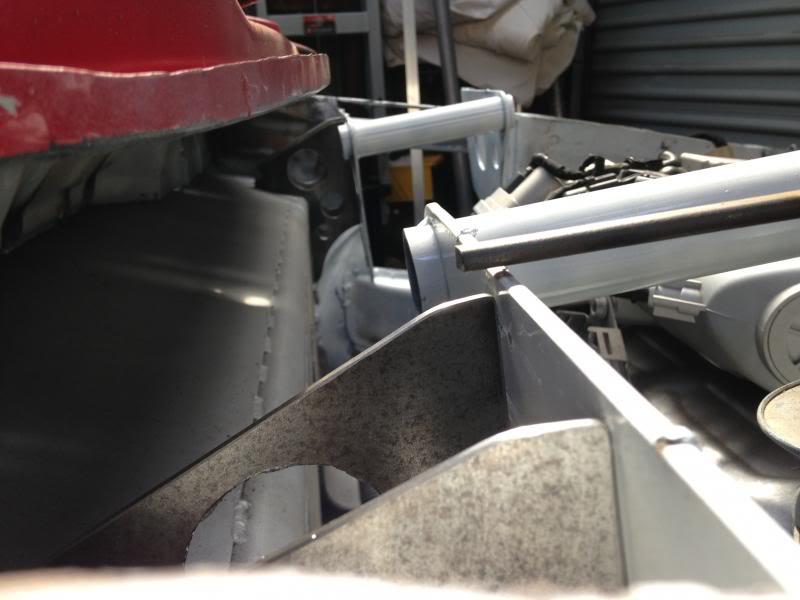
I literally spent 2 hours standing in front of this thing
just before going crazy with the grinder and thought WHERE is this Going!
I needed some help to get clarity and even a push over the edge.
So i rang a Alex G and said you know i keep looking at this engine bay and thinking
i want to bust the grinder out and cut it all of !?
and he knew exactly what i meant.
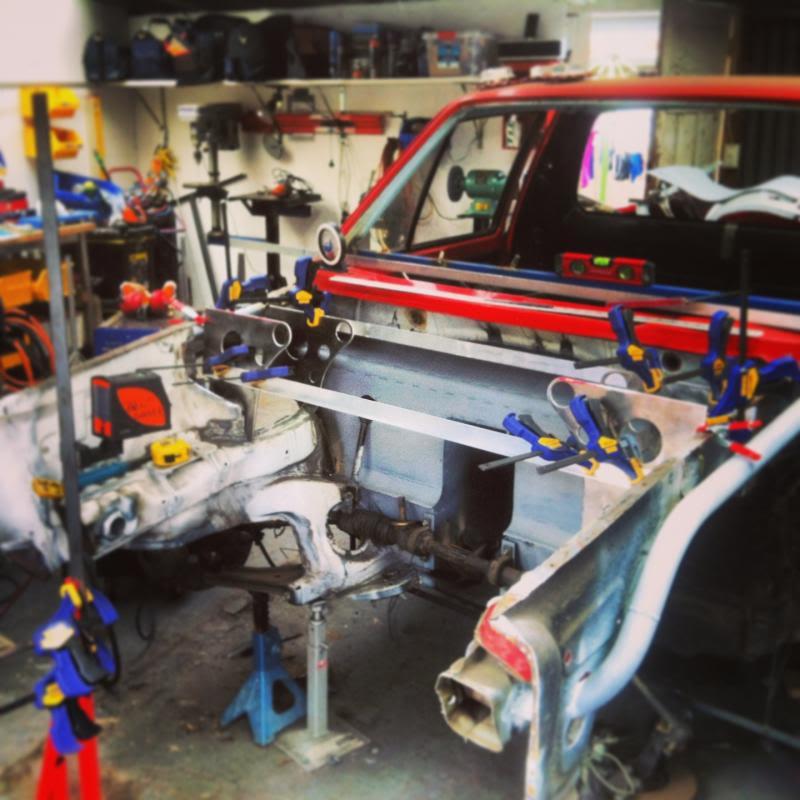
So it was done...
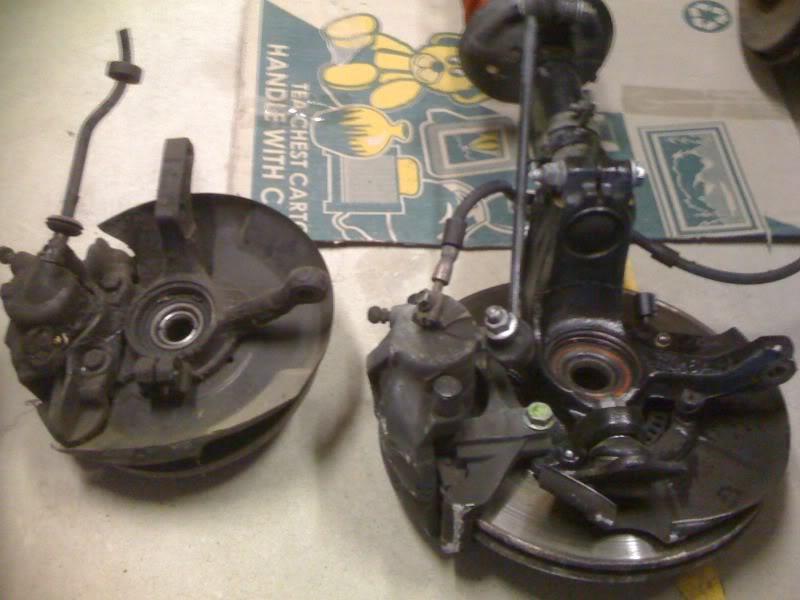
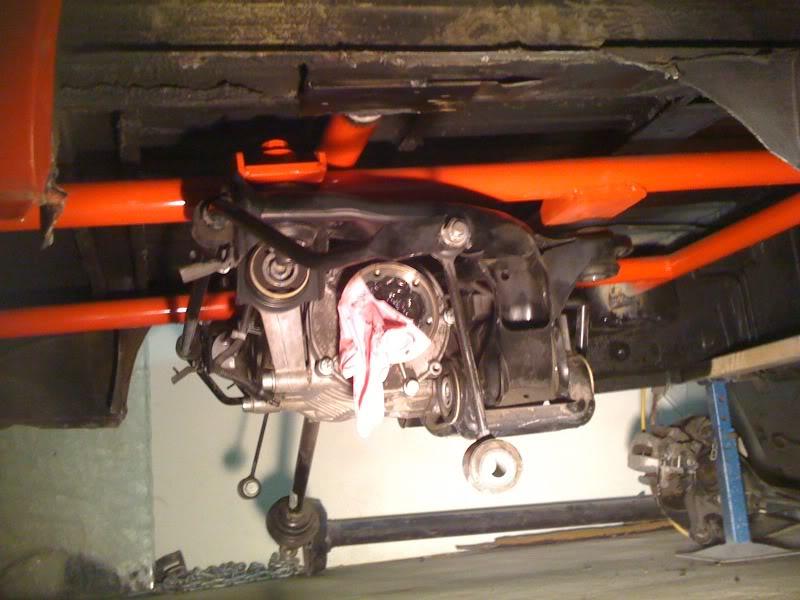
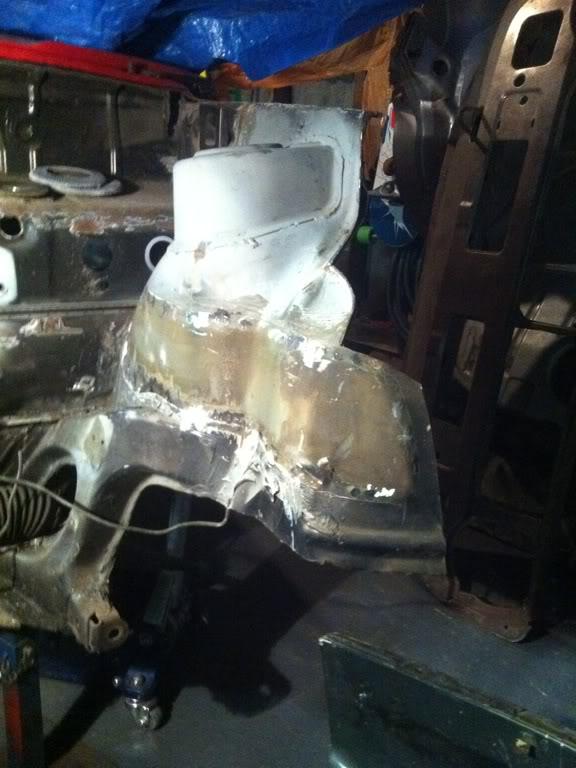
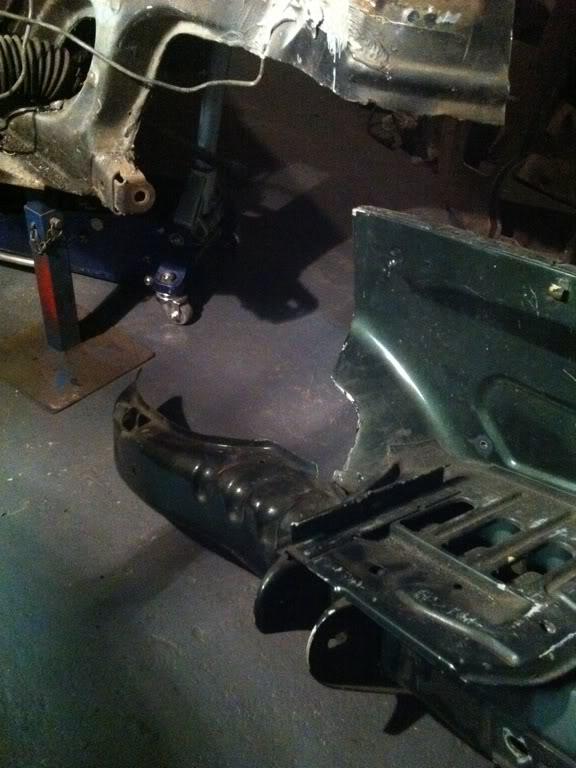
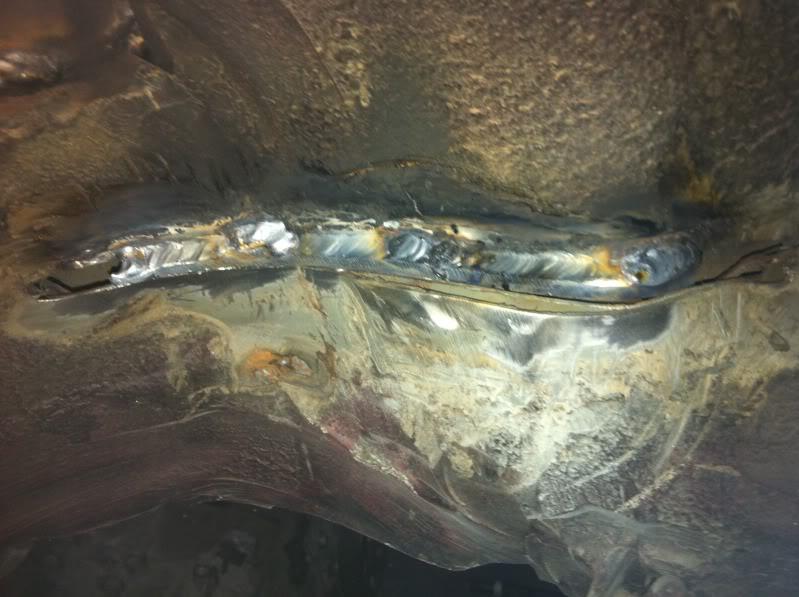
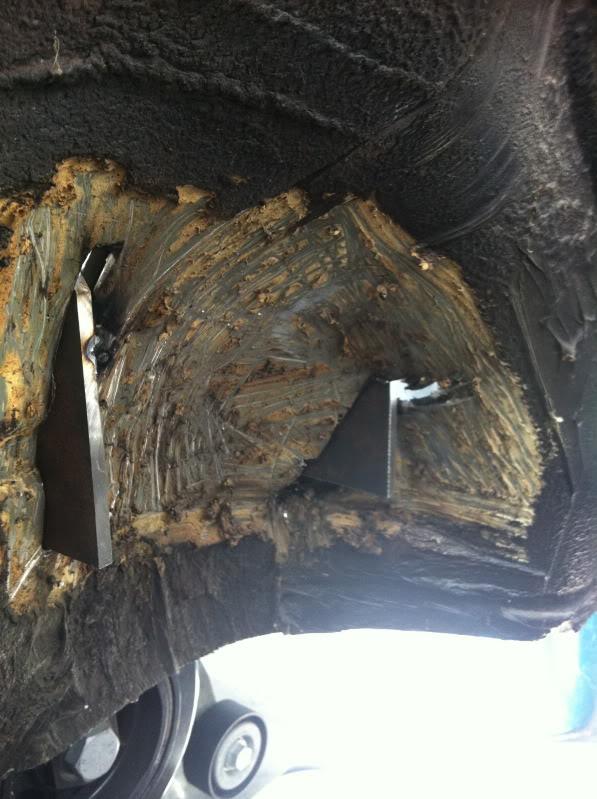
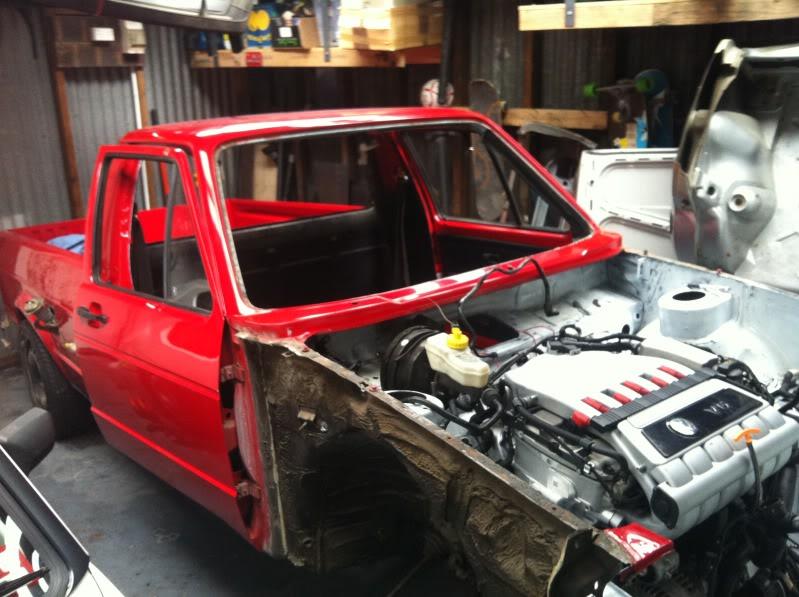
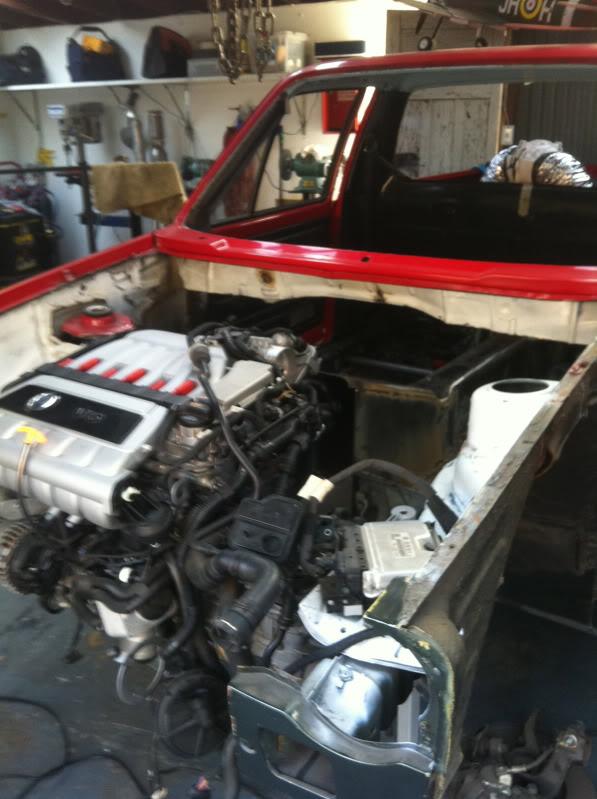
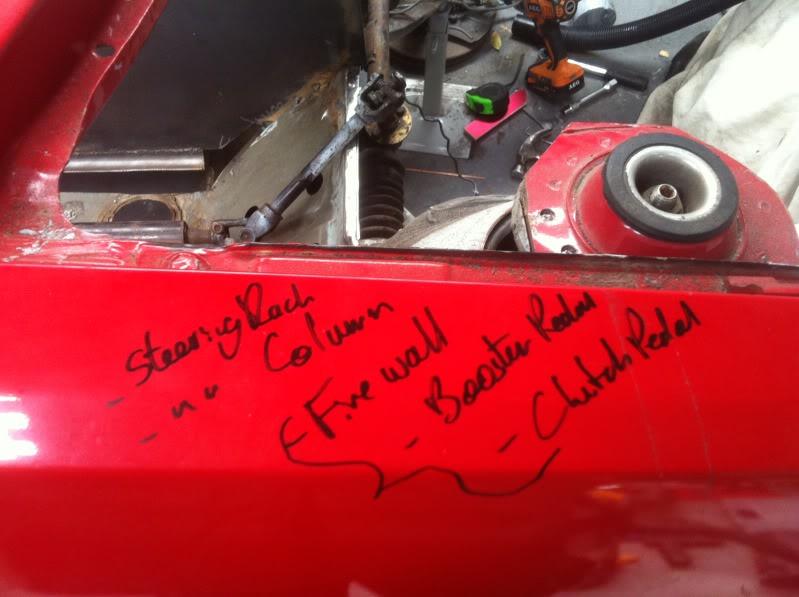
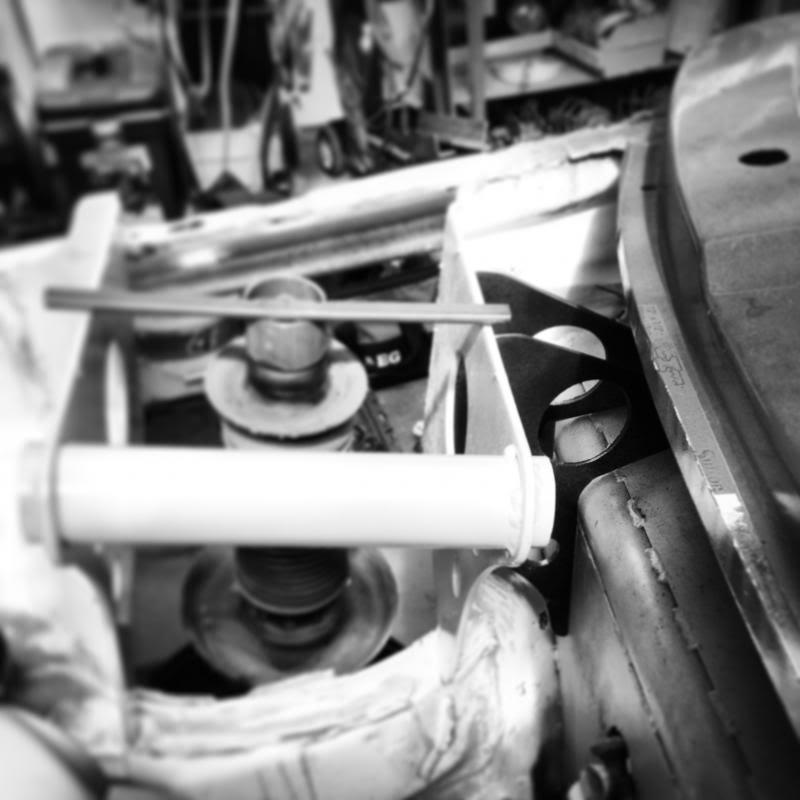
I guess up until now i have been trying to mash a few different worlds together and
it was starting to look like a Mish Mash.
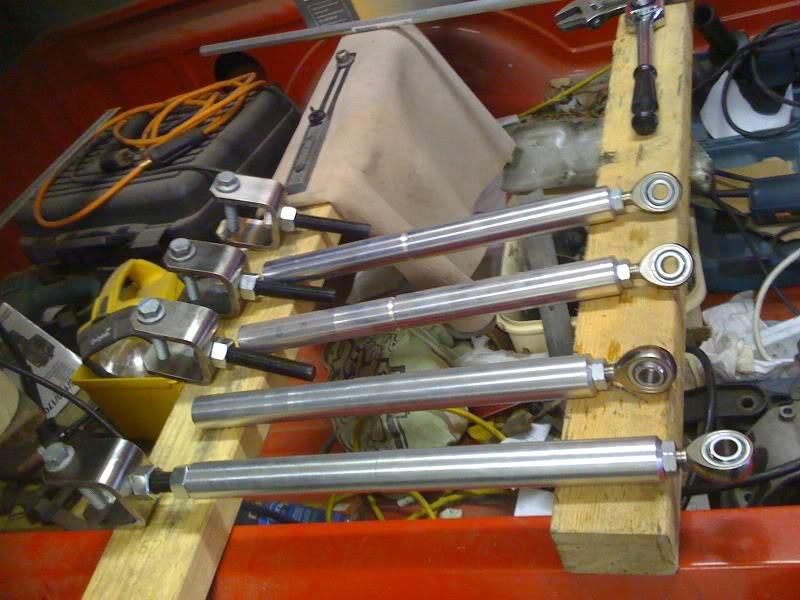
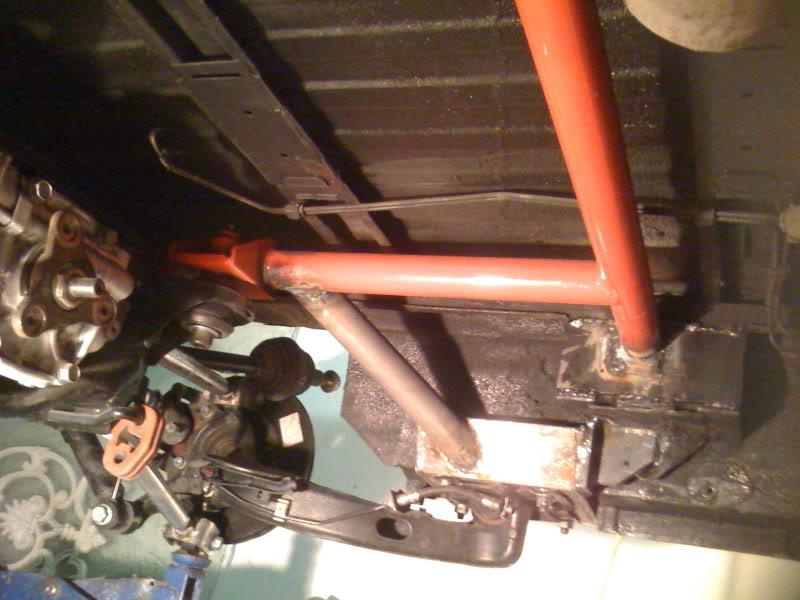
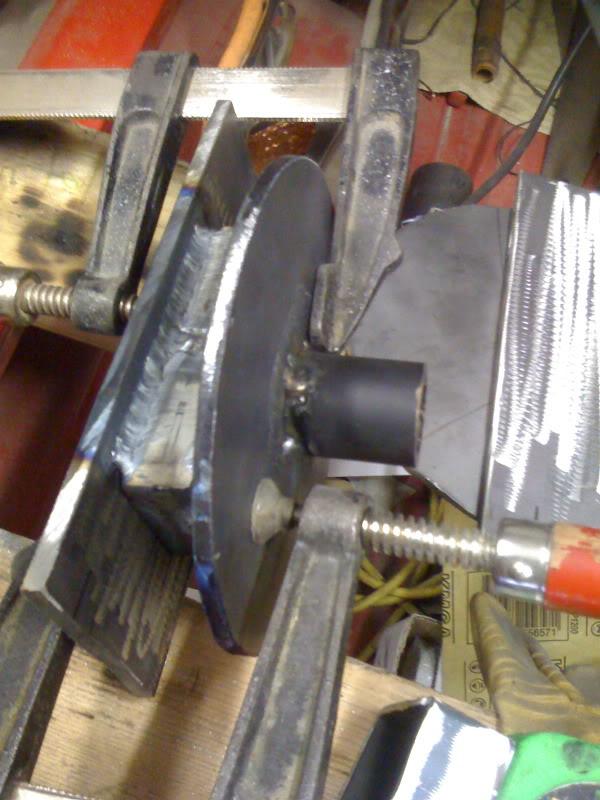
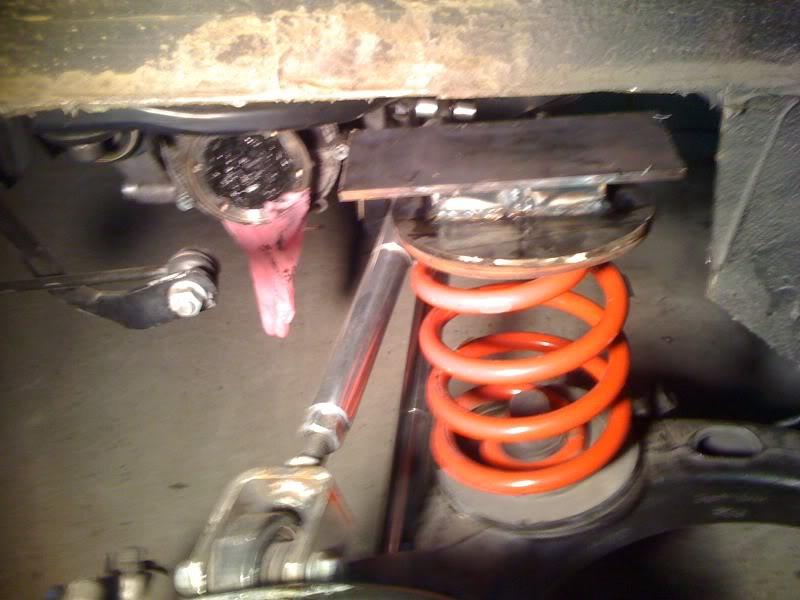
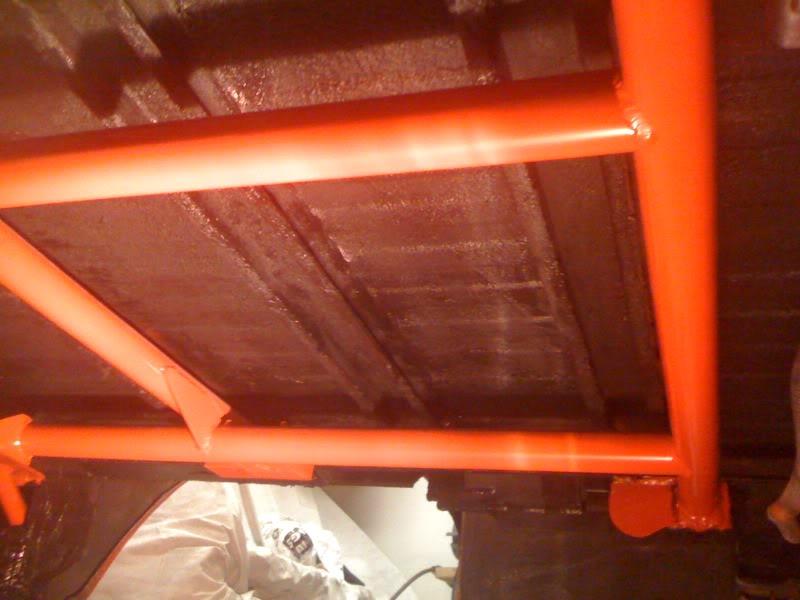
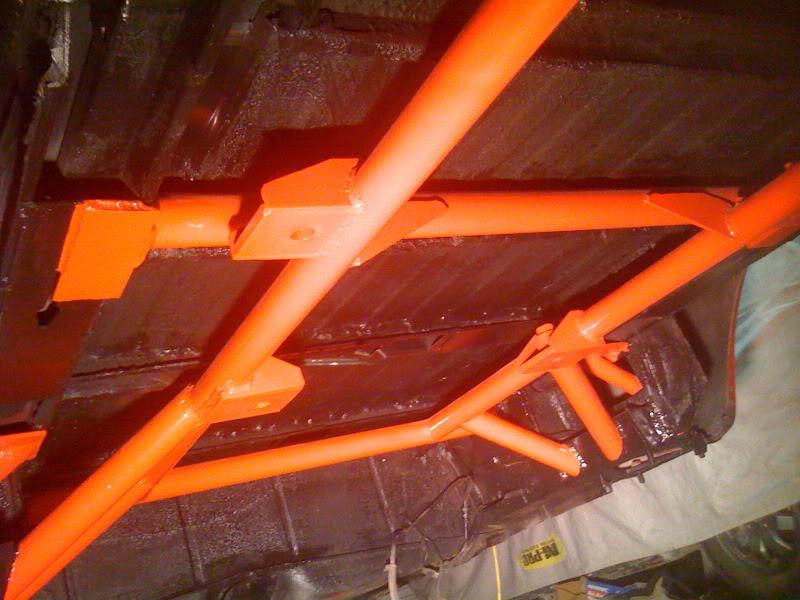
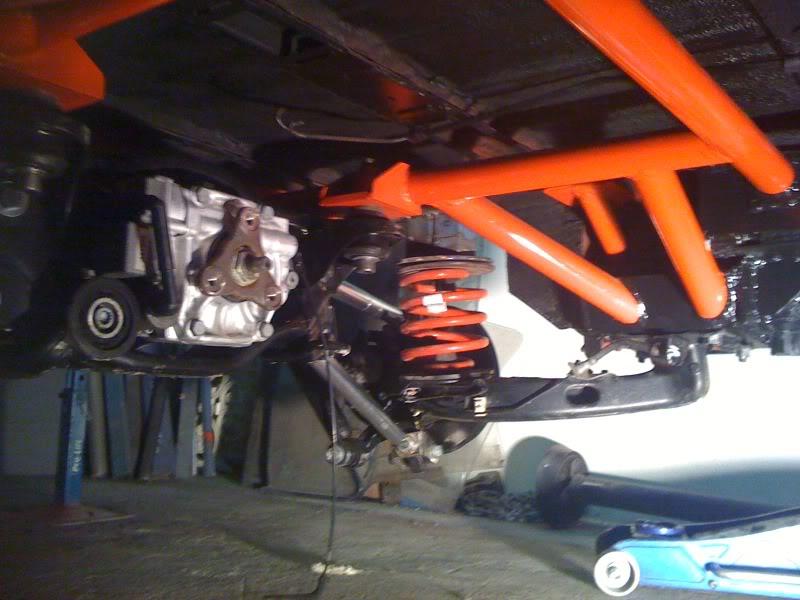
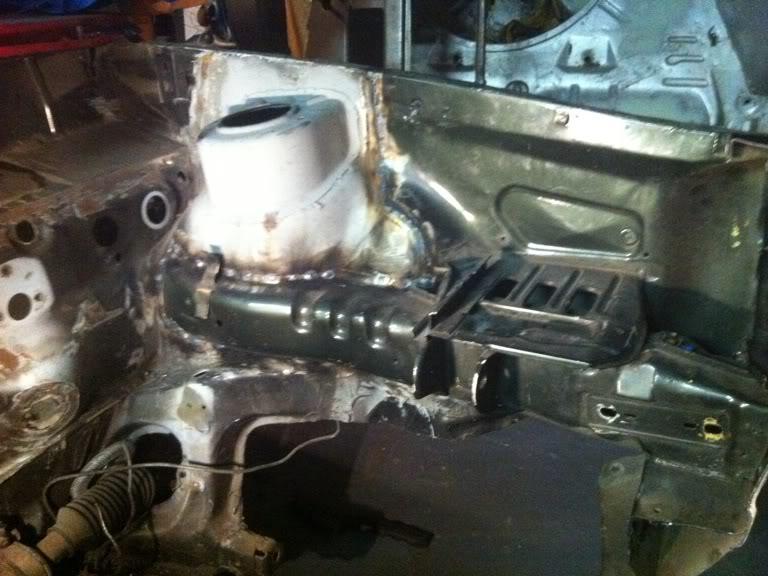
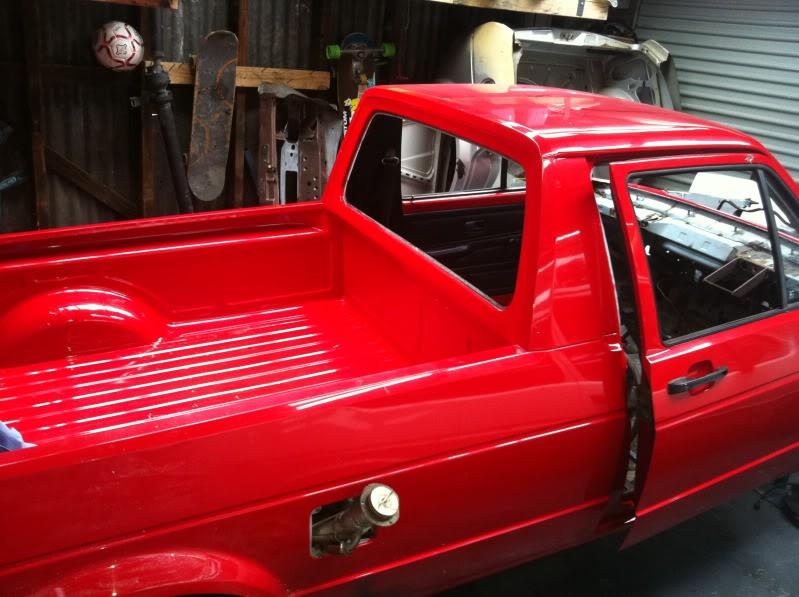
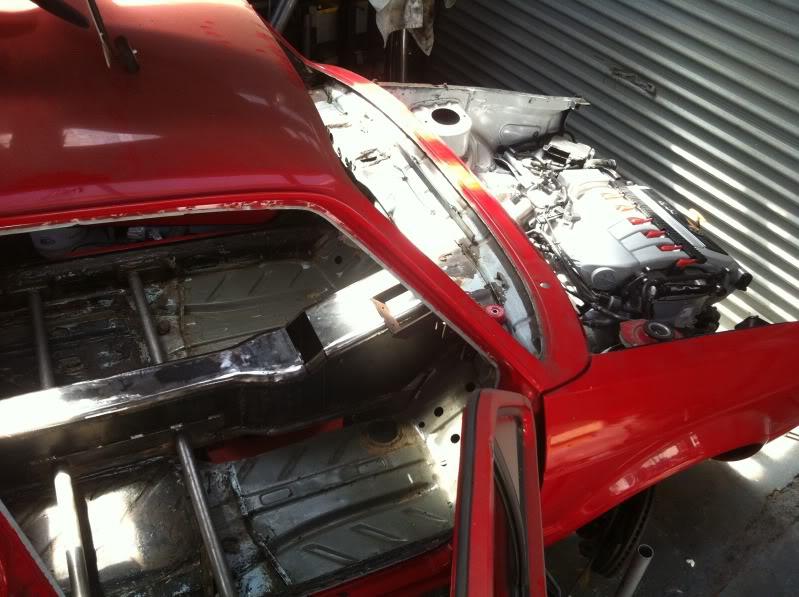
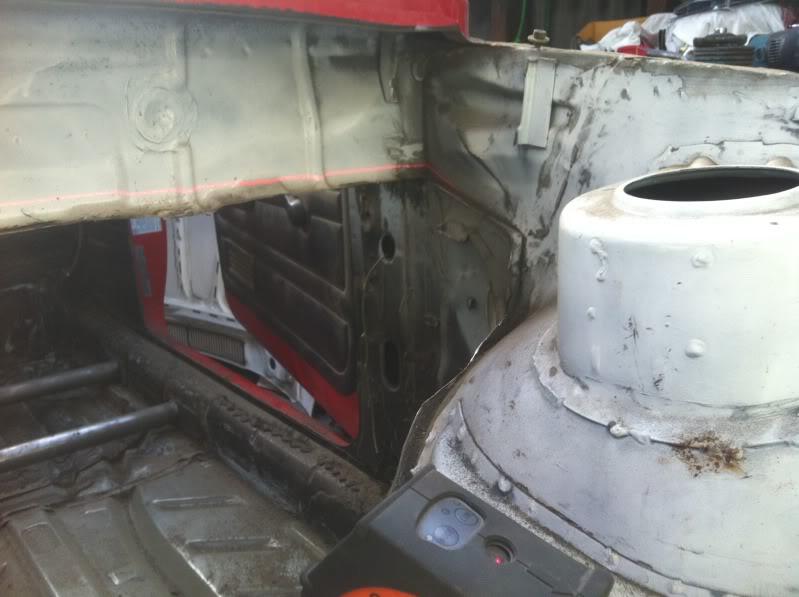
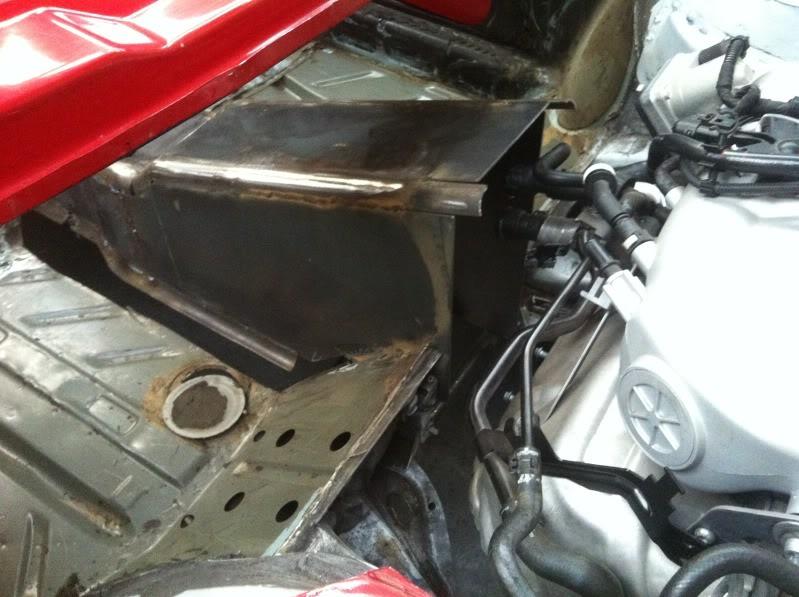
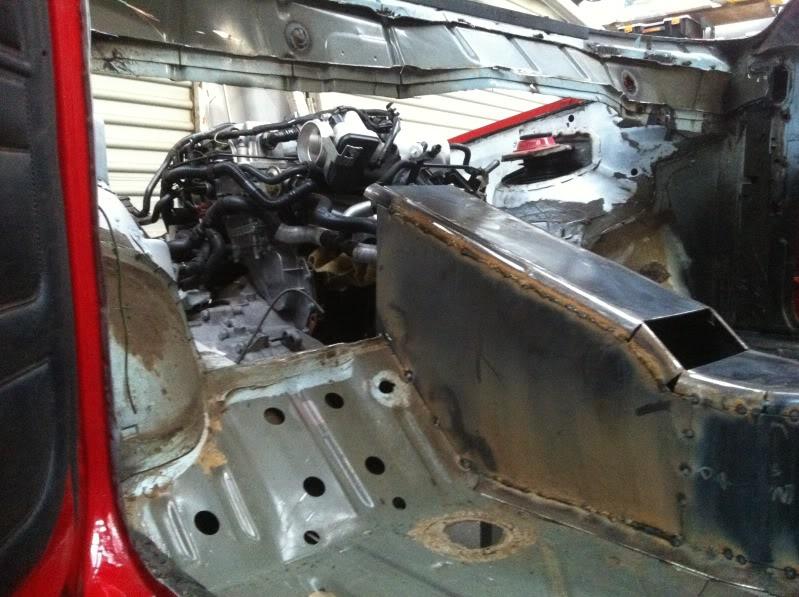
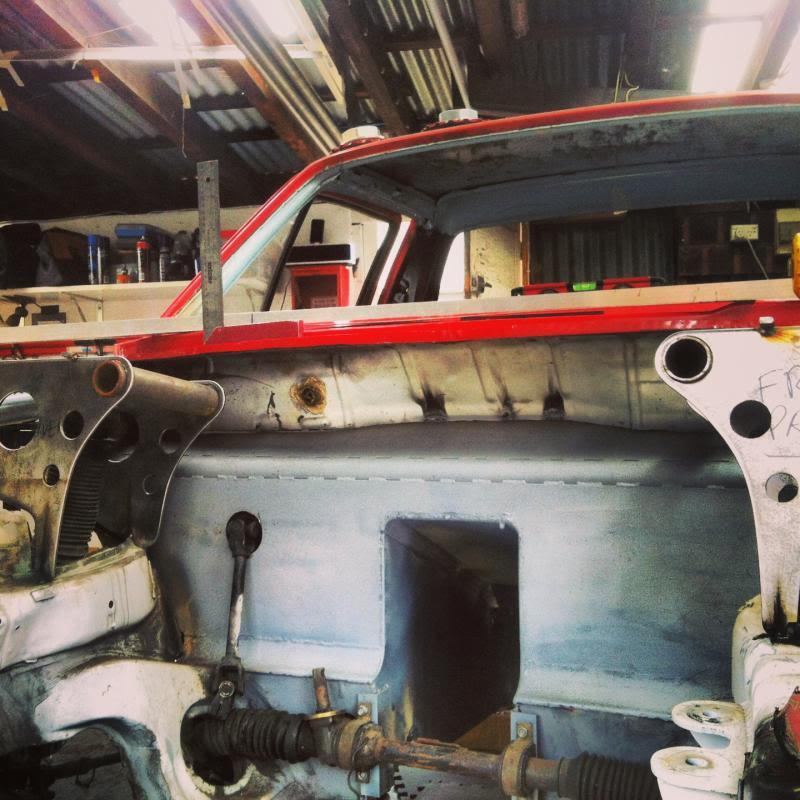
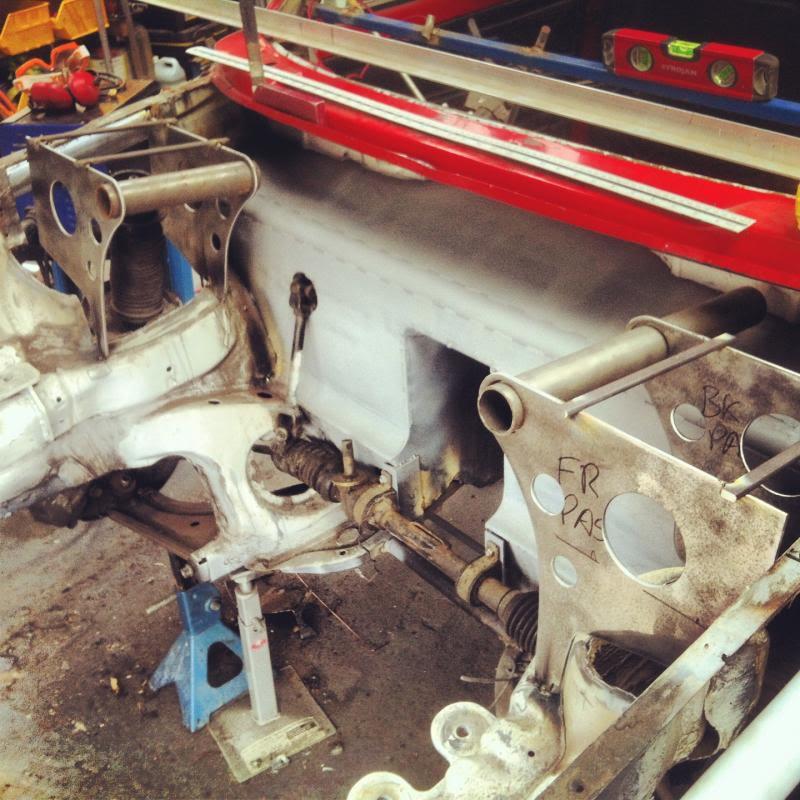
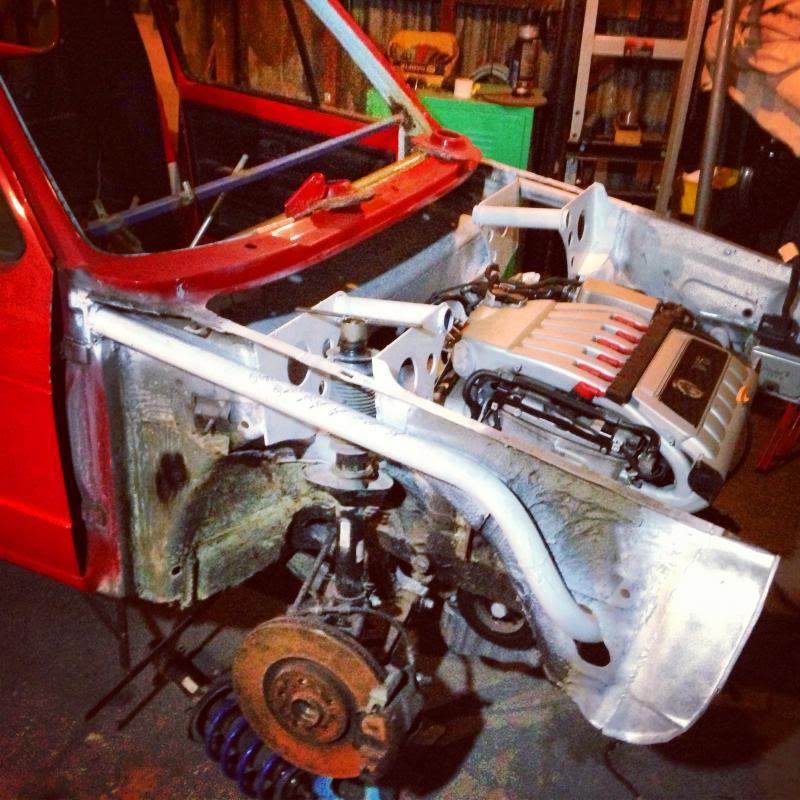
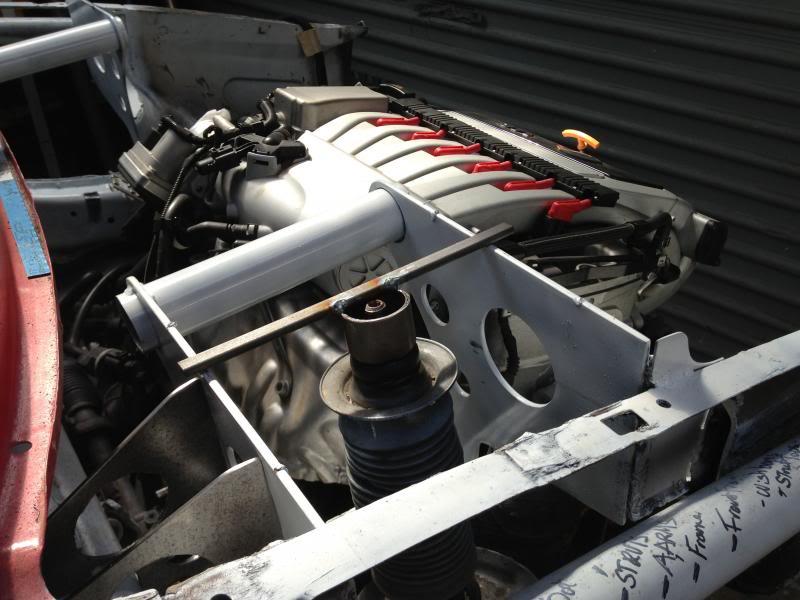
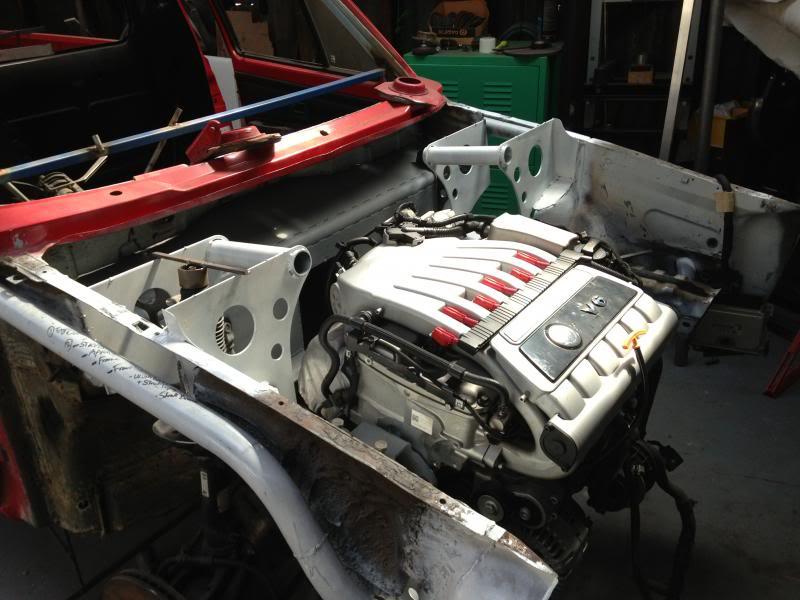
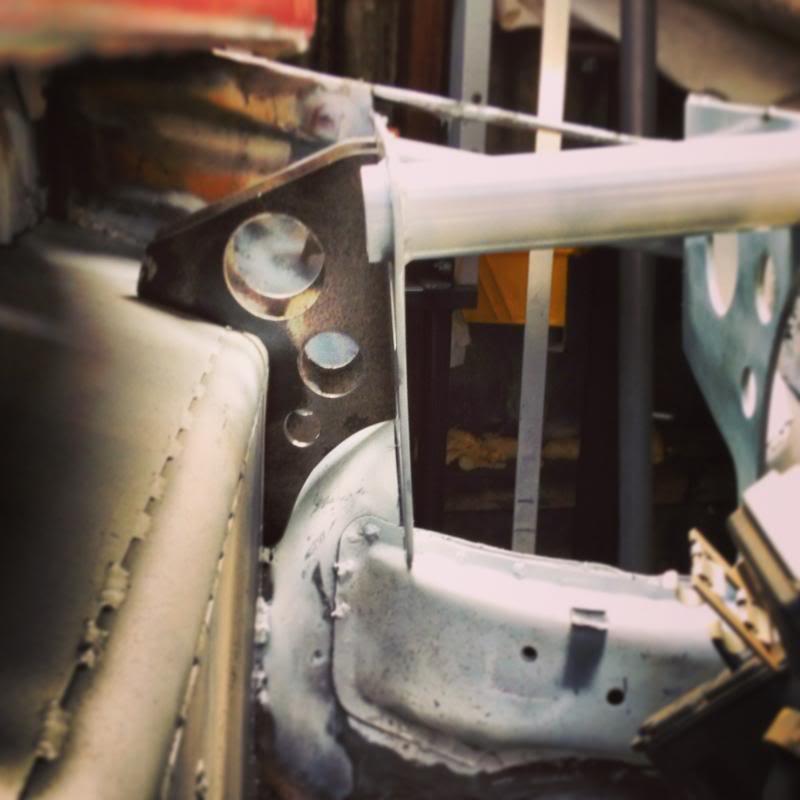
Now it's decided - Purely Motorsport inspired machine -
No Smooth bay
No Classic looking steering wheel and seats
No whatever else i still had rattling around in my head form the
start of this build.
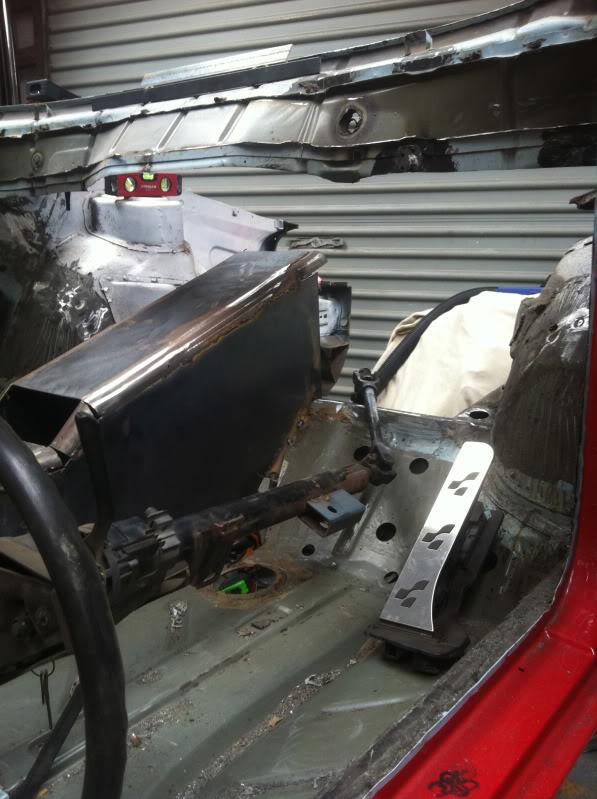
Will be driving it to hill climbs and track days for fun.
Finally feeling better about where its headed.
move the thread into the mk1 Section and have a thread for it that is freshly inline with the build.
Anyone familiar with the build the fresh pics are straight on page 2
Cheers Benny
Updated Intro,
ok so whats been going on!
I literally spent 2 hours standing in front of this thing
just before going crazy with the grinder and thought WHERE is this Going!
I needed some help to get clarity and even a push over the edge.
So i rang a Alex G and said you know i keep looking at this engine bay and thinking
i want to bust the grinder out and cut it all of !?
and he knew exactly what i meant.
So it was done...
I guess up until now i have been trying to mash a few different worlds together and
it was starting to look like a Mish Mash.
Now it's decided - Purely Motorsport inspired machine -
No Smooth bay
No Classic looking steering wheel and seats
No whatever else i still had rattling around in my head form the
start of this build.
Will be driving it to hill climbs and track days for fun.
Finally feeling better about where its headed.
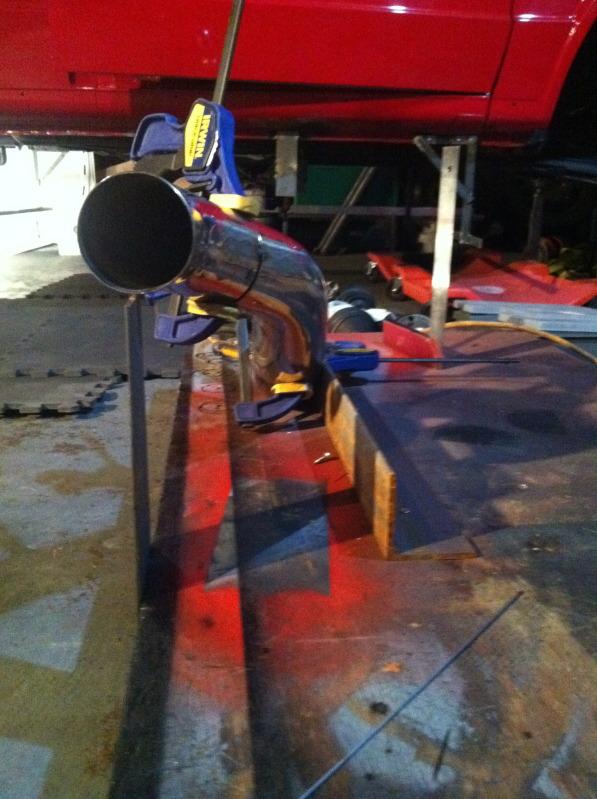
 [/IMG]
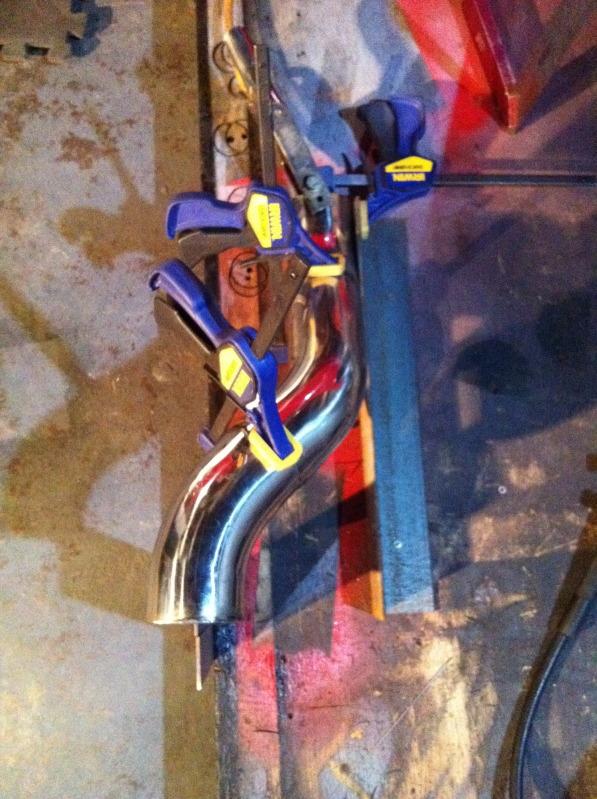
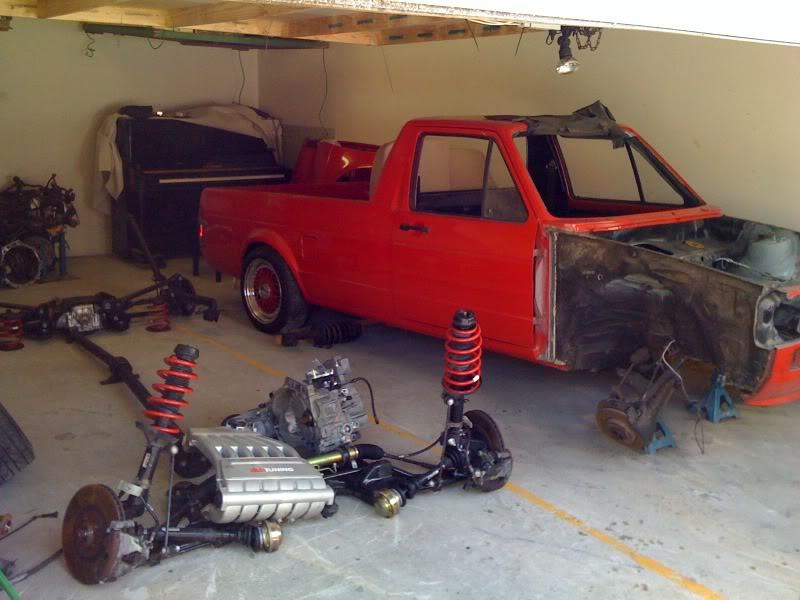
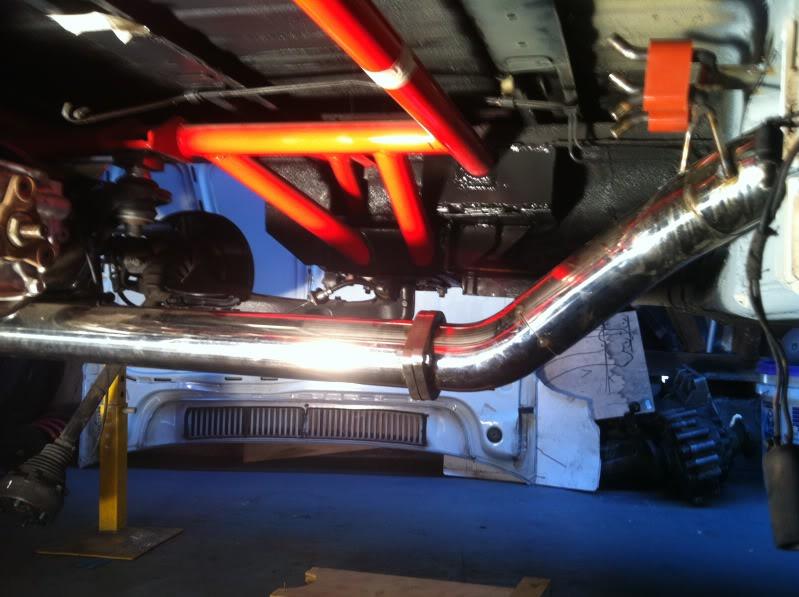
 [/IMG]
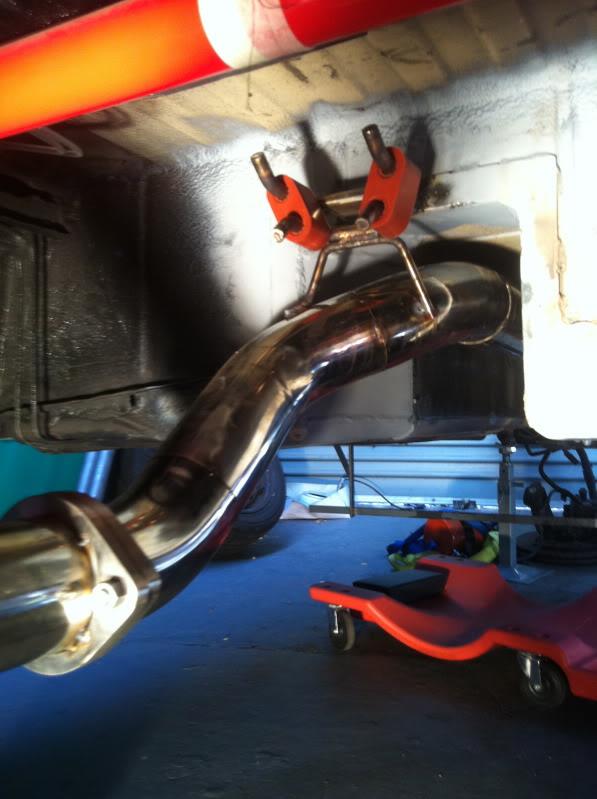
 [/IMG]
 [/IMG]


Comment