If this is your first visit, be sure to
check out the FAQ by clicking the
link above. You may have to register
before you can post: click the register link above to proceed, registering will remove the in post advertisements. To start viewing messages,
select the forum that you want to visit from the selection below.
This means you should apply for your renewal now to avoid any disruptions to your membership whilst the renewal process is taking place! NOTE: If you have an auto renewing subscription this will happen automatically.
Great to see the parts from the scrapped GTI being reused Martin. Looks like you have some decent weld & bodywork skills.
Must say thanks for putting up the images showing what is exactly inside the A pillar, Most folk would just bog over the rust leaving the rotted material underneath for the "next " owner to deal with.
Can any of the moderators make a sticky of the A pillar repair pics please. Good info for all the inexperienced around here...
Very impressive work your doing to the old girl! Do you fancy coming to perth and fitting my after market front fenders cant seem to get a good gap all round with them!
Thanks! I’d like to come back over to Perth as long as I don’t have to fit any aftermarket fenders, I’ve heard there’re a nightmare to get right. My fenders are rusted at the bottom where they join the sills. I plan to locally replace the rusted out section with some good steel from another pair of fenders I have that damaged at the front edge.
That's dedication! Congrats on takling it. Seems you know your way around a welder!
Thanks Jarred, I’ve seen a lot worse, floors and sills are great, although it could have gone horribly wrong when I removed the roof. Luckily it didn’t.
Great to see the parts from the scrapped GTI being reused Martin. Looks like you have some decent weld & bodywork skills.
Must say thanks for putting up the images showing what is exactly inside the A pillar, Most folk would just bog over the rust leaving the rotted material underneath for the "next " owner to deal with.
Can any of the moderators make a sticky of the A pillar repair pics please. Good info for all the inexperienced around here...
Thanks Grant! Your panels have worked a treat. I don’t have bodywork skills just learning on the job to be honest. I have rebuilt a couple of minis with my Dad, however my Dad done most of the technical stuff and made it happen!
PS: can any of the moderators move this thread to the restoration section, thanks.
The work you have done is spot on Mart, i really like the attention to detail like sorting the insides of the A-pillar and using the bonnet and hatch as reference points for setting the "shut gaps". Keep it up and you'll have a top motor!
Welding looks good, are you "stitch welding" the new panels to old?
Are you going to paint it?
Thanks Greg 
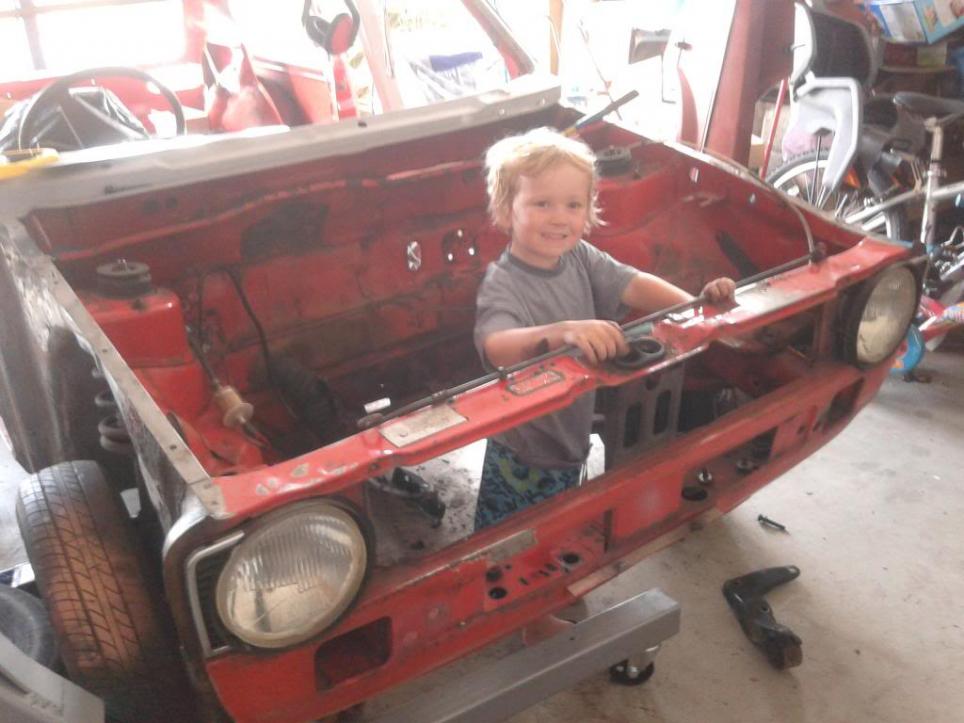
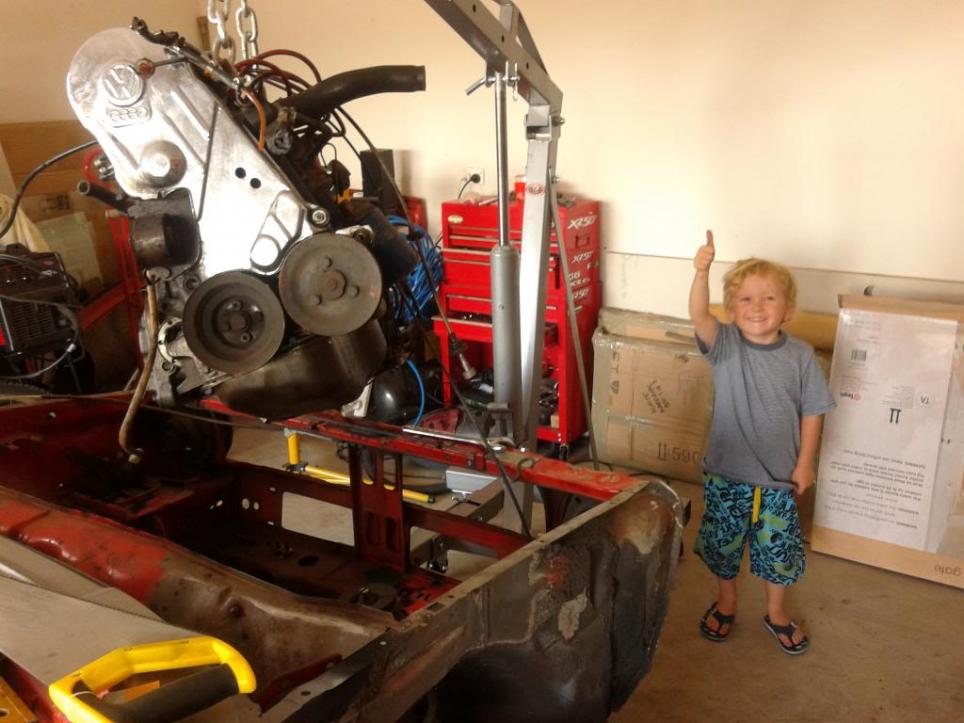
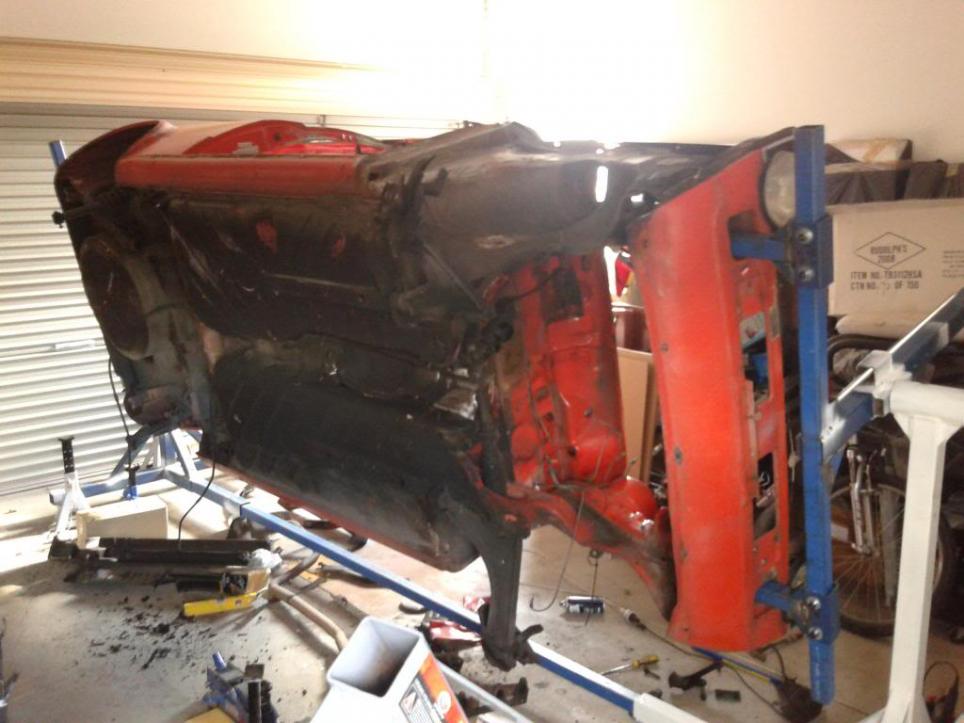
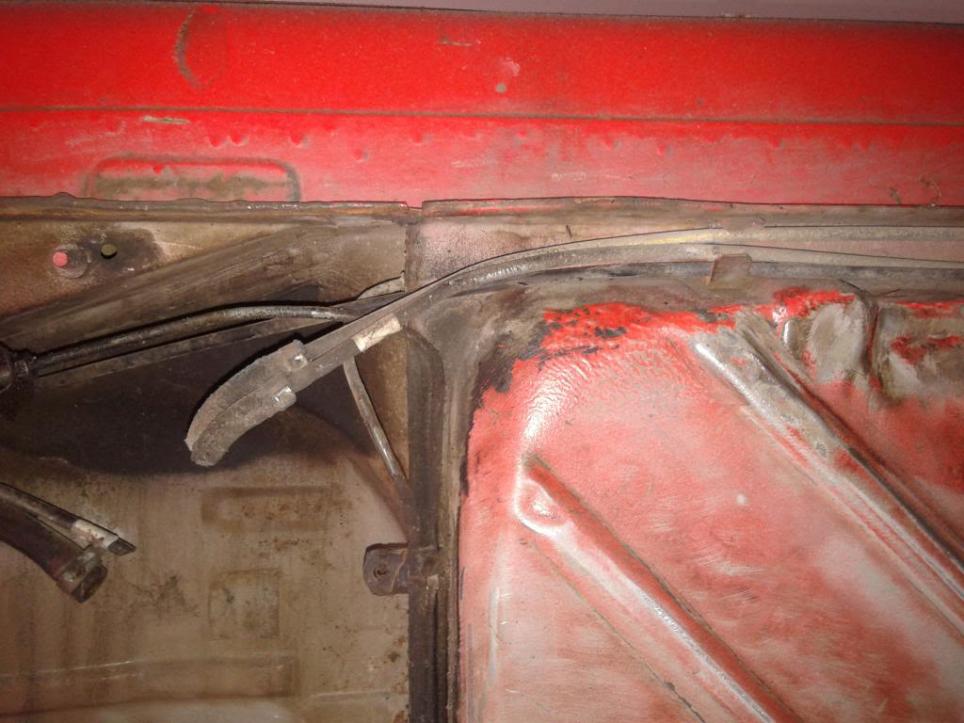
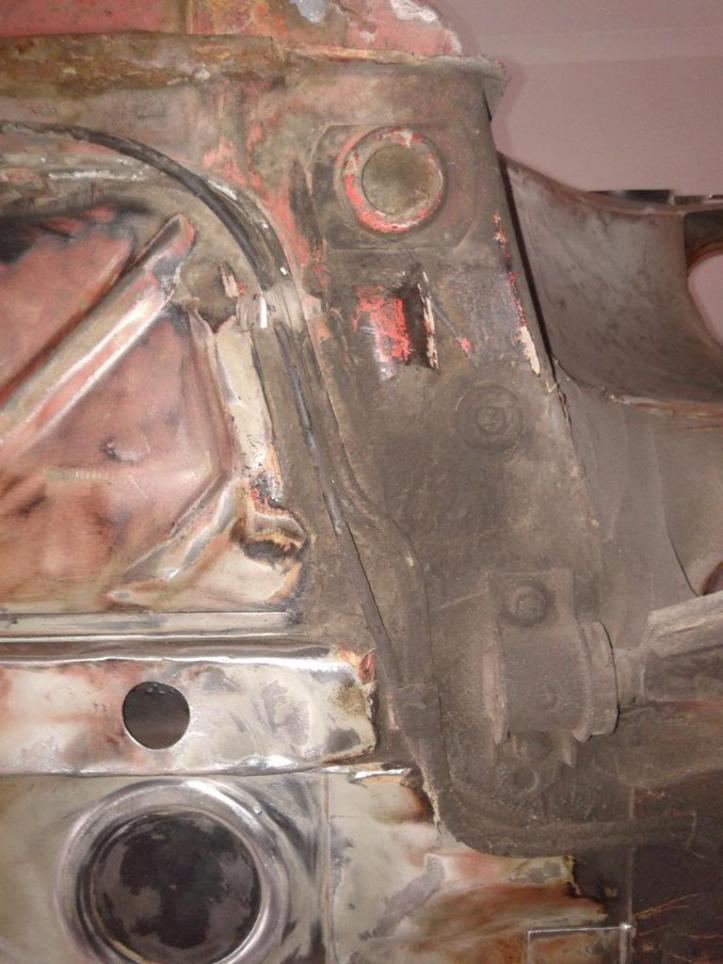
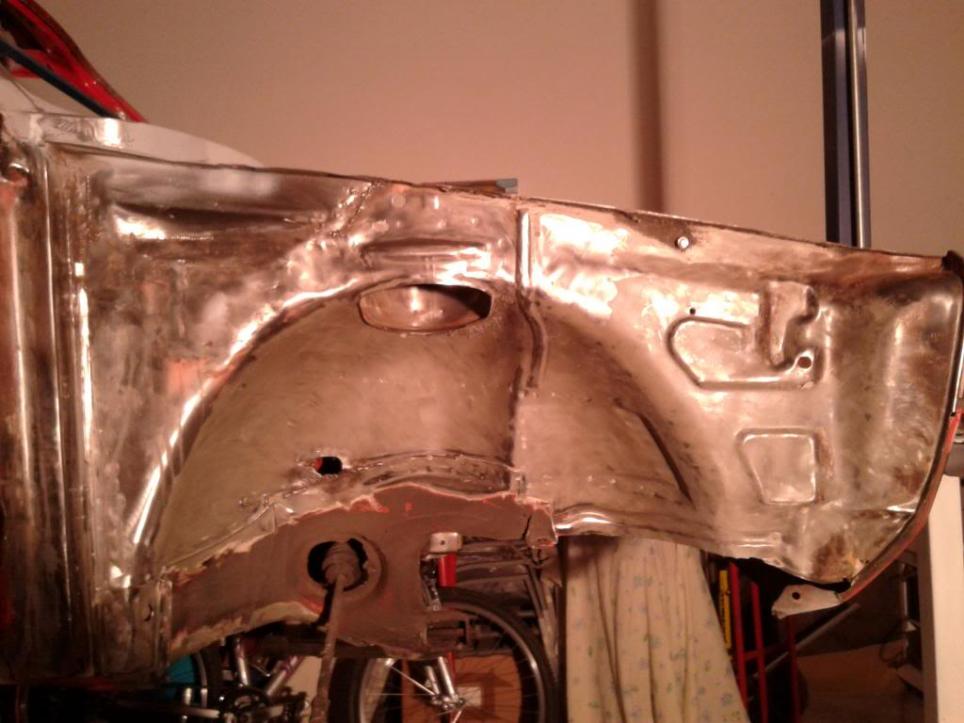
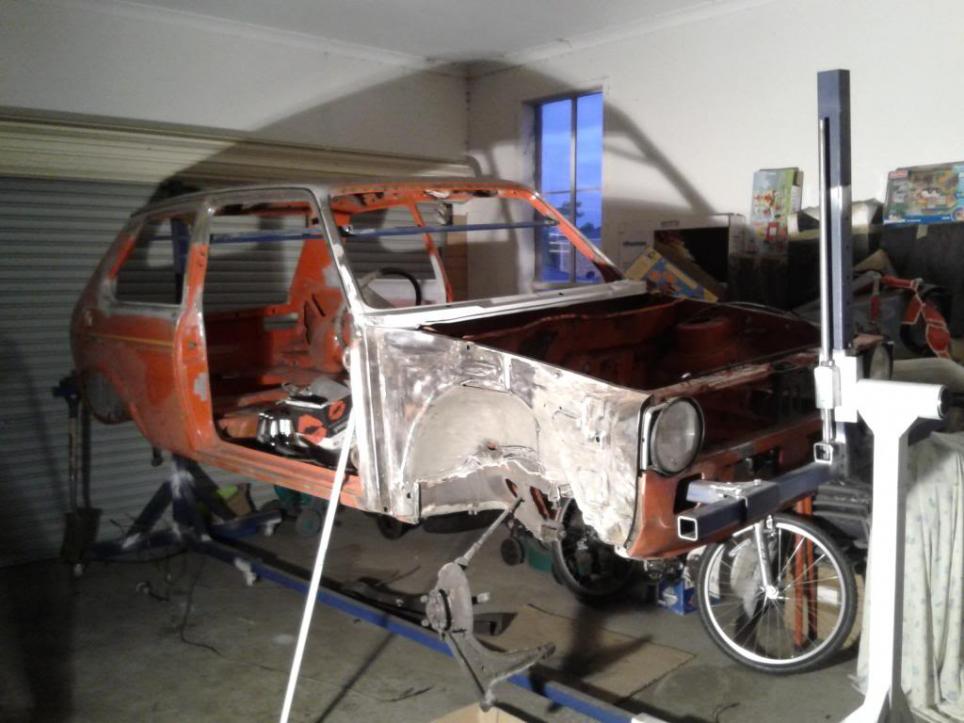
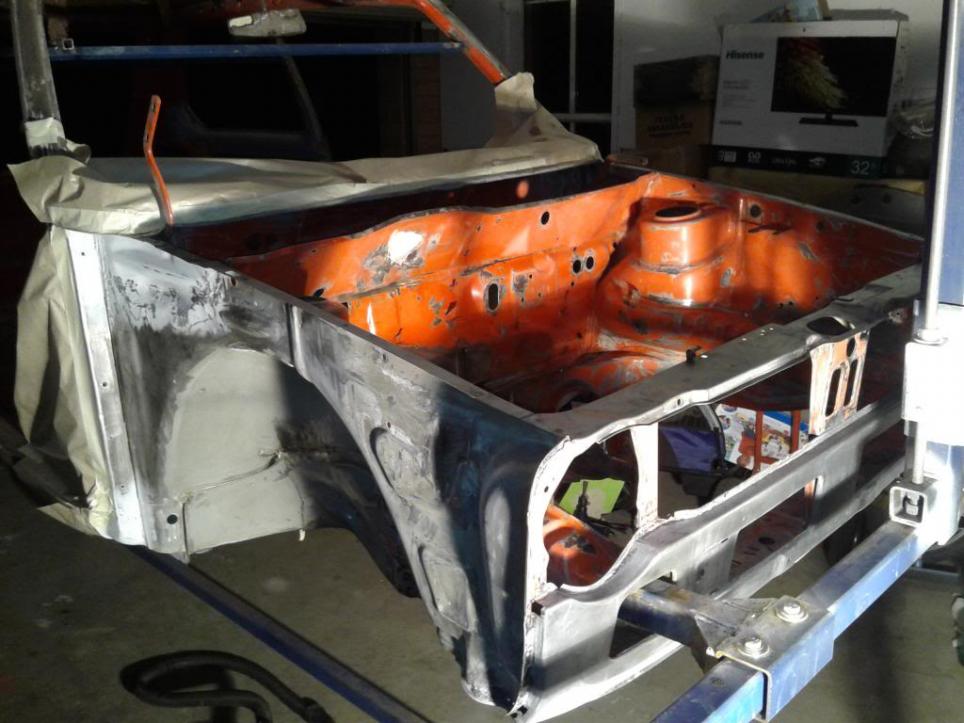
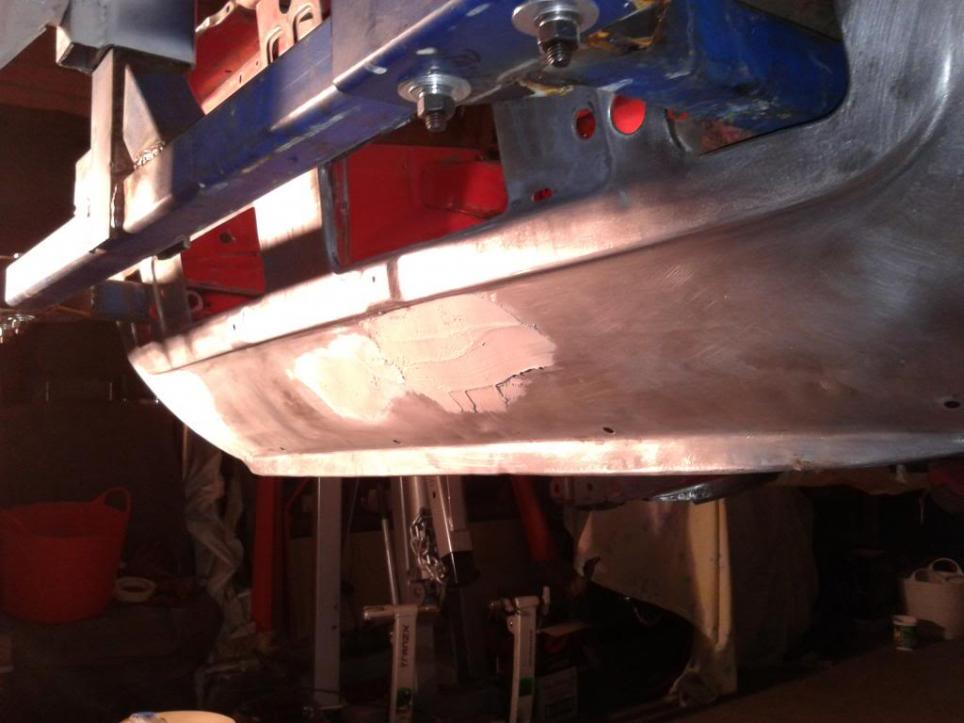
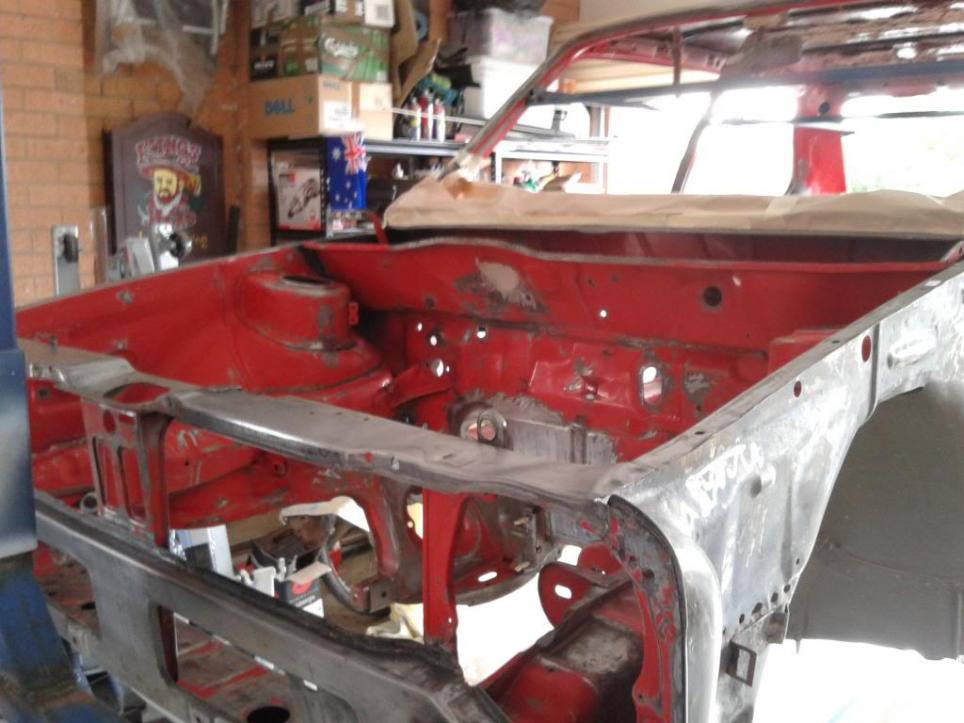
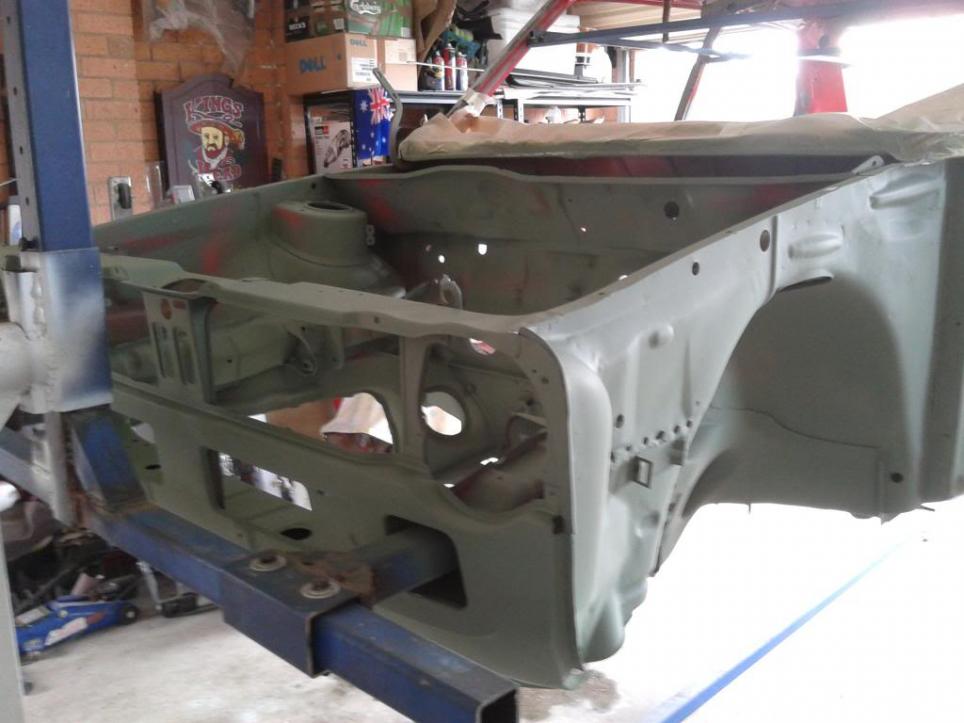
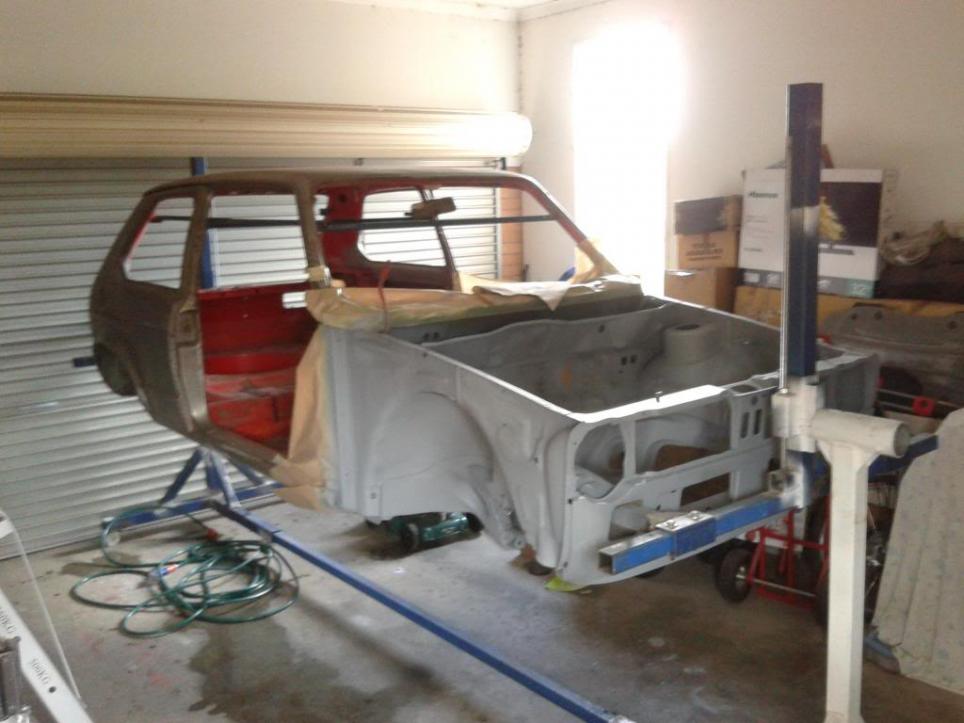
, I’m chipping away at it slowly. I assume stich welding being doing laying the welds down in small sections separated apart then yes. It seems to work well with keeping the heat down and preventing warping. I will be painting it at home probably in acrylic, I’ll think I’ll keep to the same retro colour mars red.
Small update, as the main welding jobs are done I decided to build a rotisserie so I can get full access to the underneath for cleaning and paint prep.
It was a massive time consuming job and I would advise anyone to just buy one off ebay.
Either way it works and I’ve managed to clean the whole underside (horrible job) ready for paint prep.
The body is now temporarily upright where I’m just finishing off the inner arches and engine bay.
Next jobs include some minor rust repairs around the front sills and cleaning the entire body ready for epoxy. I plan to stonechip the underneath then paint underside, inner arches and engine bay in the original Mars red.
PS: Anyone know why there are so many ventilation pipes associated with the petrol tank? The one on the RHS inner arch is it required? The whole venation system seems to be completely over the top and only acts as a rust trap. I’d like to hear what you guys have done with them? Thanks!
Curious as to what you used to strip the underbody sealant?
First of all cleaned it with degreaser, ideally I would have liked to use a pressure washer but I had to do it with an open hose pipe as I was in the garage.
Then scrapped off what I could with a scrapper. I then attacked it with one of those round wire brush attachments for the angle grinder. You can buy them at Bunning’s..
Front end in etch and high build primer. I didn’t fancy using the 2K Epoxy due to the chemicals.
So far really pleased with the results.
I purposely left it un-sanded, I’ll sand smooth prior to the 2nd coat of build primer. I just wanted to get the filler into the low spots directly onto the steel rather than the etch
Comment