 Tweet
Tweet
Originally posted by GeorgeMK1
View Post
-
just weaker welds really, they just don't have the same quality as gas MIG weldsVW: it aint just a car, its a way of life
There are few things more satisfying in life than finding a solution to a problem and implementing it
My Blog: tinkererstales.blogspot.com.au -
So managed to get mig with gas setup from my friend hakan, but is only very limited to just a few days.
.... and i await the criticism haha. Good, bad, excellent welds it doenst really phase me. I did my own welds and thats what im most happy about. I love to learn and do everything myself, and even though i only just started welding 2 days ago, im not too fussed how it looks, as long as it performs.
Listened to josh and ended up welding the holes instead, now i just have to grind them down
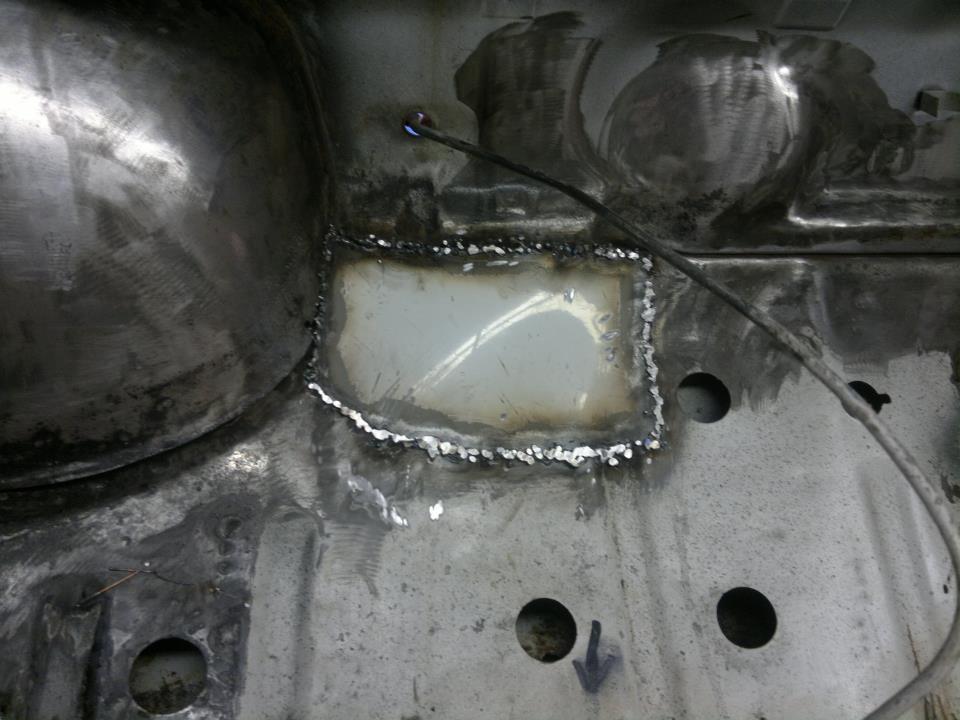
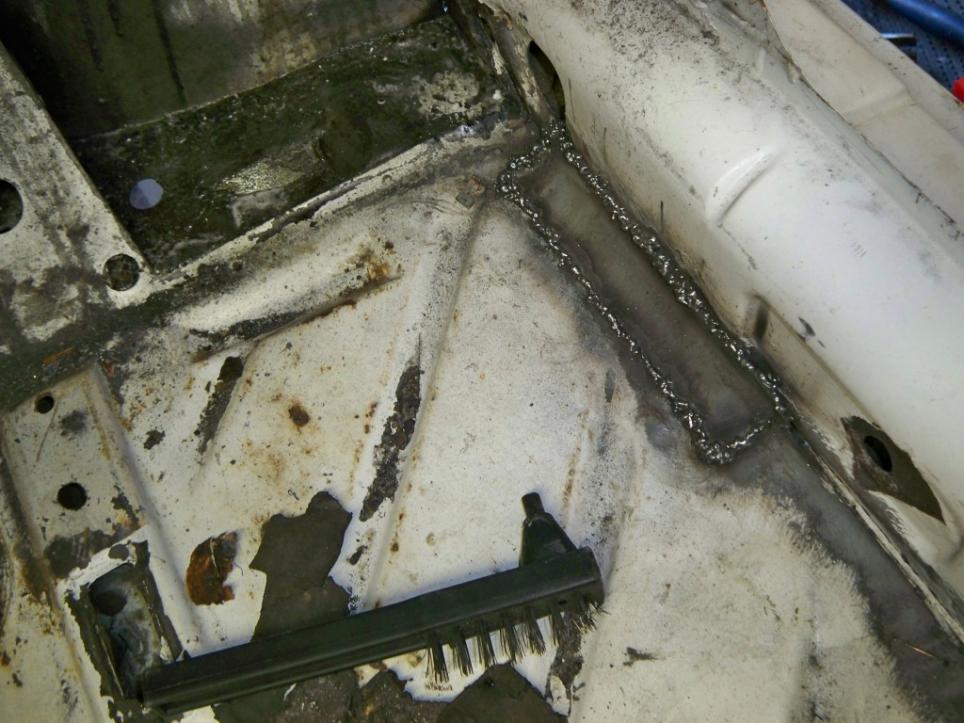
I've been welding the whole afternoon after work and didnt have time to finish this off as i have to go school now. Heres a quick pic of the floor pan
 - Orange Golf mk1 LS, 1.8 5speed, 32/36 - sold
- Golf mk1 Swallowtail rebuild, completely stripped
- Brown U.S import 81 cabby
- 88 Honda crx b18crComment
-
looks great man VW: it aint just a car, its a way of life
There are few things more satisfying in life than finding a solution to a problem and implementing it
My Blog: tinkererstales.blogspot.com.auComment
-
Thanks josh !! Grinded all the welds to a very smooth finish, and it seams the welds are solid and good. So im a happy chappy
Well if i keep on working on it with the motivation i've had within the past week or two, i should see this being painted very very soon !
---------- Post added at 06:46 PM ---------- Previous post was at 02:58 PM ----------
So rushed home from work and tried to do a bit more. Cbf writing, waayyy too tired.
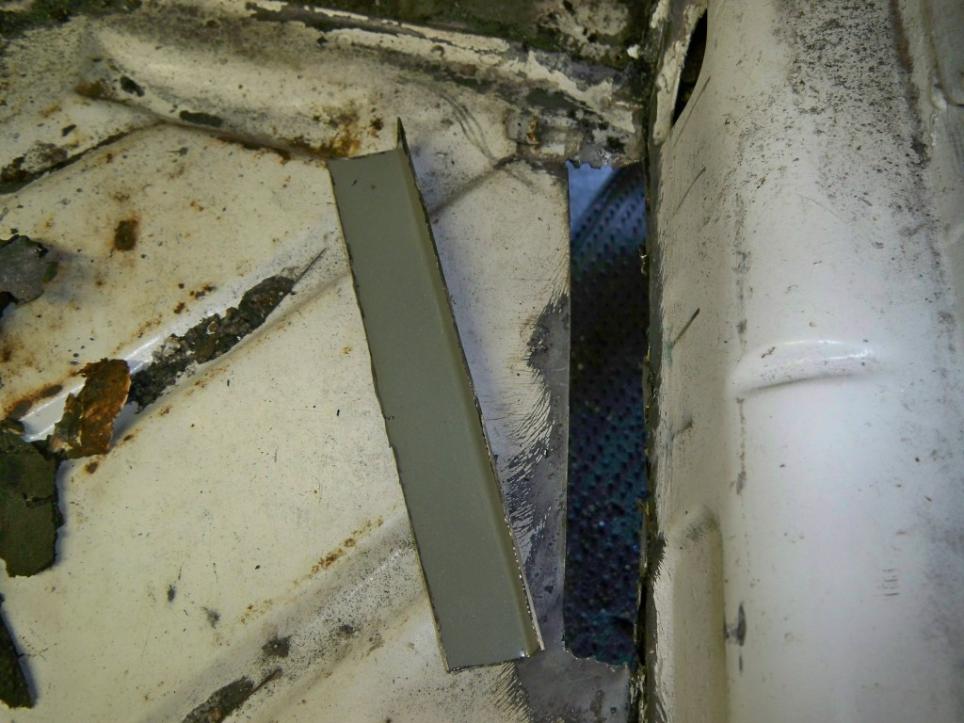
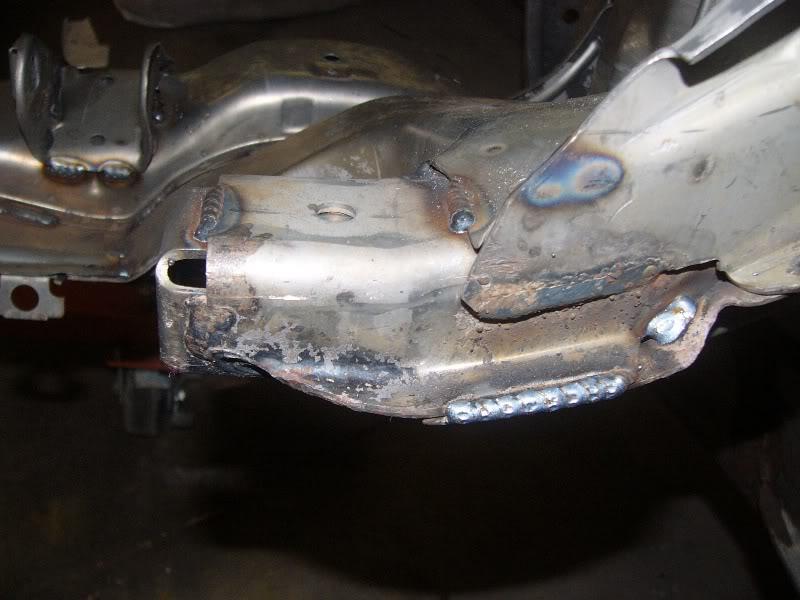
Cut out the rust and ready for replacement
Not the best, but im really impressed, this was done alot neater than the previous one. For a first time welder, im pretty pleased
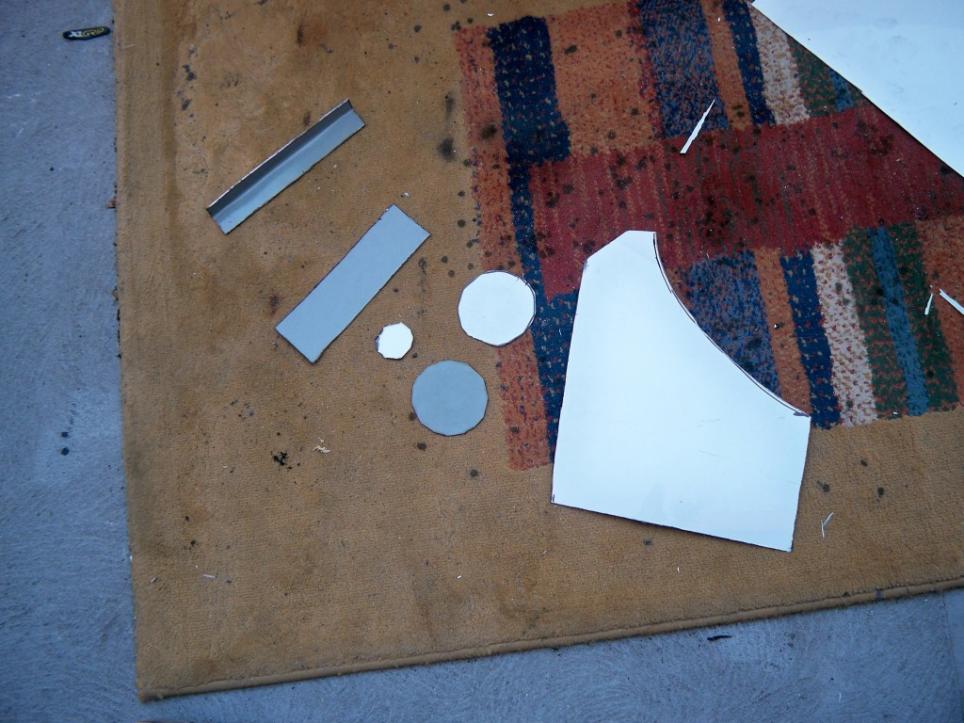
Just before i gave up and almost fell asleep i cut out some replacement bits
 - Orange Golf mk1 LS, 1.8 5speed, 32/36 - sold
- Golf mk1 Swallowtail rebuild, completely stripped
- Brown U.S import 81 cabby
- 88 Honda crx b18crComment
-
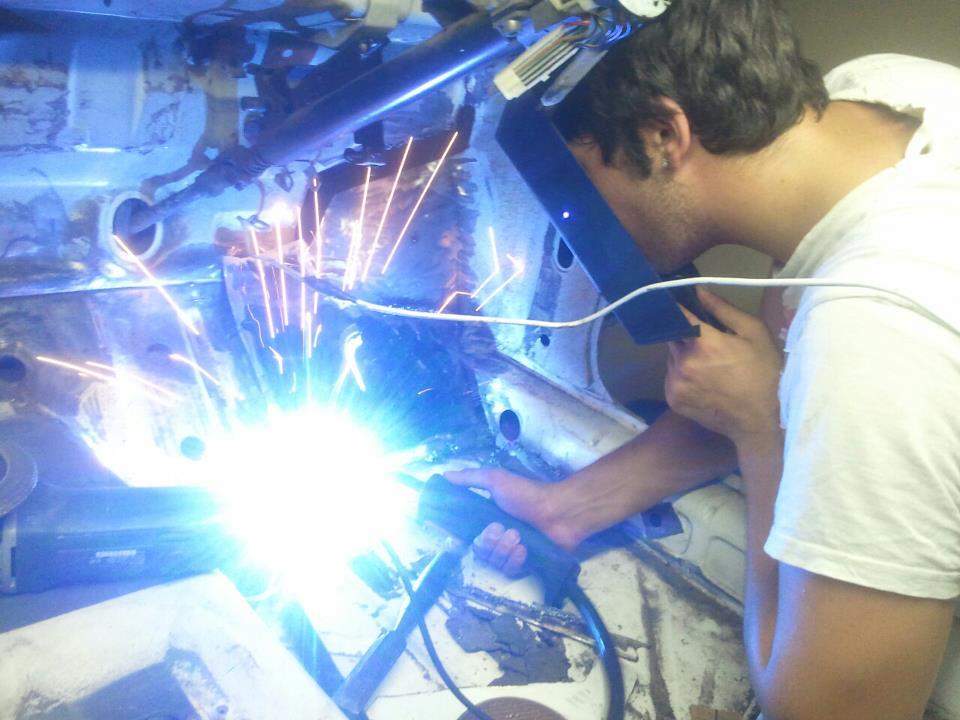
This is how i've been spending my last few nights, incl tonight, like a homo

 - Orange Golf mk1 LS, 1.8 5speed, 32/36 - sold
- Golf mk1 Swallowtail rebuild, completely stripped
- Brown U.S import 81 cabby
- 88 Honda crx b18crComment
-
good work george! keep it upComment
-
Some tips for your next welding session.
Connect the earth lead as close as possible to the area you're working on.
Bad connections will affect weld quality so make sure that the metal you connect the clamp to is ground back to bare metal with your flapper disc.
Your mig should be set to the lowest power setting and the wire speed adjusted to achieve the result you're after.
0.6mm wire is best for panel work, thicker wire will be hard to get a neat appearance and will be tricky to avoid burning through.
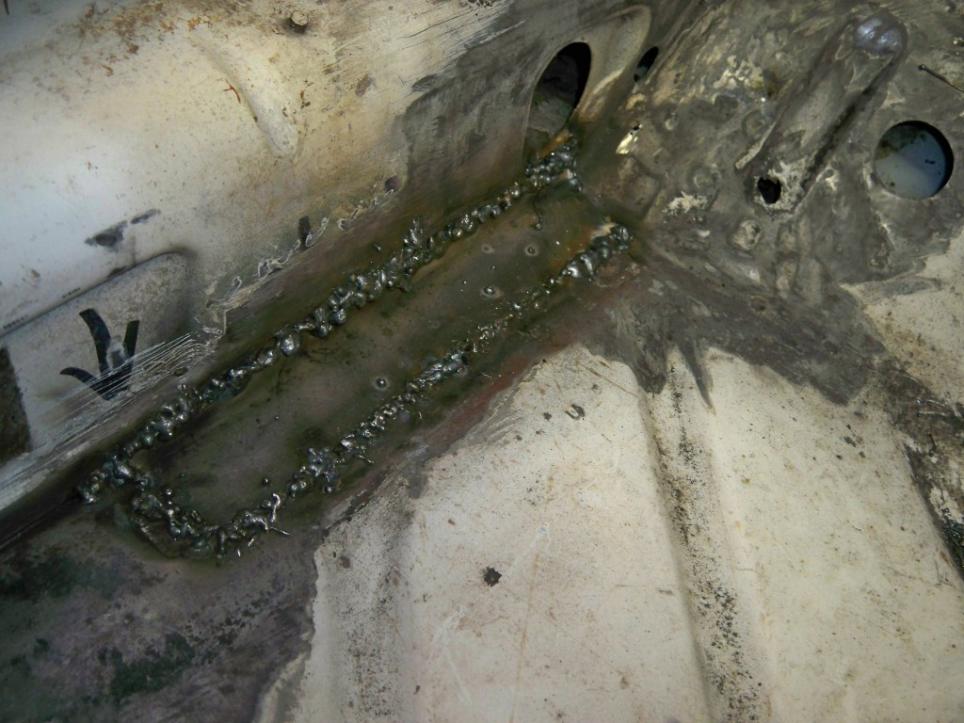
Don't try and lay down a continuous bead. Aim to make a small bright puddle and let go of the trigger before it burns through. Wait for the puddle to cool and lay another one on it's edge. You'll have to pull that trigger 100's of times.
The effect you'll see with that technique is refereed to as a "stack of dimes"
You can see the effect in this pic.
There's a bit of welding technique stuff in my various threads if you're interested.
I've still got a lot to learn but a lot of it just comes from practice so keep up the good work!79 MK1 Golf Wreck to Race / 79 MK1 Golf The Red Thread / 76 MK1 Golf Kamei Race Car
7? MK1 Caddy
79 B1 Passat Dasher Project
12 AmarokComment
-
Wow pete, thanks for that. To be honest i didnt know a few of those things you mentioned such as closer ground is better etc. Thanks mate i really appreciate it, as i dont always have someone to guide me and sort of learn on my own, as i go really. I am currently using 8mm, and am on the lowest power setting. However i noticed lastnight when i amped the power a bit, it worked alot better.
And yes i never hold down the trigger continuessly, as i learned the hard way that it burns through haha !! As for looking into your thread, haha mate where do you think i got all the inspiration from? In all honesty if it wasnt for your thread i wouldnt be doing any of this at all
---------- Post added 26-02-2012 at 10:52 AM ---------- Previous post was 25-02-2012 at 01:58 PM ----------
A few quick welds before heading out yesterday. (and yes i got a haircut )
 - Orange Golf mk1 LS, 1.8 5speed, 32/36 - sold
- Golf mk1 Swallowtail rebuild, completely stripped
- Brown U.S import 81 cabby
- 88 Honda crx b18crComment
-
OK . Two things.
Get yourself some gloves. If you can't afford a pair I'll send a set of my used ones.
If you keep going like that you'll have third degree sunburn on your hands and arms.
Secondly, that mask isn't doing you any favours. You can pick up a self darkening one for under $100. You'll be able to start the welds in the right position and have both hands free.
I tend to use both hands on the torch to keep it really steady. One hand on the handle and trigger and the other hand bracing the torch against the body work to keep it really still.
Waving it about in the air like a magic wand doesn't work.
Before you start a weld plan out what path your hands will follow and make sure the torch will be at the right angle over the entire path.
Consider if you need something to lean your hand against to keep it steady. Even a well placed set of vice grips can help steady your hand.
You're aiming for mm accuracy here.79 MK1 Golf Wreck to Race / 79 MK1 Golf The Red Thread / 76 MK1 Golf Kamei Race Car
7? MK1 Caddy
79 B1 Passat Dasher Project
12 AmarokComment
-
Wear gloves and a long sleeve cotton shirt and try to cover all exposed skin. The arc emits massive amounts of UV radiation and you will get burned if you weld for long enough. Good ventilation is essential too unless you want black lungsBeige 79 Mk1 GLD White 76 Mk1 LS 3 door
White 68 Alfa 1750 Berlina Champagne 91 Alfa 75
Red 09 9N3 Polo TDI White 2010 Skoda Octavia Combi TDIComment
-
Thanks Pete, i will most definately take those things into consideration next time i weld. Pete and Hiho, i do wear gloves however this was a quick pic haha. I also 90% of the time do wear a long sleeve top when i weld, but only because i didnt want to get dirty. I had no idea that the arc creates such a strong amounts of UV. I guess hygiene saved my skin a little haha
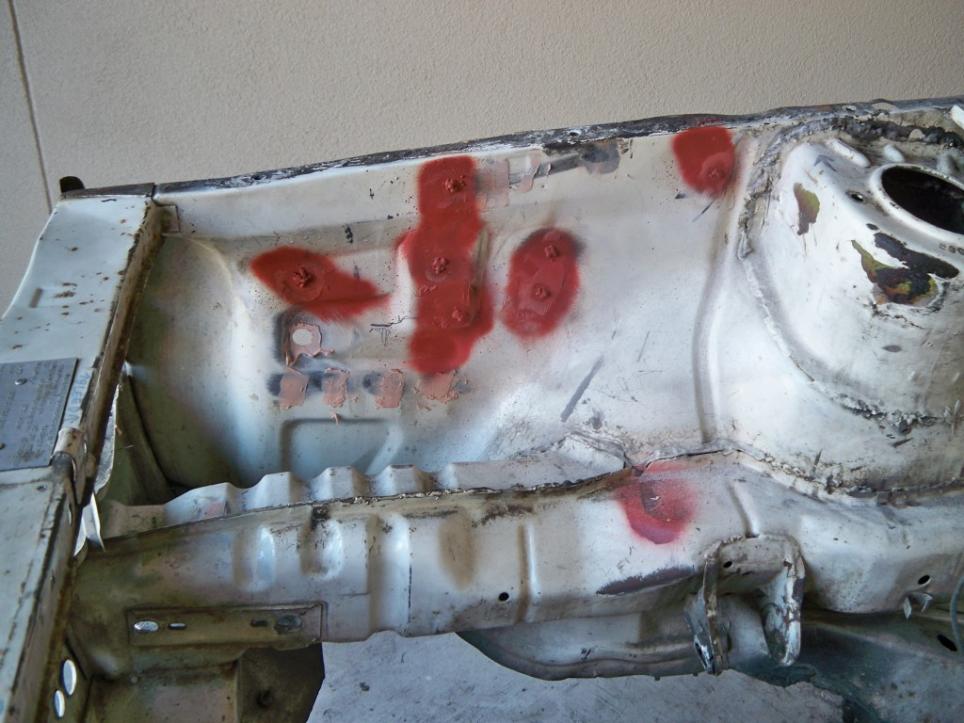
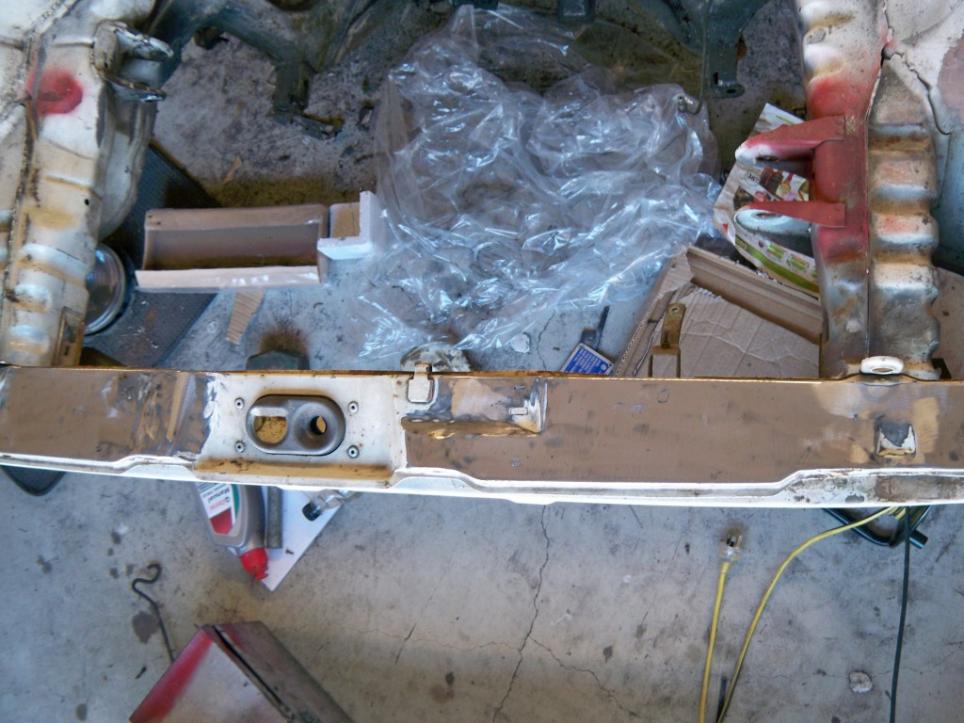
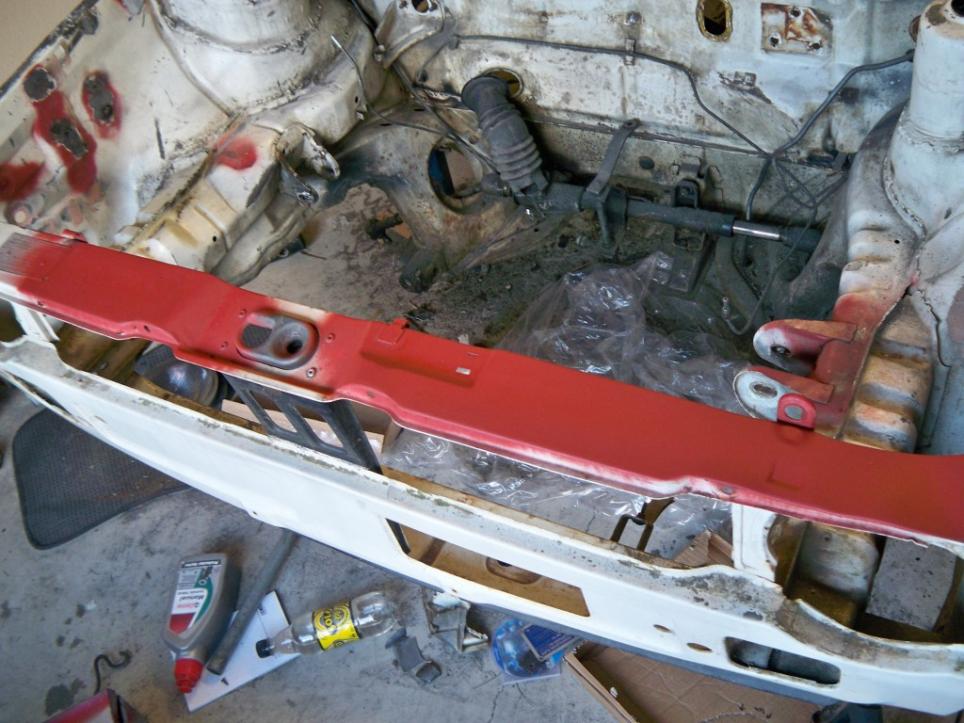
Anyway here i have plugged up all the holes on the radiotor support and have grinded everything down, and made it smooth. This golf will have a smoothened and shaved engine bay, and all holes will be plugged. I have never actually shaved an engine bay, so if anyone wants to give me tips or pointers, im all ears. Matter of fact this is my very first car resto at all, so ANY tips will be great haha. Im chasing down POR15 at the moment to eliminate the rust i cant remove myself.
Now i need some pros/cons with the rain tray. This golf will be my daily, so i thought i should keep the rain tray for two reasons, one, so that i can use heater/fan, and two so that the water that goes through the bonnet when it rains, doesnt do all over my engine bay, speeding up the rust and ruining my paint job. Can anyone tell me how people who shave the rain tray keep the engine bay from getting wet in the rain?
 - Orange Golf mk1 LS, 1.8 5speed, 32/36 - sold
- Golf mk1 Swallowtail rebuild, completely stripped
- Brown U.S import 81 cabby
- 88 Honda crx b18crComment
-
I've removed the rain tray in the race car I'm building.Originally posted by GeorgeMK1 View Post
No water will get in through the bonnet vents because my fibreglass bonnet doesn't have any.
I guess other people block them off or just let the water flow through.
I'm not going to run a heater either so all those holes will be blocked up too.79 MK1 Golf Wreck to Race / 79 MK1 Golf The Red Thread / 76 MK1 Golf Kamei Race Car
7? MK1 Caddy
79 B1 Passat Dasher Project
12 AmarokComment
-
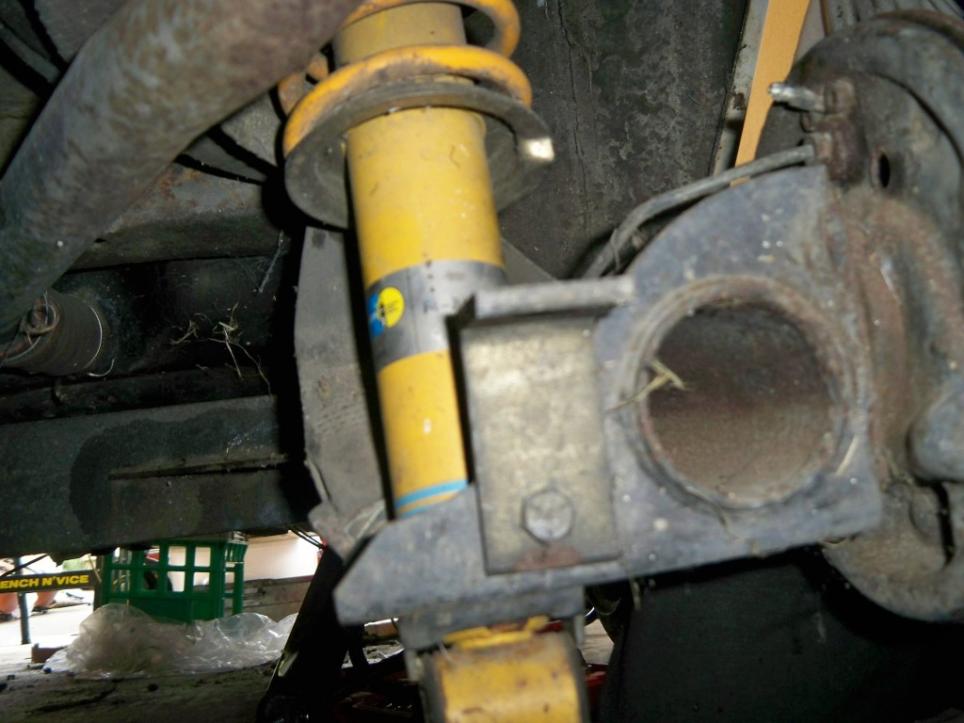
Notch the chassis while your there Georgey,
Saves you ruining axles later on if you plan to go low... (which of course, you will )
<space for rent>Comment
-
dont notch the axles yet, if you ever want it to get registered!Comment
-
As in block off the vents on the bonnet? Is there some way i can by pass that to get fresh air into the heater, but no rain... Hmm tricky question.Originally posted by Peter Jones View Post
They are already half notched, but i have to finish it properly. As for registration, who said it wasnt rego'd?Originally posted by Jarred View Post
---------- Post added 27-02-2012 at 07:11 PM ---------- Previous post was 26-02-2012 at 10:10 PM ----------
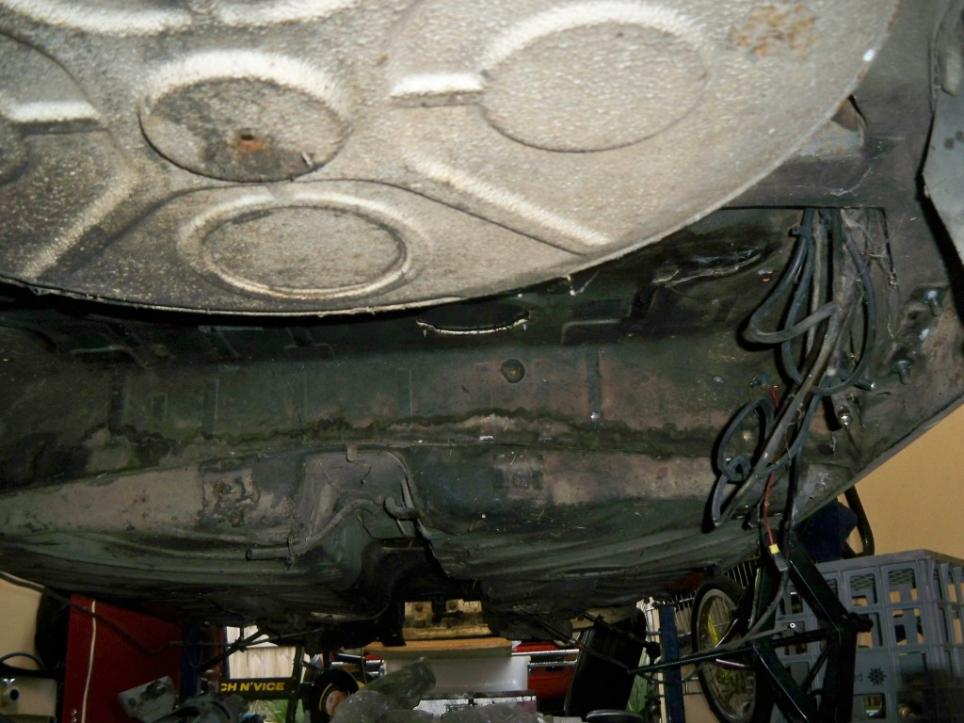
Took off the only remaining things today, rear suspension beam and fuel tank. The golf is now completely stripped. I will be fixing whatever needs fixing underneath the car, and am going to paint the whole underside of lucy the golf with bitumen. About 2 layers of it. I love that stuff, and i think will work great.
Now fellas i really need some help on this subject as its THE ONLY thing that is stopping me from continuing my project. Rust. I have cut and welded most rust but some i cannot reach. I have two parts to this question, if anyone can help me i would love them forever, and even throw in a free hug. A) for the rust that i cannot remove or reach/get to, do i simply 'rust converter' and paint over or? I just dont want it coming to surface within 2 years. B) For the bits that i have cut/weld and fresh metal, what do i coat it with to ensure it never see's moisture anymore and will never rust agian. I need a very good seal, as well as being able to stick to bare metal. PLEASE PLEASE help its the only thing stopping my build from now on. Sadface.
Stripped
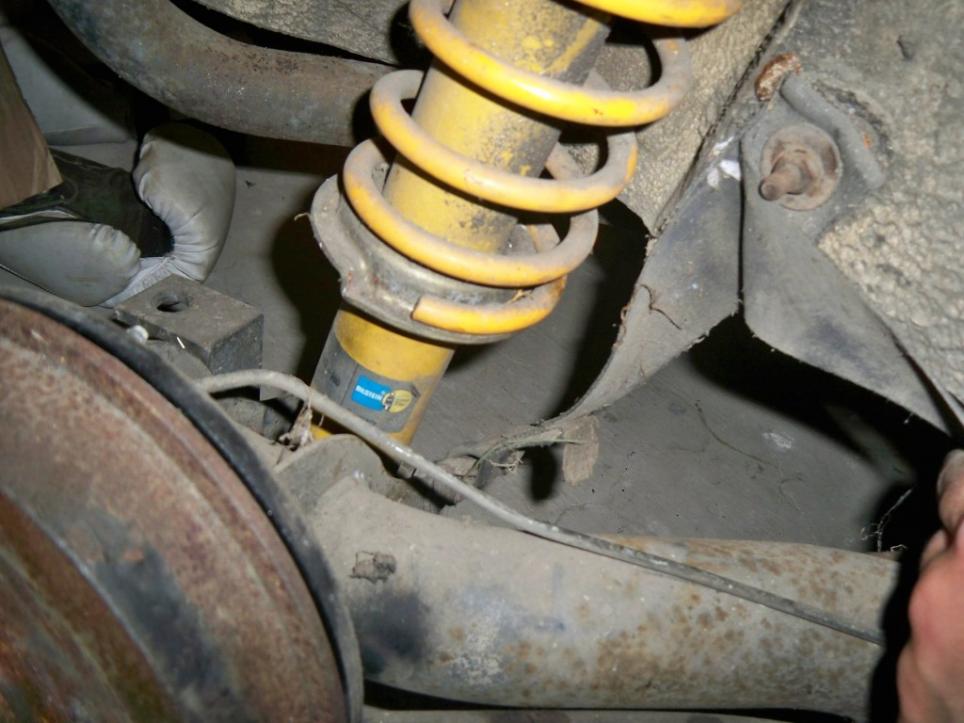
Also what are these for? Previous owner must have done it.. but what for. Only the belt was attached, the other hinge is unknown
 - Orange Golf mk1 LS, 1.8 5speed, 32/36 - sold
- Golf mk1 Swallowtail rebuild, completely stripped
- Brown U.S import 81 cabby
- 88 Honda crx b18crComment

Comment