 Tweet
Tweet
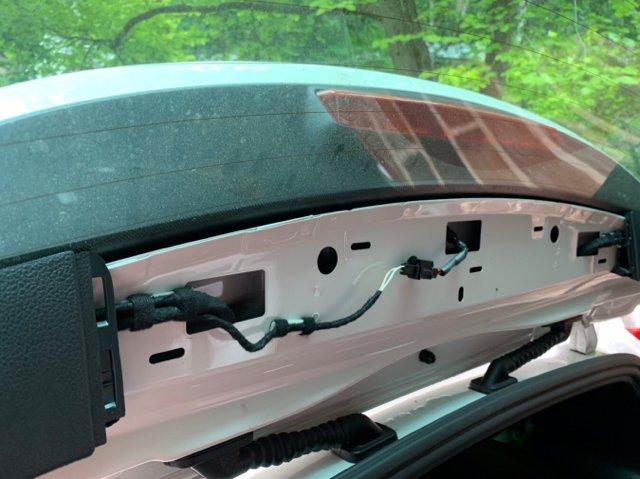
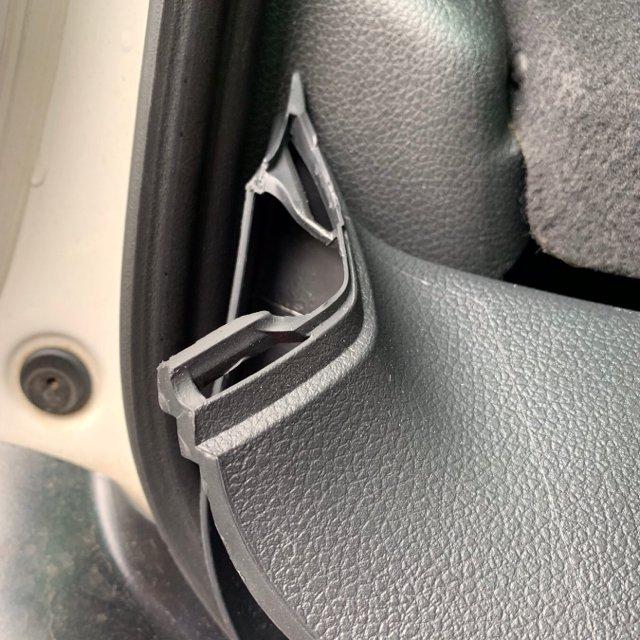
Recently my 2012 rear hatch had a moment. Since an open door results in interior lights , alarms and general unease I took some effort so that you don’t have to suffer needlessly whilst your dealer schedules you in.
Here’s the basics
1 problem symptoms
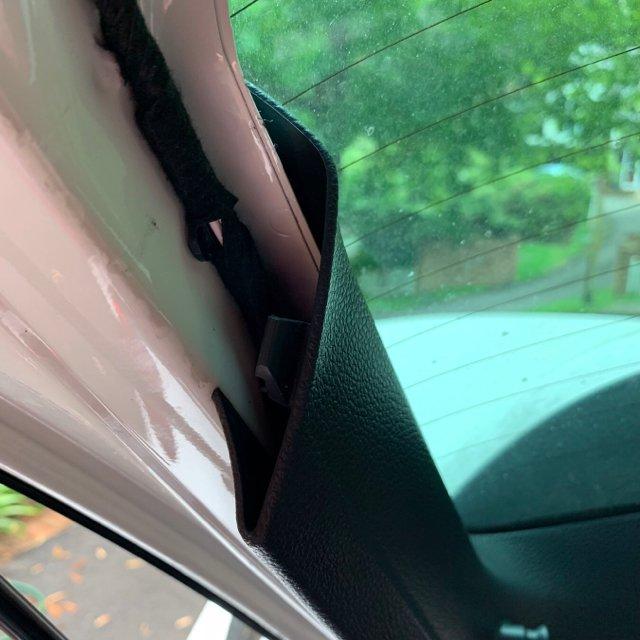
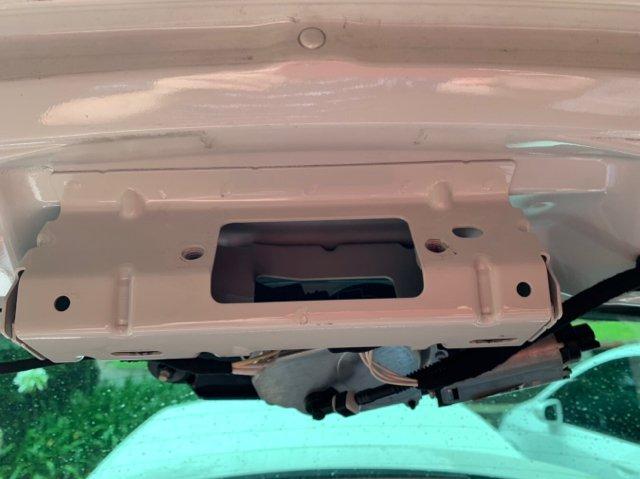
A rear hatch won’t latch despite any combination of gentle or firm owner action.
If Rear hatch won’t open you can access a release using your key or similar shaped item from inside the trunk or boot after lowering the rear seats.
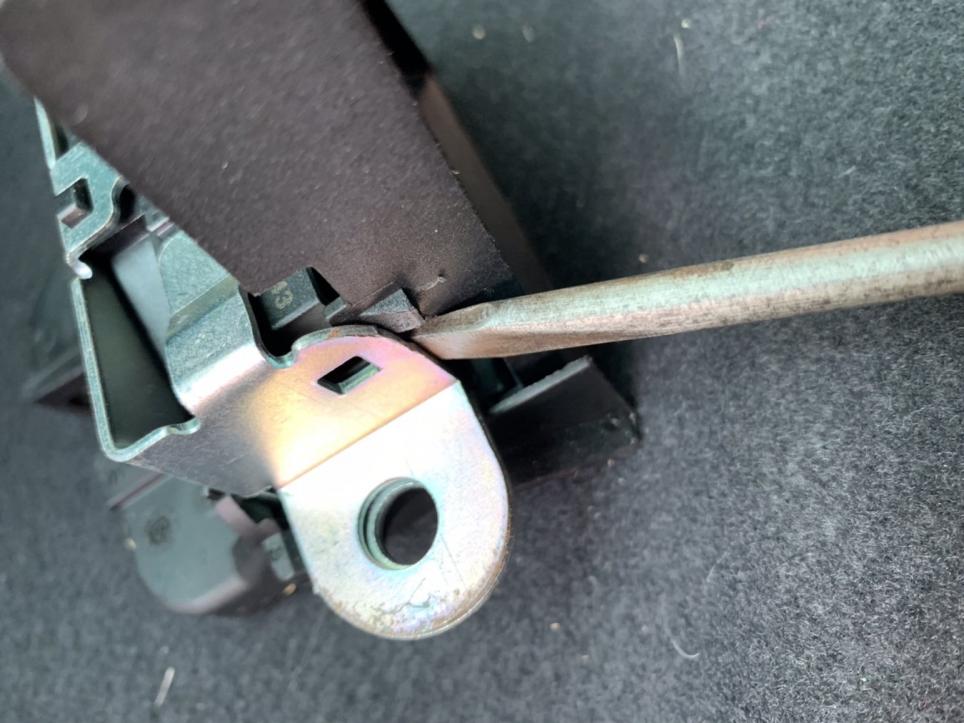
The fix
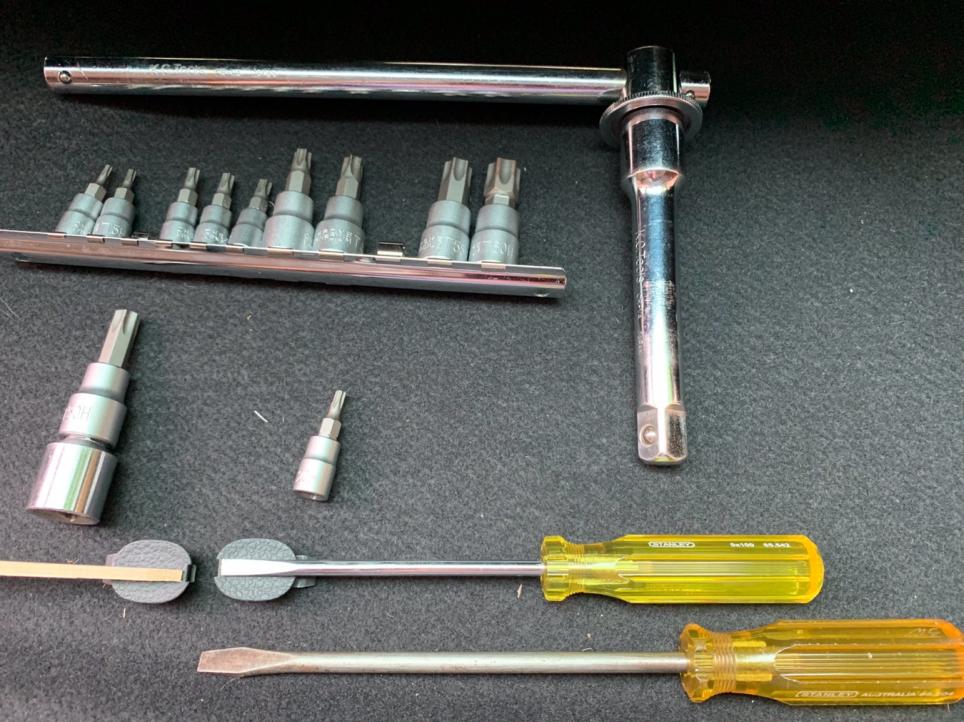
Get the tools
Torx driver and bits, see specific post below
T Bar and 150mm extension
Screw driver flat blade 5mm
Screw driver flat blade large at least 200mm long
A microfibre cloth
Window cleaner
Locktite
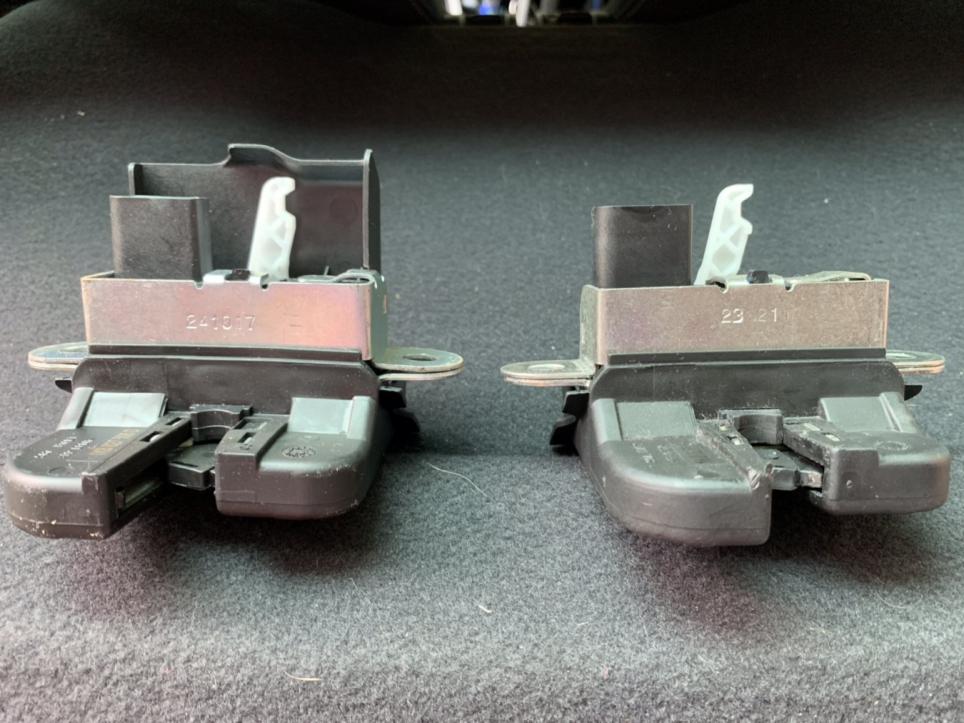
Get the parts
VW PART to suit
See the specific reply post below.
Time required
1 hour for noob
2 hours for 2 noobs
3 hours if your expert mate helps ( beer at 2 hour mark)
Hands required
2.5
Finger nails at risk
Two thumbs and an index.
Here’s the basics
1 problem symptoms
A rear hatch won’t latch despite any combination of gentle or firm owner action.
If Rear hatch won’t open you can access a release using your key or similar shaped item from inside the trunk or boot after lowering the rear seats.
The fix
Get the tools
Torx driver and bits, see specific post below
T Bar and 150mm extension
Screw driver flat blade 5mm
Screw driver flat blade large at least 200mm long
A microfibre cloth
Window cleaner
Locktite
Get the parts
VW PART to suit
See the specific reply post below.
Time required
1 hour for noob
2 hours for 2 noobs
3 hours if your expert mate helps ( beer at 2 hour mark)
Hands required
2.5
Finger nails at risk
Two thumbs and an index.


Comment