 Tweet
Tweet
OK so there's bits of info all over the place about the AutoPolar FIS+ Advanced so I'm going to consolidate all the important information in the first few posts of this thread with general discussion after.
If you don't know what the Autopolar FIS+ Advanced is or what it does then here's a link to a video which shows a number of features of the device:
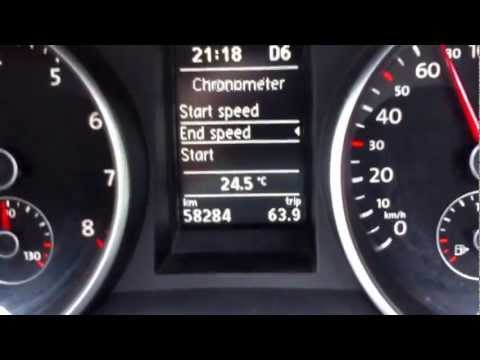
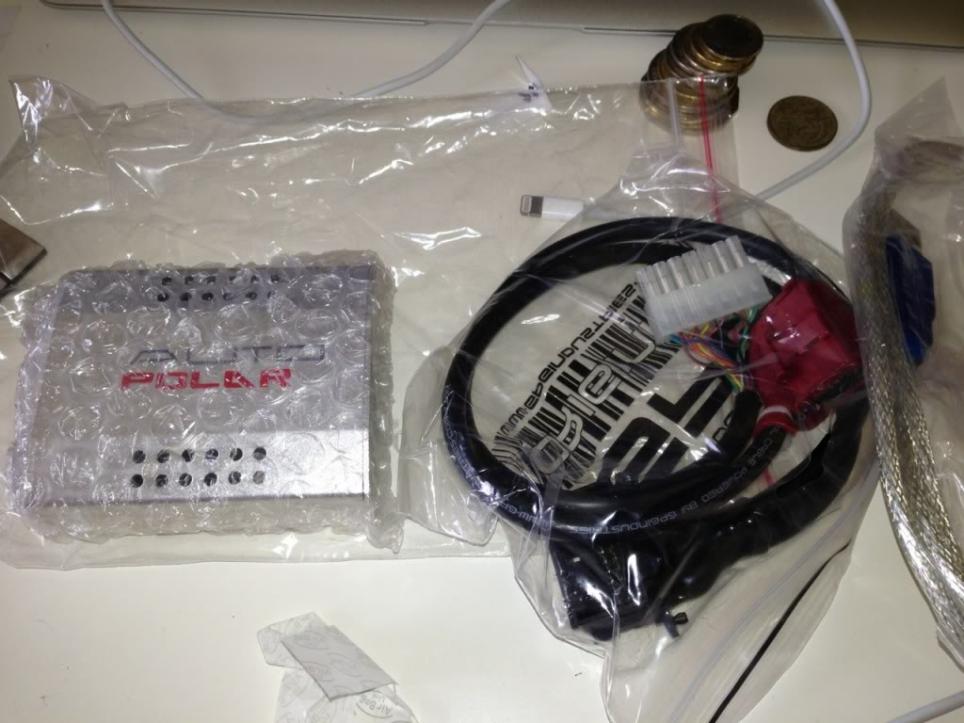
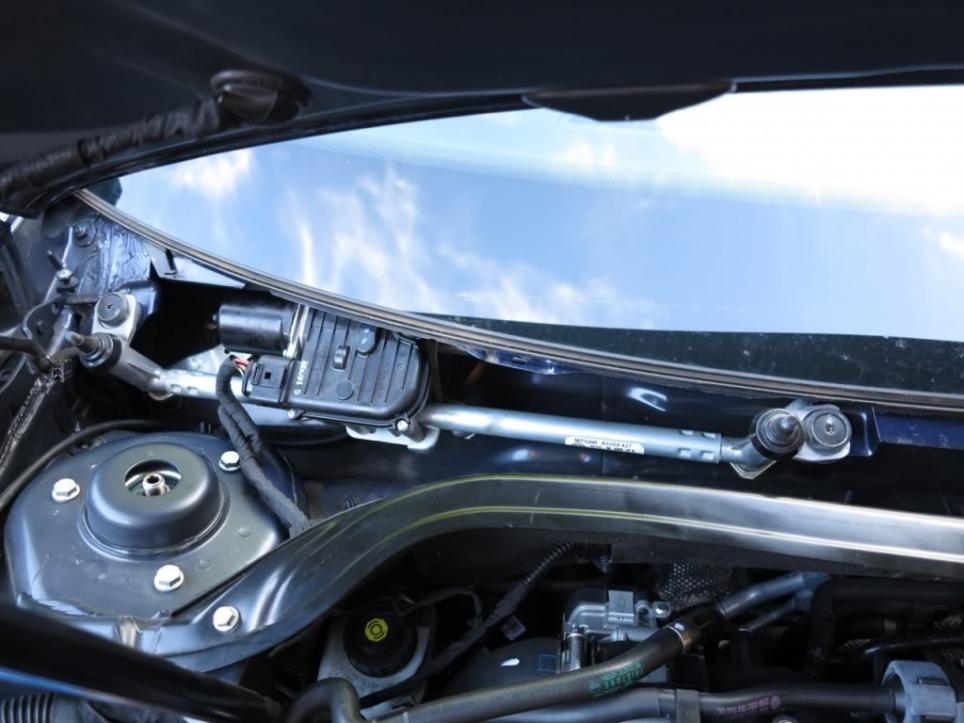
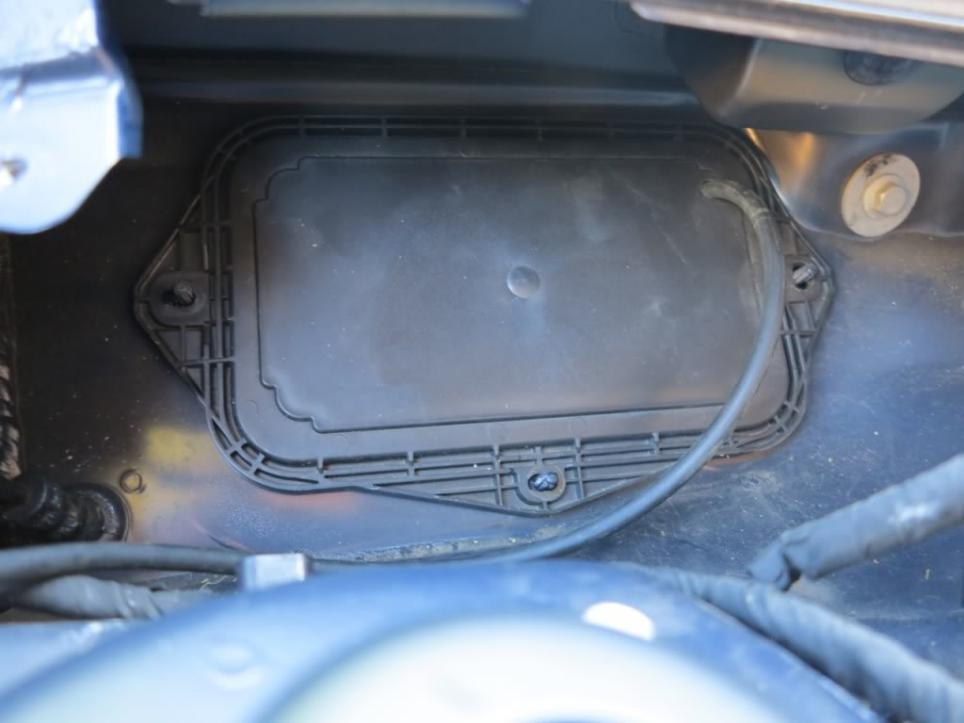
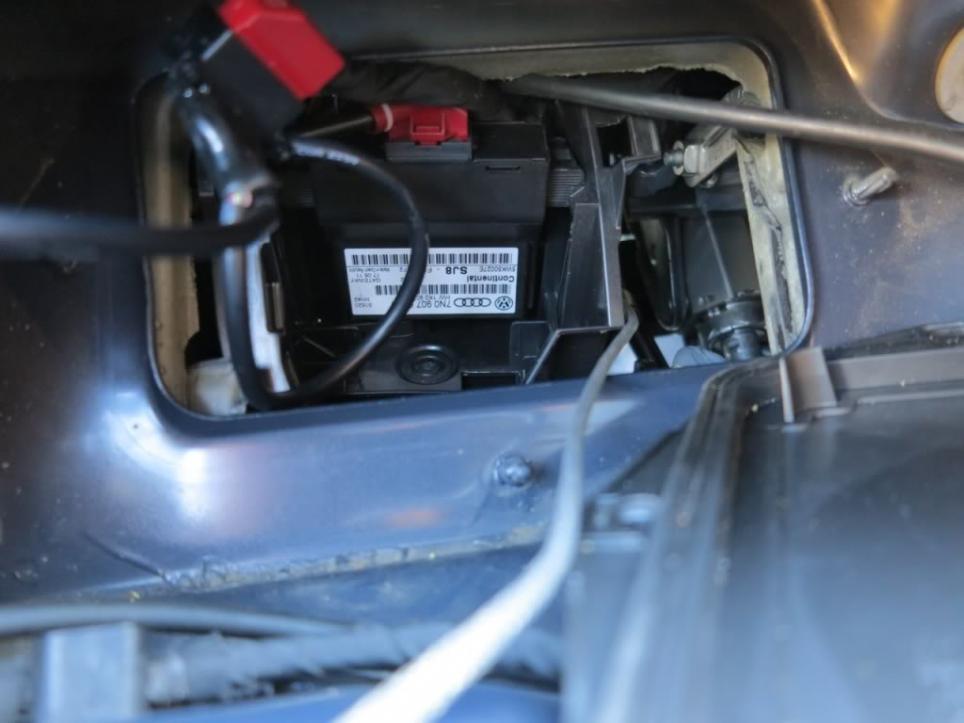
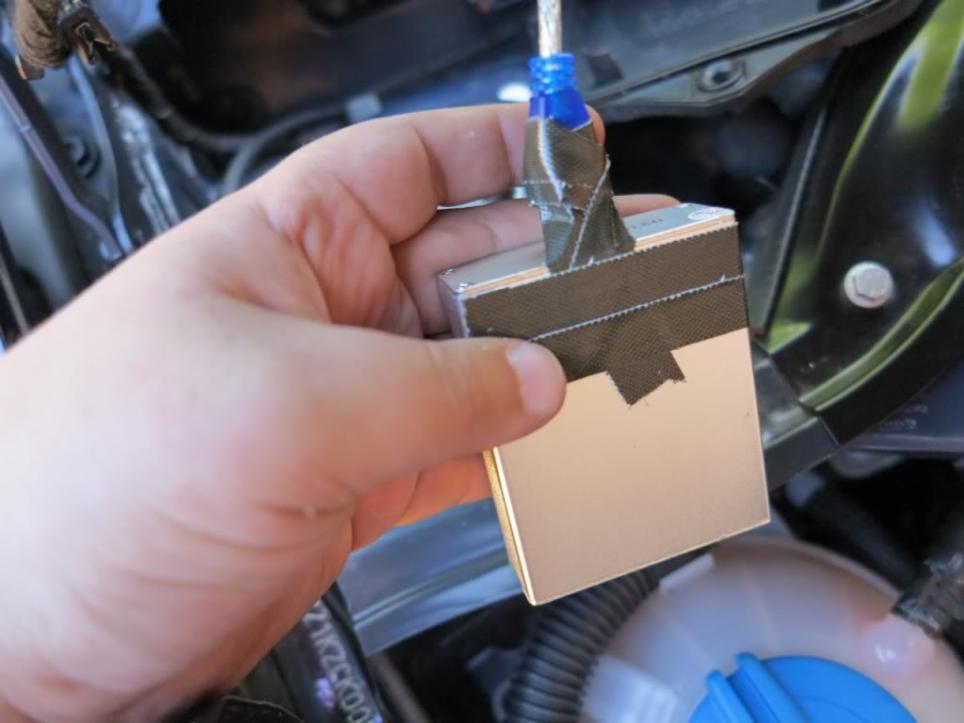
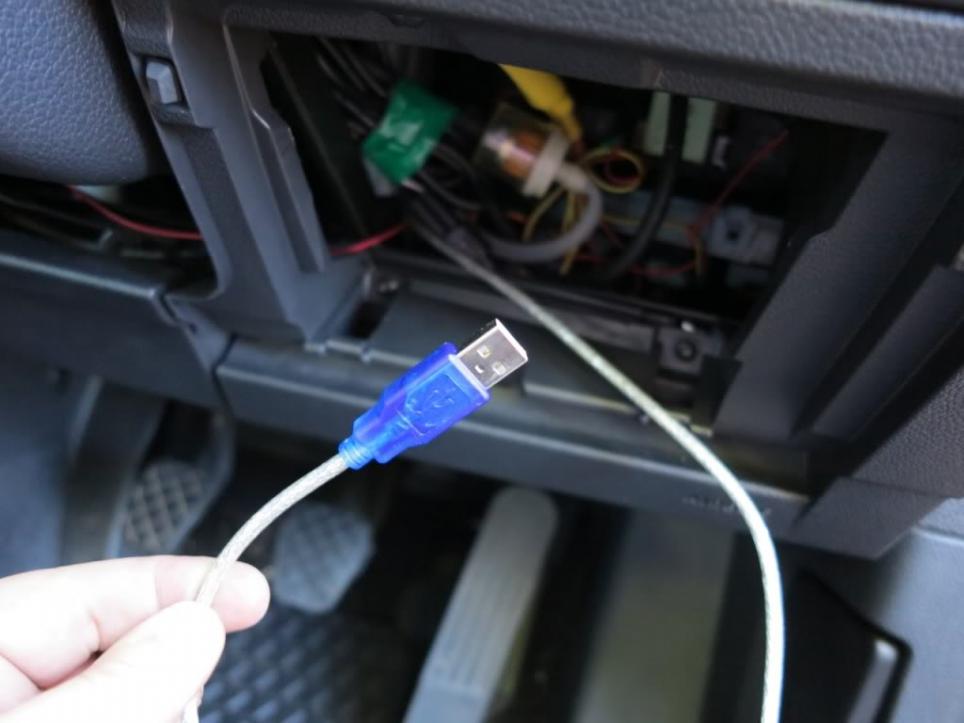
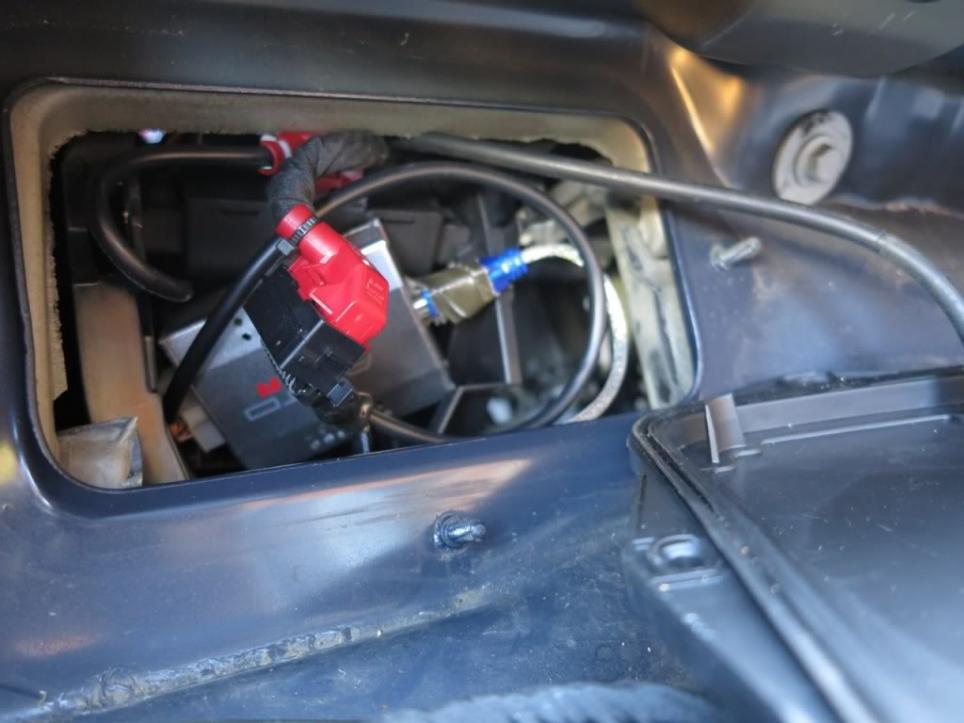
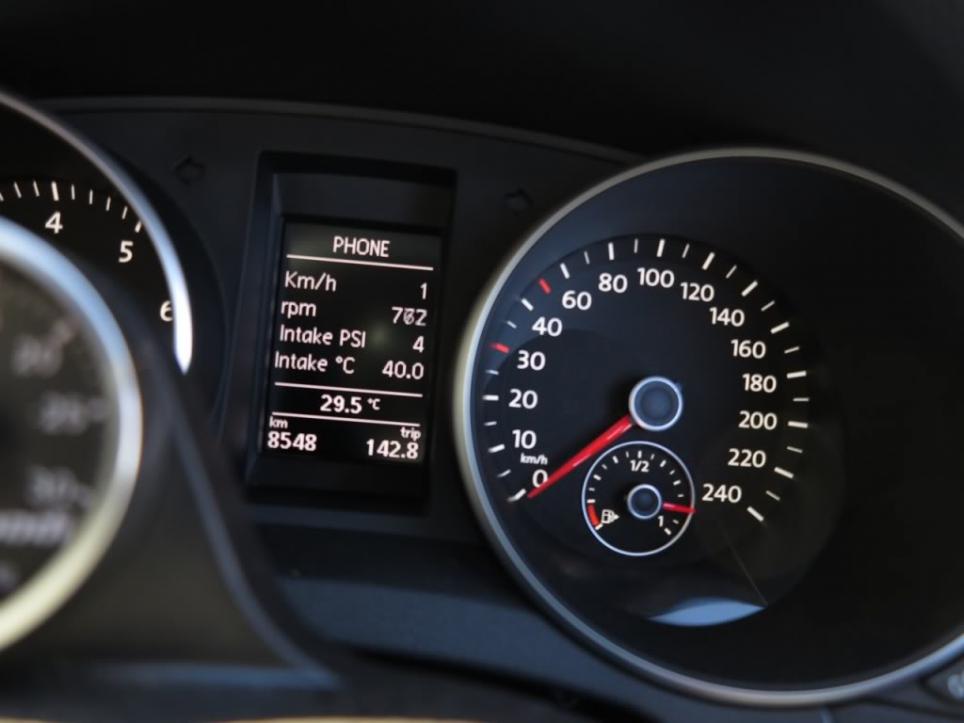
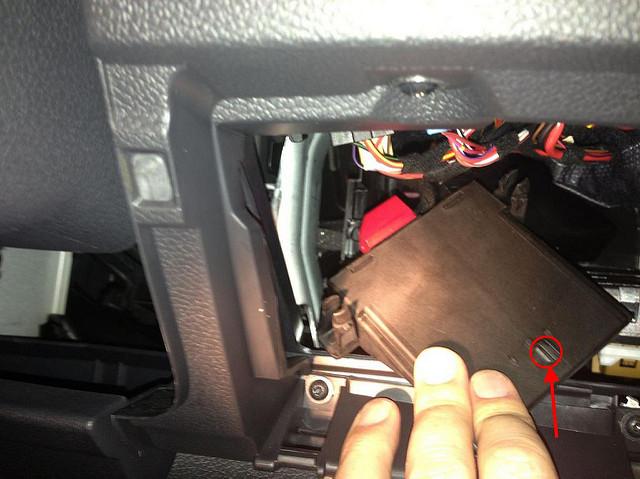
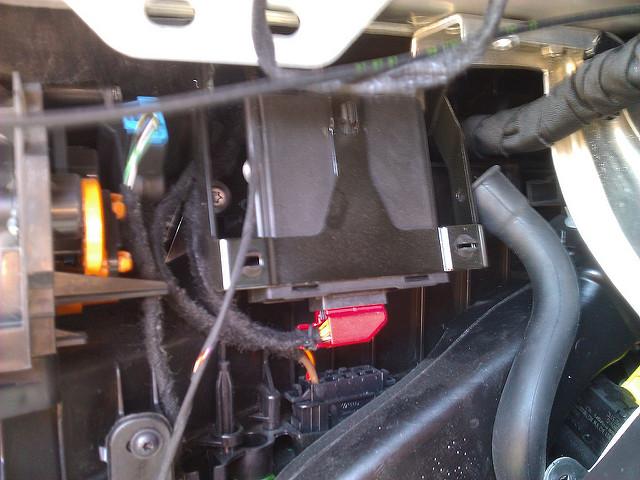
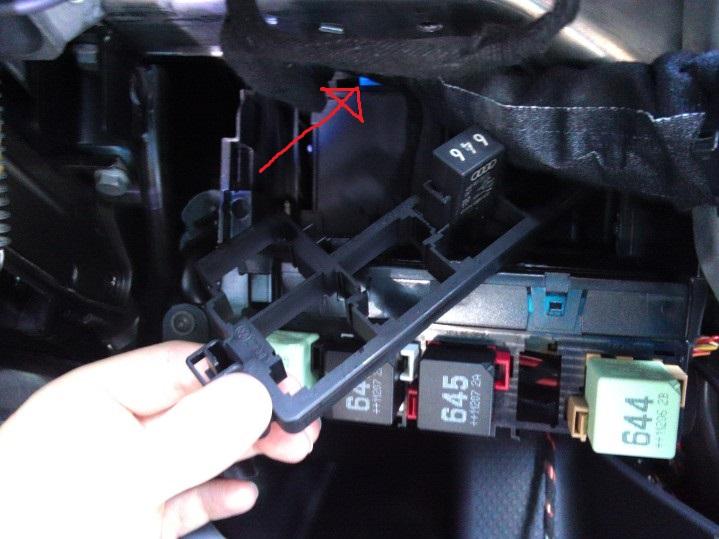
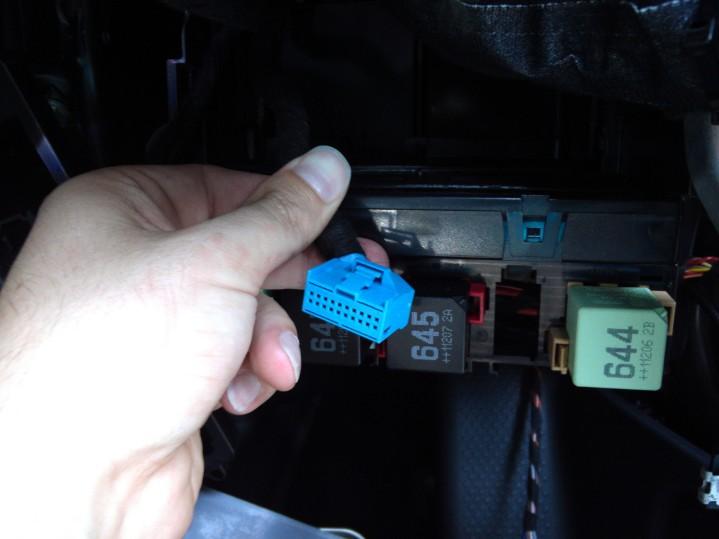
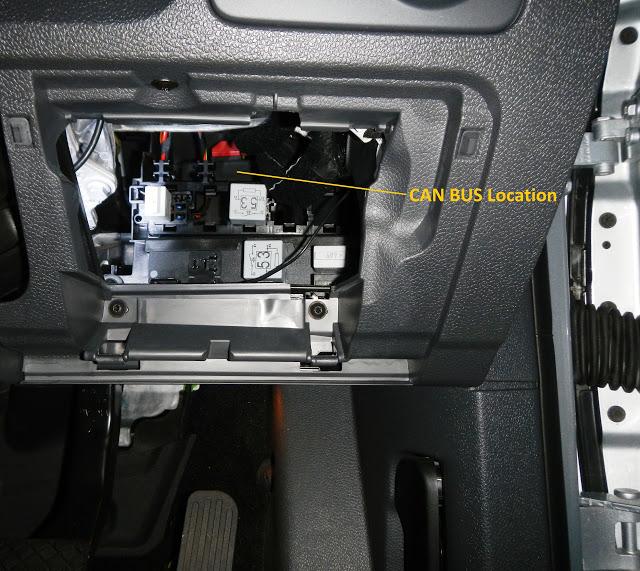
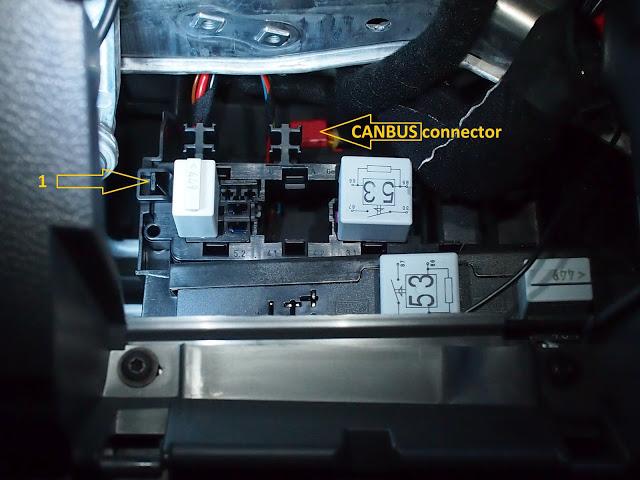
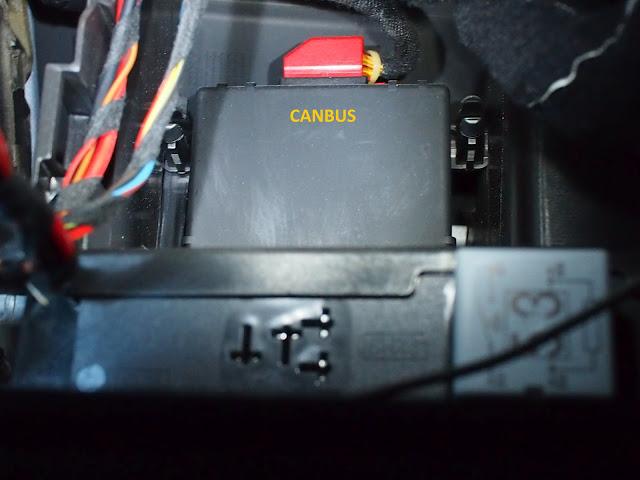
Basically it's a box which sits next to your CANBUS gateway unit and adds extra diagnostic information/features into your MFD. Further details on FIS+ and it's features is available here: What is Polar FIS+ Advanced?
List of campatible makes/models is as follows:

Golf - > Red FIS /MFD
Golf -> White FIS/MFD
Golf Plus -> Red FIS/MFD
Golf Plus -> White FIS/MFD
Eos -> Red FIS/MFD
Eos -> White FIS/MFD
Scirocco-> Red FIS/MFD
Scirocco -> White FIS/MFD
Jetta -> Red FIS/MFD
Jetta -> White FIS/MFD
Passat -> Red FIS/MFD
Passat -> White FIS/MFD
Passat -> Color FIS/MFD
Passat CC-> Red FIS/MFD
Passat CC -> White FIS/MFD
Passat CC -> Color FIS/MFD
Touran -> Red FIS/MFD
Touran -> White FIS/MFD
Tiguan -> Red FIS/MFD
Tiguan -> White FIS/MFD
Sharan -> White FIS/MFD[/QUOTE]
----------------------------------------------------------------------

Skoda Octavia -> Red FIS/MFD
Skoda Octavia -> White FIS/MFD
Skoda SuperB II - > White FIS/MFD
Skoda Yeti -> White FIS/MFD
Skoda New Fabia -> White FIS/MFD
Skoda Roomster -> White FIS/MFD
The NEW Skoda Rapid -> White FIS/MFD
-----------------------------------------------------------------

Seat Leon -> Red FIS/MFD
Seat Leon -> White FIS/MFD
Seat Alhambra -> White FIS/MFD
Seat Altea -> Red FIS/MFD
Seat Altea -> White FIS/MFD
Seat Altea XL -> Red FIS/MFD
Seat Altea Xl -> White FIS/MFD
Seat Altea FreeTrack -> White FIS/MFD
The NEW Seat Toledo-> White FIS/MFD
A complete list of all parameters supported is here: Complete Parameter List
A list of all functions that the FIS+ Advanced supports is here: Complete List of Features
Links to Installation threads for each model (for overseas visitors please note these are all Australian delivered RHD models. CANBUS gateway can be in different locations depending on LHD/RHD and model):
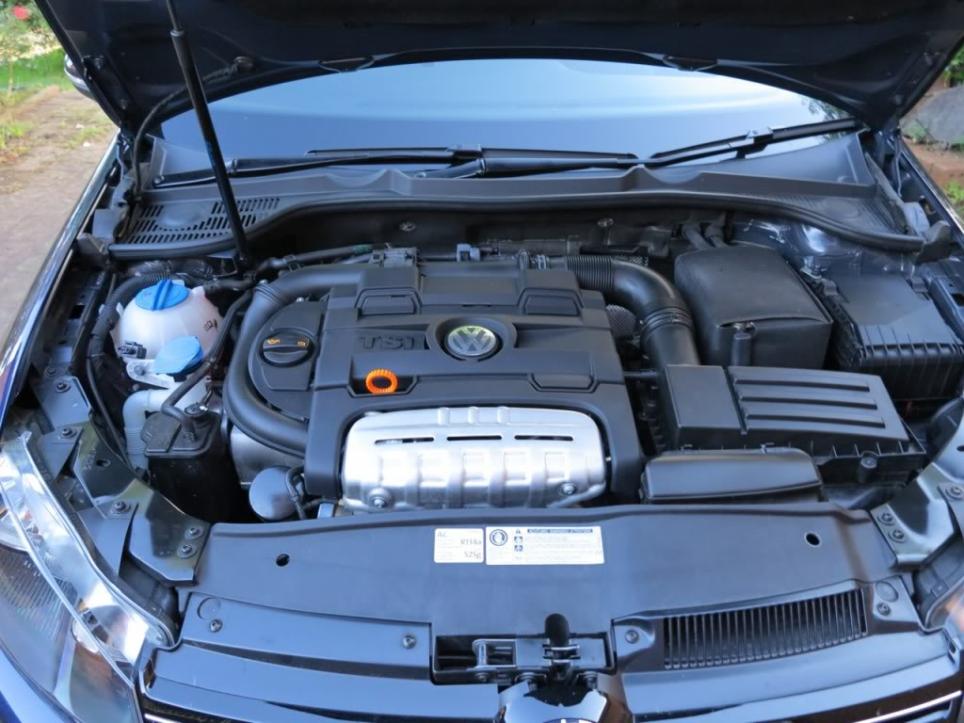
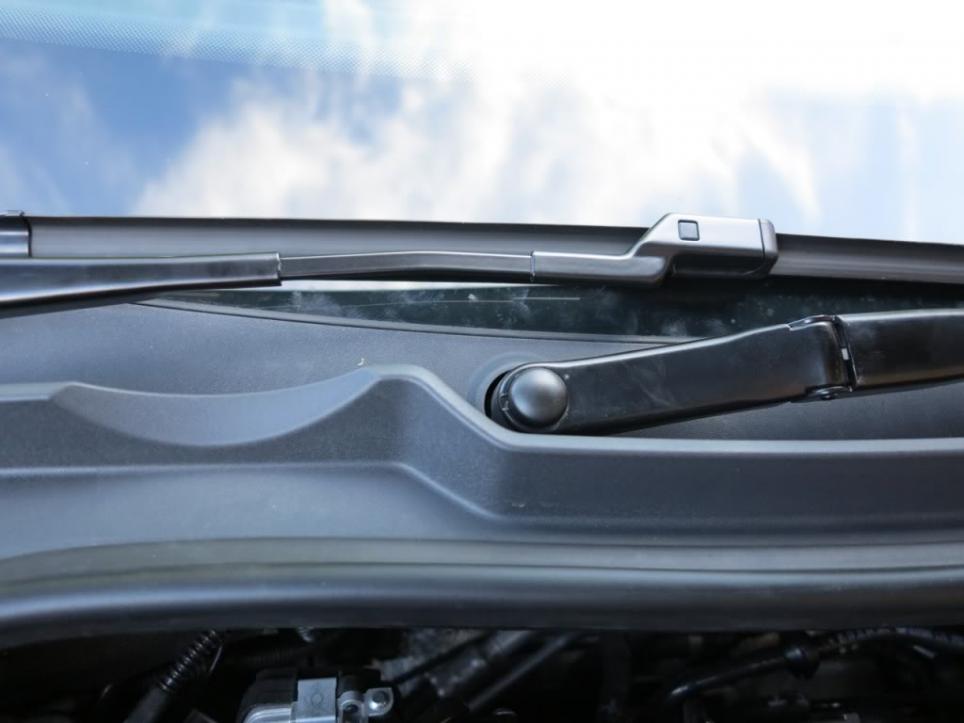
Golf Mk6 (installation from engine bay)
Golf Mk6 (installation from cabin)
Golf MkV
Tiguan
Jetta MkV
Passat
Scirocco
EOS
Skoda Octavia
Links to some more detailed information on some features:
Boost Pressure - Detailed Info
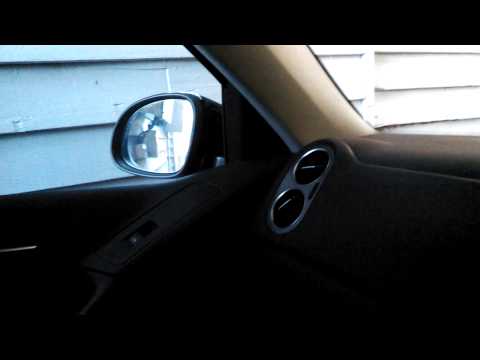
Mirror Dipping - Instructions
Bluetooth Emulation for Red MFD (compatibility for latest model BT units)
Product Support:
Auto-Polar Forum
User Manuals
FAQs and Video Database
Firmware Updates
If there's additional information that you've found useful please let me know and I'll look to add it in.
If you don't know what the Autopolar FIS+ Advanced is or what it does then here's a link to a video which shows a number of features of the device:
Basically it's a box which sits next to your CANBUS gateway unit and adds extra diagnostic information/features into your MFD. Further details on FIS+ and it's features is available here: What is Polar FIS+ Advanced?
List of campatible makes/models is as follows:
Golf - > Red FIS /MFD
Golf -> White FIS/MFD
Golf Plus -> Red FIS/MFD
Golf Plus -> White FIS/MFD
Eos -> Red FIS/MFD
Eos -> White FIS/MFD
Scirocco-> Red FIS/MFD
Scirocco -> White FIS/MFD
Jetta -> Red FIS/MFD
Jetta -> White FIS/MFD
Passat -> Red FIS/MFD
Passat -> White FIS/MFD
Passat -> Color FIS/MFD
Passat CC-> Red FIS/MFD
Passat CC -> White FIS/MFD
Passat CC -> Color FIS/MFD
Touran -> Red FIS/MFD
Touran -> White FIS/MFD
Tiguan -> Red FIS/MFD
Tiguan -> White FIS/MFD
Sharan -> White FIS/MFD[/QUOTE]
----------------------------------------------------------------------
Skoda Octavia -> Red FIS/MFD
Skoda Octavia -> White FIS/MFD
Skoda SuperB II - > White FIS/MFD
Skoda Yeti -> White FIS/MFD
Skoda New Fabia -> White FIS/MFD
Skoda Roomster -> White FIS/MFD
The NEW Skoda Rapid -> White FIS/MFD
-----------------------------------------------------------------
Seat Leon -> Red FIS/MFD
Seat Leon -> White FIS/MFD
Seat Alhambra -> White FIS/MFD
Seat Altea -> Red FIS/MFD
Seat Altea -> White FIS/MFD
Seat Altea XL -> Red FIS/MFD
Seat Altea Xl -> White FIS/MFD
Seat Altea FreeTrack -> White FIS/MFD
The NEW Seat Toledo-> White FIS/MFD
A complete list of all parameters supported is here: Complete Parameter List
A list of all functions that the FIS+ Advanced supports is here: Complete List of Features
Links to Installation threads for each model (for overseas visitors please note these are all Australian delivered RHD models. CANBUS gateway can be in different locations depending on LHD/RHD and model):
Golf Mk6 (installation from engine bay)
Golf Mk6 (installation from cabin)
Golf MkV
Tiguan
Jetta MkV
Passat
Scirocco
EOS
Skoda Octavia
Links to some more detailed information on some features:
Boost Pressure - Detailed Info
Mirror Dipping - Instructions
Bluetooth Emulation for Red MFD (compatibility for latest model BT units)
Product Support:
Auto-Polar Forum
User Manuals
FAQs and Video Database
Firmware Updates
If there's additional information that you've found useful please let me know and I'll look to add it in.


Comment