 Tweet
Tweet
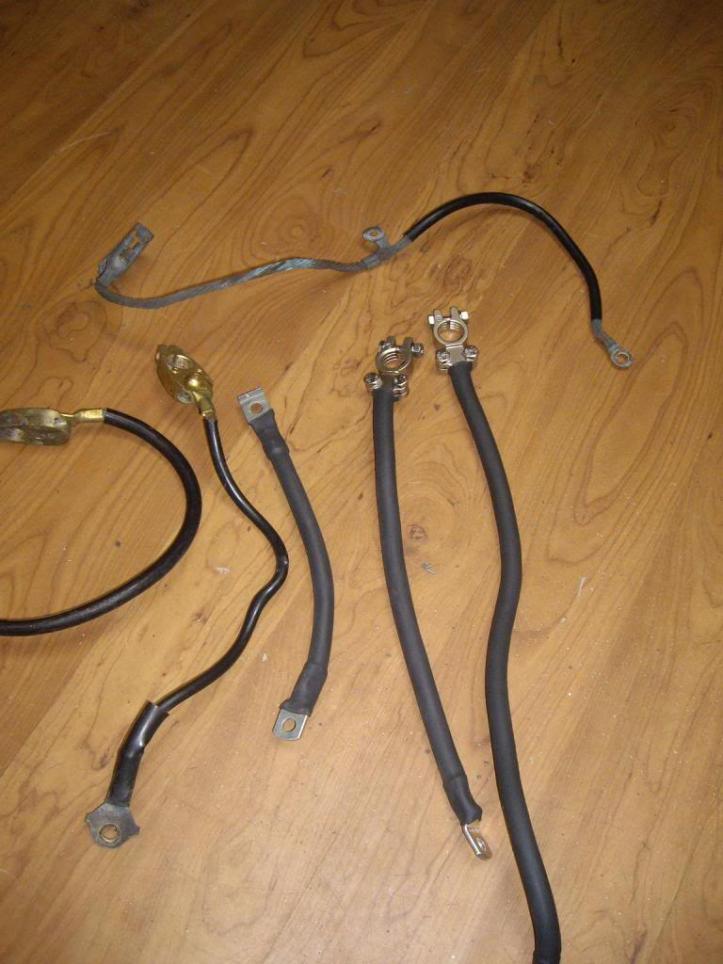
I've been playing around with alot of wiring on some job's of late which incl. making new battery leads, so I thought I'd show you all what goes into it.
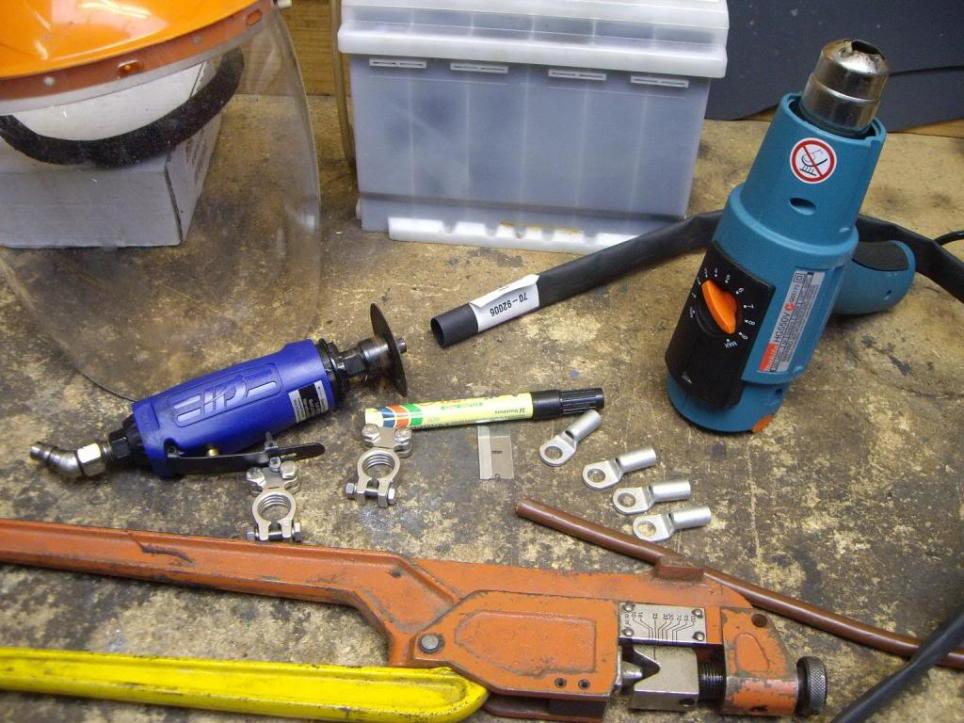
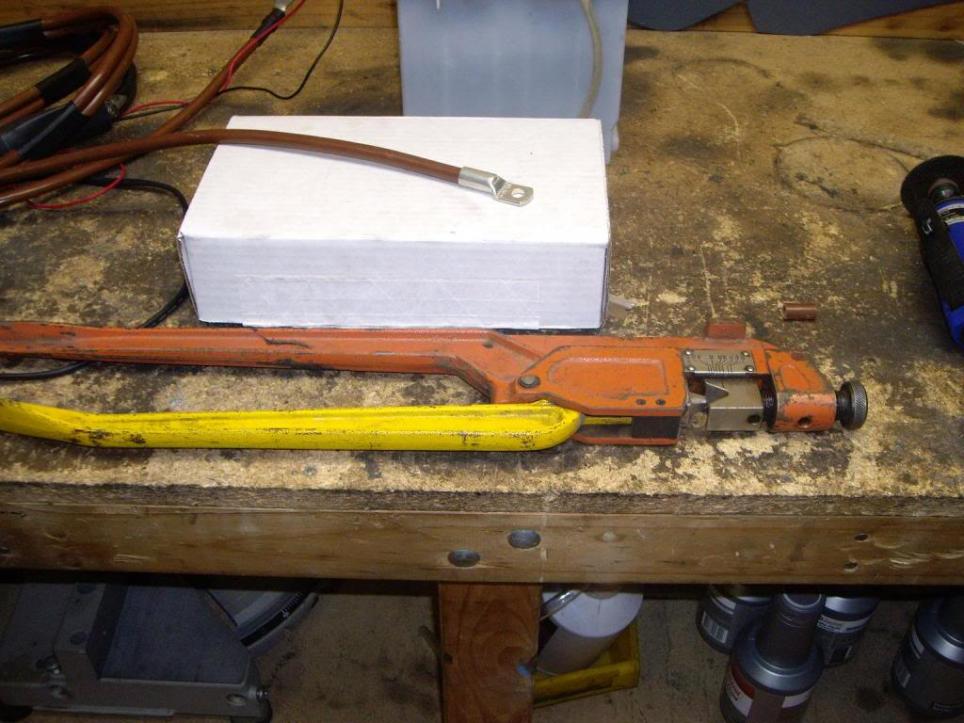
These are all the tool's you'll need. Although you could use a hacksaw to cut the battery cable, but it can frey the copper easily.
What you see here is
a razor blade
marker pen
cutoff saw/hacksaw
hot air gun
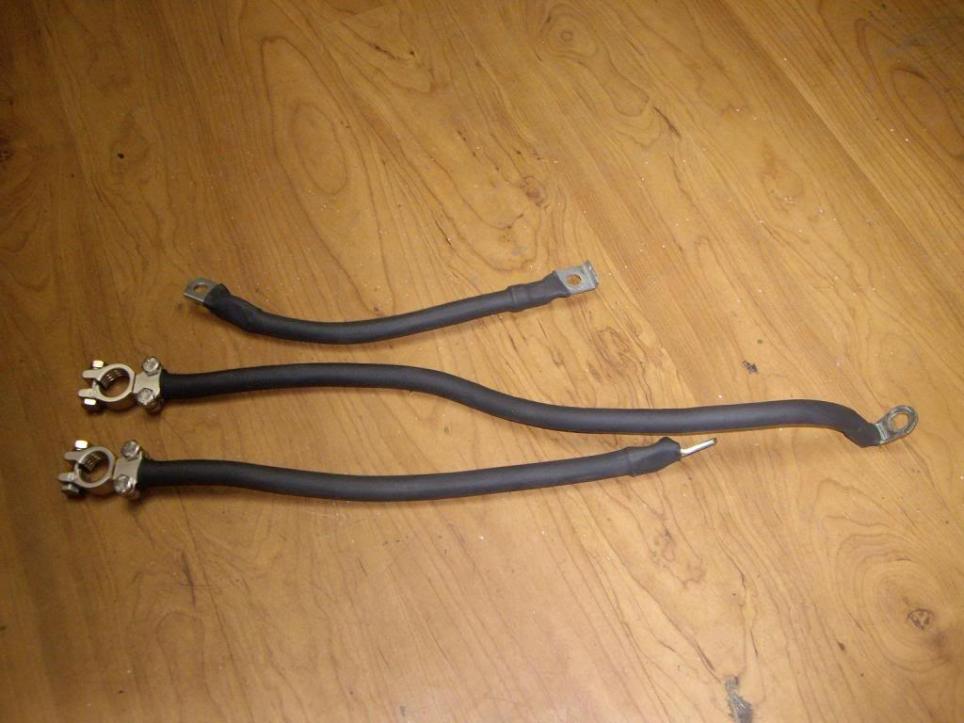
battery cable
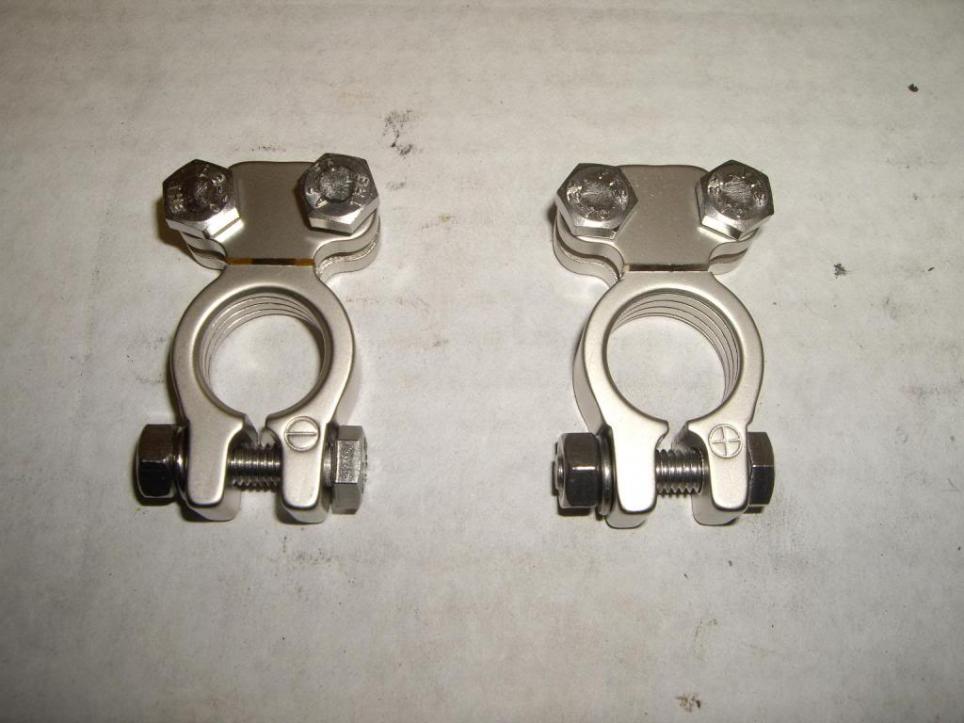
battery cable end's & terminal ends
battery cable tool
heat shrink
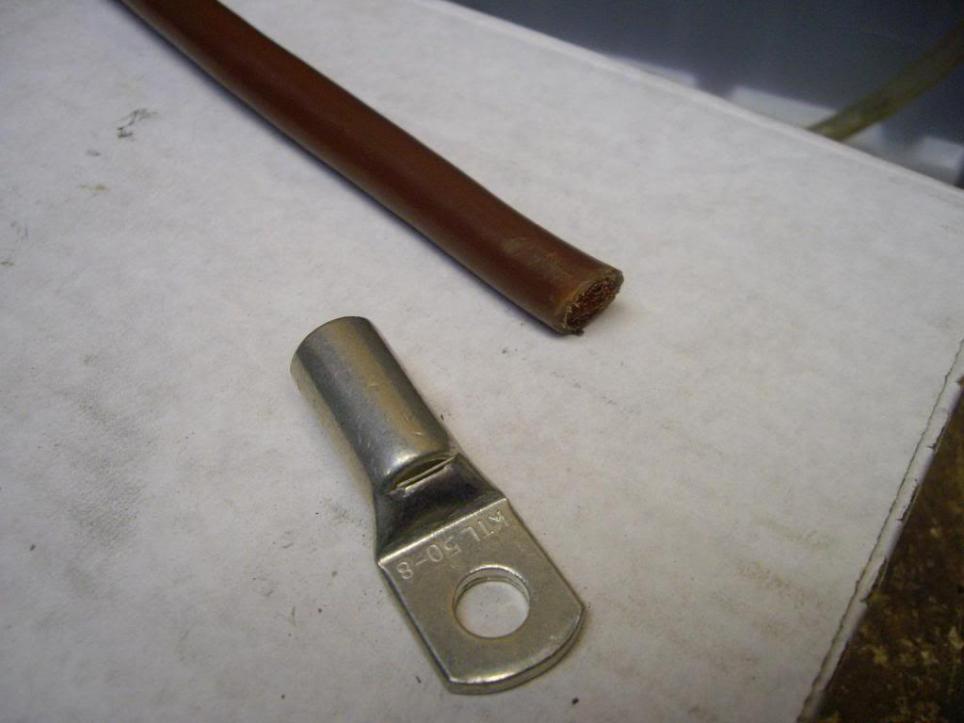
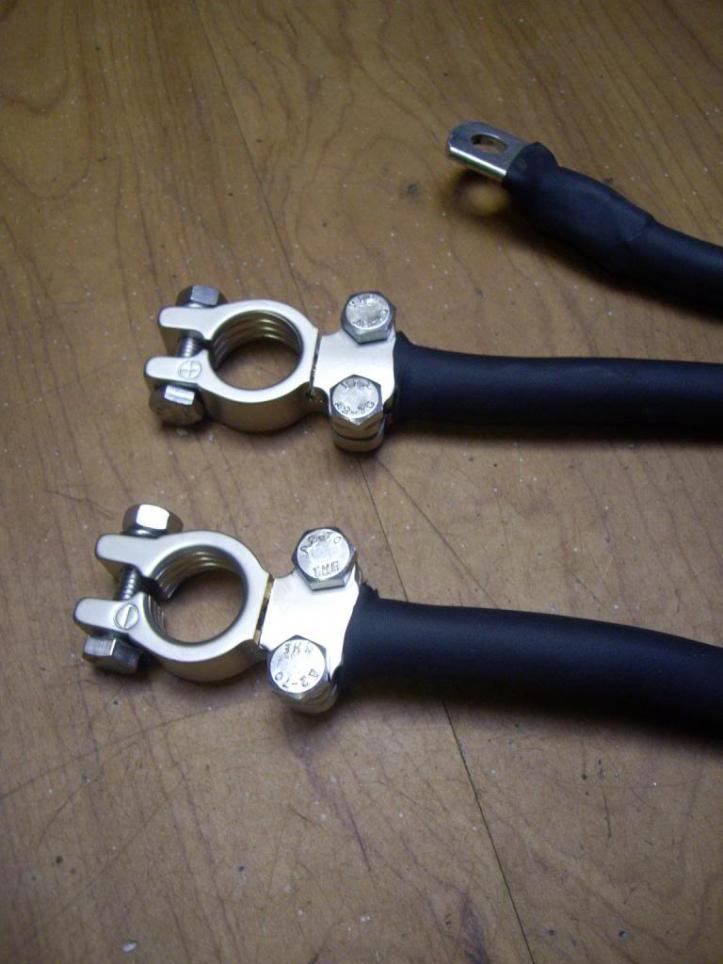
Start off with cleaning up one end of the battery cable with the cutoff saw
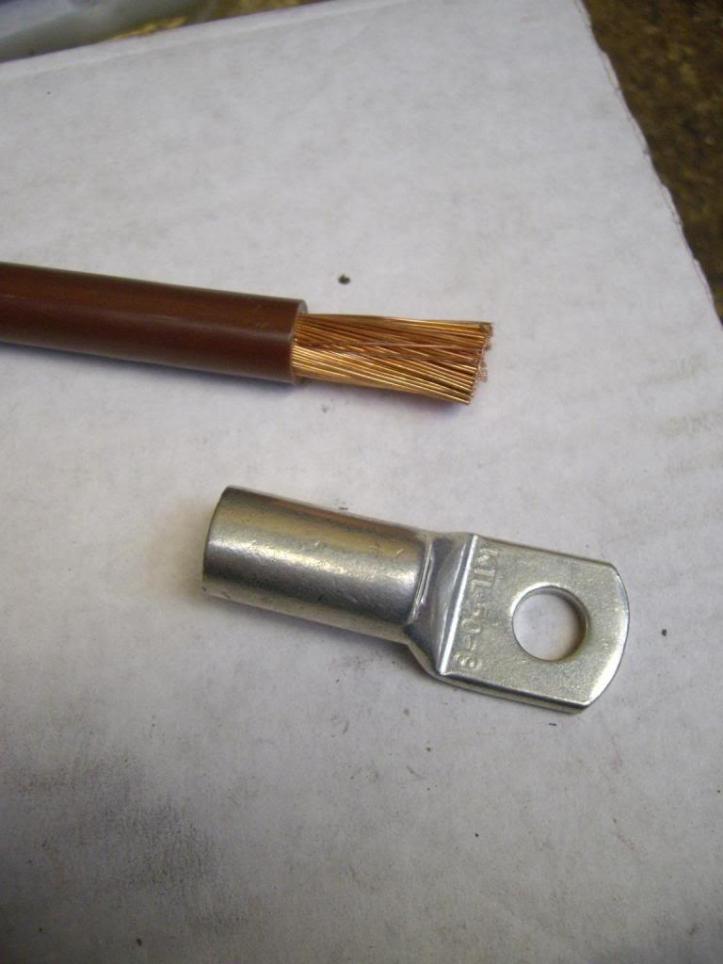
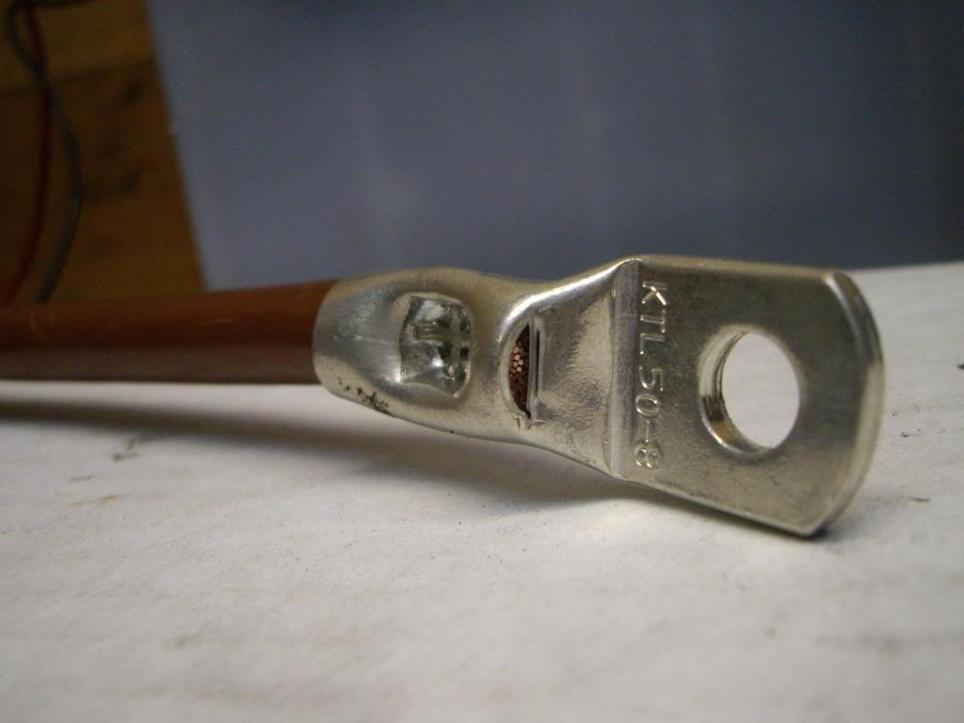
The cutoff the excess battery cable coating with you razor blade so that the copper lead can bottom out in the cable end & not leave bare copper showing
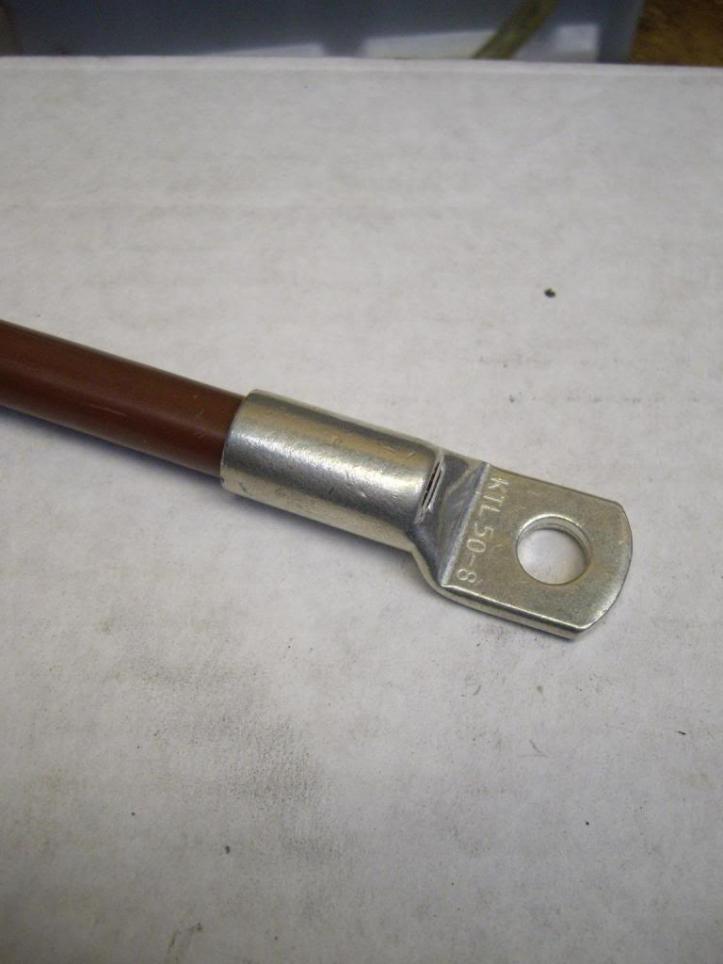
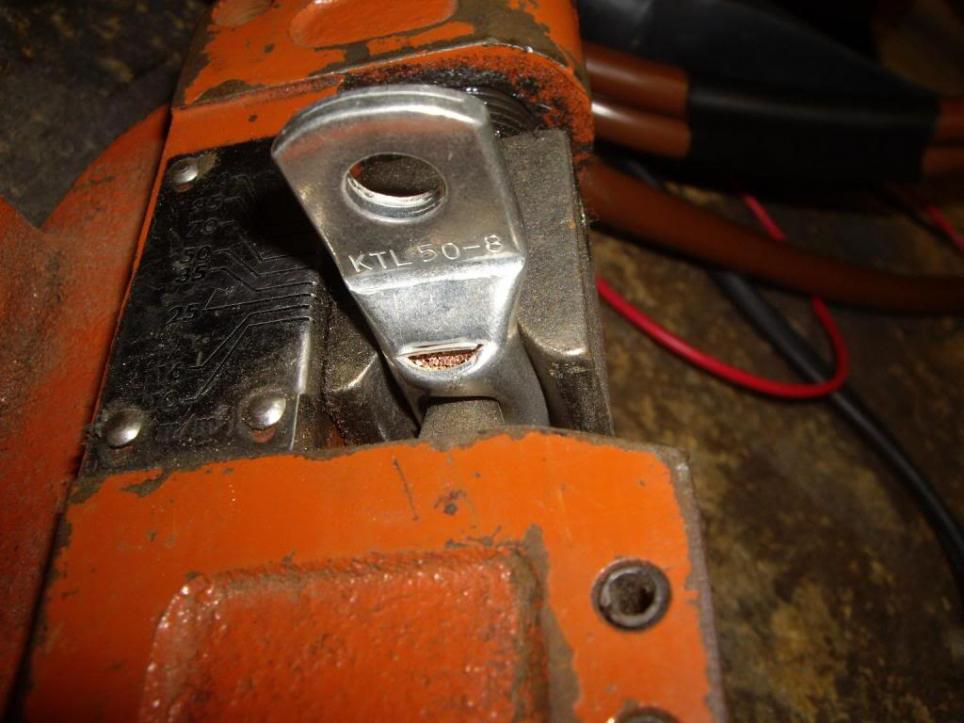
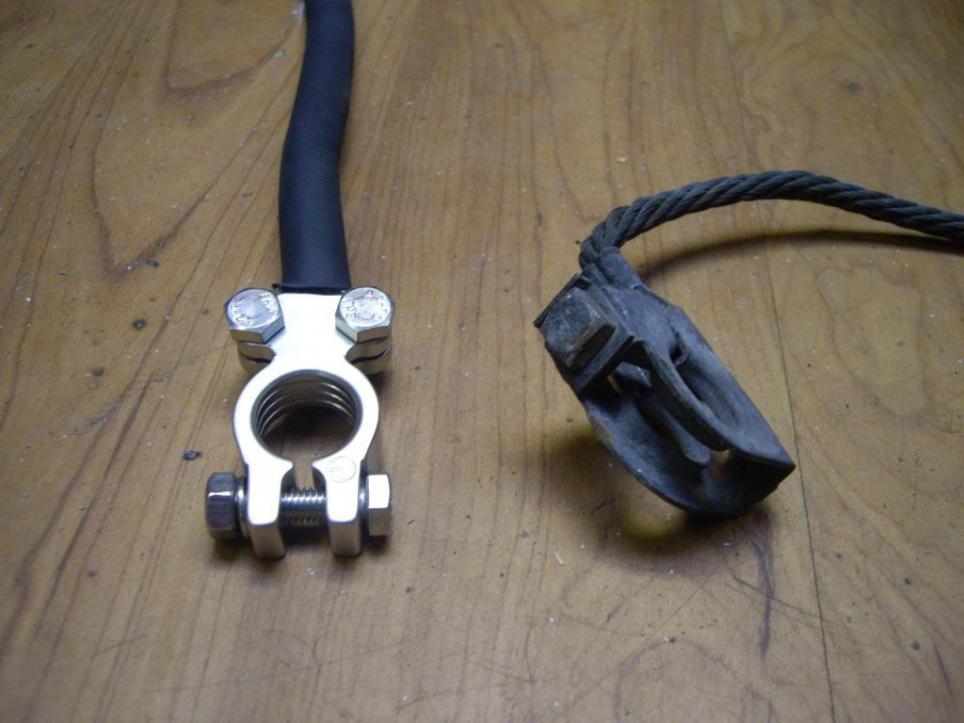
Then grab your battery cable crimper, which is adjustable depending on how big/thick the battery cable & cable ends are
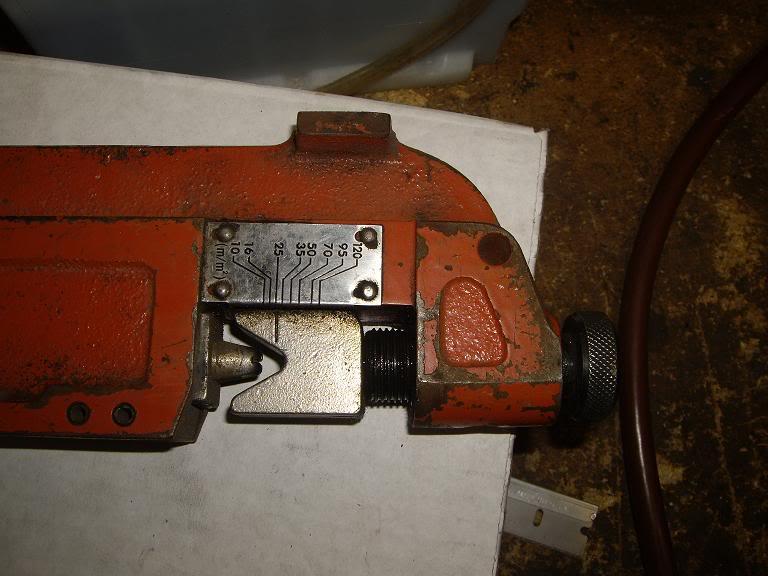
Insert the battery cable & cable end as shown & squeeze like buggery!
These are all the tool's you'll need. Although you could use a hacksaw to cut the battery cable, but it can frey the copper easily.
What you see here is
a razor blade
marker pen
cutoff saw/hacksaw
hot air gun
battery cable
battery cable end's & terminal ends
battery cable tool
heat shrink
Start off with cleaning up one end of the battery cable with the cutoff saw
The cutoff the excess battery cable coating with you razor blade so that the copper lead can bottom out in the cable end & not leave bare copper showing
Then grab your battery cable crimper, which is adjustable depending on how big/thick the battery cable & cable ends are
Insert the battery cable & cable end as shown & squeeze like buggery!


Comment