If this is your first visit, be sure to
check out the FAQ by clicking the
link above. You may have to register
before you can post: click the register link above to proceed, registering will remove the in post advertisements. To start viewing messages,
select the forum that you want to visit from the selection below.
This means you should apply for your renewal now to avoid any disruptions to your membership whilst the renewal process is taking place! NOTE: If you have an auto renewing subscription this will happen automatically.
Finally got the last pesky control arm back in. With the poly bushes it really does make it a tight fit!
For future reference, I used a combination of rope, wheel bearing grease and a big hammer to get it in!
Took the car for a 30sec drive up the street, the front end feels instantly better, much tighter. With the BFI 0.5 mounts, there is a very noticeable rattle in the cabin at idle! (luckily, becauseracecar) Clutch actuation feels much nicer, and it does feel much tighter/solid when changing gears/revving. Only my intial impressions though!
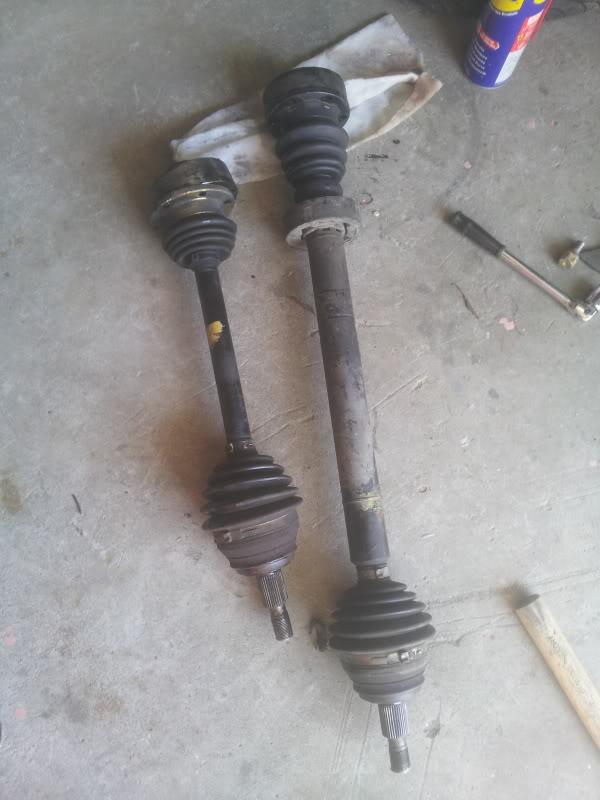
Have some pretty severe noises rotational noises coming from the front end. I'm hoping it's a wheel bearing and not a stuffed CV.
Going to order a few bits and pieces from GAP asap, incl 4 CV boots and bearings all round. Add some new front brake hoses, and it should be ready for roadworthy.
Got from parts from GAP around christmas time, and have finally gotten around to getting back into the garage.
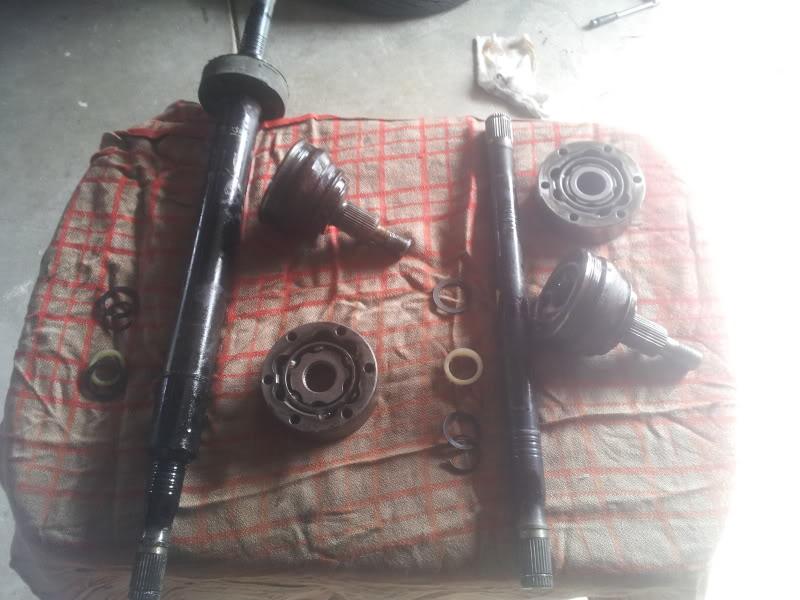
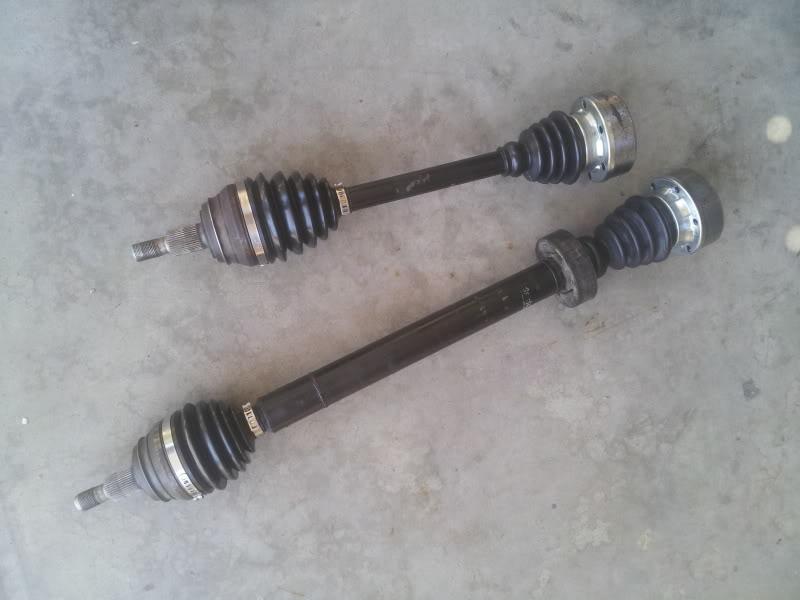
Replaced all 4 CV boots and repacked the CV's, bit of a saga, not something I would want to do again in a hurry. Note to self: Always use a brass drift/or hammer, and thread files come in very handy - Thanks Gav!
Just need to tighten the axle nuts when I drop the car back down, and mark the CV boot bolts once they're torqued.
I somehow managed to order the wrong 16V rocker cover. Luckily they one on it was in OK condition so I reused that with some sealant. Throttle body will get cleaned out before the manifold goes back on as well. Might replace the dirty coolant bottle and flush the rad today too if I can find my motivation.
Awesome project - I'm in the same boat, itching to get onto the track for cost effective fun
Are you going to be racing with a local club - what class?
2012.1 Skoda Octavia VRS DSG Wagon - Carbonio cold air intake and pipe - HPA Motorsports BBK 355mm rotors 6 pot calipers
APR Stage II ECU - APR 3" exhaust down pipe & high flow catalyst
APR/HP Roll bars - Eibach springs and Bilstien shocks
Supaloy lower control arms - Enkei 18*8 Wheels
At this stage, I'm not aiming for any specific class. I'll just be doing entry level track days, 'run-what-you-brung' sort of events, atleast for the first year or so. After that I'll reasses what my goals are, where it'd like to go (ie more competitve, same level, different sort of events etc)
I'll probably sign up to PIARC (Phillip Island) to get my CAMS license, foot in the door etc.
Couldn't be bothered doing much this afternoon. Did a few small things though, and took a couple pics.
I use my camera phone (which is greater megapixels than my actual camera) and upload directly to my photobucket using a neat little photobucket app. Then once on the laptop, jump onto photobucket and my pics are all there. Really convienent and easy. Saves trying to find the camera, take one photo, find batteries that aren't flat, take more photos, tear the house apart looking for the cable to connect it to the pc.. You get my point!
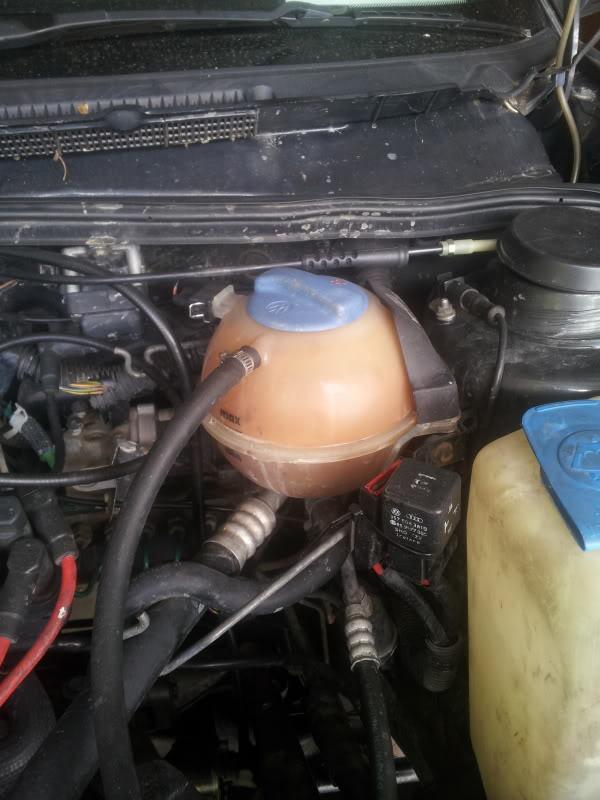
Swapped out the old coolant bottle, this is why:
Filthy coolant balls are a real pet peeve of mine!
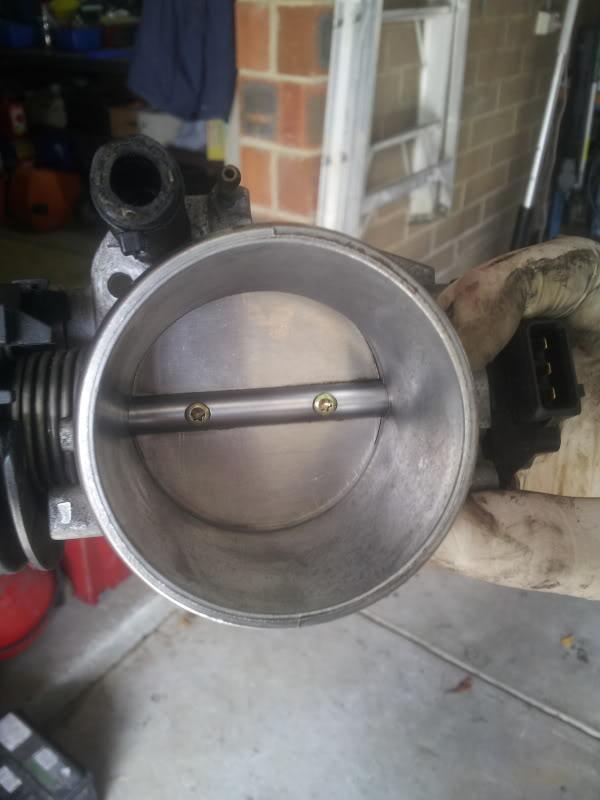
Cleaned out the throttle body, it wasn't too bad but did have a bit of gunk in it. Will look at installing a catch can eventually, to help reduce this.
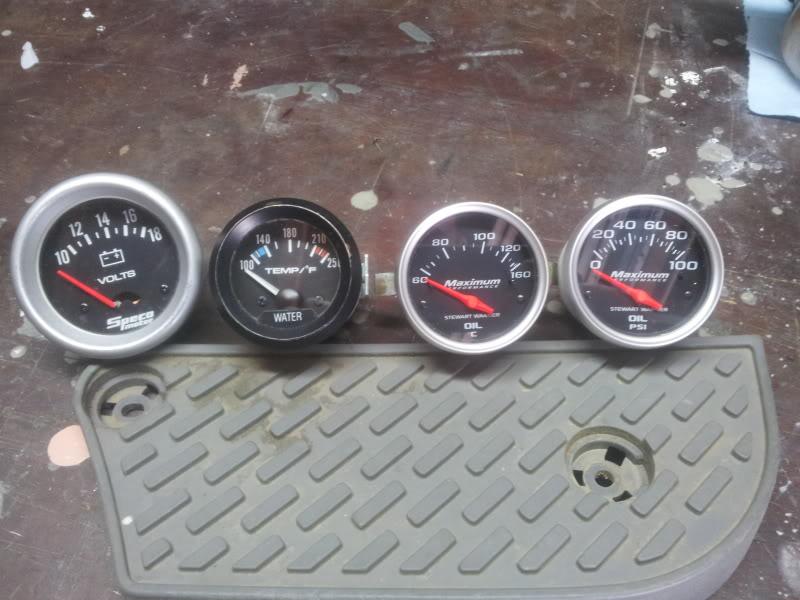
A few of the gauges I've collected. Volts and water temp aren't too flash, (or overly important) but the oil temp and pressure gauges should be pretty handy once out on the track. The best spot is probably on top of dash in the centre. Easily seen without moving my head, just not sure about legalities. Will also install an oil pressure dummy light (aka engine rebuild light) along with the gauges too
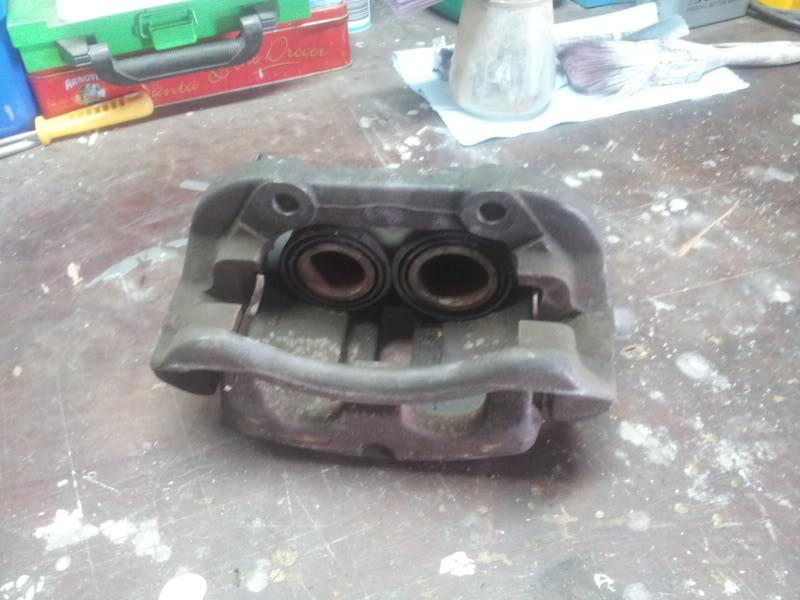
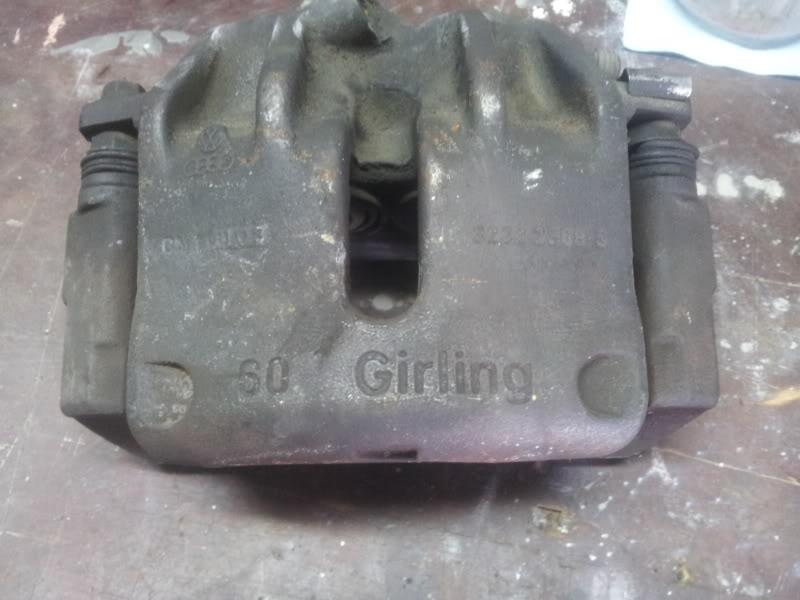
Also have these on the shelf for a rainy day. Have a rebuild kit for them, but no idea how to rebuild them.
With rebuilding the girling 60's:
Take the carrier off, bolts, anything loose etc.
To get the pistons out, It is easiest if you have access to compressed air. If you do, place a block of wood against the outer part of the caliper (where the outside pad sits), this is just to protect the piston when it shoots out (get ready, coz it will actually shoot out!!) and blow the air gun down the brake fluid inlet hole. Make sure you keep the bleeder shut, otherwise it will leak.
Clean off any surface rust from the piston, the piston bore, slider bolts as well as cleaning out all holes etc.
Anyway that's as far as I've got on my girling 60's
I assume the rest is paint, put the piston seal in, the dust seal on and work the pistons in place.
Did an oil flush and change, and a quick coolant flush today.
Also tidied up some exposed wiries with some conduit and/or leccy tape. Small details but makes it neater, and helps protect against premature wear/shorts on the exposed wires.
Updated my budget, it's now just over $1200, of which $700 odd will be needed for rego, which means semi slicks will be out of the question!
Just the tool. Hopefully I have the correct nuts to go back on.
Ive ordered a tool, should be in tomorrow hopefully. Ended up trying to get one locally (which was a bit of a faff).
 Tweet
Tweet

Comment