 Tweet
Tweet
Hey guys,
The title speaks for iteself. I wanted to shove a sub in boot of my Octy estate and wanted it looking pretty stealth, sitting flush and fairly inconspicuous to the eys of theives. I also needed it out of the way for my bi-weekly shoving of mountain bikes in and out.
I gathered that the small inner pocket in the cargo bay was ok but COULD be bigger so I decided to use the space slightly higher around it, running in a straightish line from the wheel guards to the boot lip. I wanted to do it properly and maximise the air volume, all the while keeping the carpet in the car and leaving it stock so its right for sale later. So I decided to make a fibreglass sub box. I didn't have any previous knowledge of working with this material, but I found it fairly simple, and quick to get a hang of. Its all experimentation for the first few layers, then it starts getting quicker. You are always working with a time limit where the resin dries, and it makes the job at hand fun and challenging! If you're thinking of doing the same job it does take a massive time commitment. This one was roughly 25-30 hours.
Now I'm not going to make a how-to, as there are plenty of other instructables on the net, but I'd like to show what can be done in our cars So here are the pics!
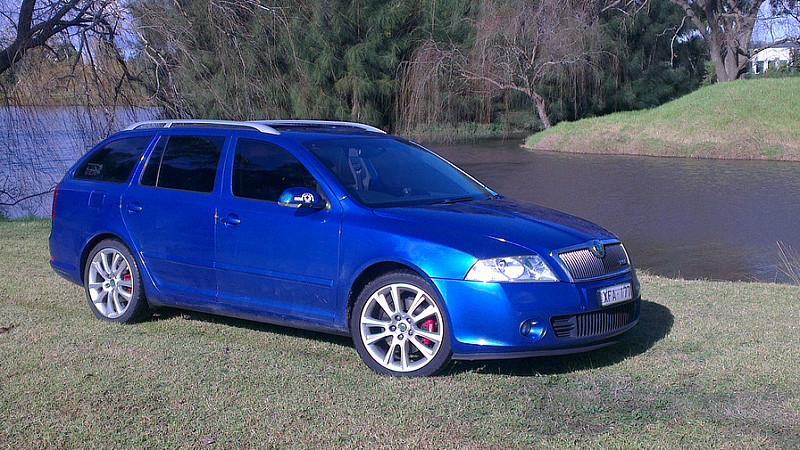
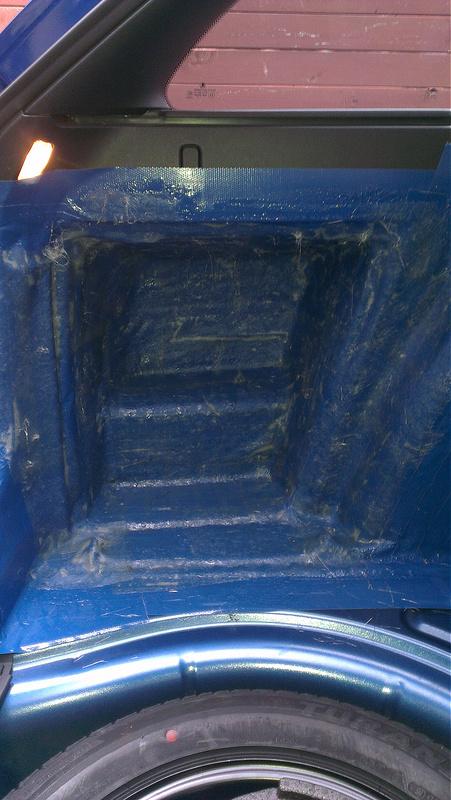
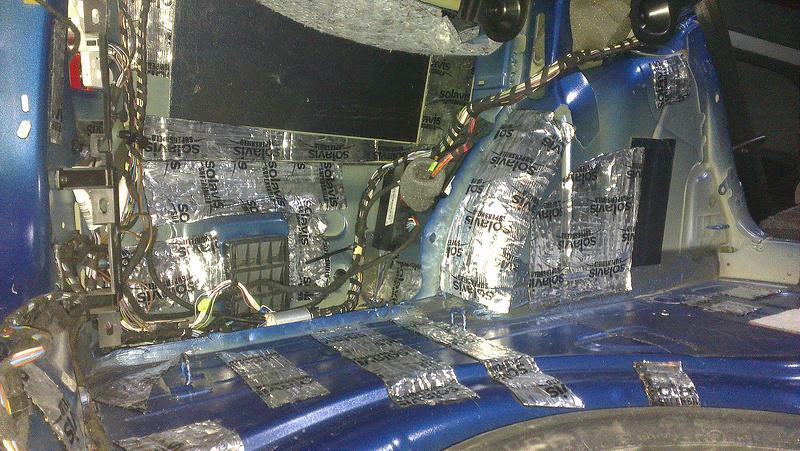
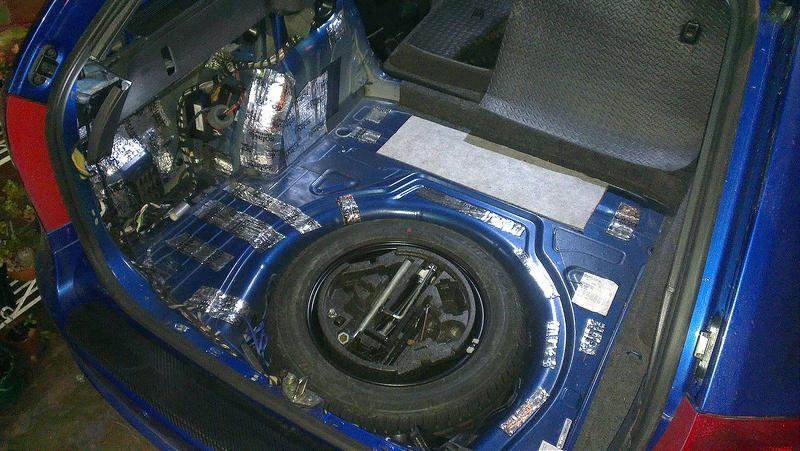
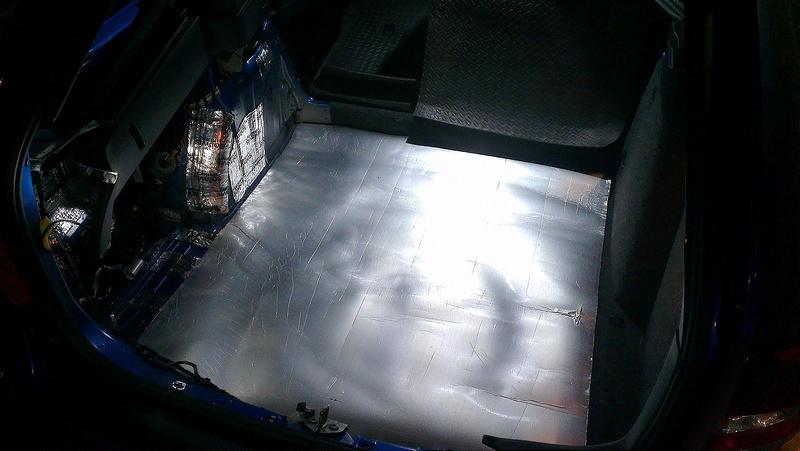
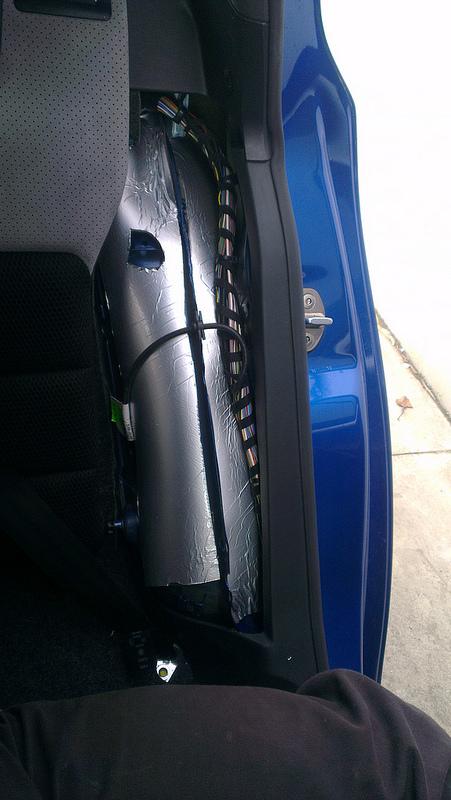
The victim
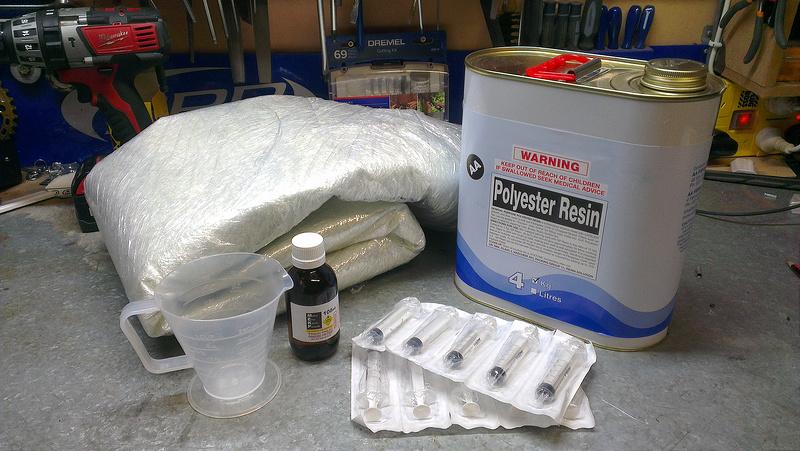
The materials- Ended up needed more resin and catalyst but not more mat
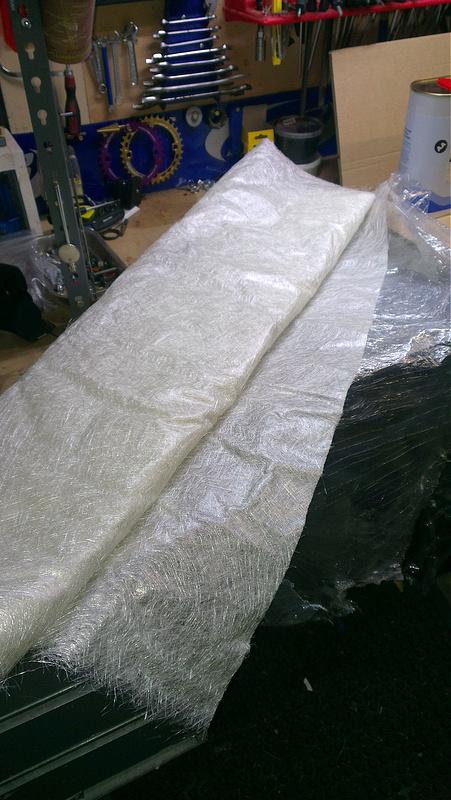
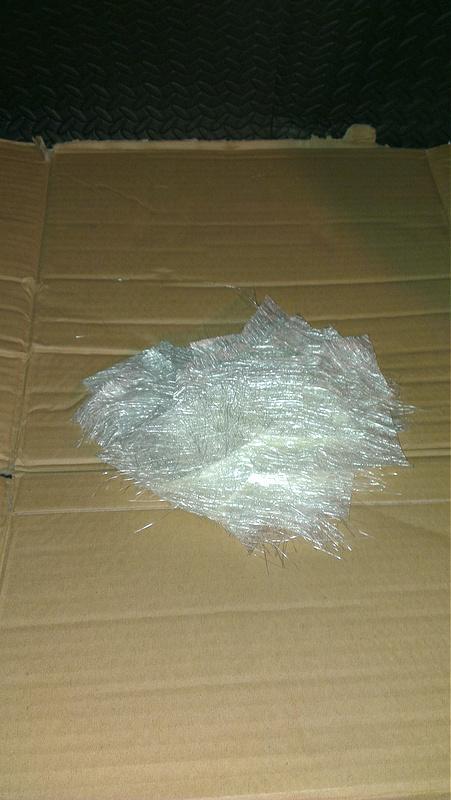
Cutting up the mat- 300g sheets
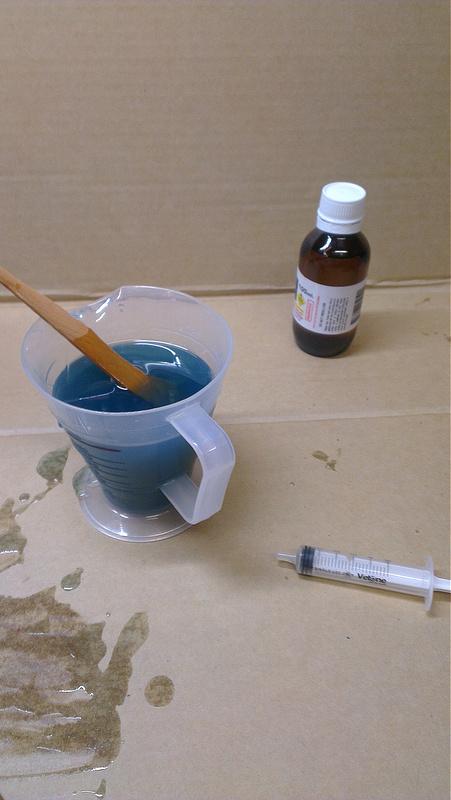
Mixing resin- it turns from blue to green to yellow so you know when its drying up
Cut it up in to different sized pieces to lay over
First layer
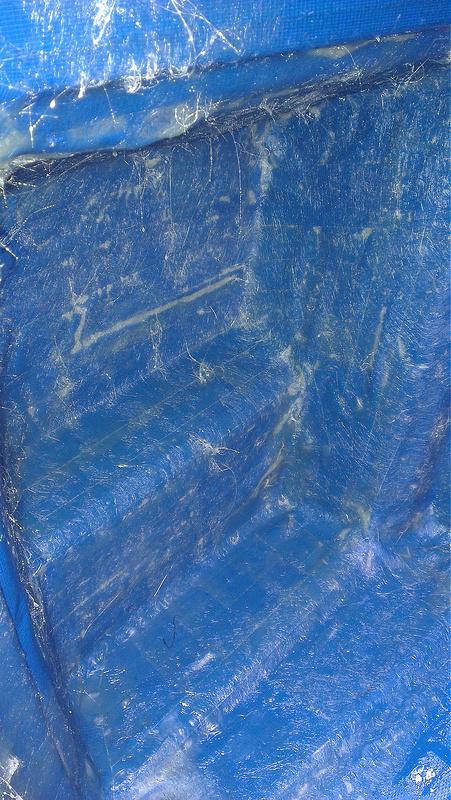
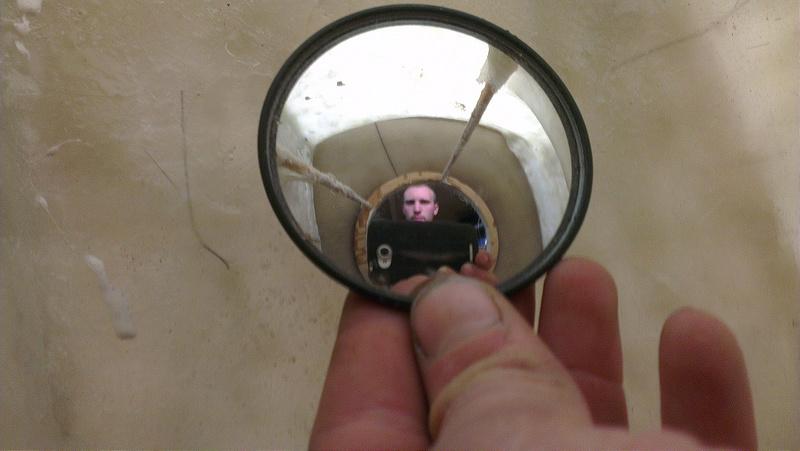
3-4 layers in and it was JUST strong enough to take out. Needed to put my feet on the wheel well and use two hands to rip it off without damage. Dont know how without damage though lol.
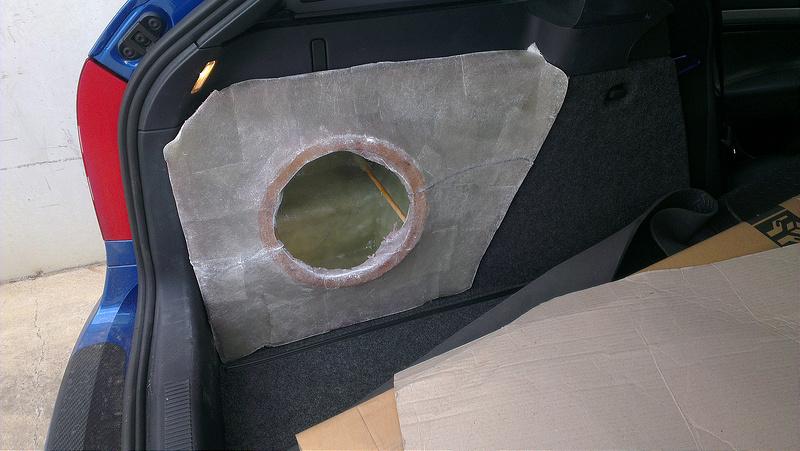
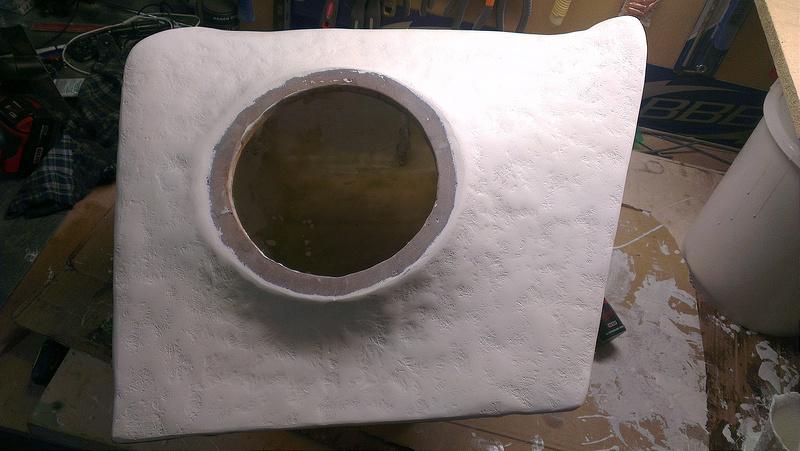
Super glue in the mdf sub ring to the angle and height and place you want it. I didn't use an inset ring for mine
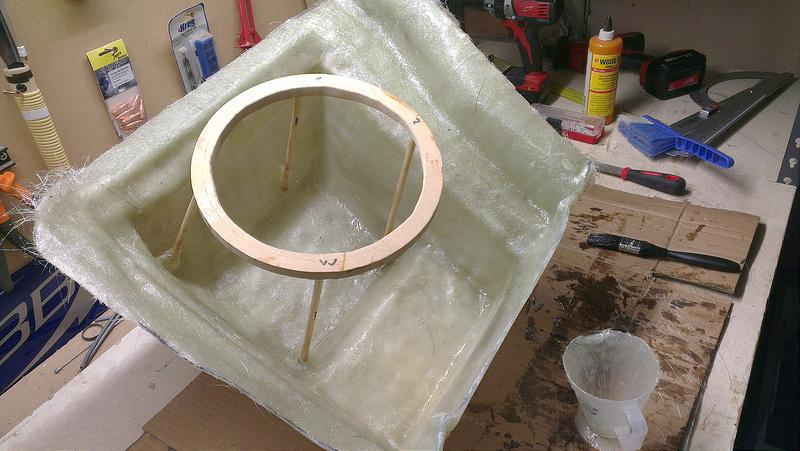
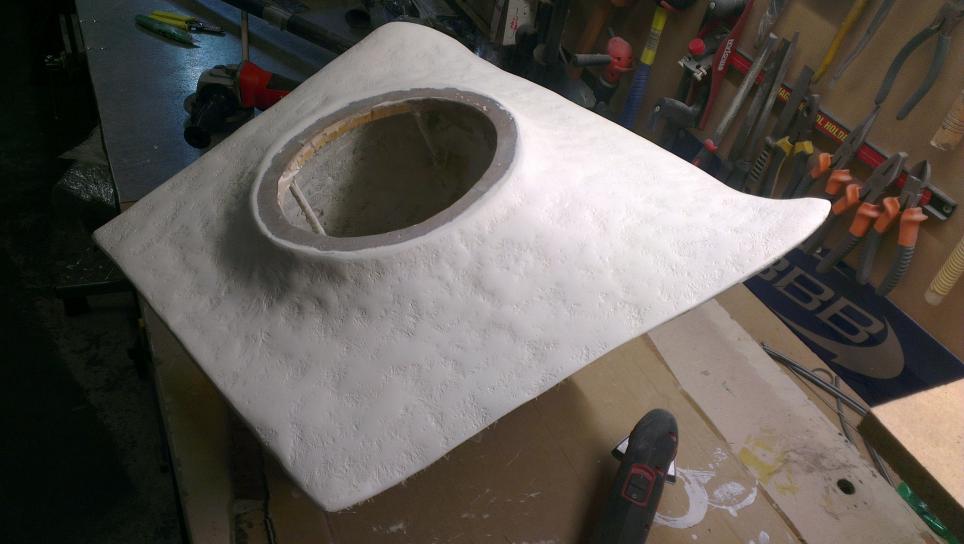
Fibreglass support around the legs, no one else did this but I did because my sub face is large and fibreglass is stronger when round, I felt it needed extra support and it couldn't hurt.

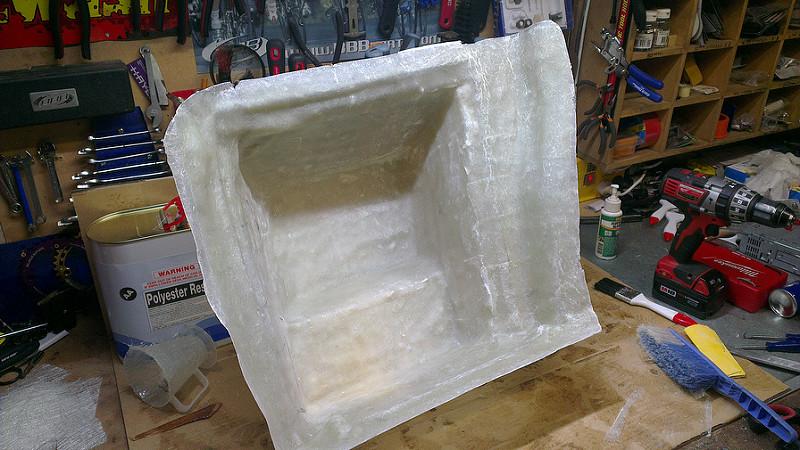
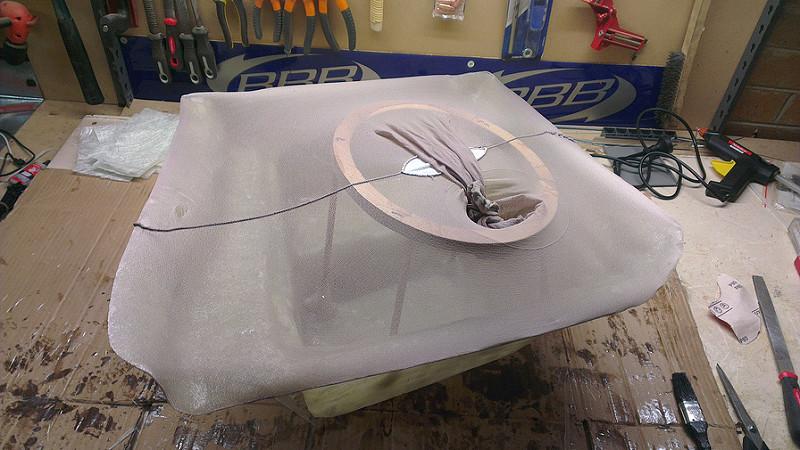
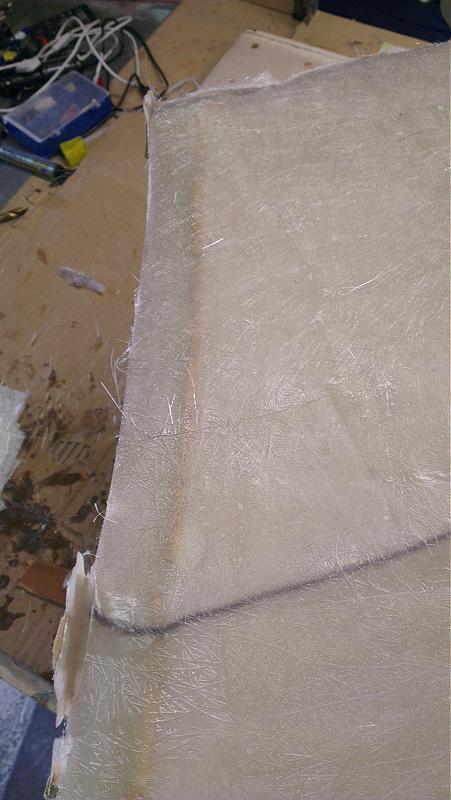
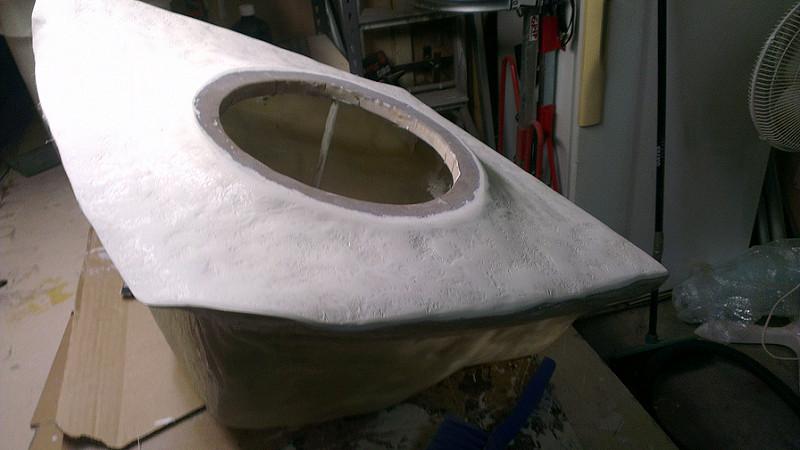
After about 6 layers, and lots of sanding and fitting, on goes the pantyhose. MAX STRETCH and awkward consultations with girls in supermarkets about the maximum hip size available...................................
First layer on the pantyhose
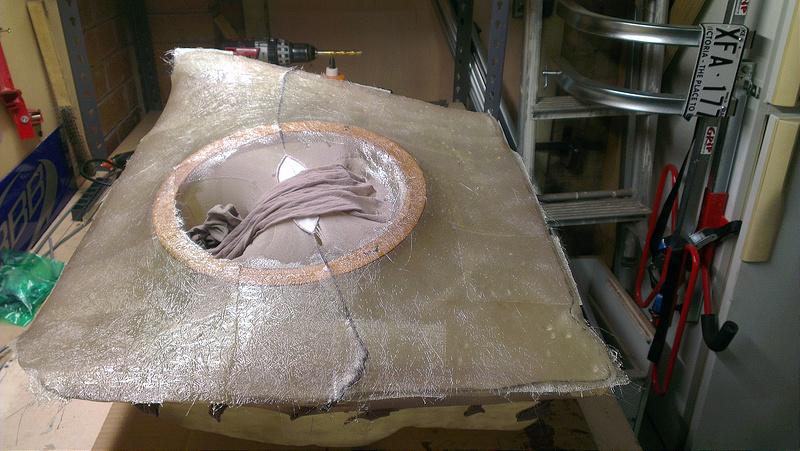
I wanted it plenty round to look cool
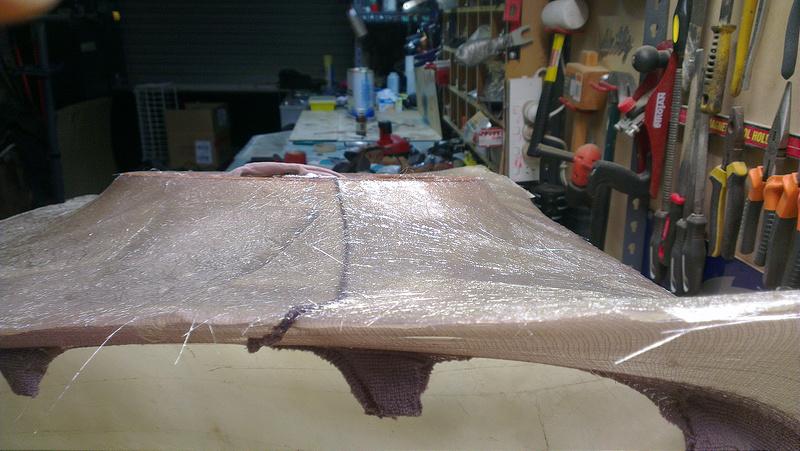
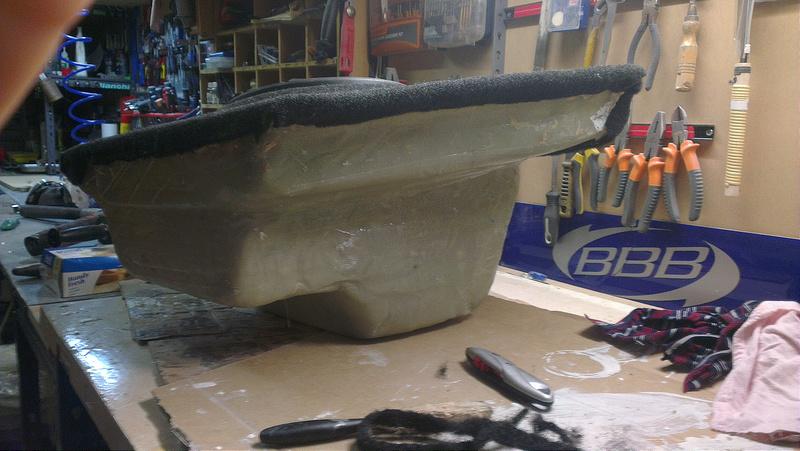
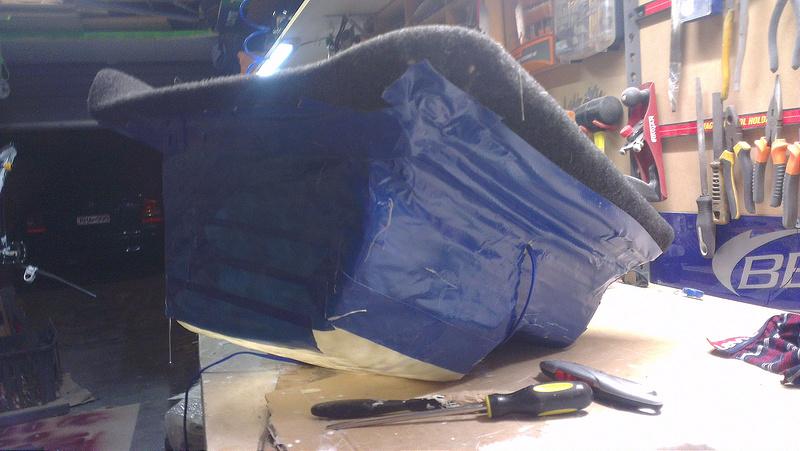
Test fitting
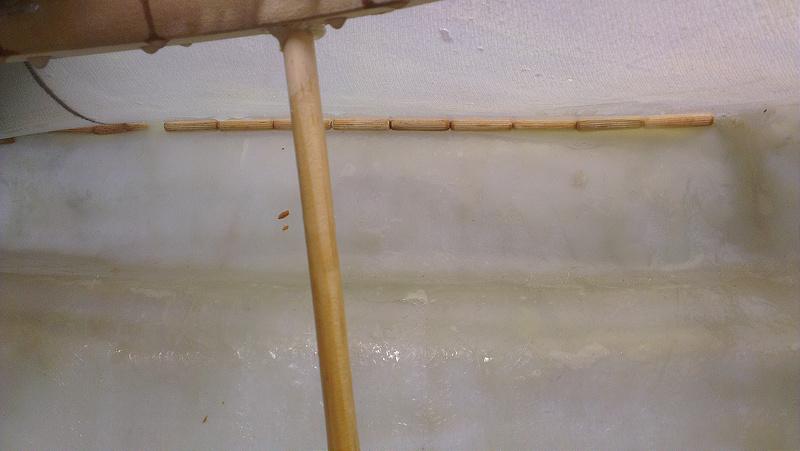
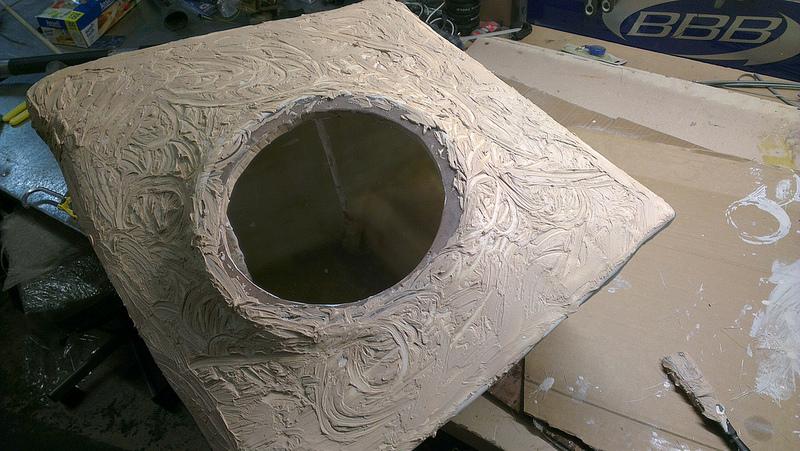
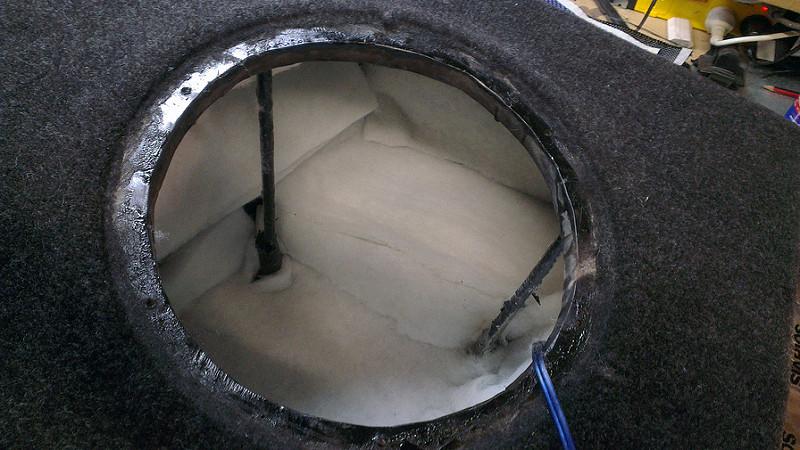
Decided to put dowells in the corners and ****loads of resin, and let it dry on a slant. Used small downls like this 4mm then big 10mm dowells on top (not pictured). I did this because I thought the air would trap in the corners and try to blast the case open...
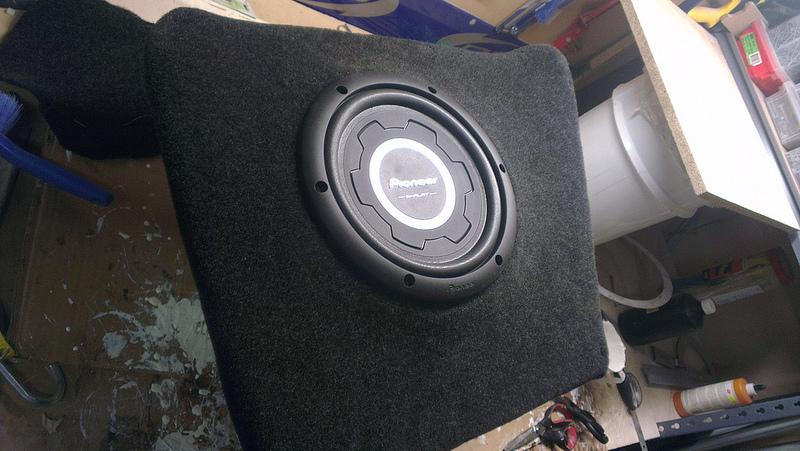
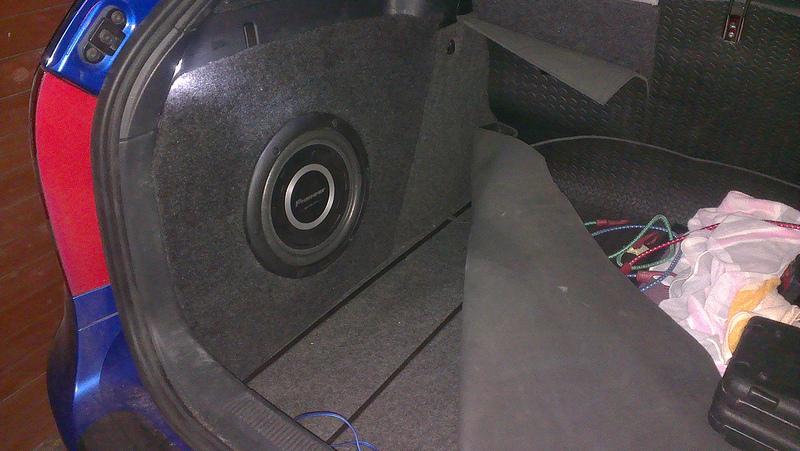
Getting to keen and testing the sound!
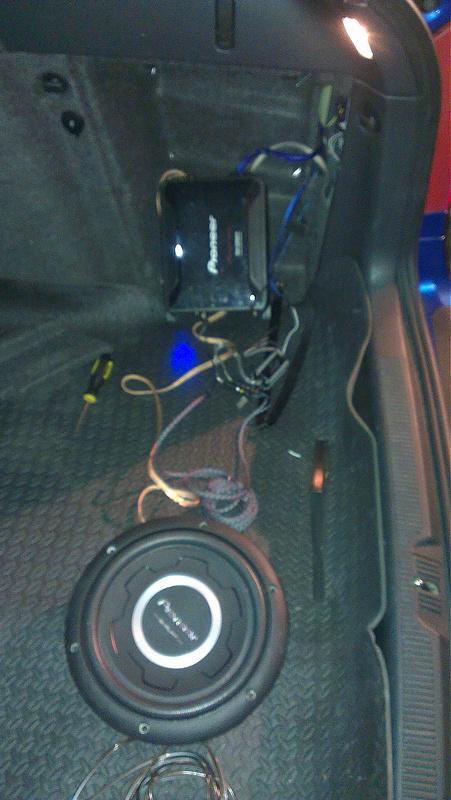
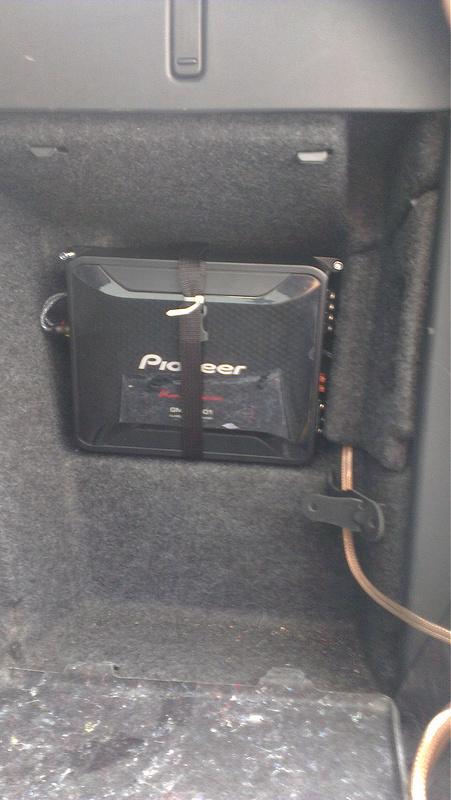
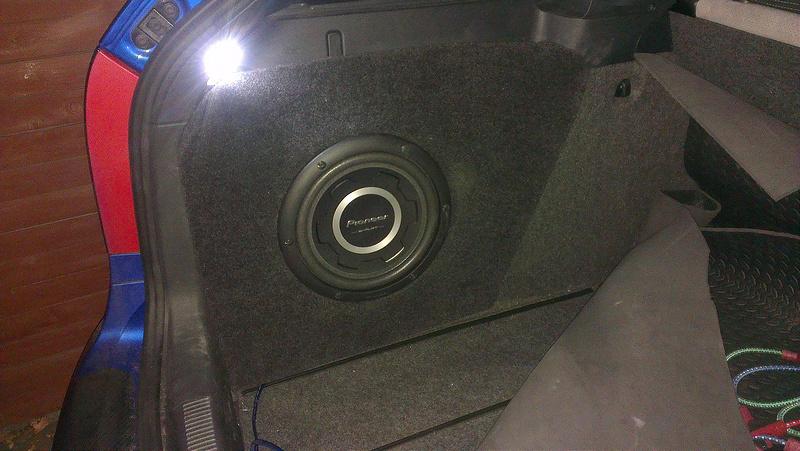
Got the amp installed. Still havn't hid that cable and strap.
More in next post
The title speaks for iteself. I wanted to shove a sub in boot of my Octy estate and wanted it looking pretty stealth, sitting flush and fairly inconspicuous to the eys of theives. I also needed it out of the way for my bi-weekly shoving of mountain bikes in and out.
I gathered that the small inner pocket in the cargo bay was ok but COULD be bigger so I decided to use the space slightly higher around it, running in a straightish line from the wheel guards to the boot lip. I wanted to do it properly and maximise the air volume, all the while keeping the carpet in the car and leaving it stock so its right for sale later. So I decided to make a fibreglass sub box. I didn't have any previous knowledge of working with this material, but I found it fairly simple, and quick to get a hang of. Its all experimentation for the first few layers, then it starts getting quicker. You are always working with a time limit where the resin dries, and it makes the job at hand fun and challenging! If you're thinking of doing the same job it does take a massive time commitment. This one was roughly 25-30 hours.
Now I'm not going to make a how-to, as there are plenty of other instructables on the net, but I'd like to show what can be done in our cars
The victim
The materials- Ended up needed more resin and catalyst but not more mat
Cutting up the mat- 300g sheets
Mixing resin- it turns from blue to green to yellow so you know when its drying up
Cut it up in to different sized pieces to lay over
First layer
3-4 layers in and it was JUST strong enough to take out. Needed to put my feet on the wheel well and use two hands to rip it off without damage. Dont know how without damage though lol.
Super glue in the mdf sub ring to the angle and height and place you want it. I didn't use an inset ring for mine
Fibreglass support around the legs, no one else did this but I did because my sub face is large and fibreglass is stronger when round, I felt it needed extra support and it couldn't hurt.
After about 6 layers, and lots of sanding and fitting, on goes the pantyhose. MAX STRETCH and awkward consultations with girls in supermarkets about the maximum hip size available...................................
First layer on the pantyhose
I wanted it plenty round to look cool
Test fitting
Decided to put dowells in the corners and ****loads of resin, and let it dry on a slant. Used small downls like this 4mm then big 10mm dowells on top (not pictured). I did this because I thought the air would trap in the corners and try to blast the case open...
Getting to keen and testing the sound!
Got the amp installed. Still havn't hid that cable and strap.
More in next post
Comment